ZTE ZTEN9519 LTE/CDMA/WCDMA/GSM(GPRS) Multi-Mode Digital Mobile Phone User Manual
ZTE Corporation LTE/CDMA/WCDMA/GSM(GPRS) Multi-Mode Digital Mobile Phone Users Manual
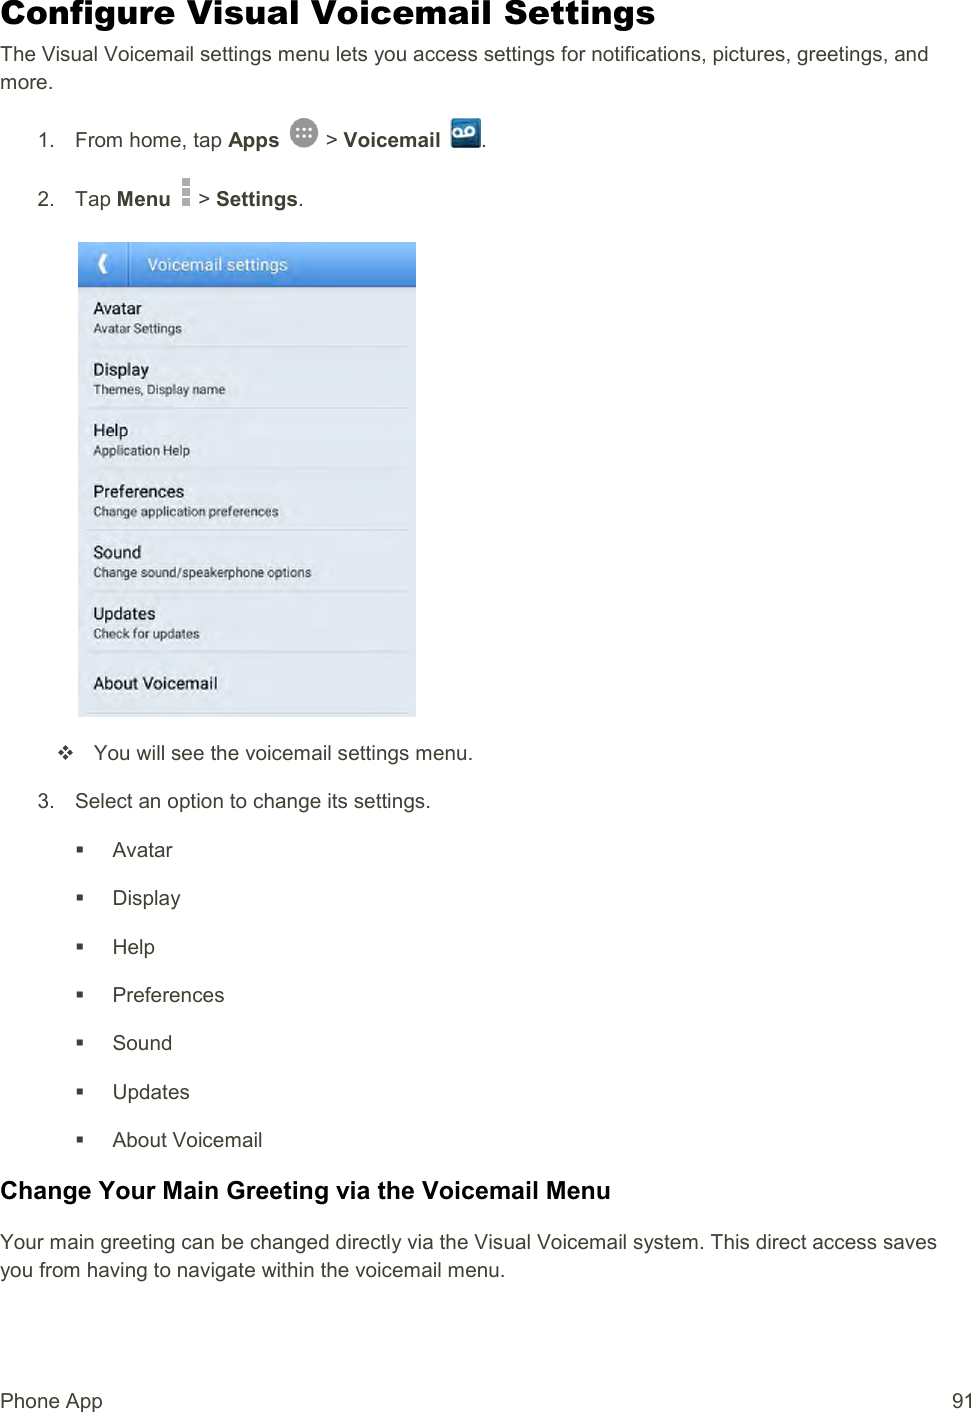
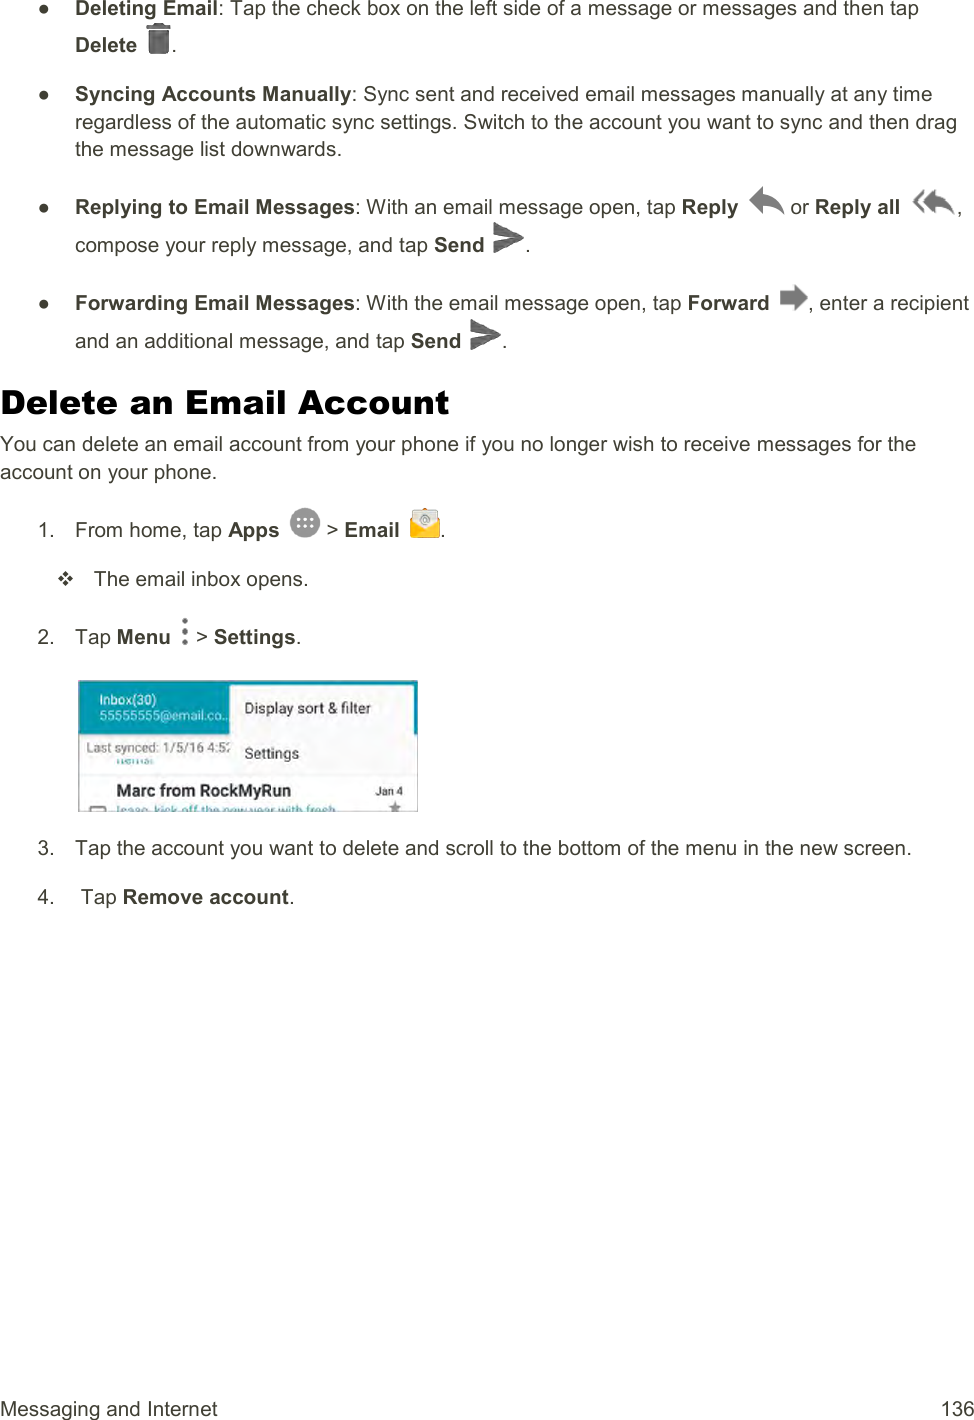
UserManual.wiki
>
ZTE
>
ZTEN9519 User Manual
Users Manual
Navigation menu
Upload a User Manual
Namespaces
Wiki Guide
HTML
PDF
Info
Views
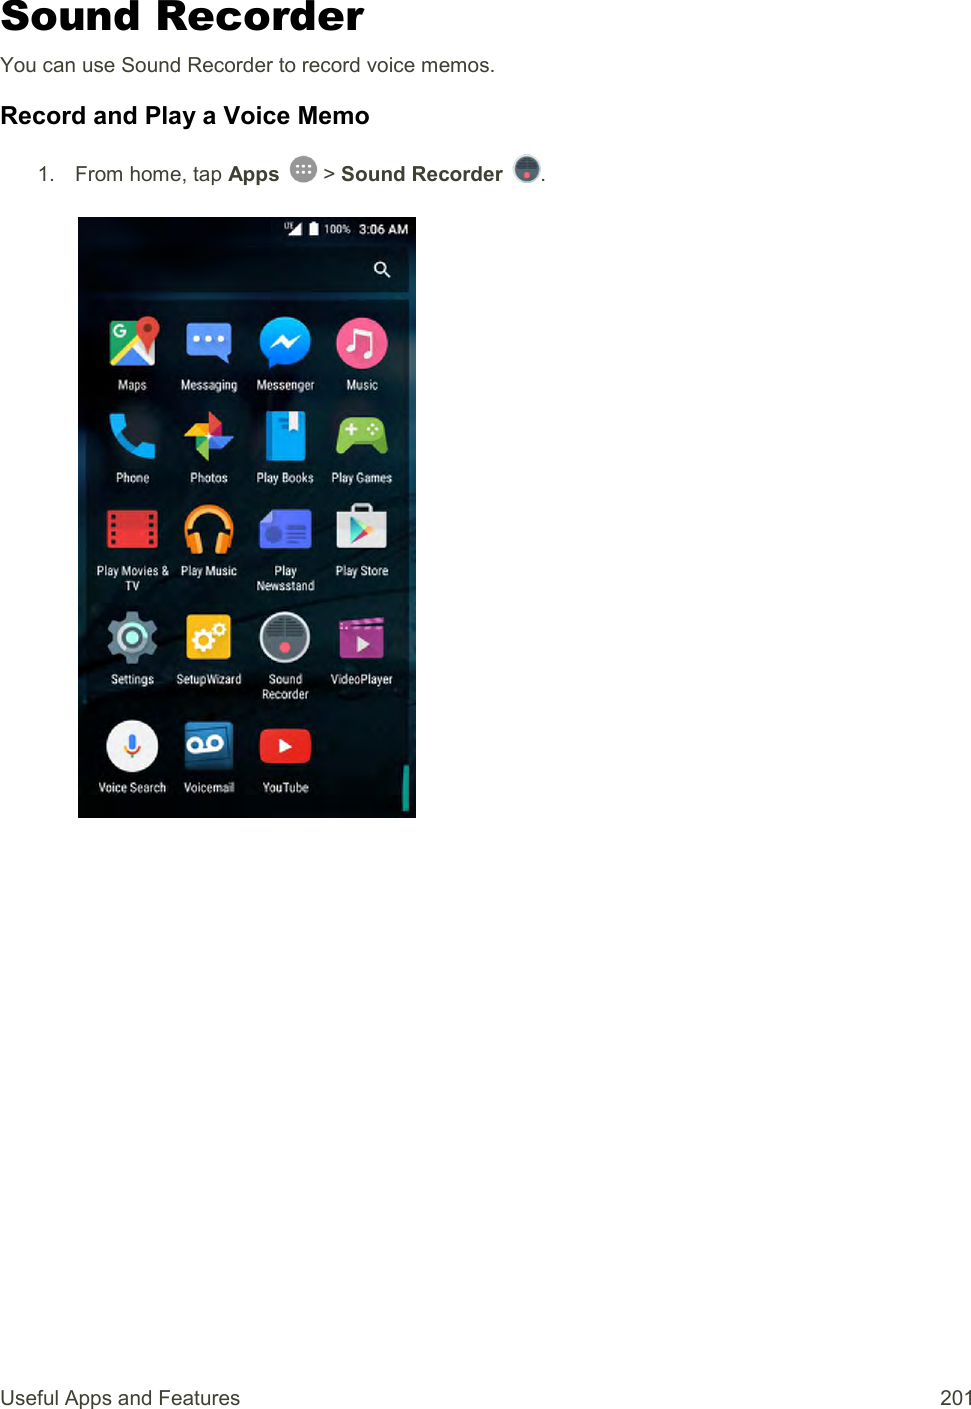
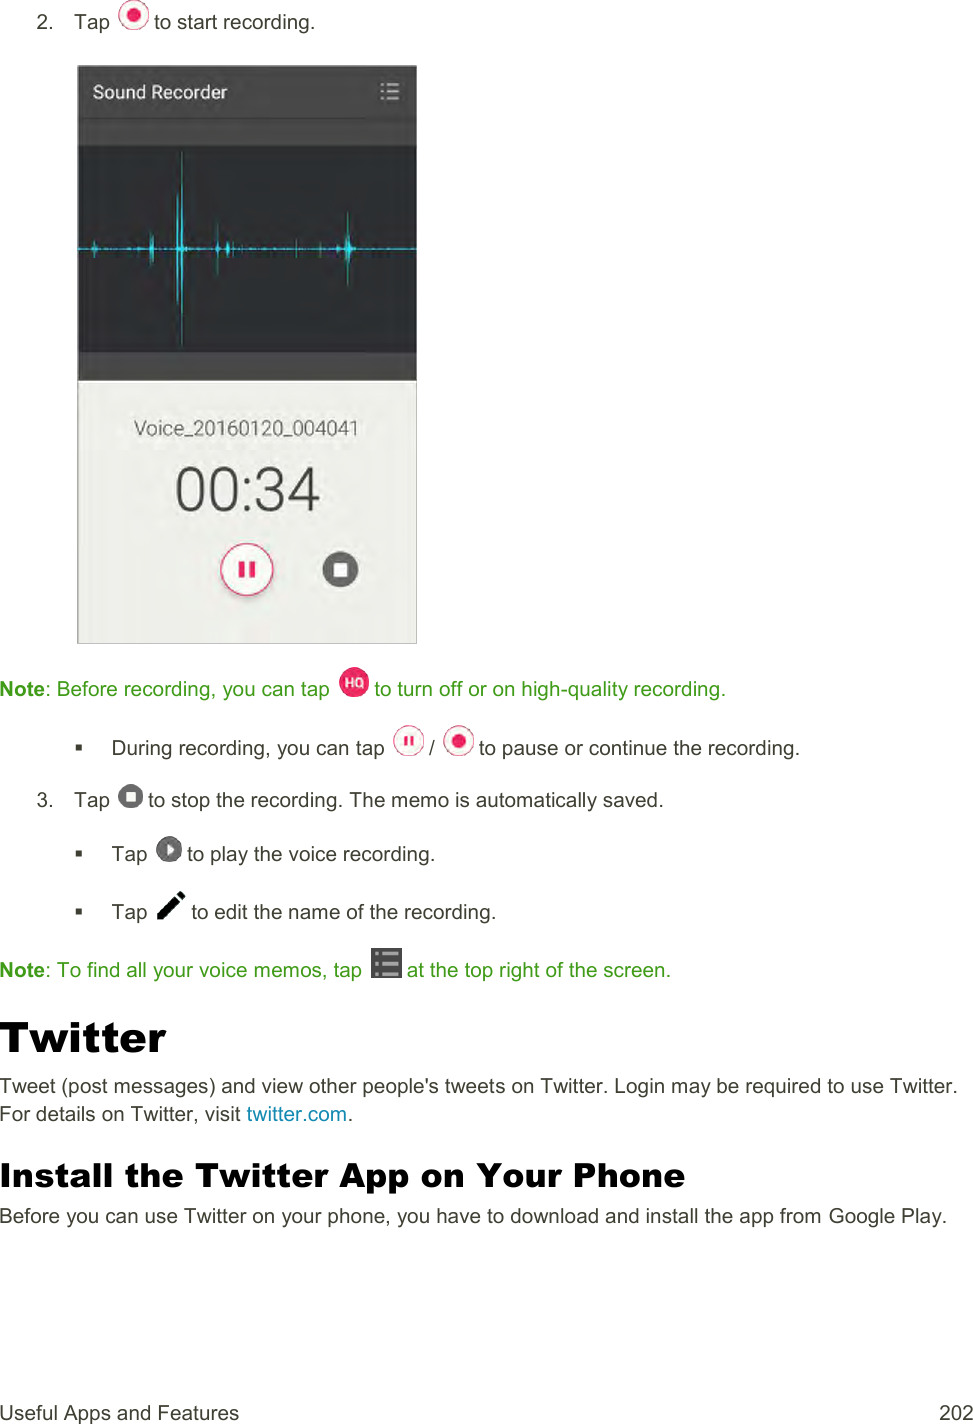
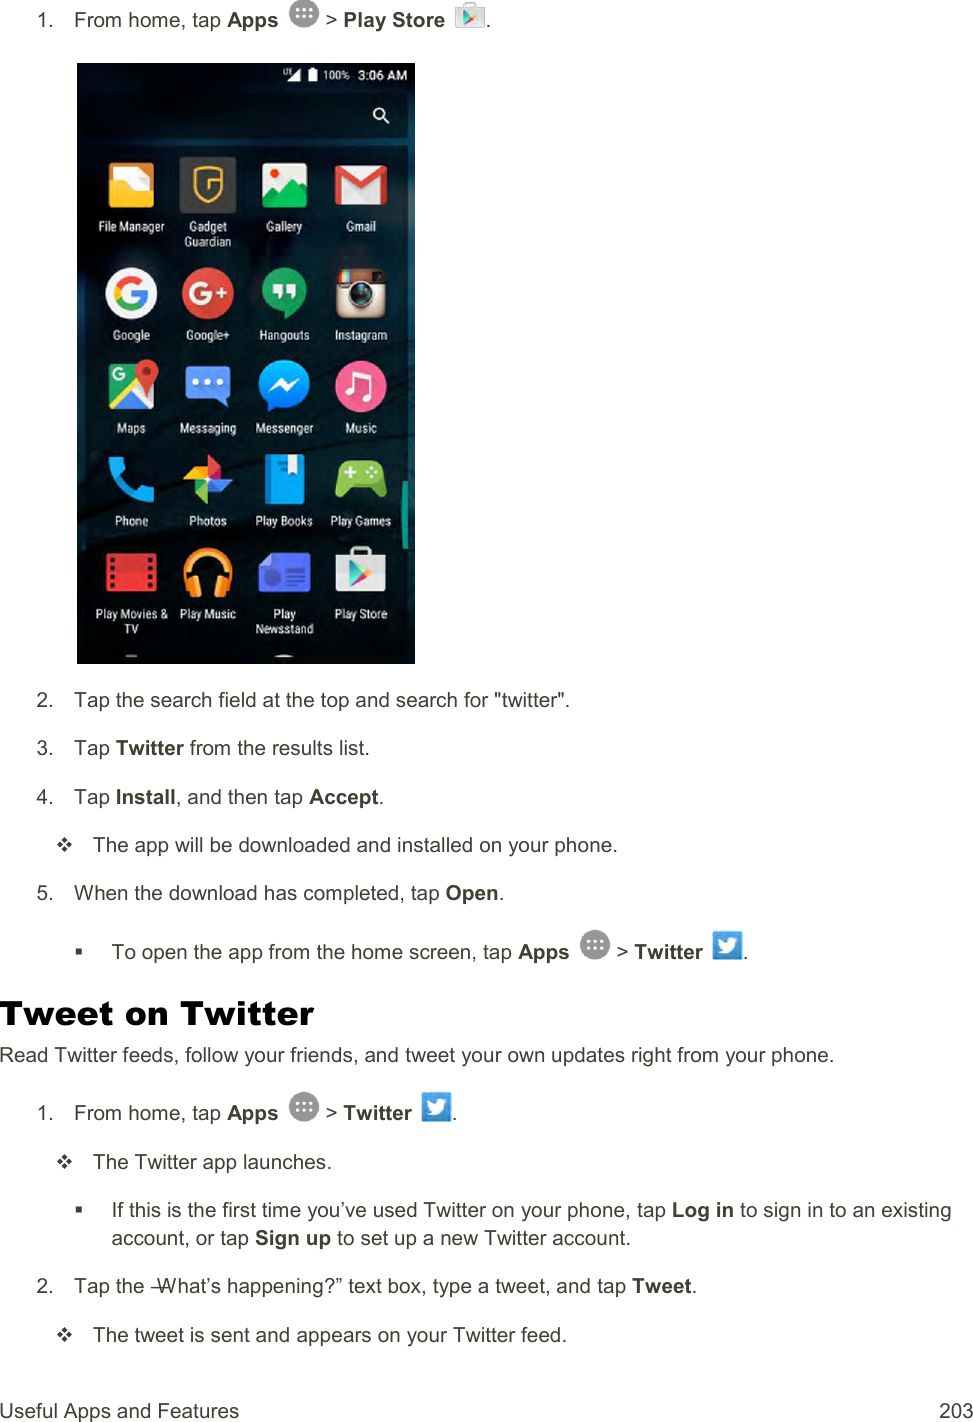
User Manual
Discussion / Help
Navigation
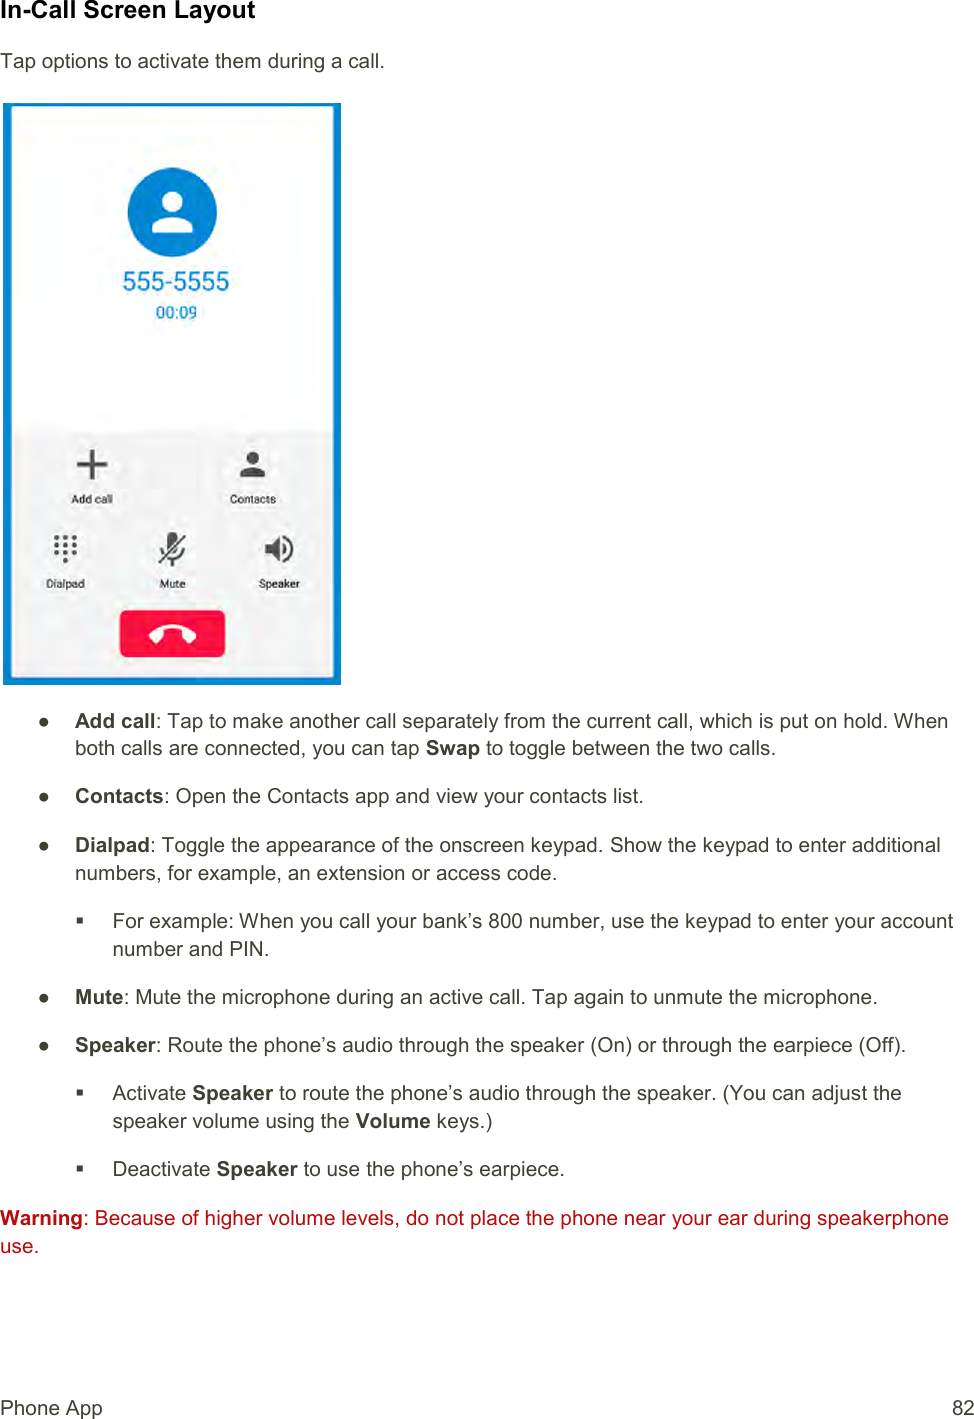
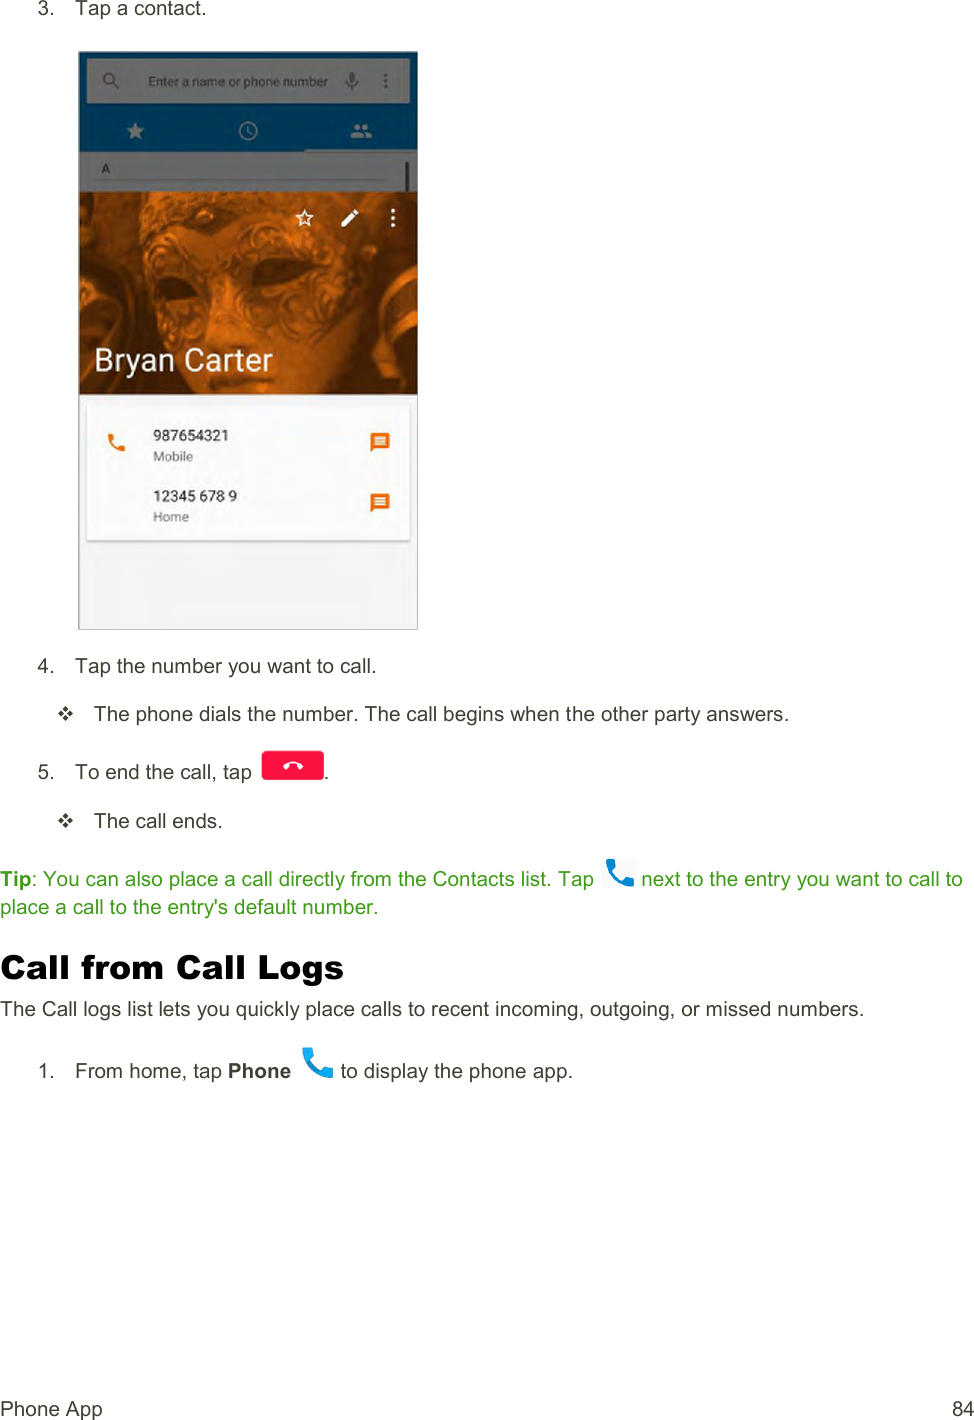
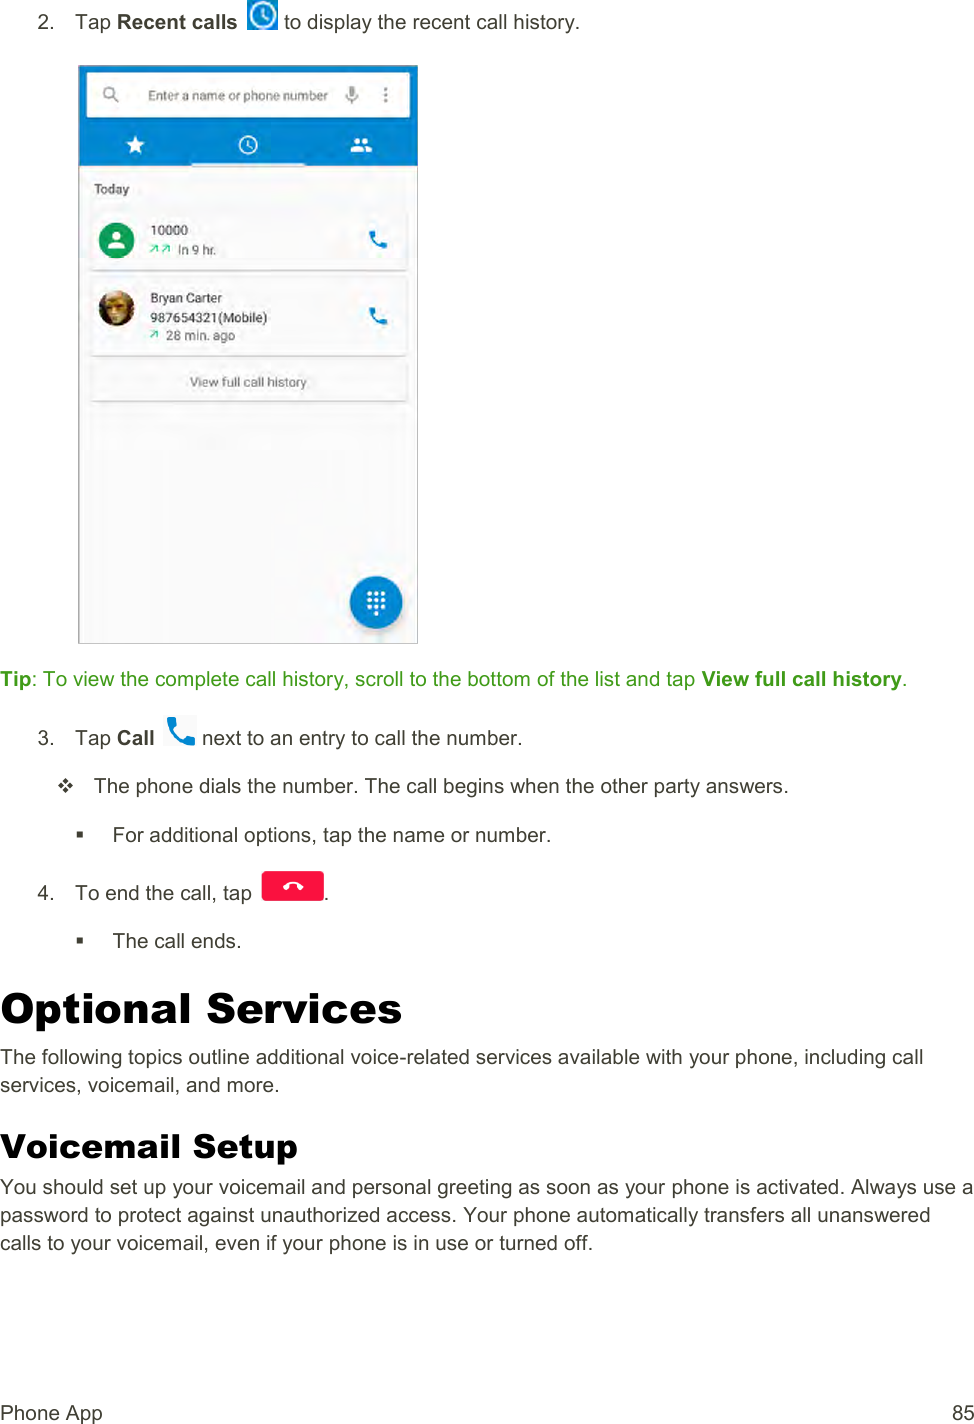
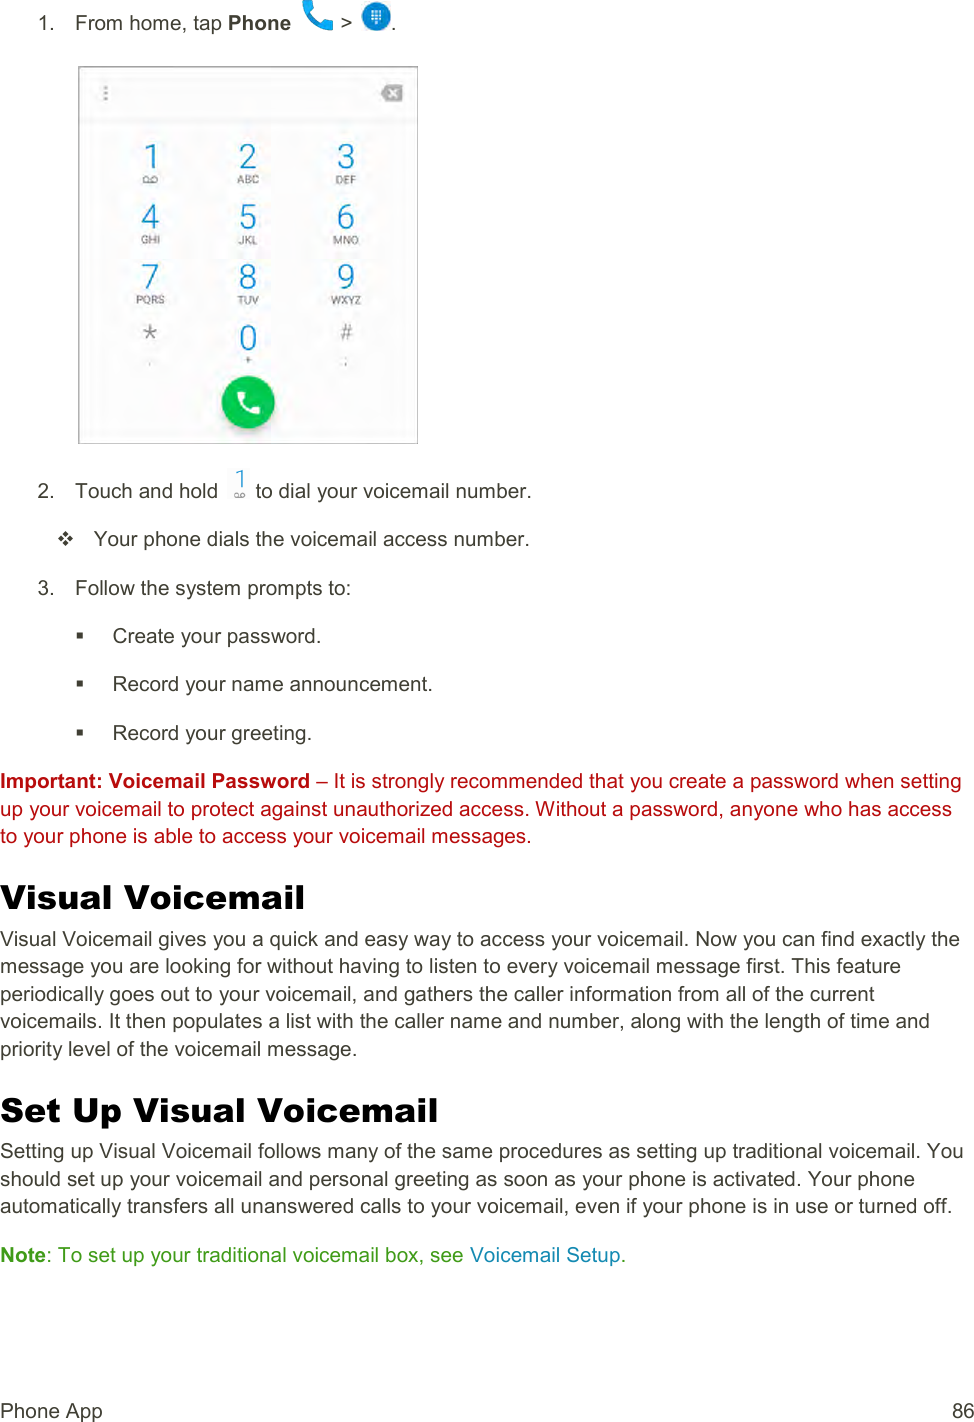
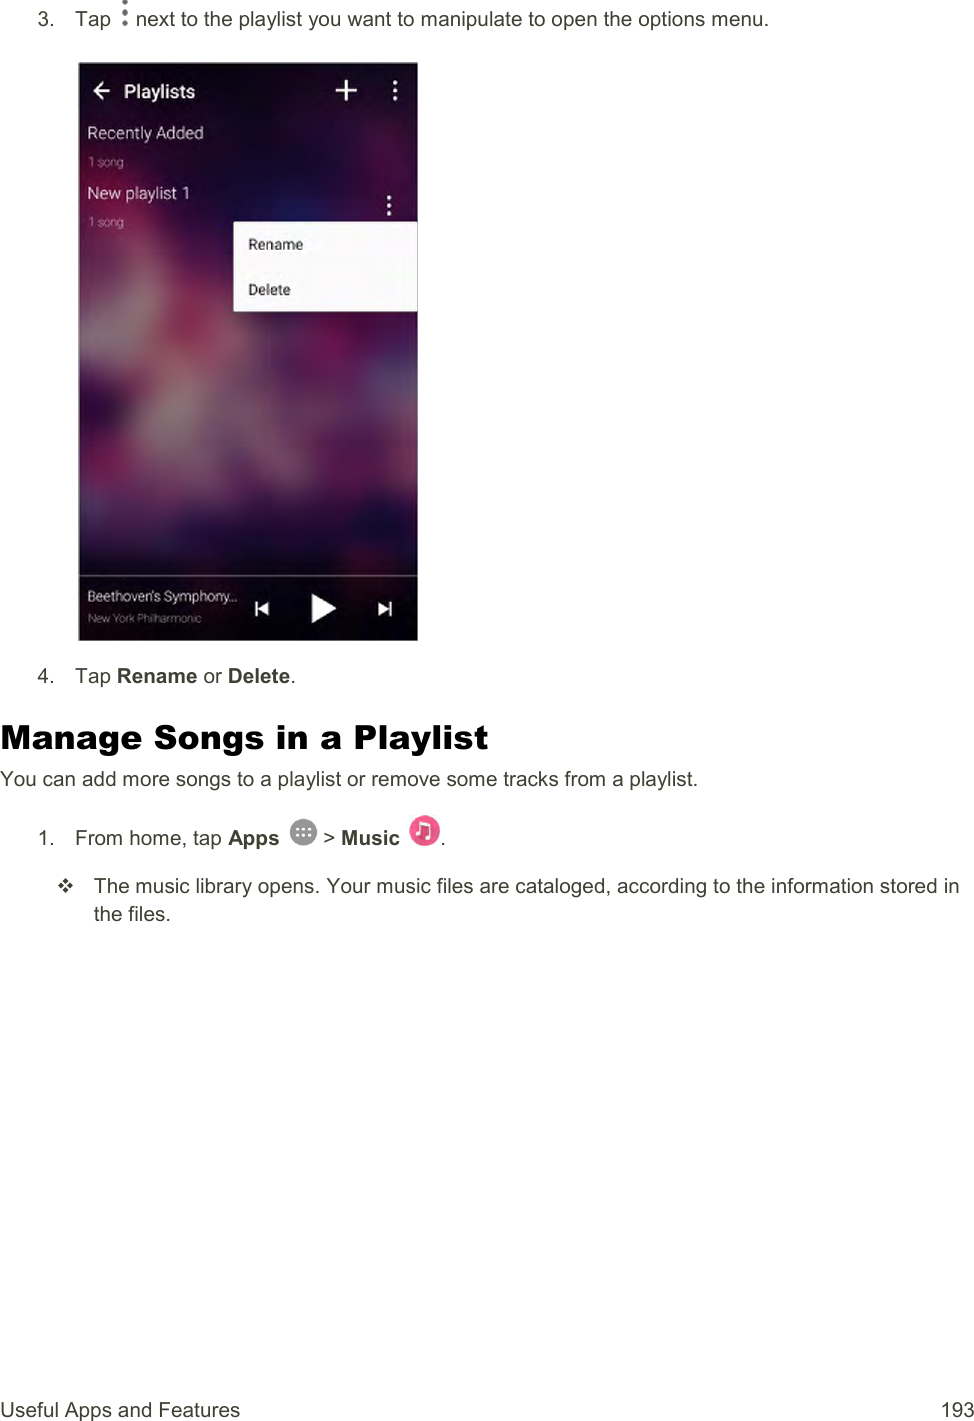
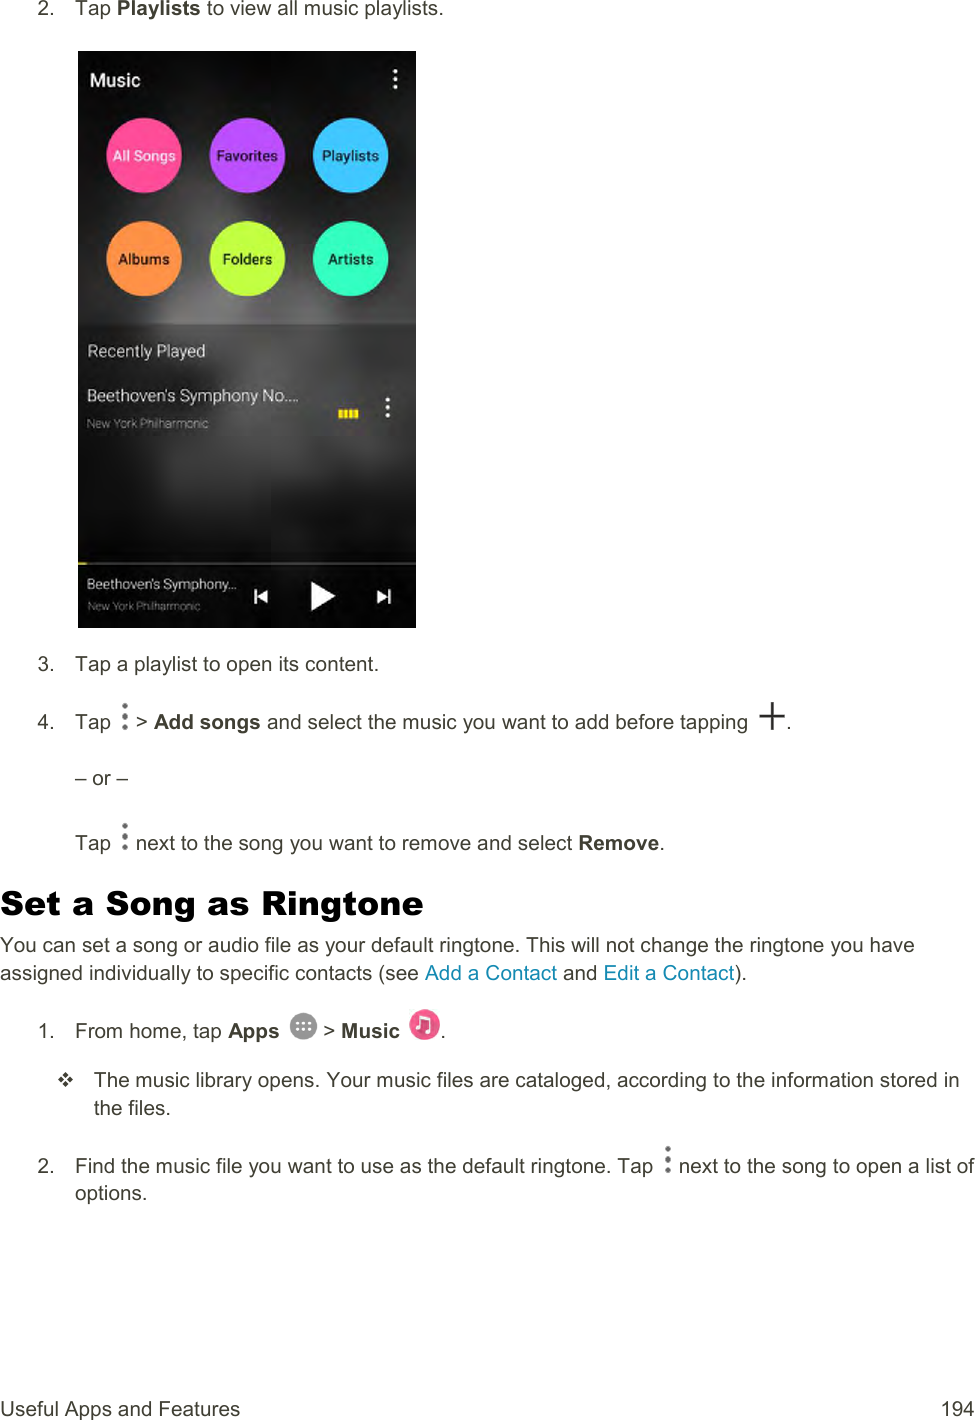
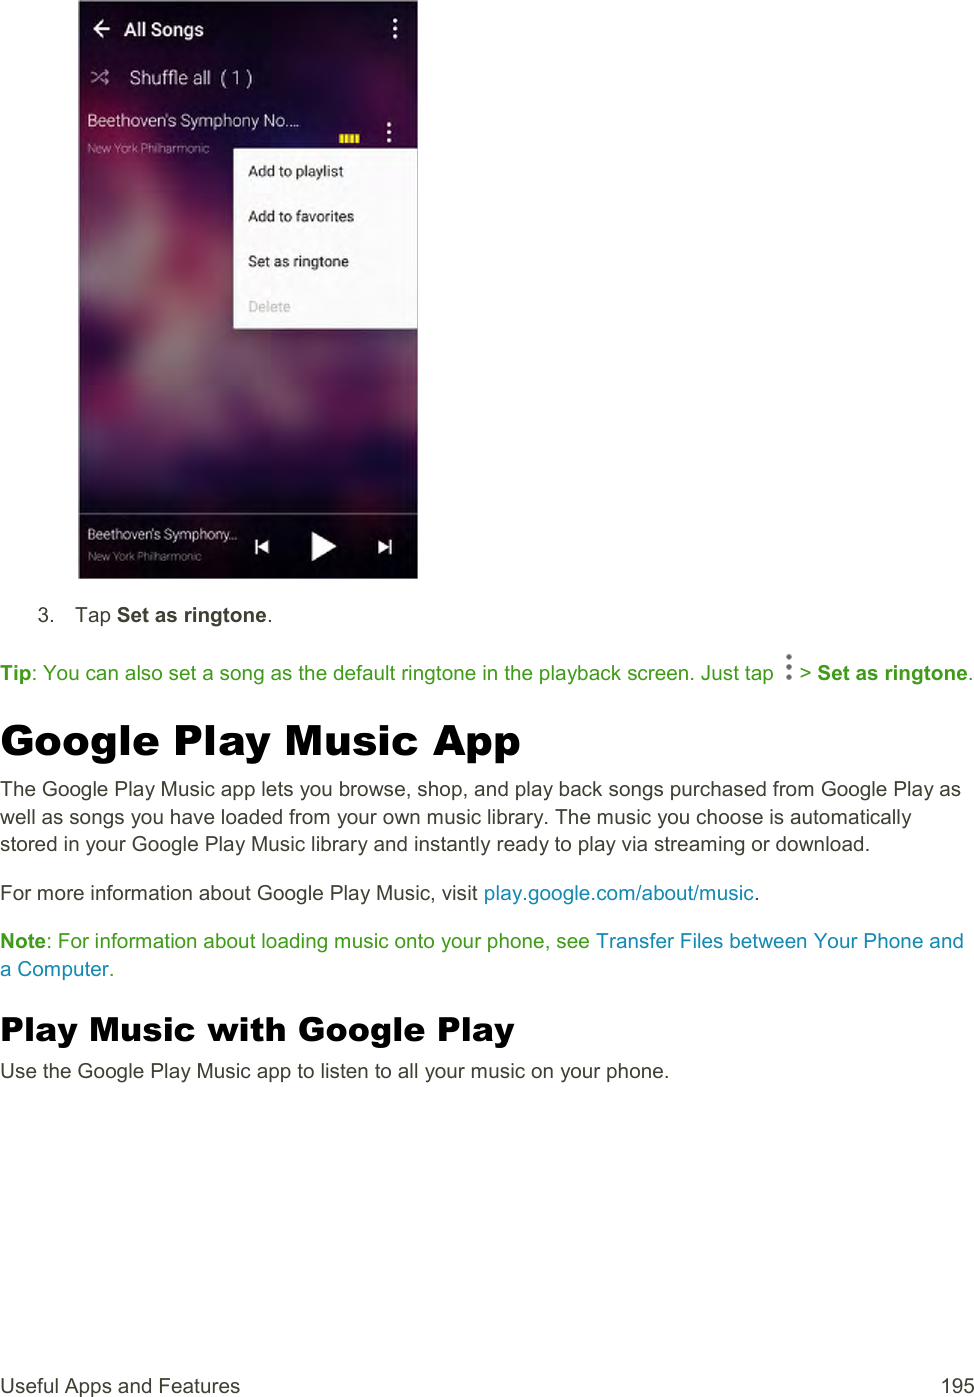
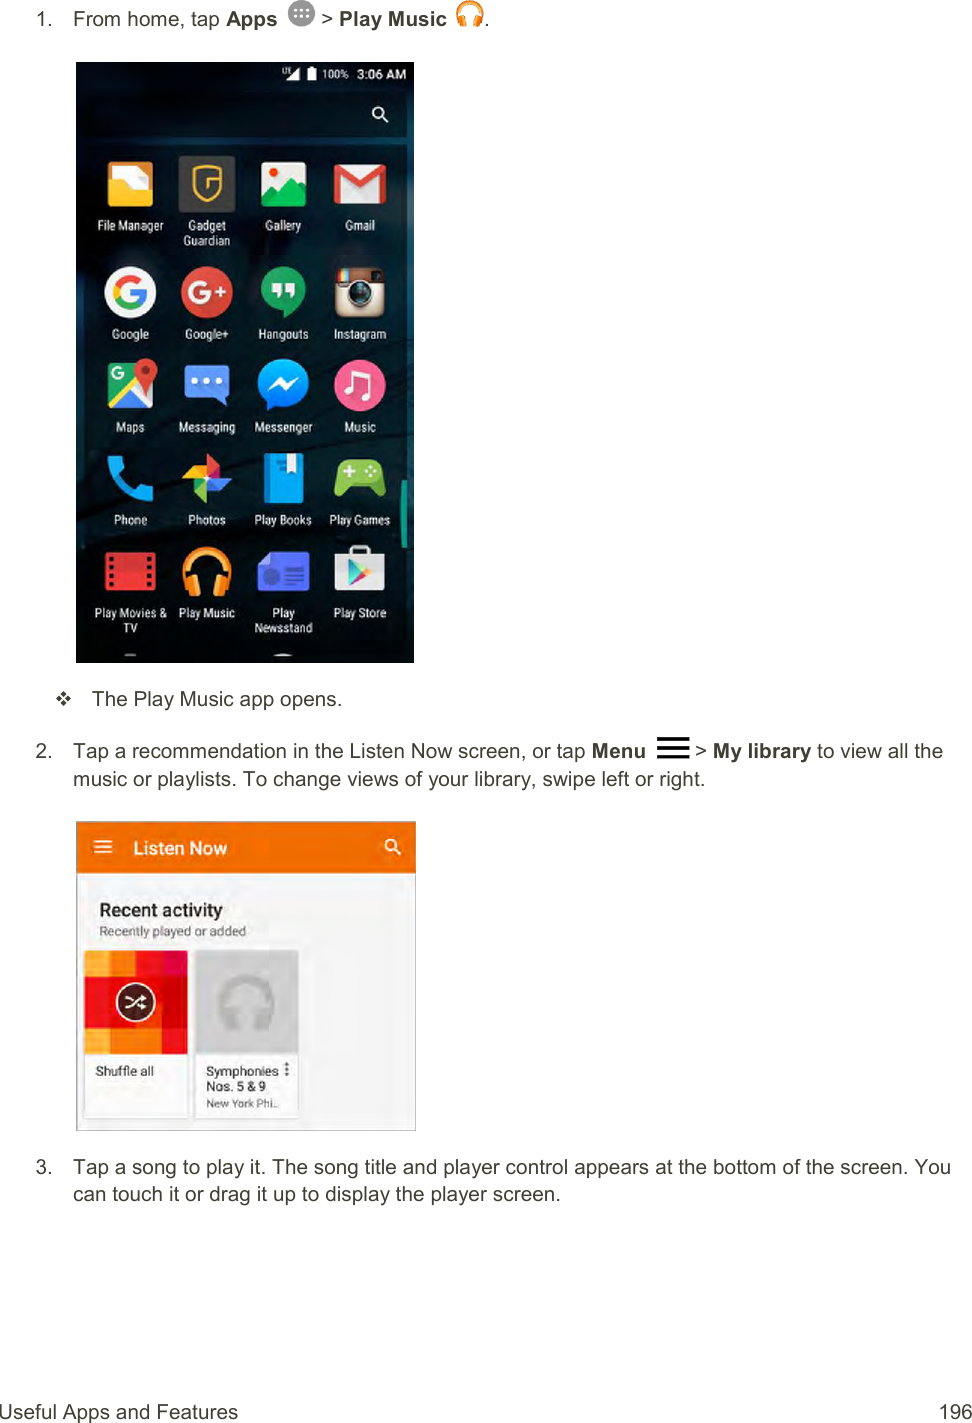
![Important Informationfor the Device Name [FPO FOR PHONE LOGO]](https://usermanual.wiki/ZTE/ZTEN9519/User-Guide-2947536-Page-1.png)

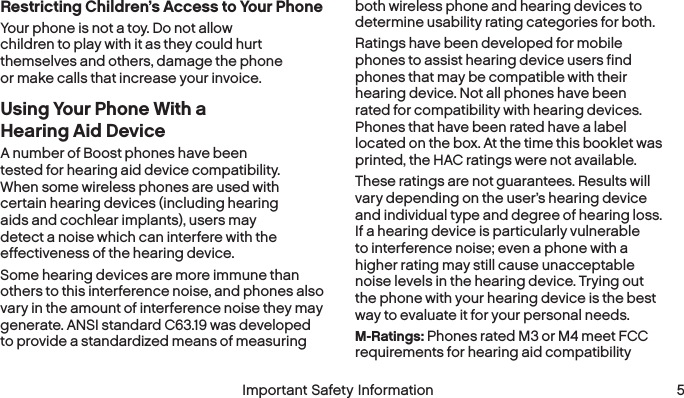
![12 Important Safety Information Important Safety Information 13Note: This equipment has been tested and found to comply with the limits for a Class B digital device, pursuant to Part 15 of the FCC Rules.These limits are designed to provide reasonable protection against harmful interference in a residential installation. This equipment generates, uses and can radiate radio frequency energy and, if not installed and used in accordance with the instructions, may cause harmful interference to radio communications.However, there is no guarantee that interference will not occur in a particular installation.If this equipment does cause harmful interference to radio or television reception, which can be determined by turning the equipment off and on, the user is encouraged to try to correct the interference by one or more of the followingmeasures: +Reorient the direction of the internal antenna. +Increase the separation between the equipment and receiver. +Connect the equipment into an outlet on a circuit different from that to which the receiver isconnected. +Consult the dealer or an experienced radio/TV technician for help.Owner’s RecordThe model number, regulatory number, and serial number are located on a nameplate inside the battery compartment. Record the serial number in the space provided below. This will be helpful if you need to contact us about your phone in thefuture.Model: [device name]Serial No.: User Guide Proprietary NoticeNo part of this publication may be exerpted, reproduced, translated or utilized in any form or by any means, electronic or mechanical,](https://usermanual.wiki/ZTE/ZTEN9519/User-Guide-2947536-Page-12.png)
![12 Important Safety Information Important Safety Information 13including photocopying and microfilm, without the prior written permission of ZTE Corporation.The manual is published by ZTE Corporation. We reserve the right th make modifications on print errors or update specifications without prior notice.LCA AssessmentWe have done an LCA assessment for [device name] using the LCA assessment systems (EIME system) from BV, and have had it peer-reviewed by our Green Product manager who confirms that the LCA test report complies with related standard requirement.](https://usermanual.wiki/ZTE/ZTEN9519/User-Guide-2947536-Page-13.png)


![44 General Terms and Conditions of Service effective 7-1-13that requirement. Except as the Agreement specifically provides otherwise, if any part of the Agreement is held invalid or unenforceable, the rest of this Agreement remains in full force and effect. This Agreement isn’t for the benefit of any third party except our corporate parents, affiliates, subsidiaries, agents, and predecessors and successors in interest. You can’t assign the Agreement or any of your rights or duties under it unless we agree to the assignment. We can assign the Agreement without notice. You cannot in any manner resell Devices or Services to another party. You cannot export any Device. The Agreement and the documents it incorporates make up the entire agreement between us and replaces all prior written or spoken agreements—you can’t rely on any contradictory documents or statements by sales or service representatives. The rights, obligations, and commitments in the Agreement that—by their nature—would logically continue beyond the termination of Services (for example, those relating to billing, payment, 911, dispute resolution, no class action, no jury trial) survive termination of Services.[End General Terms and Conditions of Service]](https://usermanual.wiki/ZTE/ZTEN9519/User-Guide-2947536-Page-44.png)
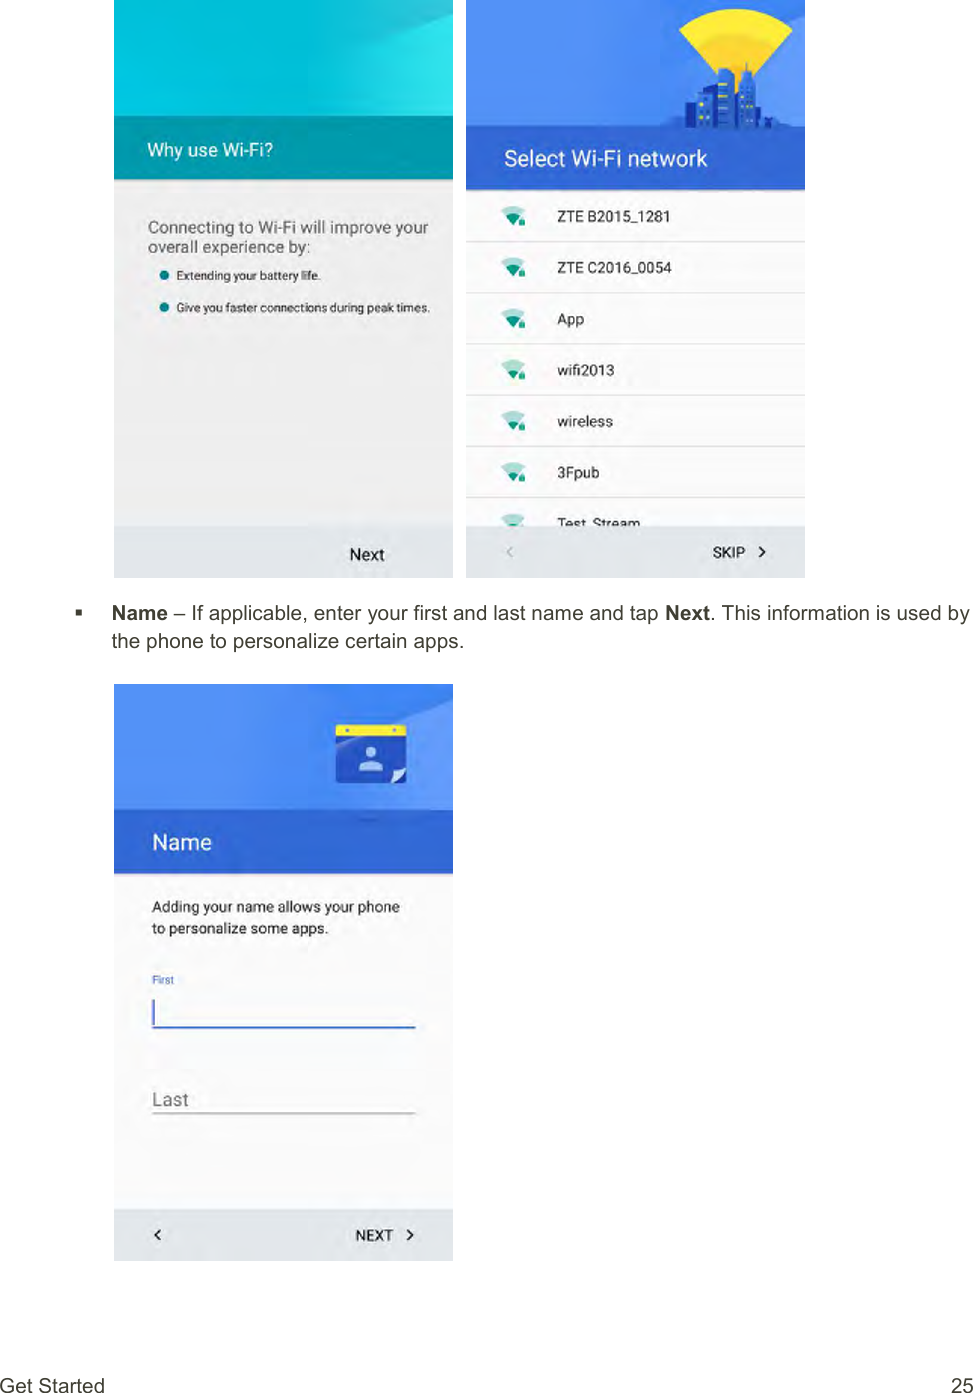
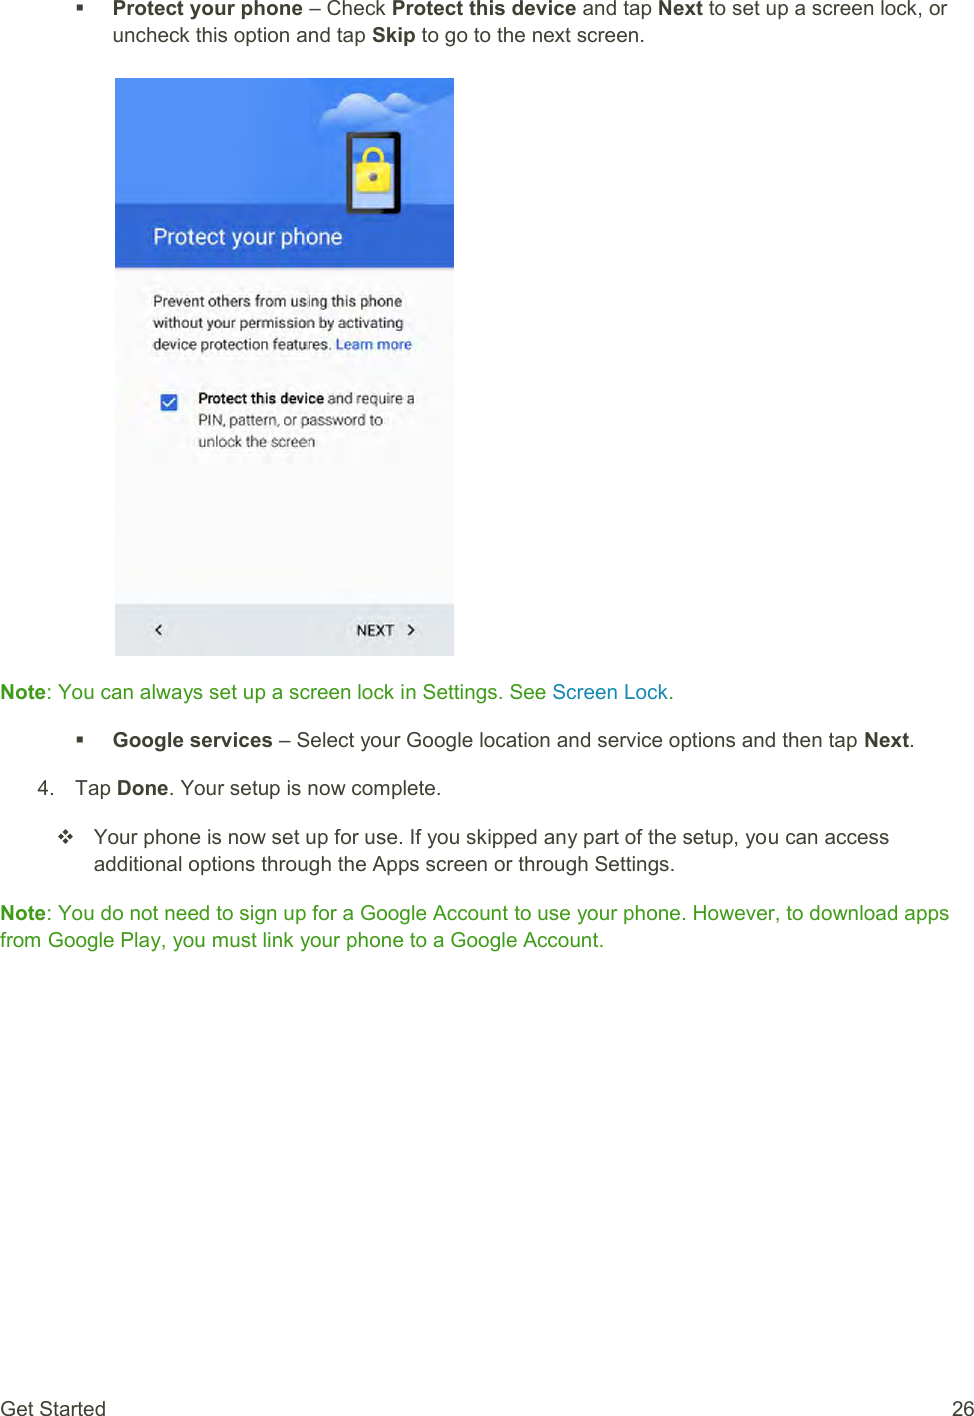
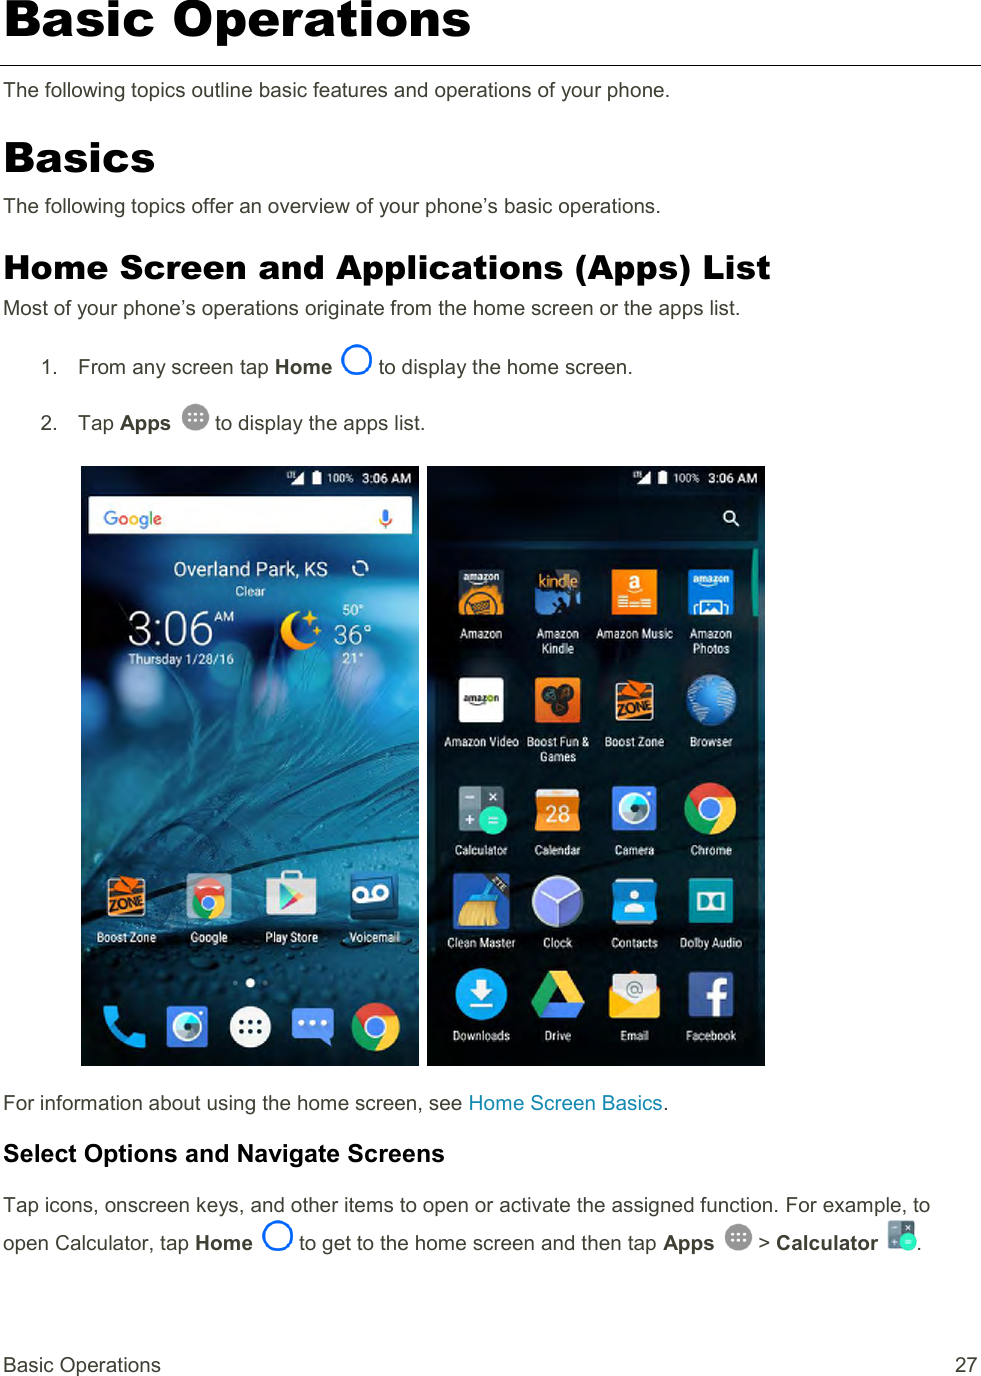
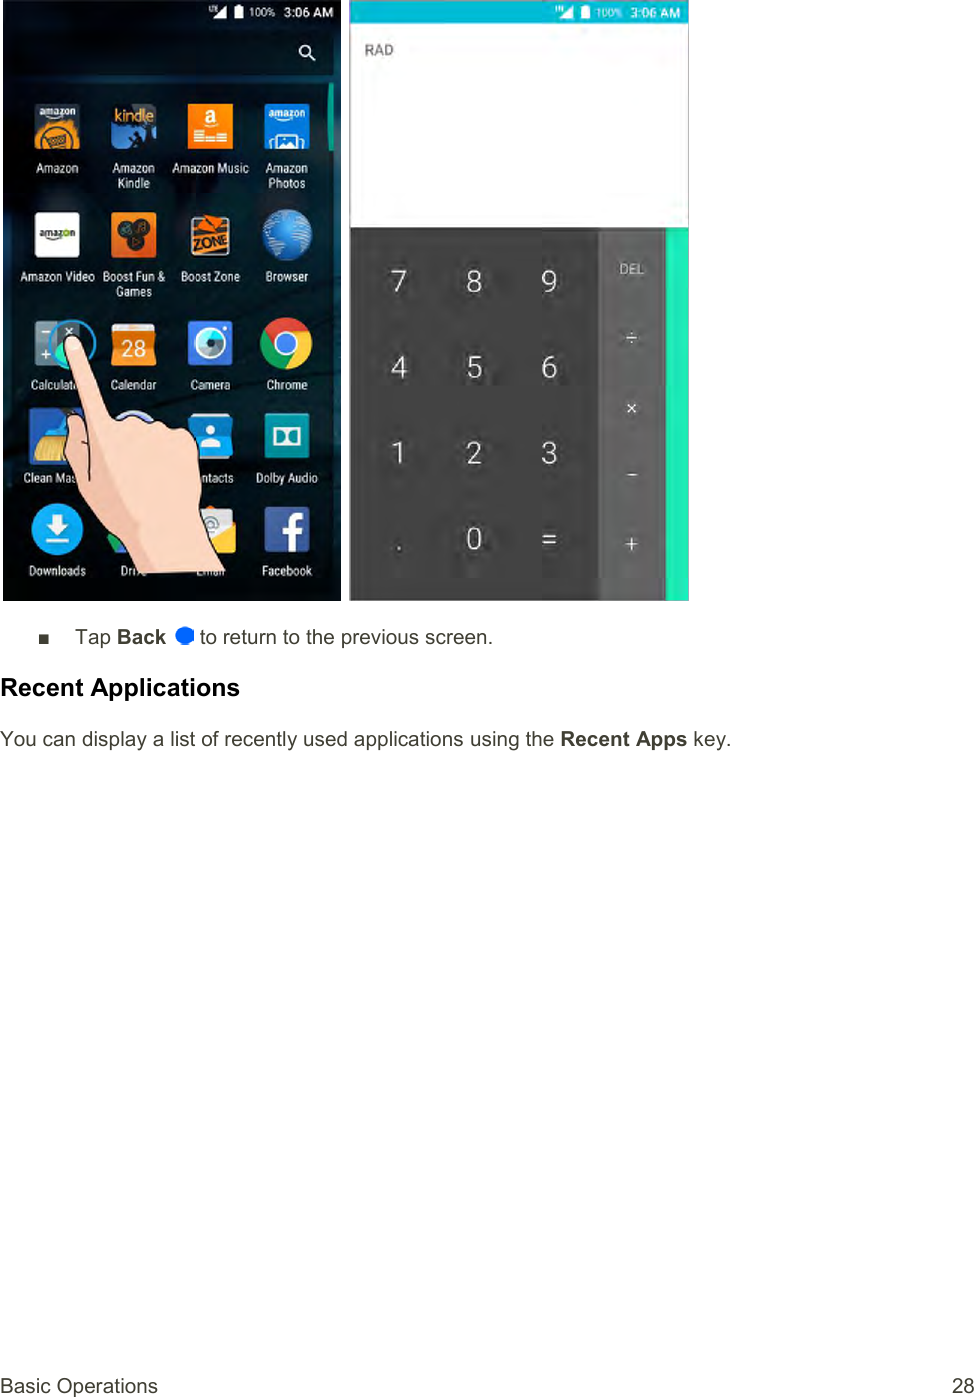
![User Guide [UG template version 15b] [boost_zte_N9519_ug_en_030116_d3]](https://usermanual.wiki/ZTE/ZTEN9519/User-Guide-2947536-Page-46.png)