ZyXEL Communications MAX200M1 WiMAX IEEE802.16e Indoor Basic CPE-2.5GHz User Manual ZyBook
ZyXEL Communications Corporation WiMAX IEEE802.16e Indoor Basic CPE-2.5GHz ZyBook
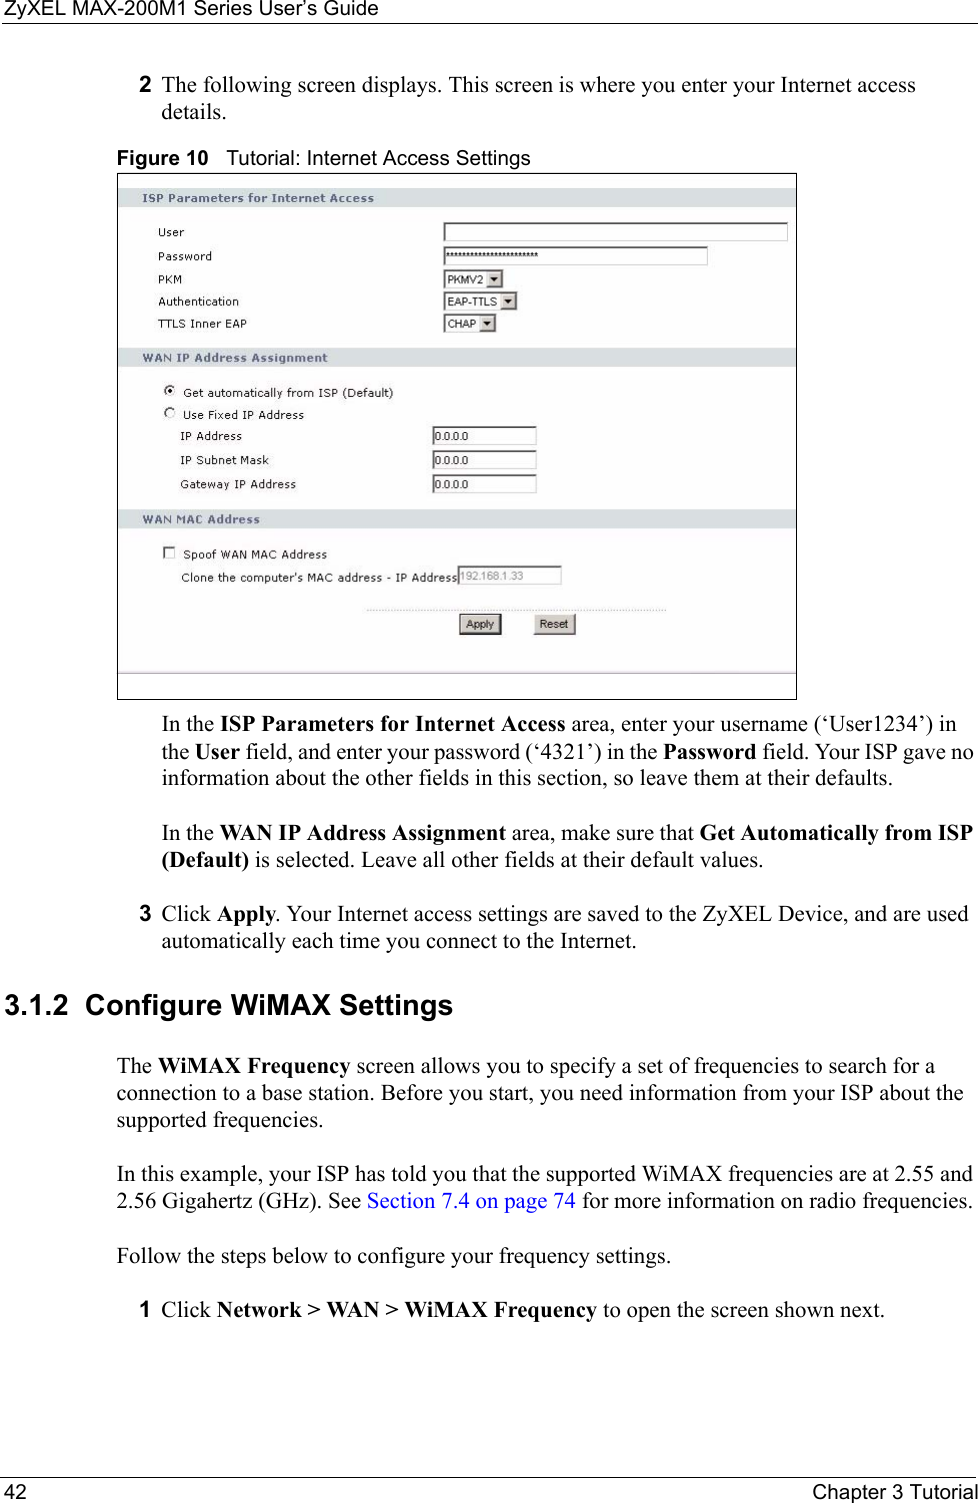
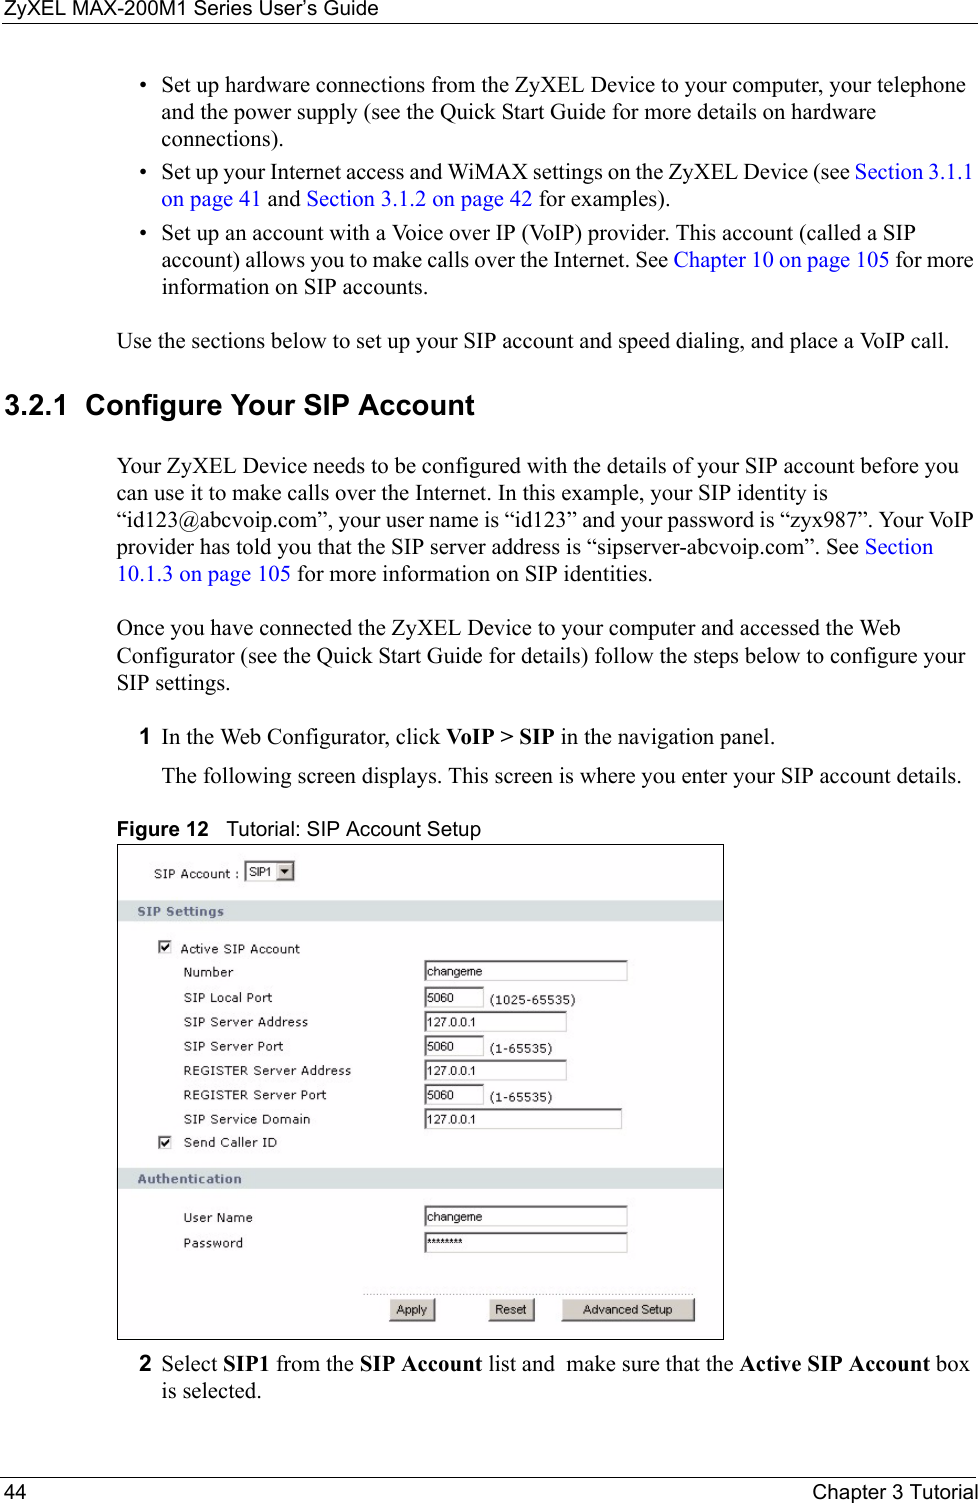
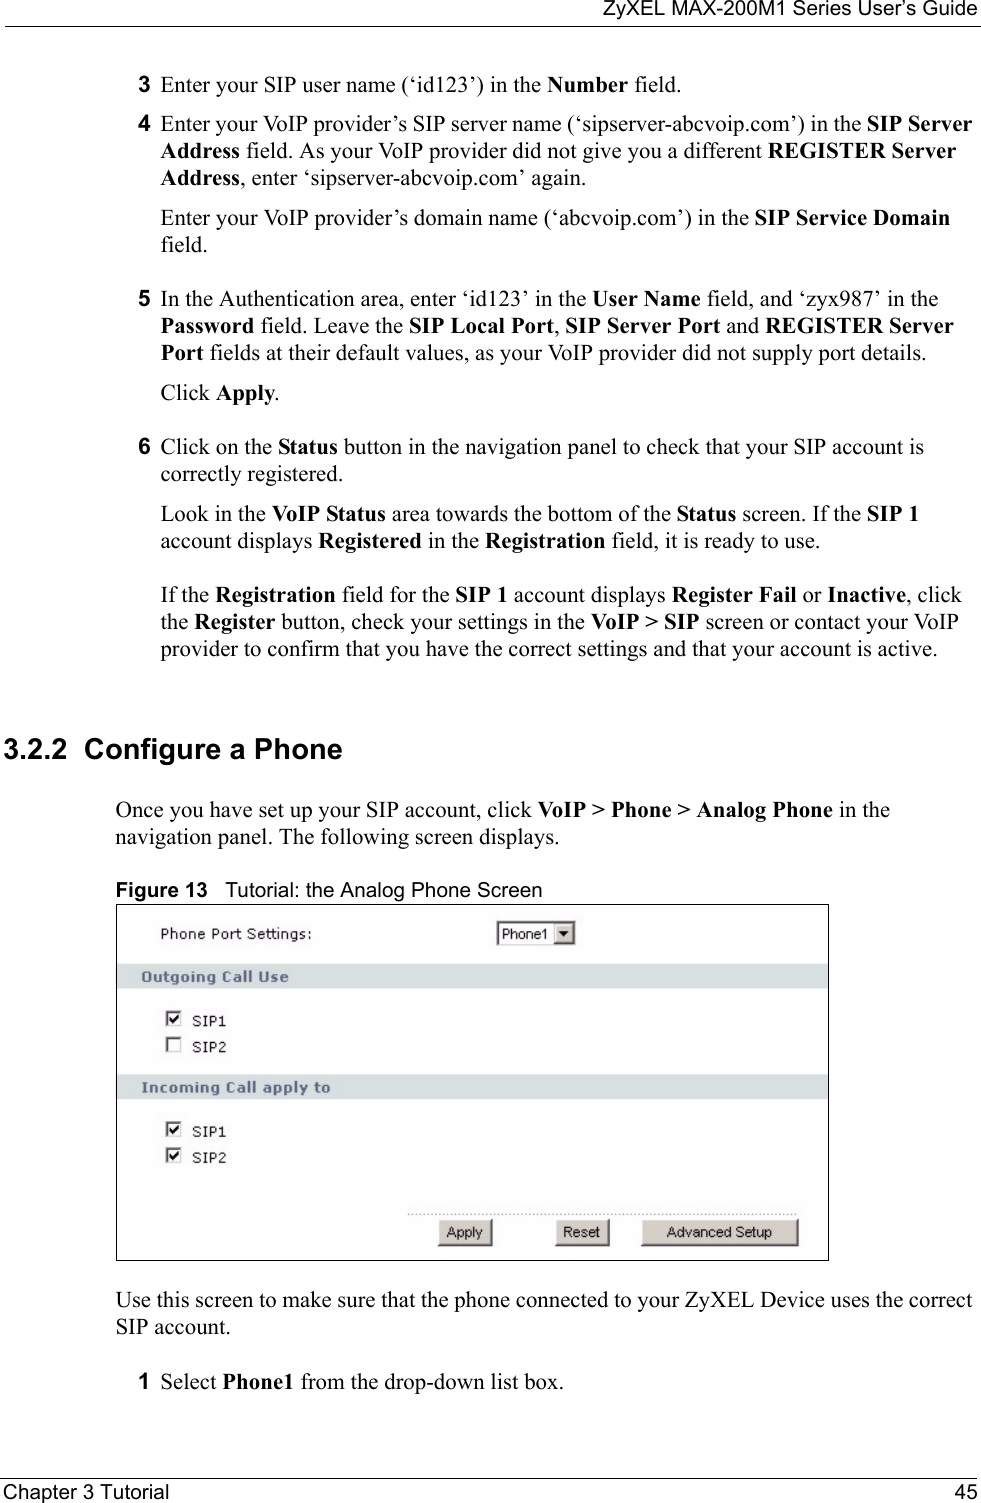
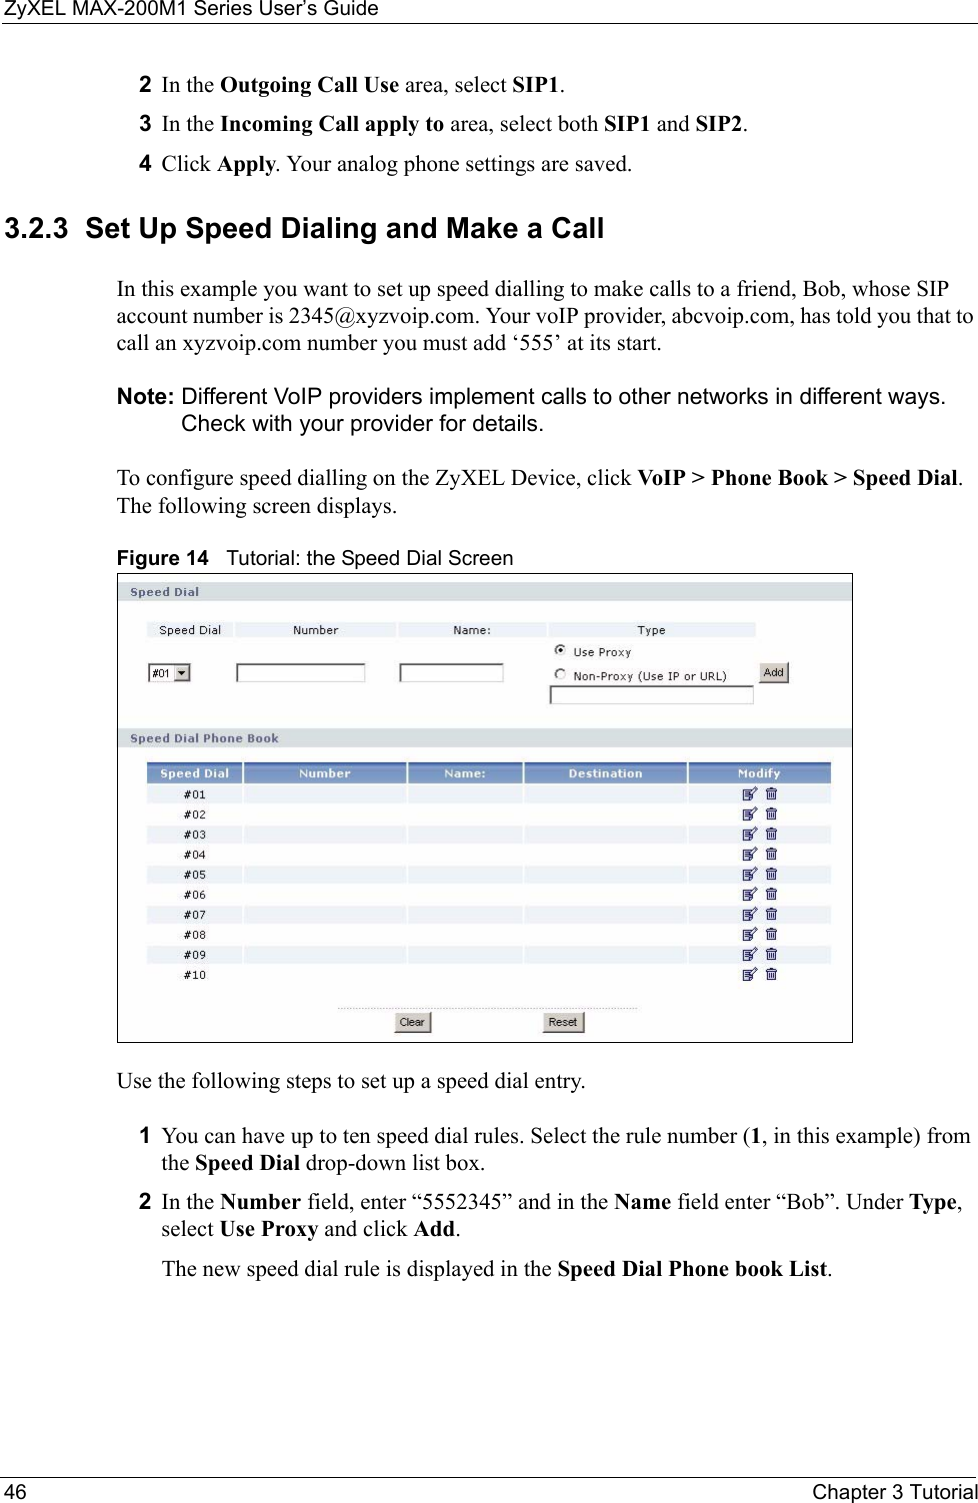
Contents
- 1. User manual1
- 2. User manual2
- 3. User manual3
- 4. User manual4
User manual1

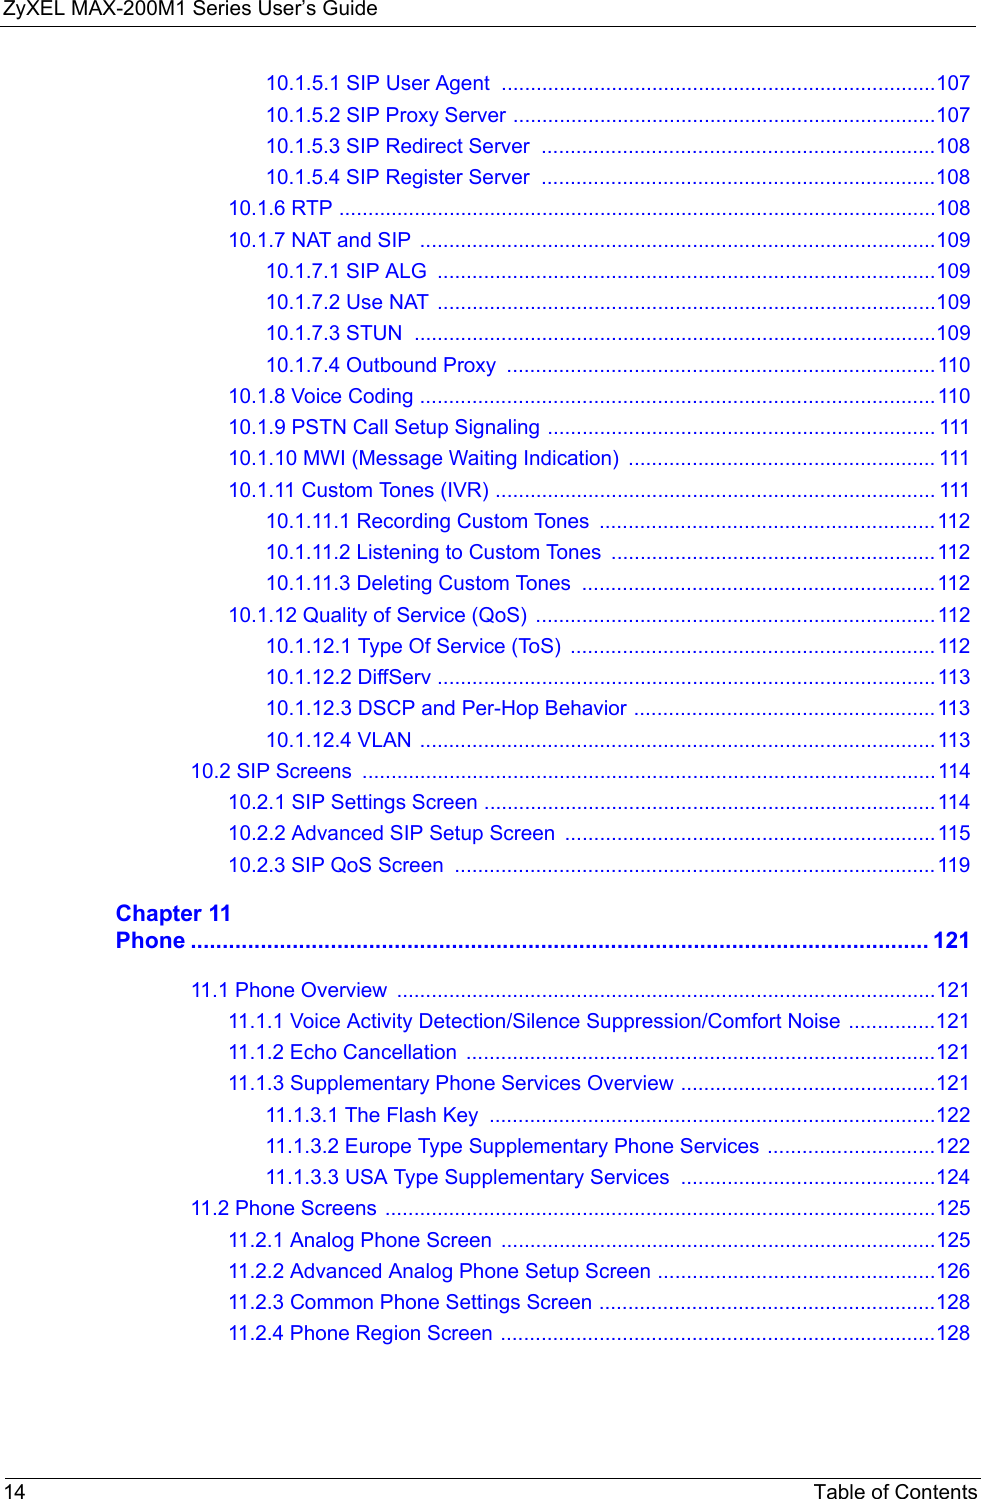

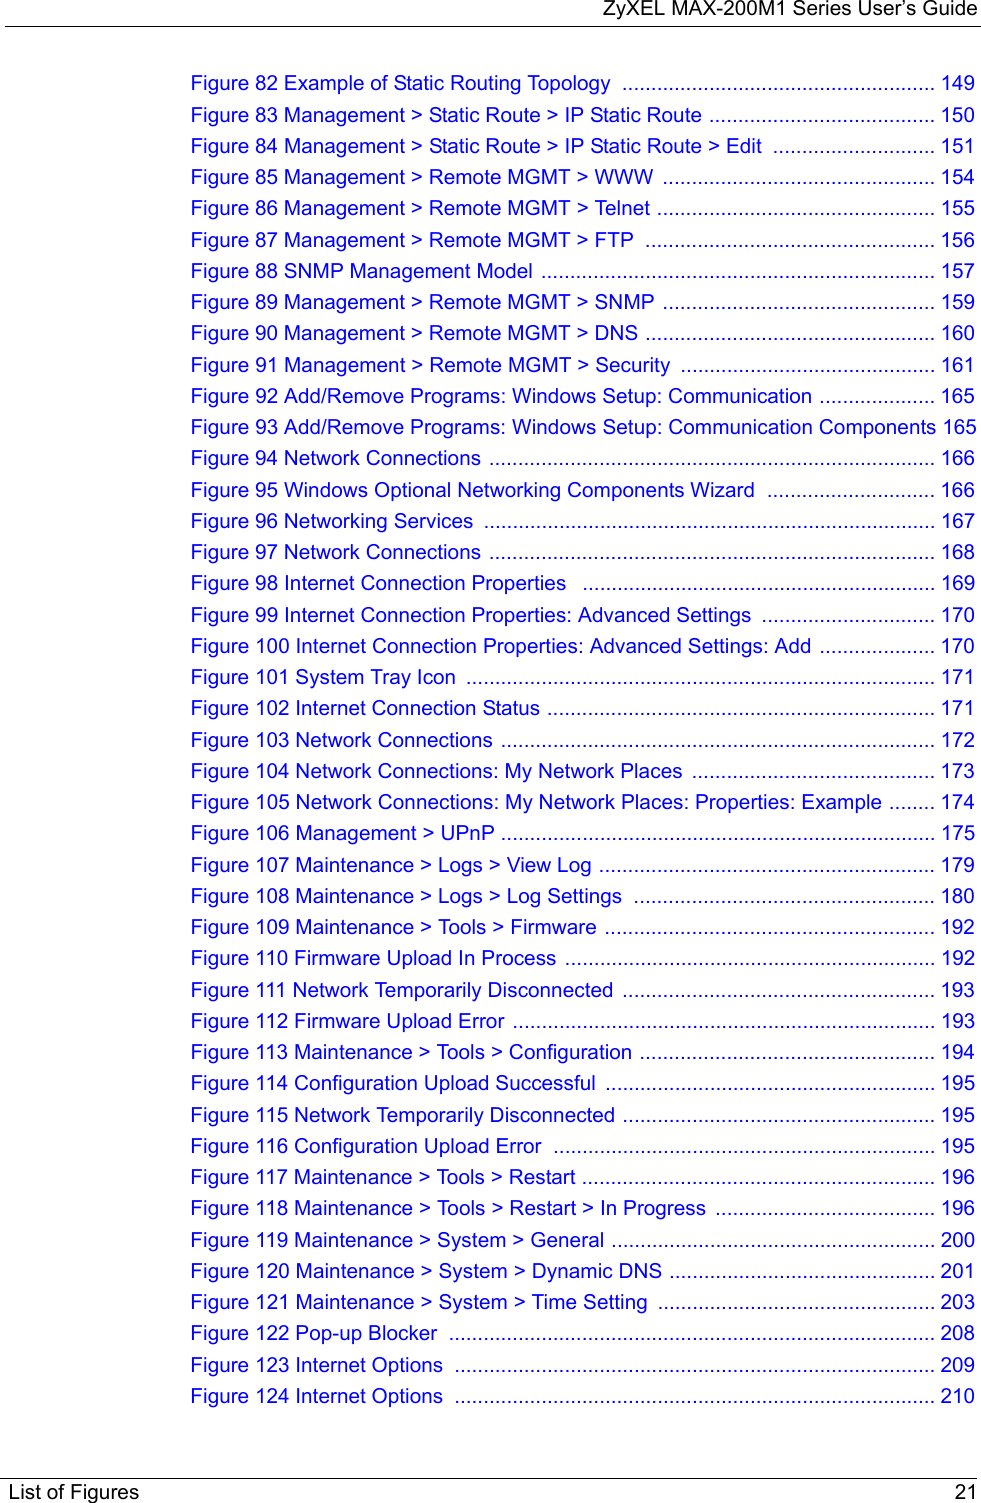


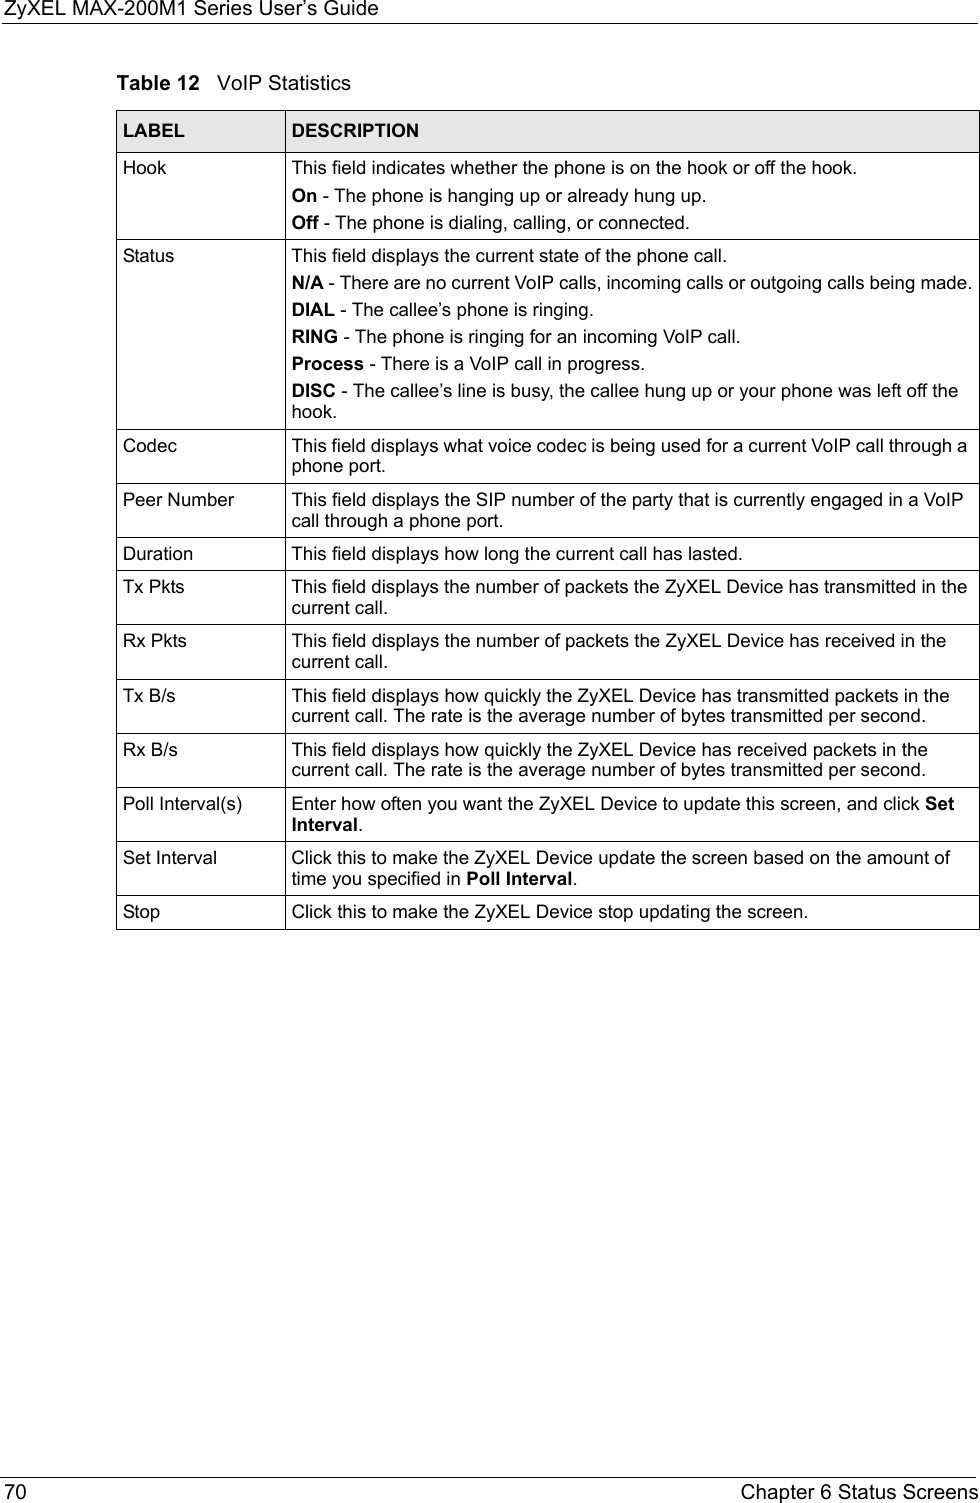
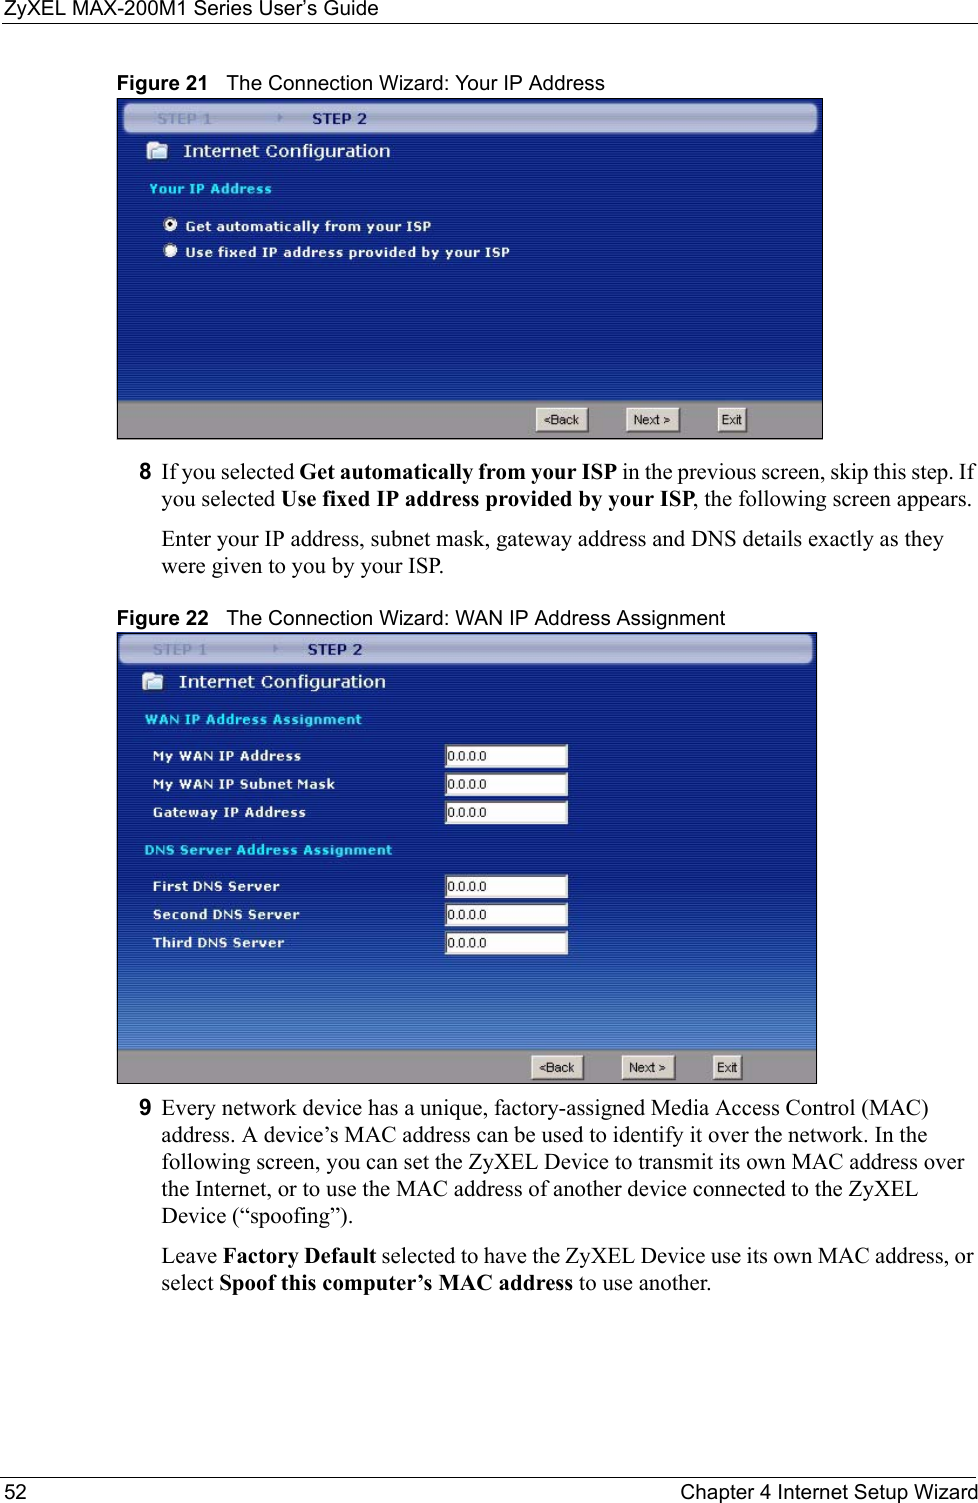
![ZyXEL MAX-200M1 Series User’s GuideChapter 3 Tutorial 43Figure 11 Tutorial: WiMAX Frequency Setup2Enter the frequency settings your ISP gave you in the DL Frequency fields. Note that these fields are in kilohertz (kHz). 2.55 GHz is equal to 2550000 kHz, so enter 2550000 in the DL Frequency [0] field.2.56 GHz is equal to 2560000 kHZ, so enter 2560000 in the DL Frequency [1] field.3Click Apply to save your settings. The ZyXEL Device scans for an available wireless connection at the DL Frequency [0] setting (2.55 GHz) and, if it does not find an available connection, searches at the DL Frequency [1] setting (2.56 GHz). When it finds an available connection, the fields in this screen will be automatically set to use that frequency.For an example of using the WiMAX Frequency screen to configure more frequencies, see Section 7.4.2.1 on page 77.4Look at the LEDs on your ZyXEL Device. When the ZyXEL Device successfully connects to a base station, the LINK LED shines green steadily. The SIGNAL 1 ~ 5 LEDs indicate the signal strength, with SIGNAL 5 showing a very strong signal and SIGNAL 1 showing a very weak signal.5Open your Internet browser and enter http://www.zyxel.com or the URL of any other web site in the address bar. If you are able to access the web site, your wireless connection is successfully configured. If you cannot access the web site, check the Troubleshooting section of this User's Guide.3.2 Make a Telephone Call Over the InternetTo make a call over the Internet using the ZyXEL Device, first do the following things:](https://usermanual.wiki/ZyXEL-Communications/MAX200M1.User-manual1/User-Guide-903012-Page-43.png)


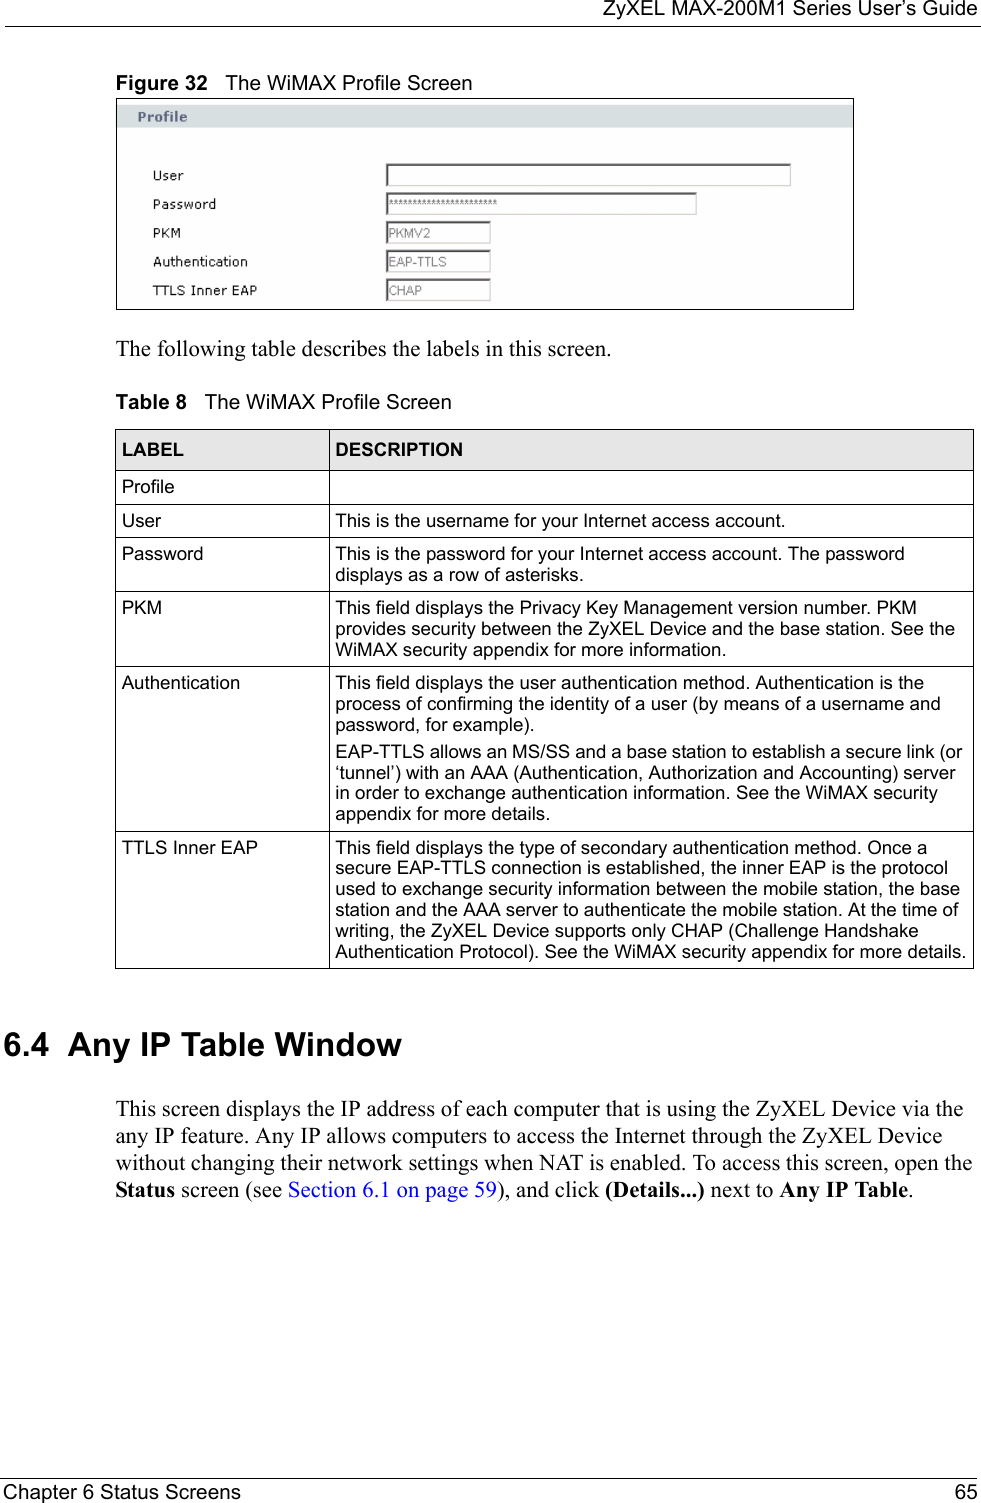
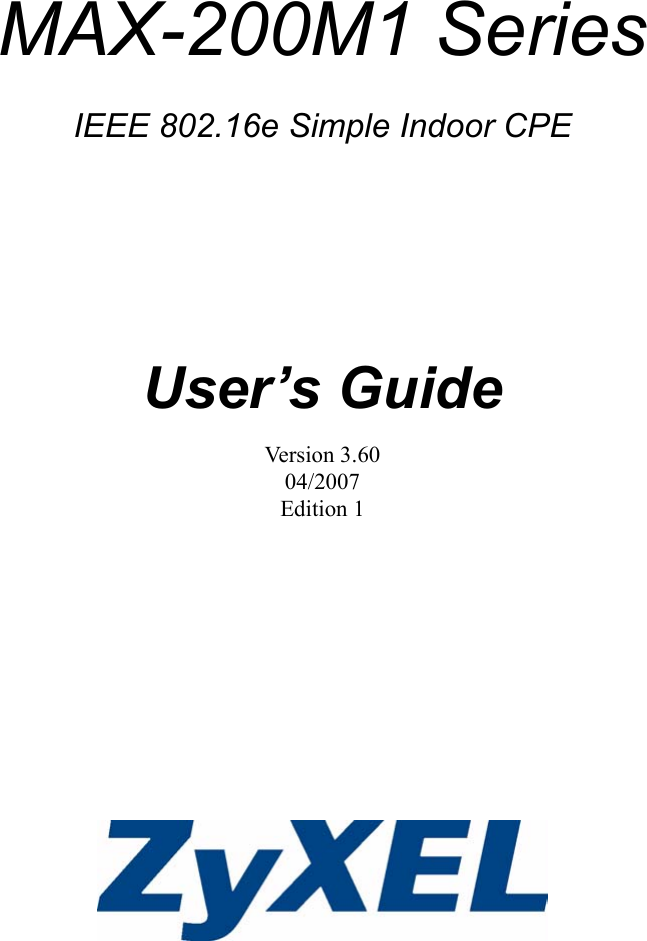
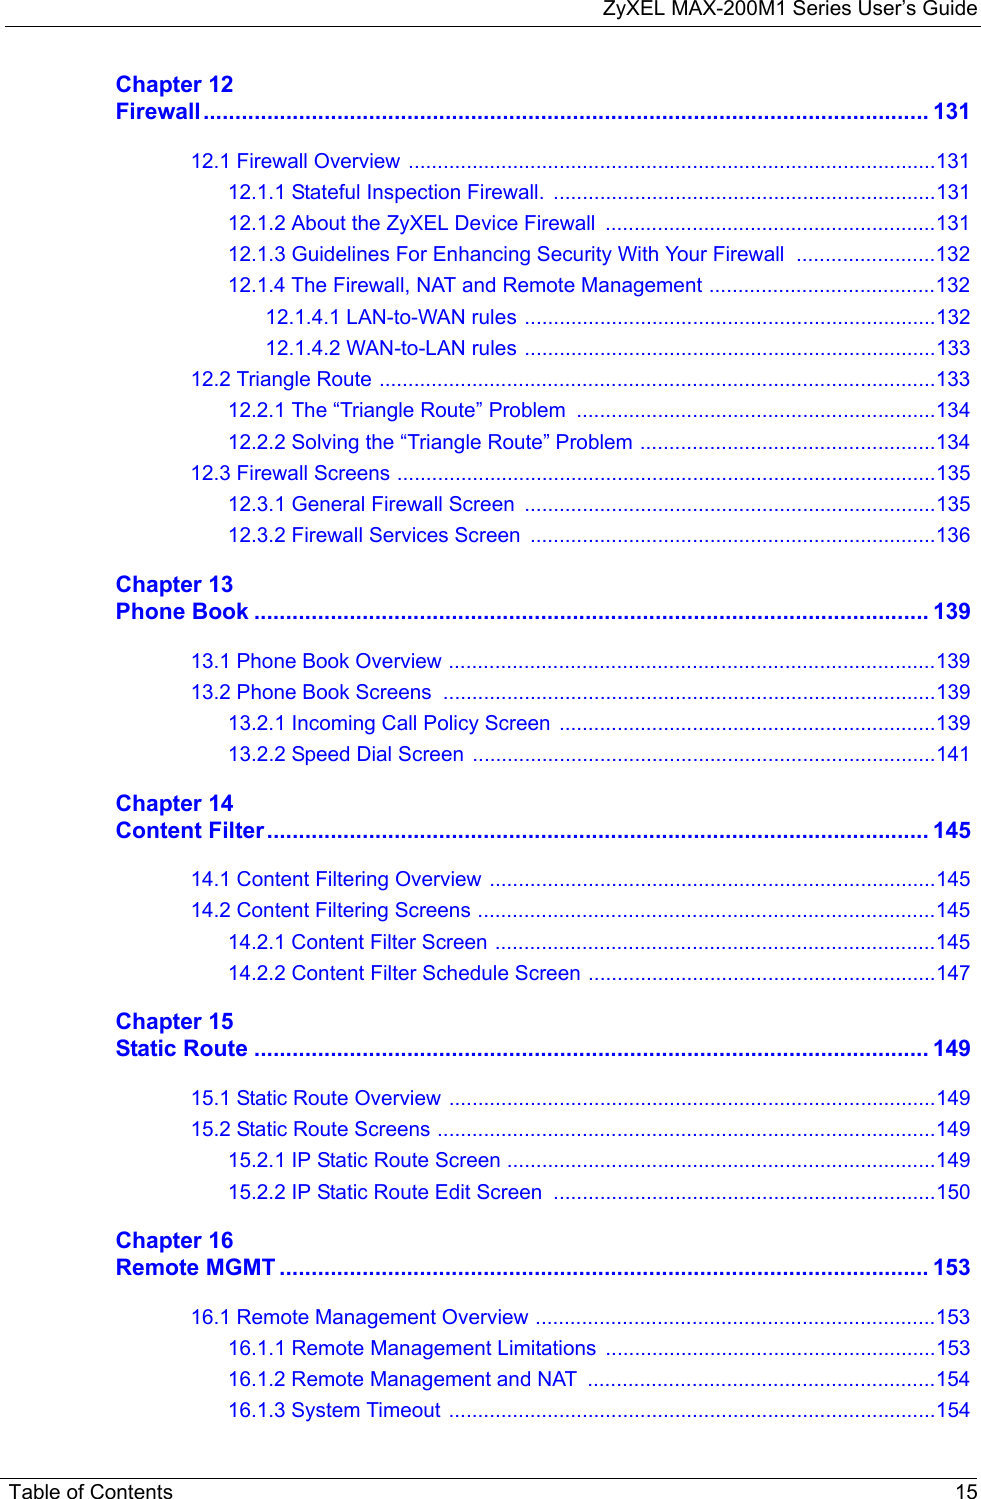
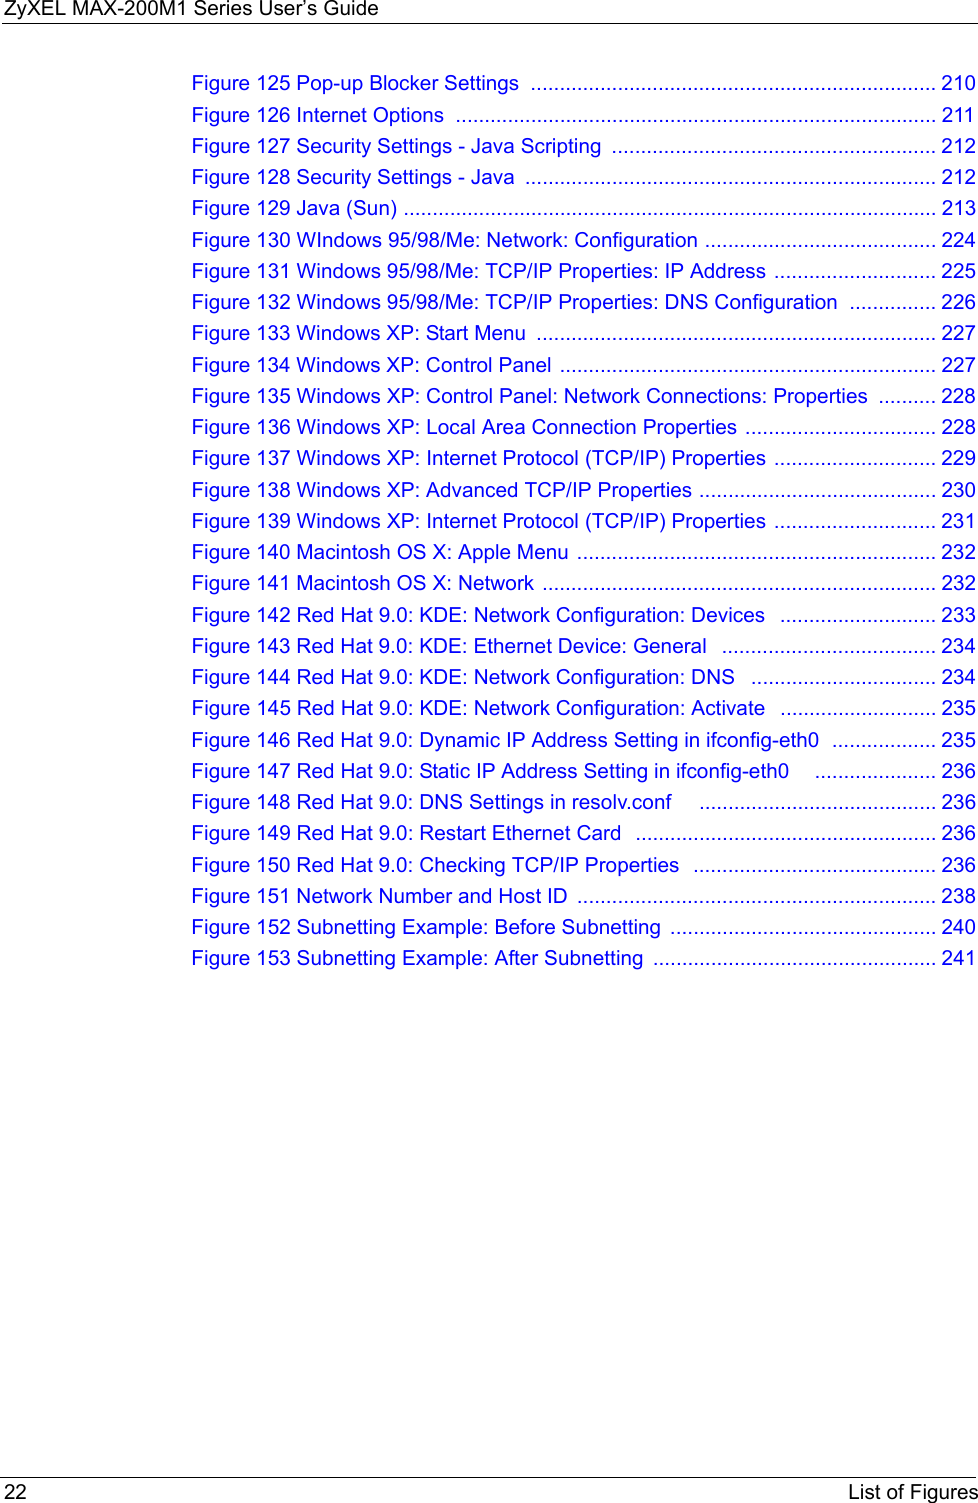
![ZyXEL MAX-200M1 Series User’s Guide64 Chapter 6 Status ScreensFigure 31 The Site Information ScreenThe following table describes the labels in this screen. 6.3 ProfileClick Status > Profile to view this screen. This read-only screen displays information about the security settings you are using. To configure these settings, go to the Network > WAN > Internet Connection screen.Table 7 The Site Information ScreenLABEL DESCRIPTIONSite InformationDL Frequency[0] ~ [9]These fields show the downlink frequency settings in kilohertz (kHz). These settings determine how the ZyXEL Device searches for an available wireless connection. See Section 7.4 on page 74 for more information.](https://usermanual.wiki/ZyXEL-Communications/MAX200M1.User-manual1/User-Guide-903012-Page-64.png)