ZyXEL Communications NBG4615 Wireless N Gigabit NetUSB Router User Manual 2
ZyXEL Communications Corporation Wireless N Gigabit NetUSB Router 2
UserManual.wiki
>
ZyXEL Communications
>
NBG4615 User Manual
>
User manual -2
Contents
1.
User manual -1
2.
User manual -2
3.
User manual -3
User manual -2
Navigation menu
Upload a User Manual
Namespaces
Wiki Guide
HTML
PDF
Info
Views
User Manual
Discussion / Help
Navigation
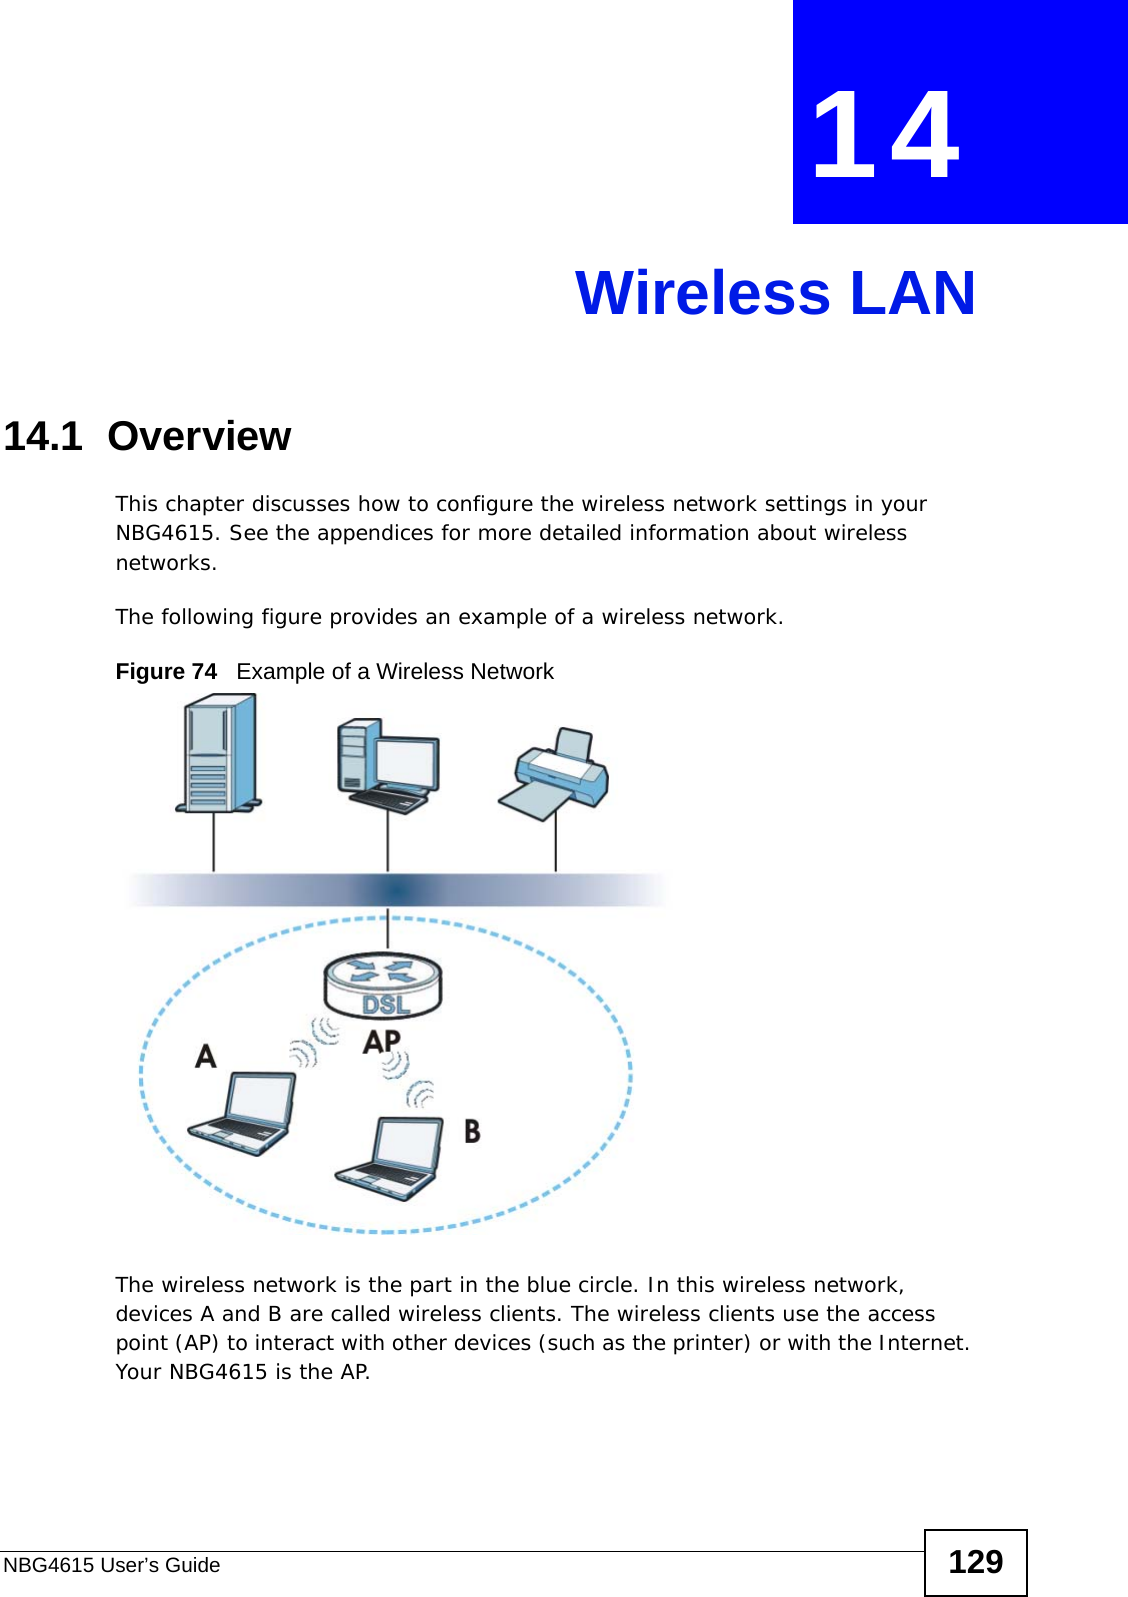
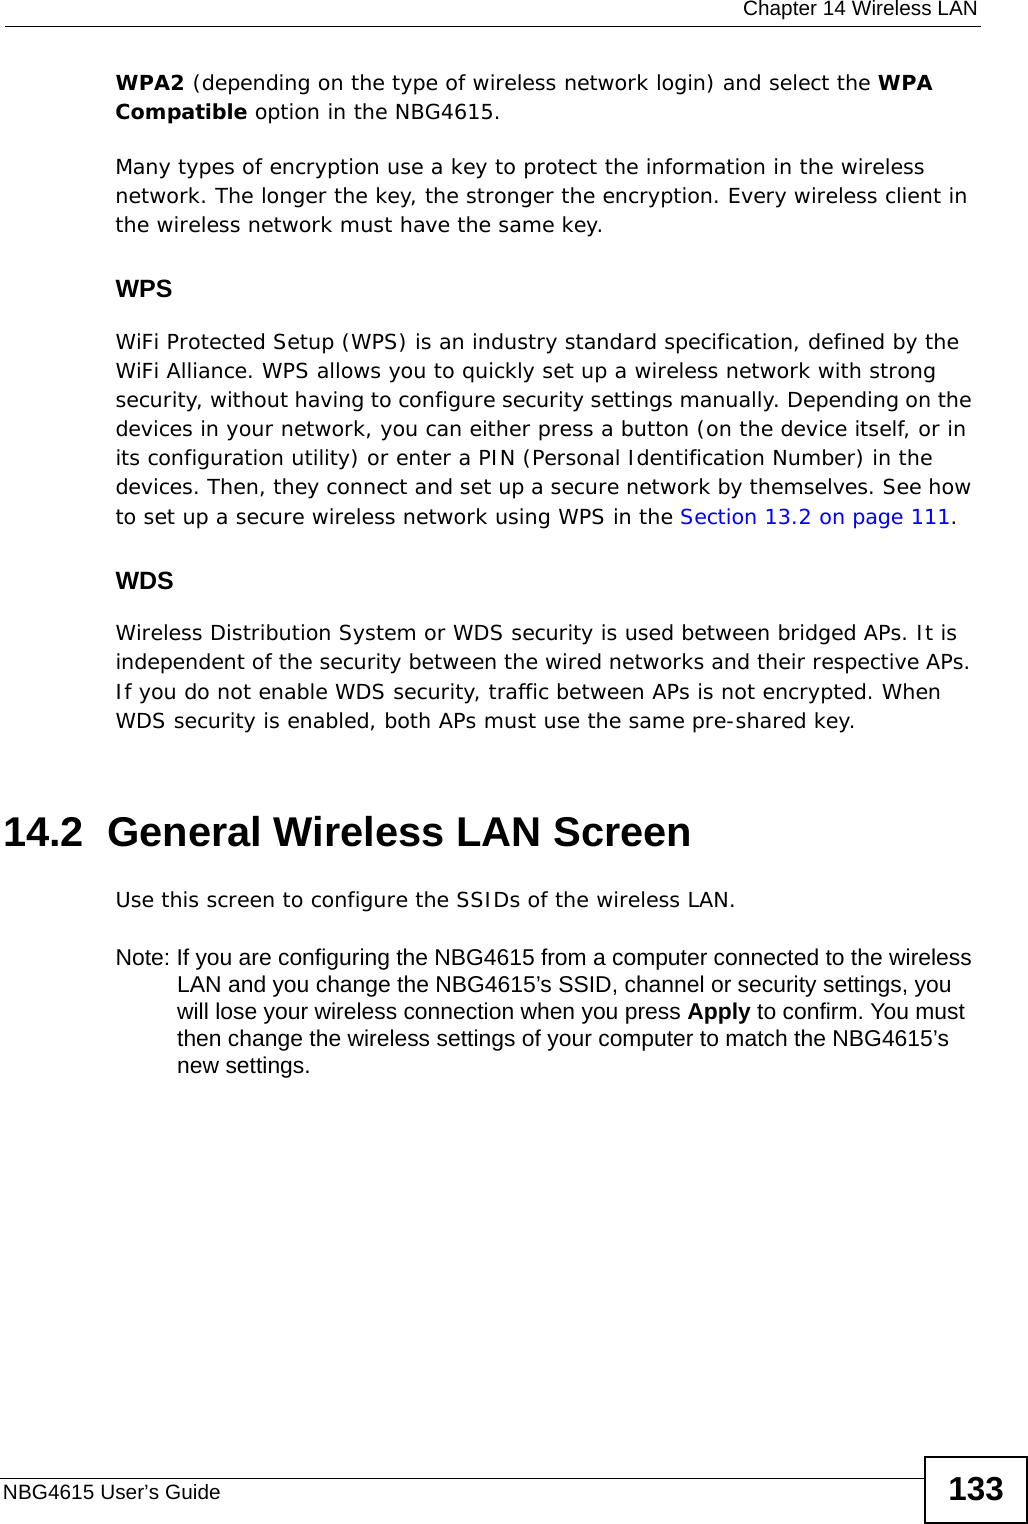
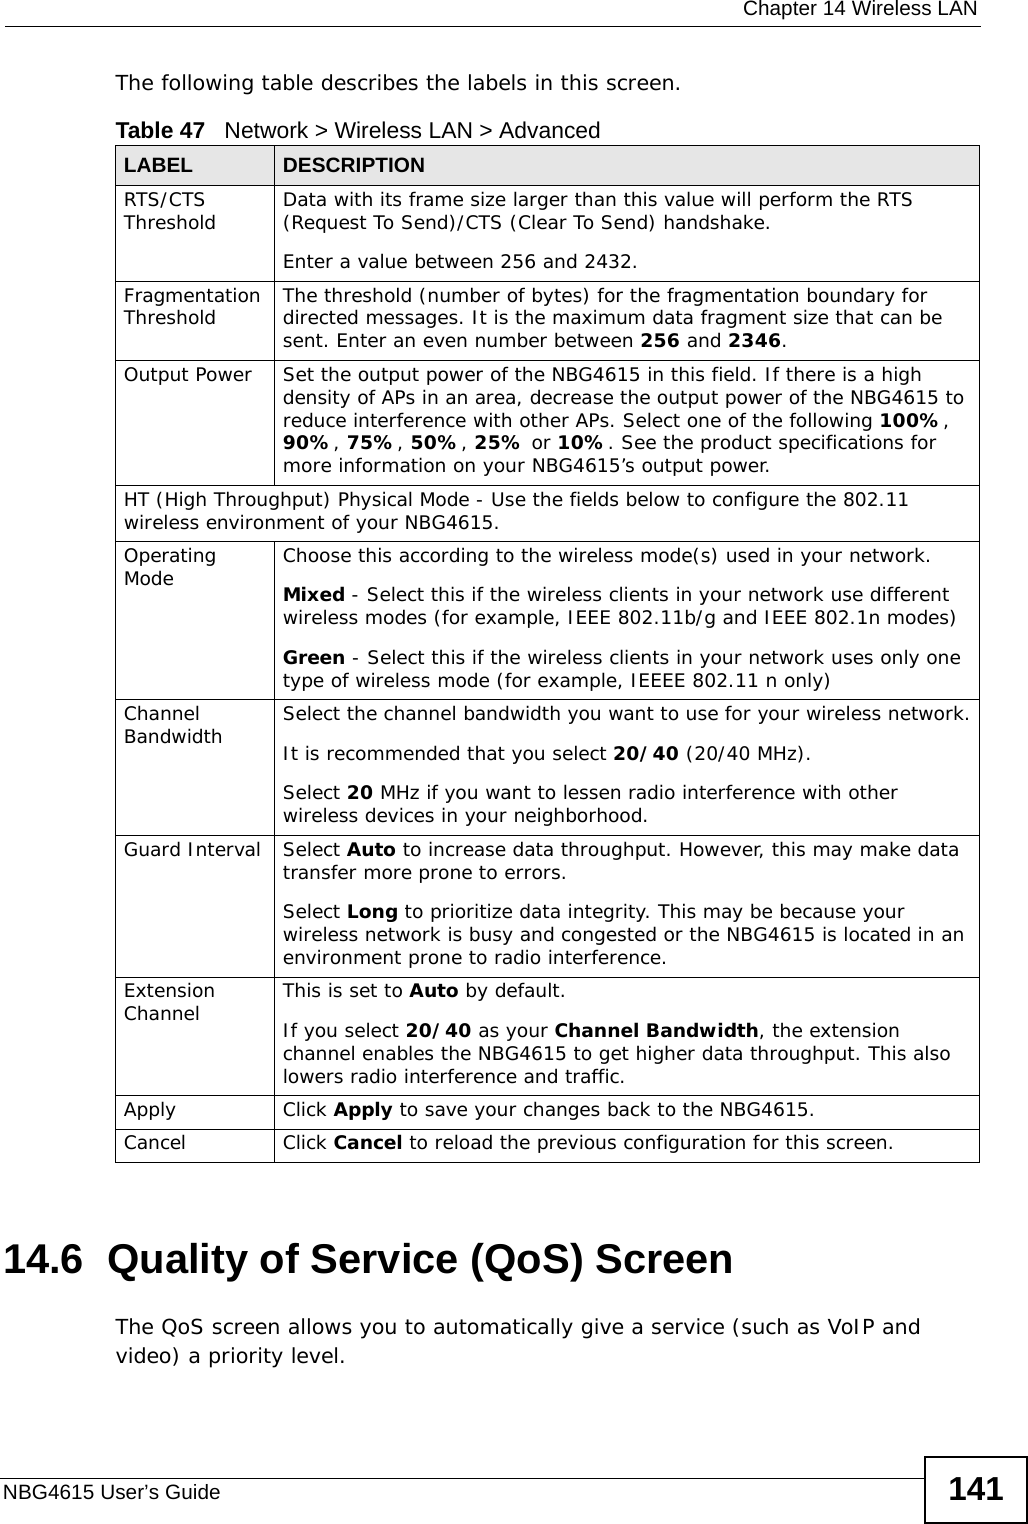
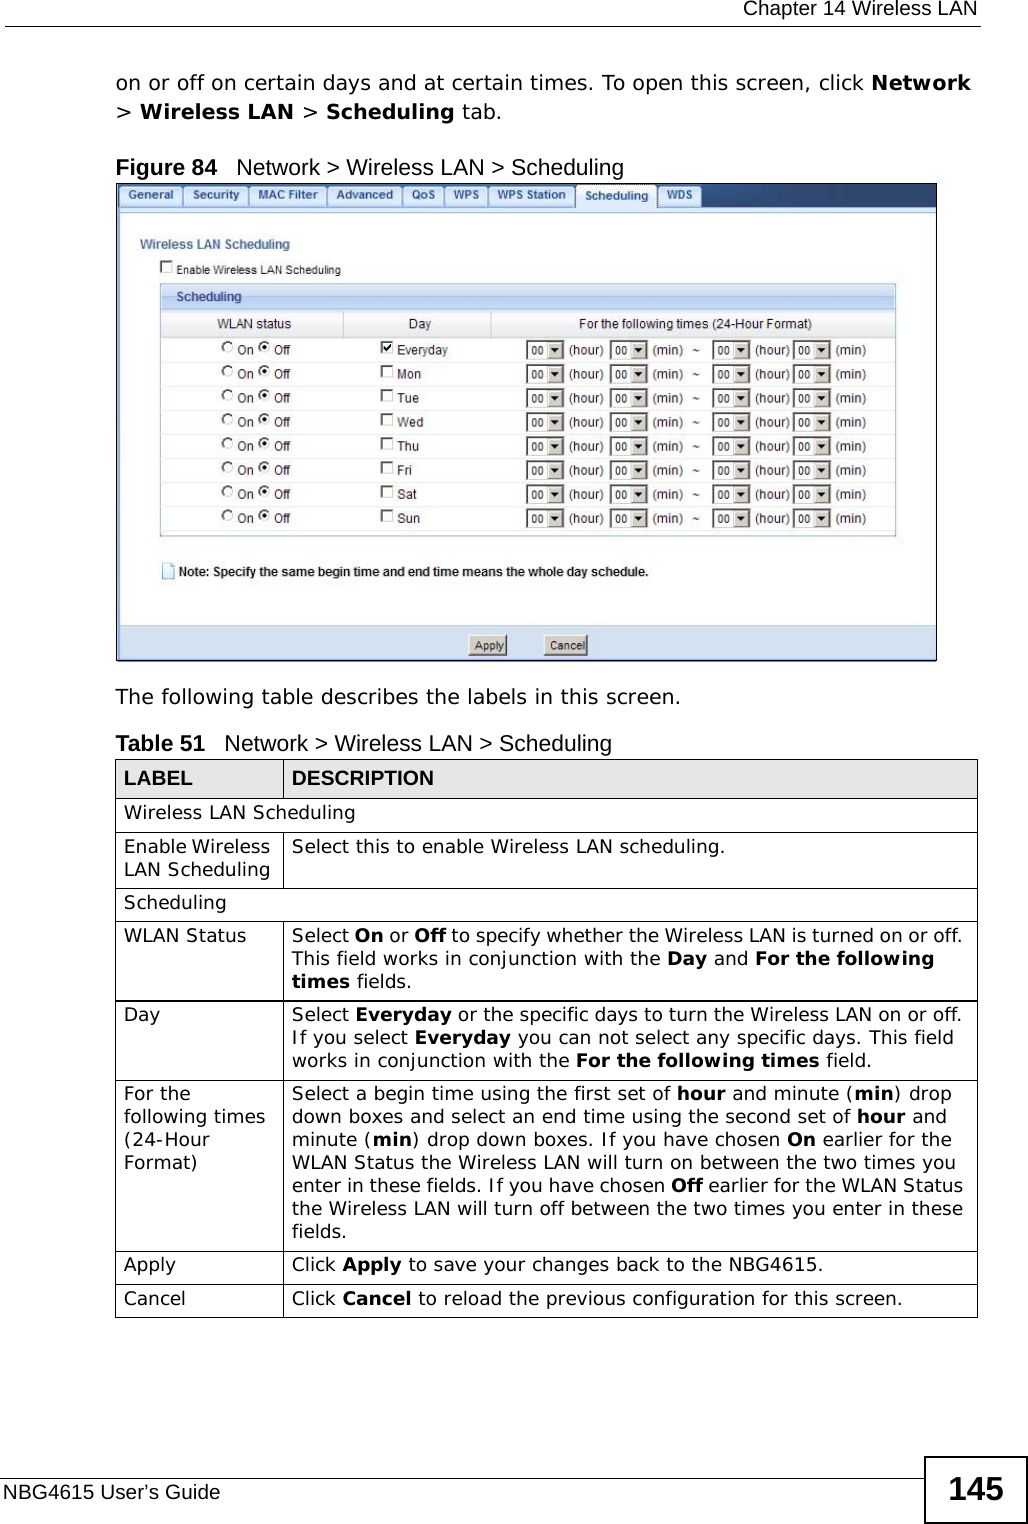

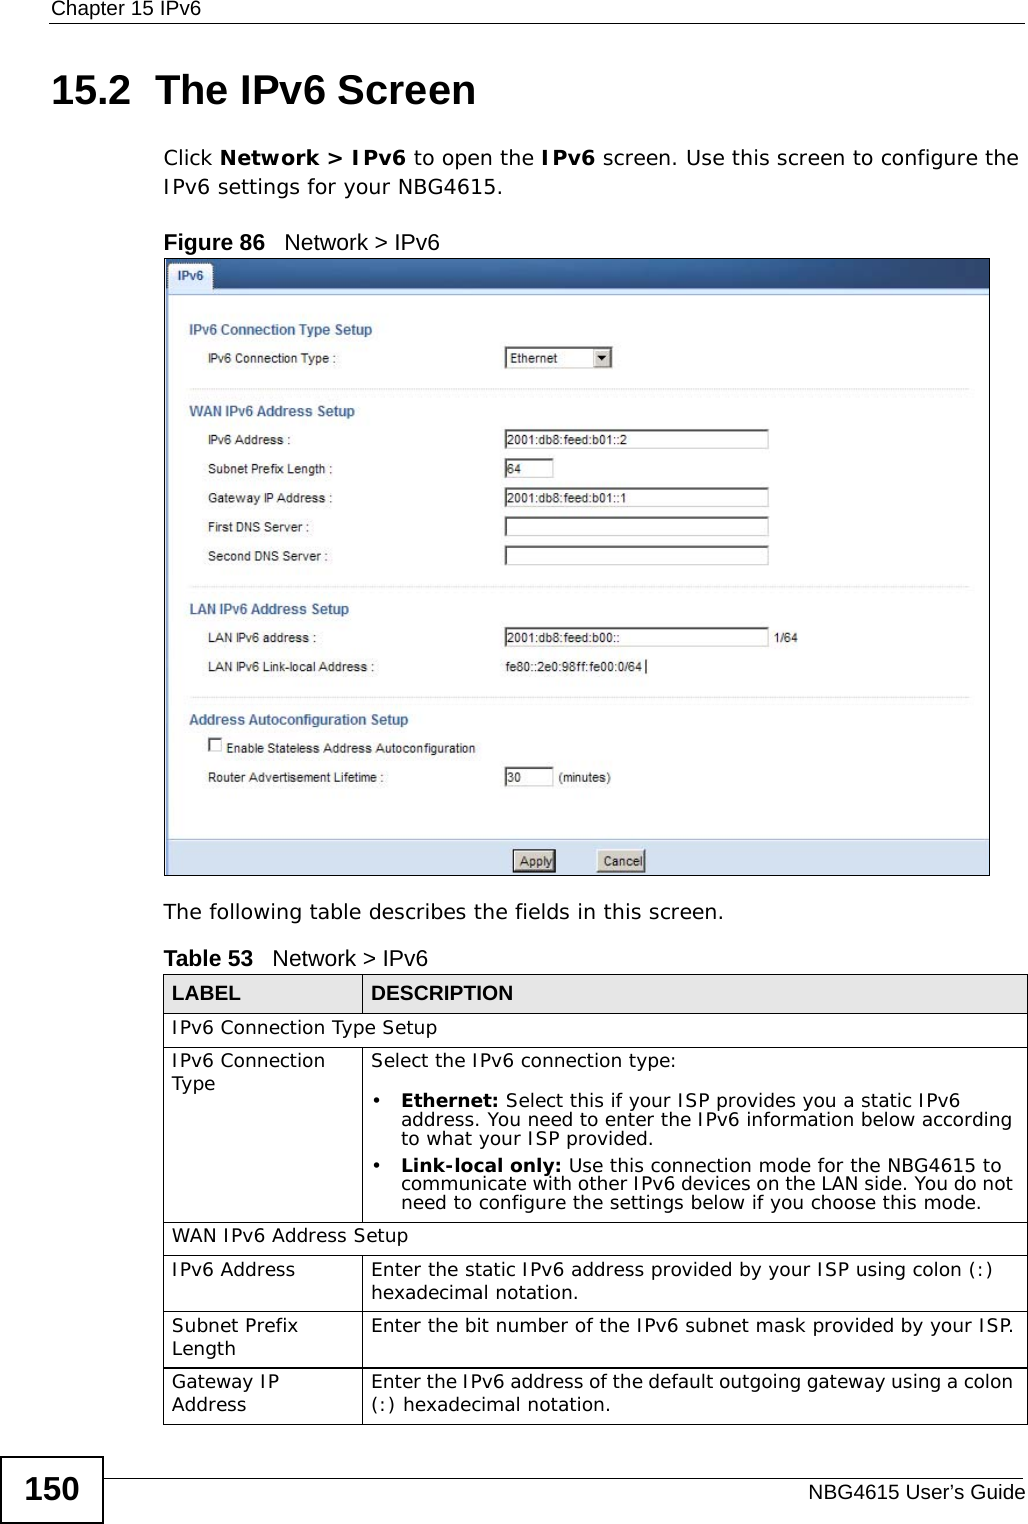
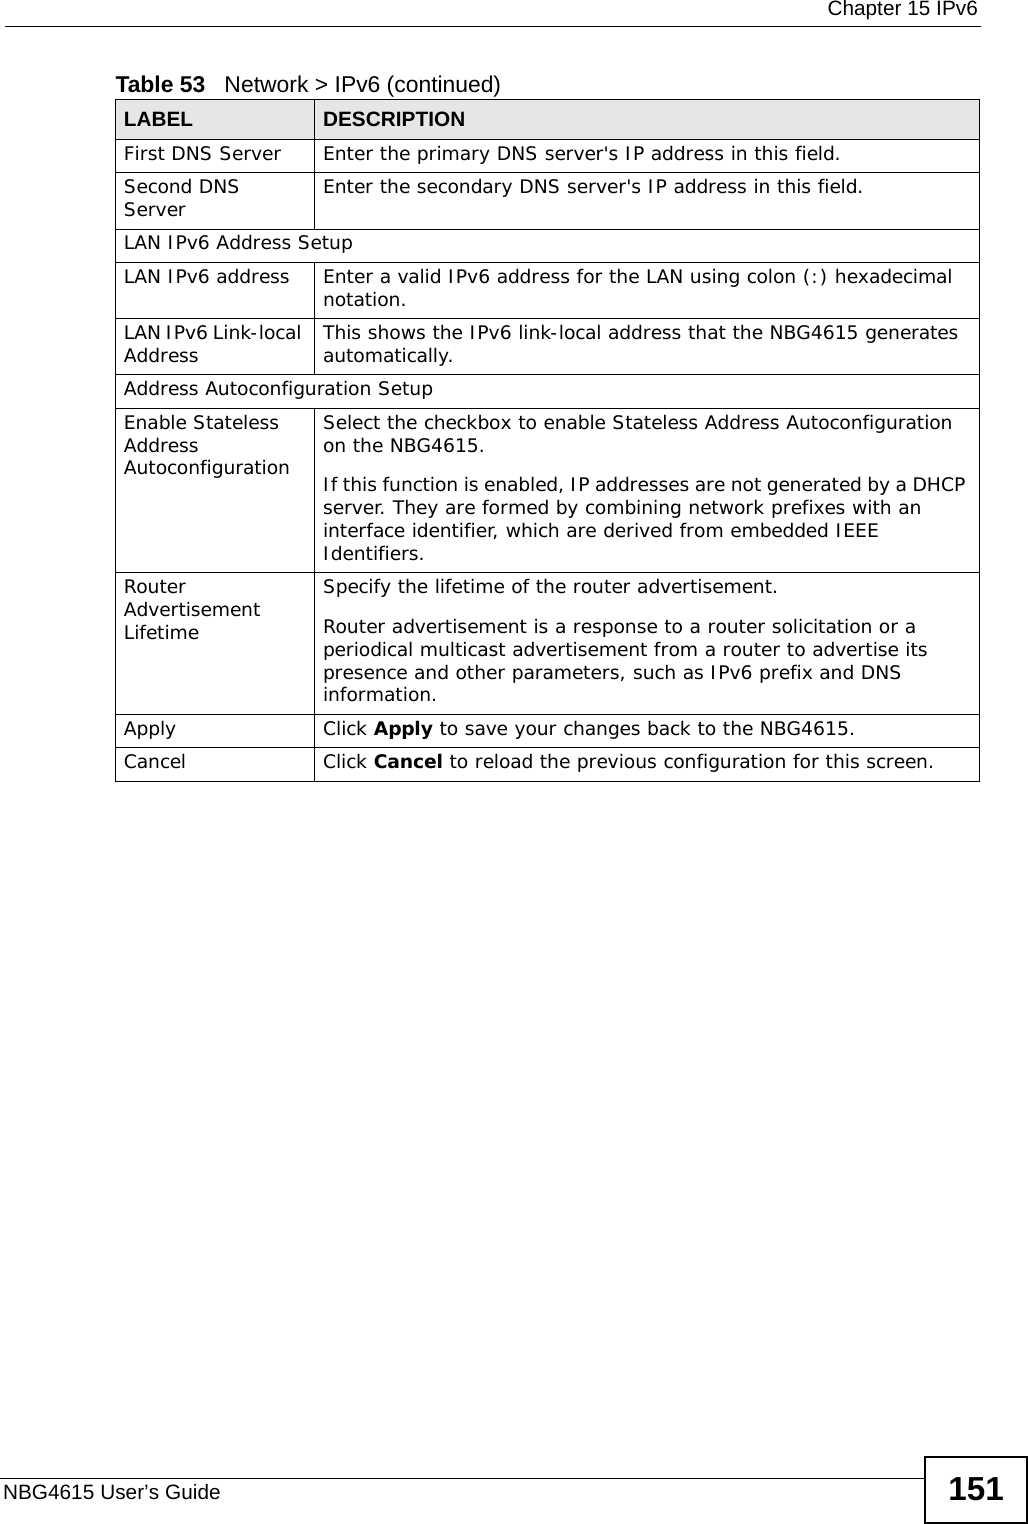
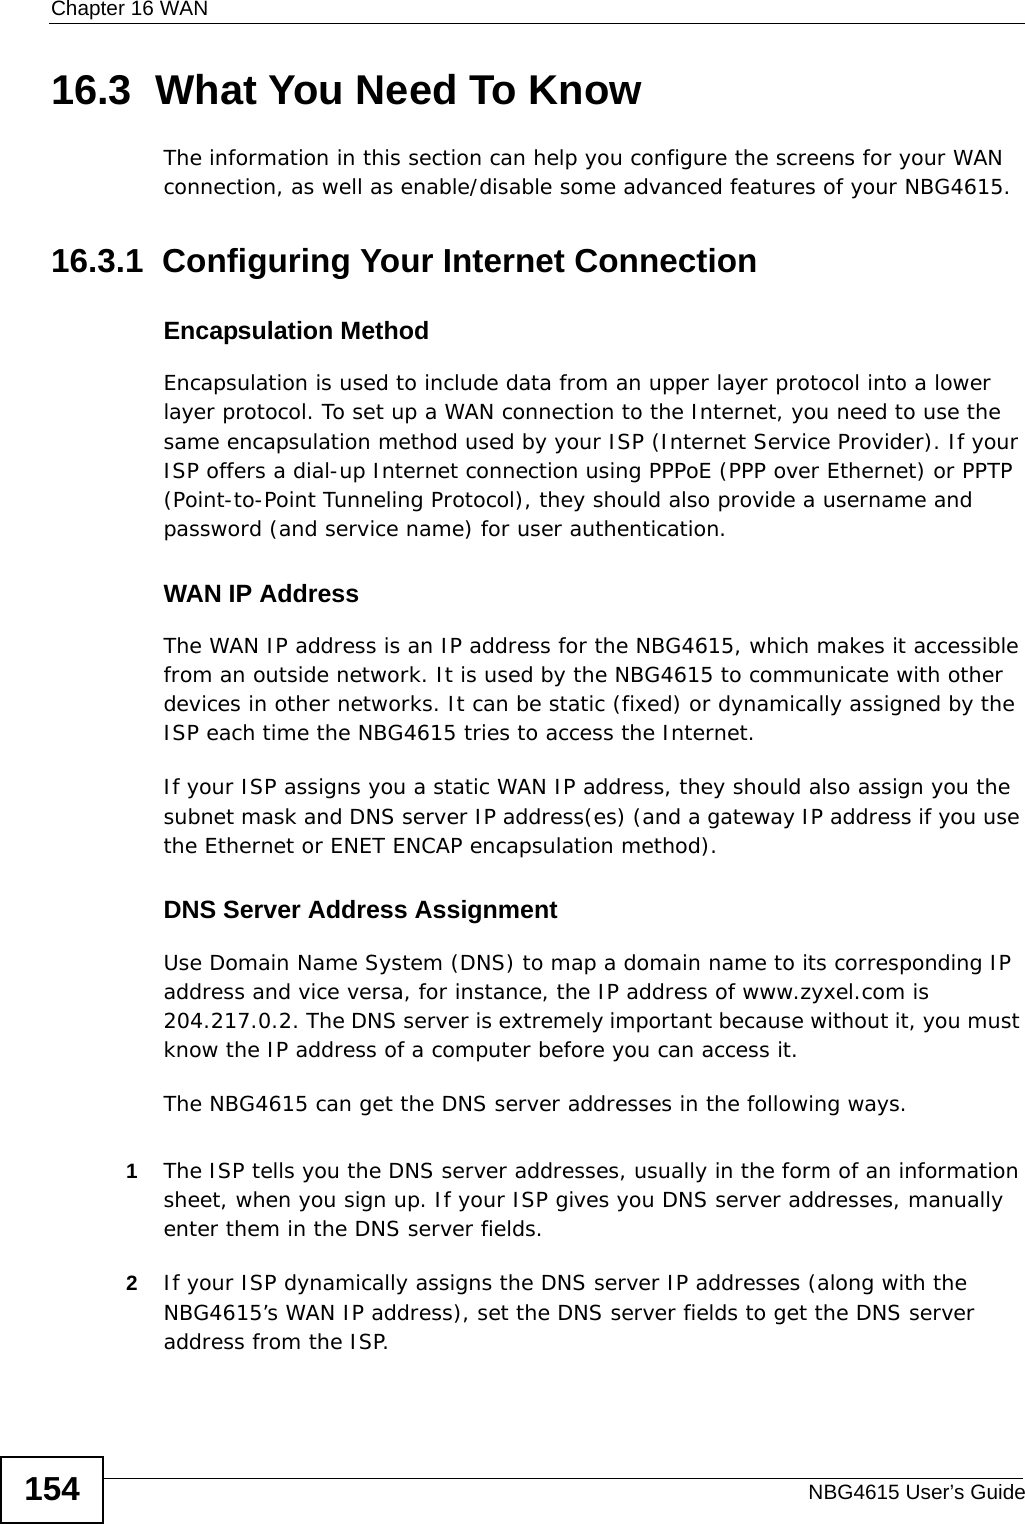
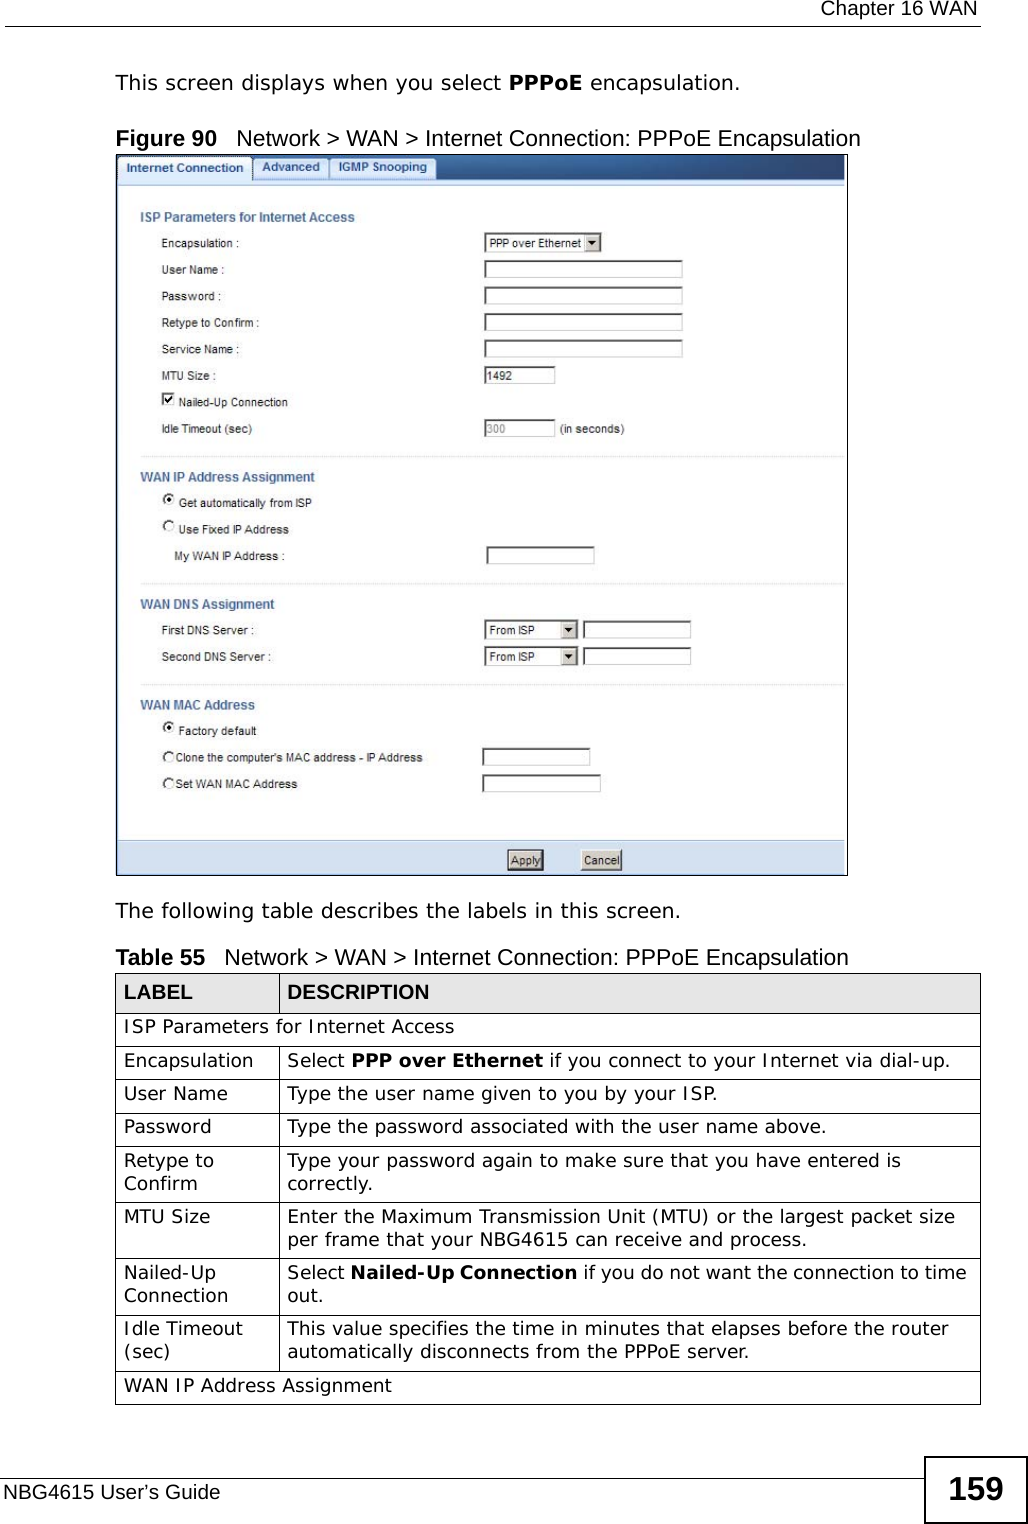
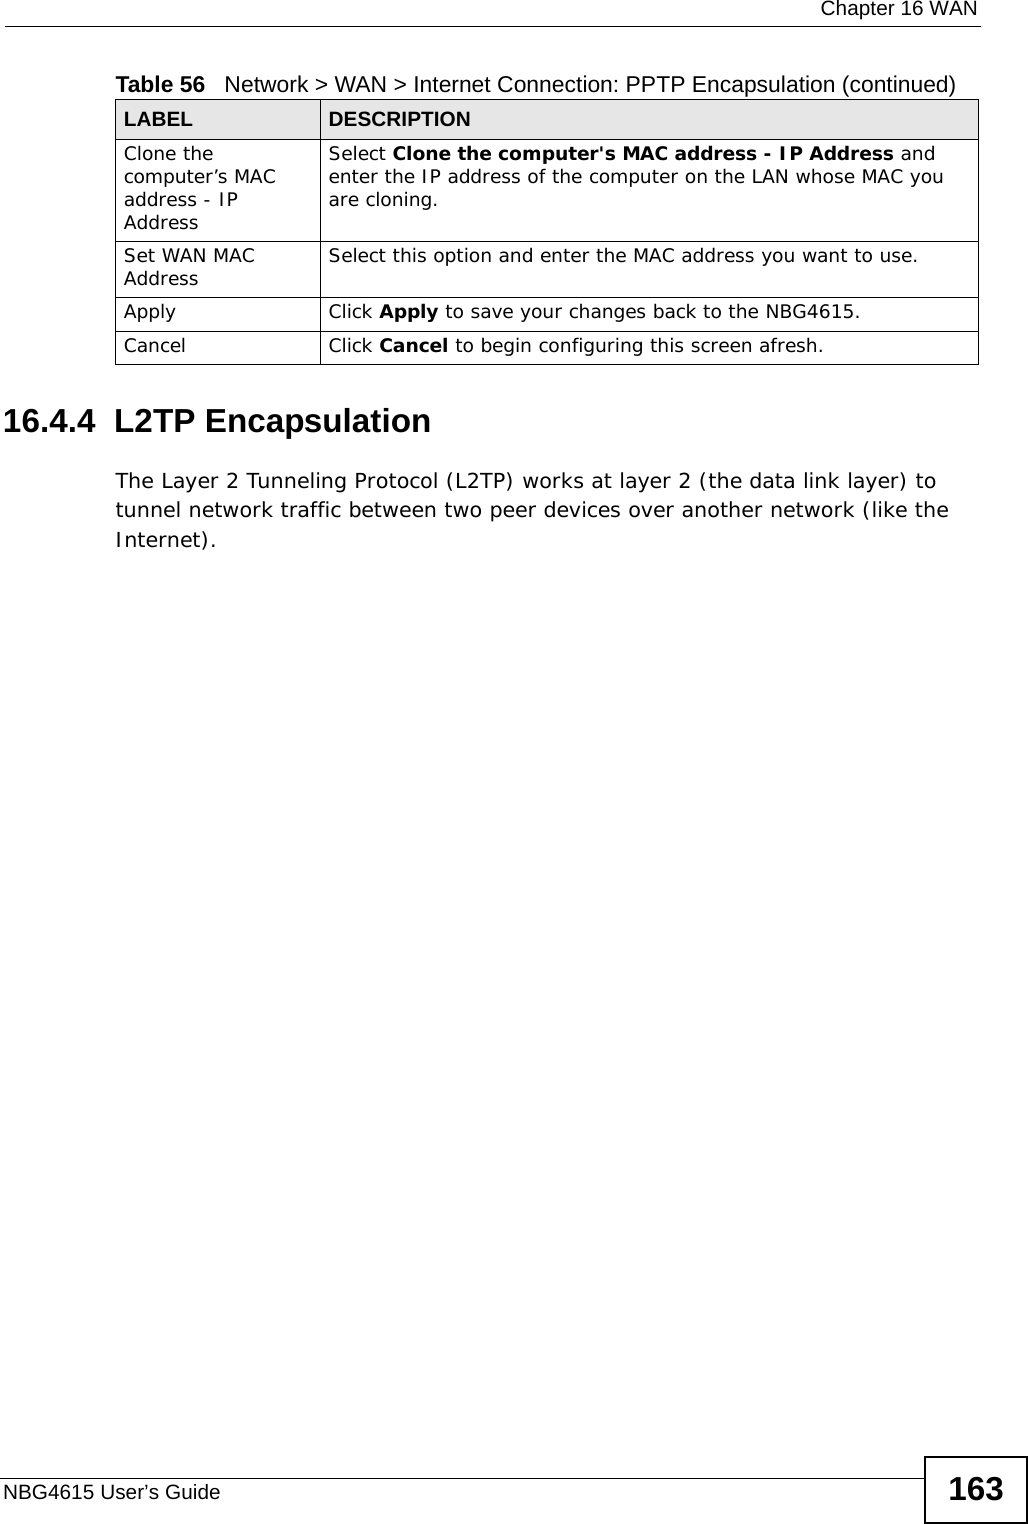
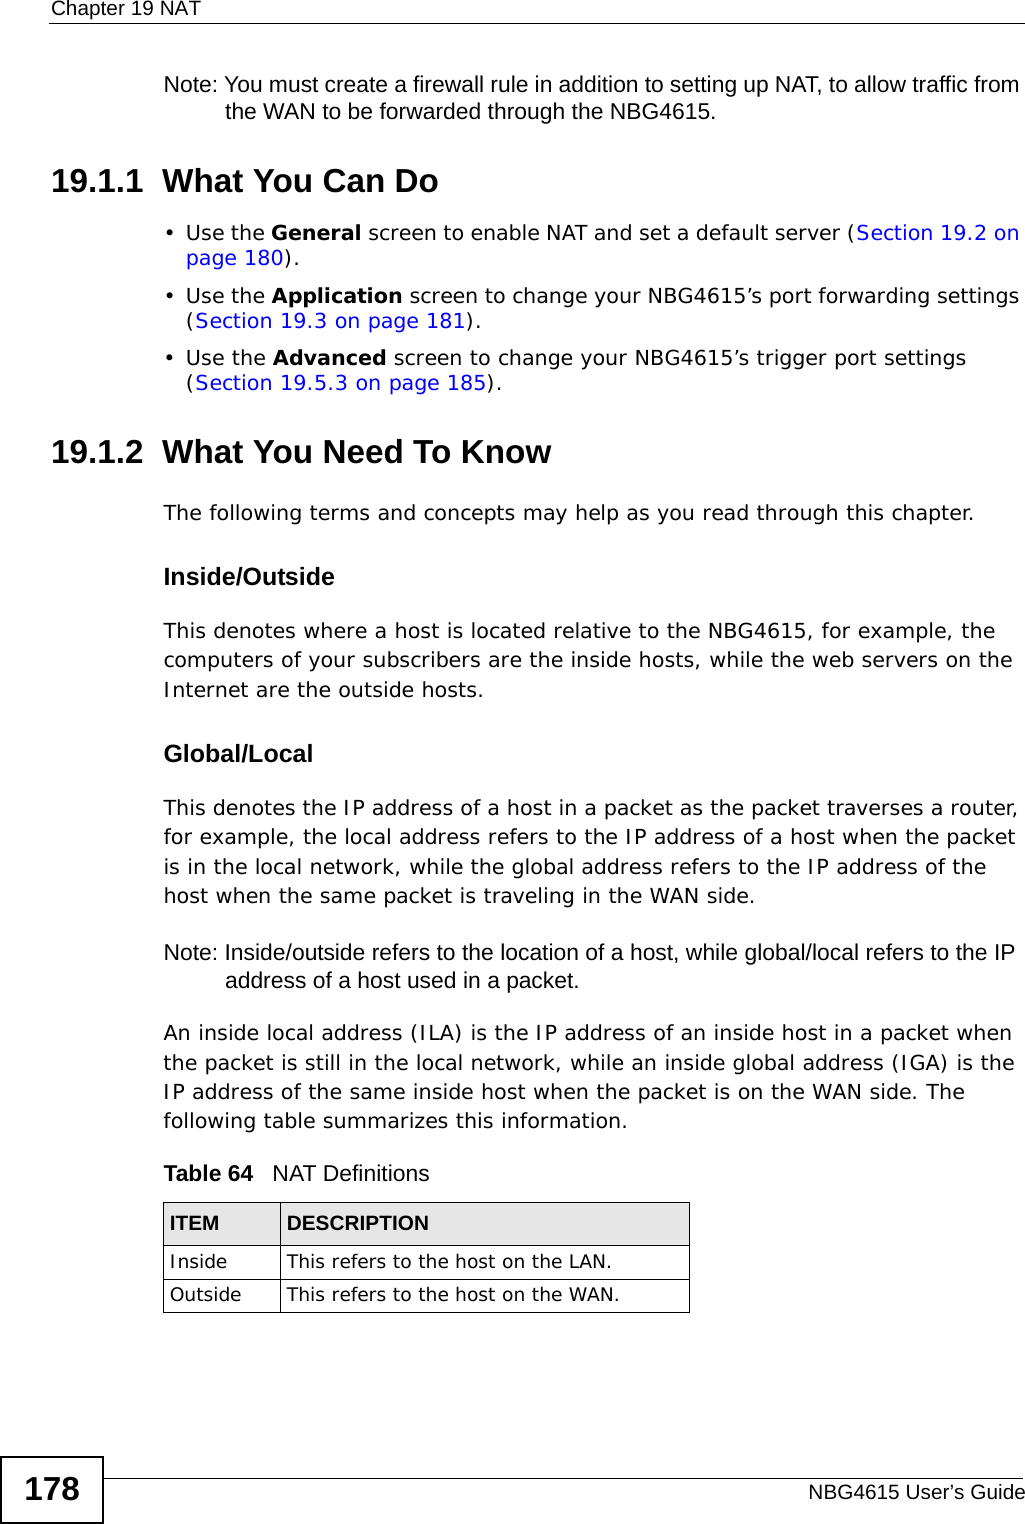
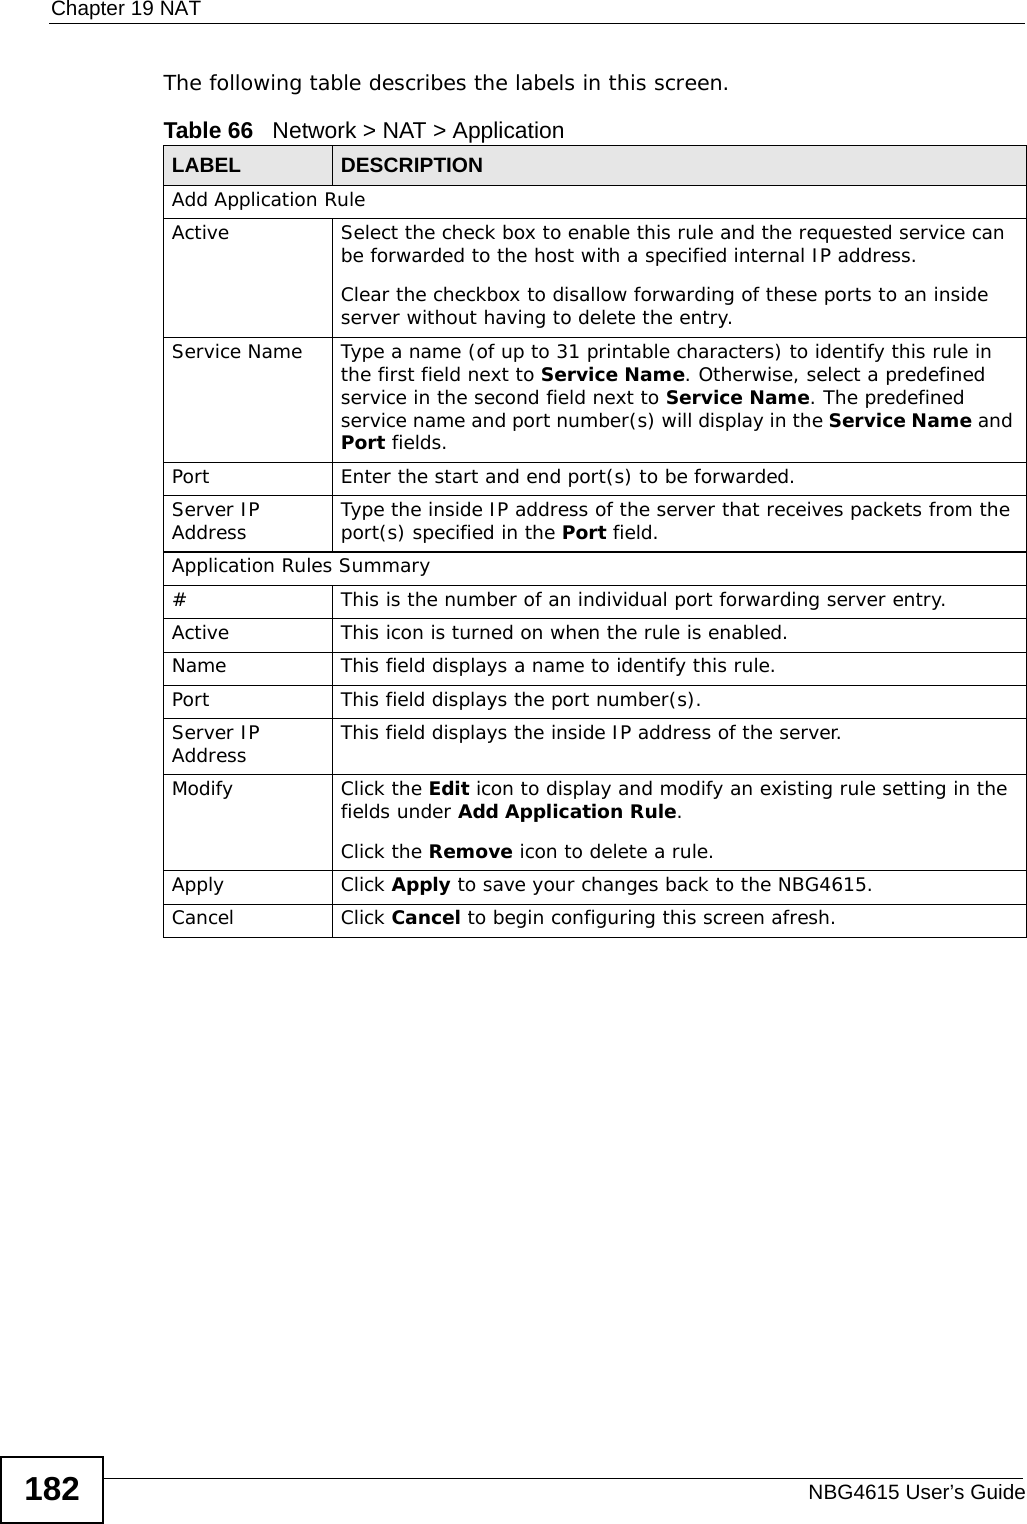
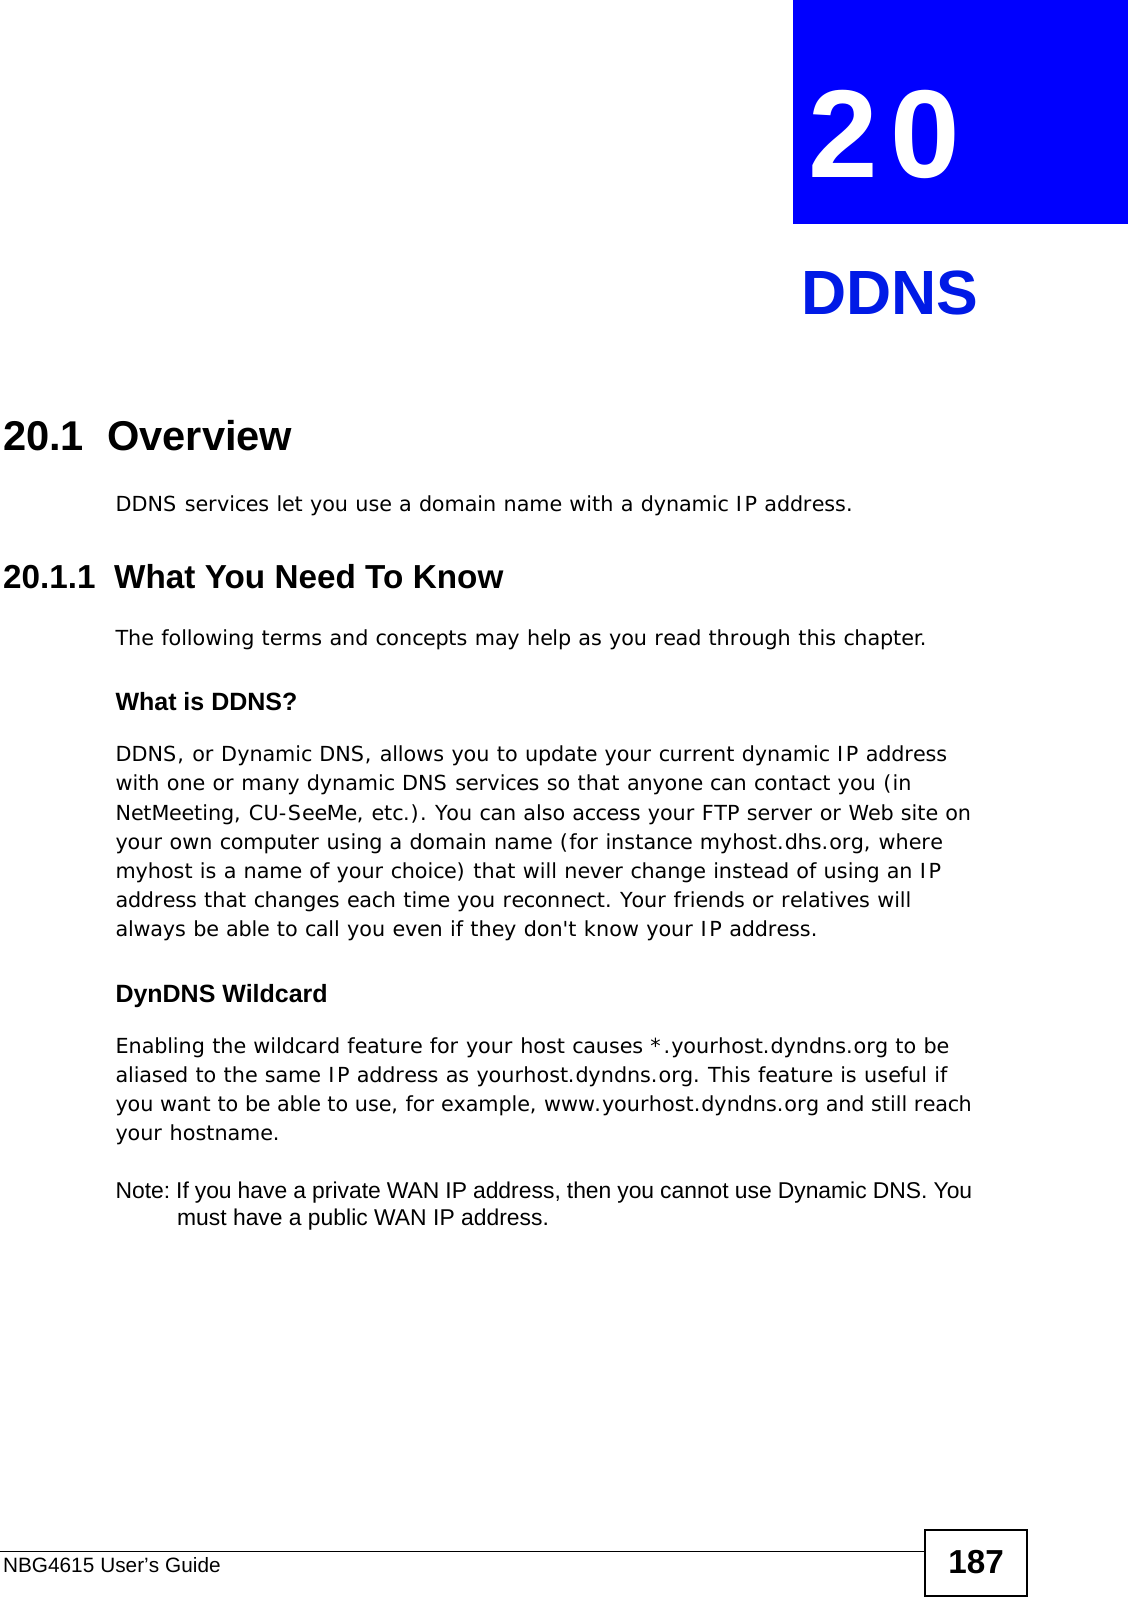
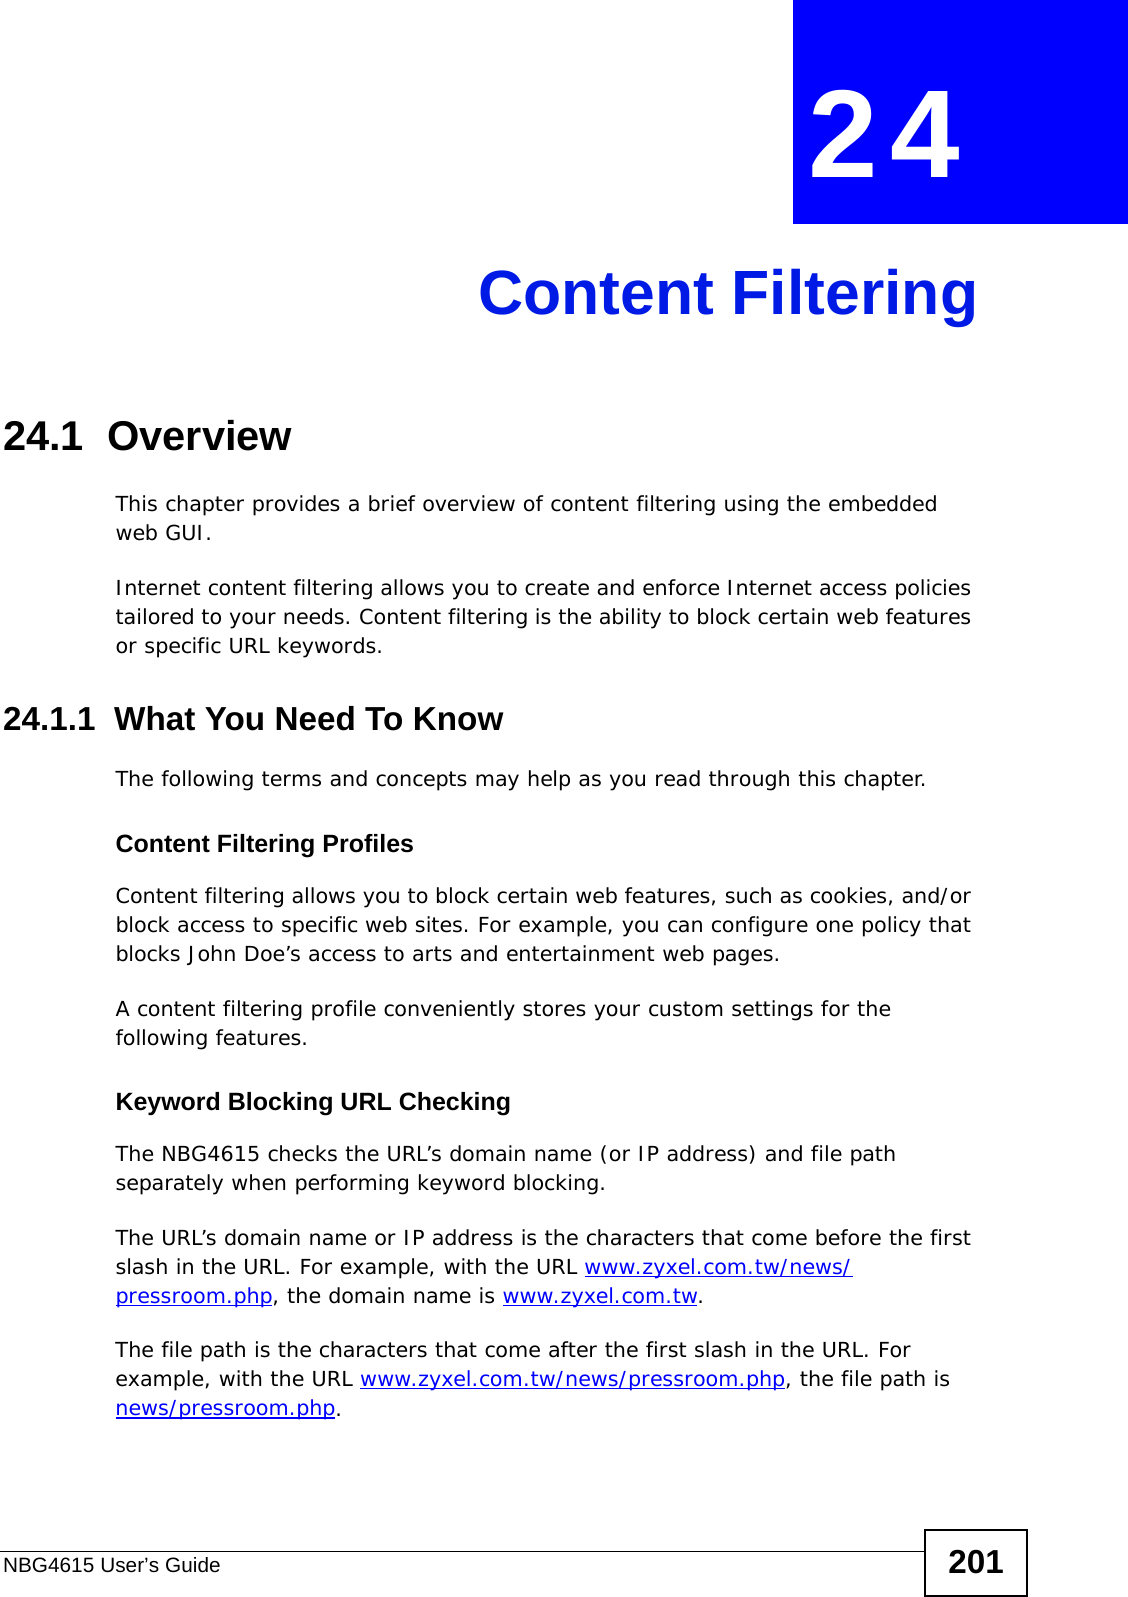
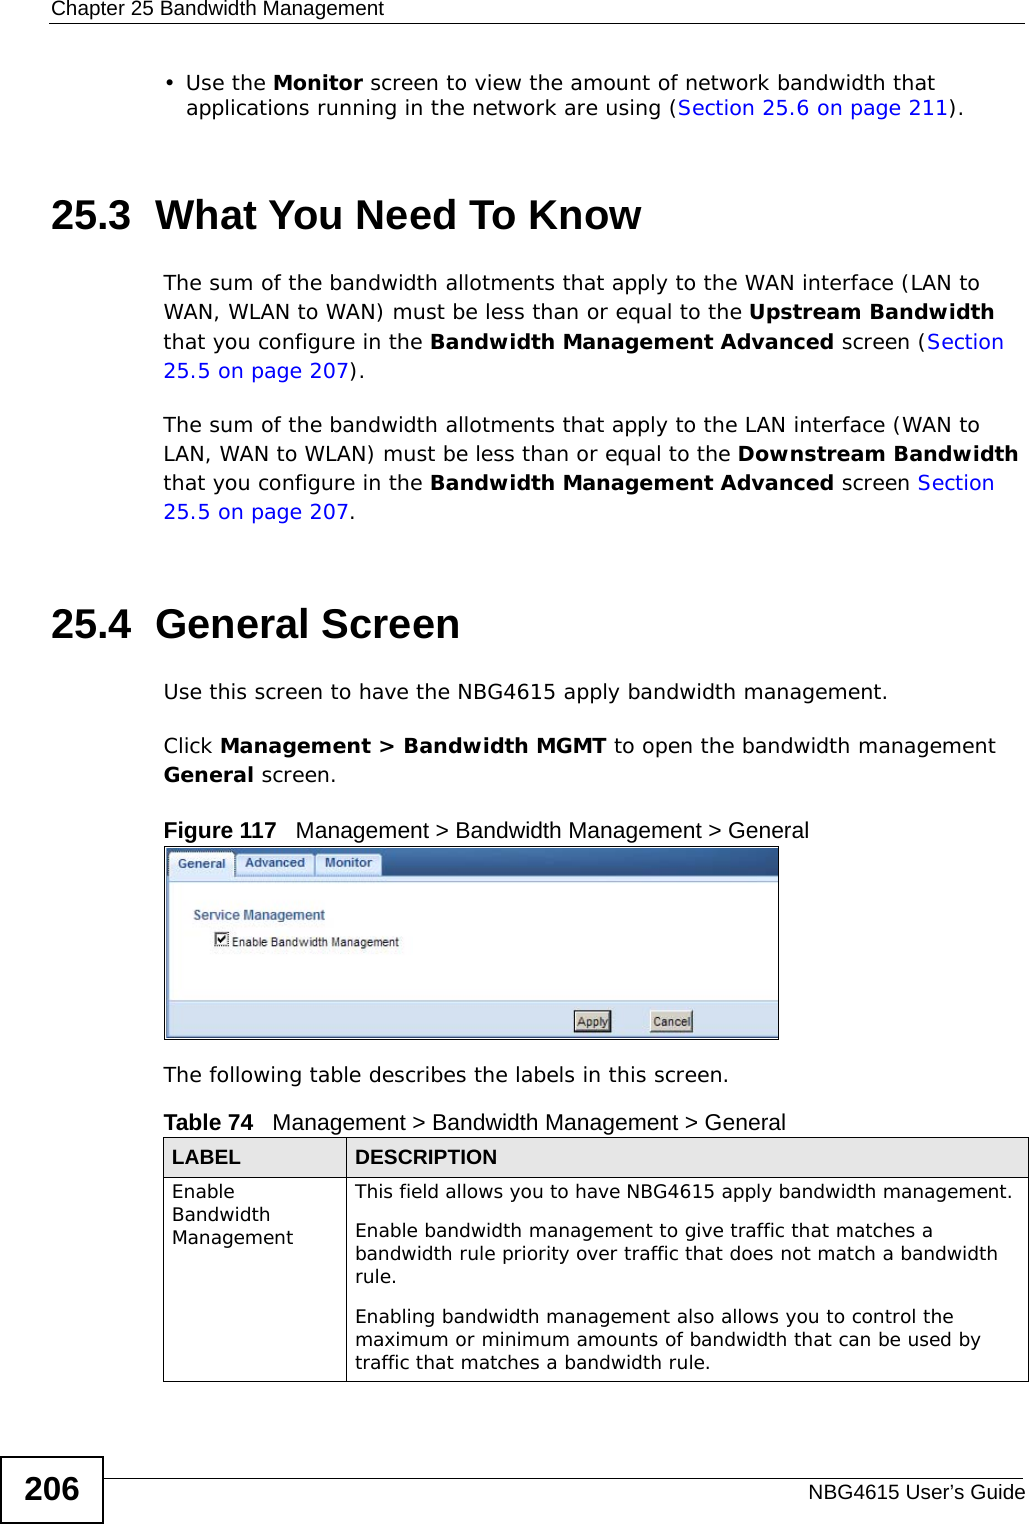
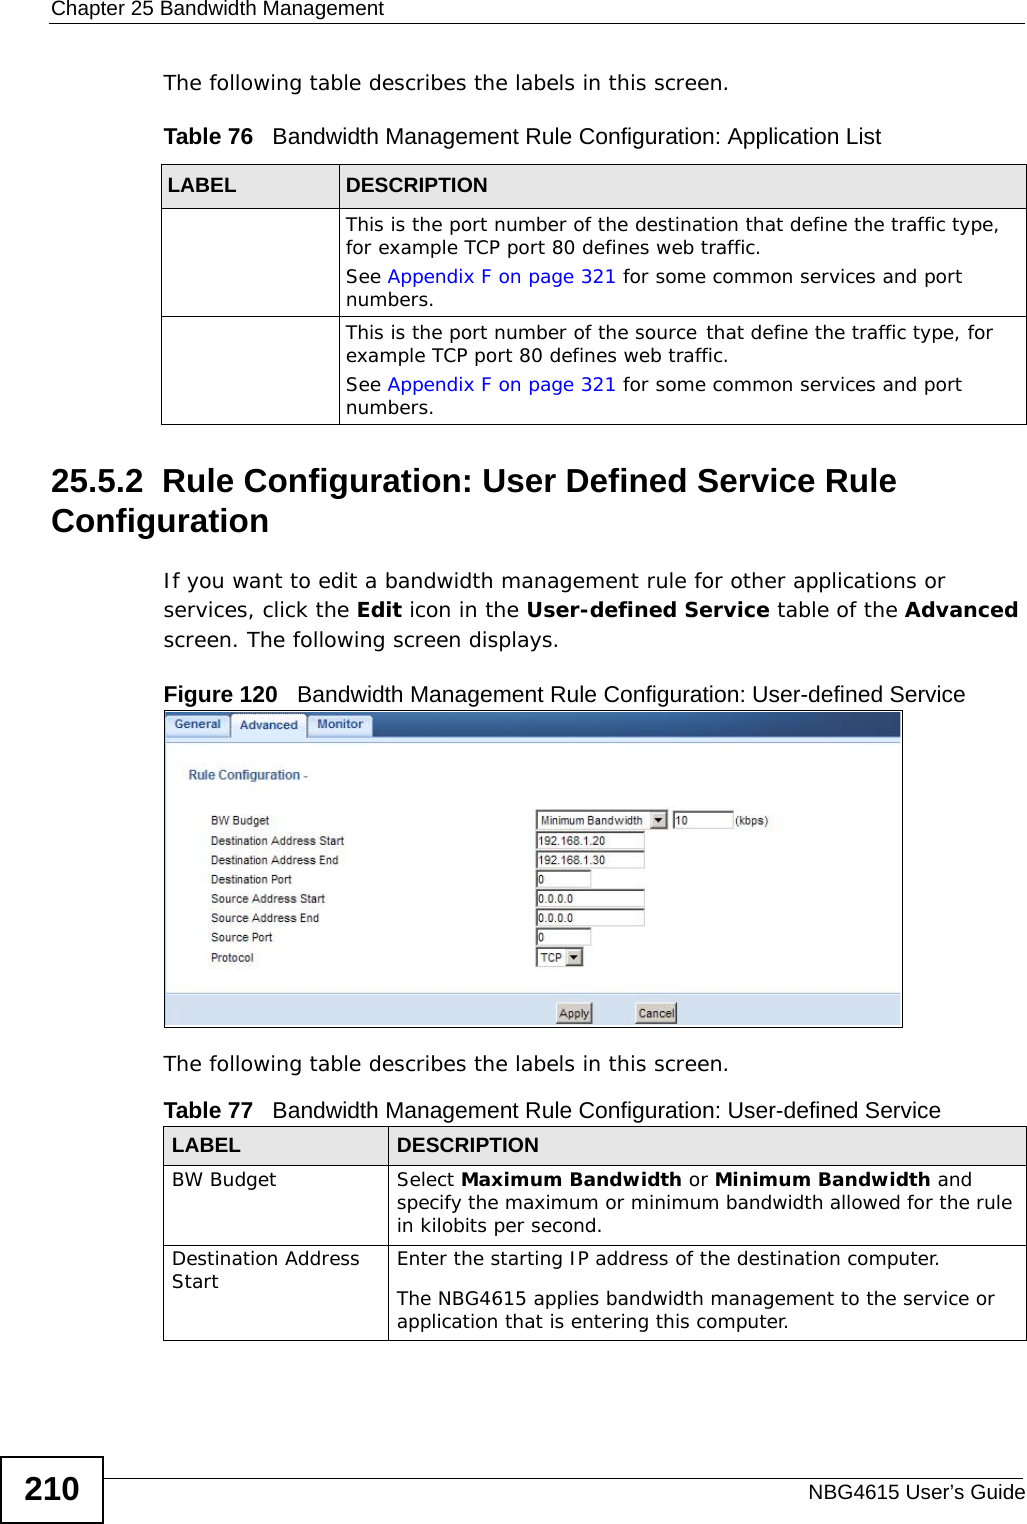
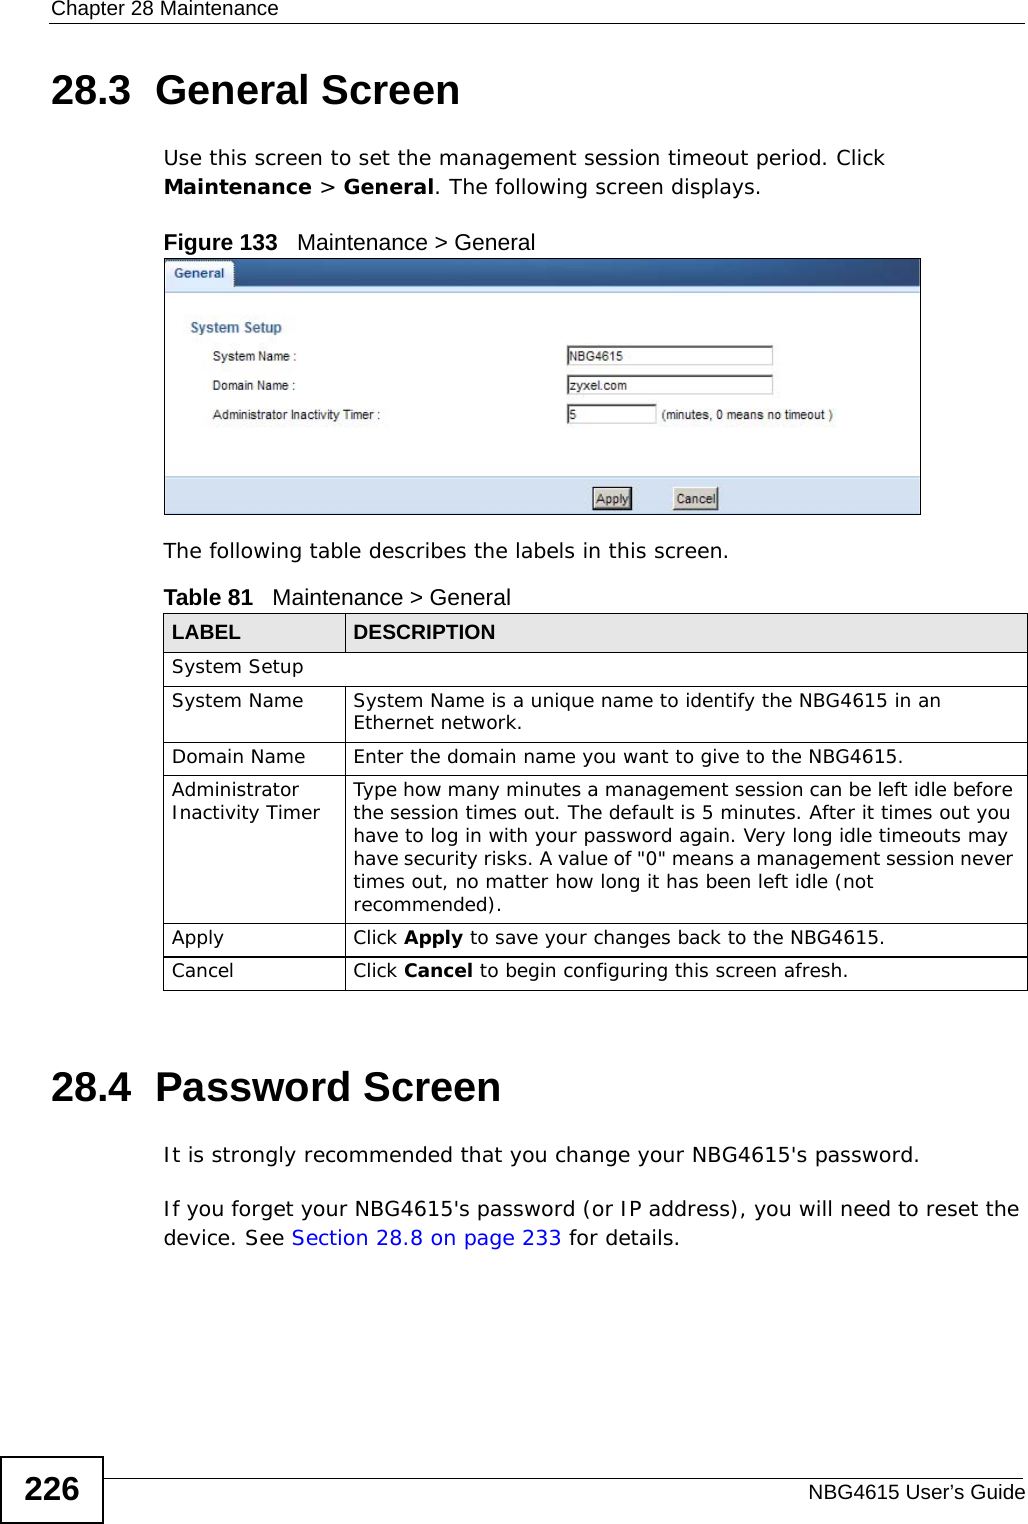
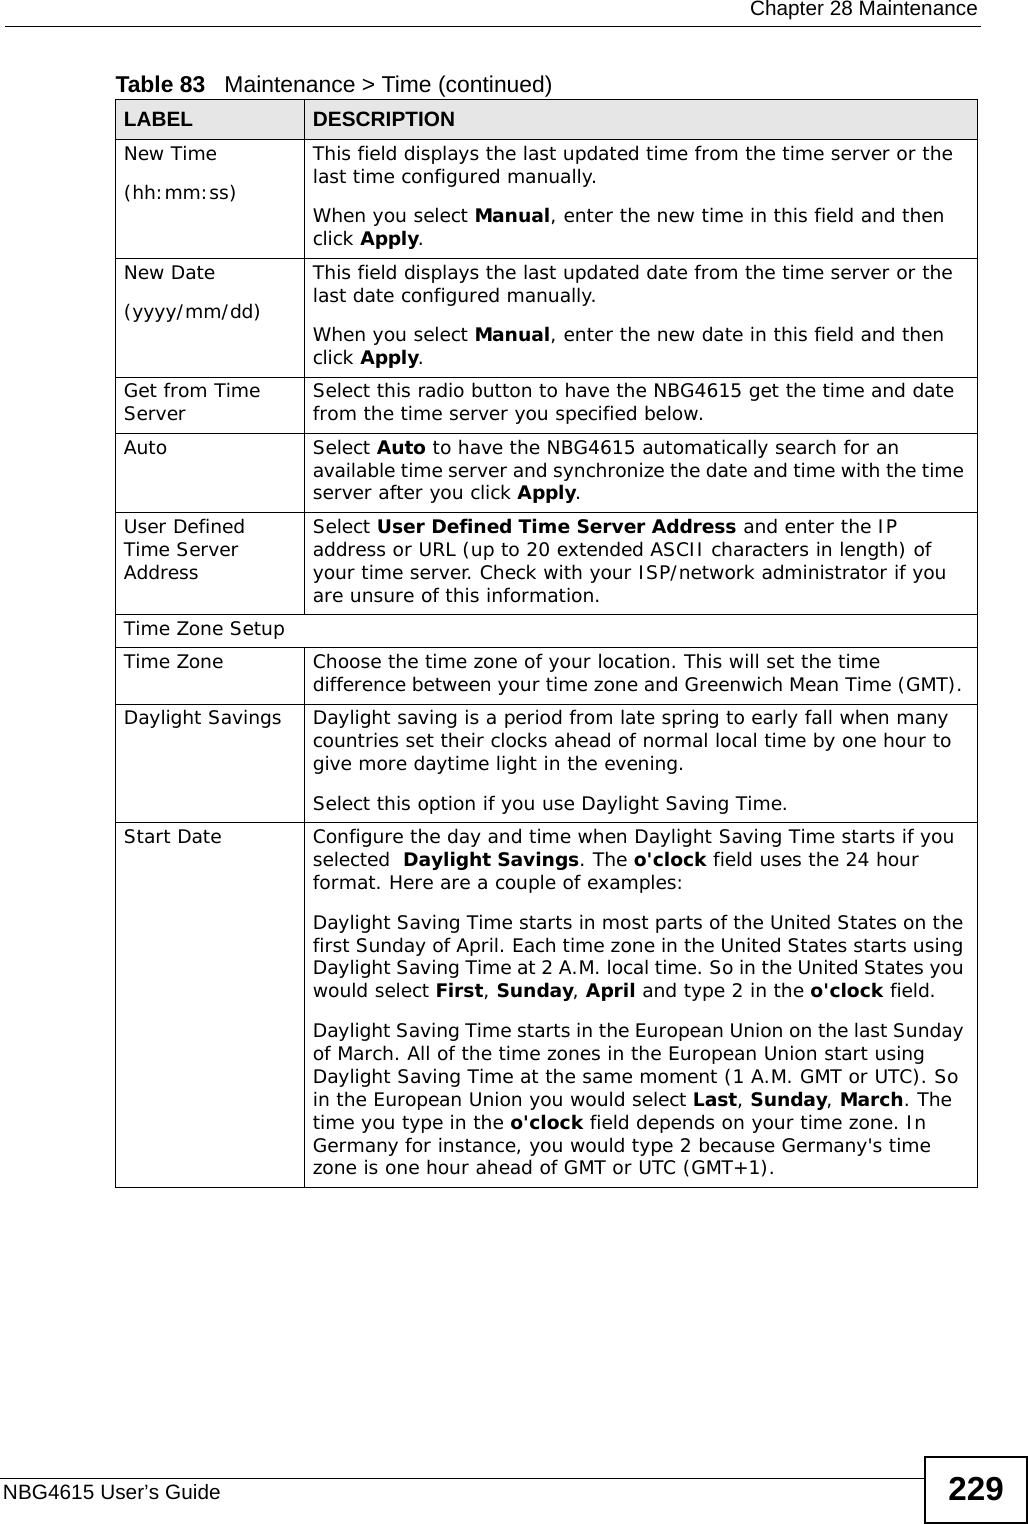
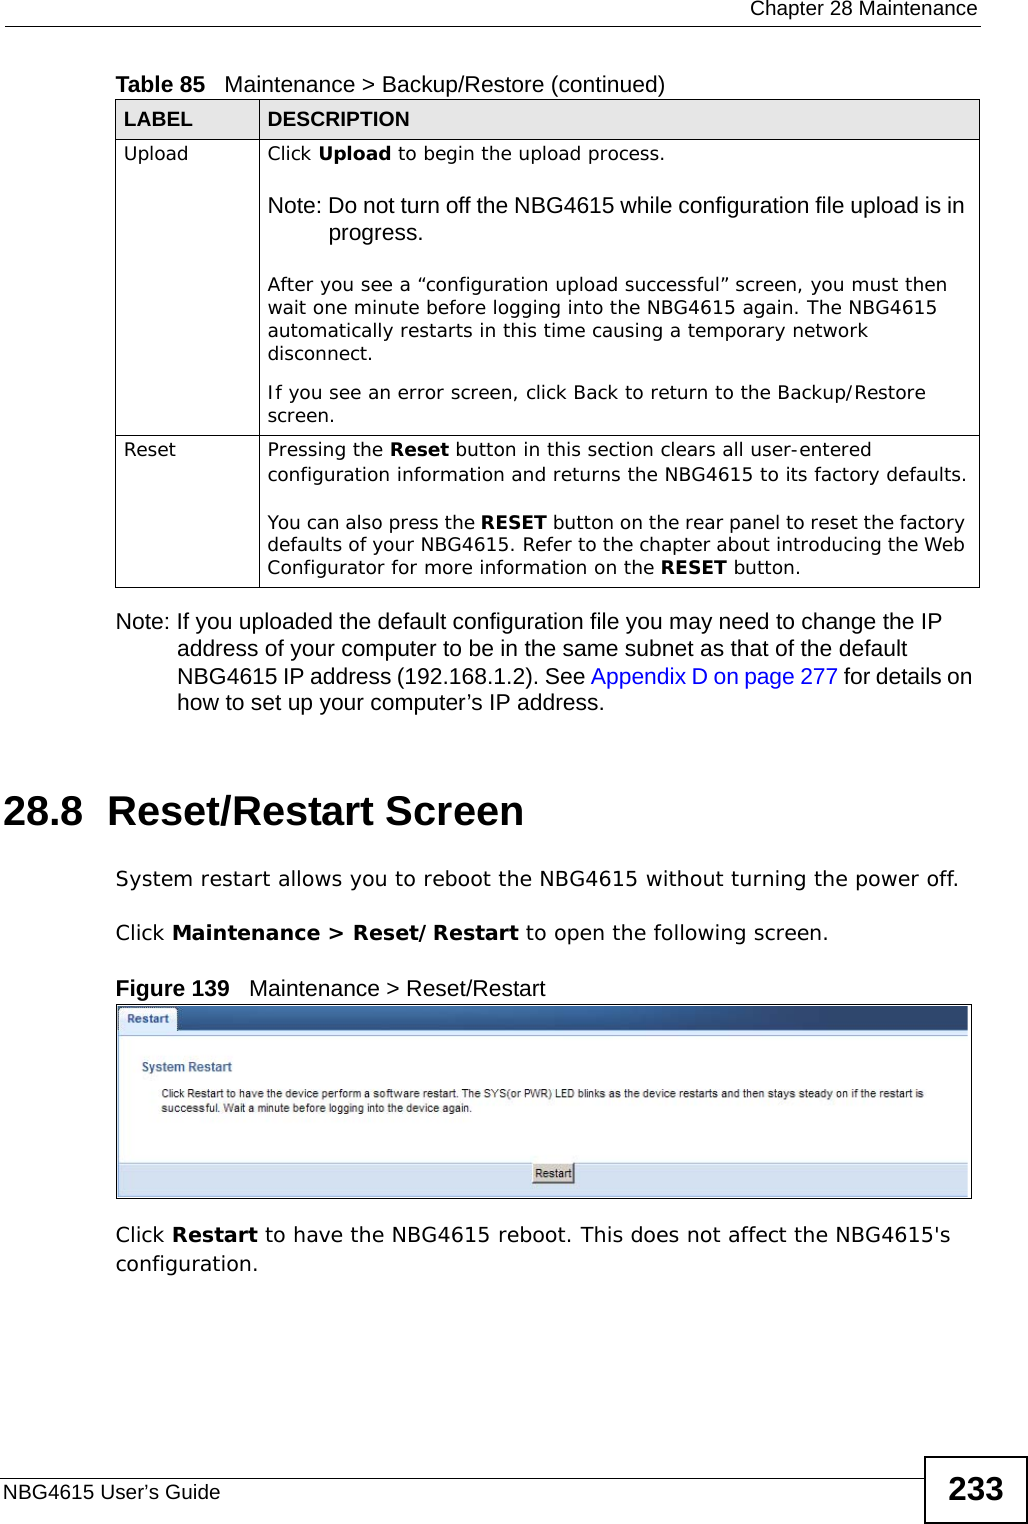
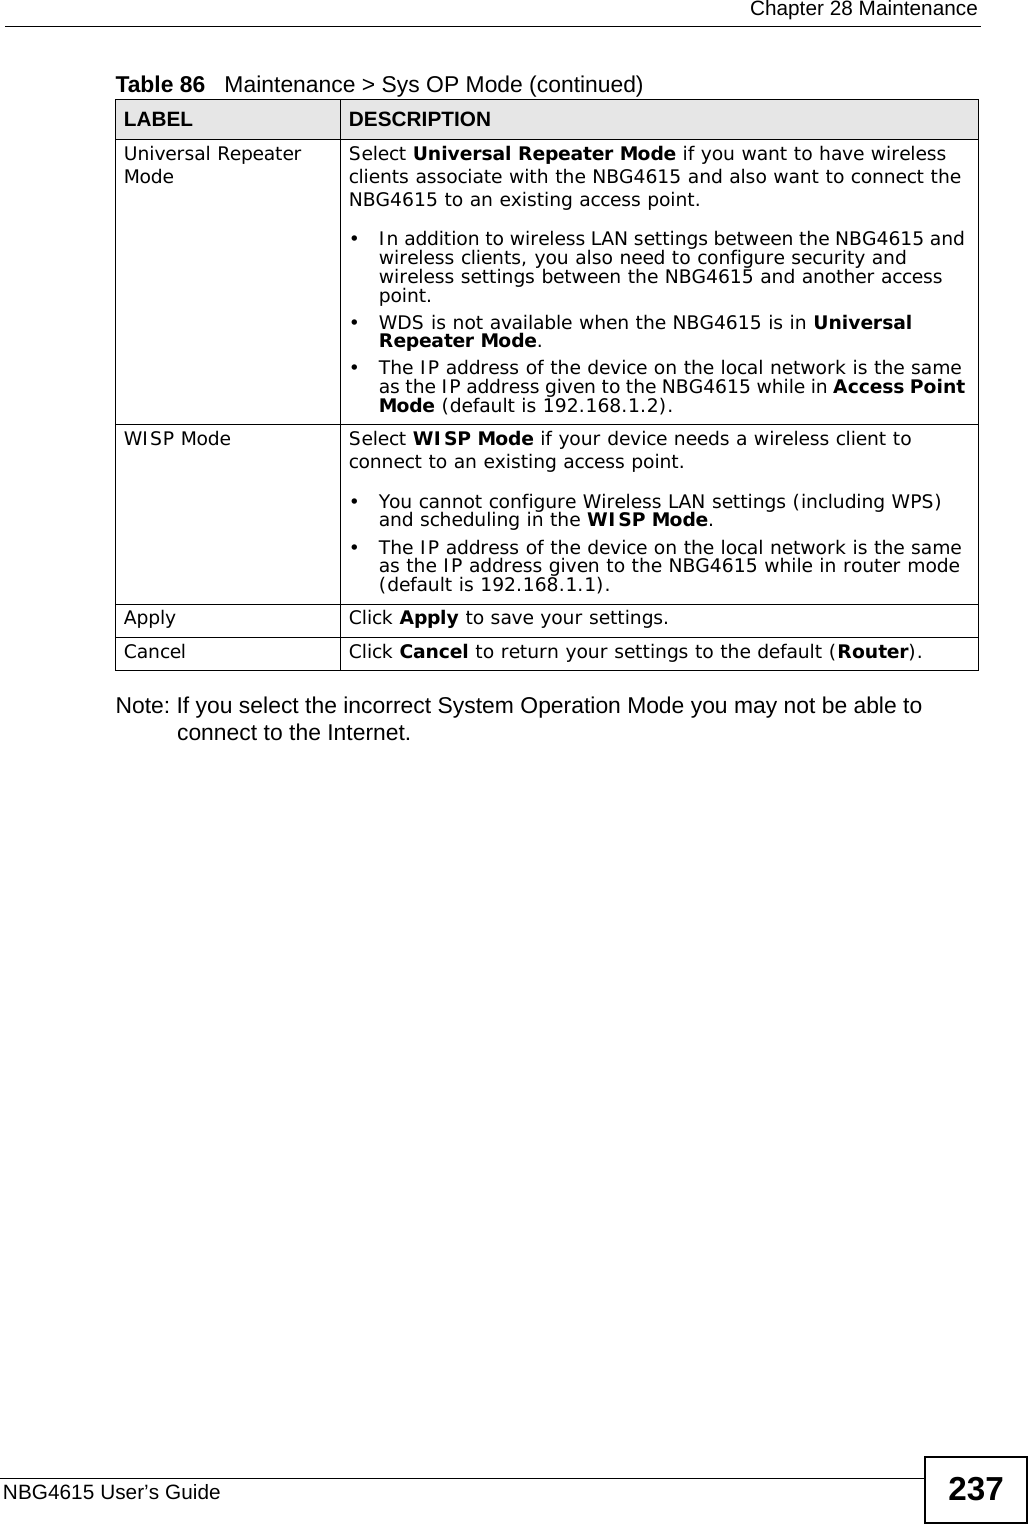
![Chapter 16 WANNBG4615 User’s Guide 157The following table describes the labels in this screen.Table 54 Network > WAN > Internet Connection: Ethernet EncapsulationLABEL DESCRIPTIONISP Parameters for Internet AccessEncapsulation You must choose the Ethernet option when the WAN port is used as a regular Ethernet.WAN IP Address Assignment Get automatically from ISP (Default)Select this option If your ISP did not assign you a fixed IP address. This is the default selection. Bigpond Select Enable if you subscribe to Internet service from BigPond in Australia. Then configure the fields below with the information provided. Server Type the IP address of the BigPond server.User Name Type the user name given to you by your ISP. You can use alphanumeric and -_@$./ characters, and it can be up to 31 characters long. Password Type the password associated with the user name above. Use up to 64 ASCII characters except [, ] and ?. This field can be blank.Retype to Confirm Type your password again for confirmation.Use Fixed IP Address Select this option If the ISP assigned a fixed IP address. IP Address Enter your WAN IP address in this field if you selected Use Fixed IP Address. IP Subnet Mask Enter the IP Subnet Mask in this field.Gateway IP Address Enter a Gateway IP Address (if your ISP gave you one) in this field.WAN DNS AssignmentFirst DNS ServerSecond DNS ServerSelect From ISP if your ISP dynamically assigns DNS server information (and the NBG4615's WAN IP address). The field to the right displays the (read-only) DNS server IP address that the ISP assigns. Select User-Defined if you have the IP address of a DNS server. Enter the DNS server's IP address in the field to the right. If you chose User-Defined, but leave the IP address set to 0.0.0.0, User-Defined changes to None after you click Apply. If you set a second choice to User-Defined, and enter the same IP address, the second User-Defined changes to None after you click Apply. Select None if you do not want to configure DNS servers. If you do not configure a DNS server, you must know the IP address of a computer in order to access it.WAN MAC Address The MAC address section allows users to configure the WAN port's MAC address by either using the NBG4615’s MAC address, copying the MAC address from a computer on your LAN or manually entering a MAC address.](https://usermanual.wiki/ZyXEL-Communications/NBG4615.User-manual-2/User-Guide-1406735-Page-29.png)
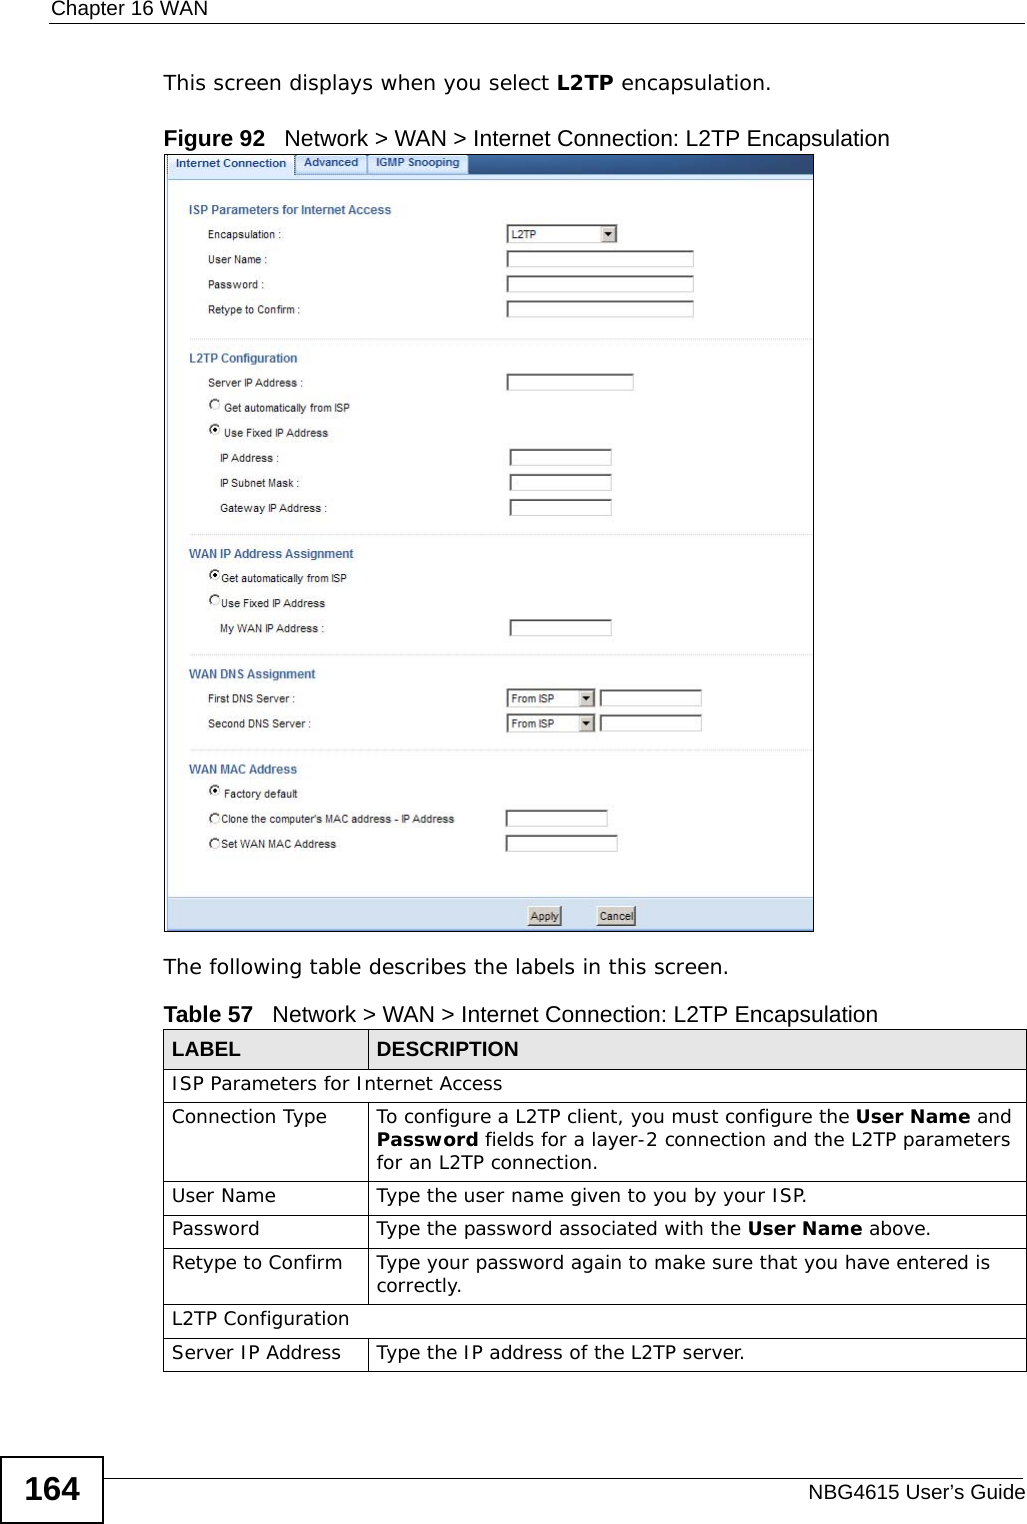


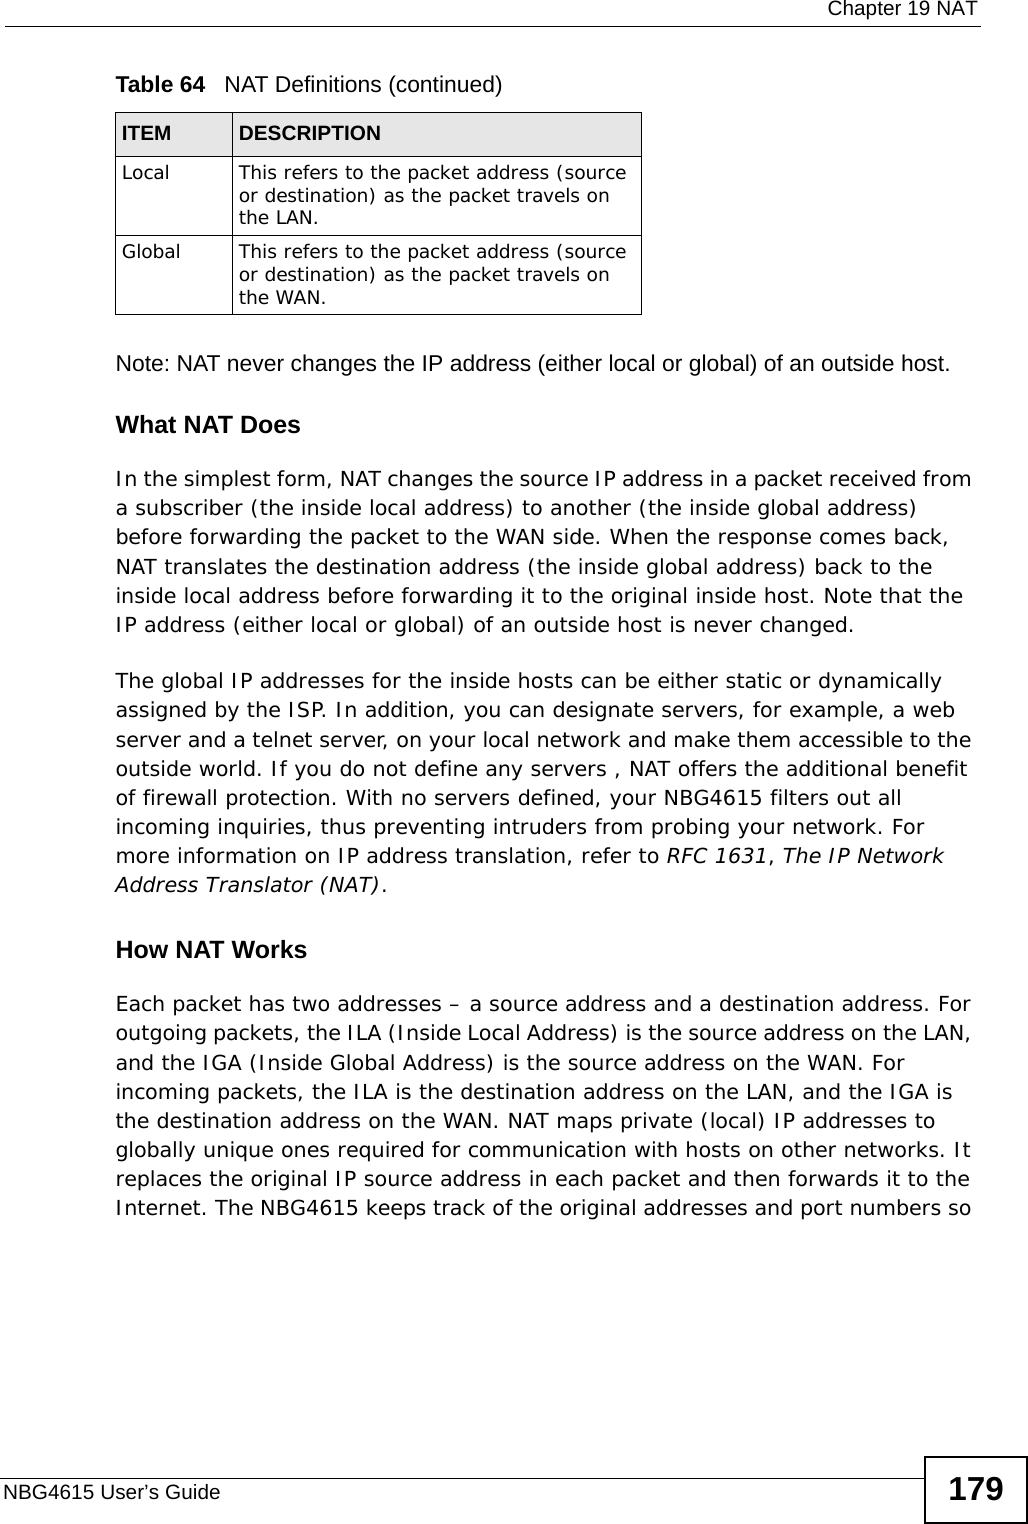
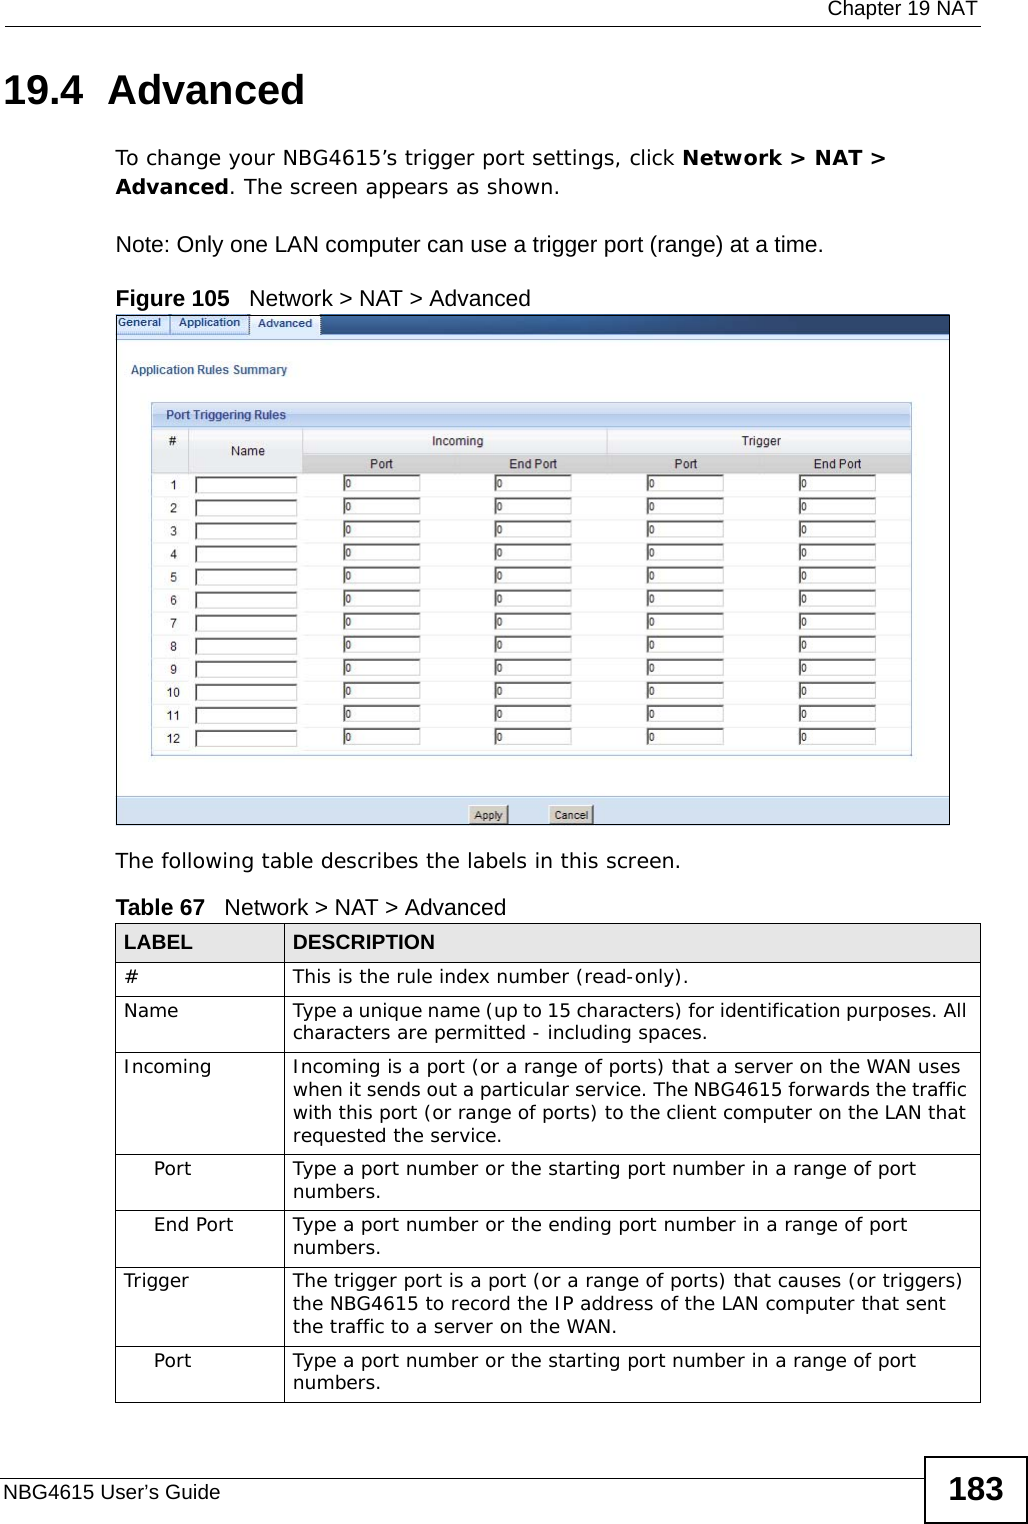

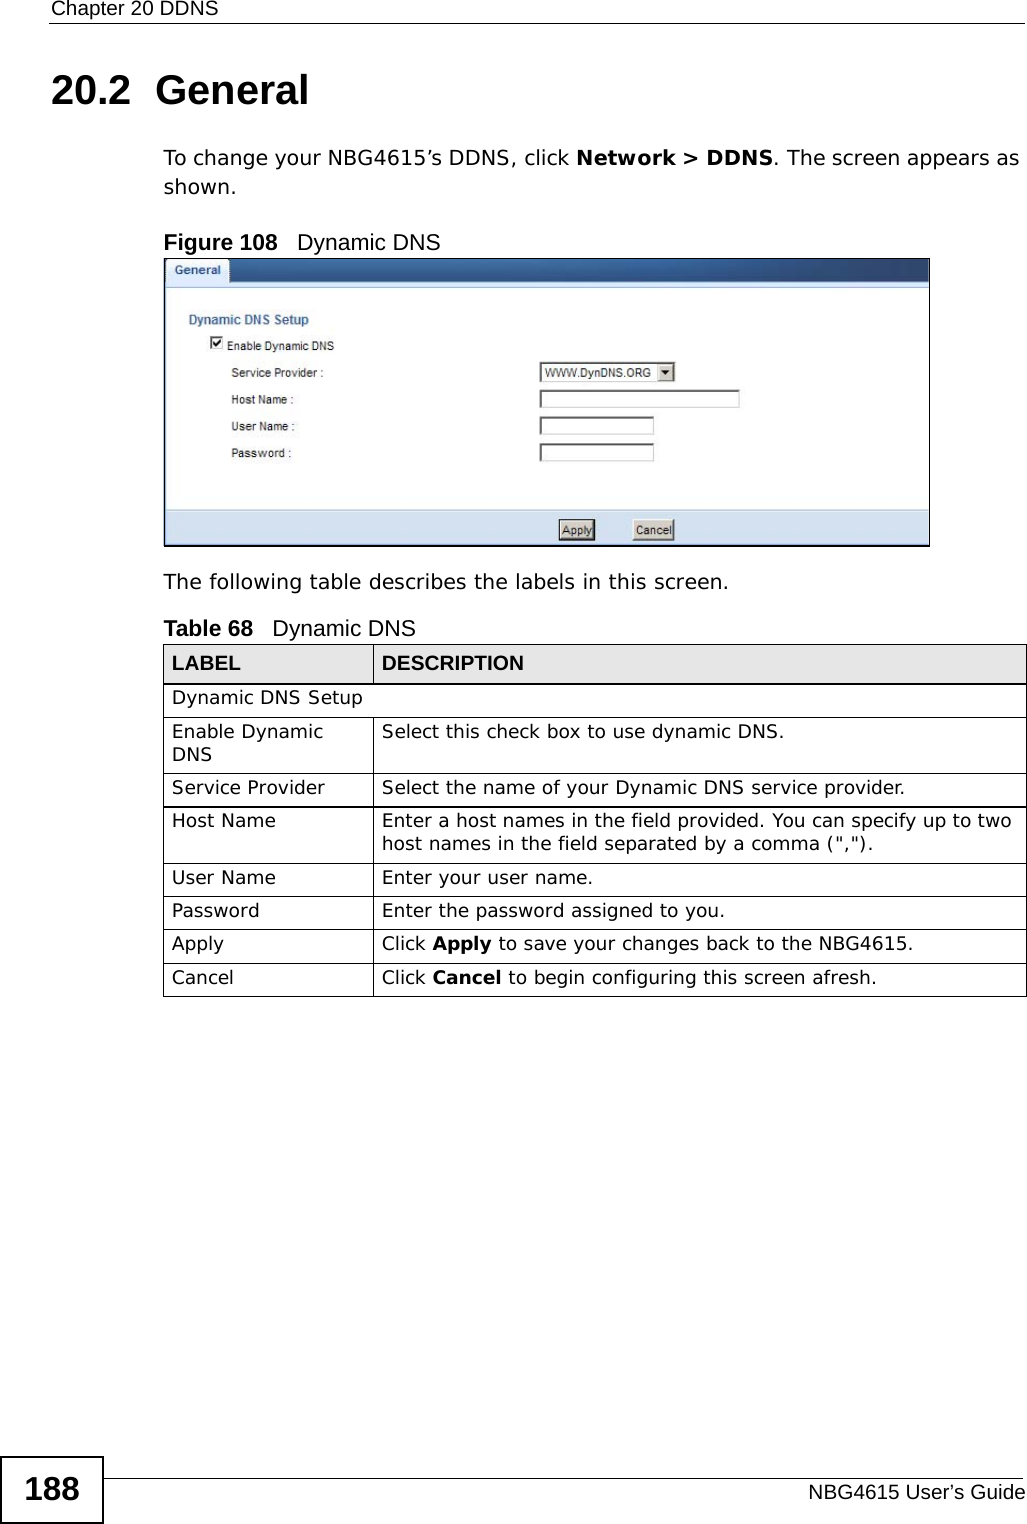


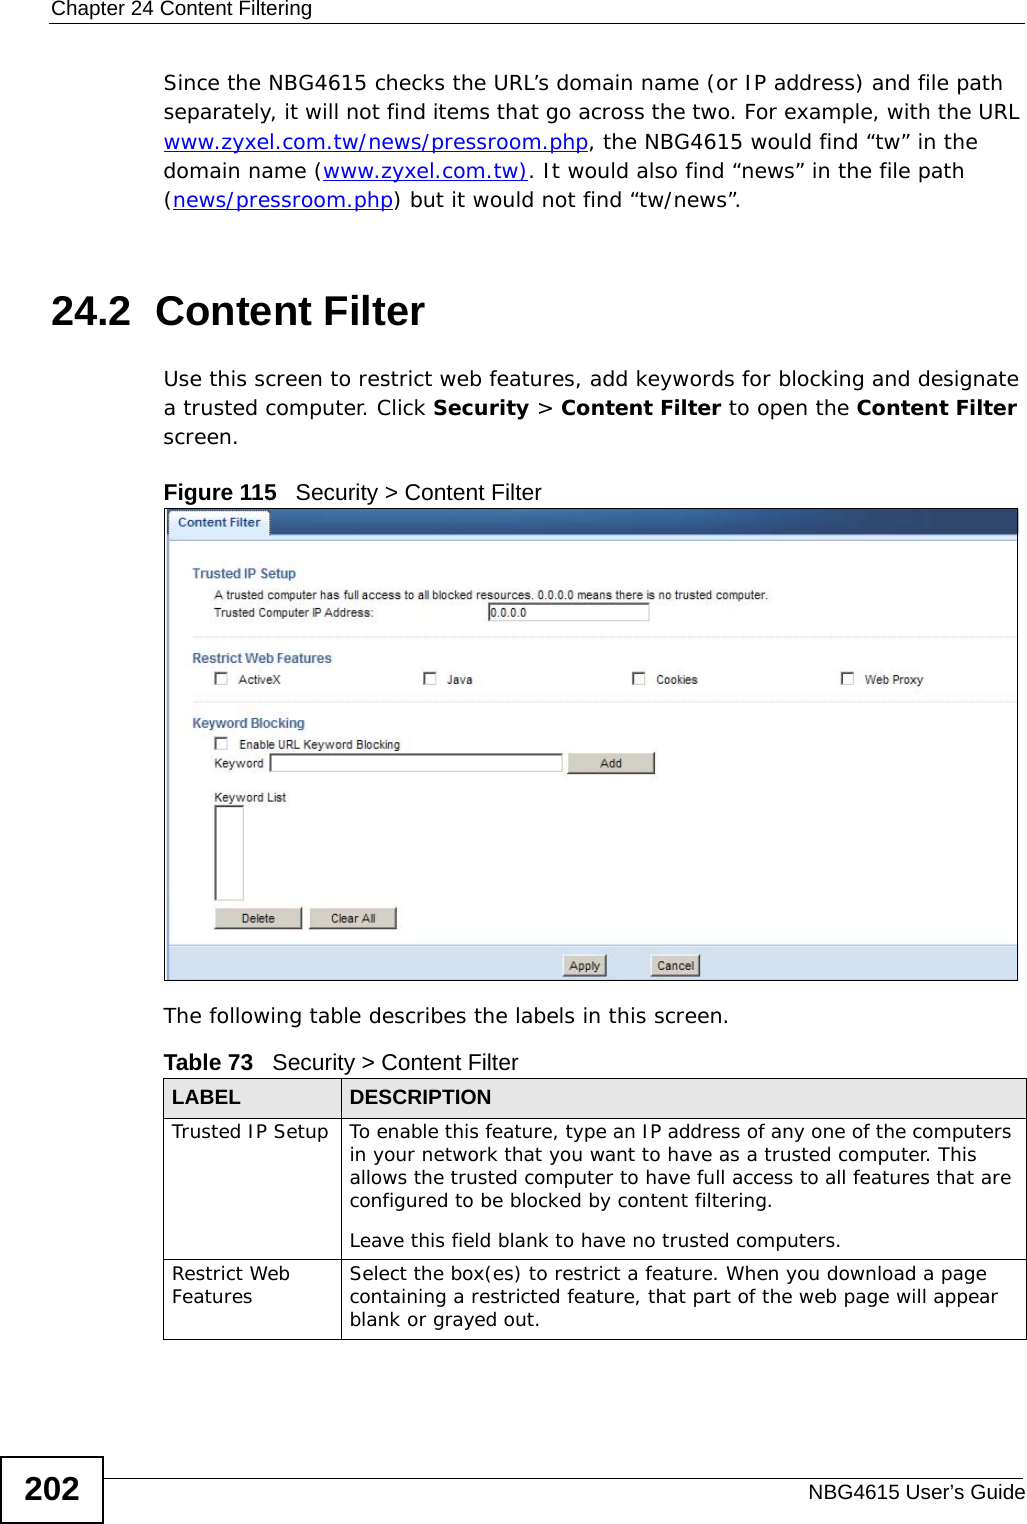
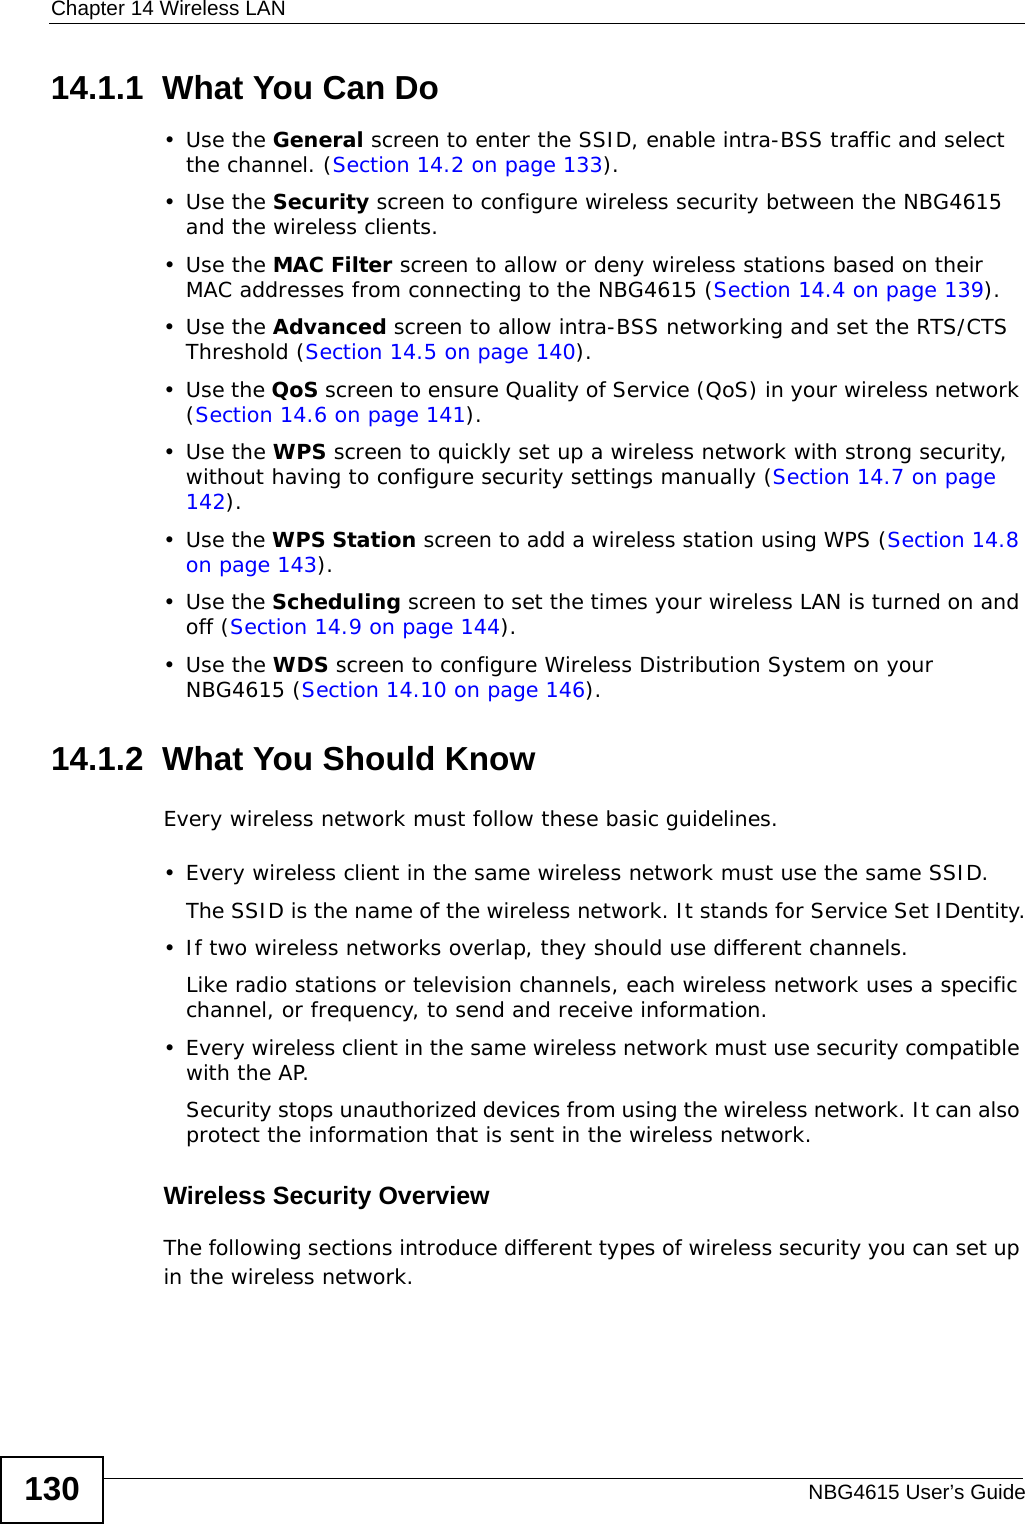
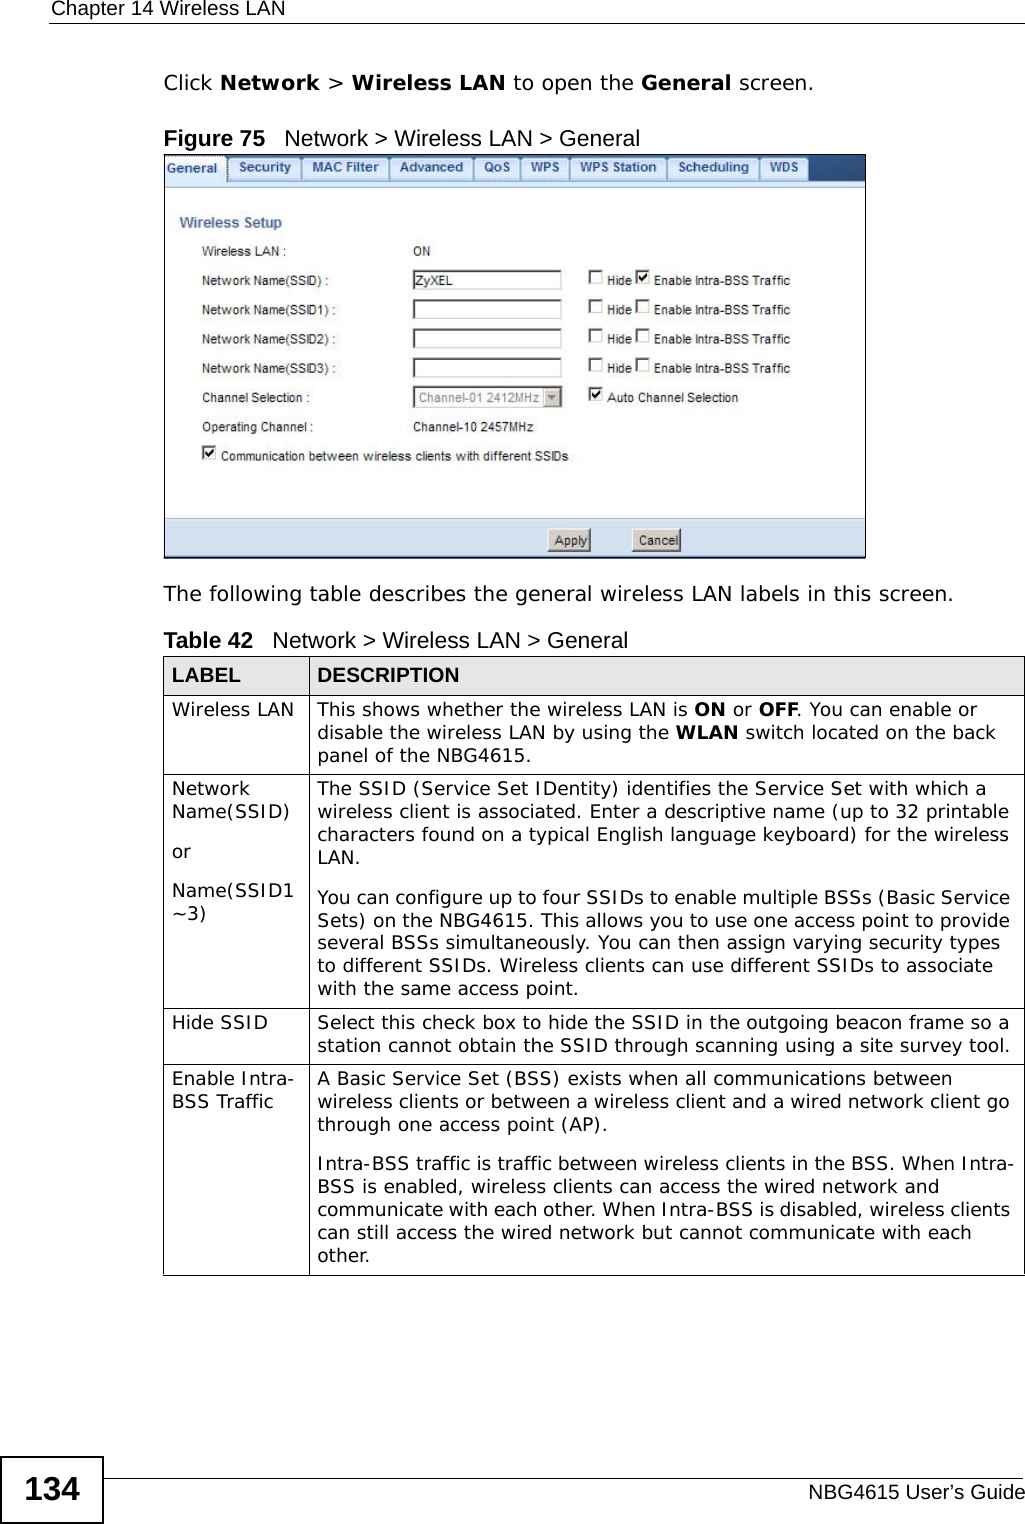
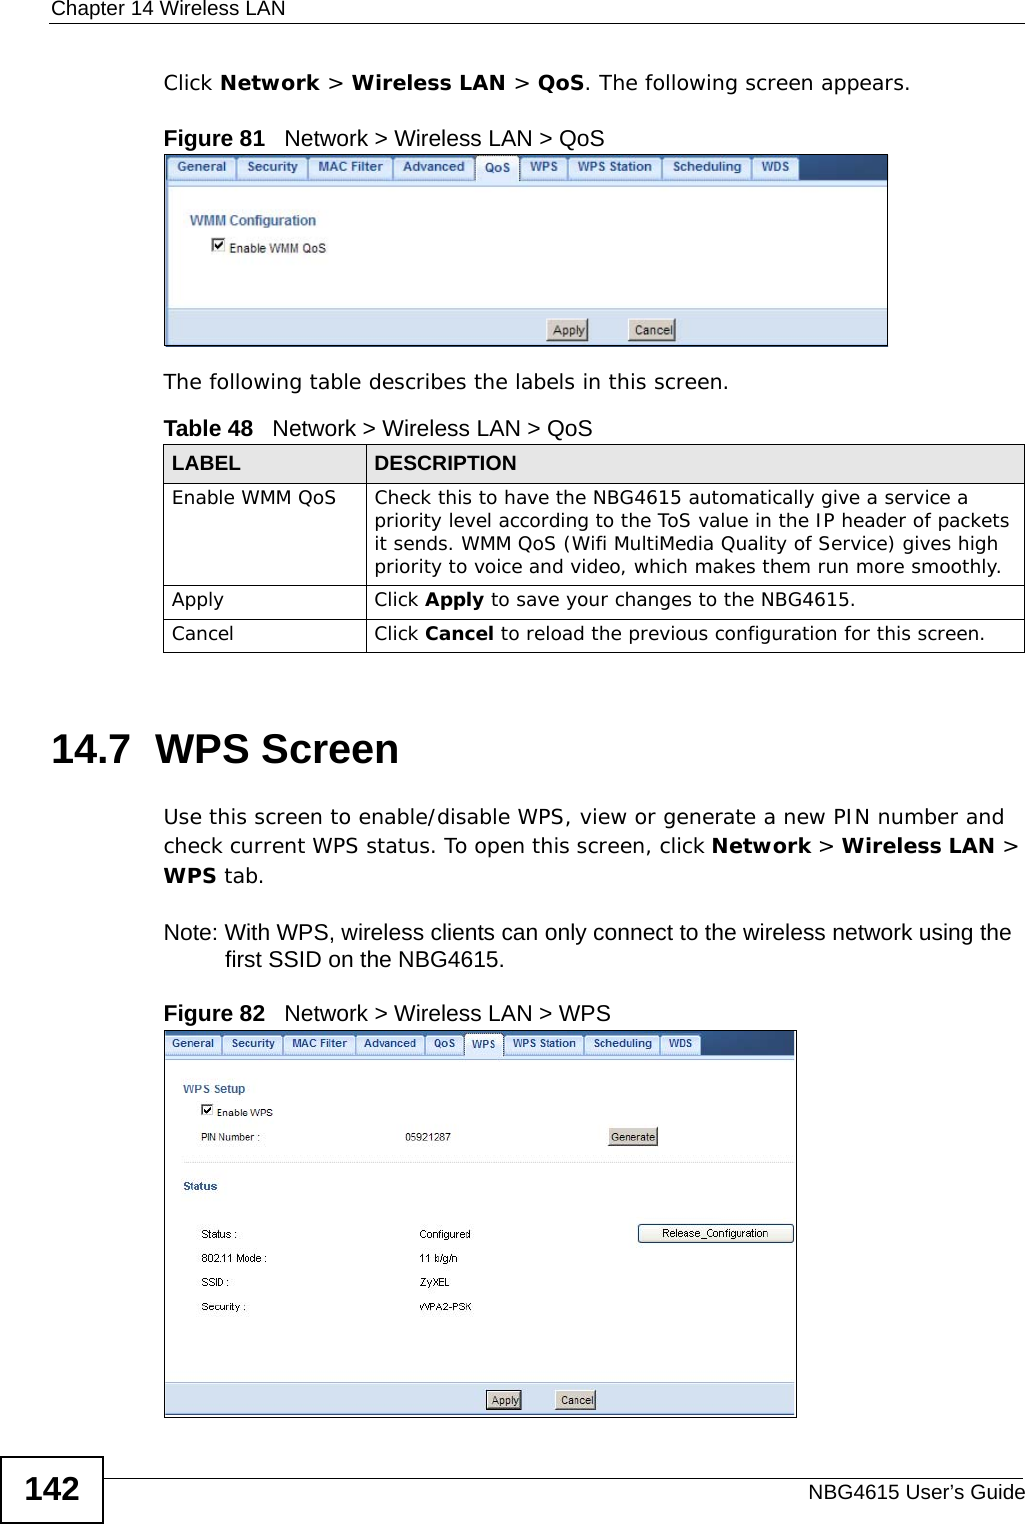
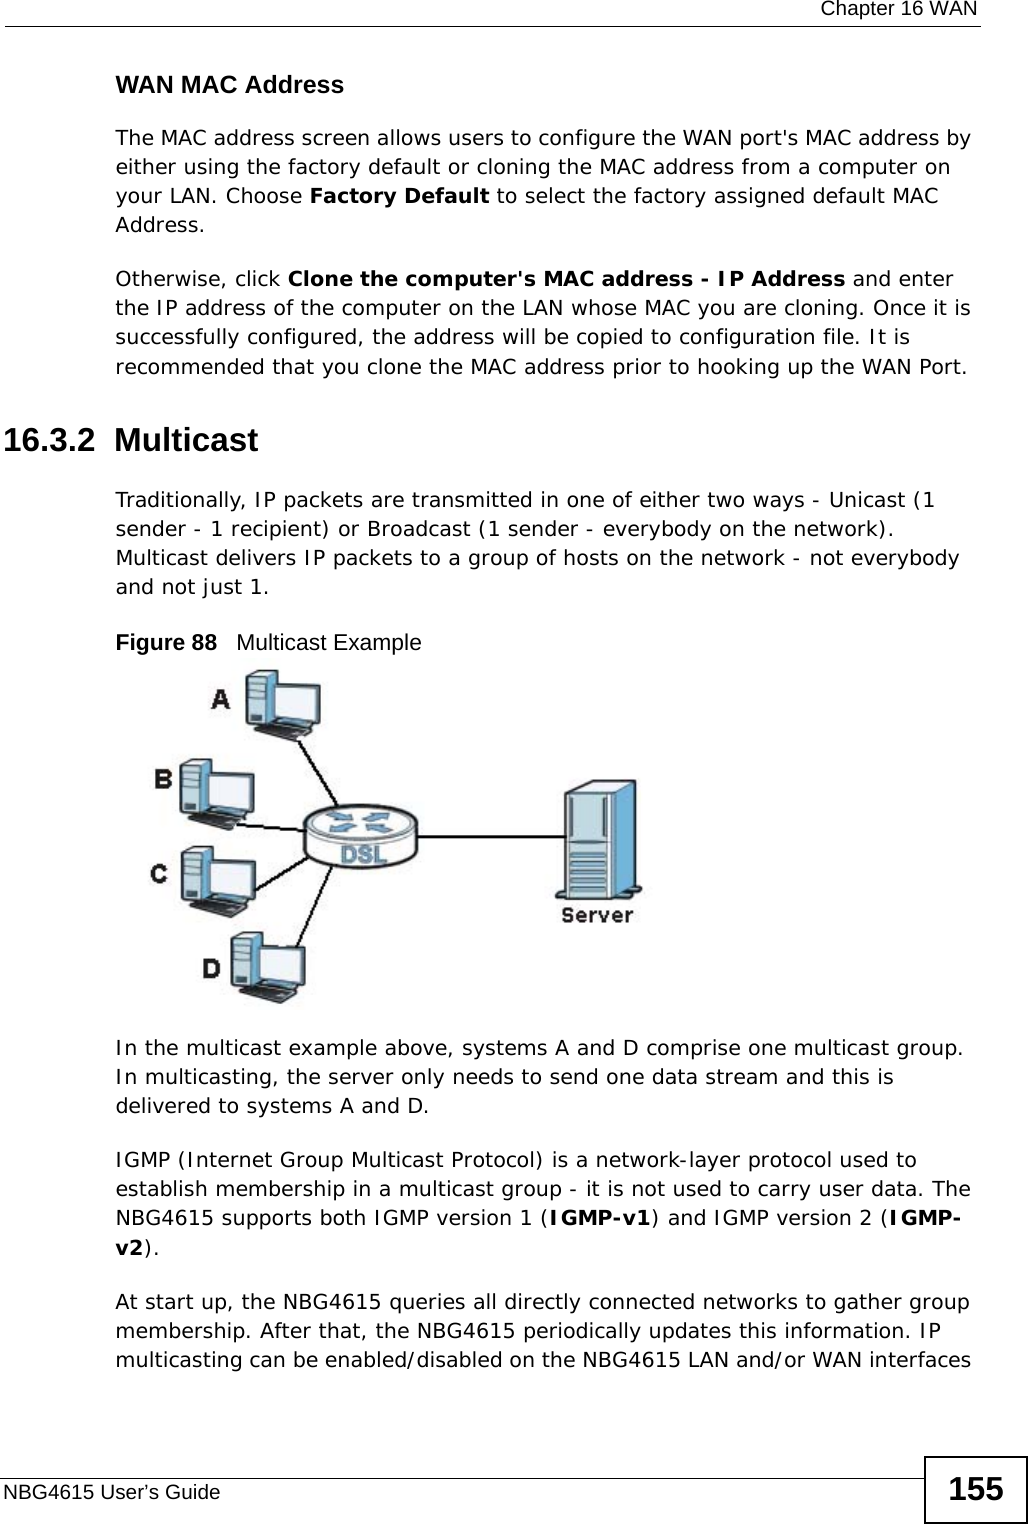
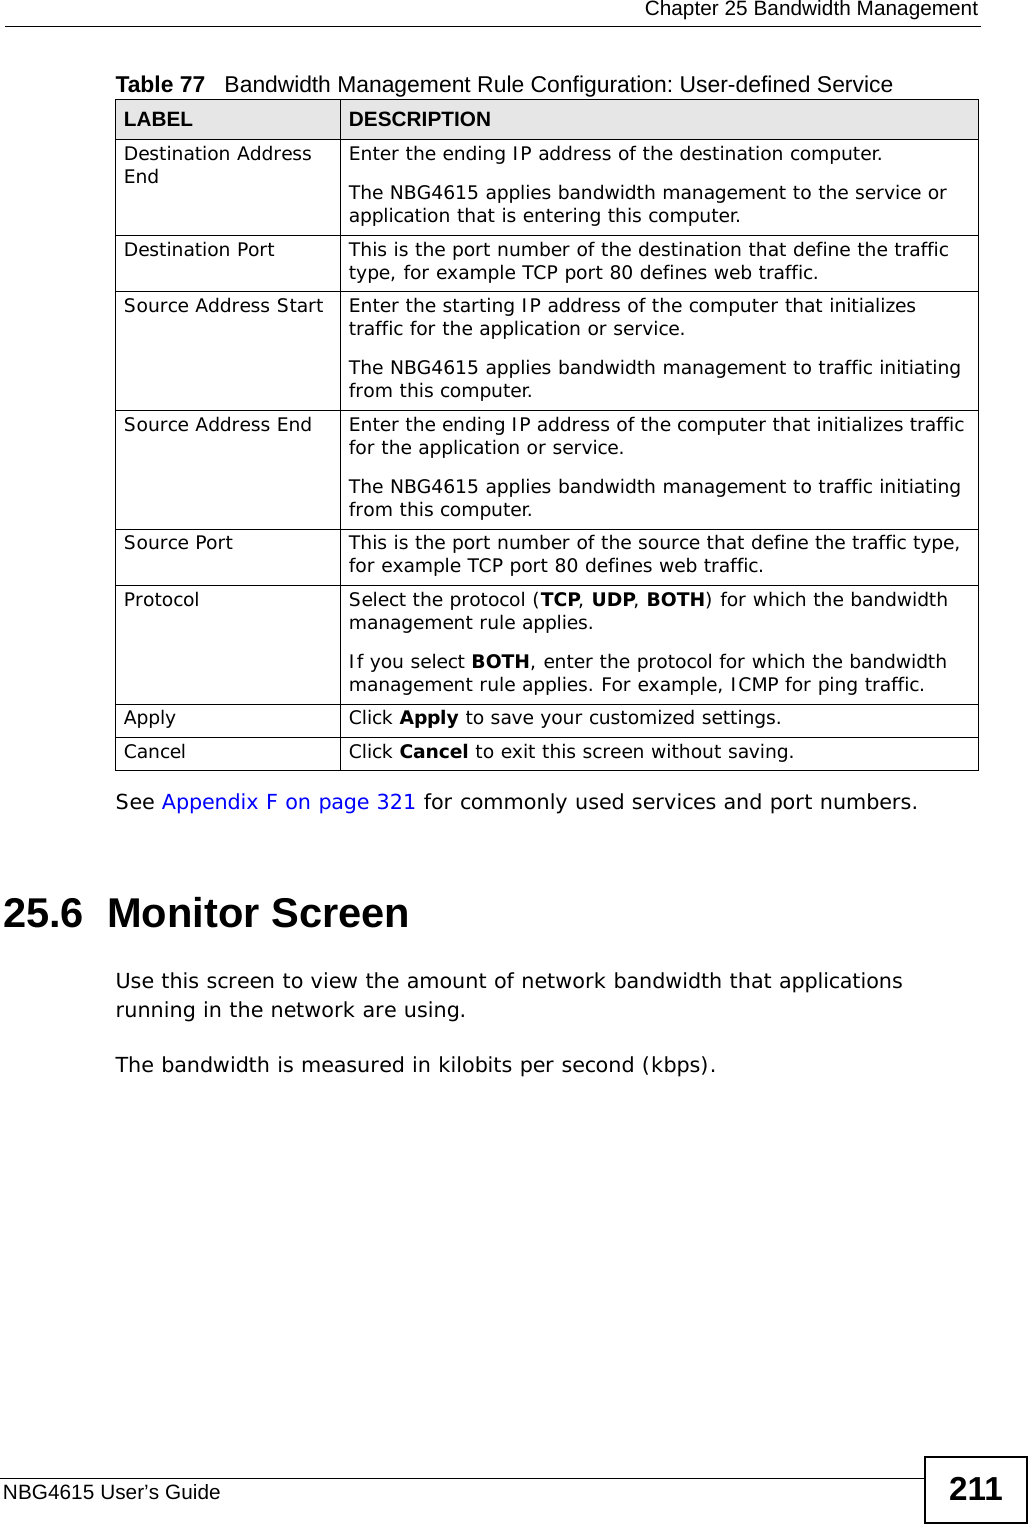
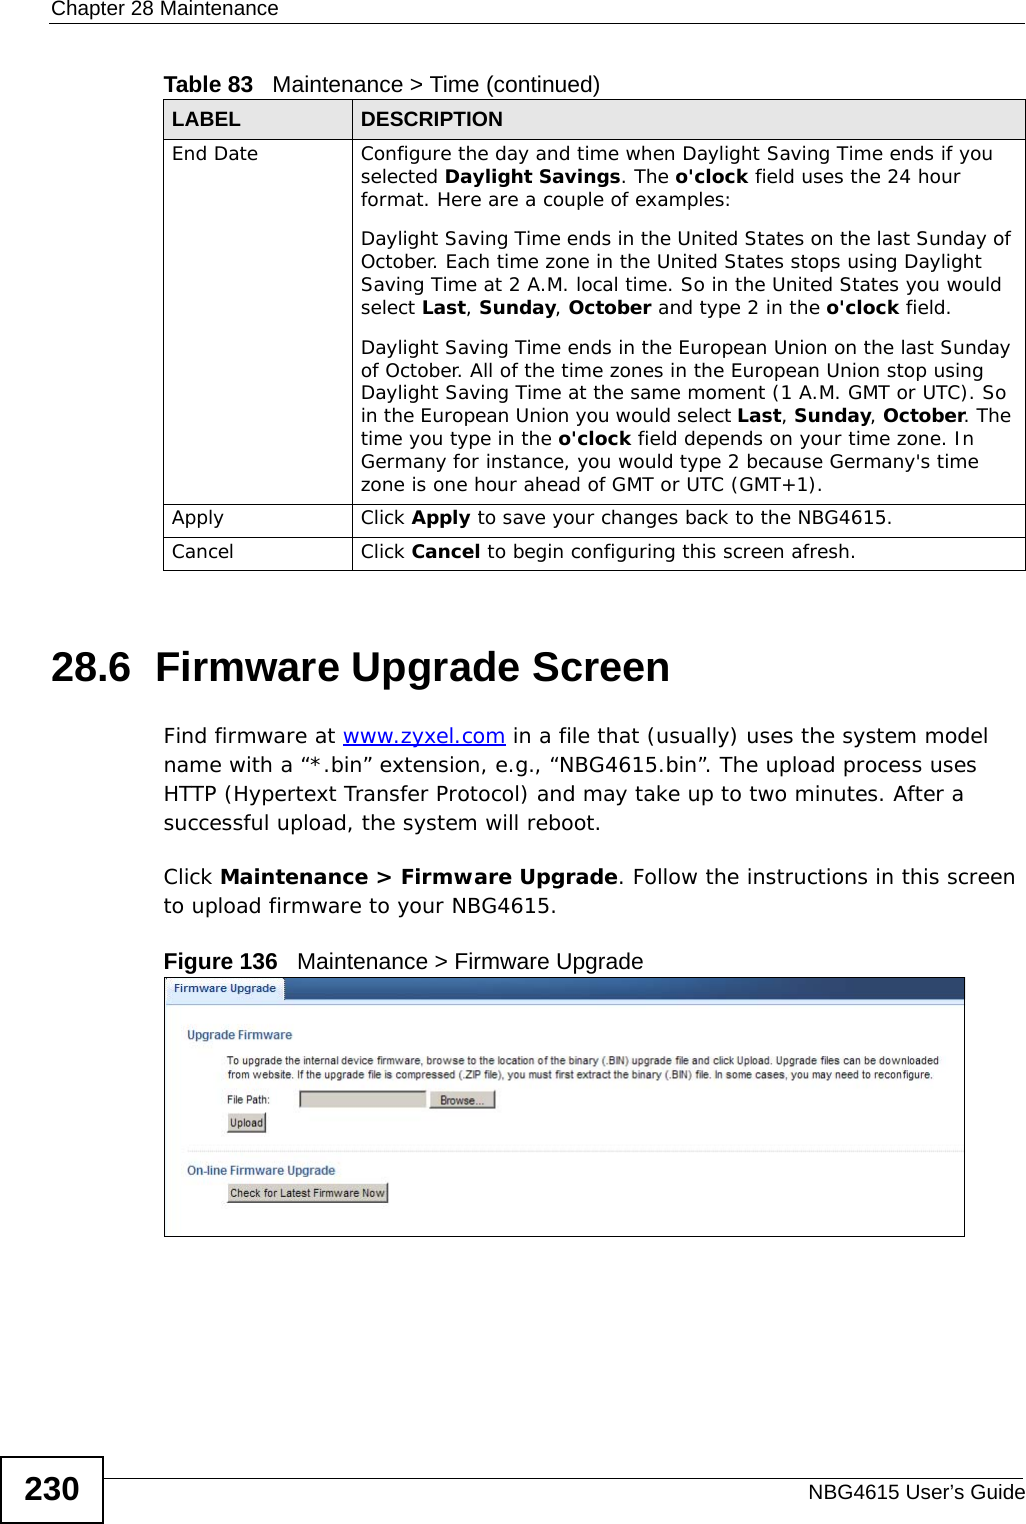
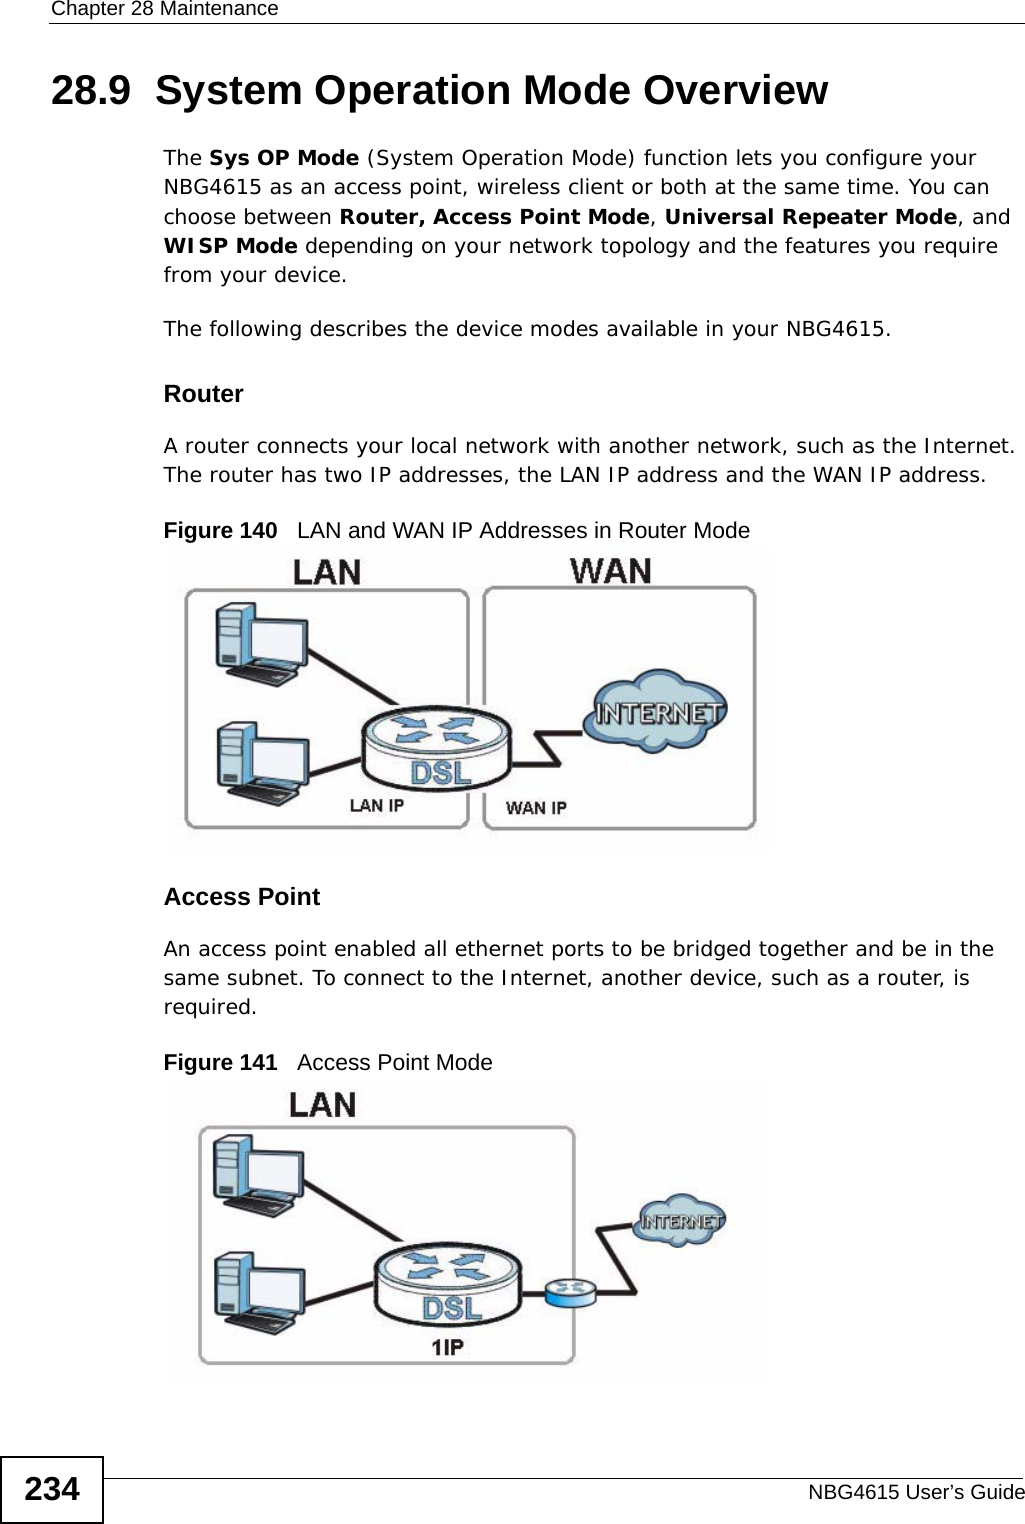
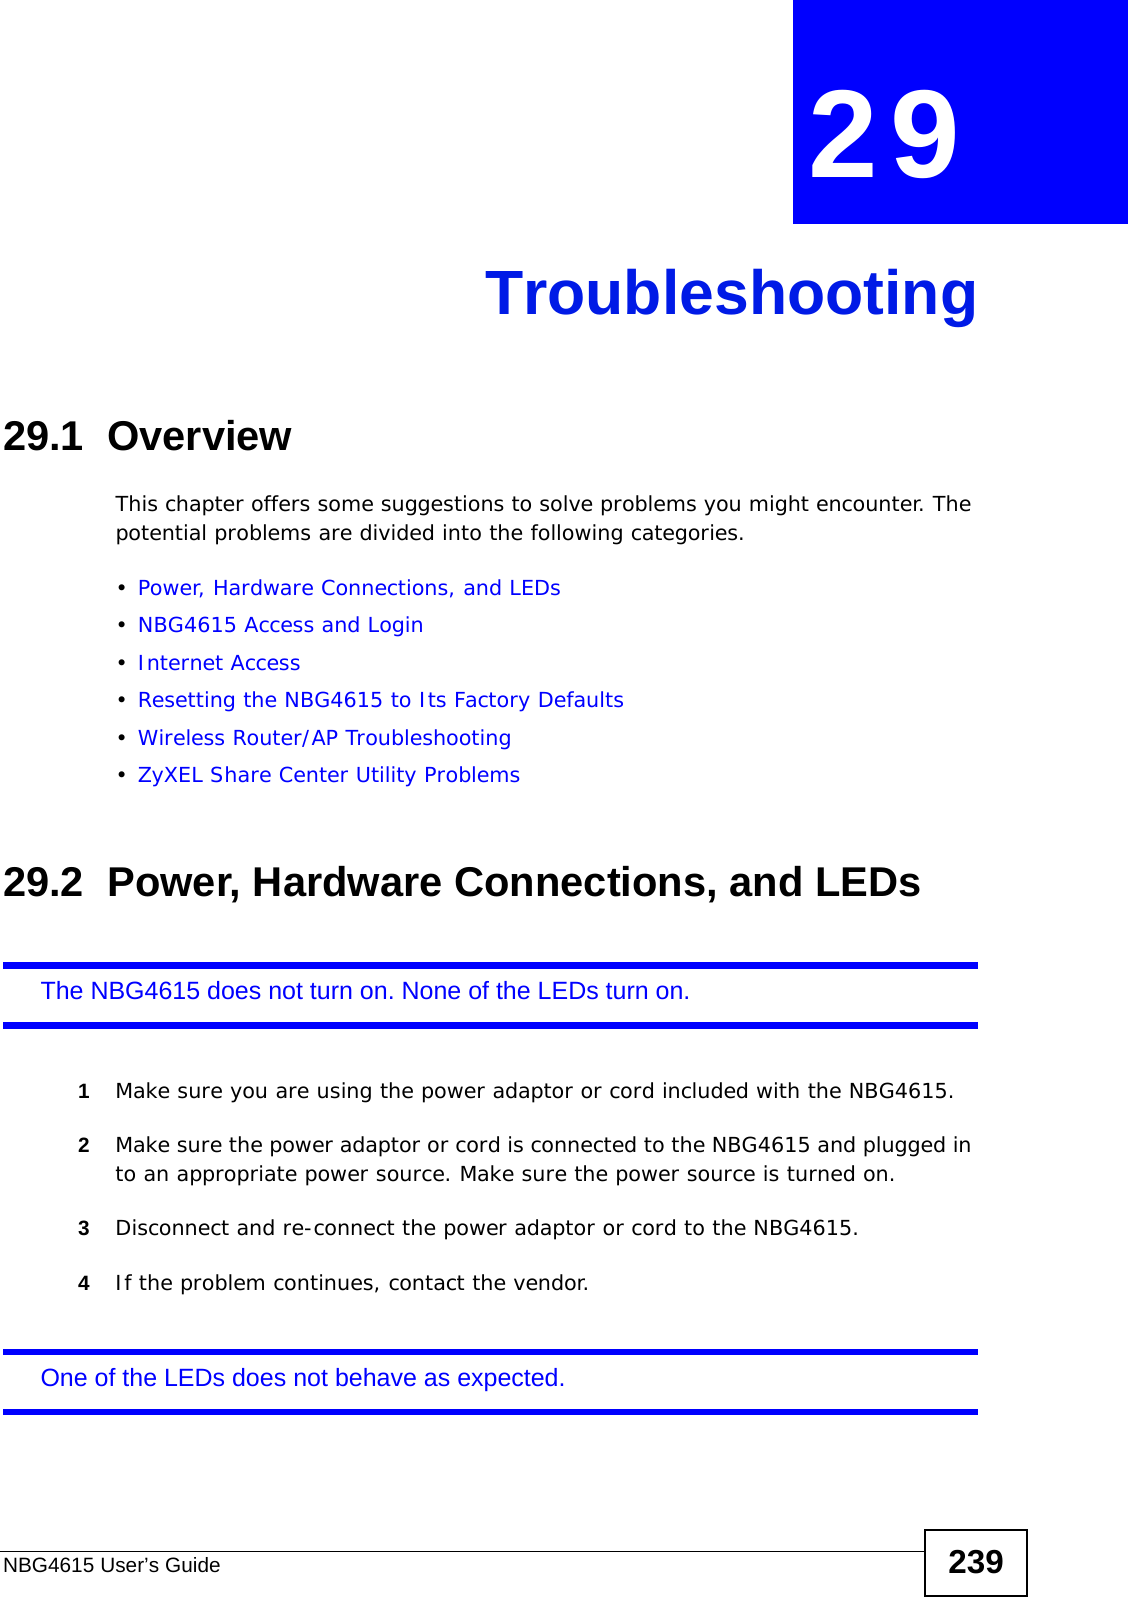
![Chapter 24 Content FilteringNBG4615 User’s Guide204Full Path URL CheckingFull path URL checking has the NBG4615 check the characters that come before the last slash in the URL.For example, with the URL www.zyxel.com.tw/news/pressroom.php, full path URL checking searches for keywords within www.zyxel.com.tw/news/.Use the ip urlfilter customize actionFlags 6 [disable | enable] command to extend (or not extend) the keyword blocking search to include the URL's full path.File Name URL CheckingFilename URL checking has the NBG4615 check all of the characters in the URL.For example, filename URL checking searches for keywords within the URL www.zyxel.com.tw/news/pressroom.php.Use the ip urlfilter customize actionFlags 8 [disable | enable] command to extend (or not extend) the keyword blocking search to include the URL's complete filename.](https://usermanual.wiki/ZyXEL-Communications/NBG4615.User-manual-2/User-Guide-1406735-Page-76.png)

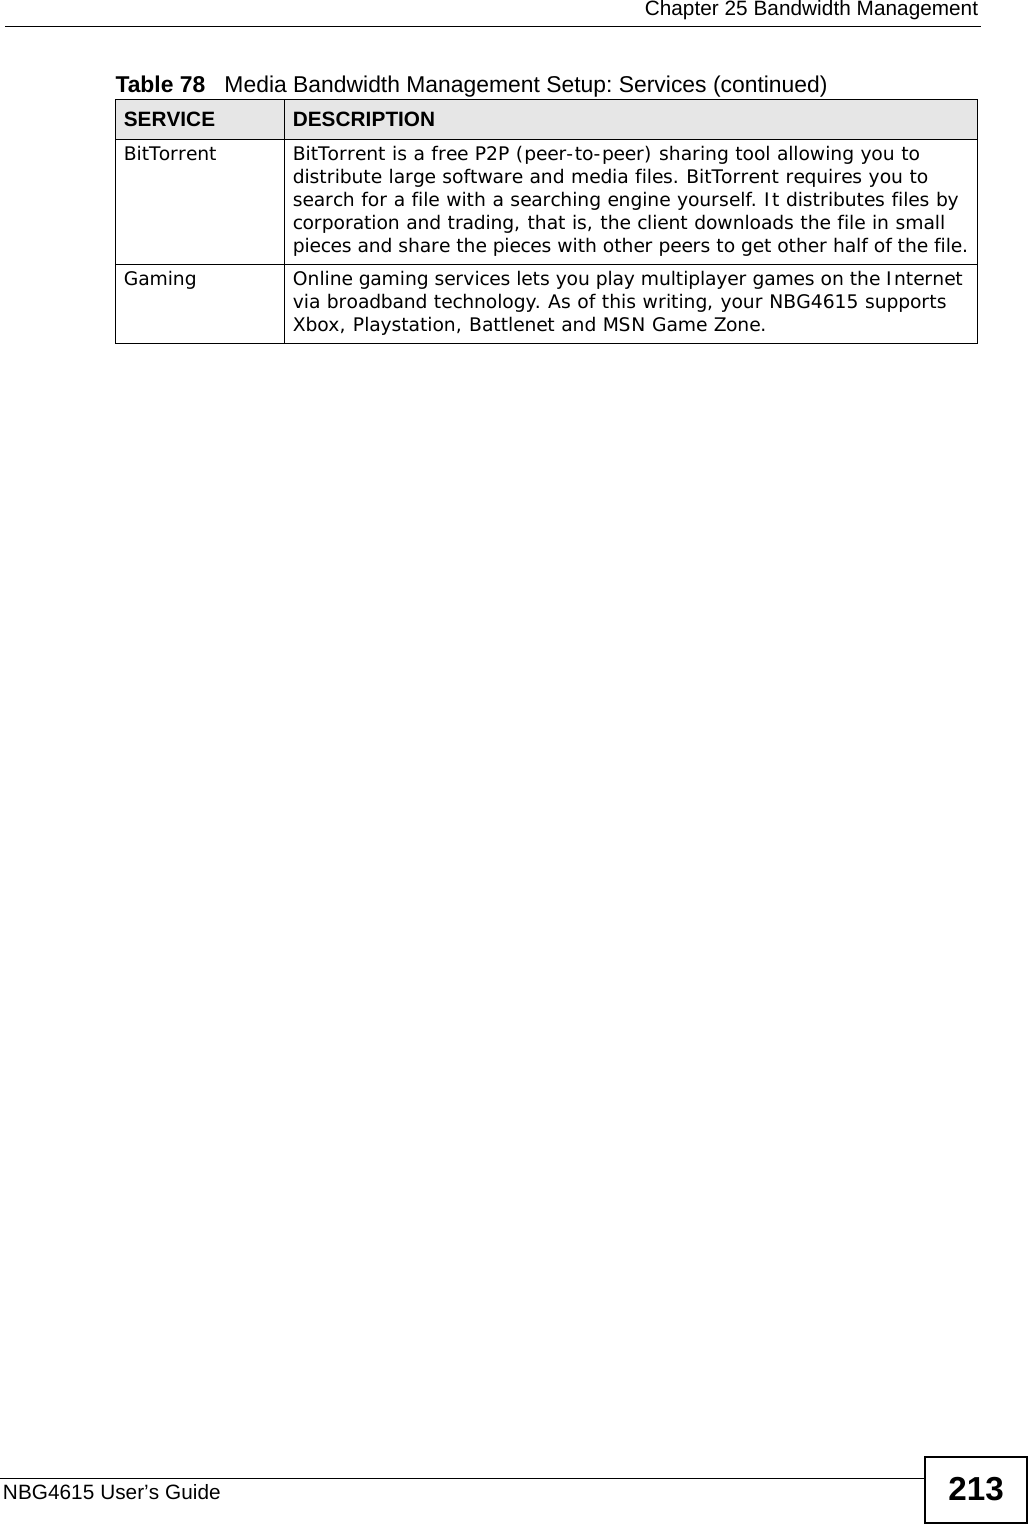


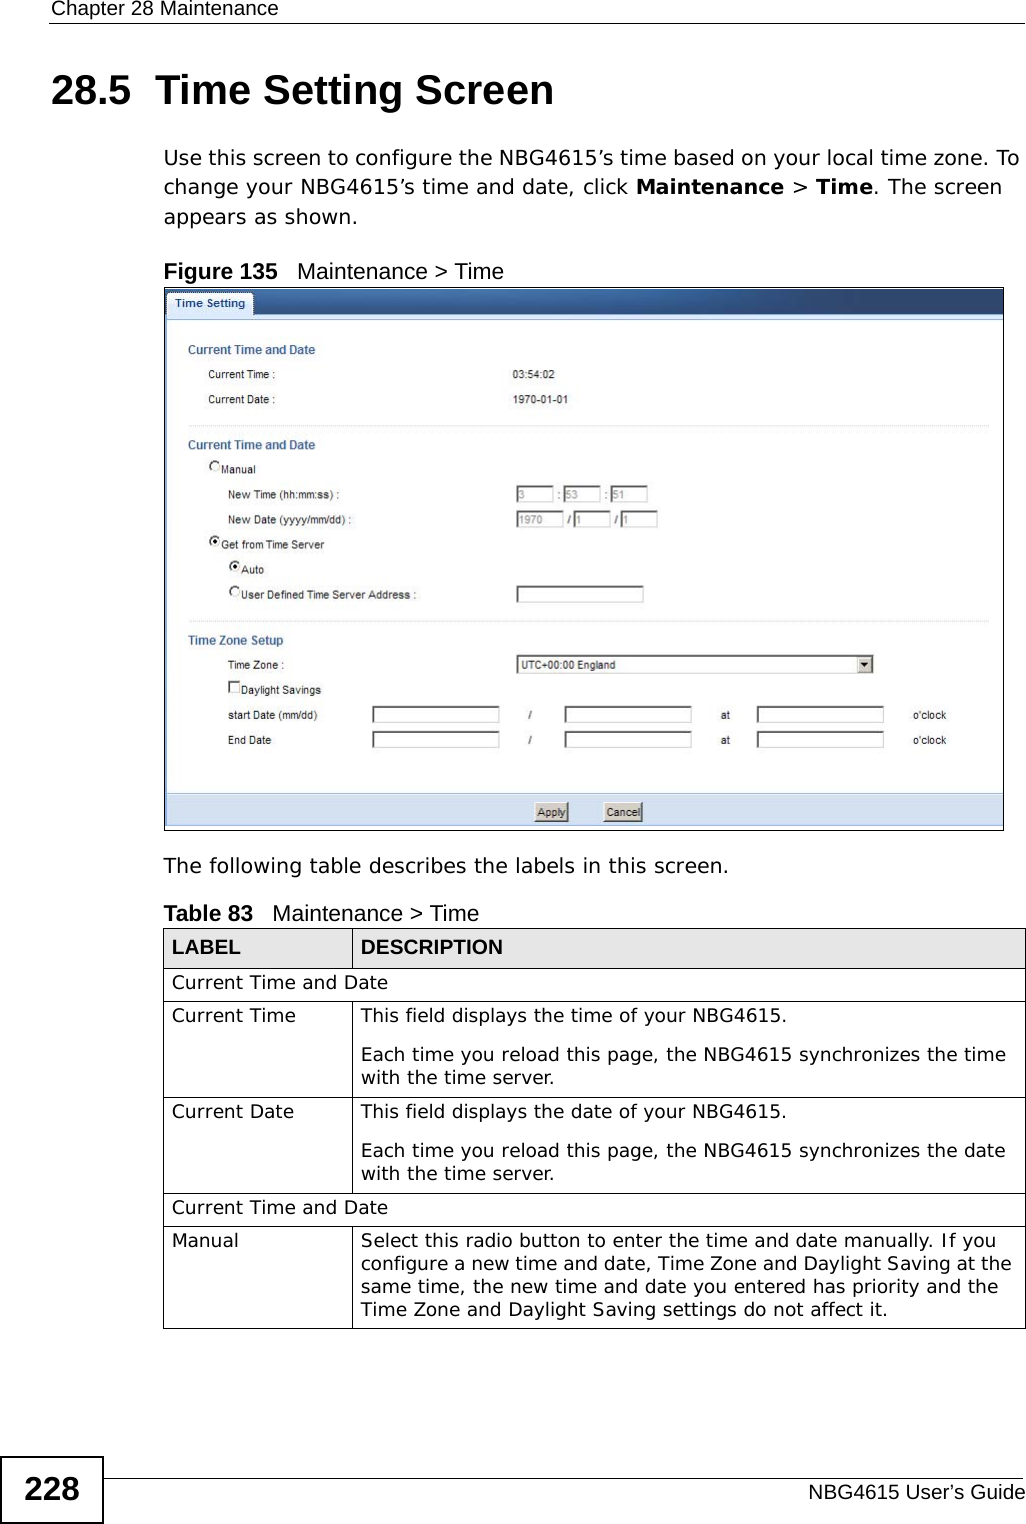
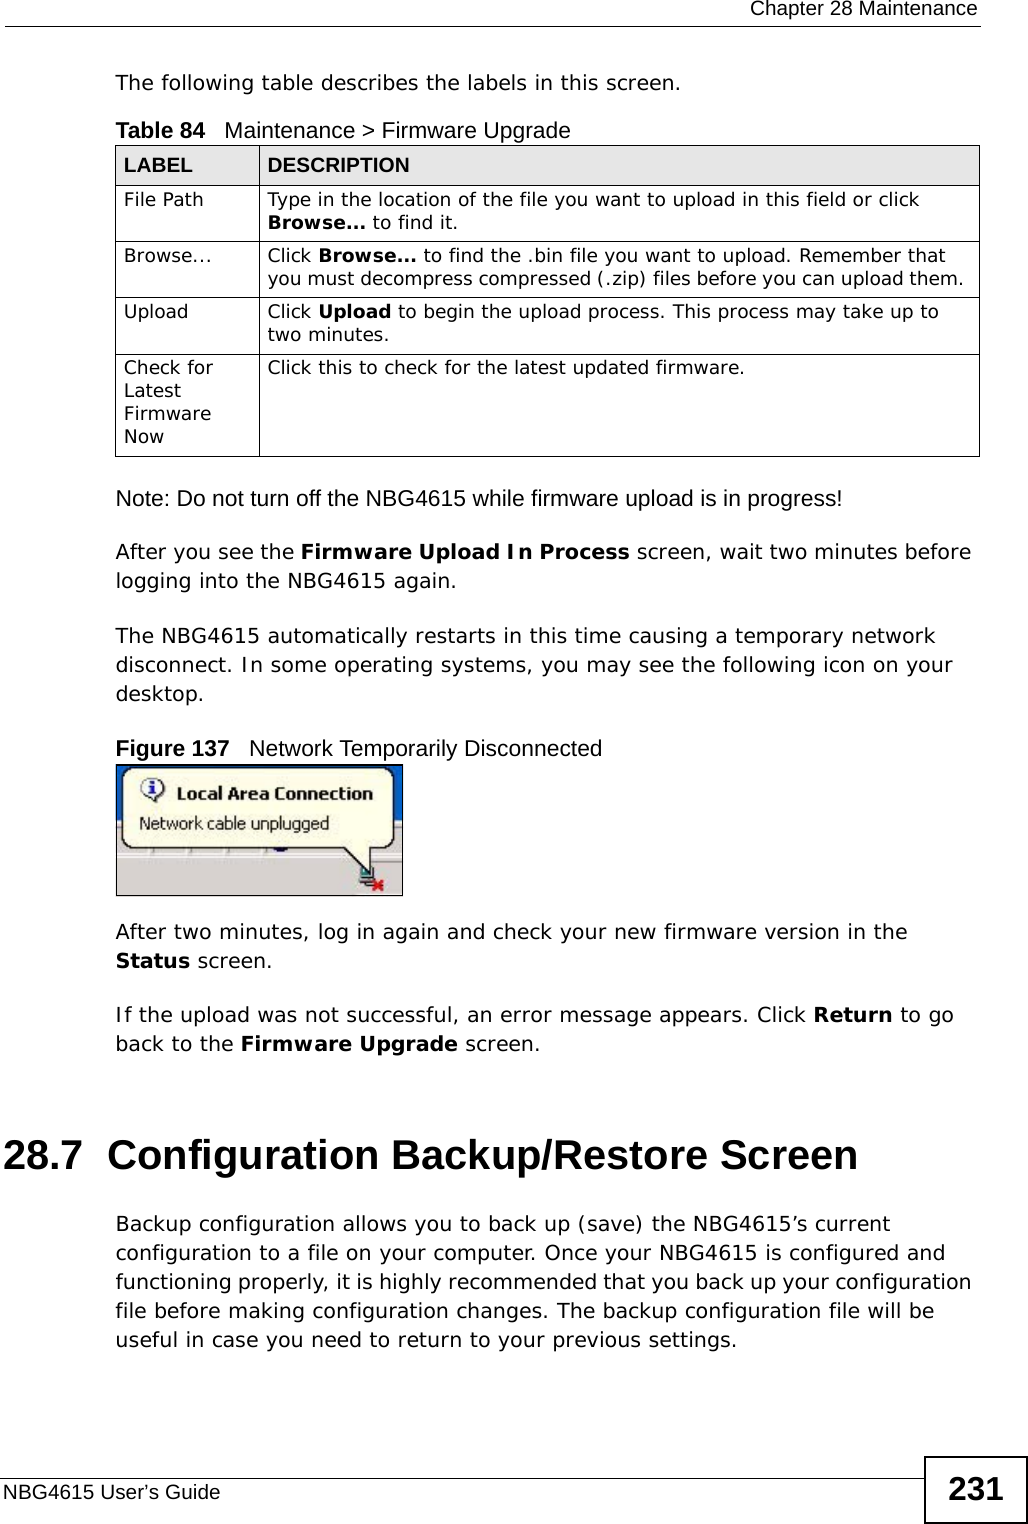
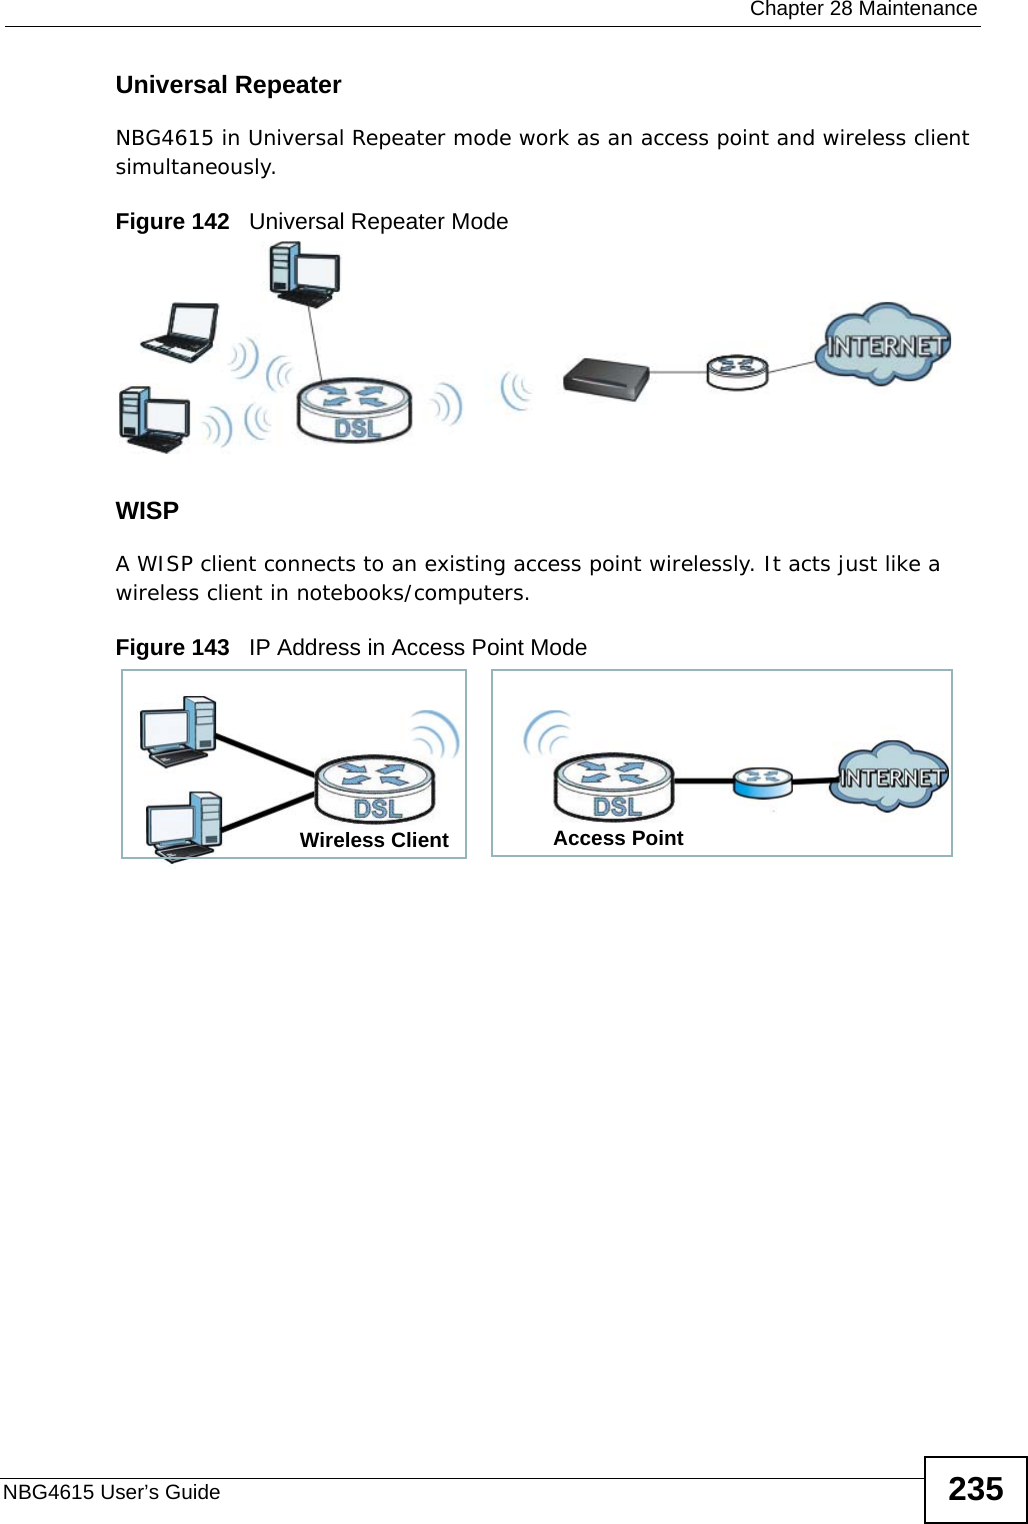

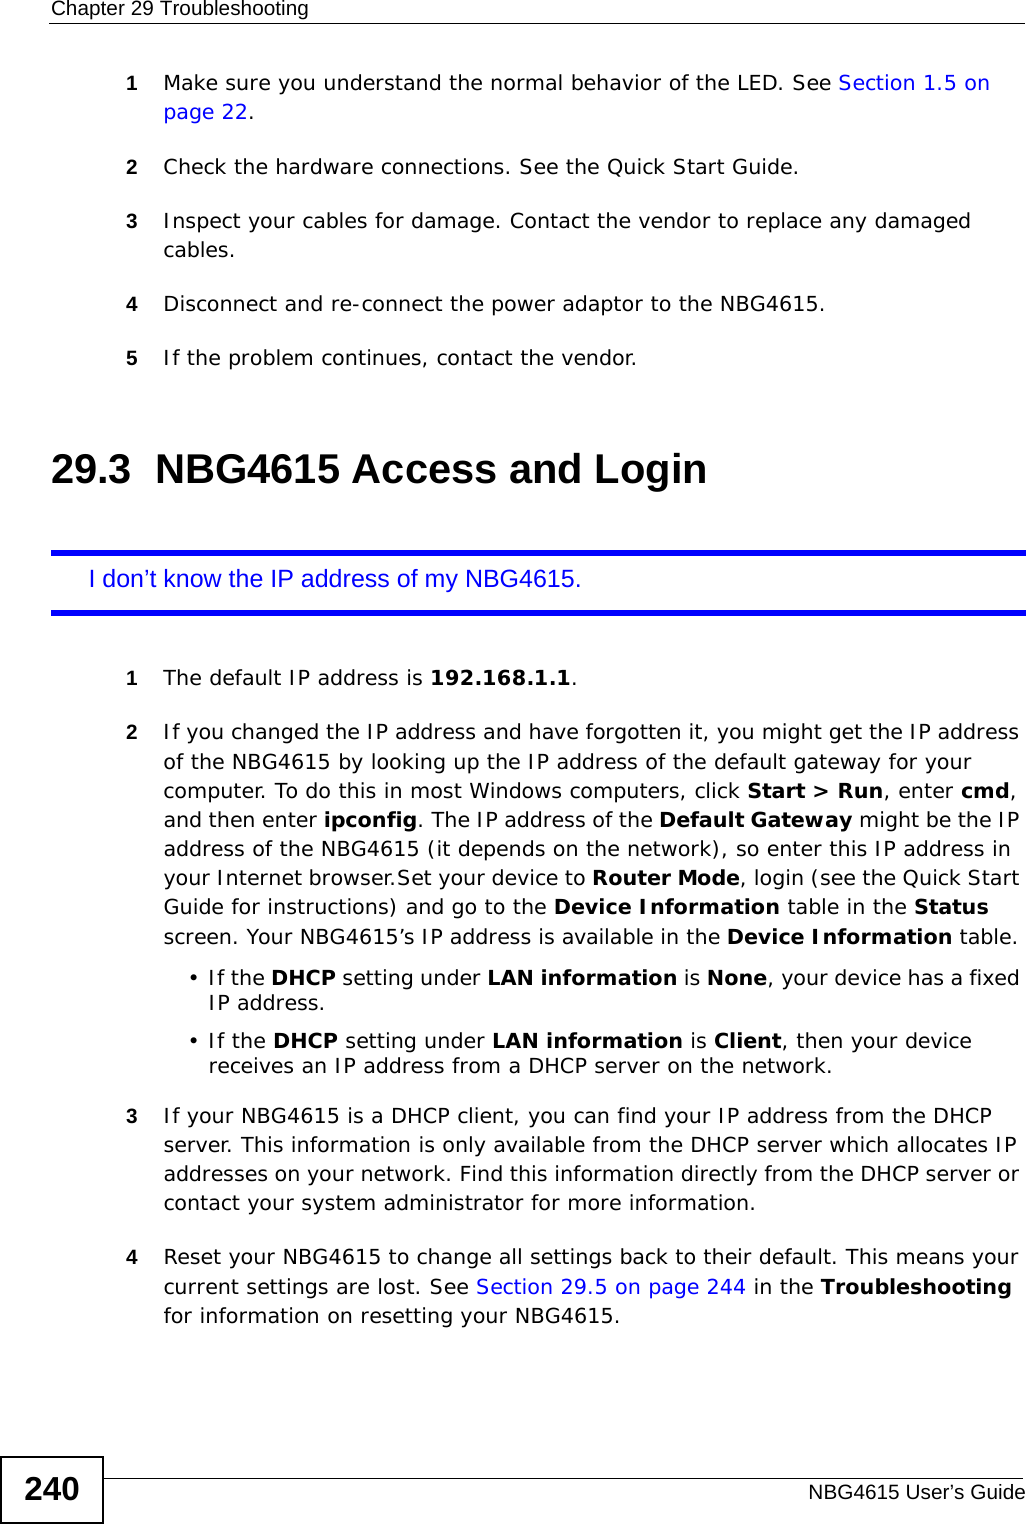
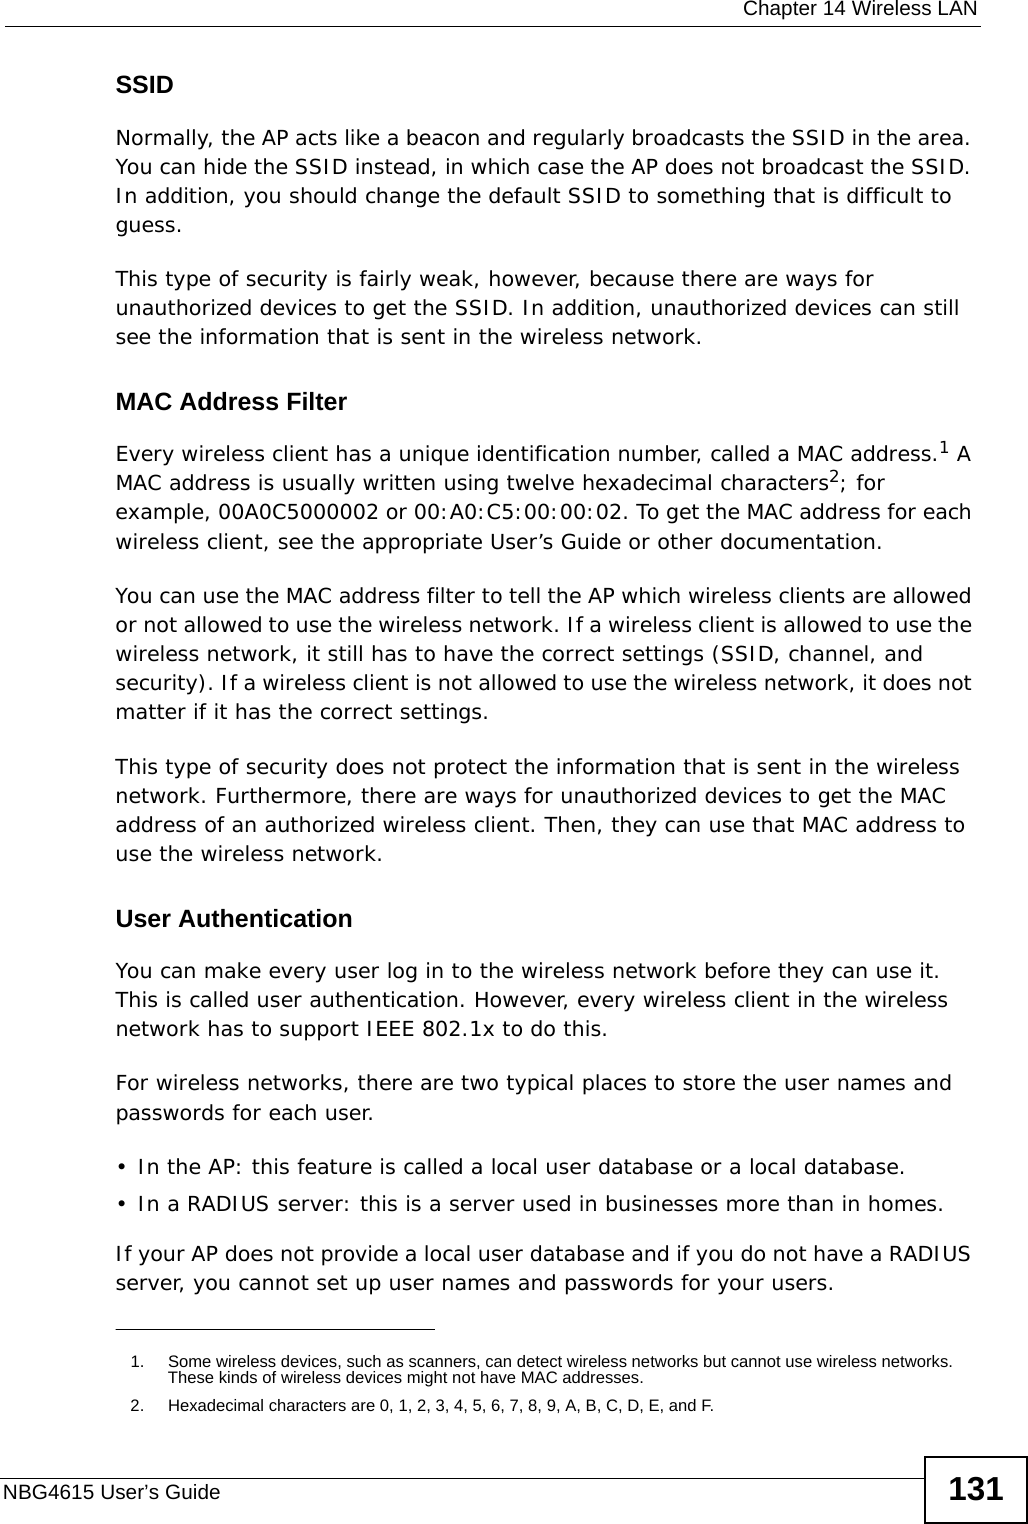
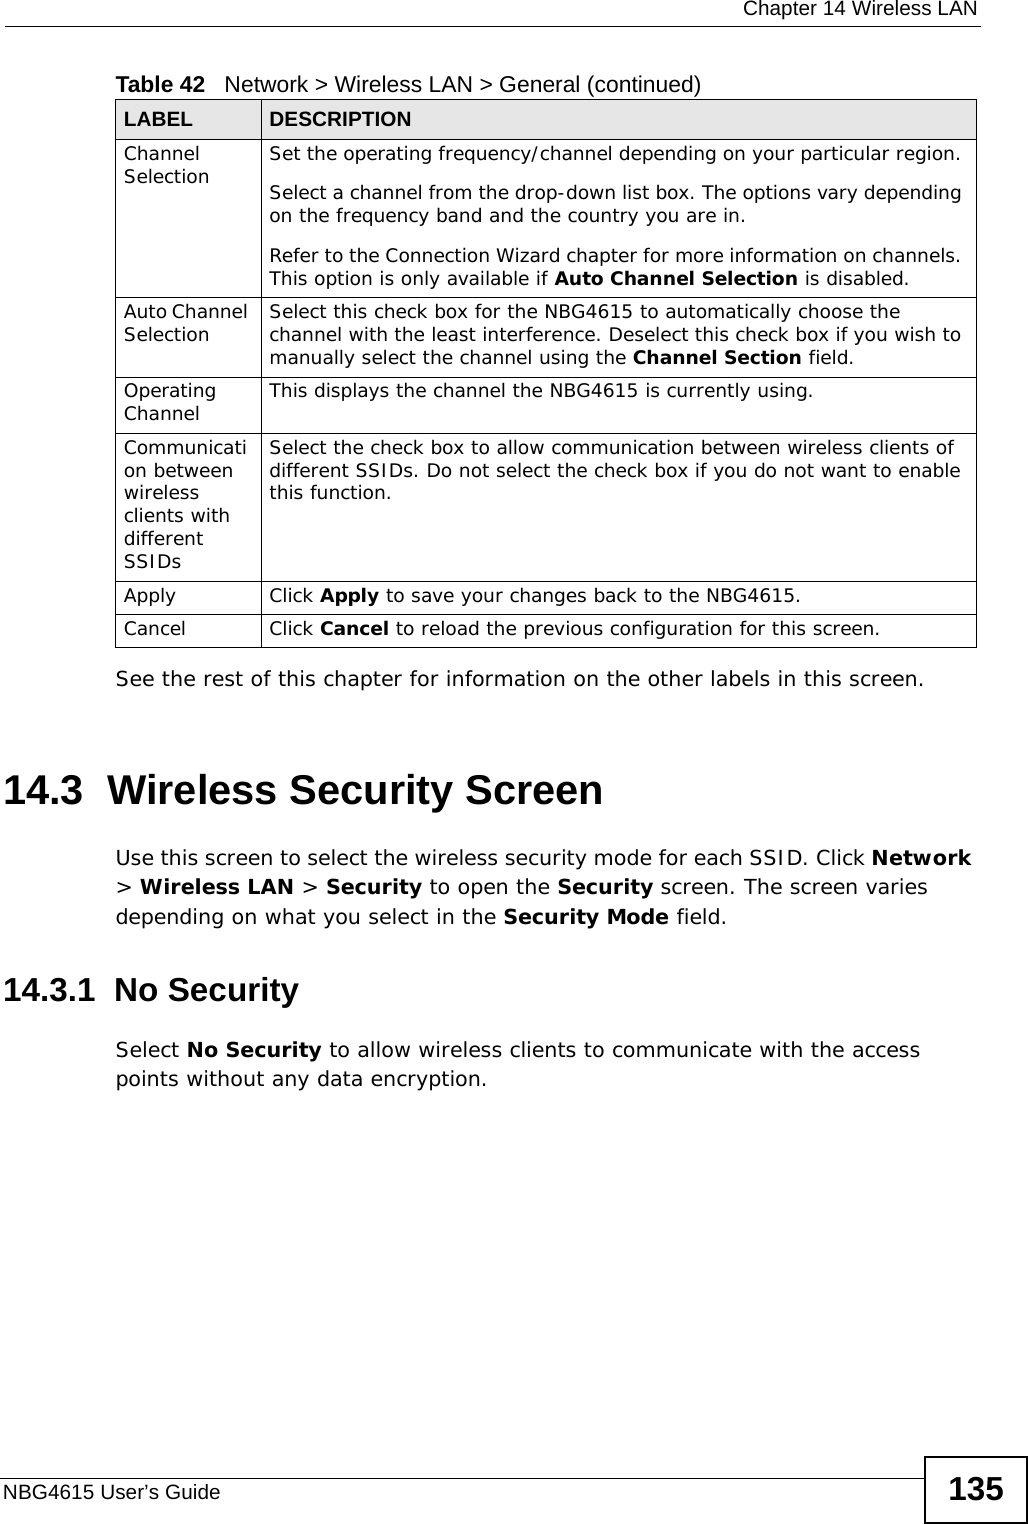
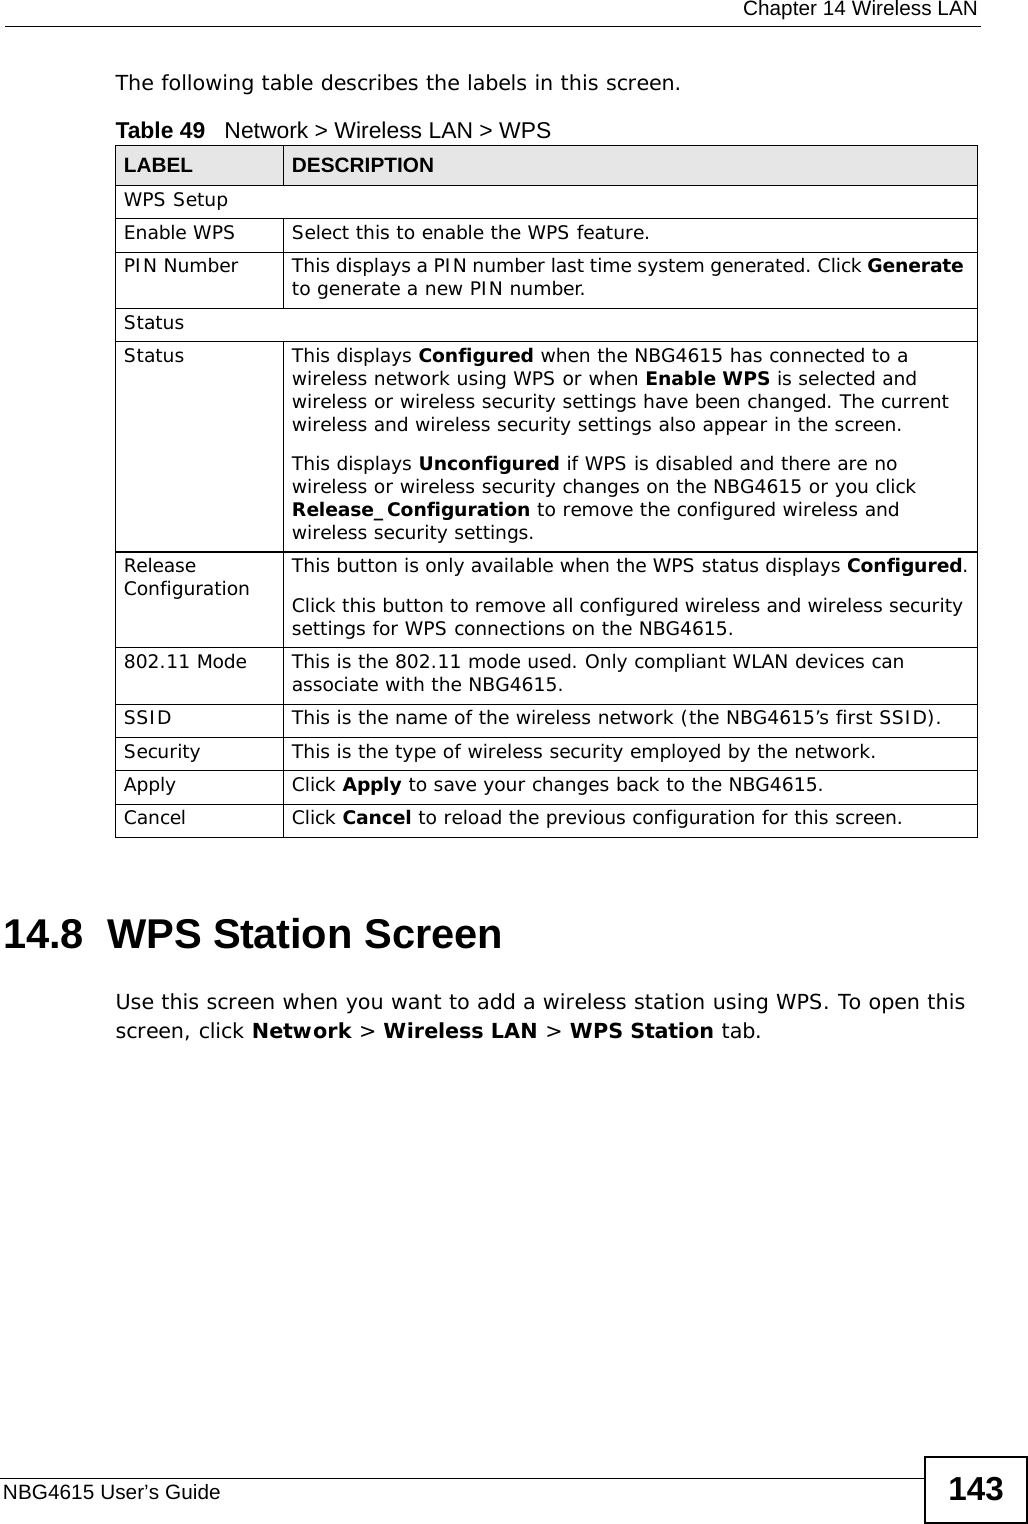
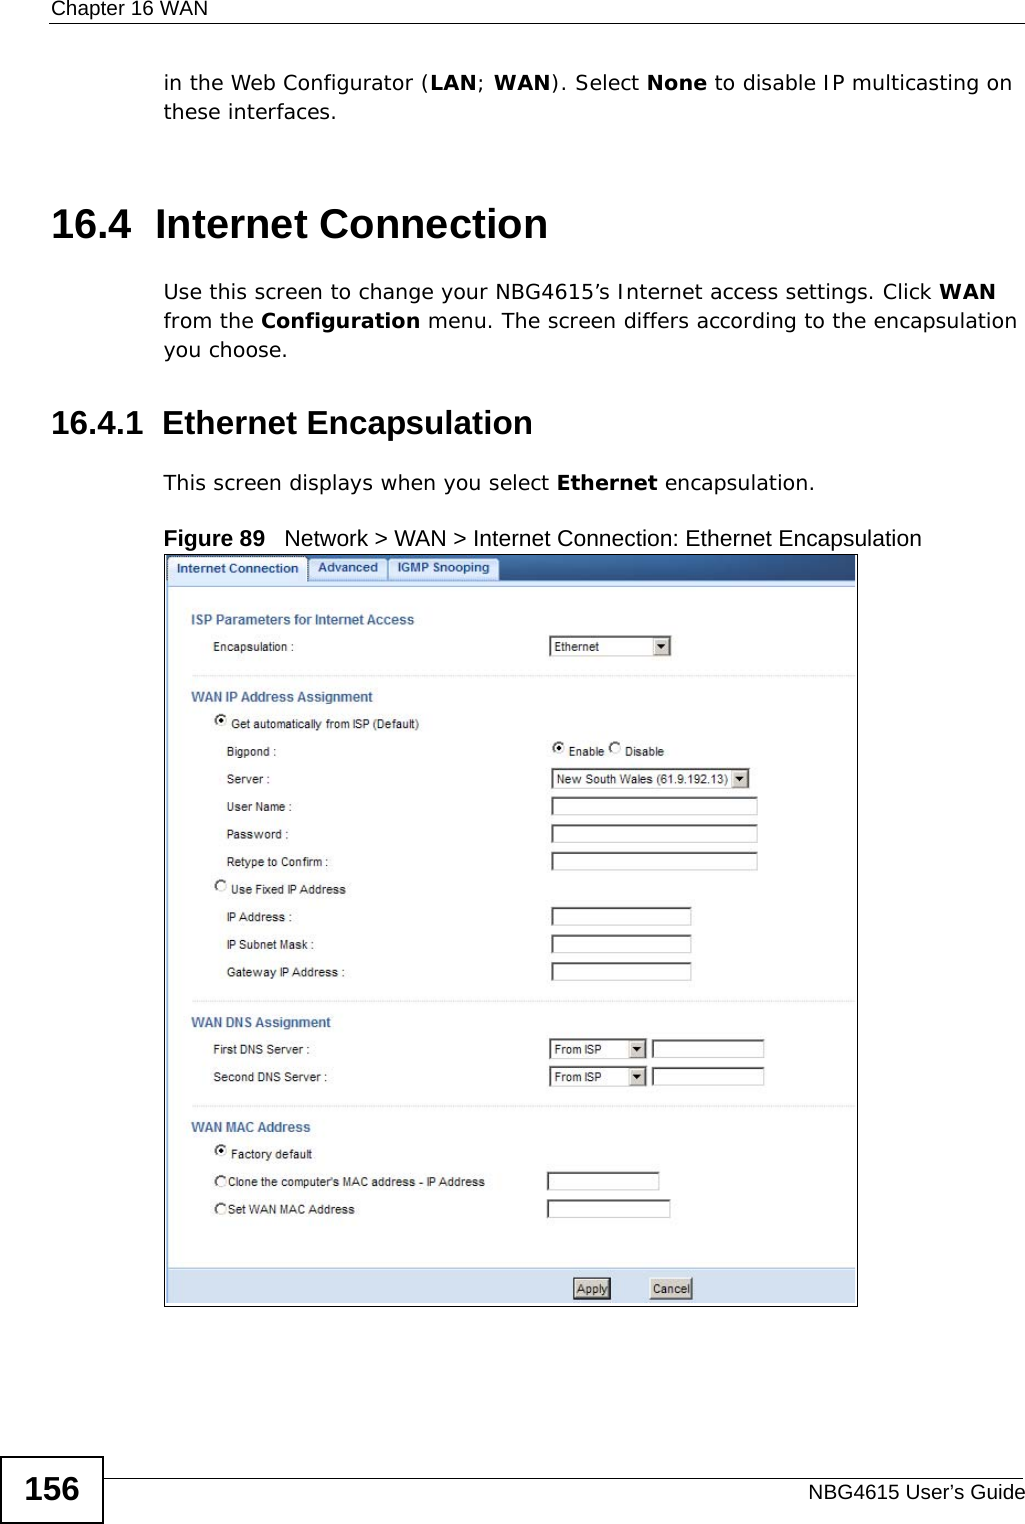
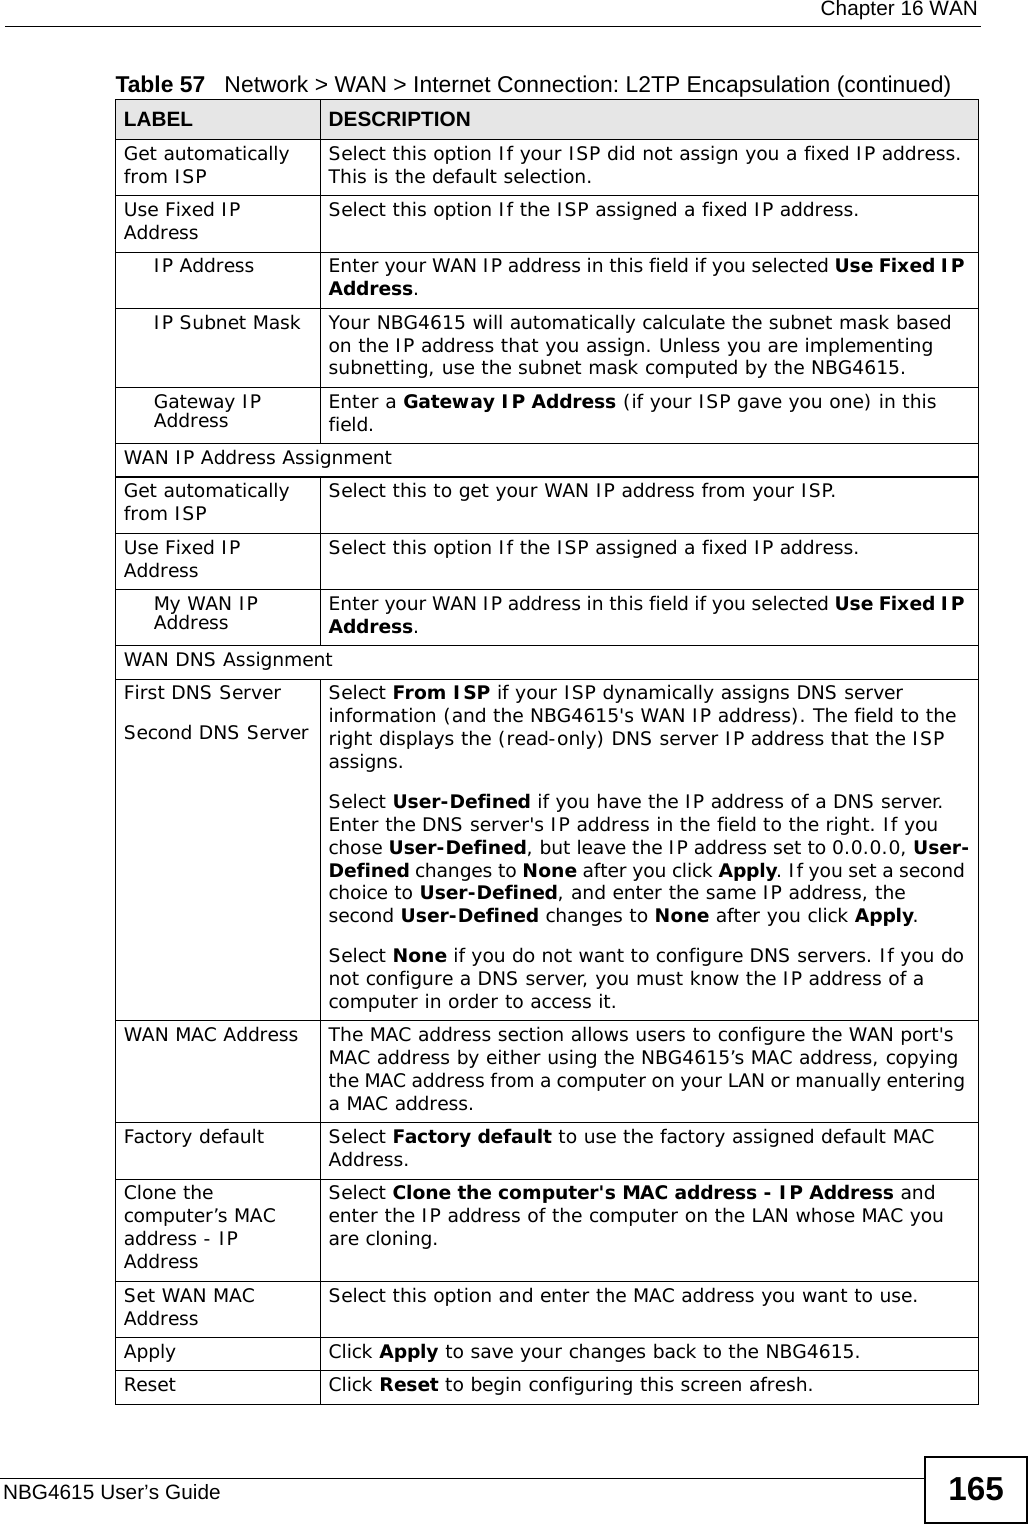
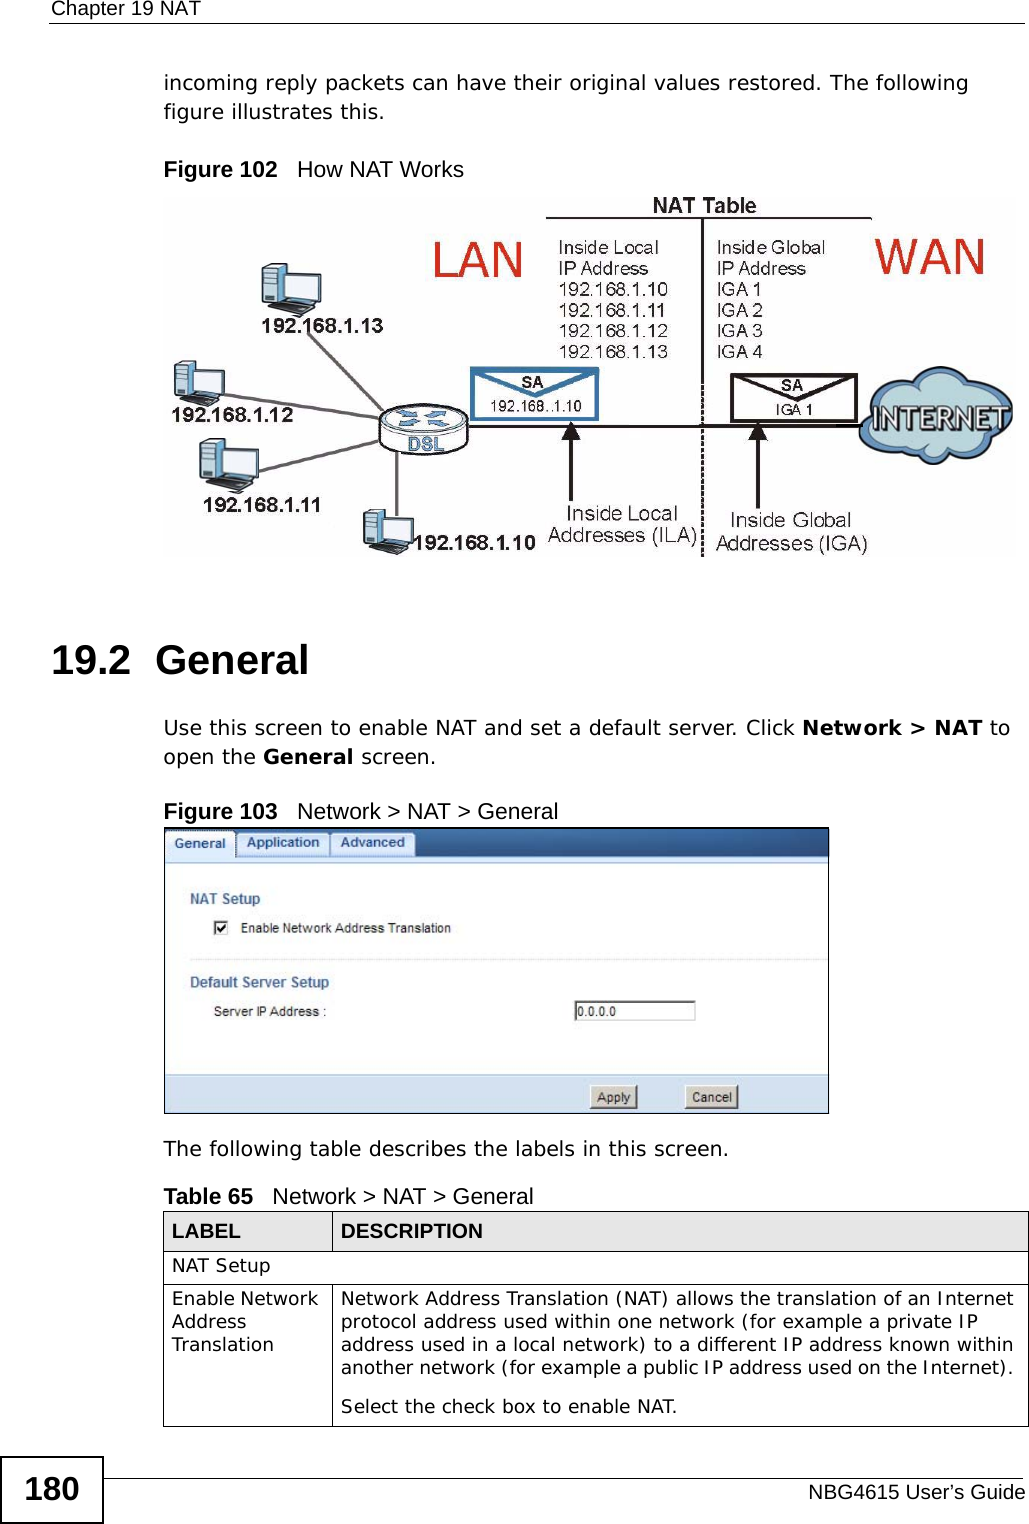
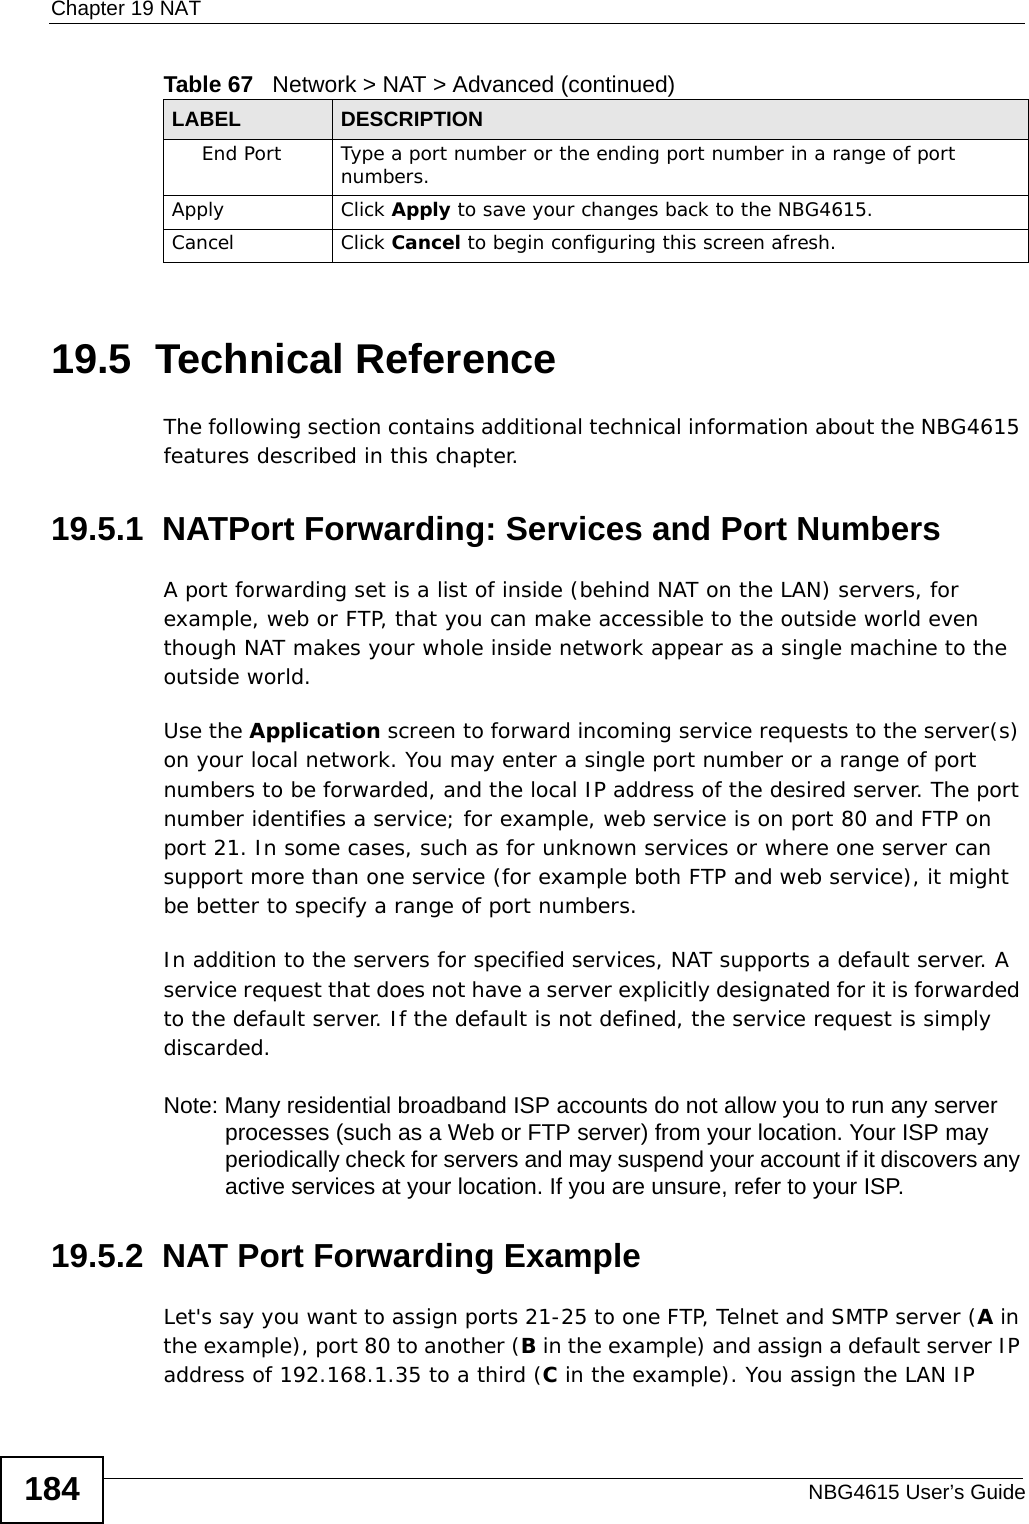
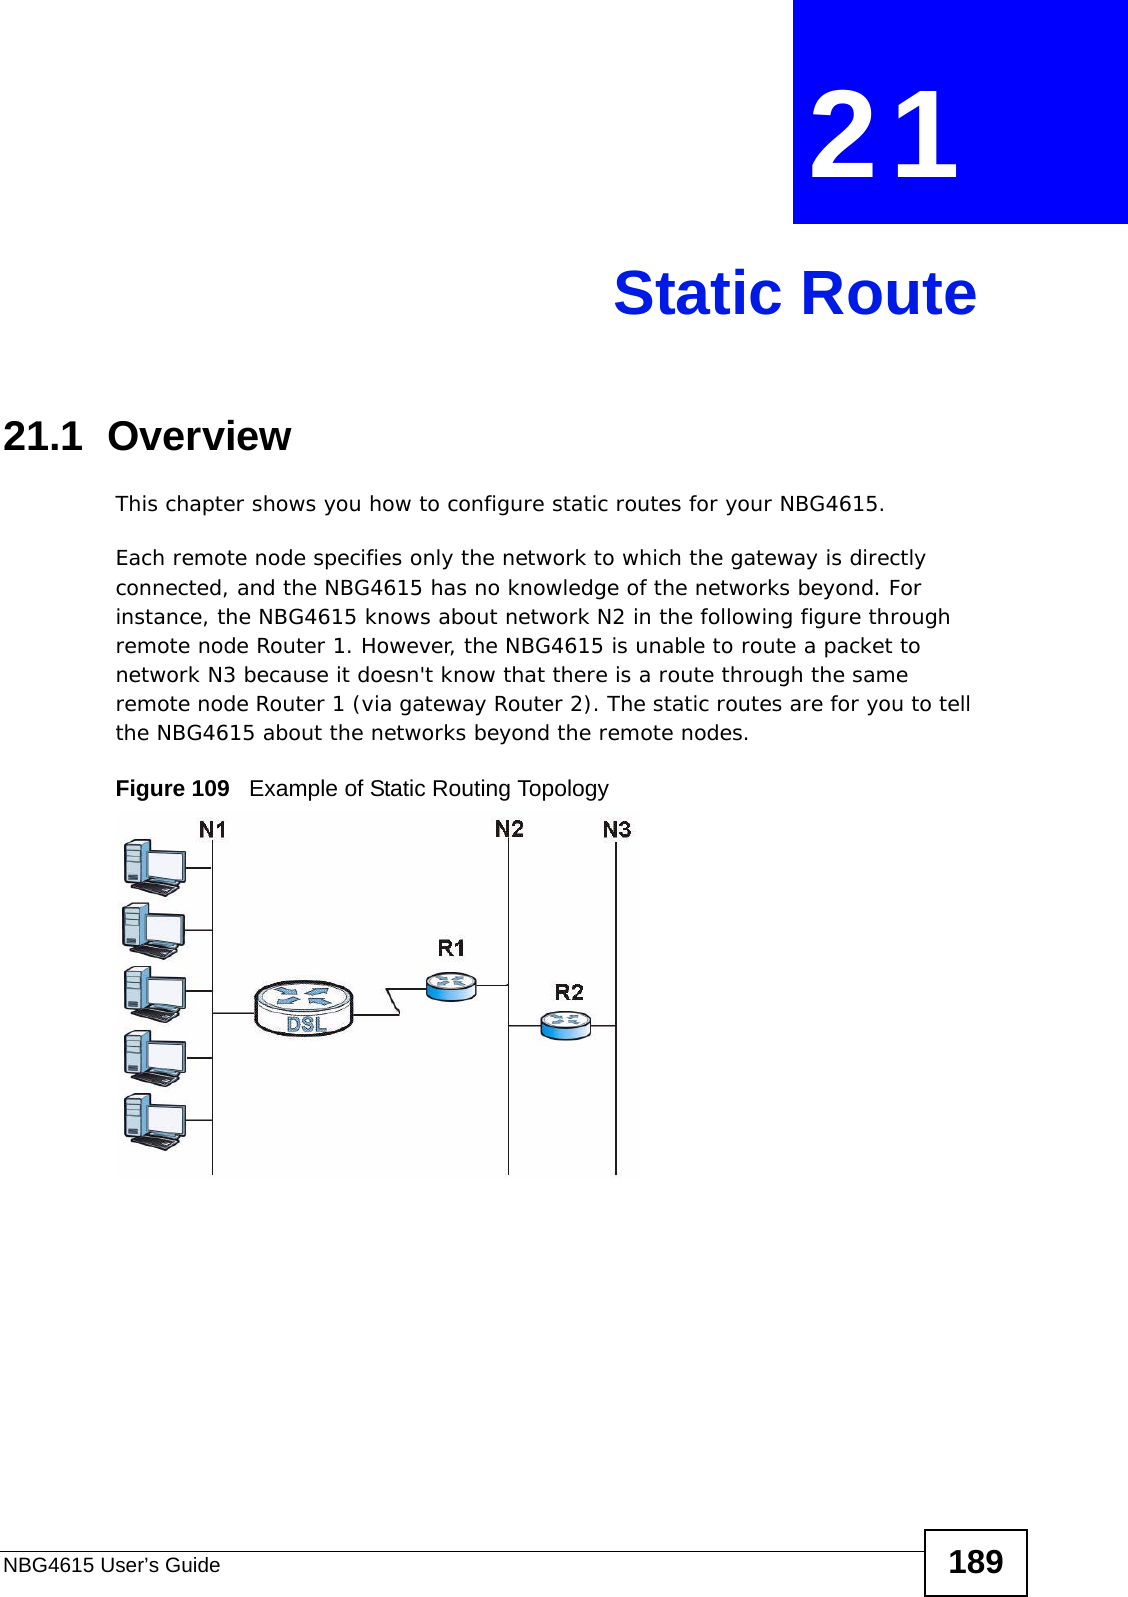
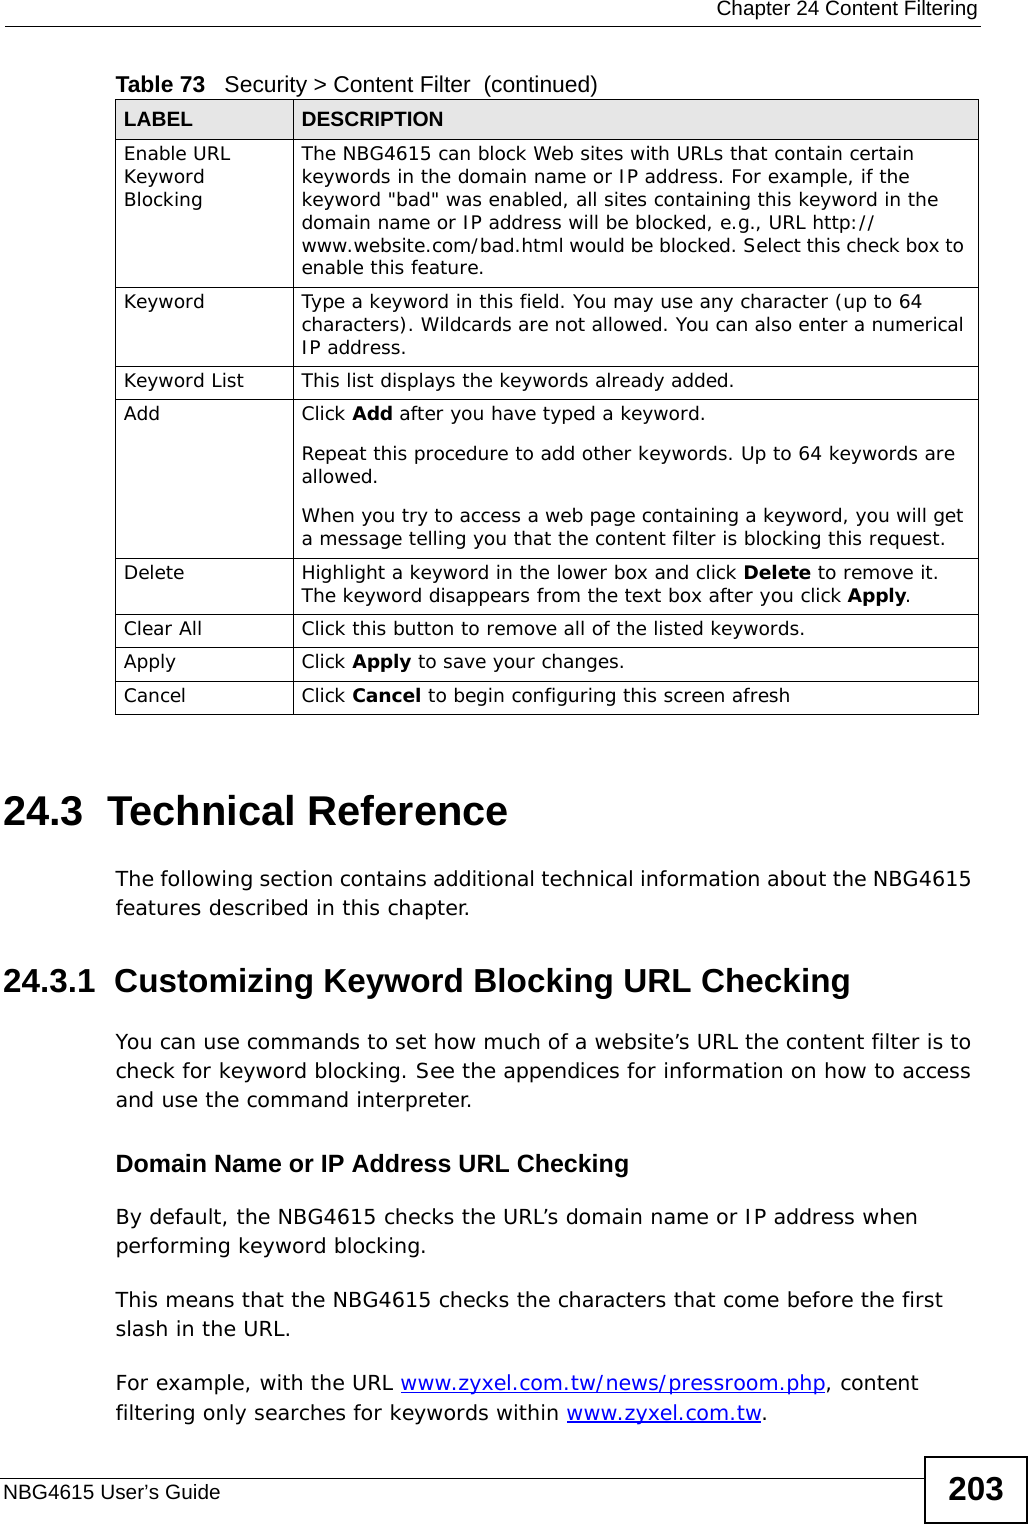
![Chapter 29 TroubleshootingNBG4615 User’s Guide242• If your computer is connected to the WAN port or is connected wirelessly, use a computer that is connected to a LAN/ETHERNET port.I can see the Login screen, but I cannot log in to the NBG4615.1Make sure you have entered the password correctly. The default password is 1234. This field is case-sensitive, so make sure [Caps Lock] is not on. 2You cannot log in to the Web Configurator while someone is using Telnet to access the NBG4615. Log out of the NBG4615 in the other session, or ask the person who is logged in to log out. 3This can happen when you fail to log out properly from your last session. Try logging in again after 5 minutes.4Disconnect and re-connect the power adaptor or cord to the NBG4615. 5If this does not work, you have to reset the device to its factory defaults. See Section 29.5 on page 244.29.4 Internet AccessI cannot access the Internet.1Check the hardware connections, and make sure the LEDs are behaving as expected. See the Quick Start Guide.2Make sure you entered your ISP account information correctly in the wizard. These fields are case-sensitive, so make sure [Caps Lock] is not on.3If you are trying to access the Internet wirelessly, make sure the wireless settings in the wireless client are the same as the settings in the AP.• Go to Network > Wireless LAN > General > WDS and check if the NBG4615 is set to bridge mode. Select Disable and try to connect to the Internet again.4Disconnect all the cables from your device, and follow the directions in the Quick Start Guide again. 5Go to Maintenance > Sys OP Mode > General. Check your System Operation Mode setting.](https://usermanual.wiki/ZyXEL-Communications/NBG4615.User-manual-2/User-Guide-1406735-Page-114.png)