Accurate Technology GPDS Transmitter User Manual PROSCALE Manual Rev E
Accurate Technology, Inc. Transmitter PROSCALE Manual Rev E
Contents
Users Manual Part 4

ProScale M150, M250 and all products with General Purpose LCD Digital Displays 21 of 21
Calibration
Once installed, ProScale can be calibrated easily and quickly. Following is an example
for calibrating ProScale on a table saw fence. Other installations follow the same general
procedure.
1. Check to be sure installation of all parts is complete, all fasteners are secure, and the
readhead is plugged into the digital display.
2. Cut a part using the normal fence operation.
3. Do Not move fence until calibration is completed.
4. Measure the dimension of the part with the most precise measuring tool available (i.e.
digital calipers).
5. Press the zero key on the ProScale digital display then press and hold the PLUS key
to scroll until the measurement you just made is displayed. (The longer the PLUS key
is held down, the faster the display will scroll).
6. When the proper reading is reached, lock the display if desired. This prevents
accidentally re-zeroing of the display. See Section 4: Lock Mode
If the direction of movement (+ and -) on the digital display is opposite the desired
direction, the display programming should be changed. See Section 4: Programming
(Programming Parameter Pr0).
Maintenance
Although the ProScale will operate in a dry environment of non-conductive debris such as
sawdust, the system should be cleaned of excess debris when necessary. This will
prevent premature damage to the scale or readhead. Should the scale become difficult
to move, check to see if debris has built up under the readhead and remove if necessary.
Find and remove any burrs which may have developed on the aluminum scale. Do not
use any liquid lubricants on the scale assembly, as this may impede the readhead's
ability to operate properly and will attract other contaminants to the scale.
The Digital Display should be cleaned periodically with compressed air to remove any
dust on the lens and keys.
All mounting fasteners should be checked occasionally for tightness.
ProScale M150, M250 and all products with General Purpose LCD Digital Displays 22 of 22
SECTION 4 D
IGITAL DISPLAY OPERATION
This section covers the installation, programming and operation of the General Purpose
LCD Digital Display (Firmware V2.0 and higher). This display is supplied on ProScale
Model 150 and Model 250 systems (covered in this manual) as well as several other
ProScale products whose operation is covered in their respective manuals but the digital
display information is contained here.
If your ProScale product has a digital display other than a General Purpose LCD Digital
Display, please refer to the separate manual for that individual display.
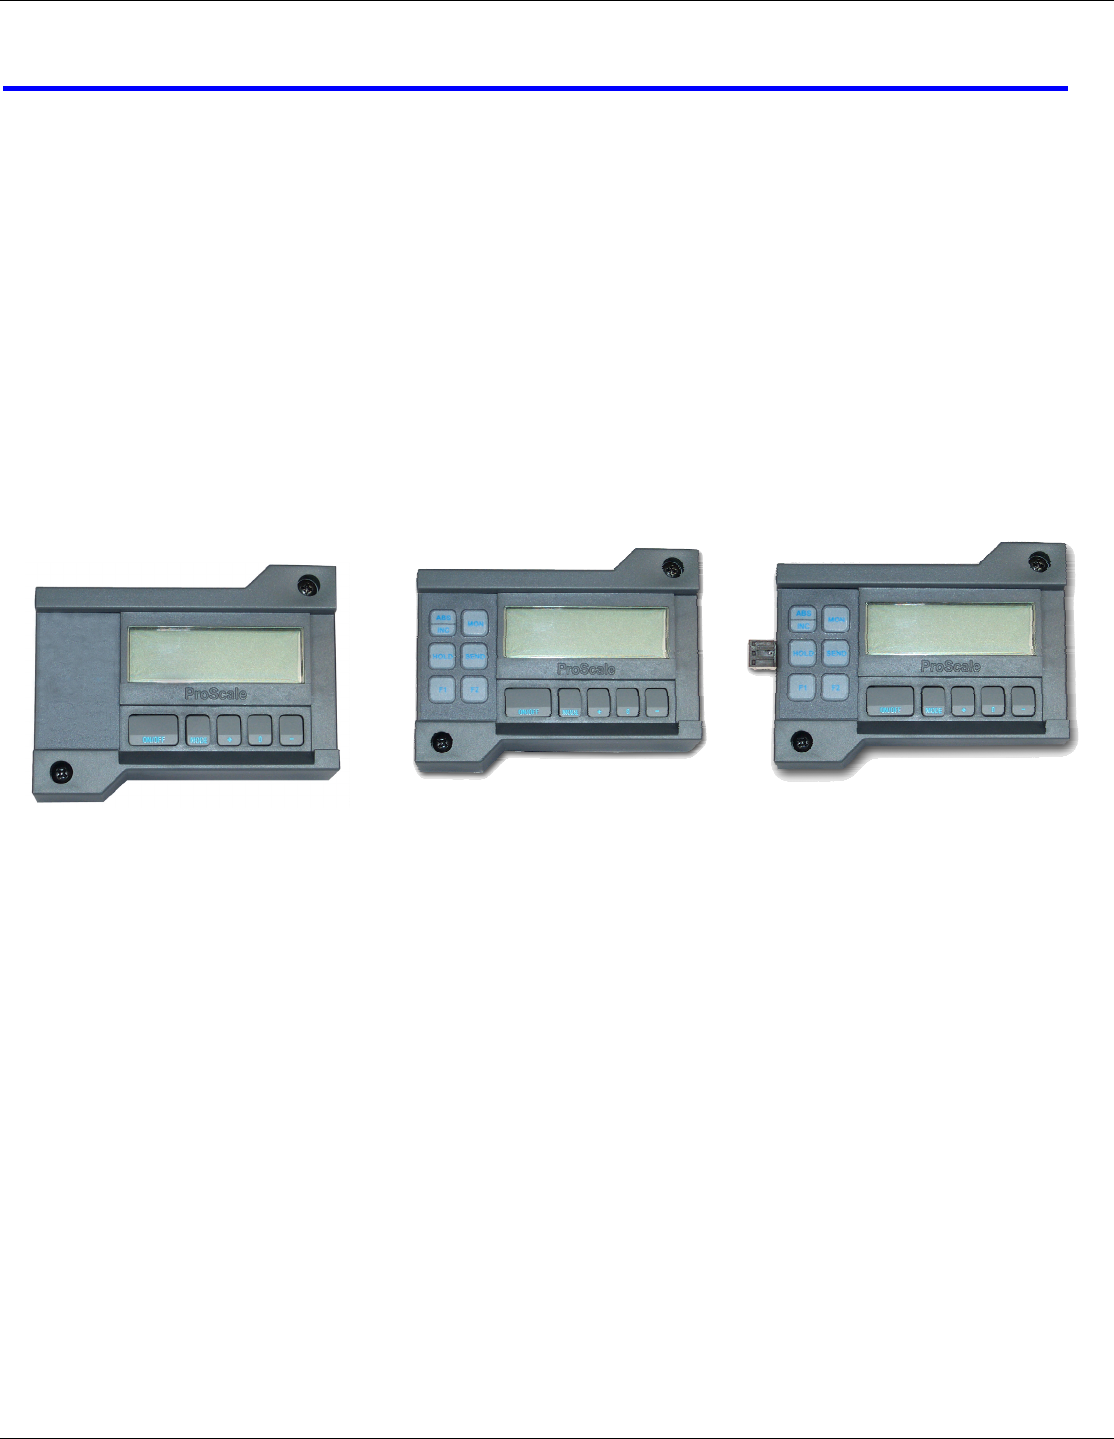
General Purpose LCD Digital Displays come in several configurations.
The major differences are described below:
Surface Mount Displays
Basic Fully Programmable Fully Programmable
2AA Batteries 2AA Batteries 24VDC
SPC output SPC output Limit/Mon. Signal Output
LCD Backlighting
P/N 701-1600-120 P/N 701-1600-100 P/N 701-1605-100
NEW P/N 700-1600-220 P/N 700-1600-200 P/N 700-1600-205
(New Part numbers effective April 1, 2004)
Basic Display
This display operates on 2AA batteries. It is ideal for machinery applications where more
advanced programming features are not desired or required. Functions such as switching
between ABSolute and INCremental readings, SENDing data, MONitoring drift, HOLDing
a reading and Special Function keys are not available. This display does not have Signal
output, Back-Lighting, or special function capability.
Programming Parameters Pr0 - Pr8 and Pr16 & 17 are applicable to the BASIC display.
ProScale M150, M250 and all products with General Purpose LCD Digital Displays 23 of 23
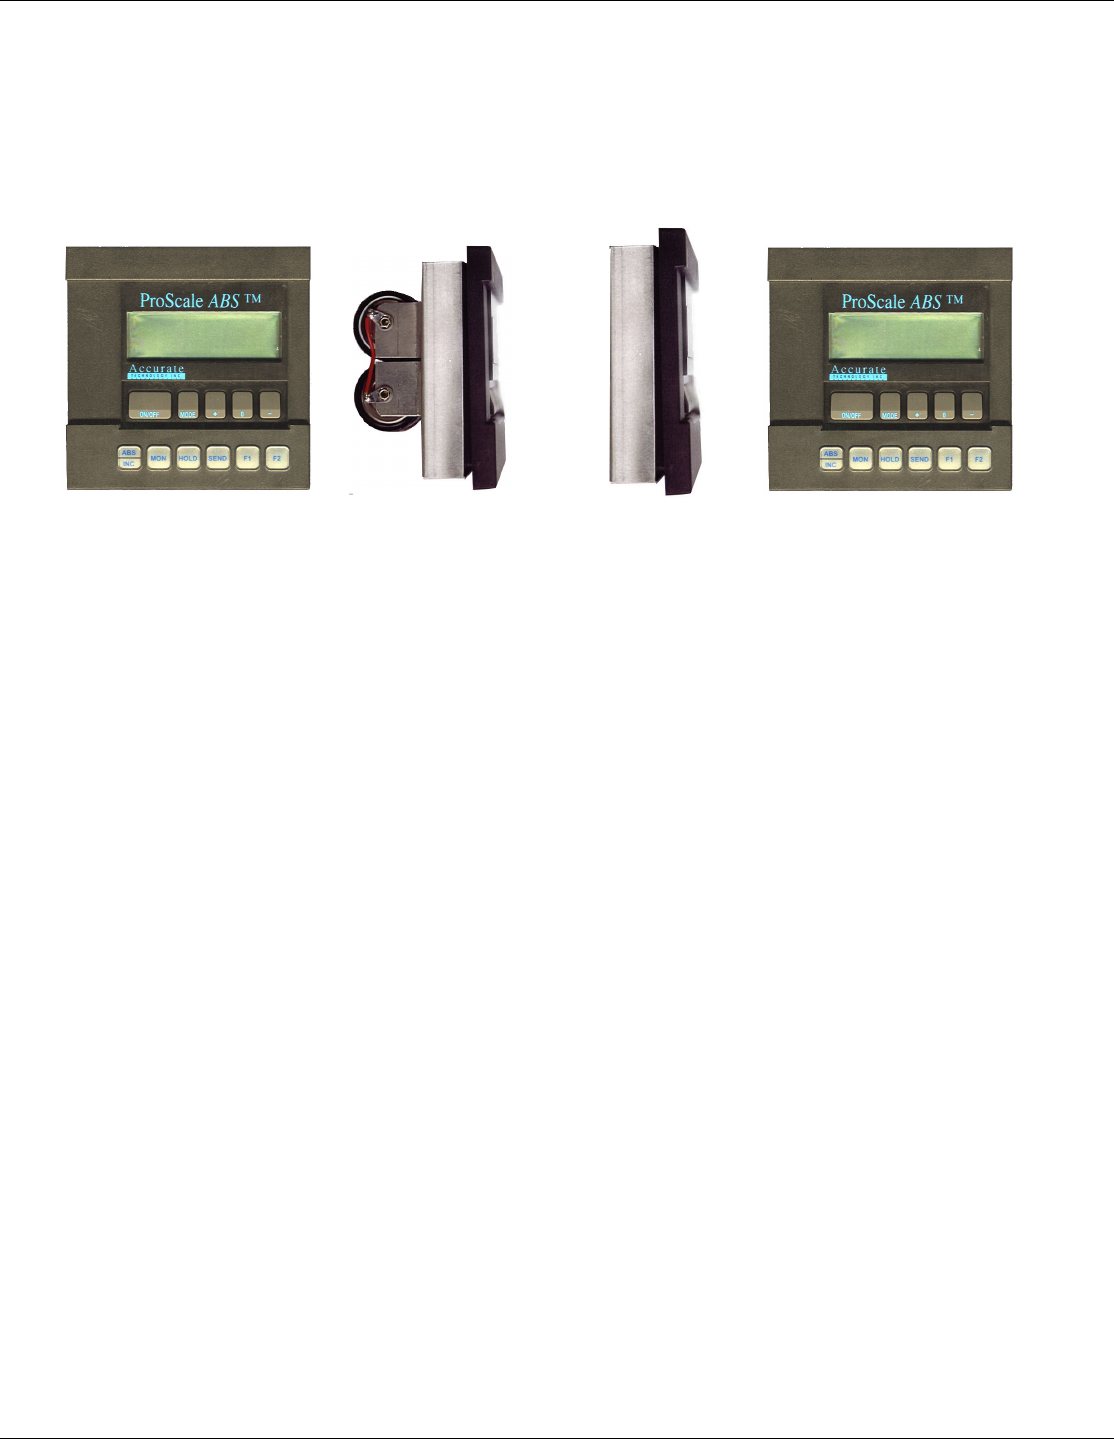
Fully Programmable, Battery Operation
This display operates on 2AA batteries. It includes all the features of the BASIC display
plus: It has an auxiliary keypad with 6 keys for: switching between ABSolute readings and
INCremental measurements, MONitoring position drift, SENDing data out the SPC
connector, HOLDing the reading, and F1 & F2 special function keys.
This display does not have Limit Alarm / Monitor Output, or Back-Lighting.
Programming Parameters from Pr0 to Pr23 except Pr14, 15 & 22 are applicable to this
display.
Fully Programmable, 24VDC
This display includes all the features of the PROGRAMMABLE Battery display. This
display is intended to operate on 24VDC. It comes with a connector that allows easy
connections for supply voltage and also serves as the output connection for the position
Limit / Monitoring output signal.
Programming Parameters Pr0 to Pr23 are applicable to this display.
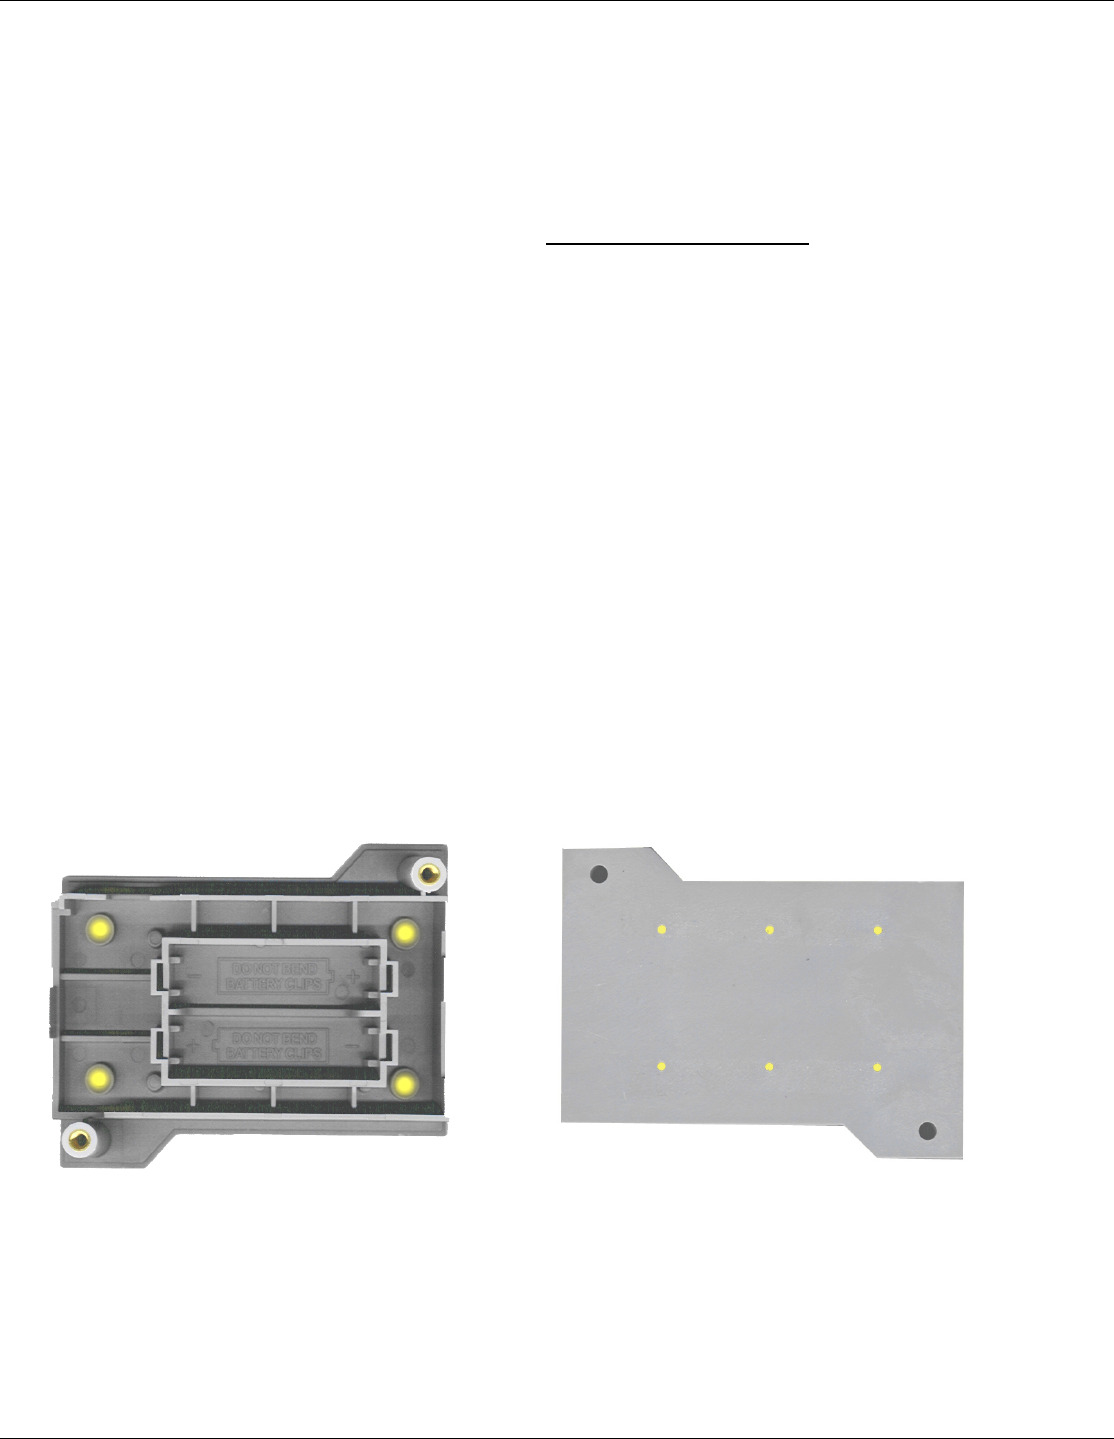
Mounting the Surface Mount Display
The SURFACE MOUNT General Purpose Digital Display may be mounted:
• Using Velcro or Double sided tape
• Drilling out any of the four holes from the inside of the case
• Using any of the six holes on the back of the case which may tapped for M2 or 4-40
screws.
NOTE: Care must be taken when using the inside holes. If using the lower left hole as
shown above, be sure to use a screw that will not rise above the extruded countersink as
this may short the input connector.
ProScale M150, M250 and all products with General Purpose LCD Digital Displays 24 of 24
Panel Mount Displays
The General Purpose LCD Display for panel and enclosure mounting applications comes
in two versions. Both are designed to fit a ¼ DIN (90mm x 90mm) (3.5in x 3.5in) panel
opening. One version is battery operated (2D) and the other is designed for 24VDC
operation. Both versions have full programming capability.
Fully Programmable Fully Programmable
2D Batteries 24VDC
SPC output Limit/Monitor Signal Output
LCD Backlighting
P/N 701-1570-100 P/N 701-1560-100
NEW P/N 700-1600-400 P/N 700-1600-300
Fully Programmable, Battery Operation
This display operates on 2D batteries. It has an auxiliary keypad with 6 keys for:
switching between ABSolute readings and INCremental measurements, MONitoring
position drift, SENDing data out the SPC connector, HOLDing the reading and
suspending key press activity, and F1 & F2 special function keys.
This display does not have Limit Alarm / Monitor Output, or Back-Lighting.
Programming Parameters Pr0 through Pr23 are applicable to this display.
Fully Programmable, 24VDC
This display includes all the features of the PROGRAMMABLE Battery display. This
display is intended to operate on 24VDC. It comes with a connector that allows easy
connections for supply voltage and also serves as the output connection for the position
Limit / Monitoring output signal.
Programming Parameters Pr0 through Pr23 are applicable to this display.
Mounting the Panel Mount Display
A cutout should be made in the panel at least 90mm x 90mm (3.6 x 3.6 inches), but no
larger than 93mm x 93mm (3.7 x 3.7 inches)..
The cases of the digital display are designed to "sandwich" panel thicknesses between
3mm (0.125") and 20mm (0.750") between the front and rear display cover.
Note: If Panel is thinner than 3mm (0.125 in), shorter screws must be used for the
display casing or damage to the front cover of the display will occur.
ProScale M150, M250 and all products with General Purpose LCD Digital Displays 25 of 25
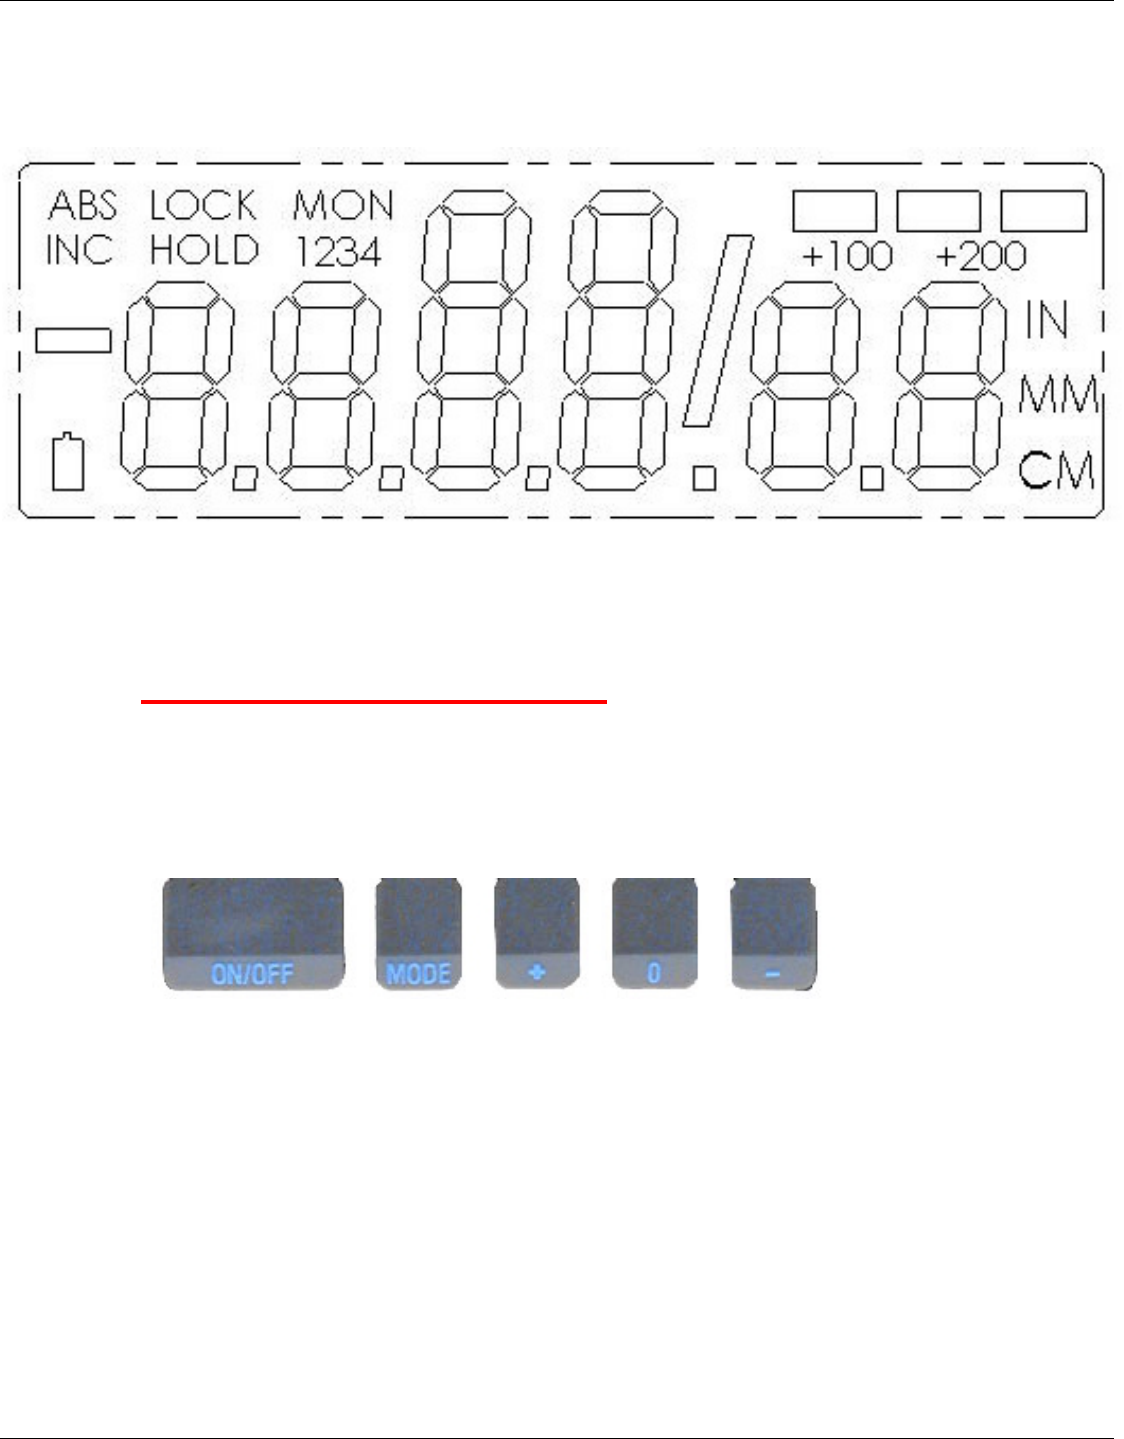
Display Operation
The LCD
The above figure illustrates all the segments available on the Digital Display.
CAUTION: Pressing and holding the ON/OFF and MODE key for 10
seconds while the display is turned off will perform a full segment LCD
test AND re-set all programming parameters to factory defaults
Display Keys
Timing
The keys pictured above, found on all General Purpose LCD Digital Displays, have
multiple functions. Timing, that is how long a key is depressed, and the combination of
the keys pressed is important. This manual uses the term ‘”momentarily” to describe a
key press of typically less than 1 second. Whereas “press and hold” is used imply a key
press of typically longer than 1.5 seconds. As an example; when using a PC keyboard to
type a capital letter you would “press and hold” the SHIFT key and “momentarily depress
the LETTER key.
In addition the key(s) “function” is executed on the key RELEASE, not the key
DEPRESS. This is important since some keys execute different functions based on how
long they are depressed. These key operations, once tried, quickly become intuitive.