Dell DWRFID1602 RFID 13.56MHz Wireless Module User Manual Dell Latitude 5580
Dell Inc. RFID 13.56MHz Wireless Module Dell Latitude 5580
Dell >
Contents
- 1. UserMan_Host Quick Guide
- 2. UserMan_Module
- 3. UserMan_OEM installation guide
- 4. Safety and Regulatory Information
- 5. User Manual_b_english_us-rev15-10
- 6. User Manual_rfid_us
- 7. User Manual_P73G
- 8. User Manual_b_us-rev15-10
- 9. User Manual (host)
- 10. User manual
- 11. User Manual_fcc_english
- 12. User Manual_states
- 13. Users Manual
User Manual (host)

DELL CONFIDENTIAL
Dell Latitude 5580
Quick Start Guide
Language: ENGLISH
Regulatory Model: P60F
Regulatory Type: P60F001
This document is for regulatory purpose only.

Warnings
WARNING: A WARNING indicates a potential for property damage, personal
injury, or death.
CAUTION: A CAUTION indicates either potential damage to hardware or loss of
data and tells you how to avoid the problem.
NOTE: A NOTE indicates important information that helps you make better use of
your computer.
Copyright © 2016 Dell Inc. All rights reserved. This product is protected by U.S. and
international copyright and intellectual property laws. Dell™ and the Dell logo are trademarks of
Dell Inc. in the United States and/or other jurisdictions. All other marks and names mentioned
herein may be trademarks of their respective companies.
Rev: A01
1 | Page This document is for regulatory purpose only.
Setting up Your Computer
This section provides information about setting up your Dell computer.
Before Setting up Your Computer
When positioning your computer, ensure that you allow easy access to a power source,
adequate ventilation, and a level surface to place your computer.
Restricting airflow around your computer may cause it to overheat. To prevent overheating
ensure that you leave at least 10.2 cm (4 inches) at the back of the computer and a minimum of
5.1 cm (2 inches) on all other sides. You should never place your computer in an enclosed
space, such as a cabinet or drawer when it is powered on.
WARNING: Do not block, push objects into, or allow dust to accumulate in the air vents.
Do not store your Dell™ computer in a low-airflow environment, such as a closed briefcase,
while it is powered on. Restricting the airflow can damage the computer or cause a fire. The
computer turns on the fan when the computer gets hot. Fan noise is normal and does not
indicate a problem with the fan or the computer.
CAUTION: Placing or stacking heavy or sharp objects on the computer may result in
permanent damage to the computer.
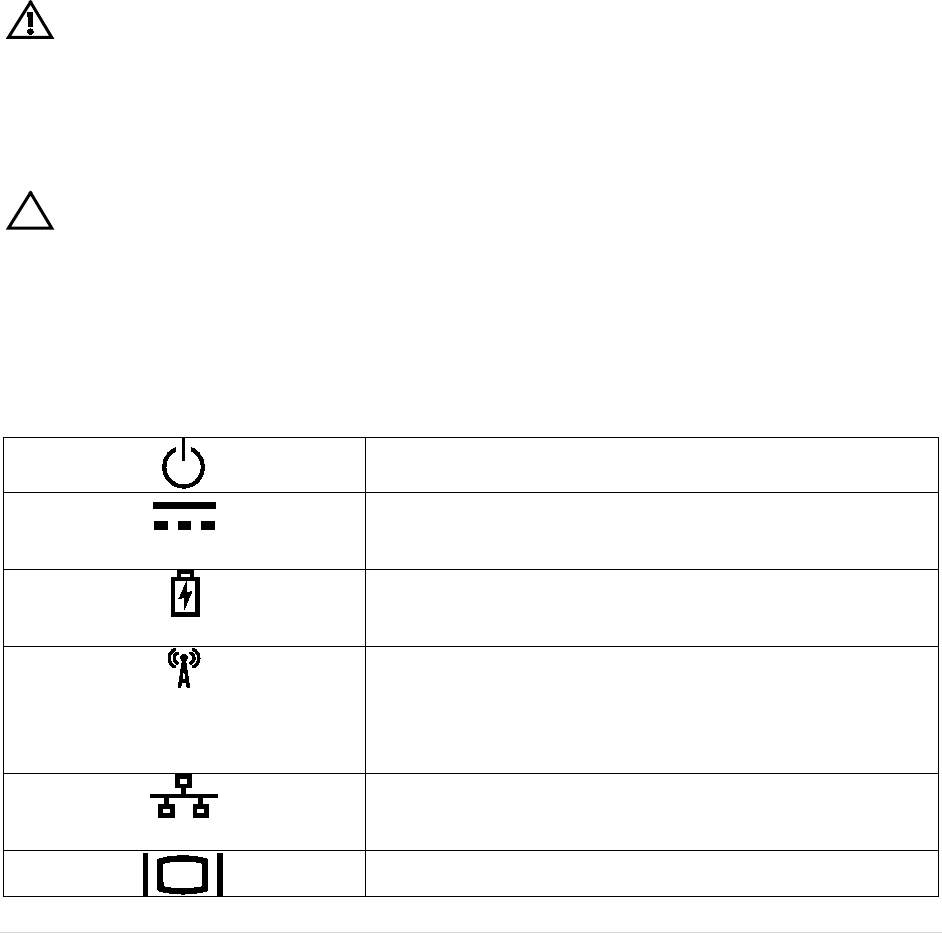
Icons, Status Lights and Indicators
Icons are used to label all connectors and buttons on Dell computers. Check the following table
for a description of those found on your computer.
Power/battery status light – Indicates the power state
and battery status.
AC adapter connector - Connects to the AC adapter to
power the computer and charge the battery when the
computer is not in use.
Battery status light – if the power status light does not
provide information on battery charge status, this light
provides information on charge status.
Wireless switch - used to either turn wireless
communication on or off.
-Or-
used to scan the local area for available wireless
signals.
Network connector – Connects your computer to a
network or a broadband device if you are using a wired
network.
VGA connector – Connects to a monitor or projector.
2 | Page This document is for regulatory purpose only.
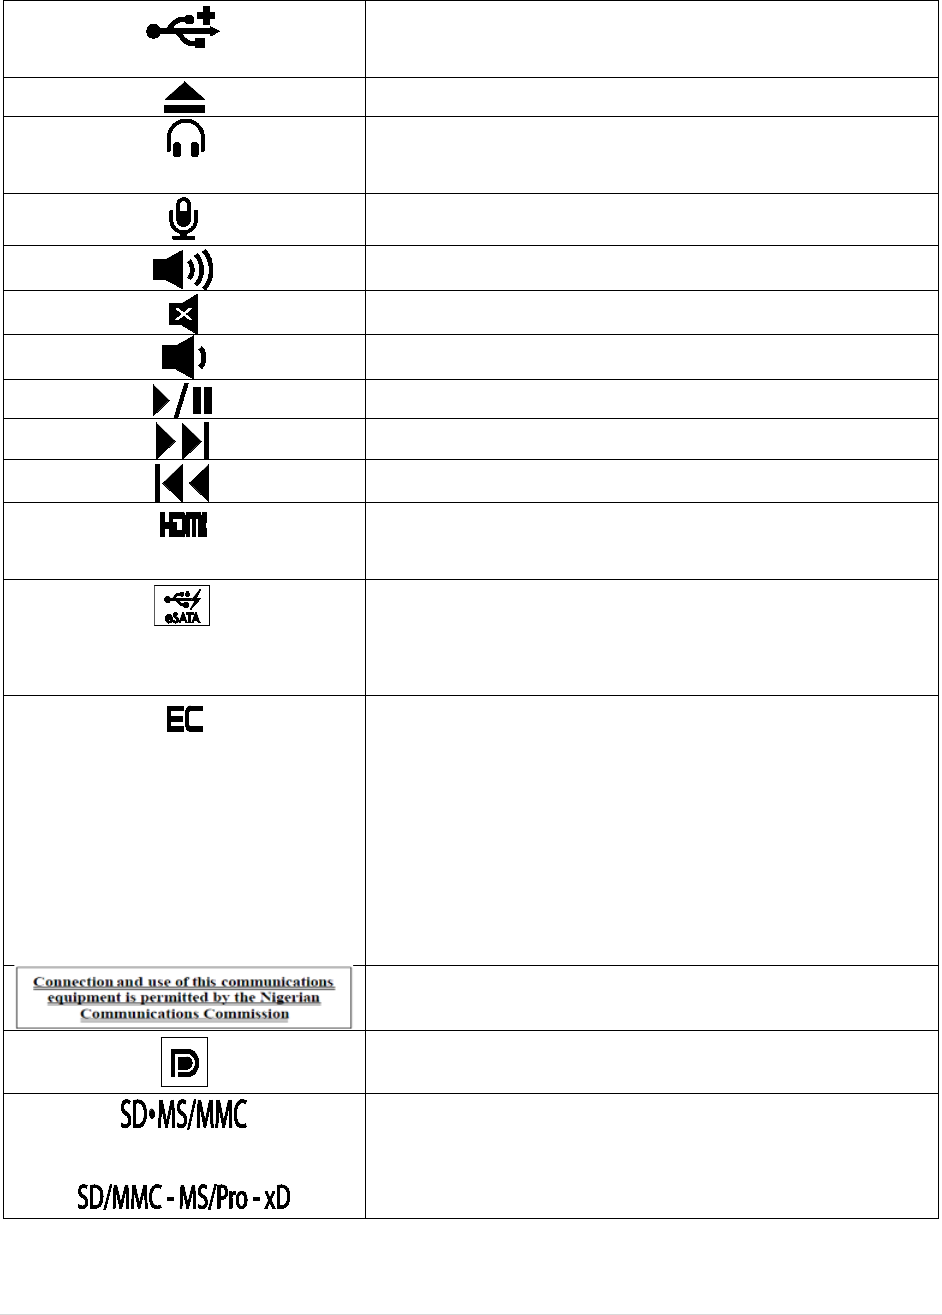
USB 2.0 connector – Connects to USB devices, such
as a mouse, keyboard, printer, external drive, or MP3
player.
Eject the disc
Audio out/Headphone connector – Connects one pair
of headphones, or sends audio to a powered speaker or
sound system.
Audio in/Microphone connector – Connects to a
microphone or input signal for use with audio programs.
Turn up the volume
Mute the sound
Turn down the volume
Play or pause
Play the next track or chapter
Play the previous track or chapter
HDMI connector
– connects to a monitor, projector, or
television.
eSATA
– connects to external devices such as hard
drives and media bays, this connector also supports
standard USB devices.
ExpressCard slot
– Supports one 34 mm wide
ExpressCard. The computer ships with a plastic blank
installed in the slot.
NOTE
: Blanks protect unused slots from dust and other
particles. Save the blank for use when no ExpressCard
is installed in the slot; blanks from other computers may
not fit your computer.
Nigeria statement
Display Port
- connects to a monitor or projector
or
Provides a fast and convenient way to view and share
digital photos, music, videos, and documents stored on
digital memory cards.
3 | Page This document is for regulatory purpose only.
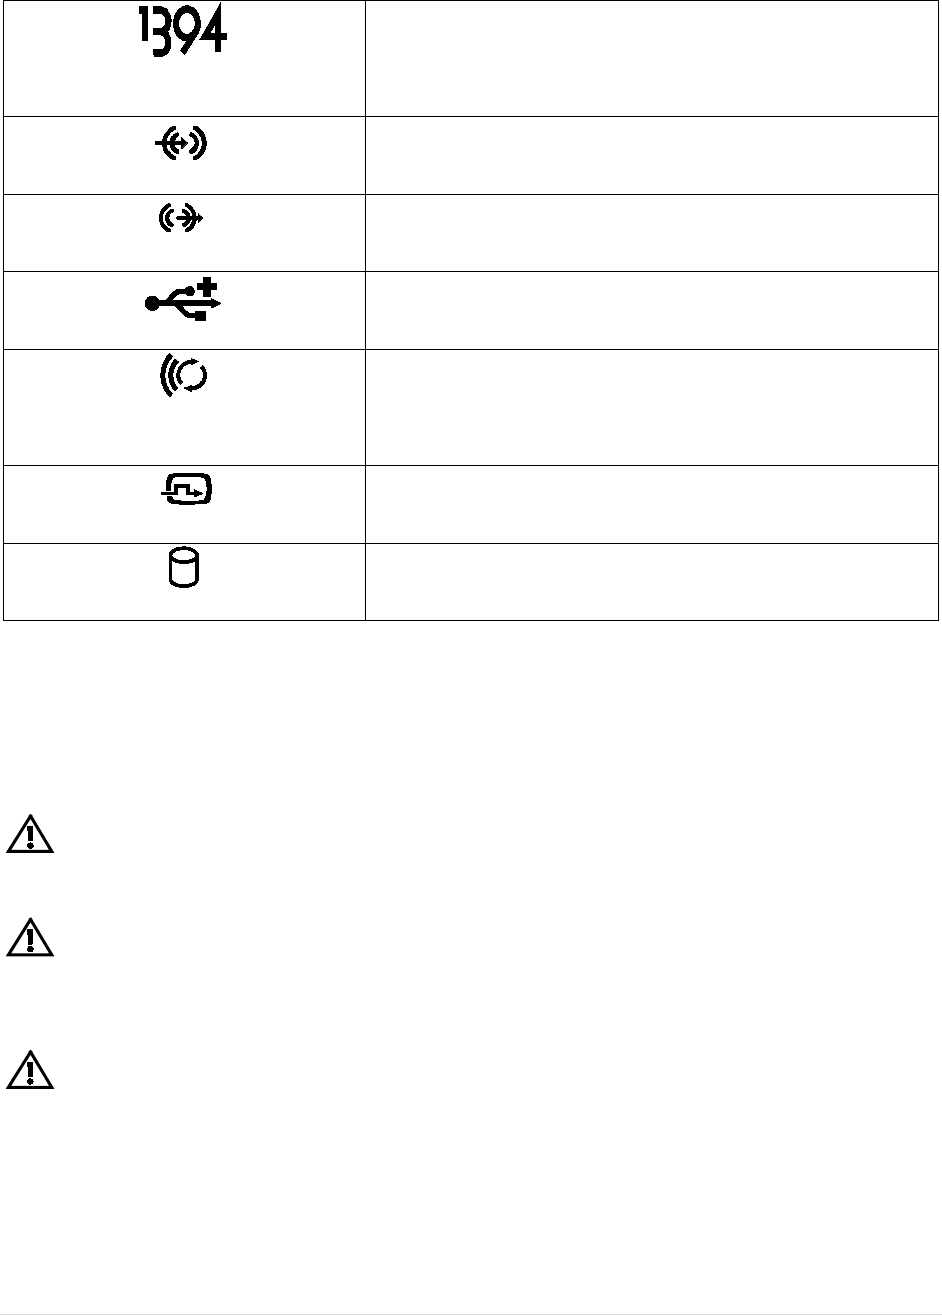
1394
Firewire – used for high-speed data connections to
external storage and digital media devices, such as still-
and video cameras.
Line in
– connects to audio devices such as receivers
and MP3 players
Line out
– connects to audio devices such as stereos
and speakers
USB connector
– connects to peripheral devices such as
printers, mice, and keyboards.
Wireless sync
– used to synchronize connections with
wireless input devices such as keyboards and mice (for
select systems only).
DVI connector
– used to connect monitors, projectors,
and televisions.
HD
activity light
– lights when the hard drive is writing or
reading data.
Removing and Replacing a Laptop Computer Battery
If your Dell laptop computer is shipped without the battery, install the battery before your
proceed.
WARNING: Before you begin any of the procedures in this section, follow the safety
instructions that shipped with your computer.
WARNING: Using an incompatible battery may increase the risk of fire or explosion. This
computer should only use a battery purchased from Dell. Do not use batteries from other
computers.
WARNING: Before removing the battery, shut down the computer, and remove external
cables (including the AC adapter).
To install the battery
1. Slide the battery into the battery bay until it clicks into place.
For some computers, this requires that the battery be inserted at a 45-degree angle.
4 | Page This document is for regulatory purpose only.
To remove the battery
1. Turn off the computer and turn it over.
2. Slide the battery release latch or latches to the unlock position until it clicks into
place.
3. Slide the battery out.
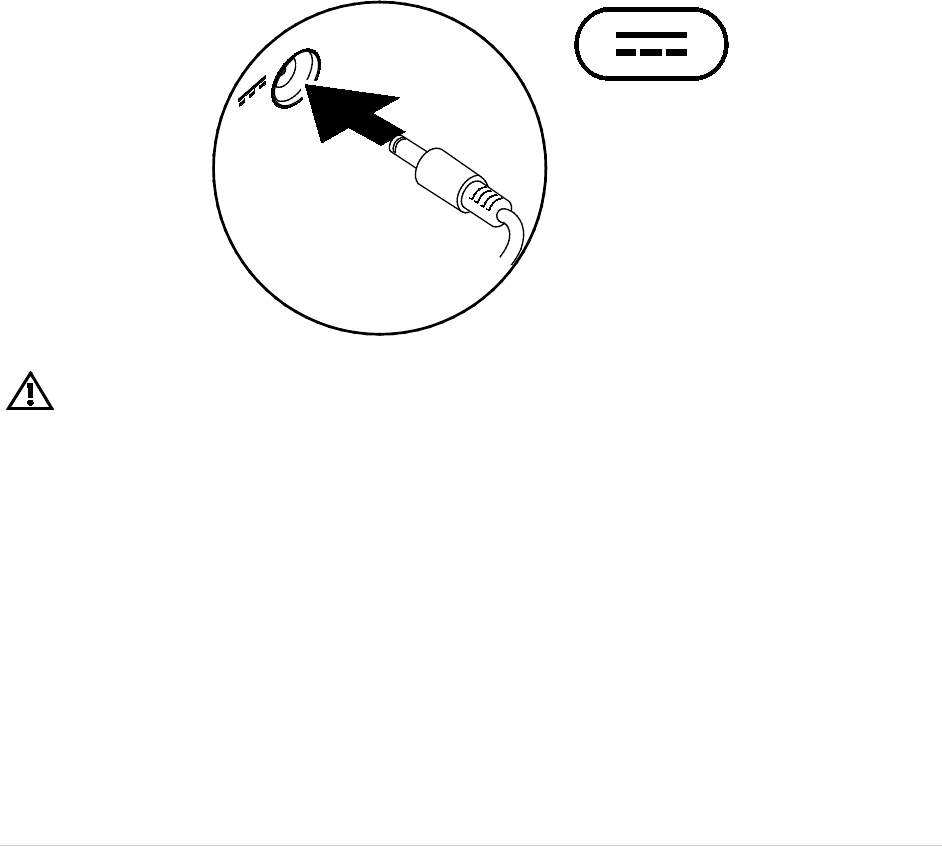
Connecting the Power Supply
Computers With External AC Adapters (Notebooks and All-in-One Models)
Connect the AC adapter to the computer and then plug it into an electrical outlet or surge
protector. Be sure to leave your AC adapter connected throughout the setup process to ensure
consistent power for your operating system to complete all configurations, and to charge your
battery.
WARNING: The AC adapter works with electrical outlets worldwide. However, power
connectors and power strips vary among countries. Using an incompatible cable or improperly
connecting the cable to a power strip or electrical outlet may cause fire or permanent damage to
your computer.
Connect the Network Cable (Optional)
To use a wired network connection, connect the network cable.
5 | Page This document is for regulatory purpose only.
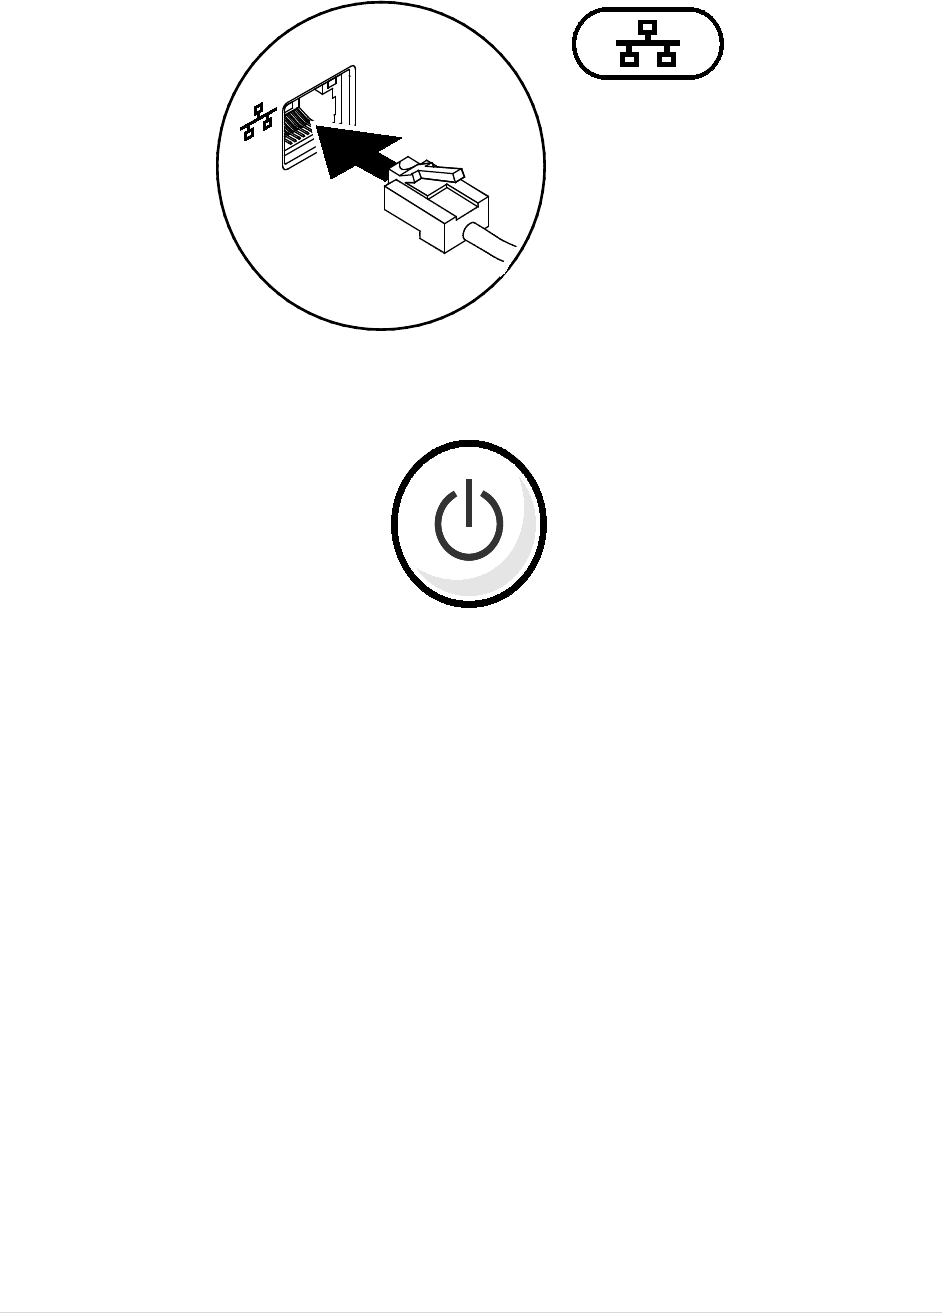
Press the Power Button on the Computer.
6 | Page This document is for regulatory purpose only.

Specifications
This section provides information that you may need when setting up, updating drivers for, and
upgrading your computer.
NOTE: Offerings may vary by region. For more information regarding the configuration of
your computer, go to dell.com/support.
AC Adapter
Type 60 W
Input voltage 100-240 VAC
Input current (maximum) 1.7 A/2.50 A
Input frequency 50-60 Hz
Output current 3.34 A/4.62 A
Rated output voltage 19.5 ± 1 VDC
7 | Page This document is for regulatory purpose only.

Appendix
Information for NOM, or Official Mexican Standard (Only for Mexico)
The following information is provided in the device(s) described in this document in accordance
with the requirements of the Official Mexican Standard (NOM):
Importer:
Dell México S.A. de C.V.
Paseo de la Reforma 2620 – Flat 11°
Col. Lomas Altas
11950 México, D.F.
For details, read the safety information that shipped with your computer.
India RoHS
“This product complies with RoHS requirements as prescribed by E-Waste (Management &
Handling) Rules, by the Ministry of Environment & Forests, Government of India”.
For additional safety best practices information, see the Regulatory Compliance
Homepage at www.dell.com/regulatory_compliance.
8 | Page This document is for regulatory purpose only.