FUJIFILM Business Innovation C2665DNF Dell C2665dnf Color Laser Multifunction Printer User Manual 05 Short Term Confidential 2
Fuji Xerox Co., Ltd. Dell C2665dnf Color Laser Multifunction Printer 05 Short Term Confidential 2
UserManual.wiki
>
FUJIFILM Business Innovation
>
C2665DNF User Manual
>
User manual-2
Contents
1.
User manual(Booklet)
2.
User manual-1
3.
User manual-2
4.
User manual-3
5.
User manual-4
6.
User manual-6
7.
User manual(Statement)
8.
User manual-5
User manual-2
Navigation menu
Upload a User Manual
Namespaces
Wiki Guide
HTML
PDF
Info
Views
User Manual
Discussion / Help
Navigation
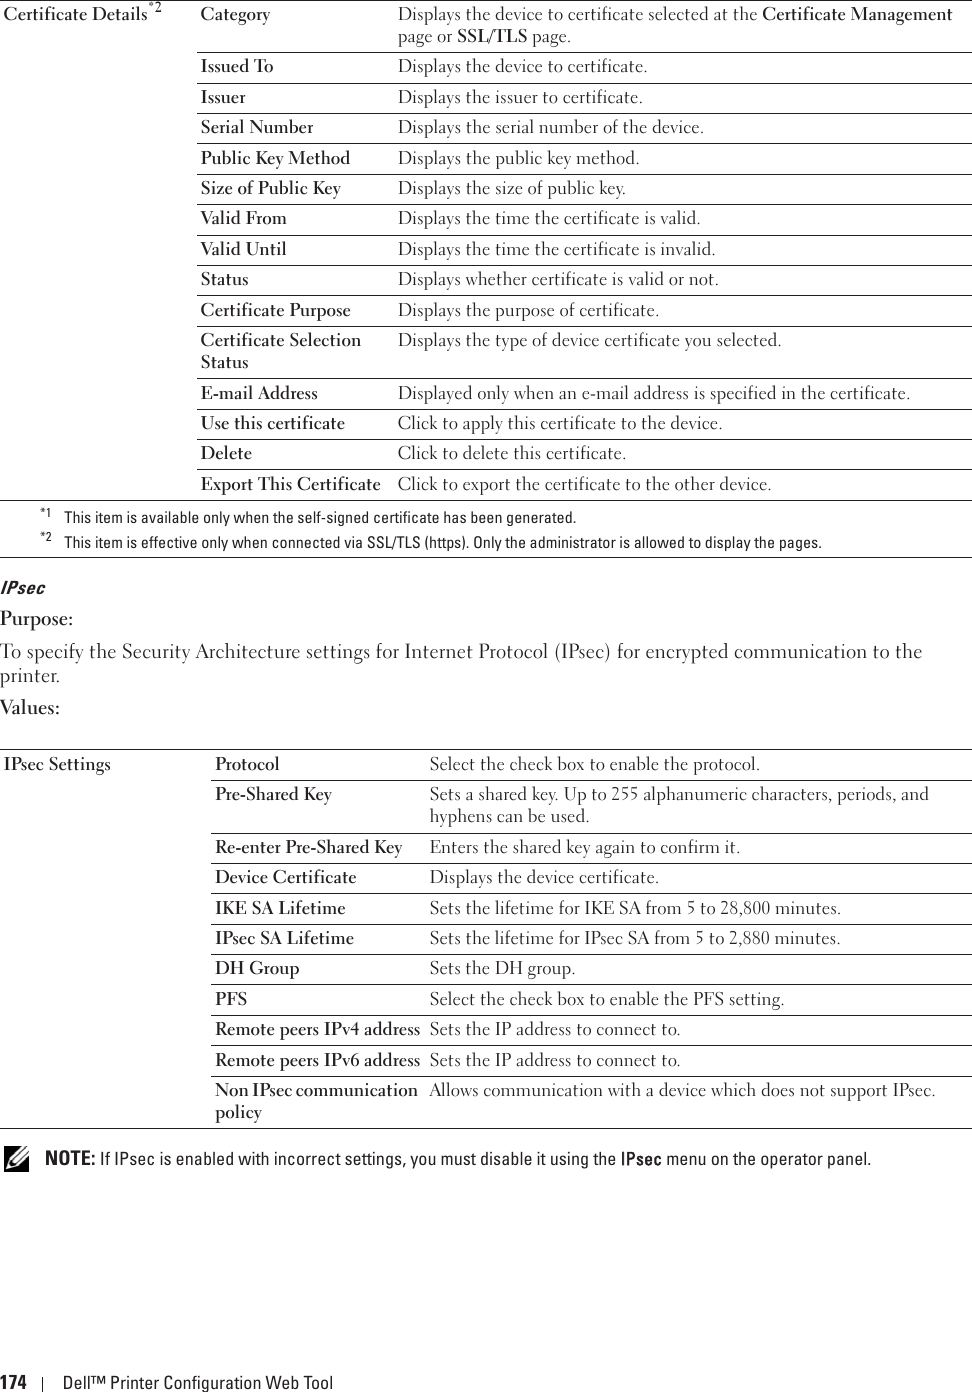
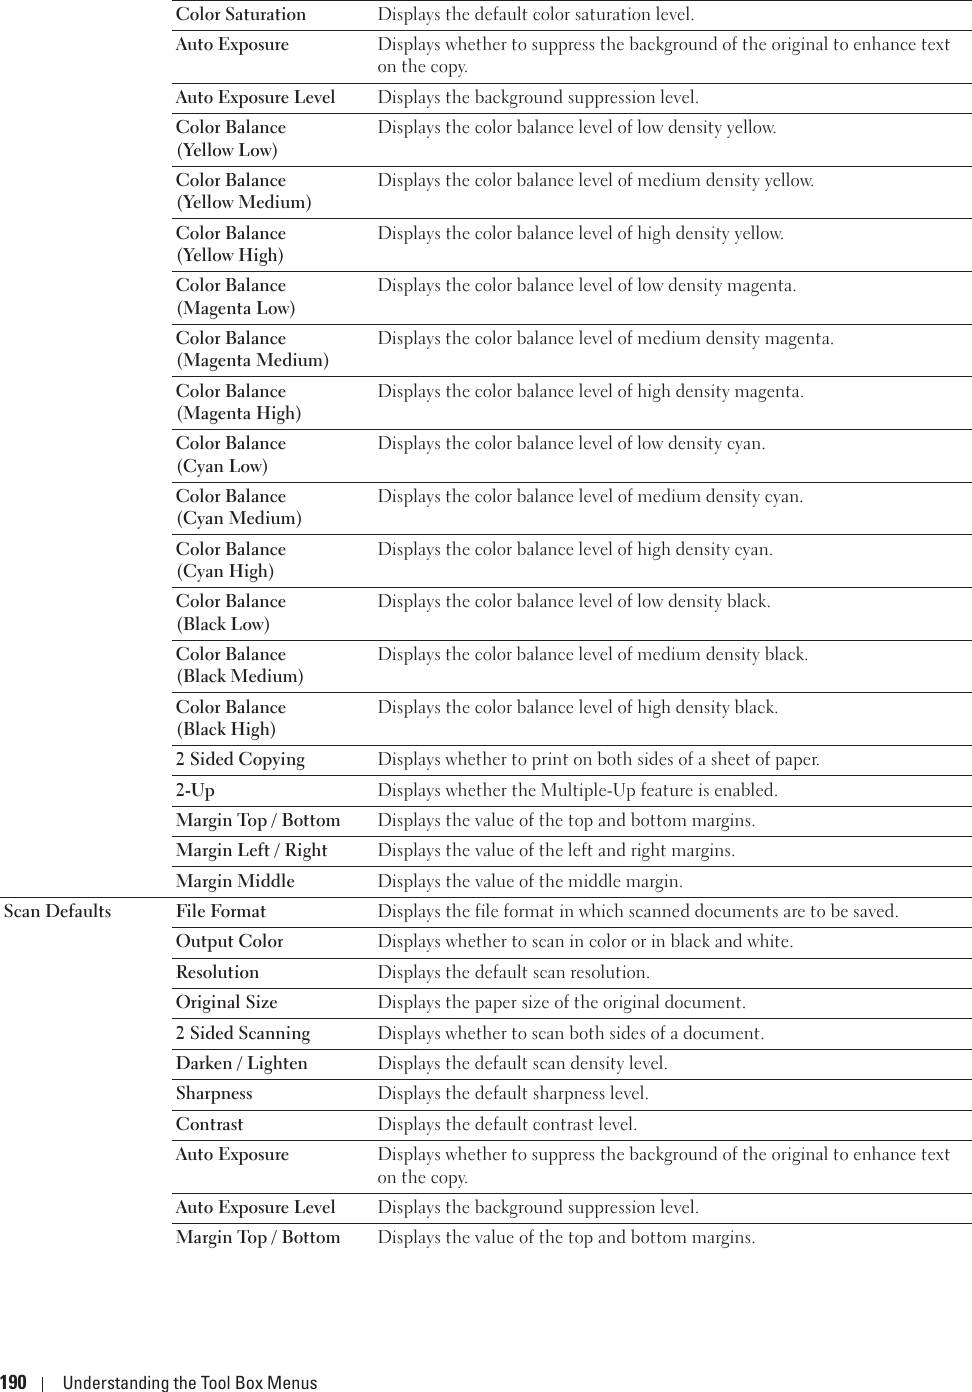
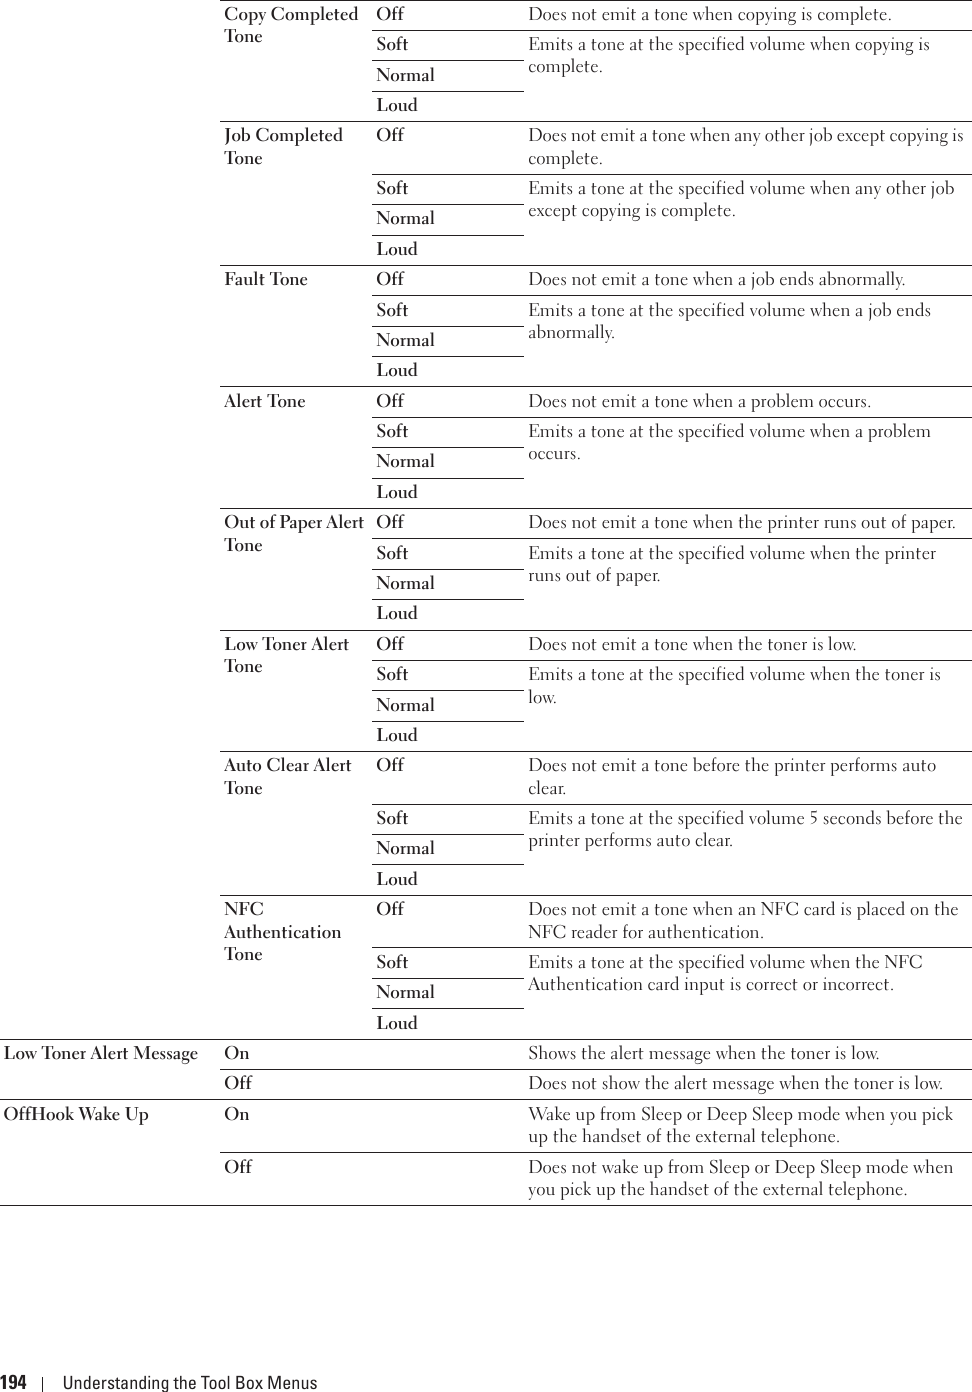
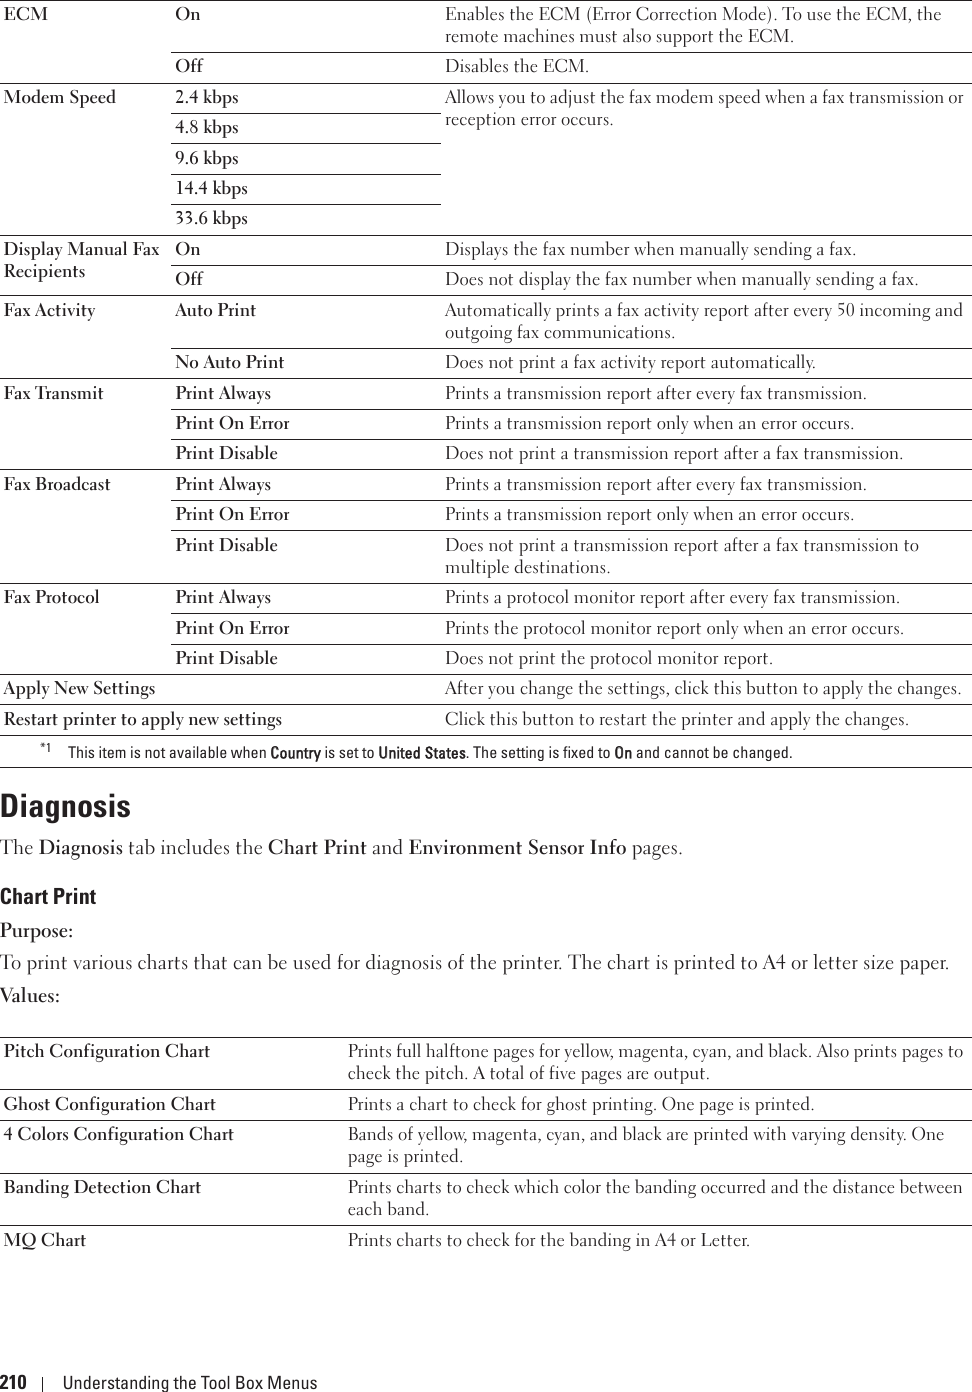
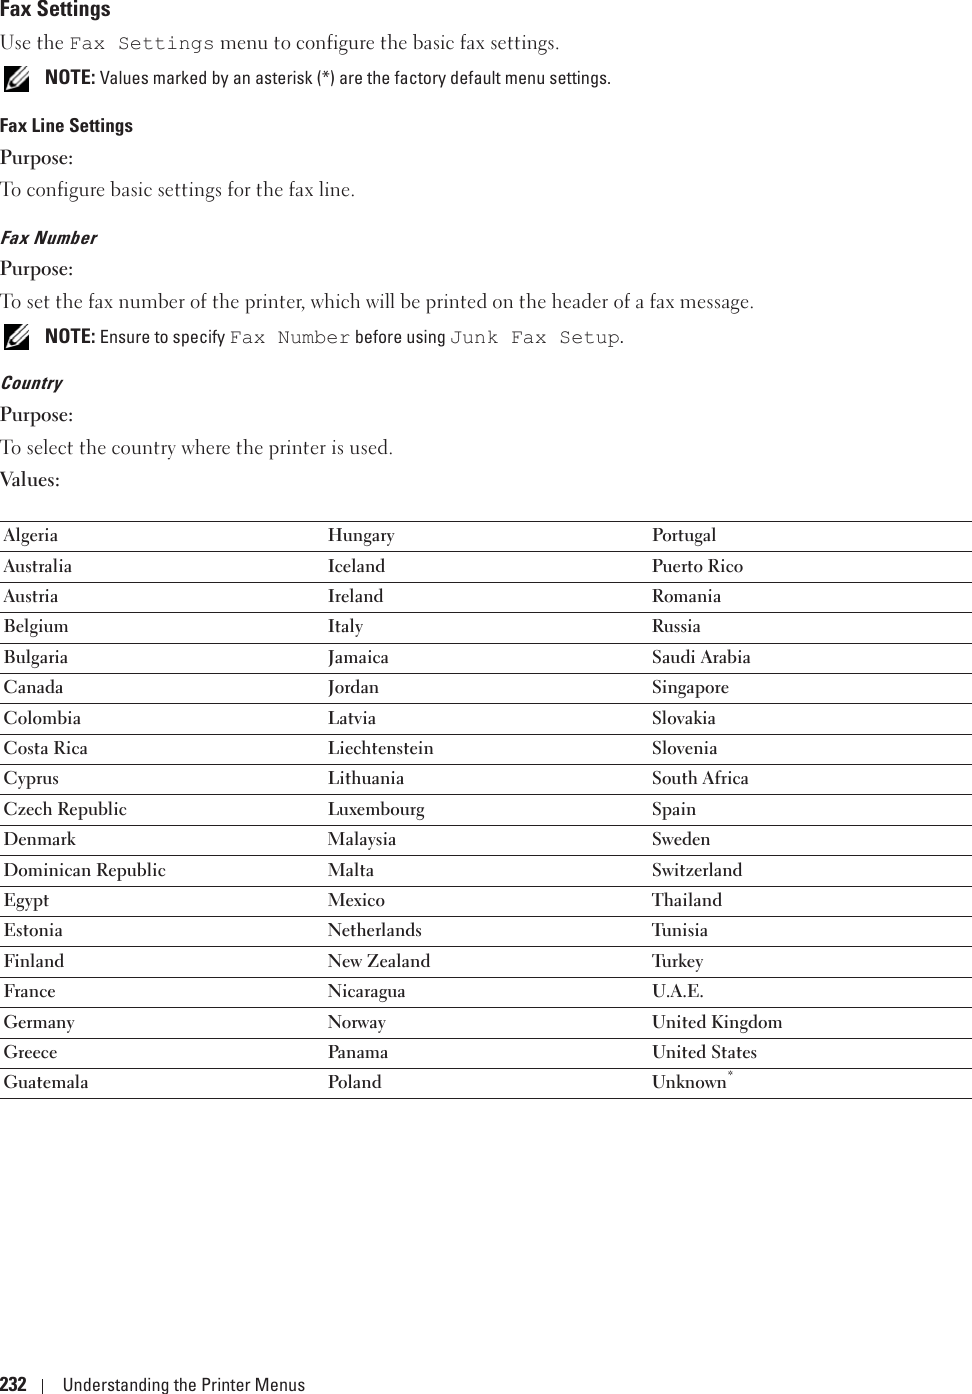
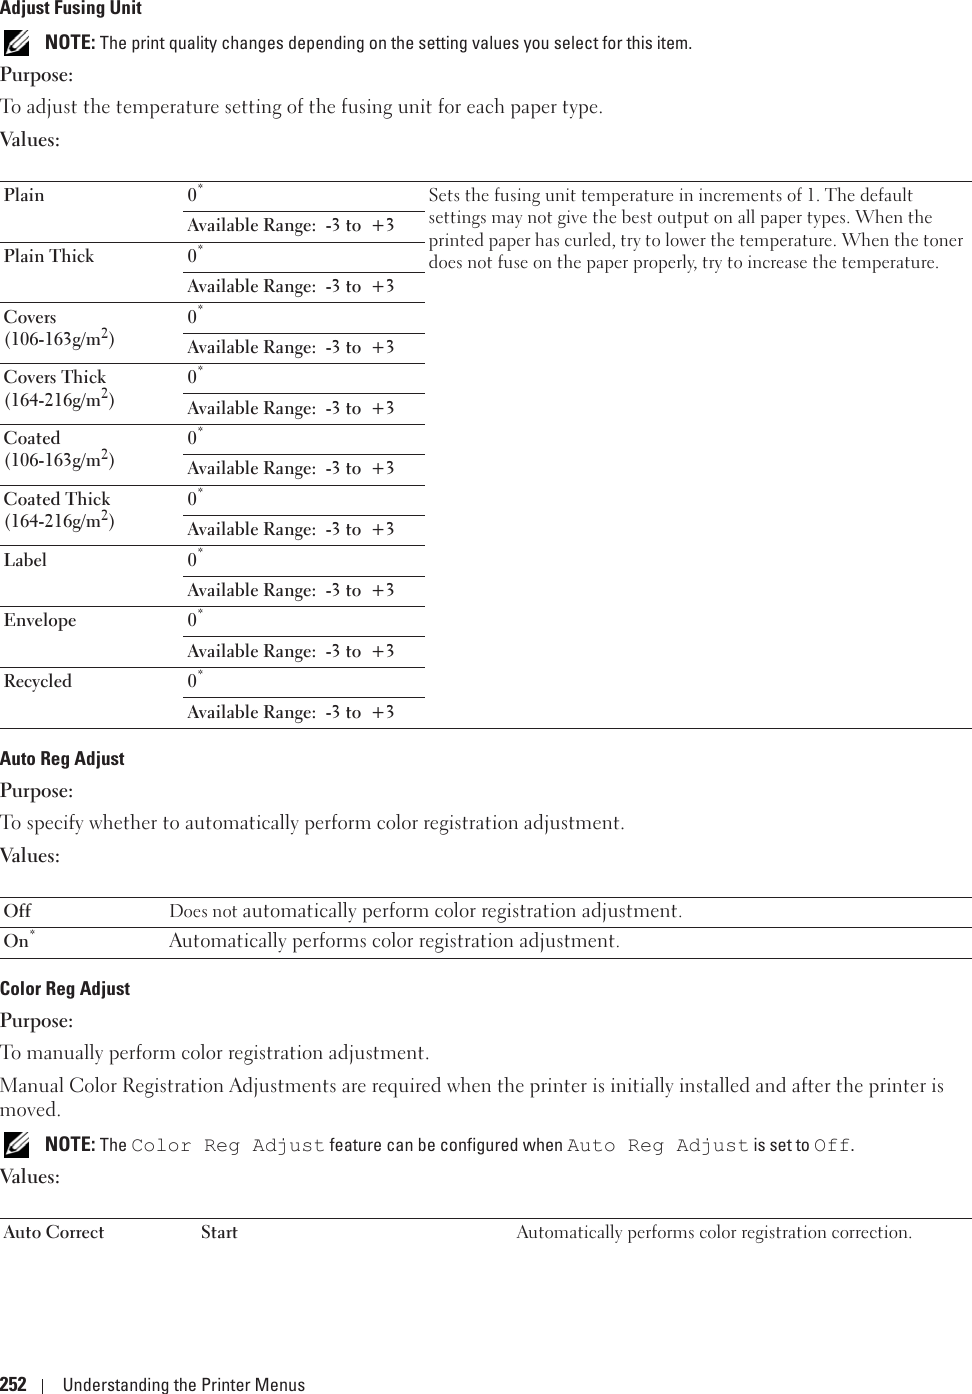
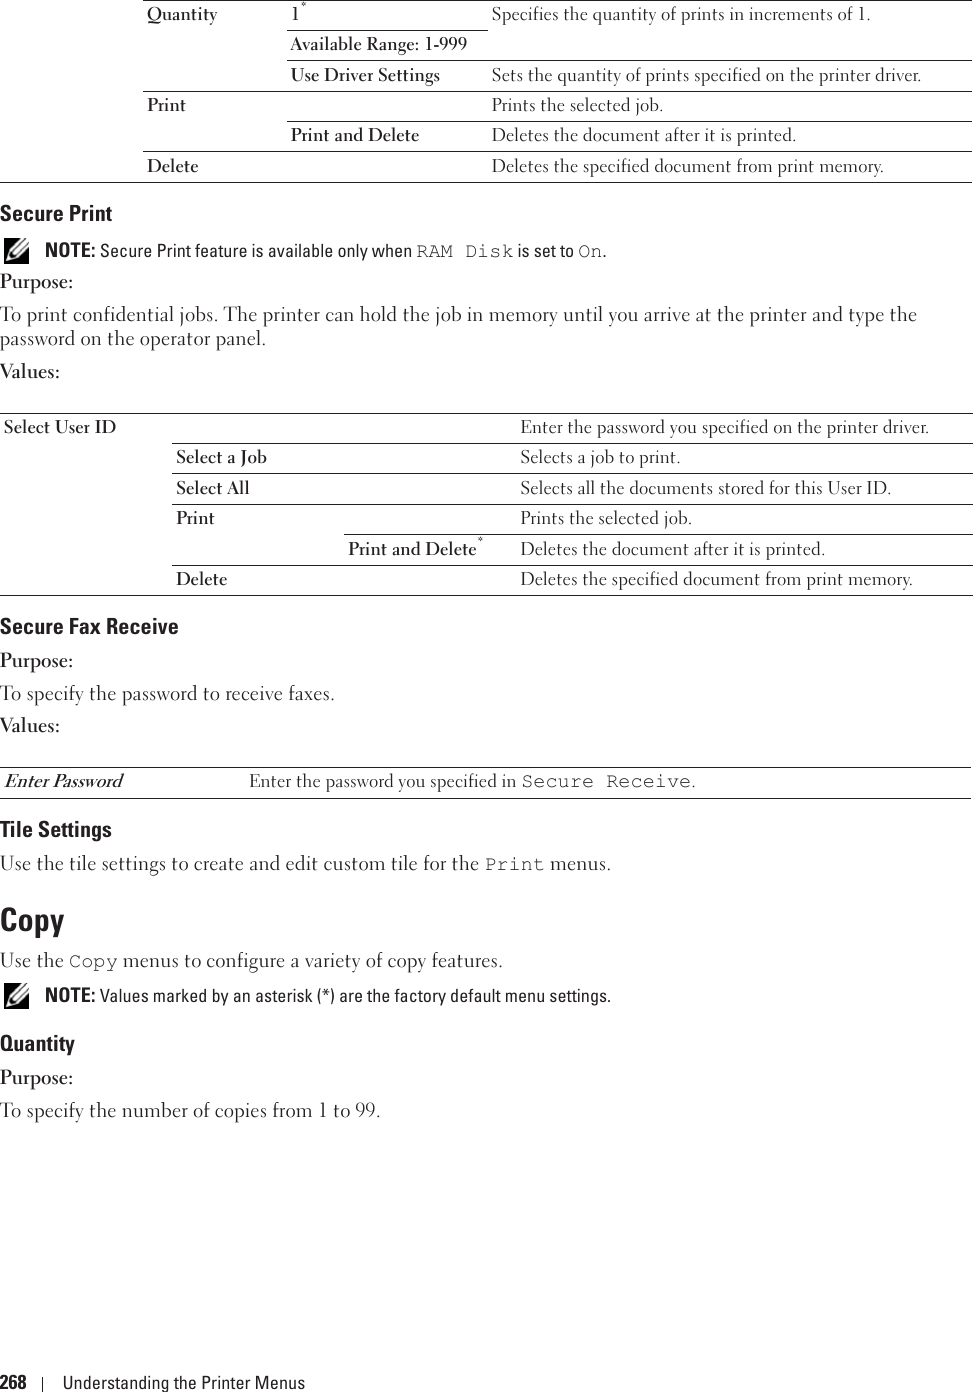
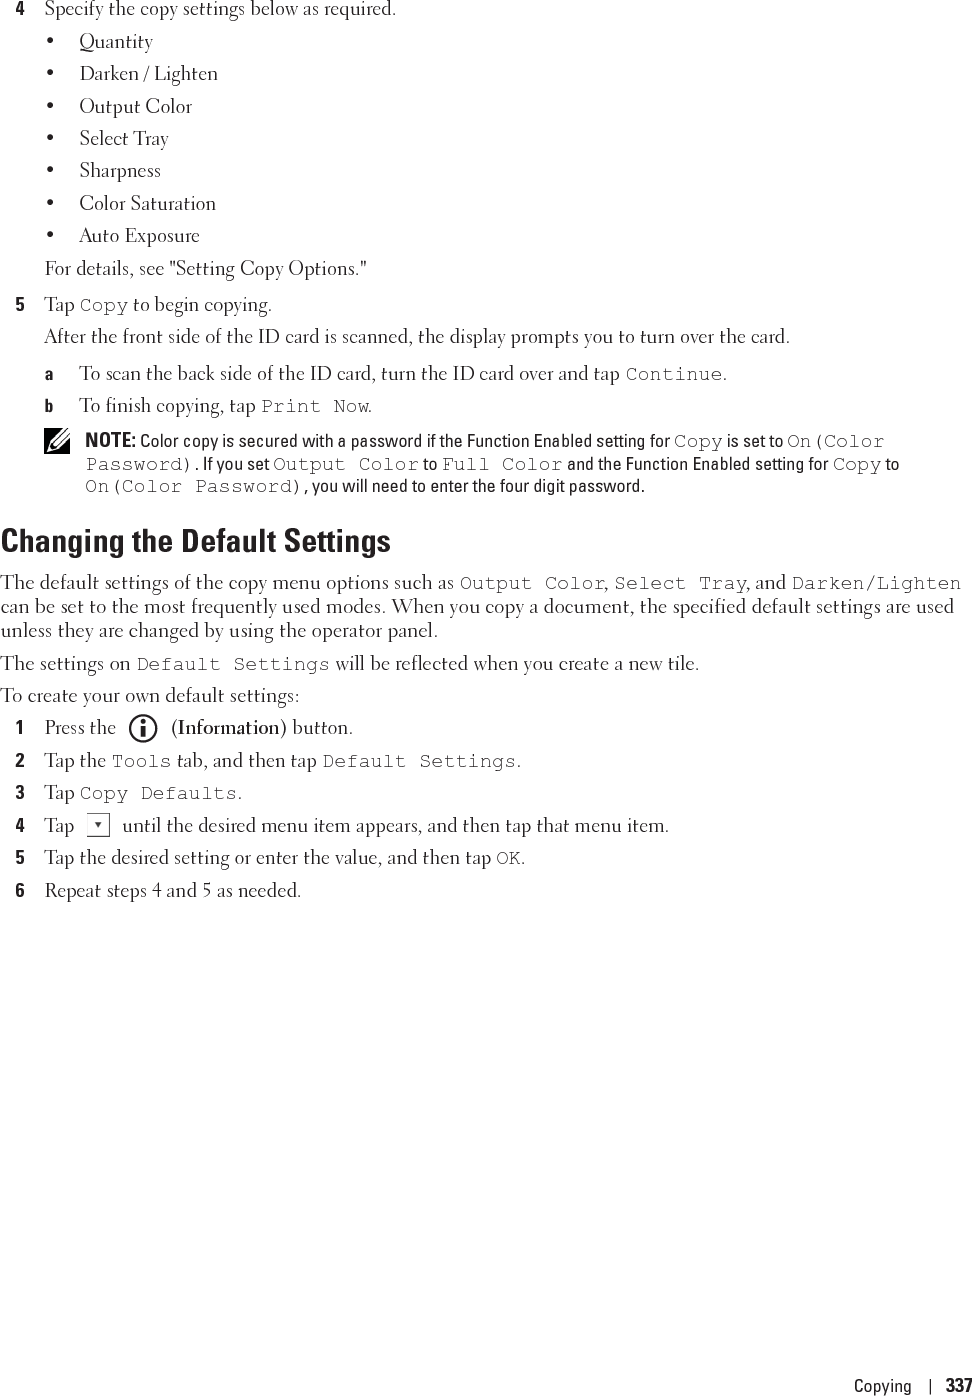
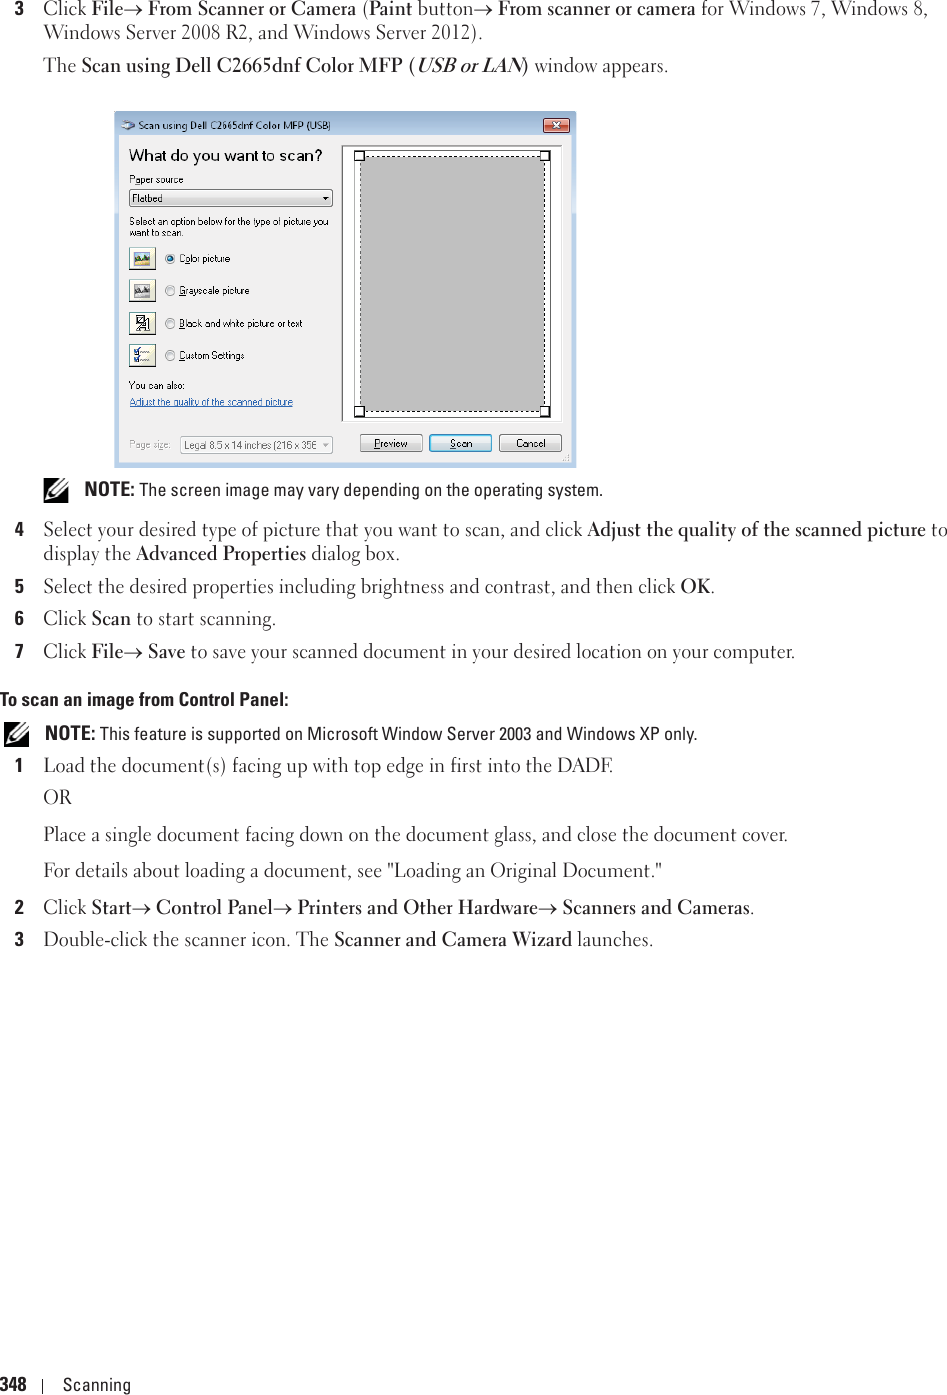
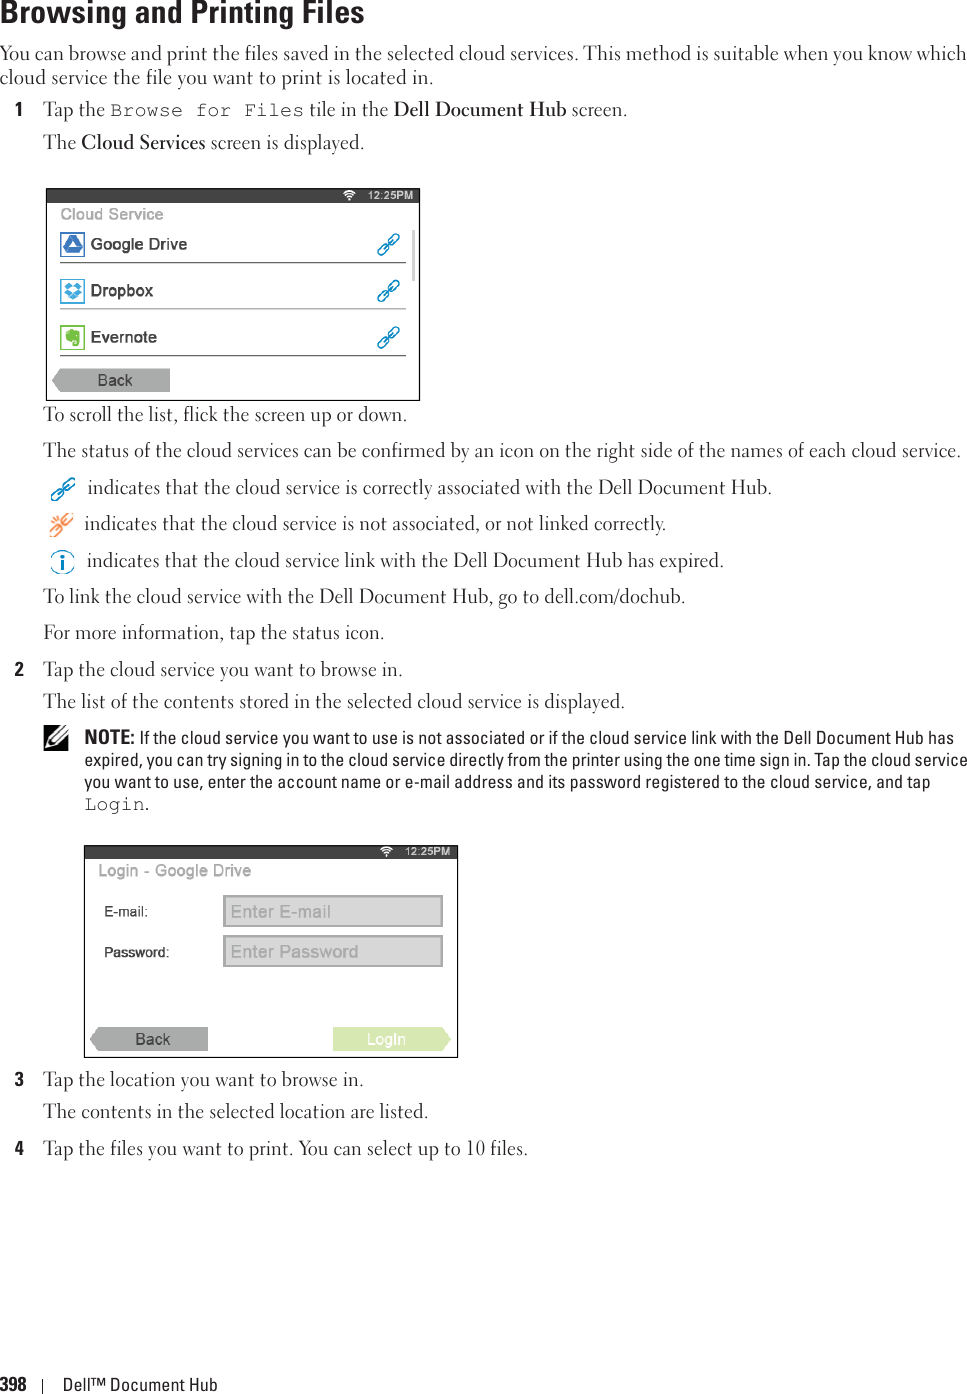
![118 Dell™ Printer Configuration Web ToolSetting Up the Dell Printer Configuration Web ToolEnsure that you activate JavaScript in your browser before using the Dell Printer Configuration Web Tool.Follow the procedures below to configure both the environment settings of your web browser and the operator panel before using the Dell Printer Configuration Web Tool. NOTE: The DDell Printer Configuration Web Tool pages may be displayed unreadable if the pages were configured by the language different from the language of your web browser.Setting Up From Web BrowserFor Internet Explorer® Setting Up the Display Language1Select Internet Options from Tools on the menu bar.2Select Languages in the General tab.3Specify the display language in order of preference in the Language list.For example:•Italian (Italy) [it-IT]•Spanish (Traditional Sort) [es-ES tradnl]•German (Germany) [de-DE]•French (France) [fr-FR]•English (United States) [en-US]•Danish [da-DK]•Dutch (Netherlands) [nl-NL]•Norwegian (Bokmal) [no]•Swedish [sv-SE]Setting the IP Address of the Printer to Non-Proxy1Select Internet Options from the Tools menu.2Click LAN Settings under Local Area Network (LAN) Settings in the Connections tab.3Do either of the following:•Clear the Use a proxy server for your LAN check box under Proxy server.•Click Advanced, and then specify the IP address of the printer in the Do not use proxy server for addresses beginning with field under Exceptions.For Firefox 2.0 or LaterSetting Up the Display Language1Select Options from the Tools menu.2Click Advanced.3If you are using Firefox 2.0, click Choose in the General tab. If you are using Firefox 3.0, click Choose in the Content tab.](https://usermanual.wiki/FUJIFILM-Business-Innovation/C2665DNF.User-manual-2/User-Guide-2053071-Page-12.png)
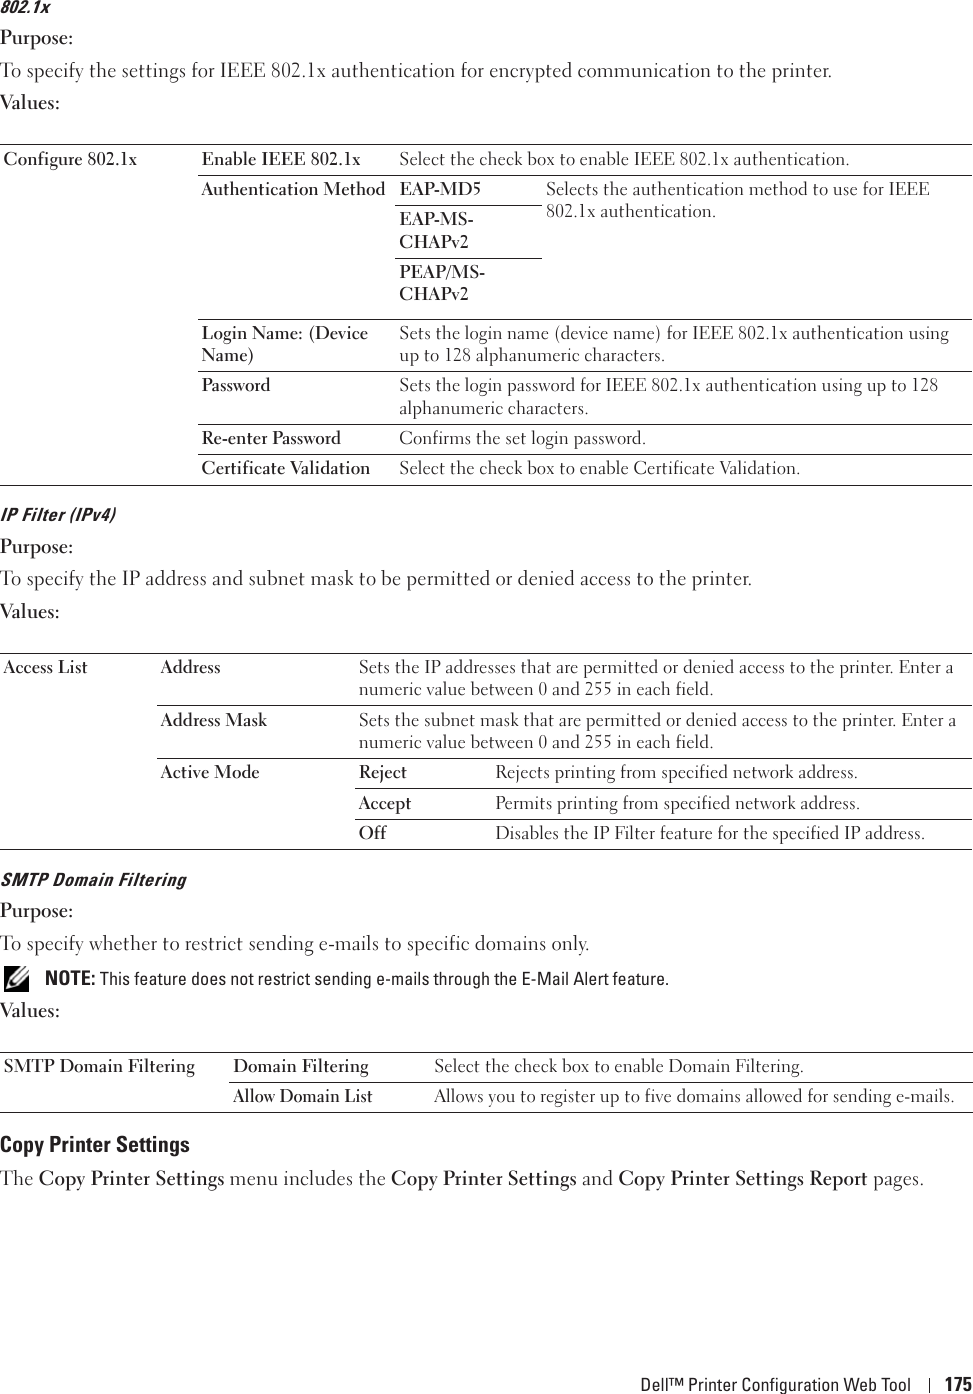
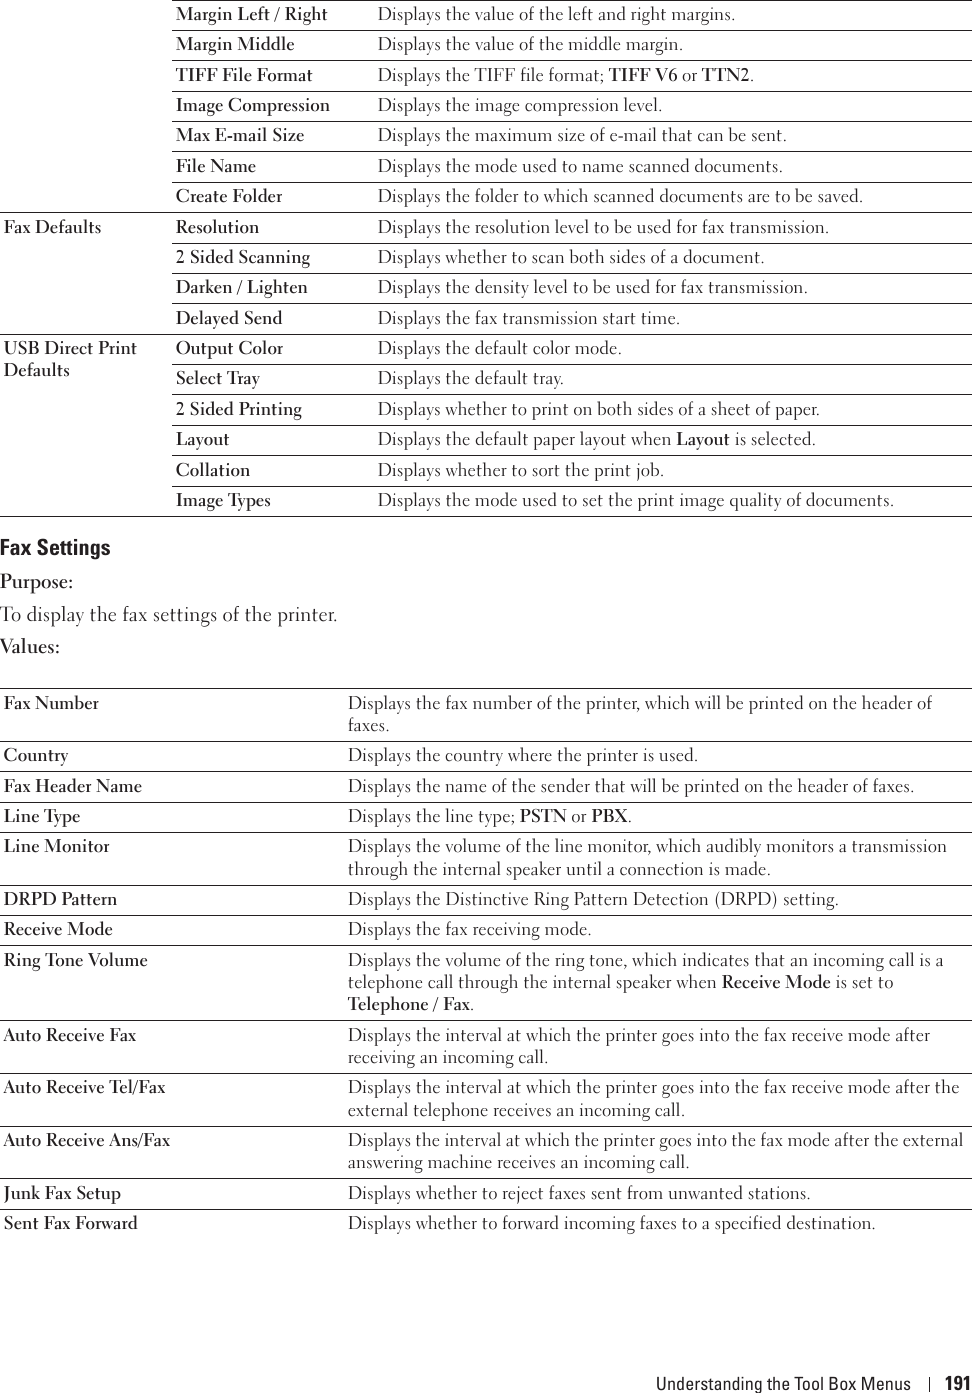
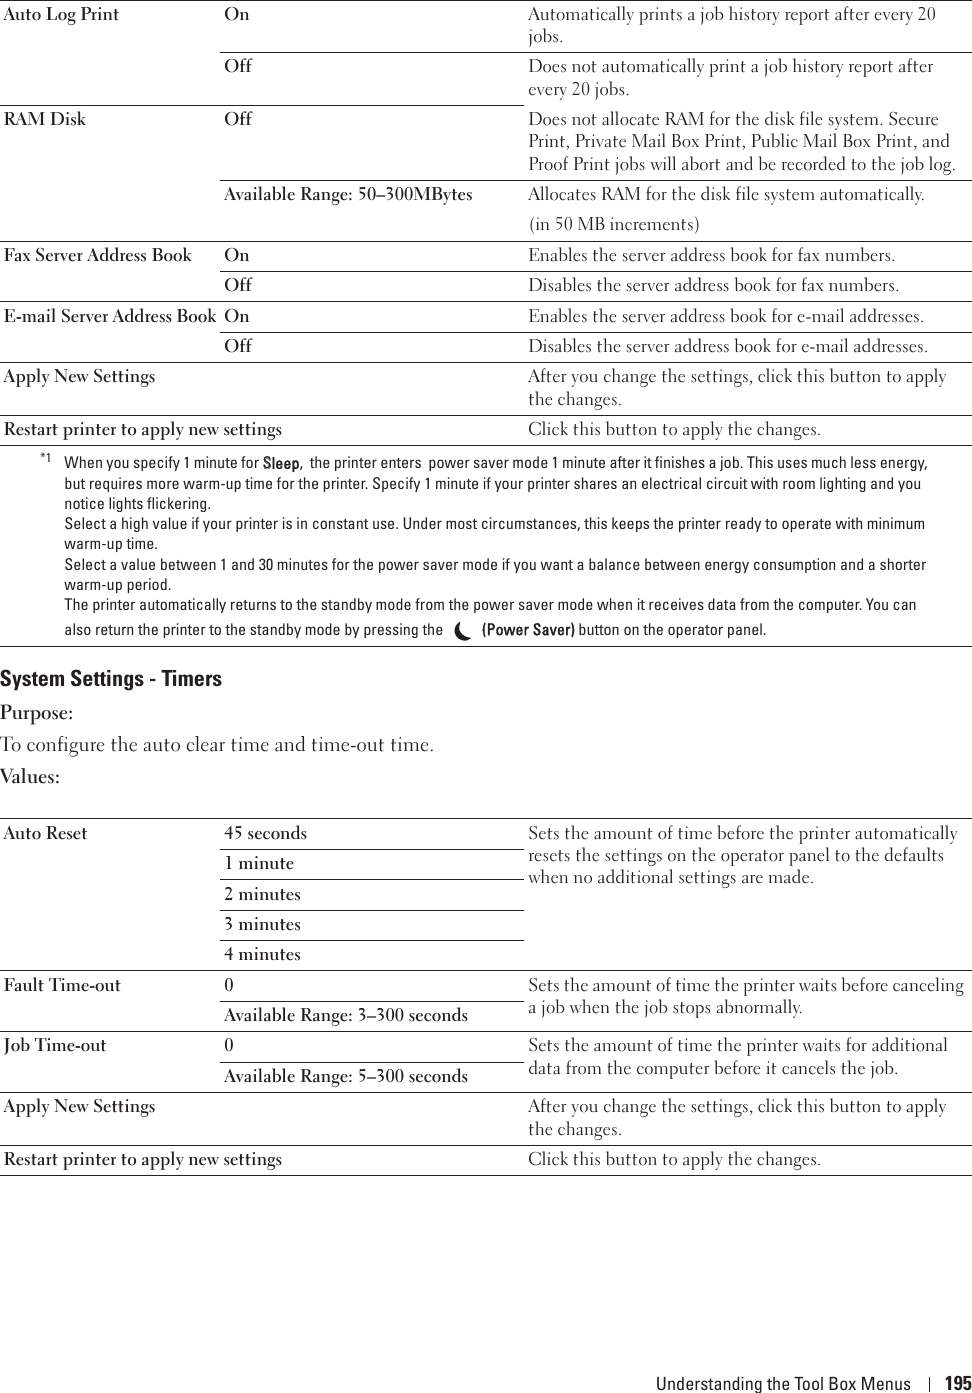
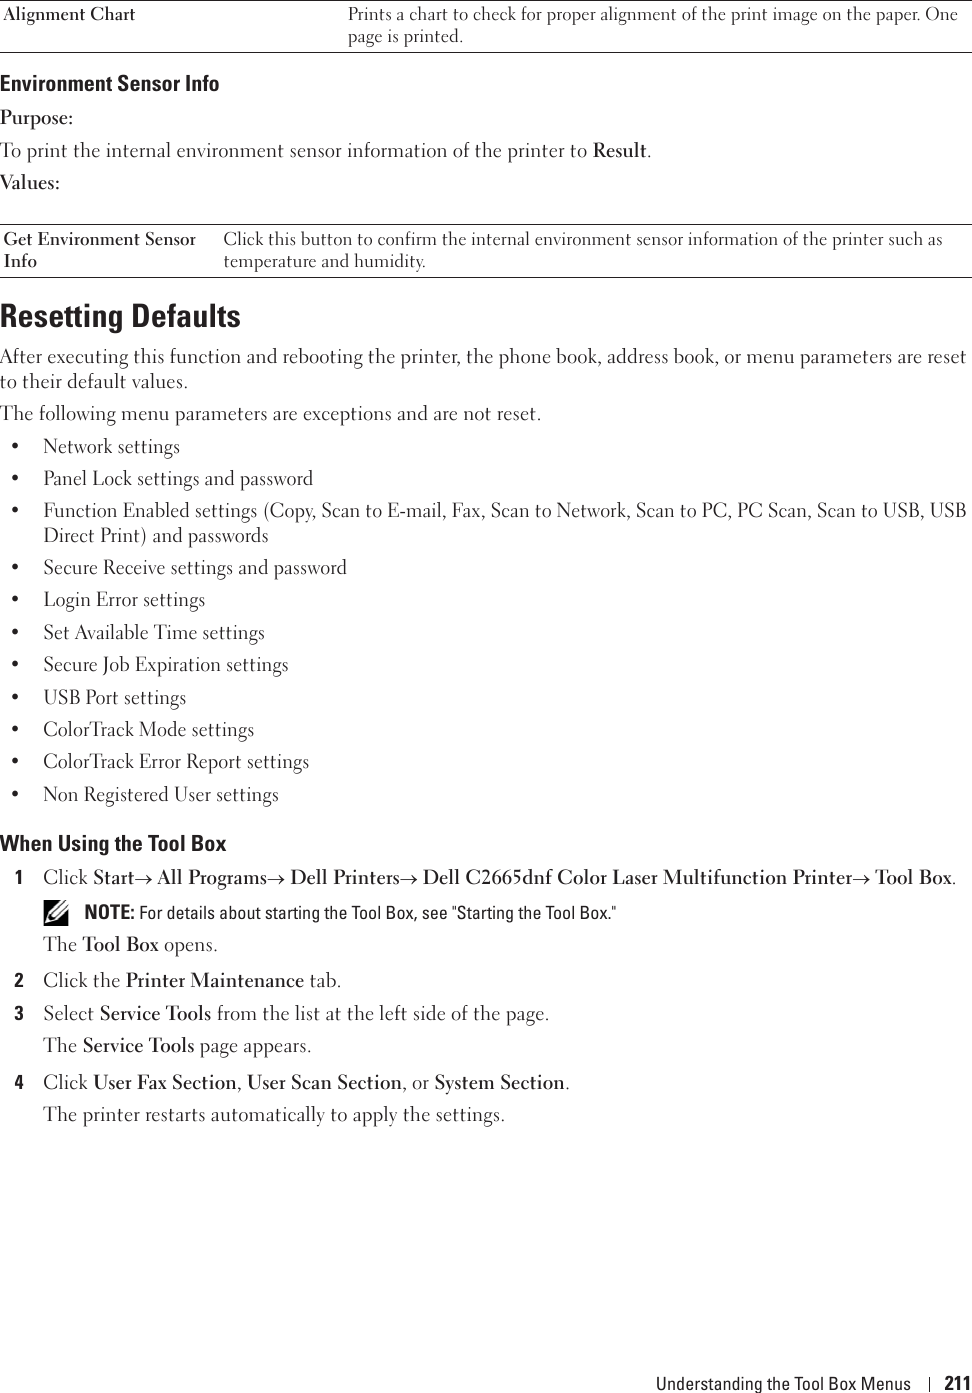
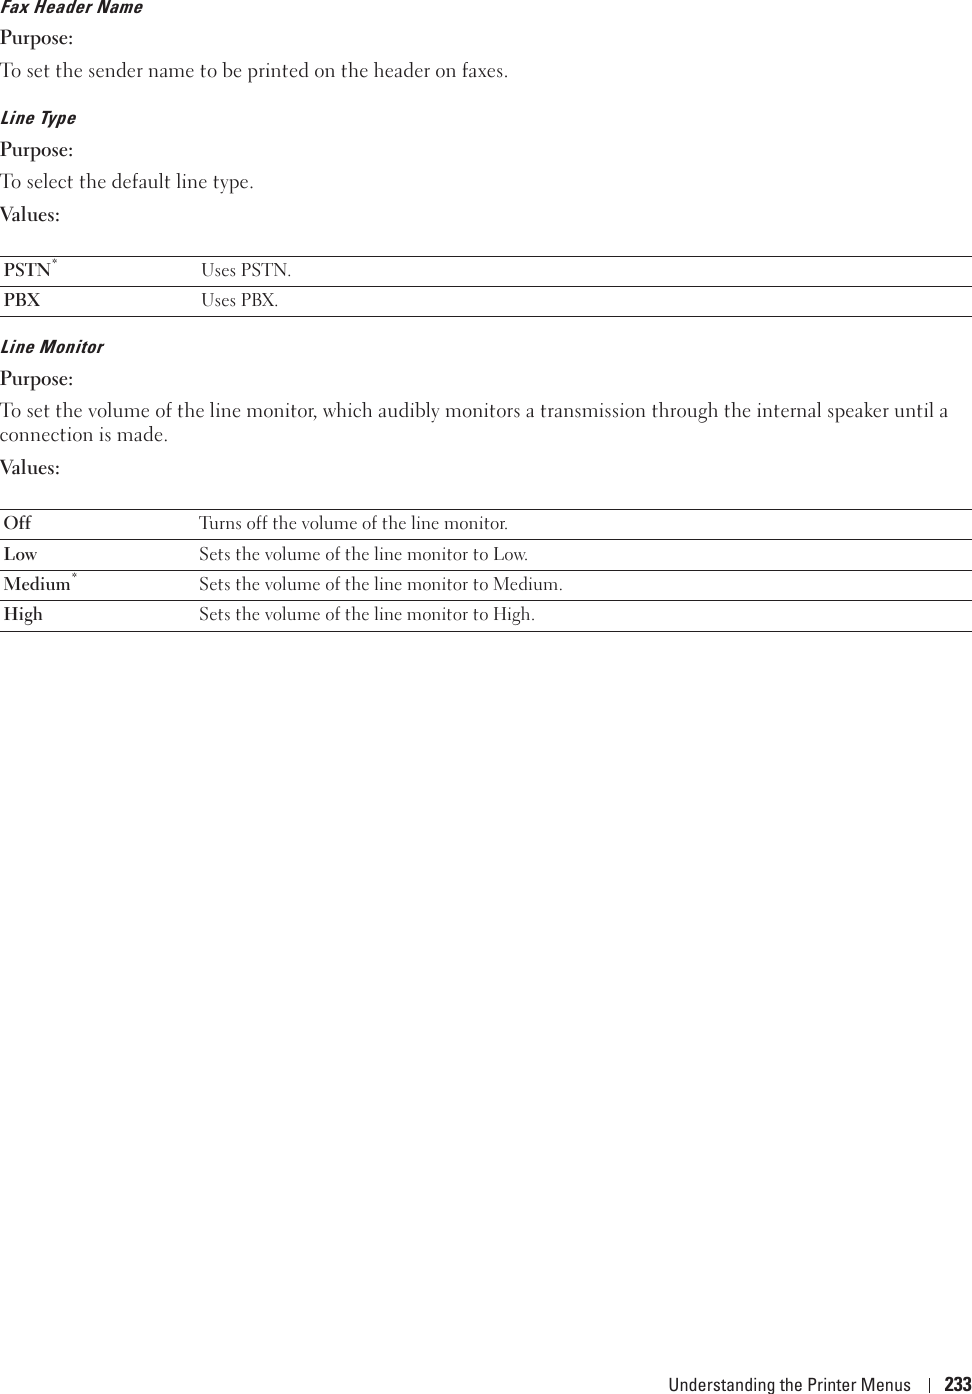
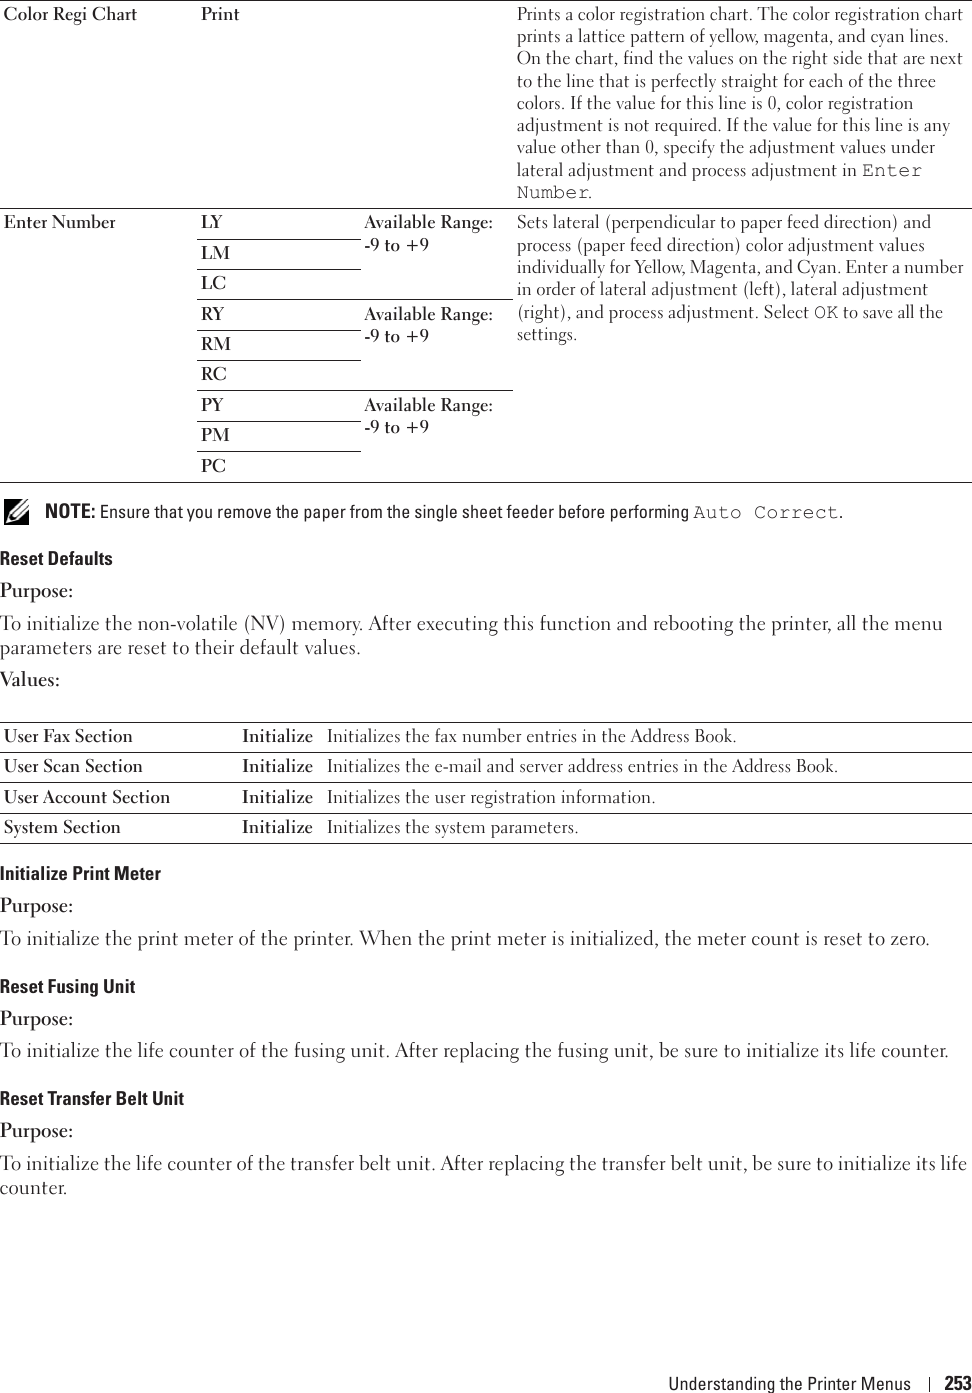
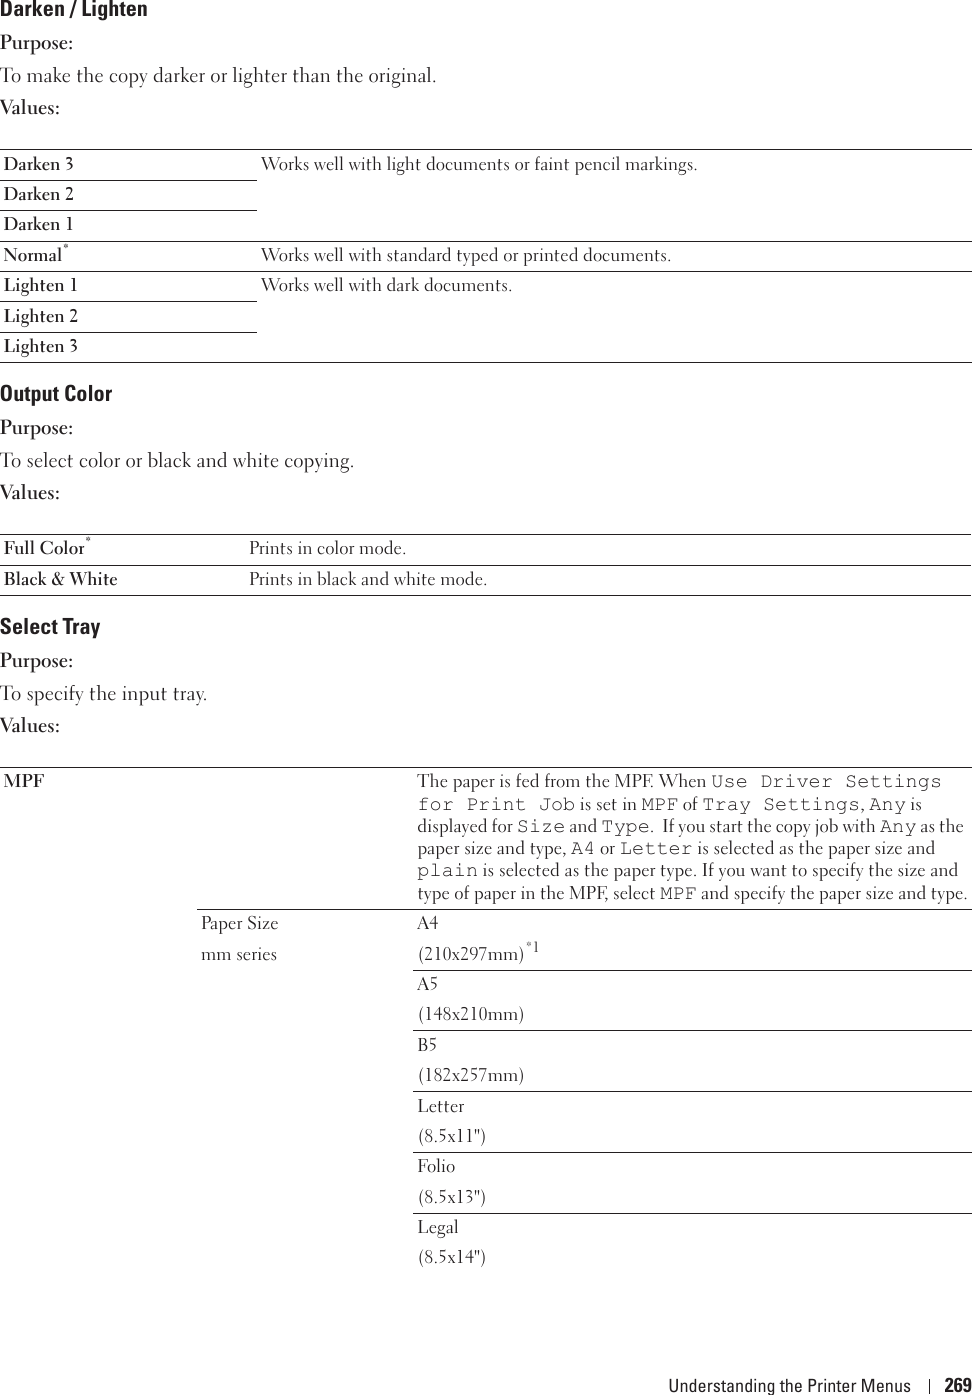
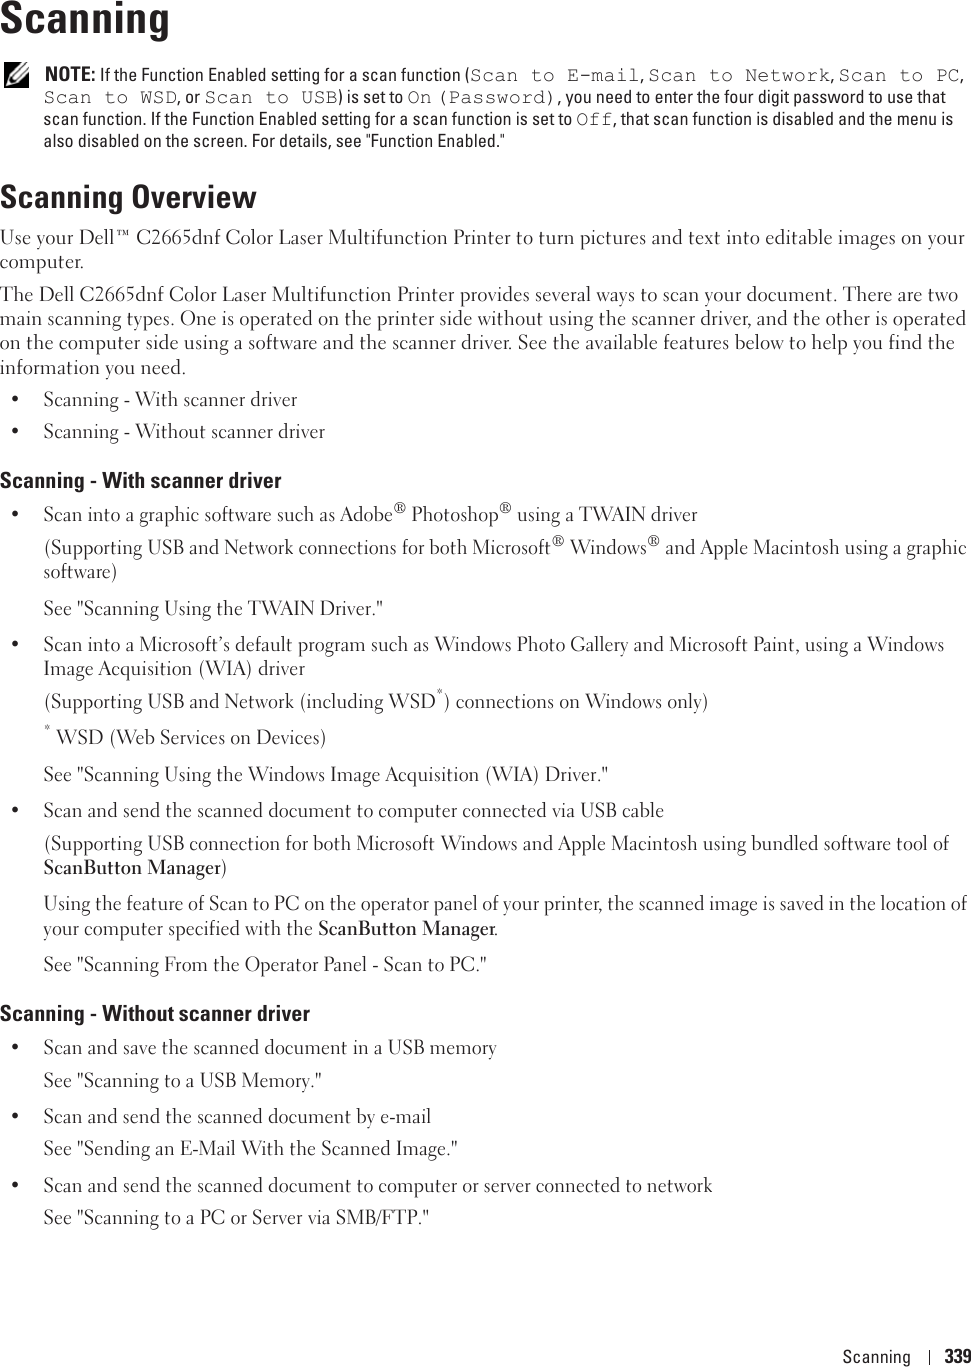
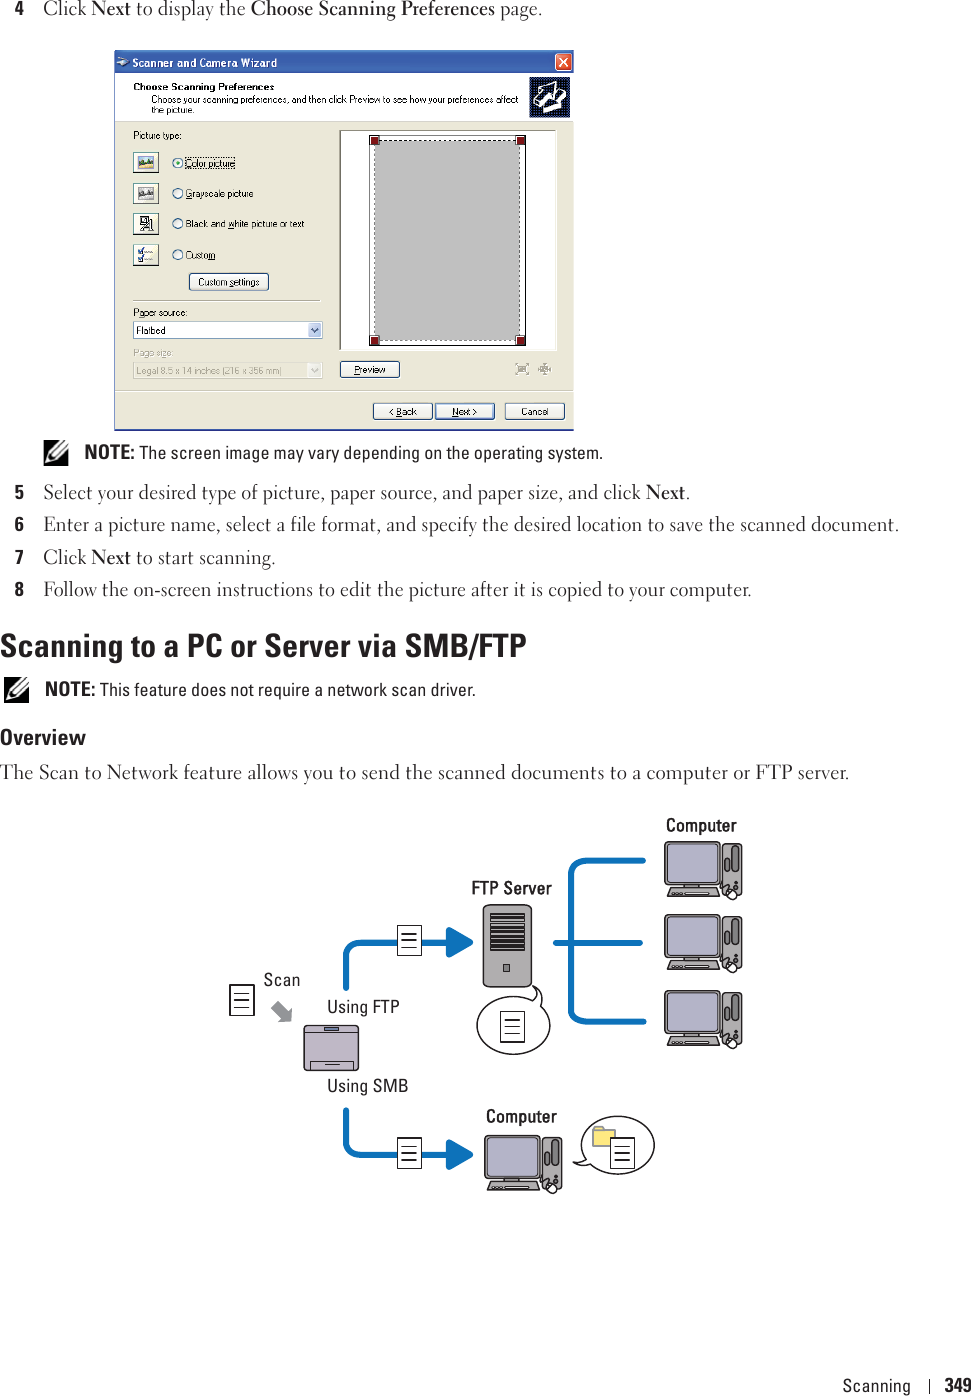
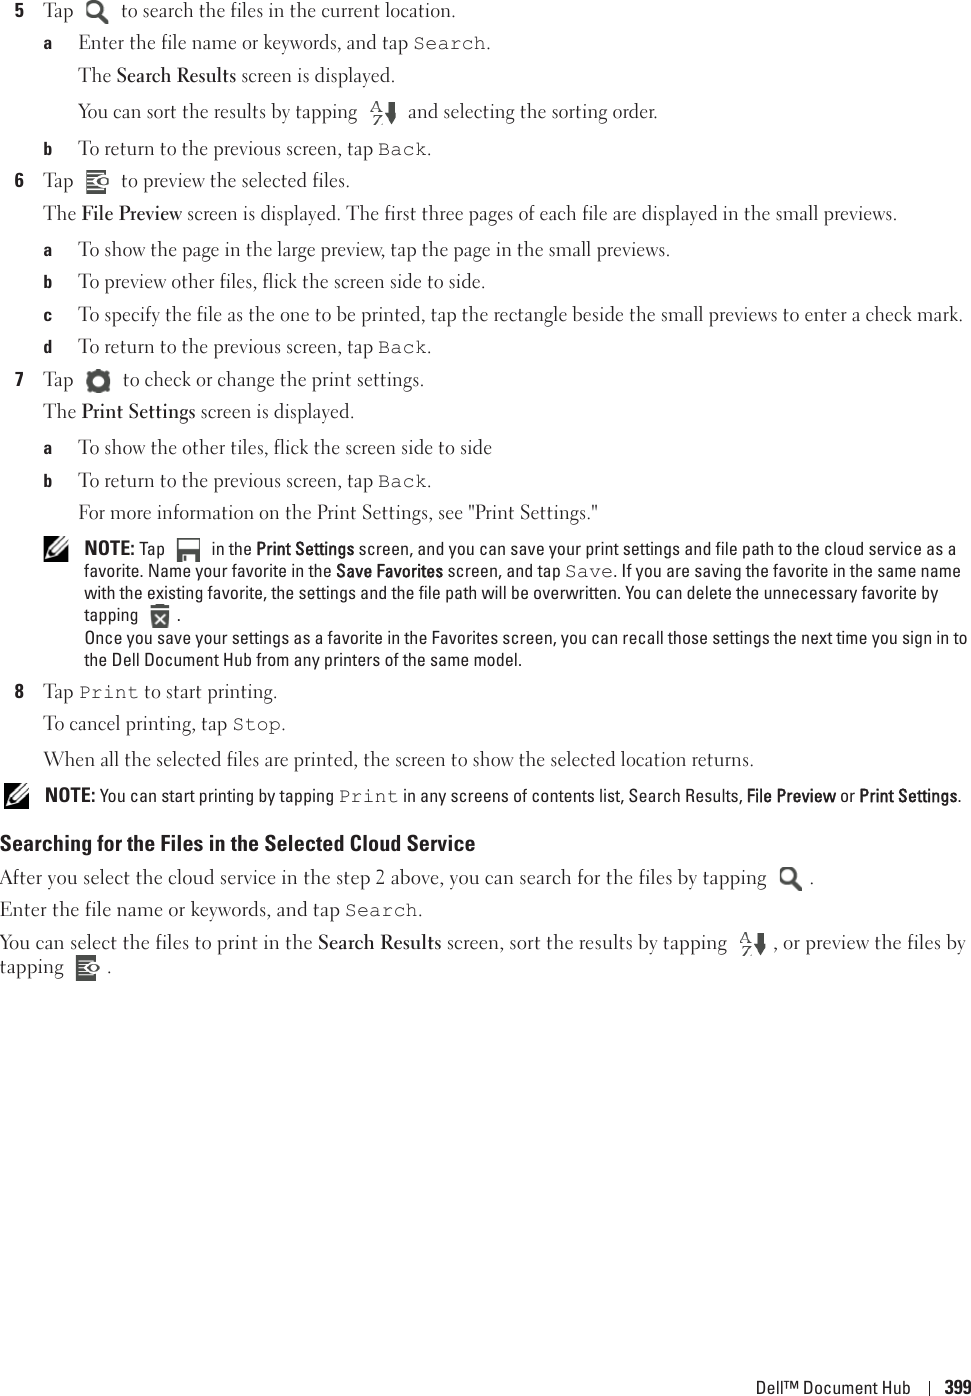
![Dell™ Printer Configuration Web Tool 1194Specify the display language in order of preference in the Languages in order of preference list menu.For example:•English [en] or English/United States [en-us]•Italian [it]•Spanish [es]•German [de]•French [fr]•Dutch [nl]•Norwegian [no]•Swedish [sv]•Danish [da]Setting the IP Address of the Printer to Non-Proxy1Select Options from the Tools menu.2Click Advanced tab.3Click Network on the Options dialog box.4Click Connection oSettings.5If you are using Firefox 2.0, do one of the following:• Select the Direct connection to the Internet check box.• Select the Auto-detect proxy settings for this network check box.• Select the Manual proxy configuration check box, and then enter the IP address of the printer in the No Proxy for edit box. • Select the Automatic proxy configuration URL check box.If you are using Firefox 3.0, do one of the following:• Select the No Proxy check box, if you do not want to use a proxy.• Select the Auto-detect proxy settings for this network check box.• Select the Manual proxy configuration check box, and then enter a hostname and a port number if you have a list of one or more proxy servers. If you have an IP address that does not use a proxy, enter the IP address of the printer in the No Proxy for edit box. • Select the Automatic proxy configuration URL check box.Setting Up From Operator PanelYou can launch the Dell Printer Configuration Web Tool only when the operator panel setting is set to Enable. Confirm the operator panel setting if you cannot launch the Dell Printer Configuration Web Tool. For more information, see "Understanding the Printer Menus."](https://usermanual.wiki/FUJIFILM-Business-Innovation/C2665DNF.User-manual-2/User-Guide-2053071-Page-13.png)