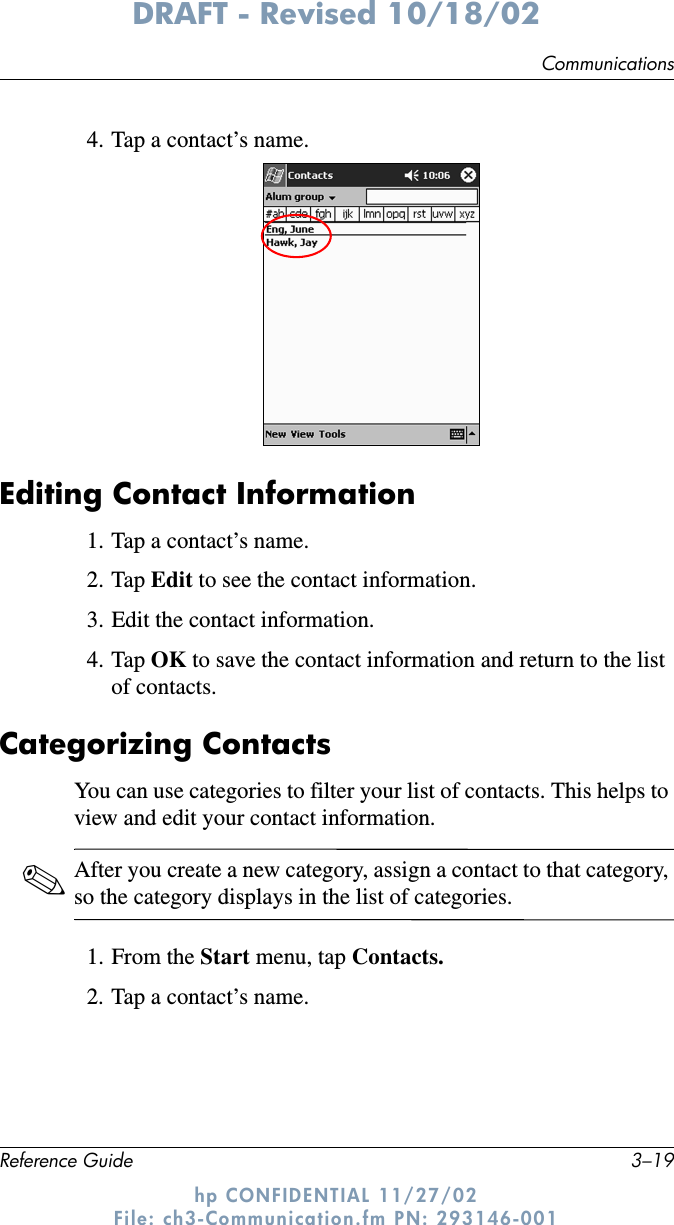
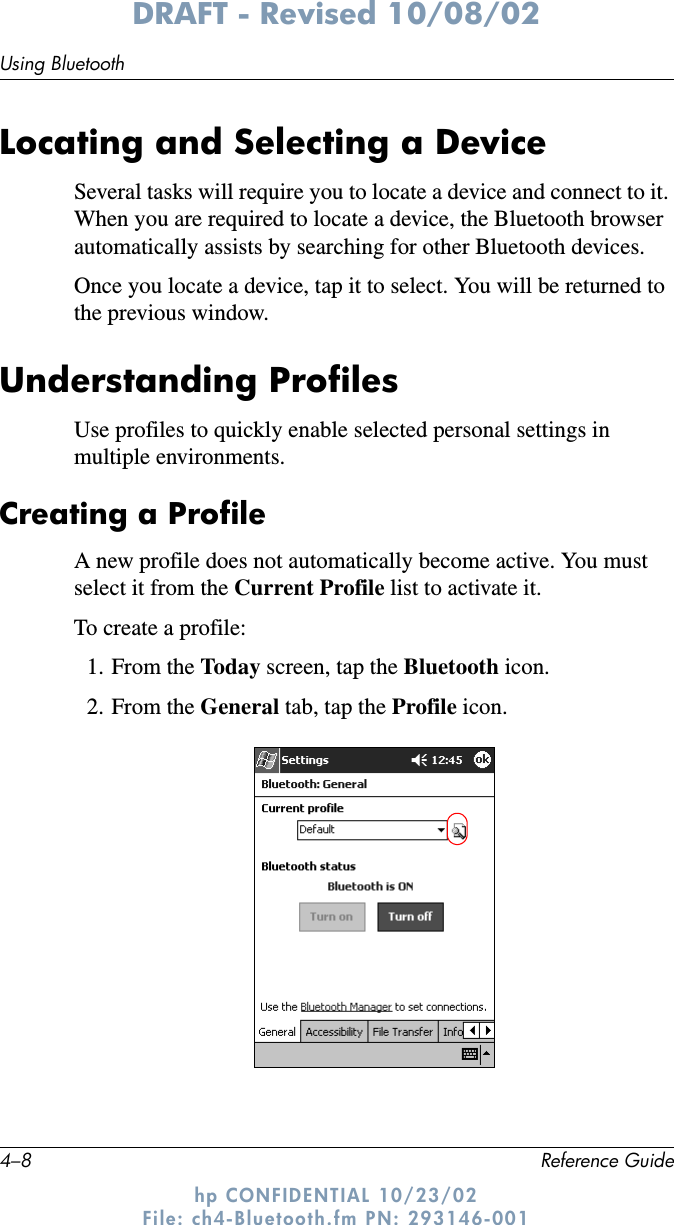
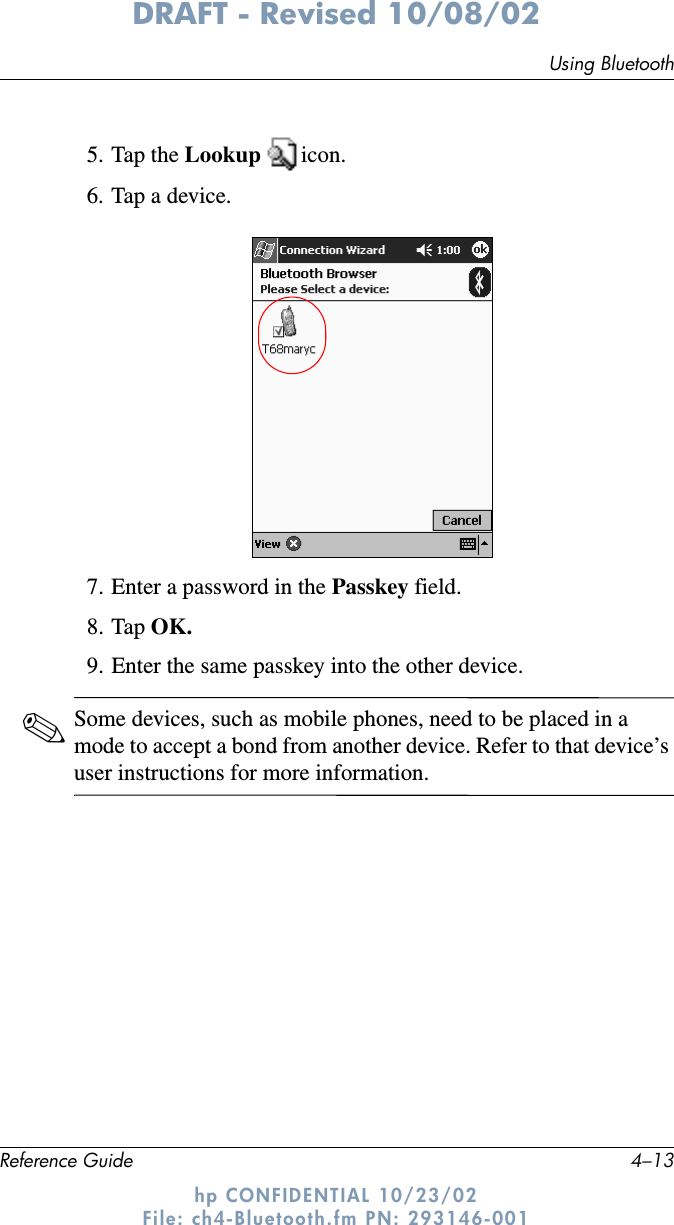
HTC GREATWALLB Handheld PC with Bluetooth Transceiver User Manual H2200Series
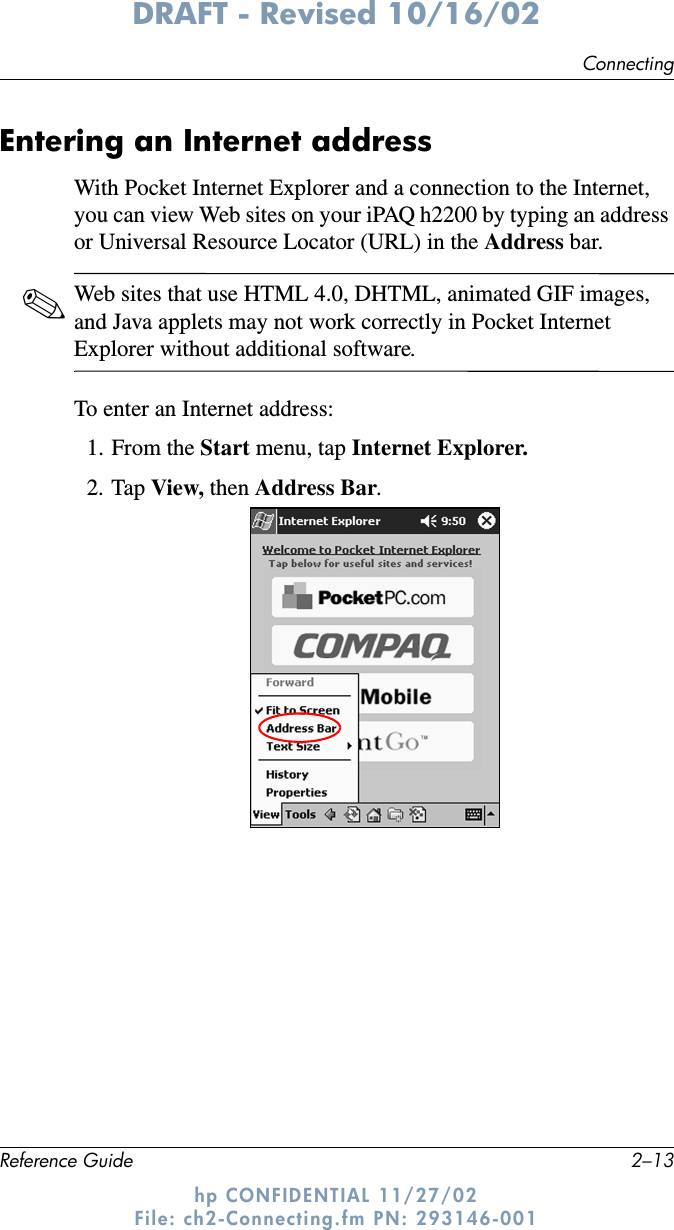
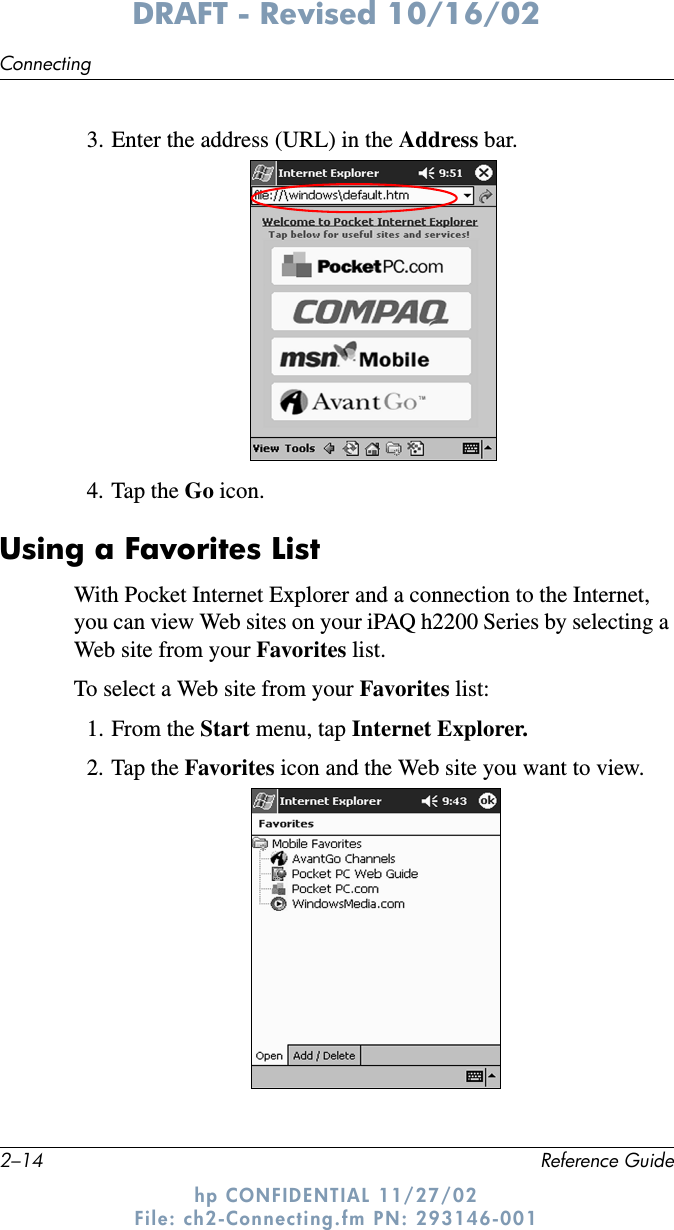
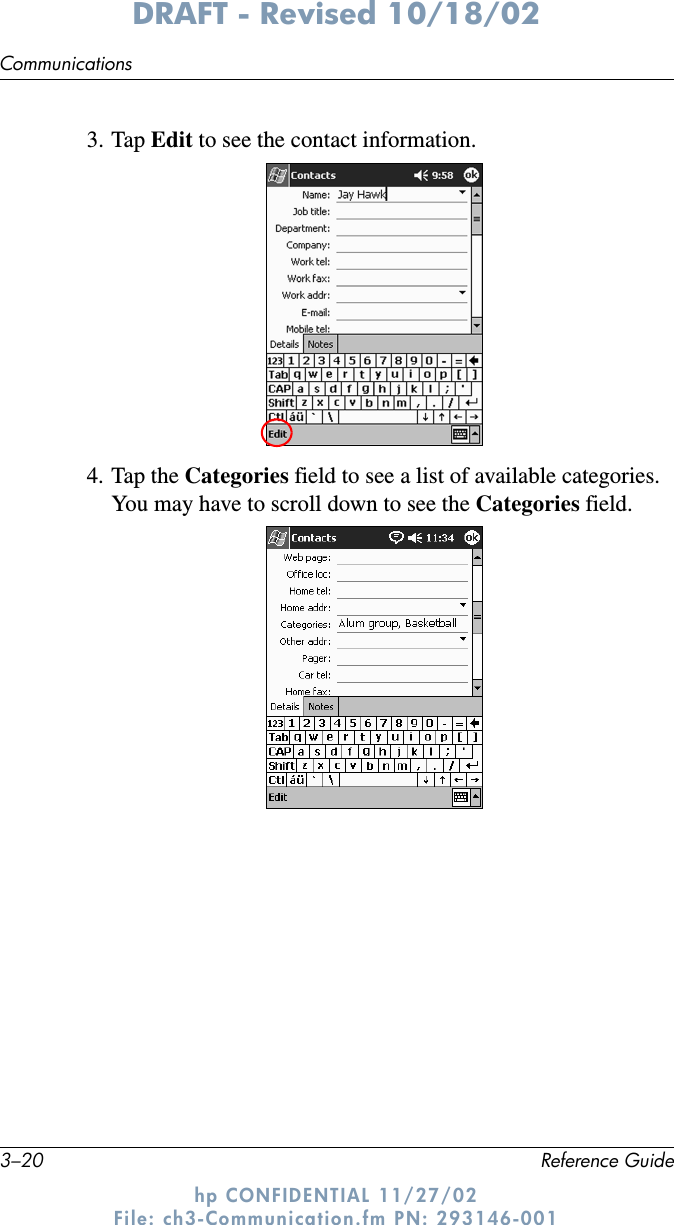
HTC Corporation Handheld PC with Bluetooth Transceiver H2200Series
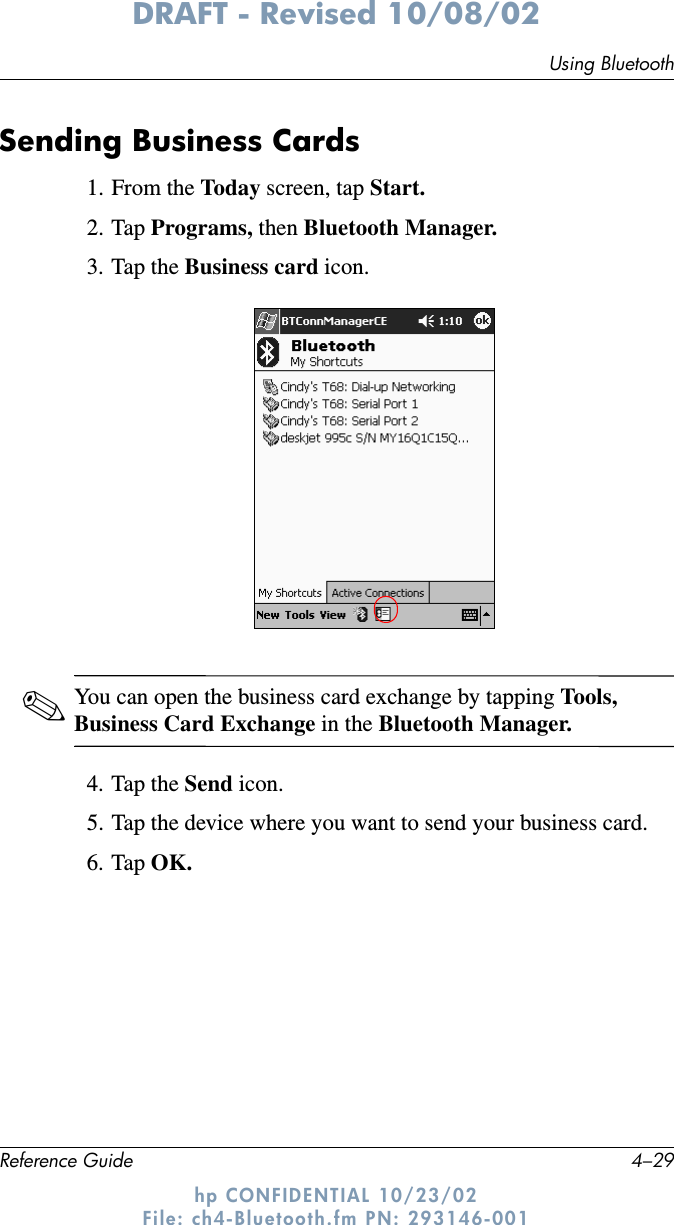
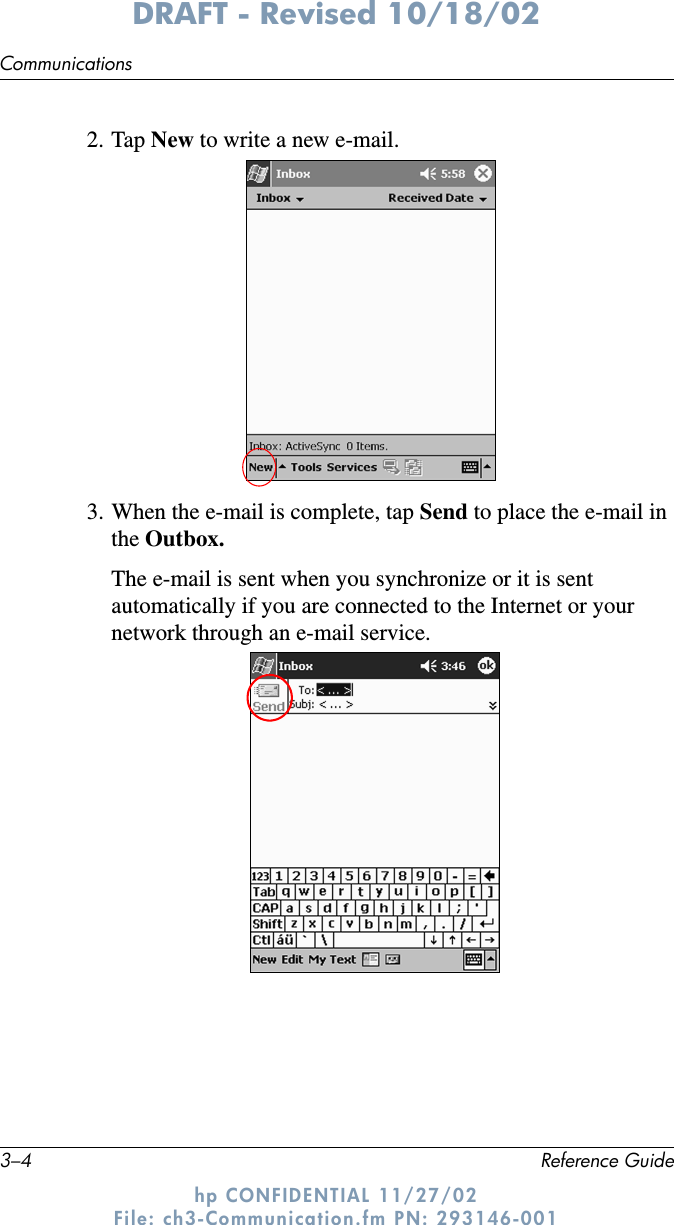
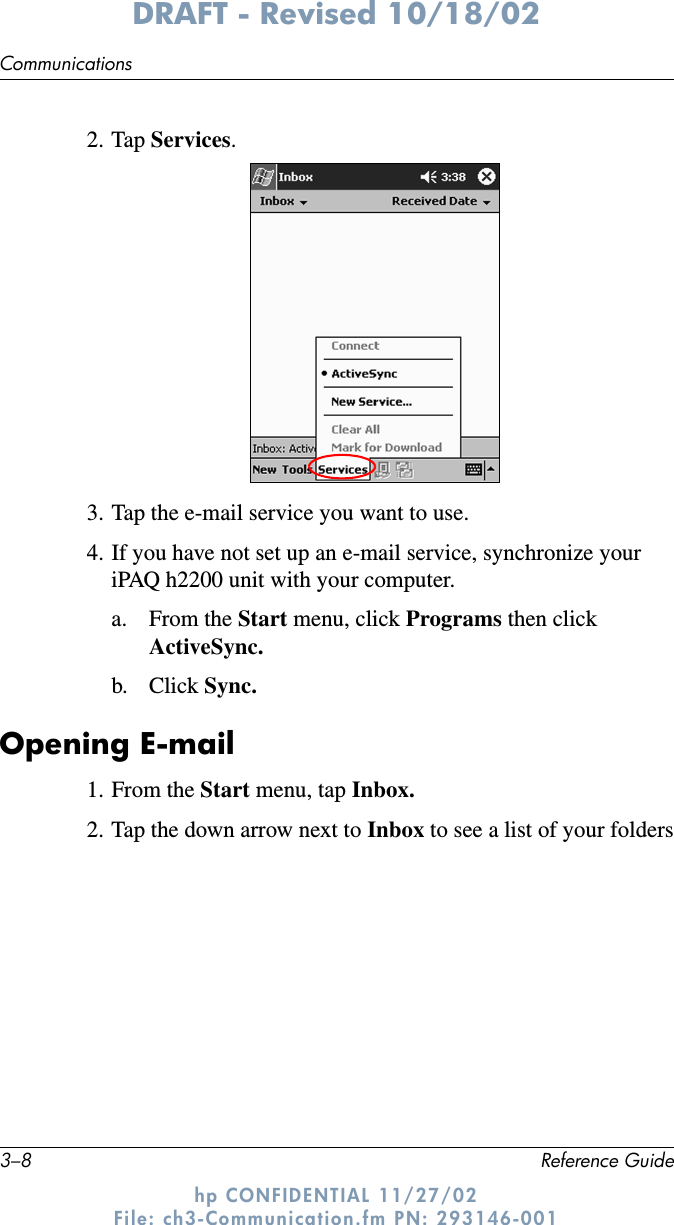
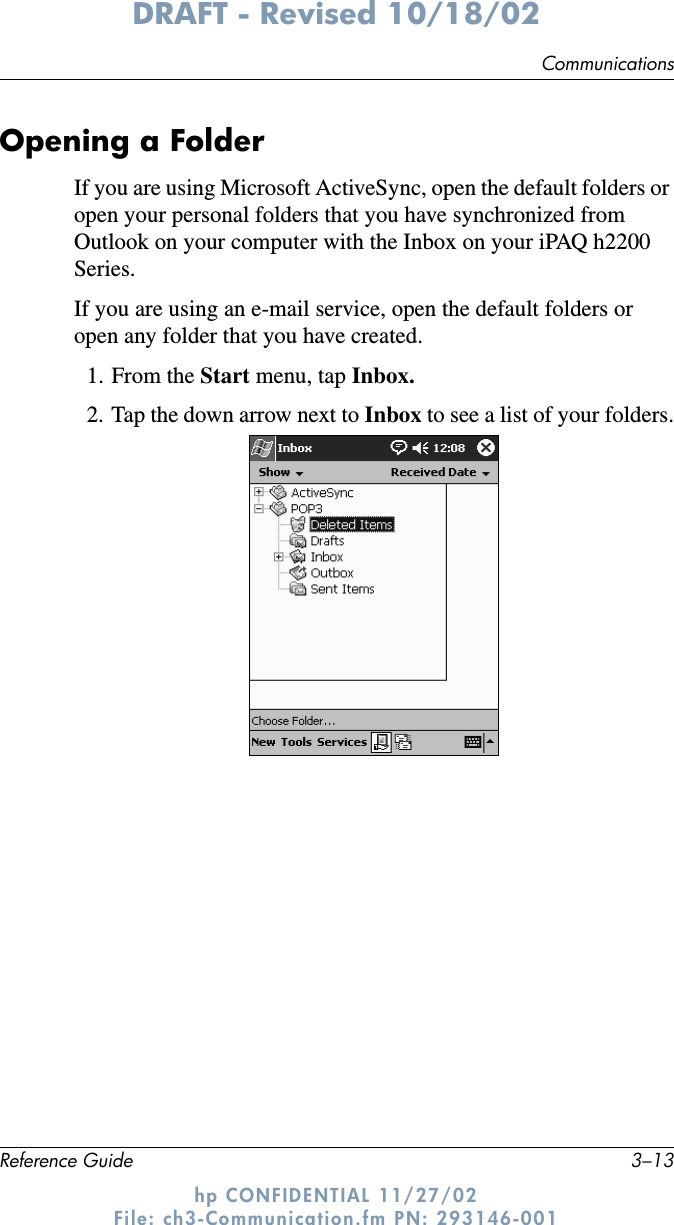
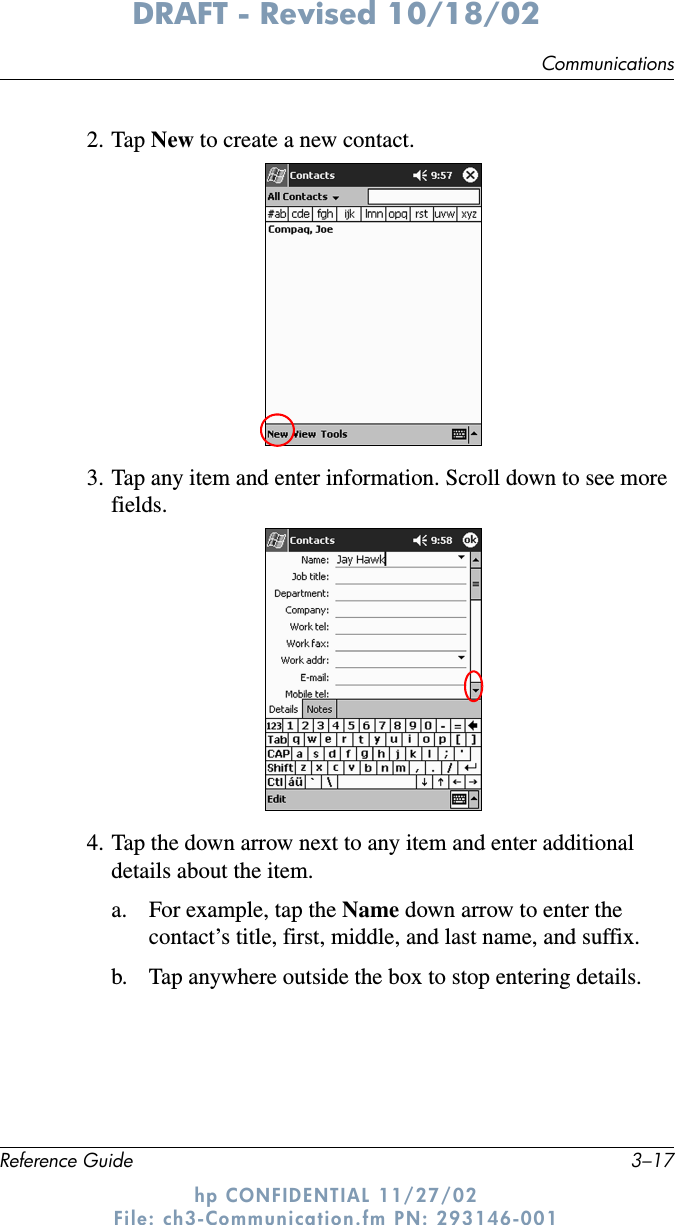
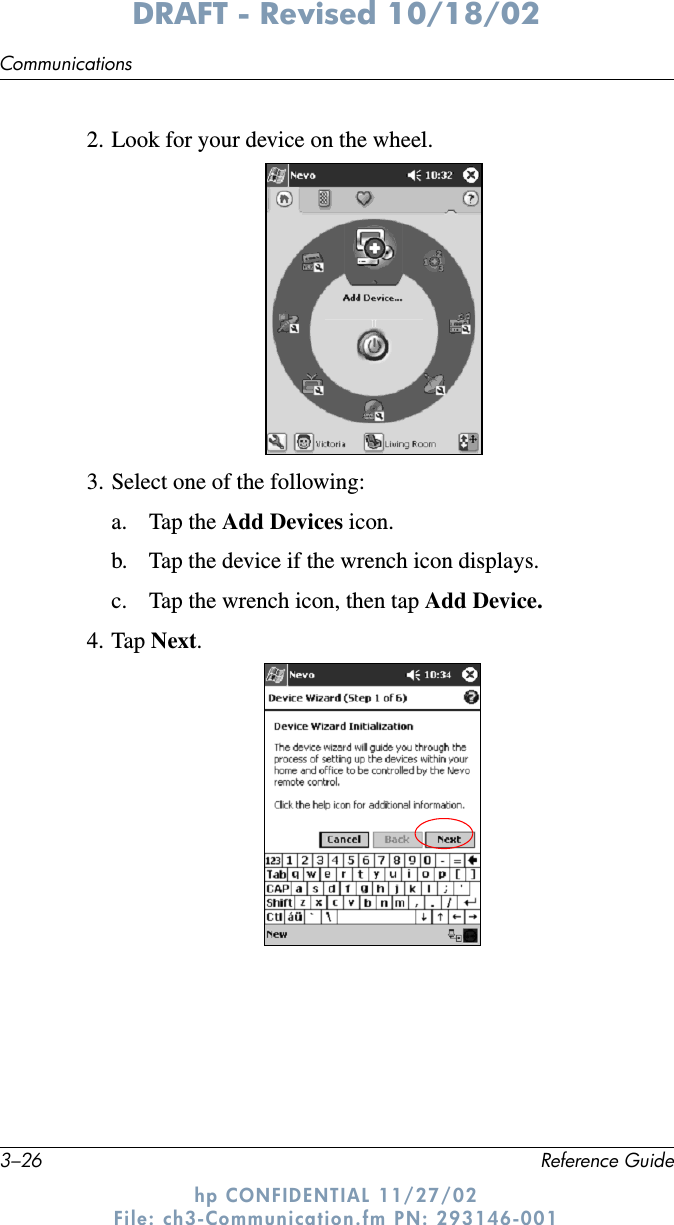
HTC >
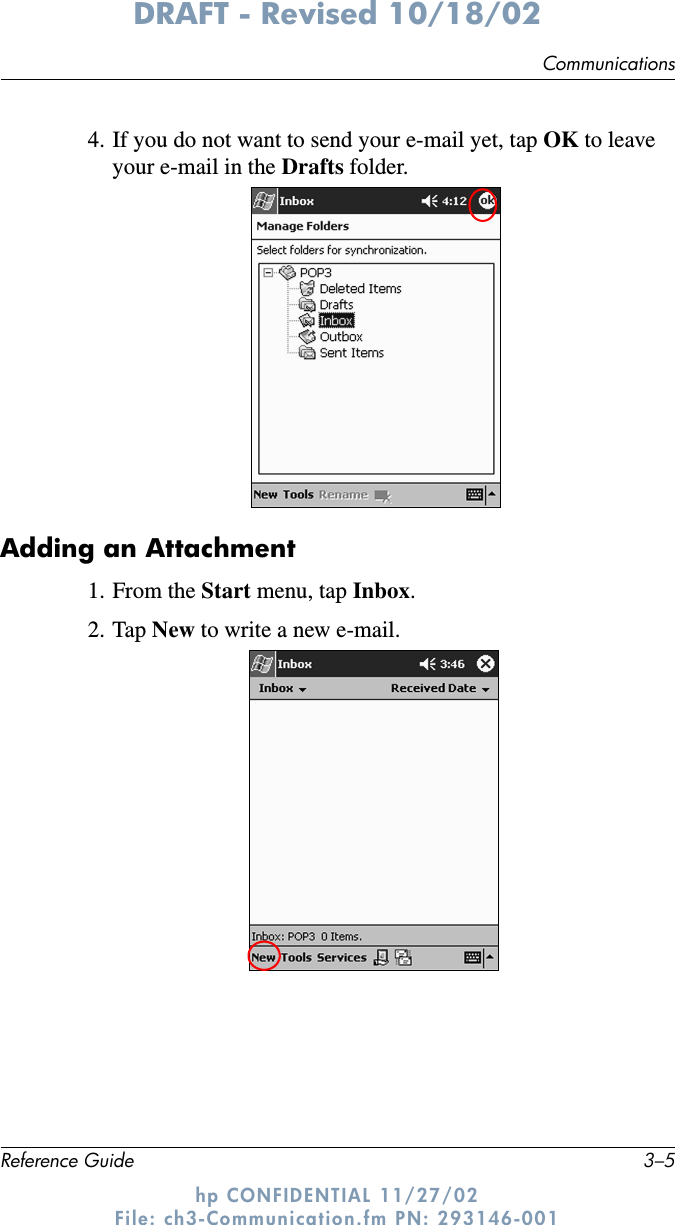
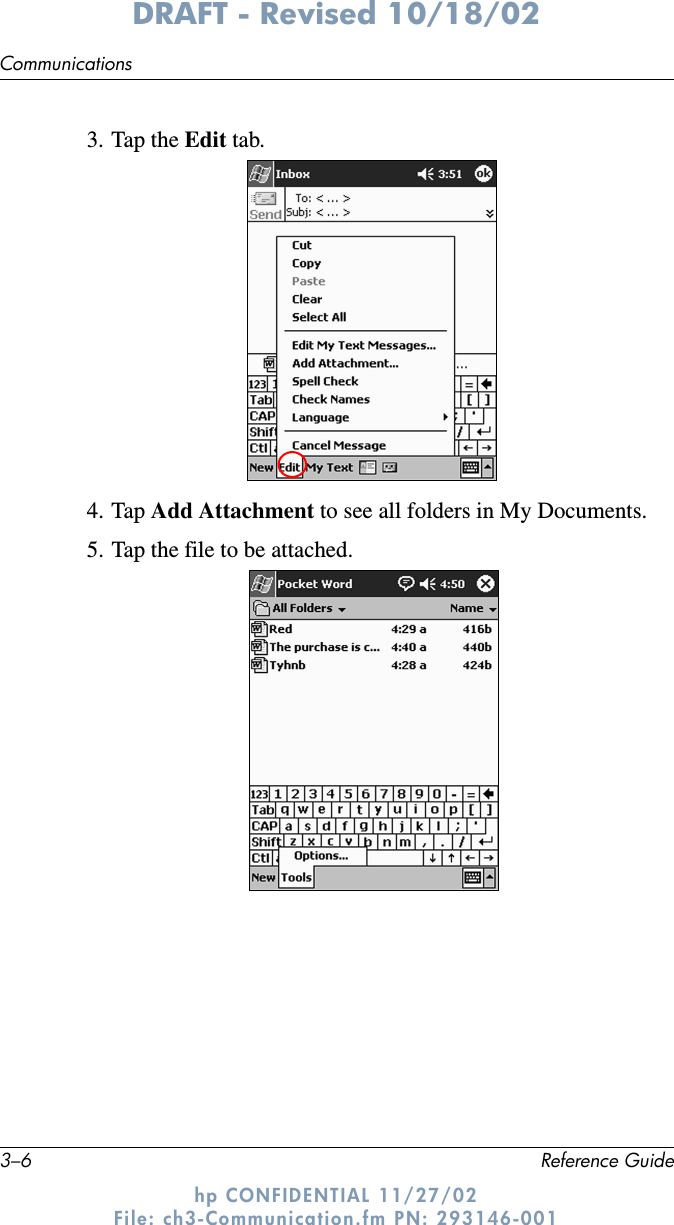
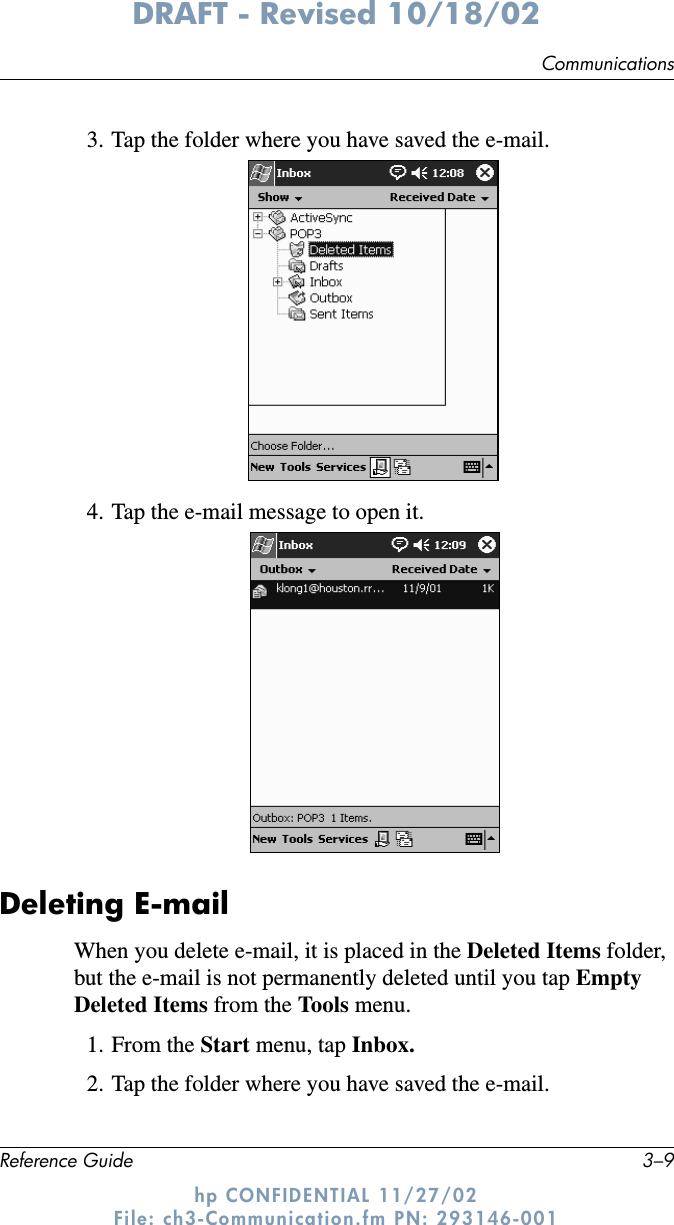
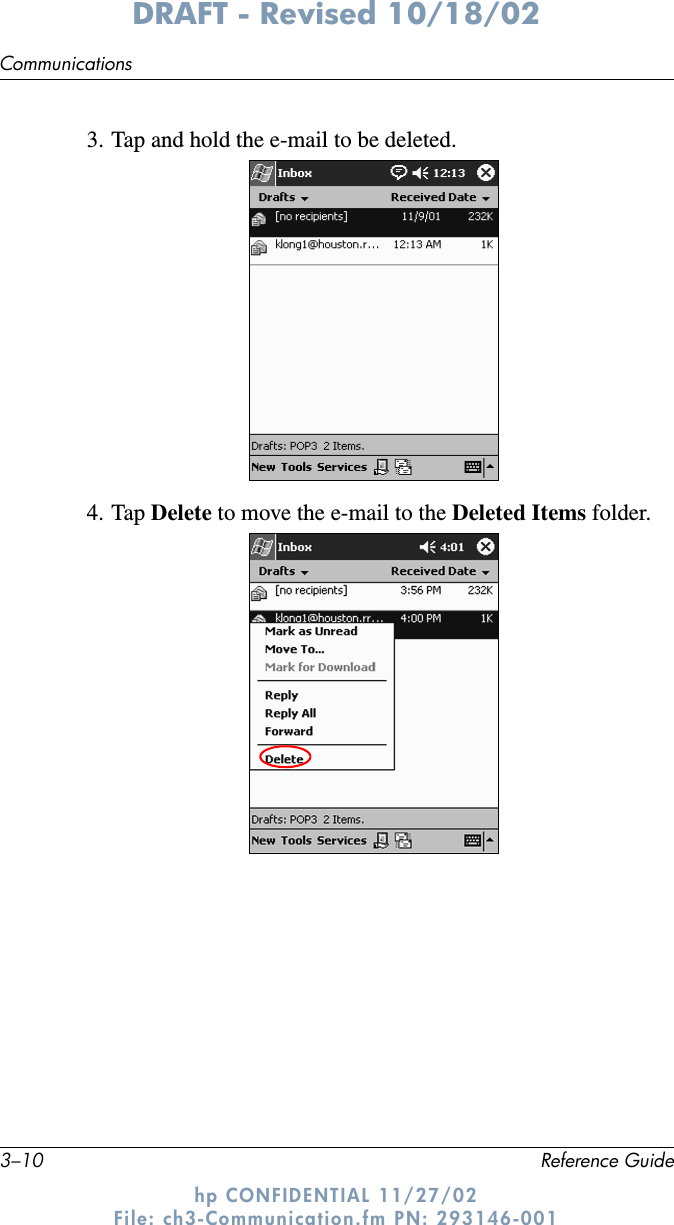
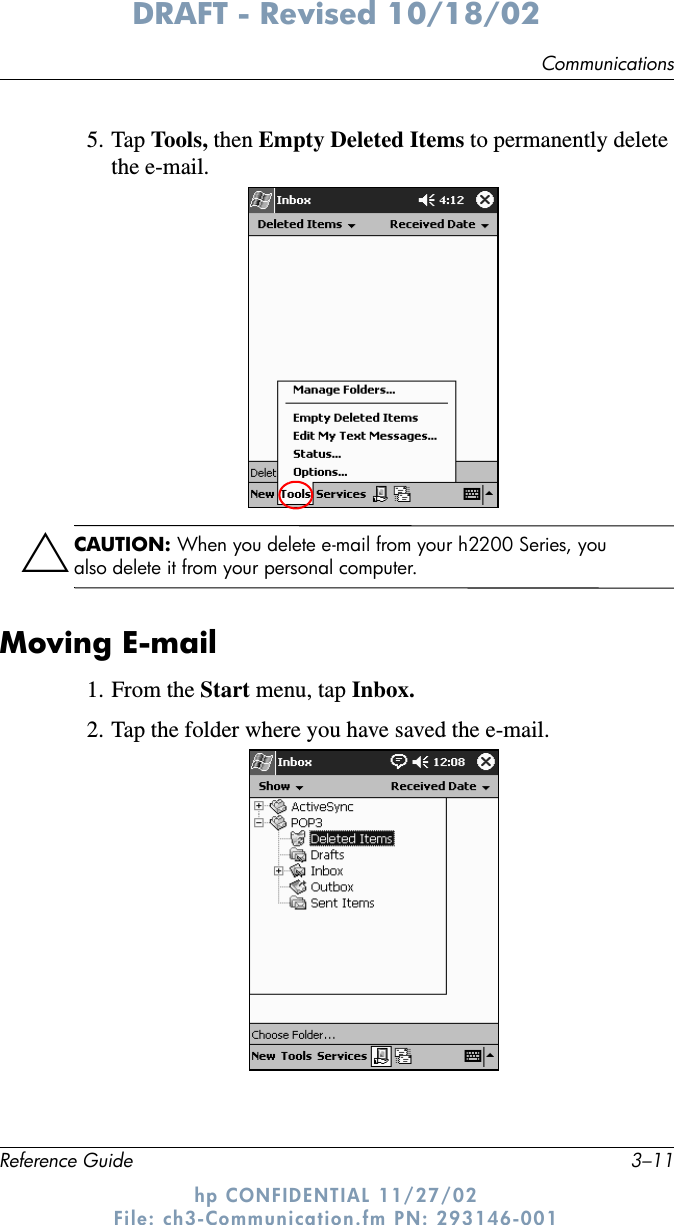
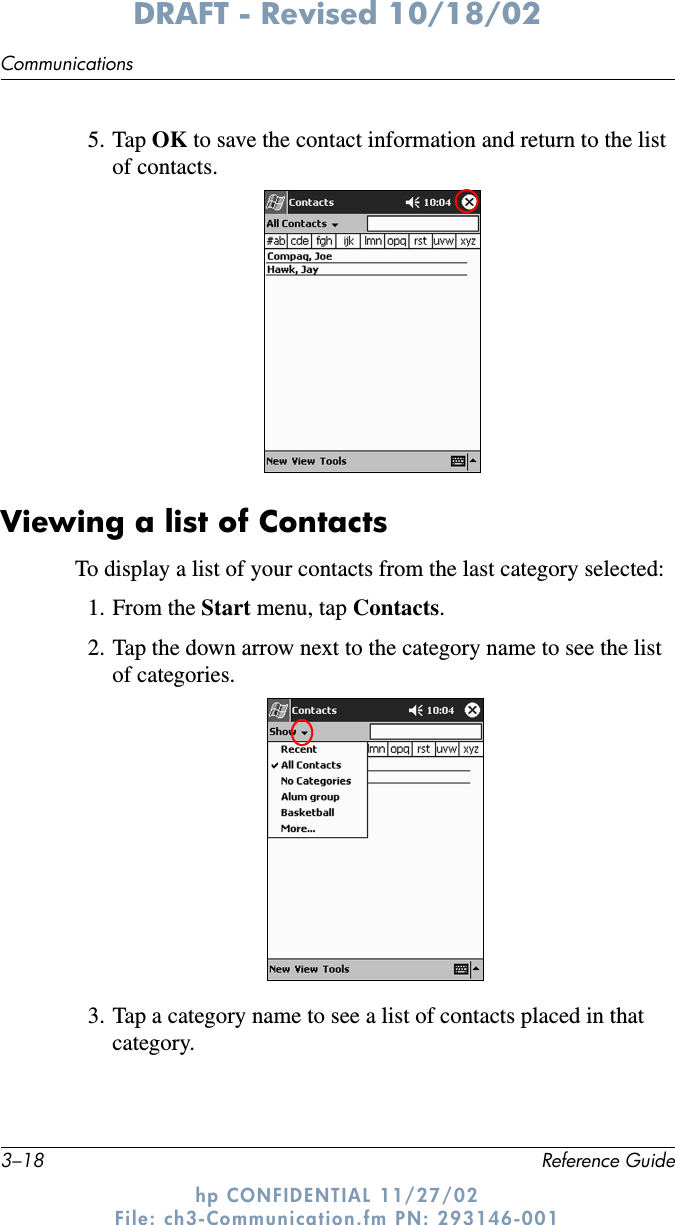
Contents
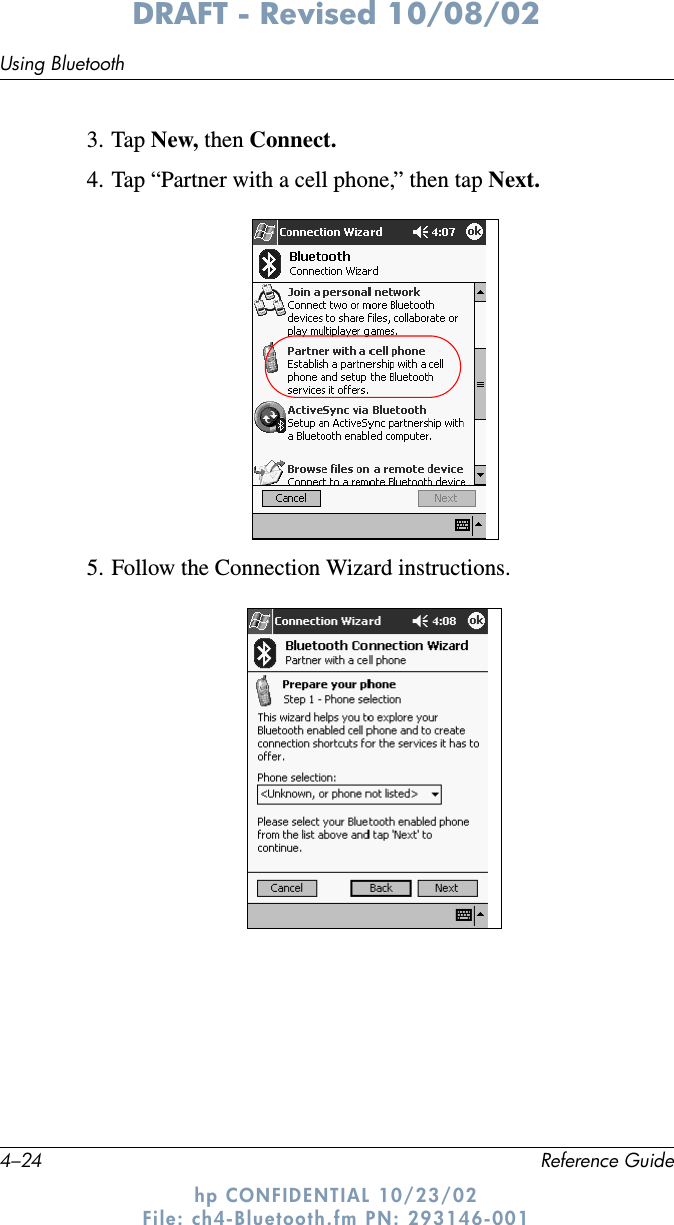
- 1. users manual PartI
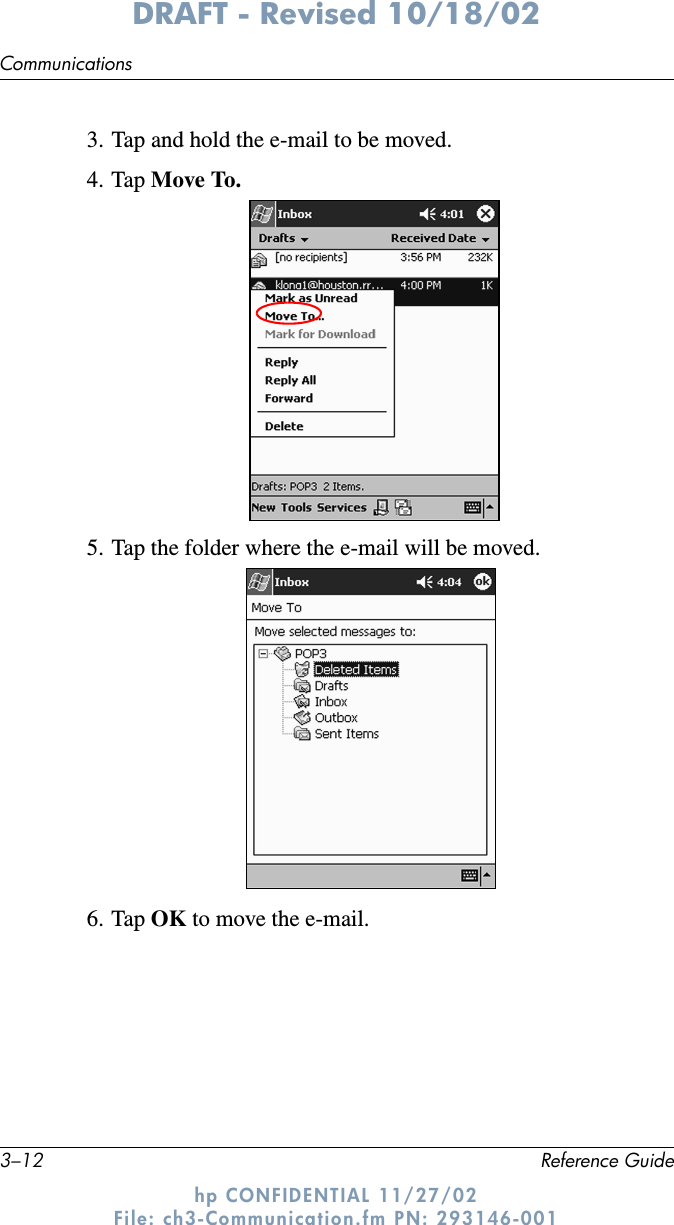
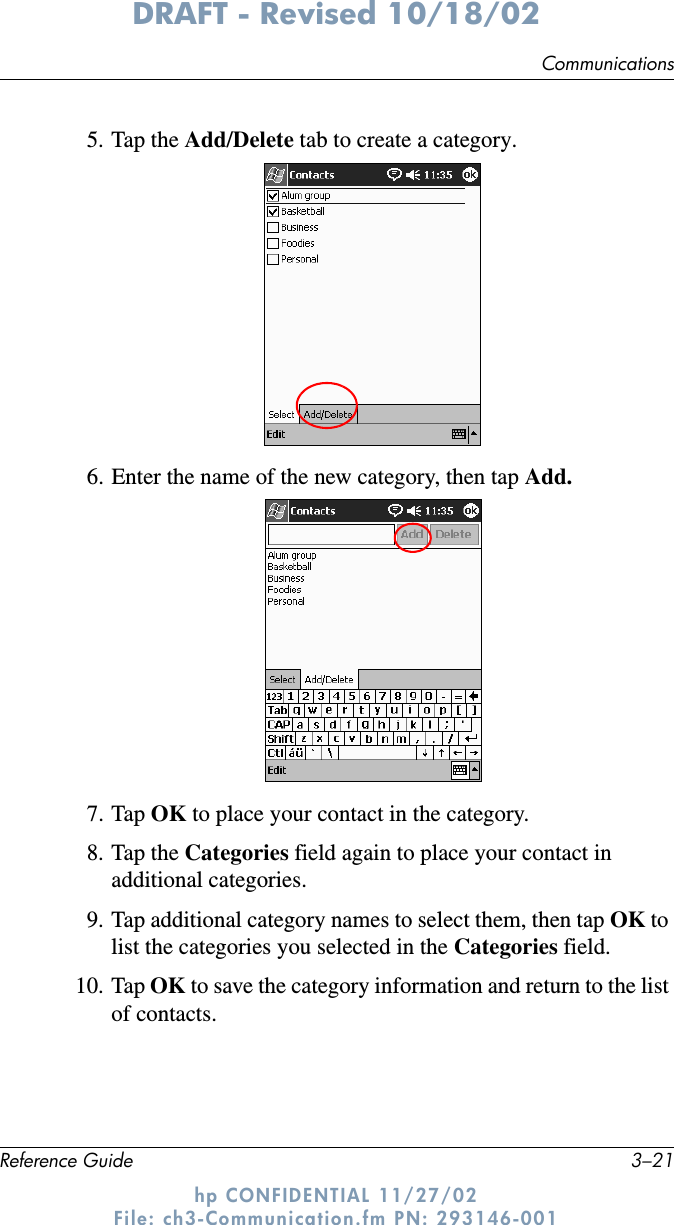
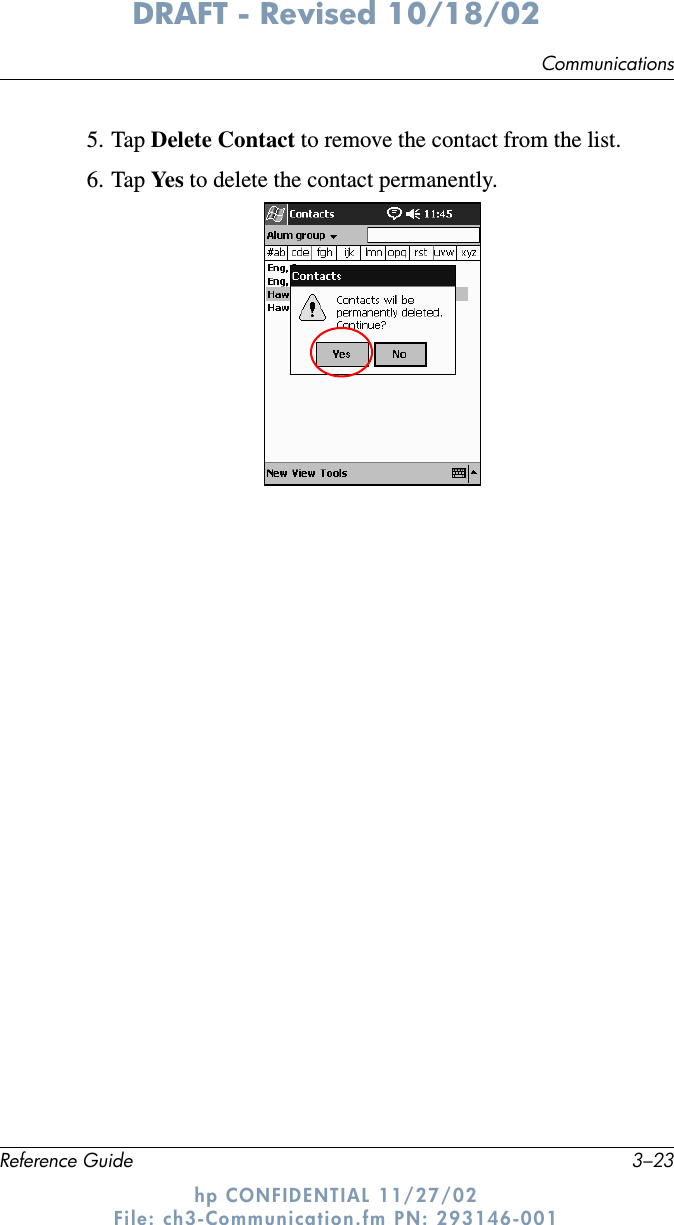
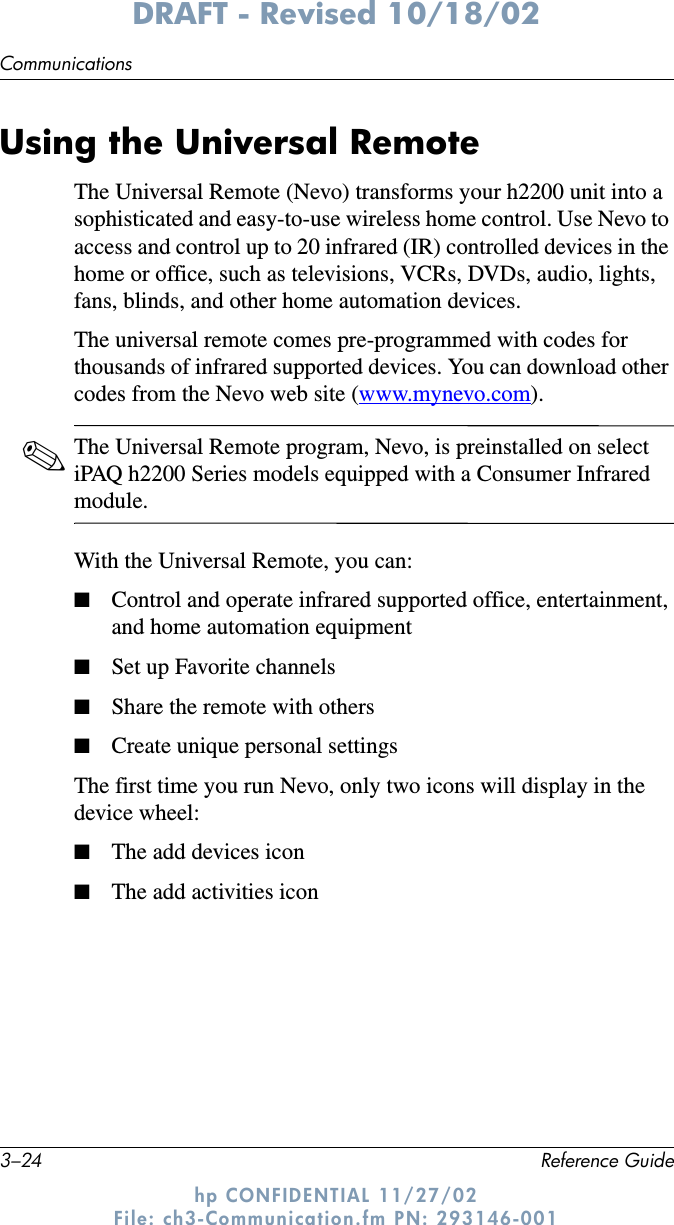
- 2. users manual Part 2
- 3. users manual Part 3
- 4. Safety Addendum to Manual
users manual Part 2


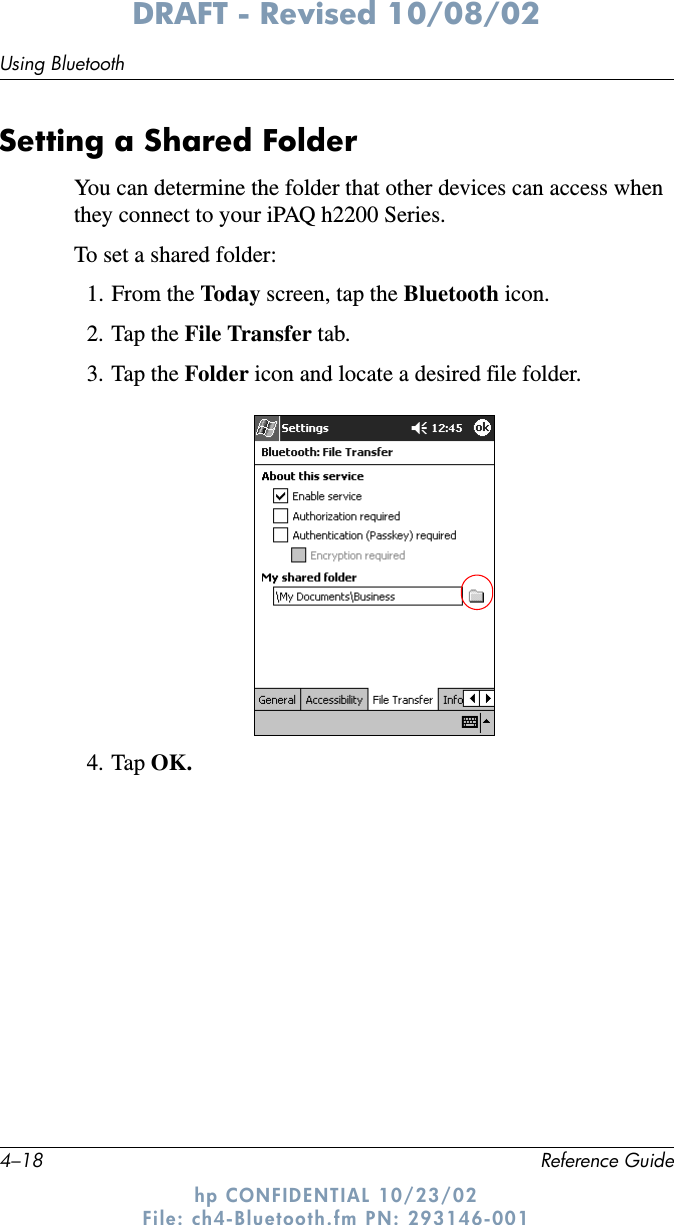

![4–22 Reference GuideUsing BluetoothDRAFT - Revised 10/08/02hp CONFIDENTIAL 10/23/02 File: ch4-Bluetooth.fm PN: 293146-001To establish a serial connection:1. From the Today screen, tap Start.2. Tap Programs, then Bluetooth Manager.3. Tap New, then Connect.4. Tap “Explore a Bluetooth device,” then tap Next.5. Follow the connection wizard instructions.Using Dial-Up NetworkingWhen using dial-up networking, the remote device providing the dial-up networking service, and the remote computer to which you are connecting must both have telephone access.Devices that can provide dial-up networking include Bluetooth:■Mobile phones■Desktop computers■ModemsConfiguring Dial-Up ConnectionsTo configure the dial-up networking settings:1. From the Today screen, tap the Bluetooth icon.2. Tap the Dial-Up Networking tab.3. Select a communications port from the COM Port list.4. Select a baud rate from the Baud Rate down arrow list (typical rate is 57600).5. Select the type of flow control to use from the Flow Control down arrow list (typical setting is Hardware [RTS/CTS]).6. Tap OK.](https://usermanual.wiki/HTC/GREATWALLB.users-manual-Part-2/User-Guide-326229-Page-58.png)