Intermec Technologies 07CN3 CN3 User Manual CN3UserManual
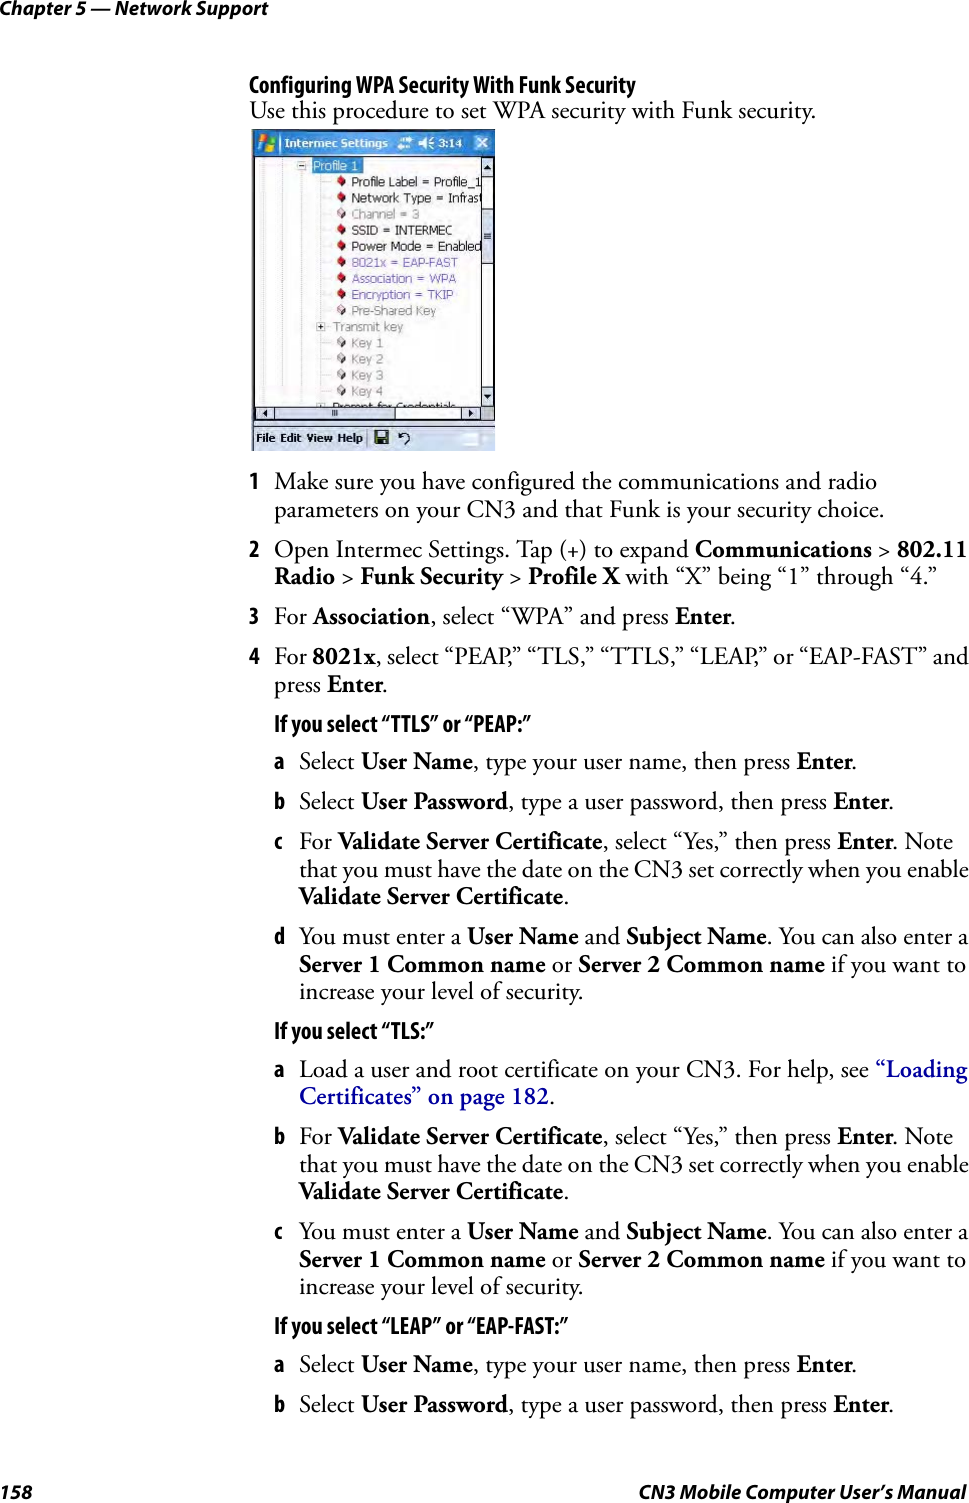
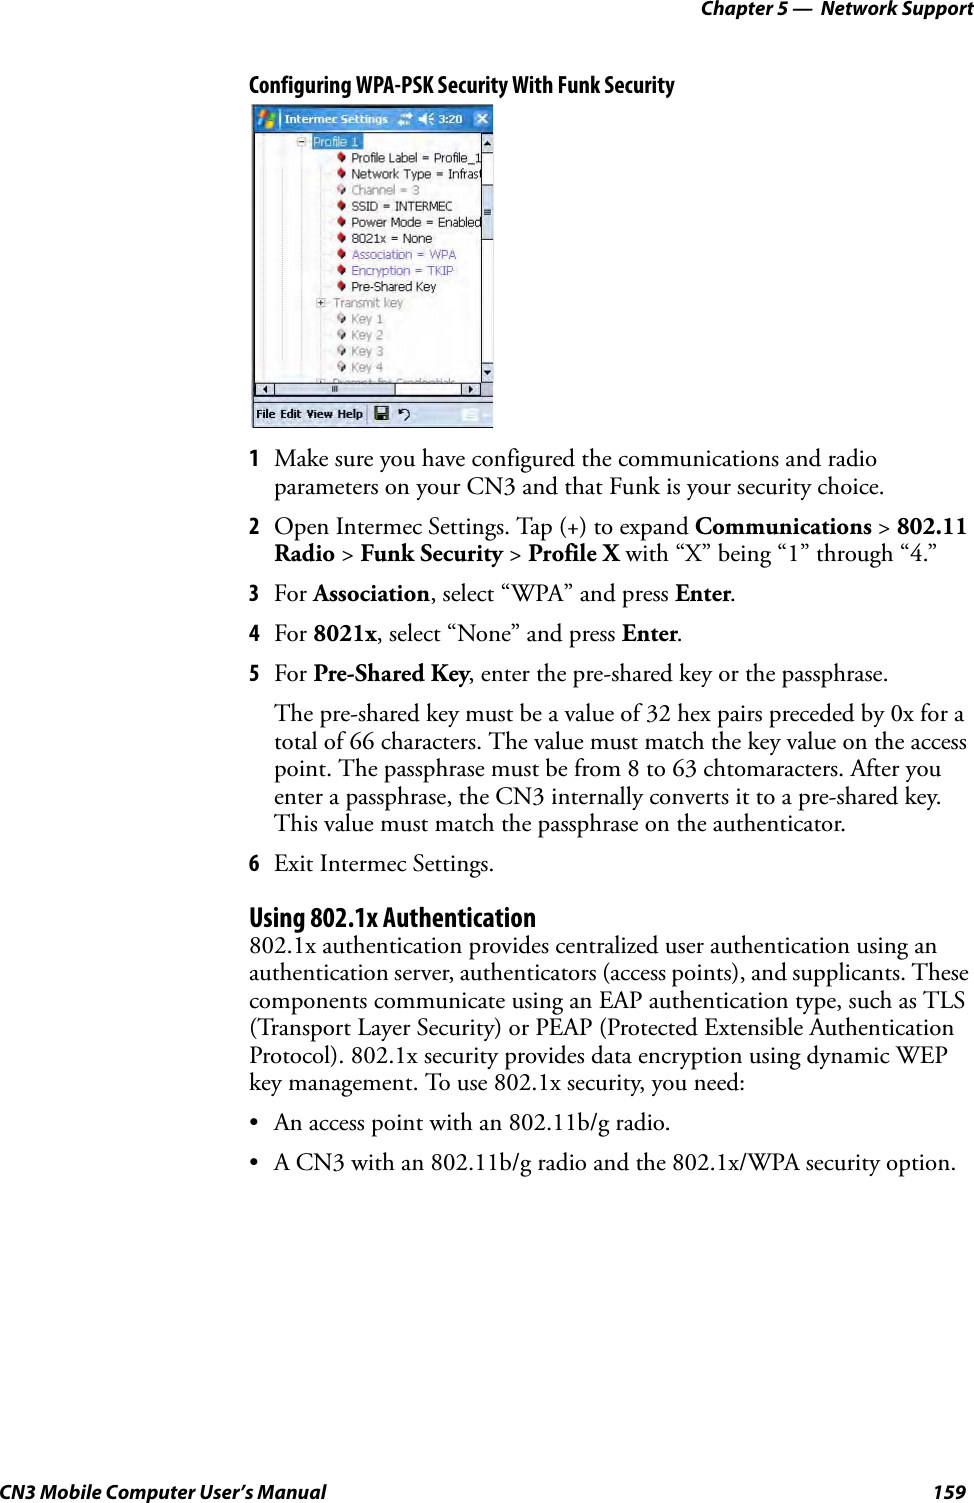
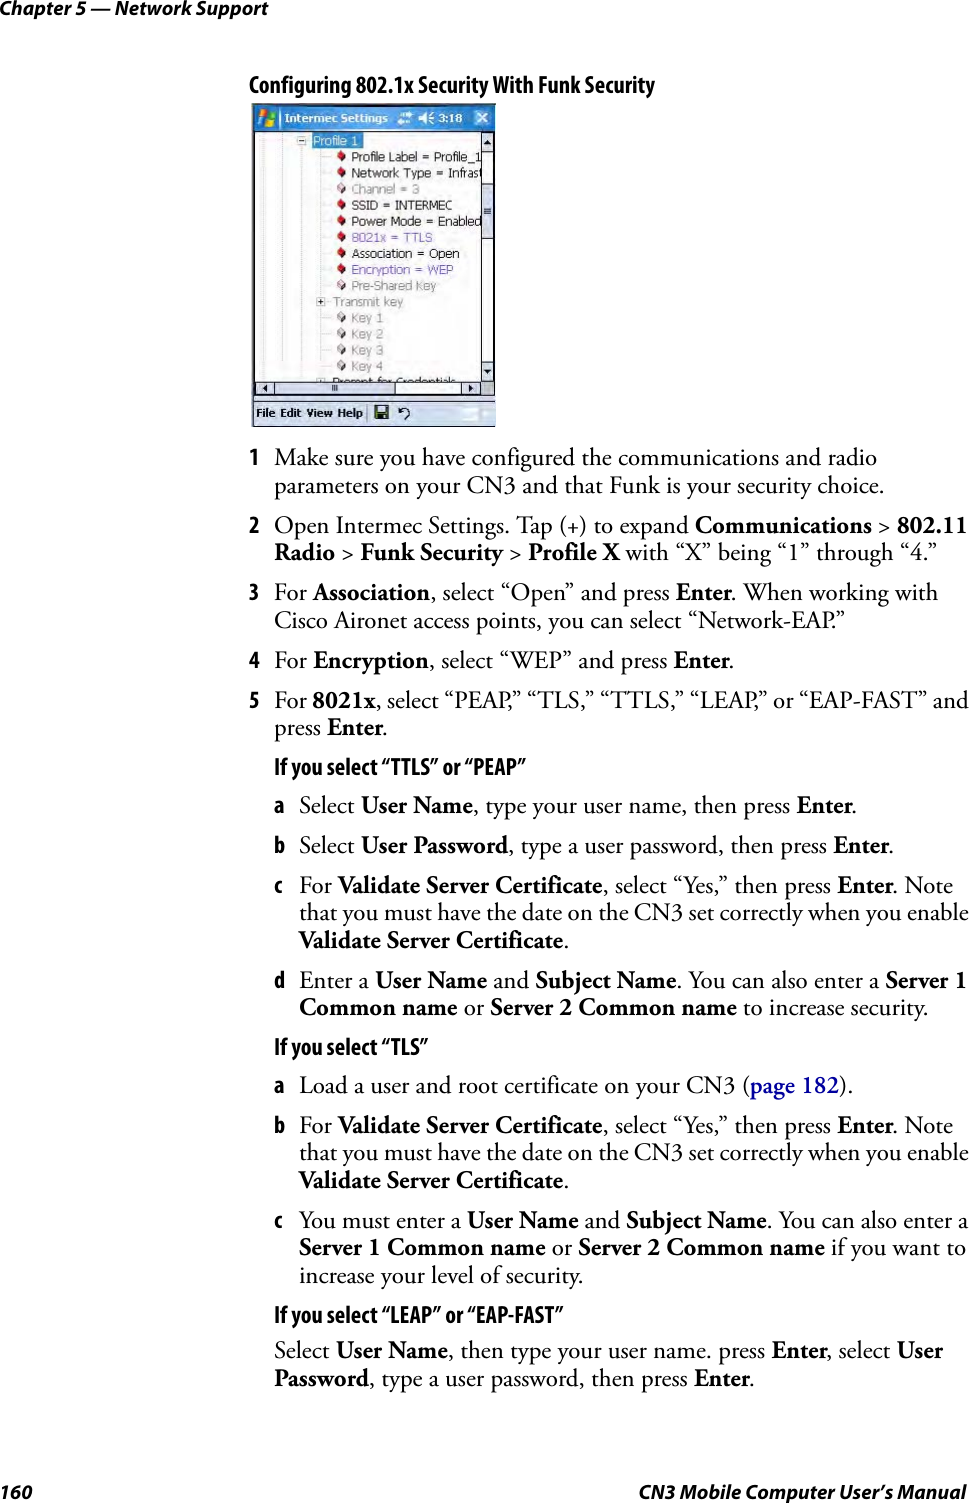
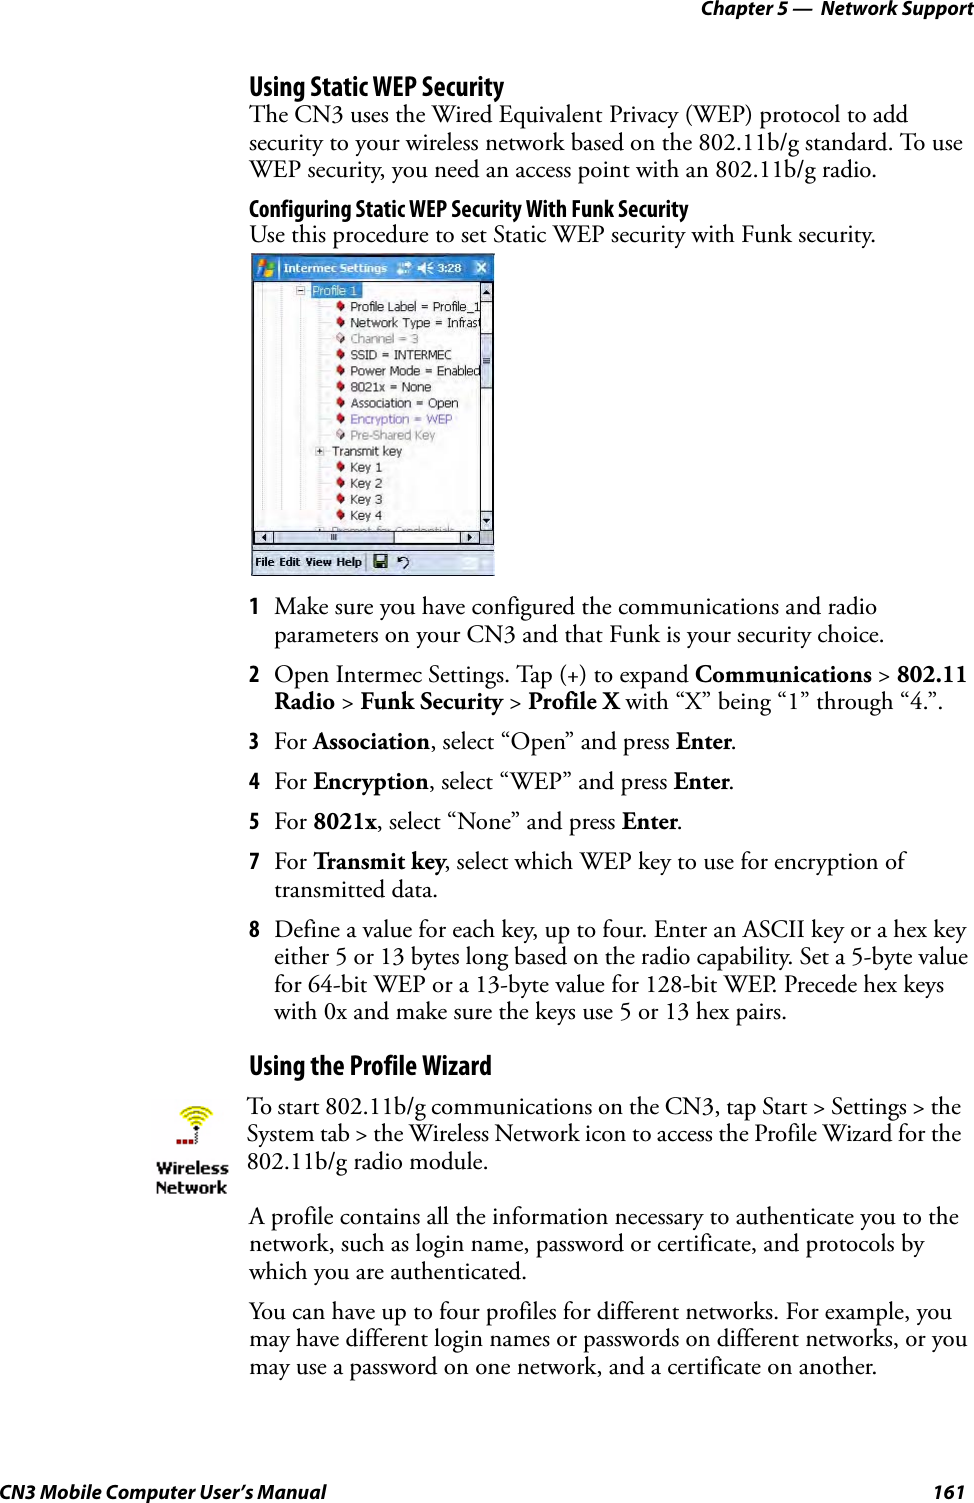
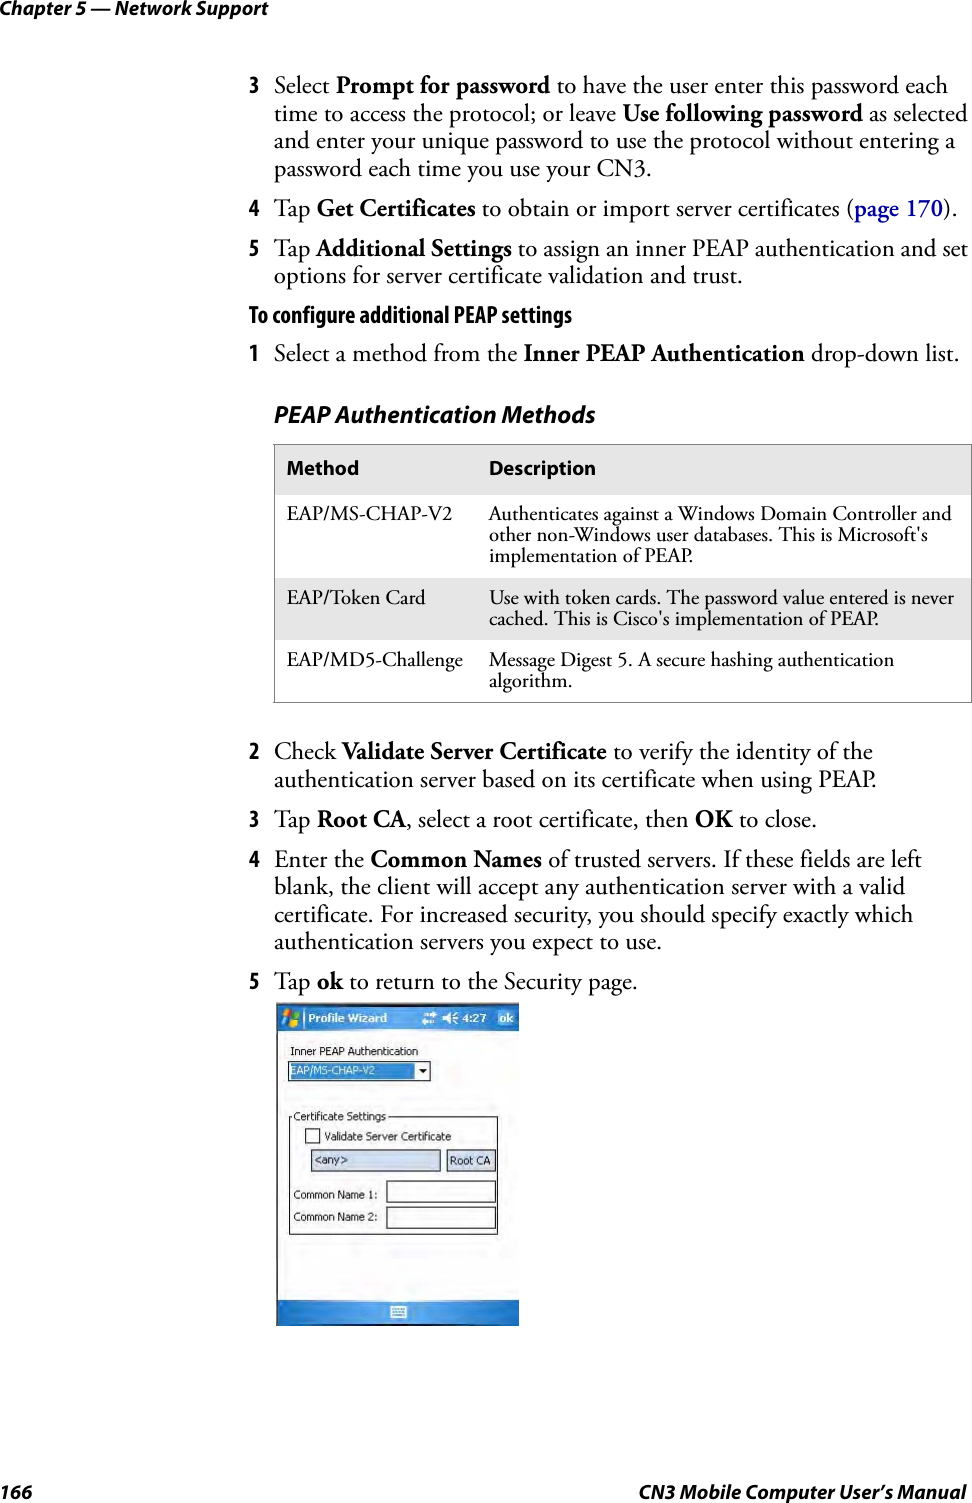
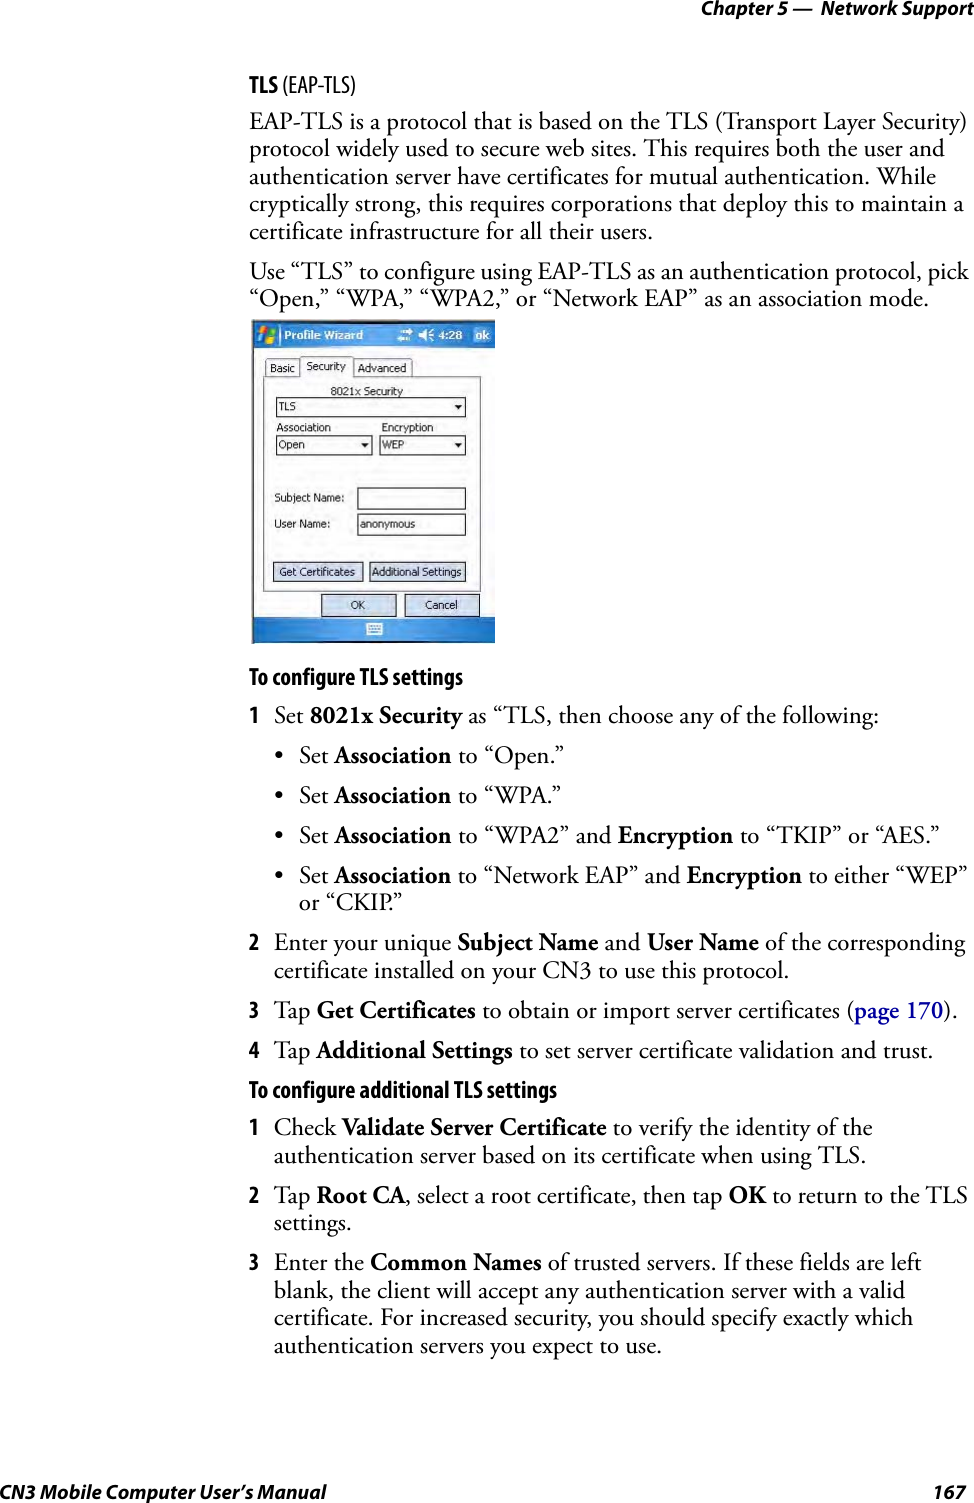
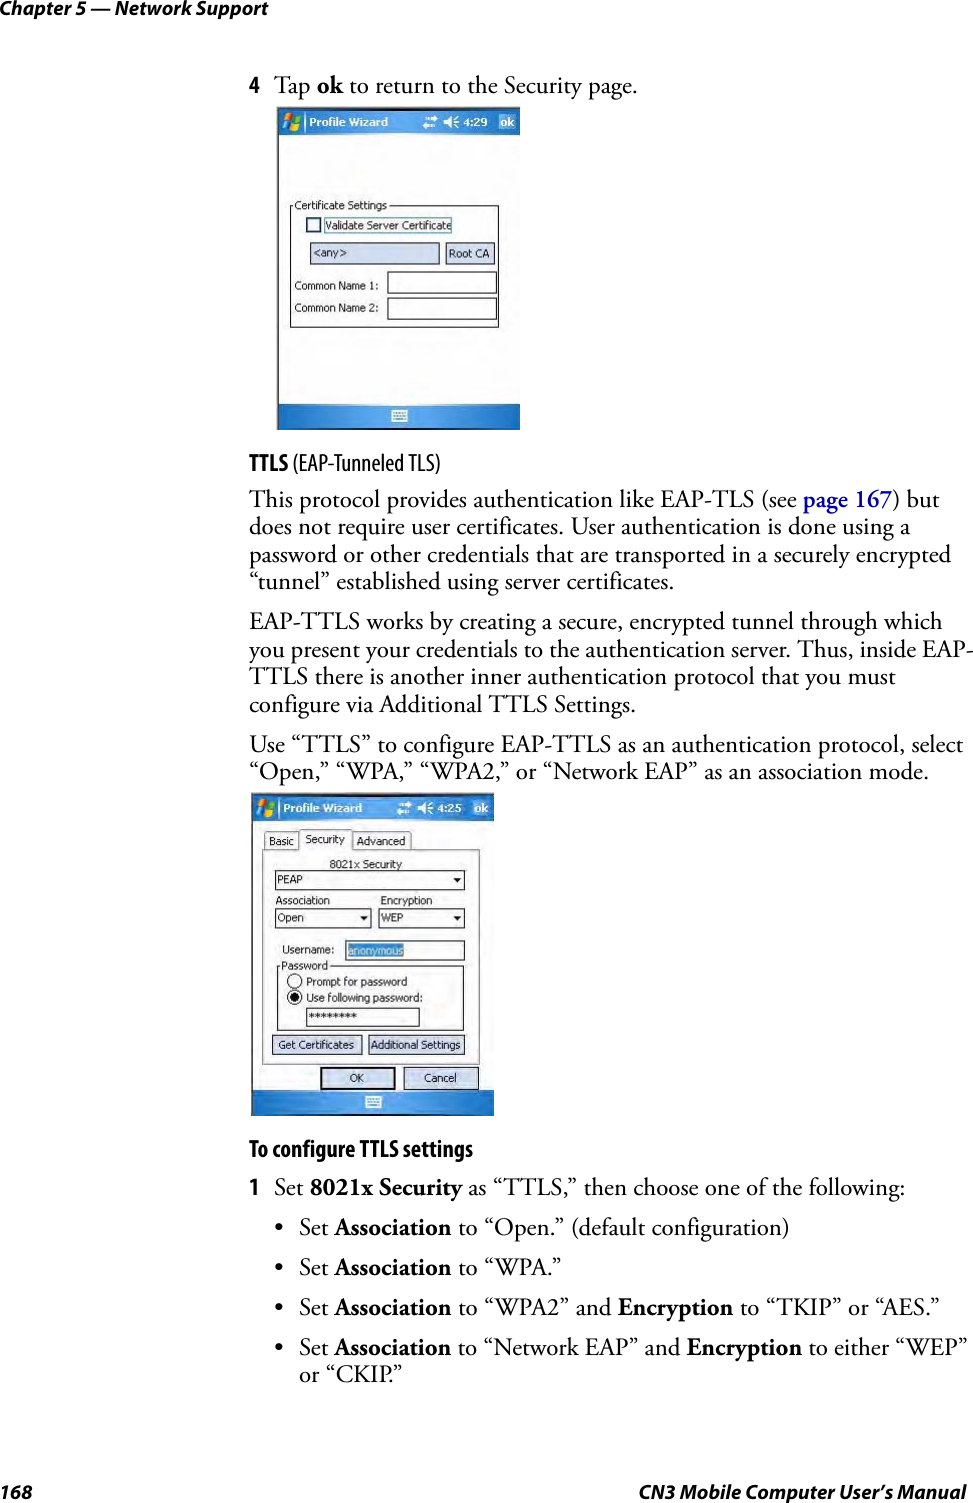
Intermec Technologies Corporation CN3 CN3UserManual
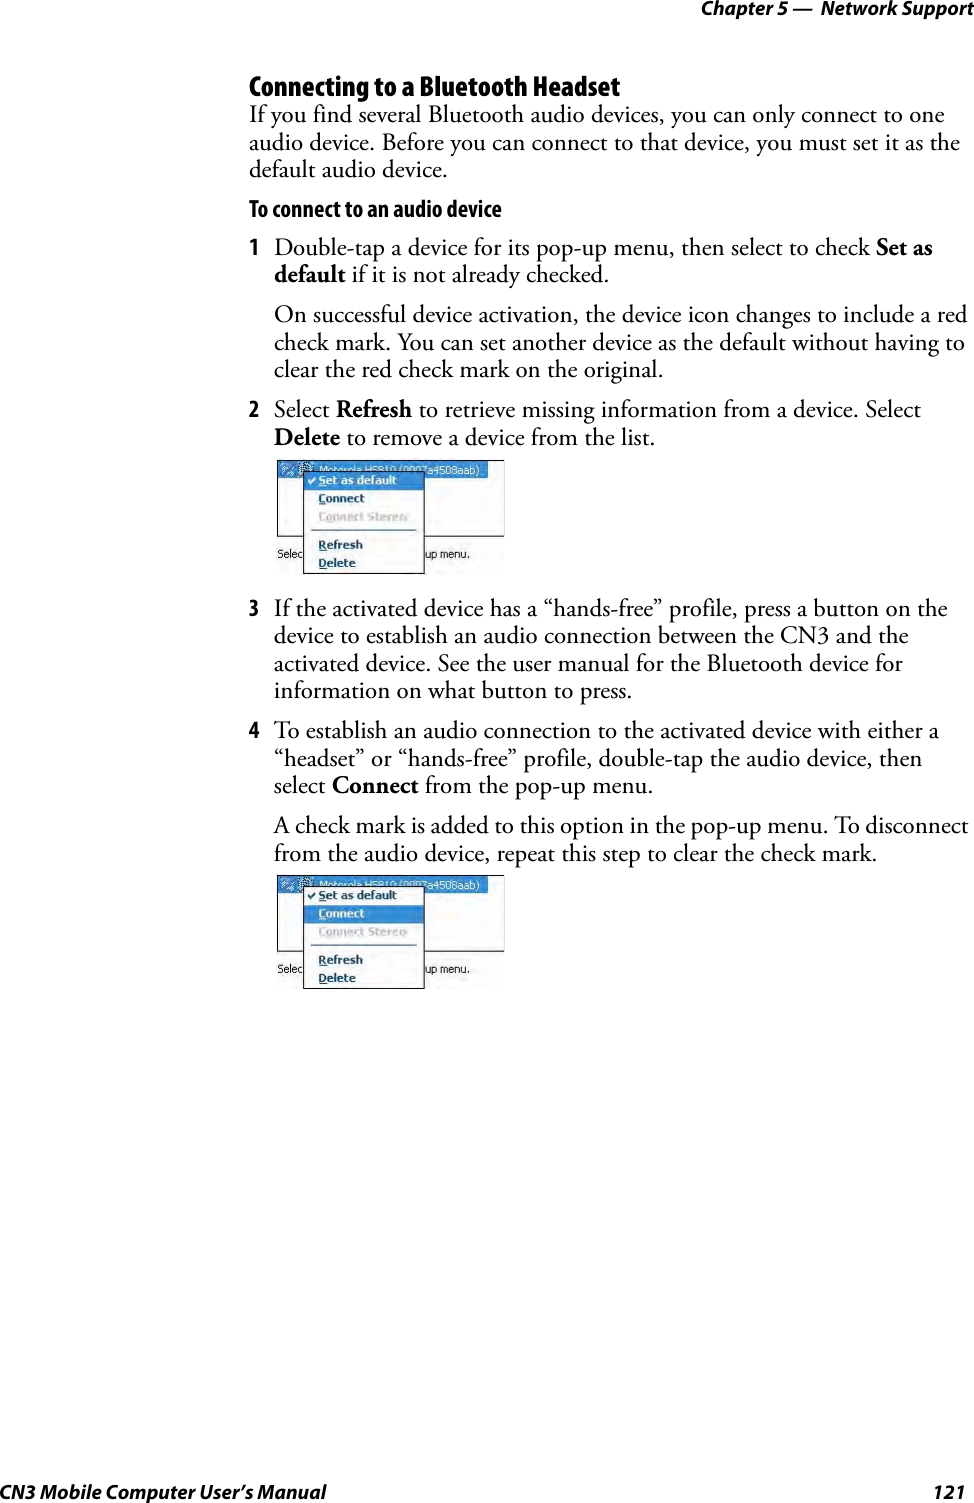
Contents
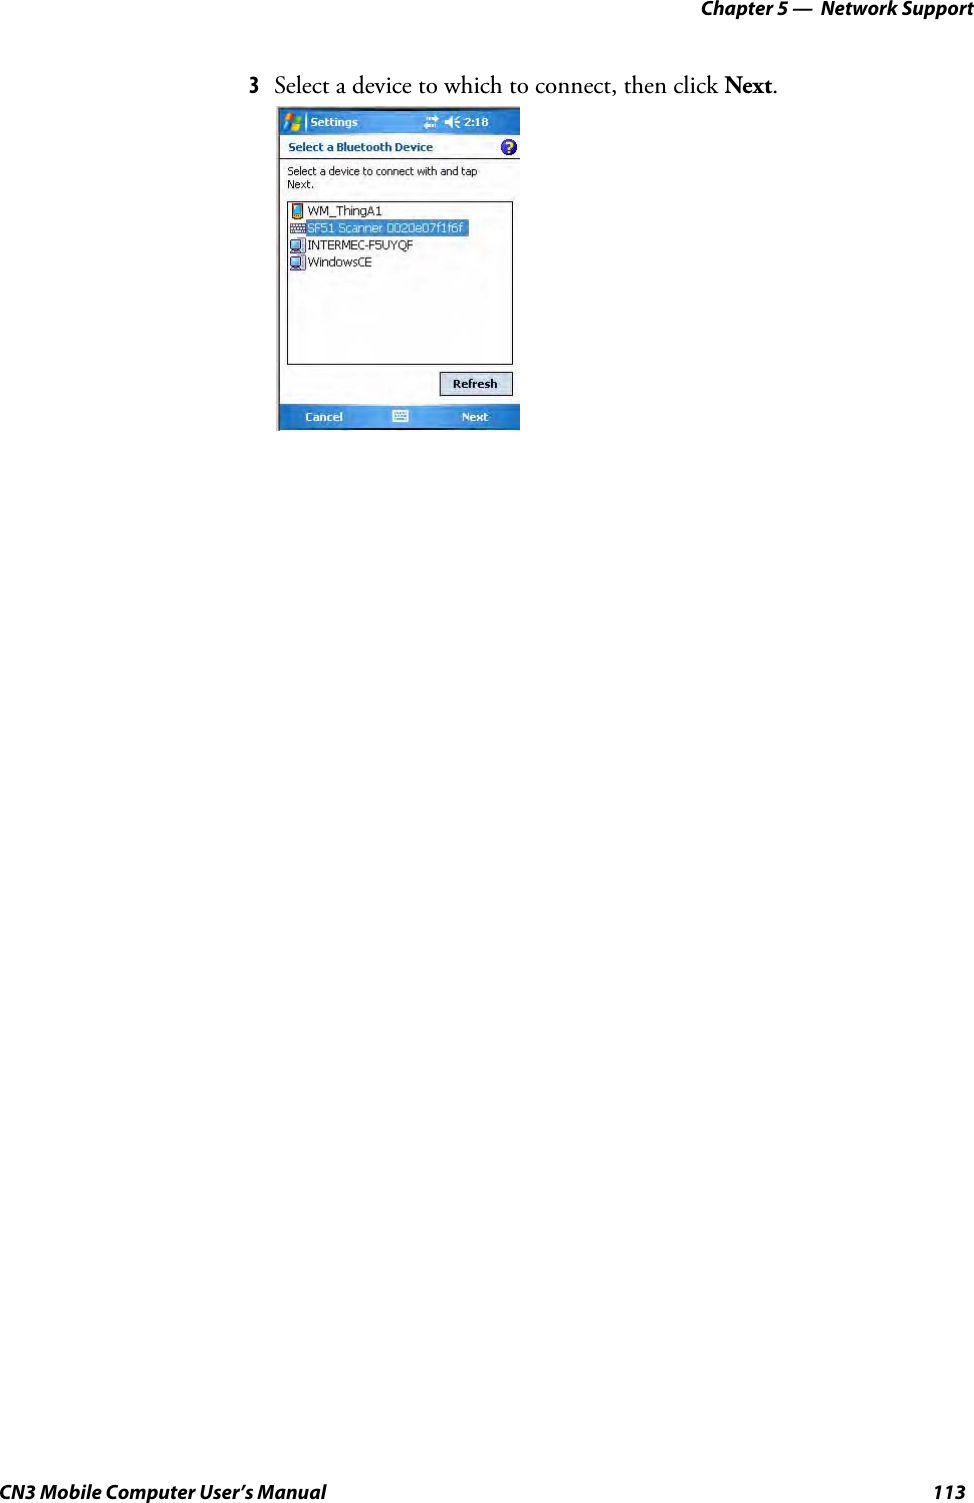
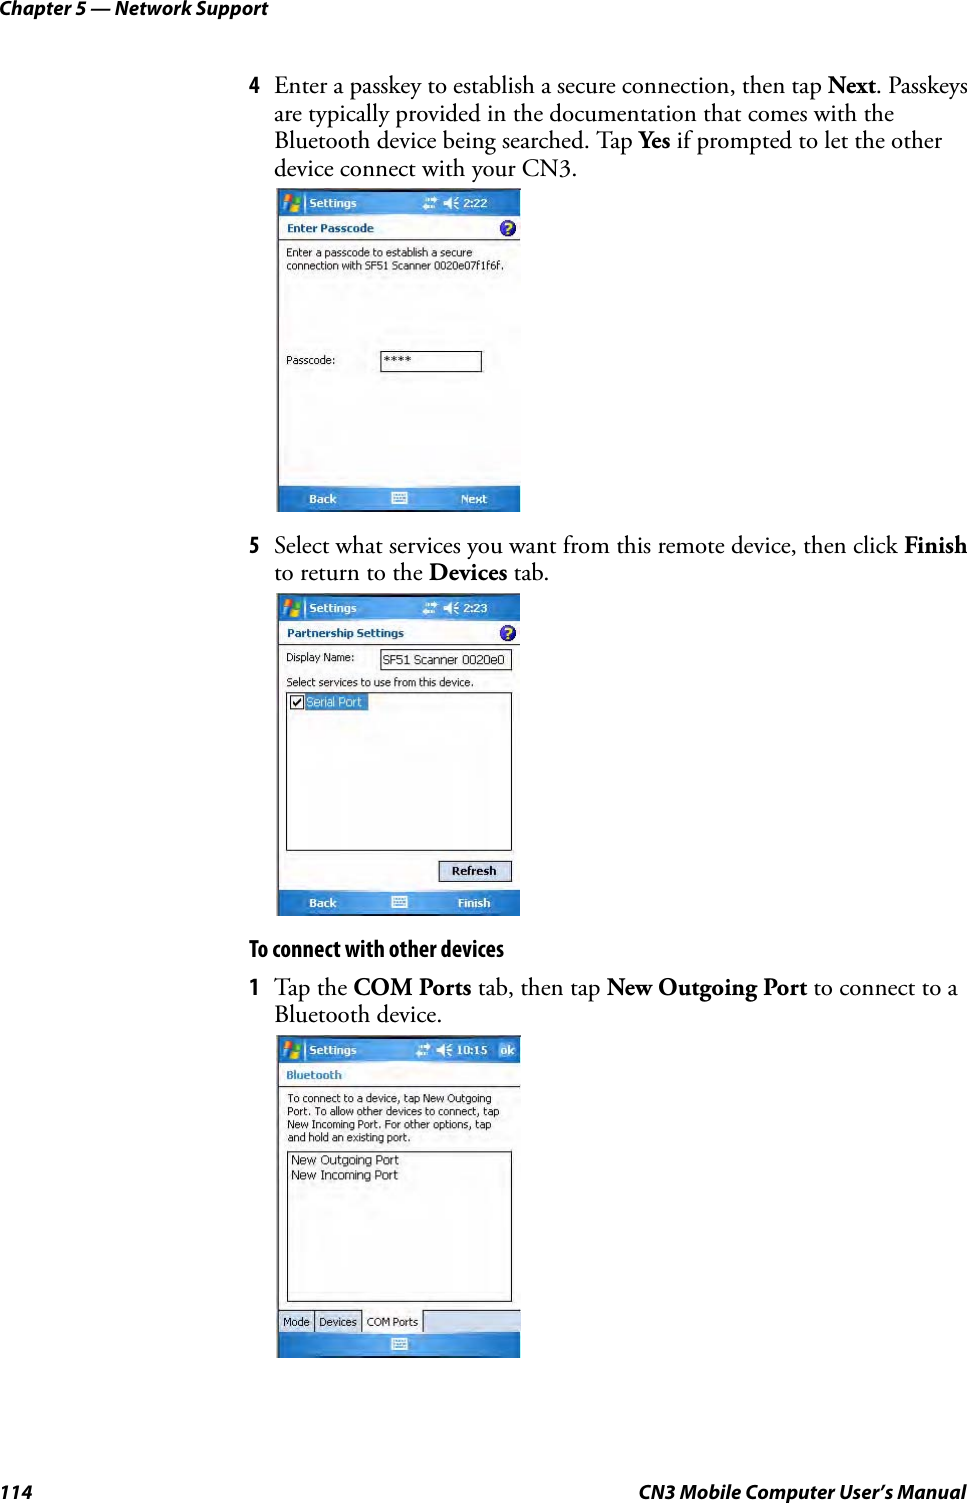
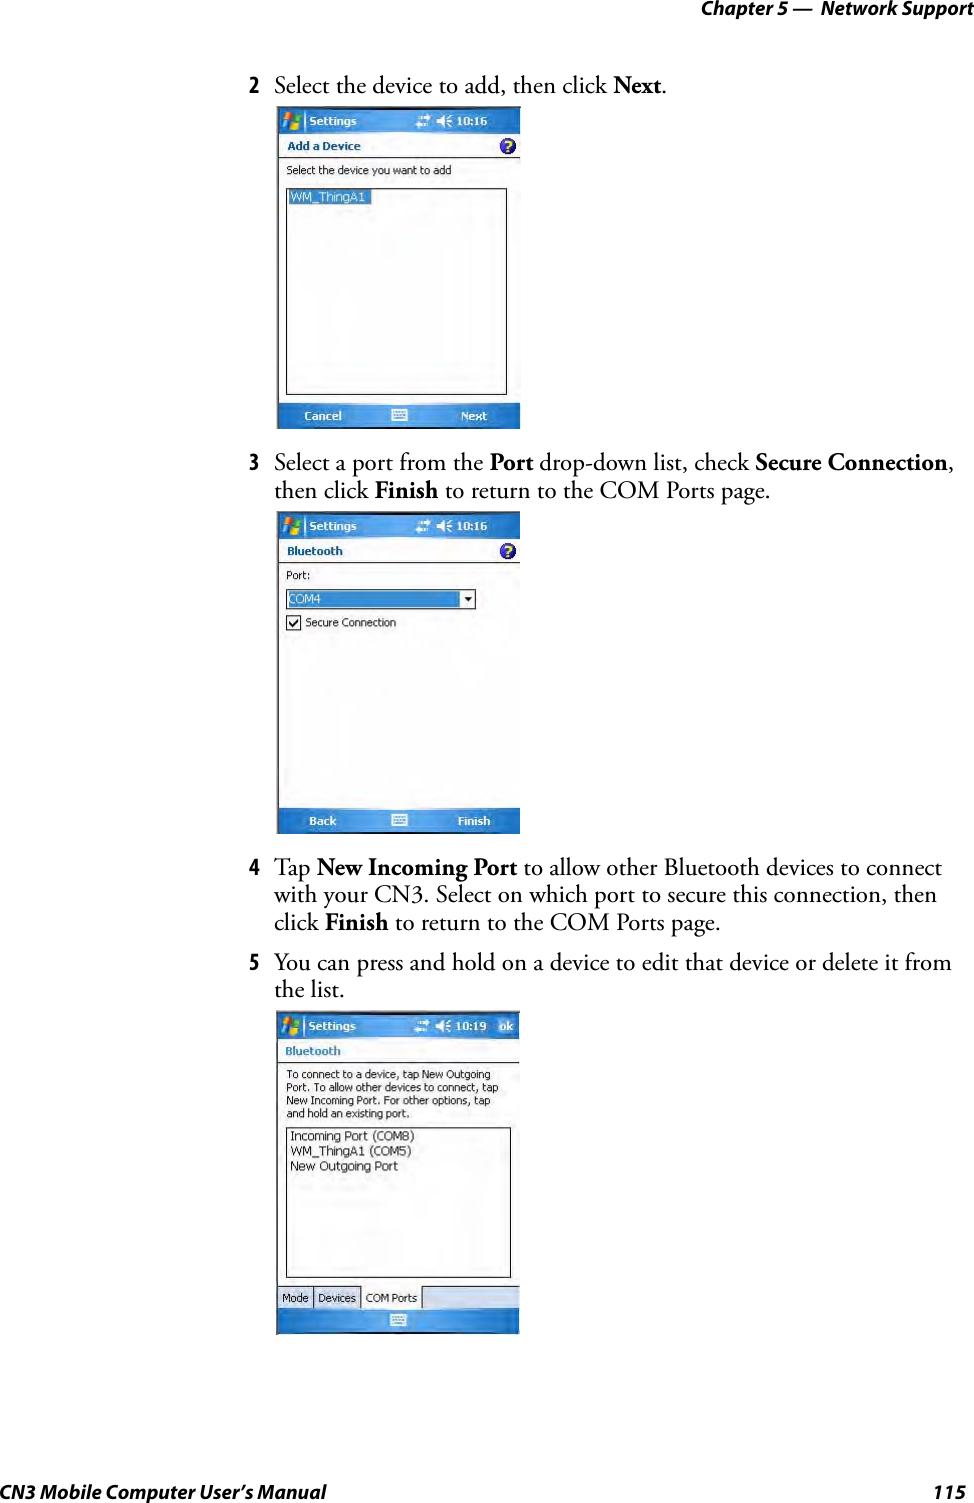
- 1. Compliance Insert
- 2. User Manual part 1 of 6
- 3. User Manual part 2 of 6
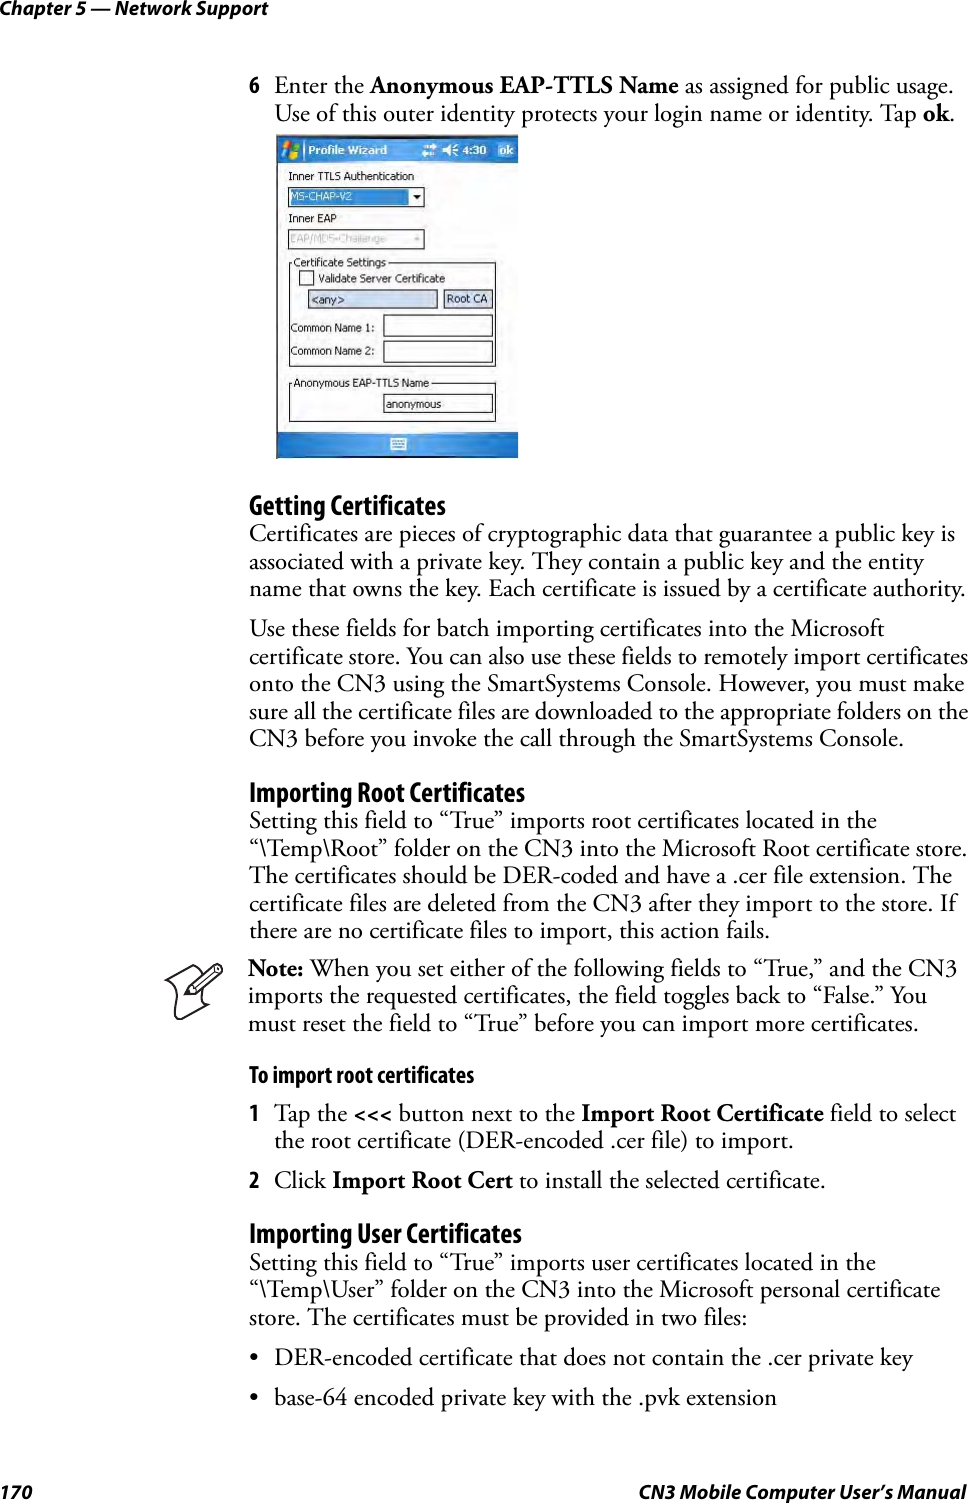
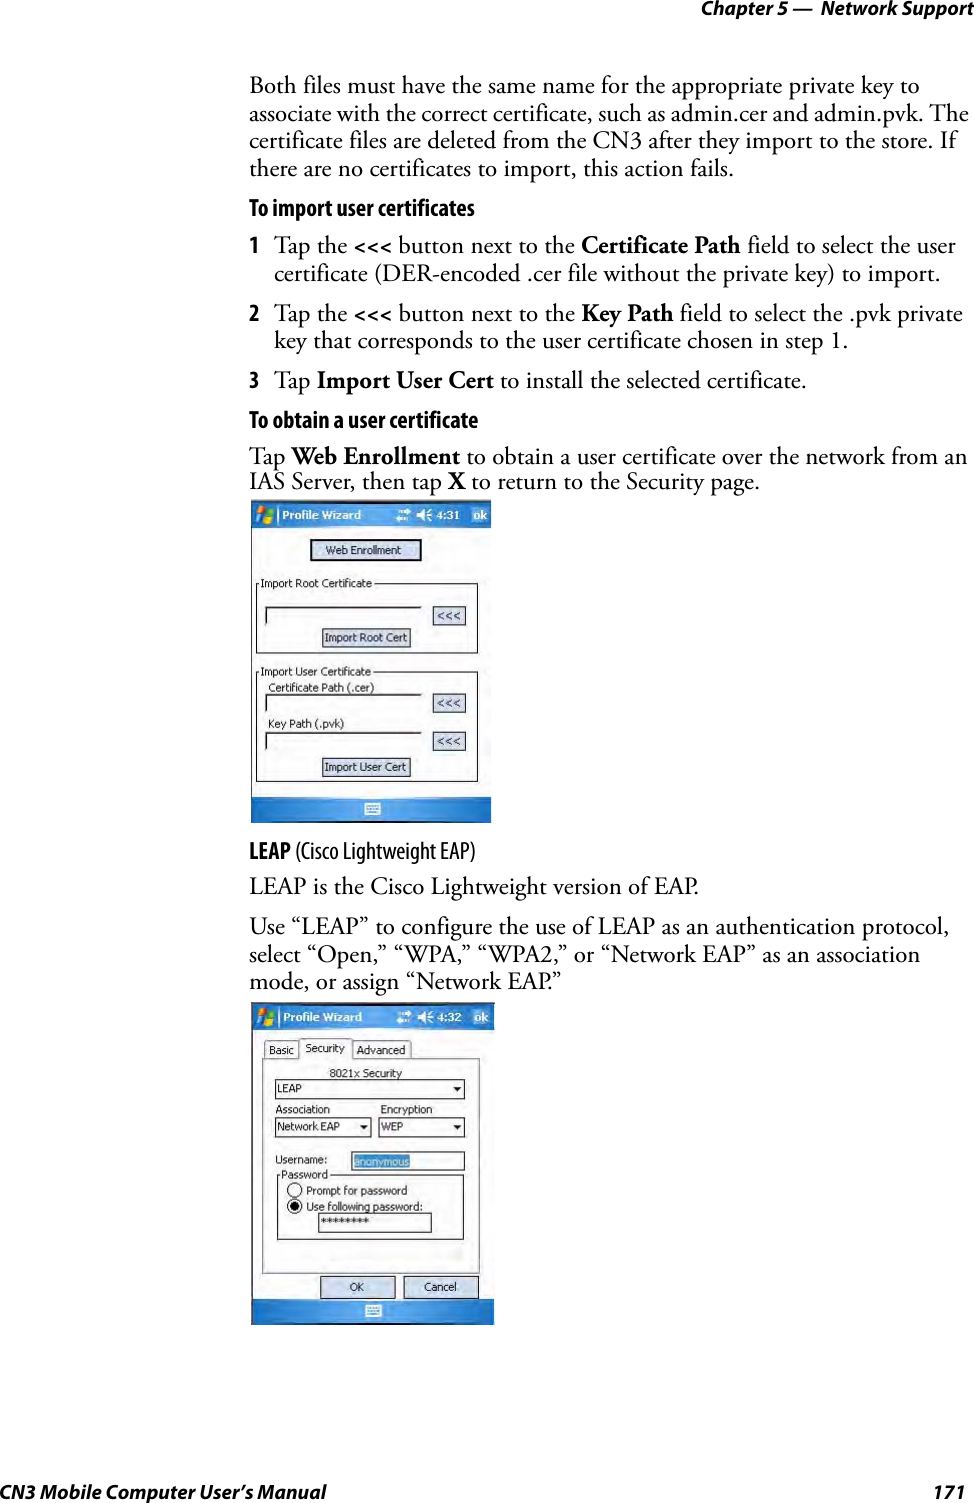
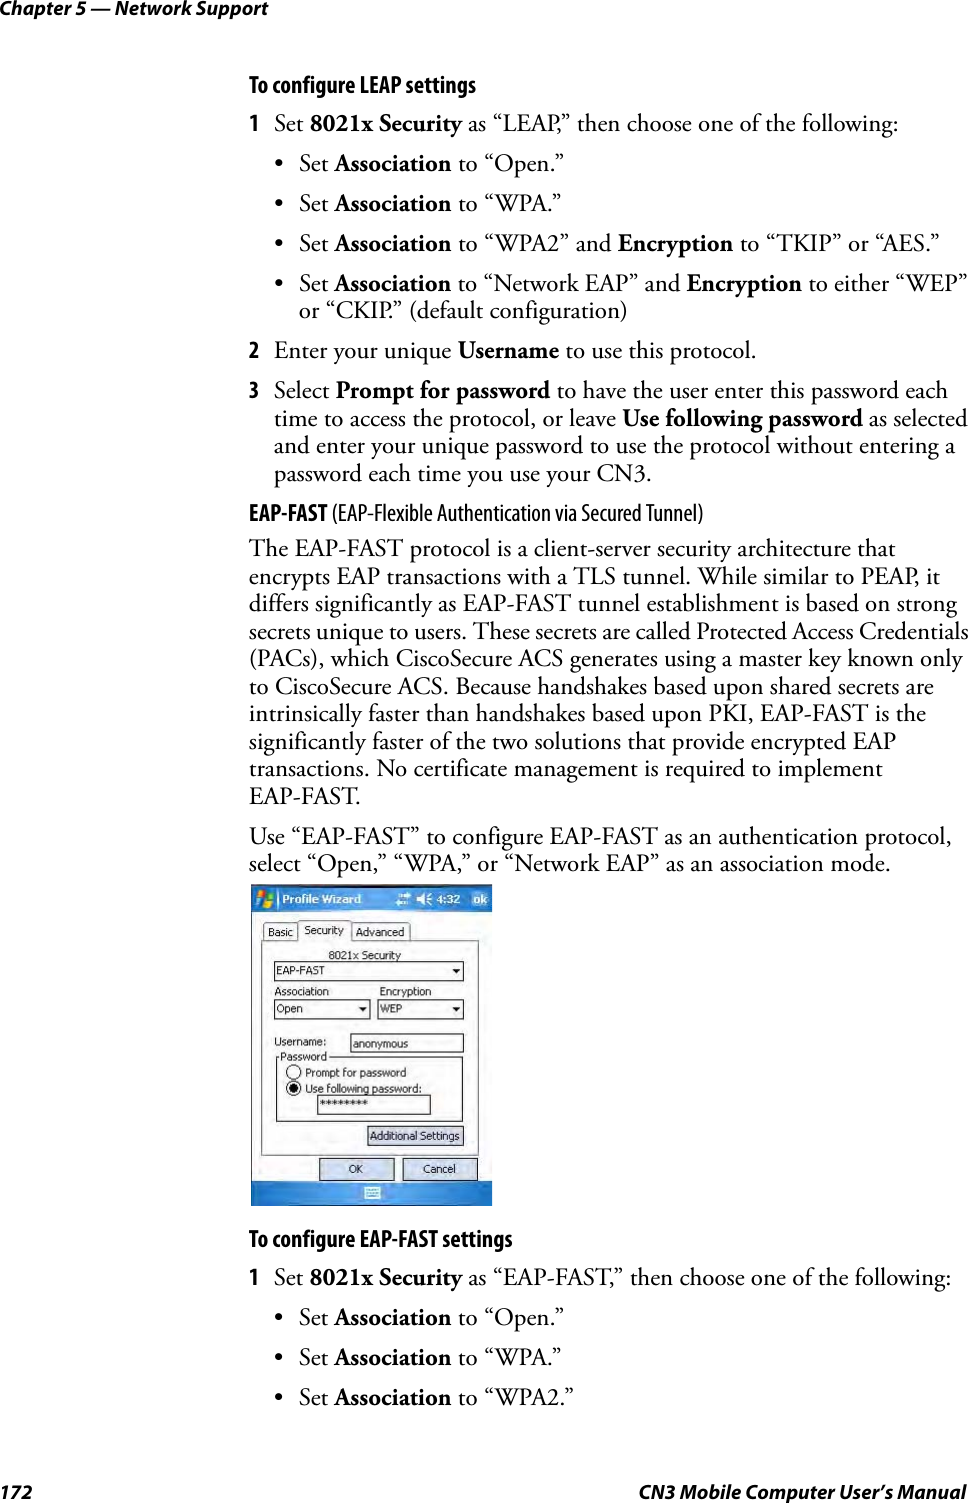
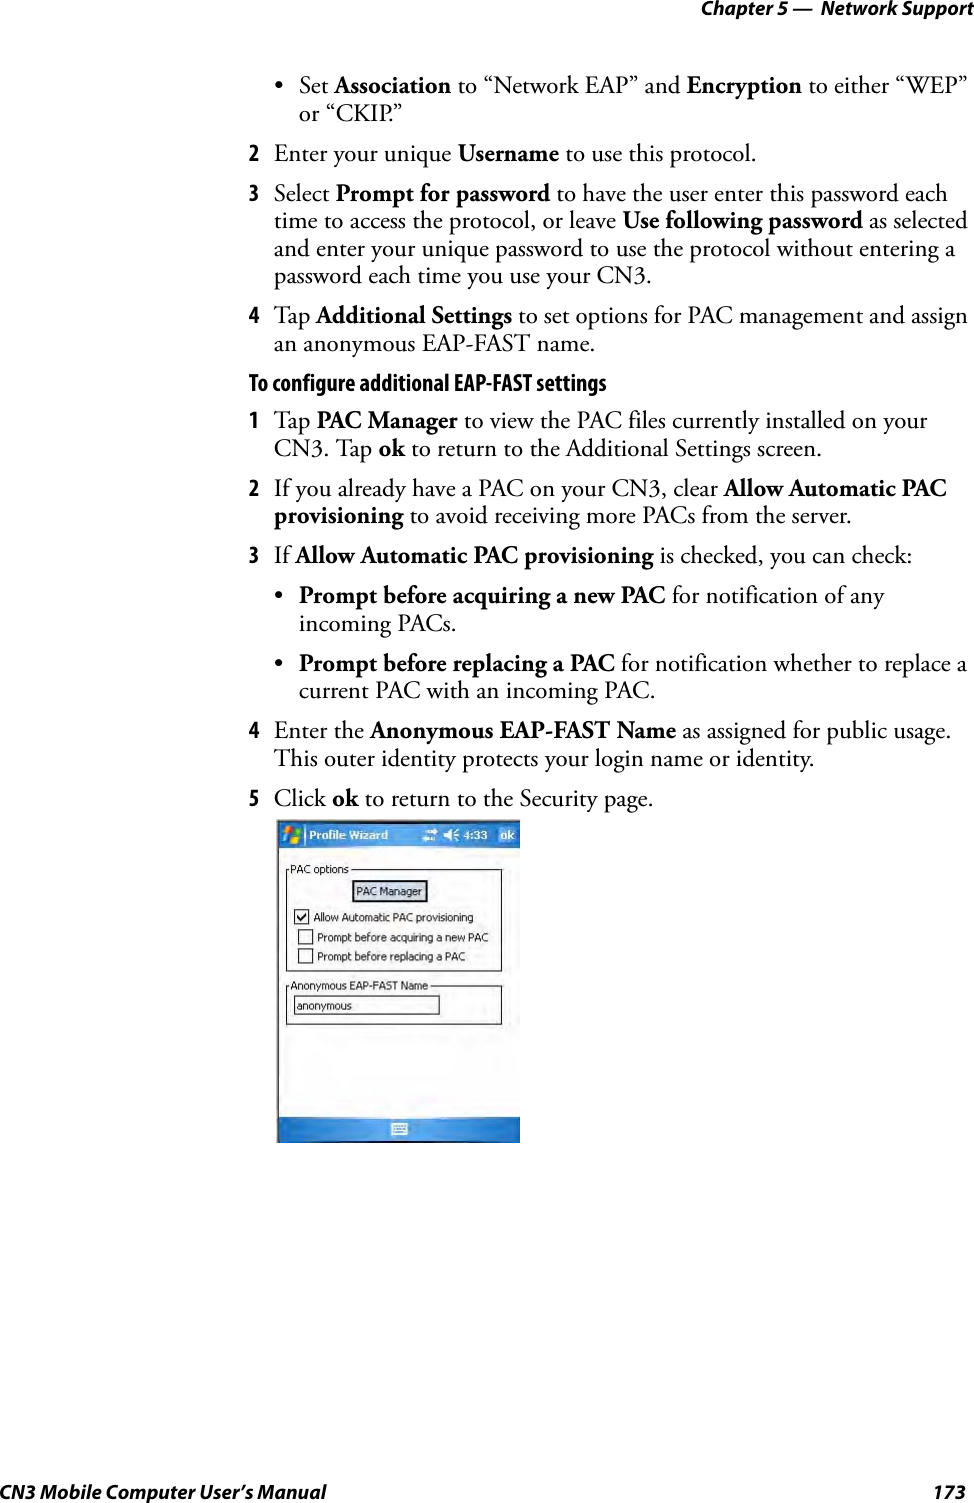
- 4. User Manual part 3 of 6
- 5. User Manual part 4 of 6
- 6. User Manual part 5 of 6
- 7. User Manual part 6 of 6
- 8. User Manual 1 of 6
- 9. User Manual 2 of 6
- 10. User Manual 3 of 6
- 11. User Manual 4 of 6
- 12. User Manual 5 of 6
- 13. User Manual 6 of 6
- 14. Manual
- 15. Radio Info
- 16. User Manual part 1
- 17. User Manual part 2
- 18. User Manual part 3
- 19. User Manual part 4
- 20. User Manual 1
User Manual 5 of 6