Kinpo Electronics SP70A SMART-PHONE User Manual S600 indb
Kinpo Electronics Inc SMART-PHONE S600 indb
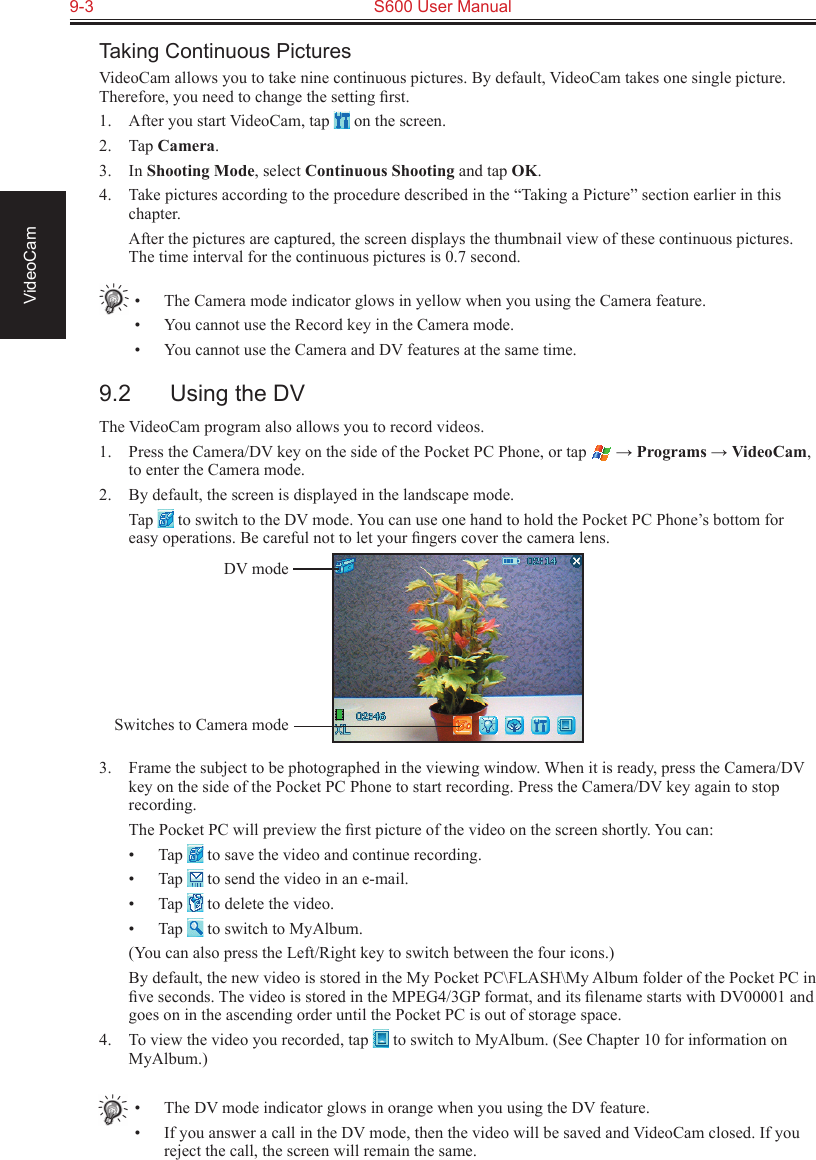
UserManual.wiki
>
Kinpo Electronics
>
SP70A User Manual
>
USERS MANUAL 6 OF 7
Contents
1.
USER MANAUAL 1 OF 7
2.
USER MANUAL 2 OF 7
3.
USERS MANUAL 3 0F 7
4.
USER MANUAL 4 OF 7
5.
USER MANUAL 5 OF 7
6.
USERS MANUAL 6 OF 7
7.
USER MANUAL 7 OF 7
8.
USER MANUAL 1 OF 7
9.
USER MANUAL 3 OF 7
10.
USER MANUAL 6 OF 7
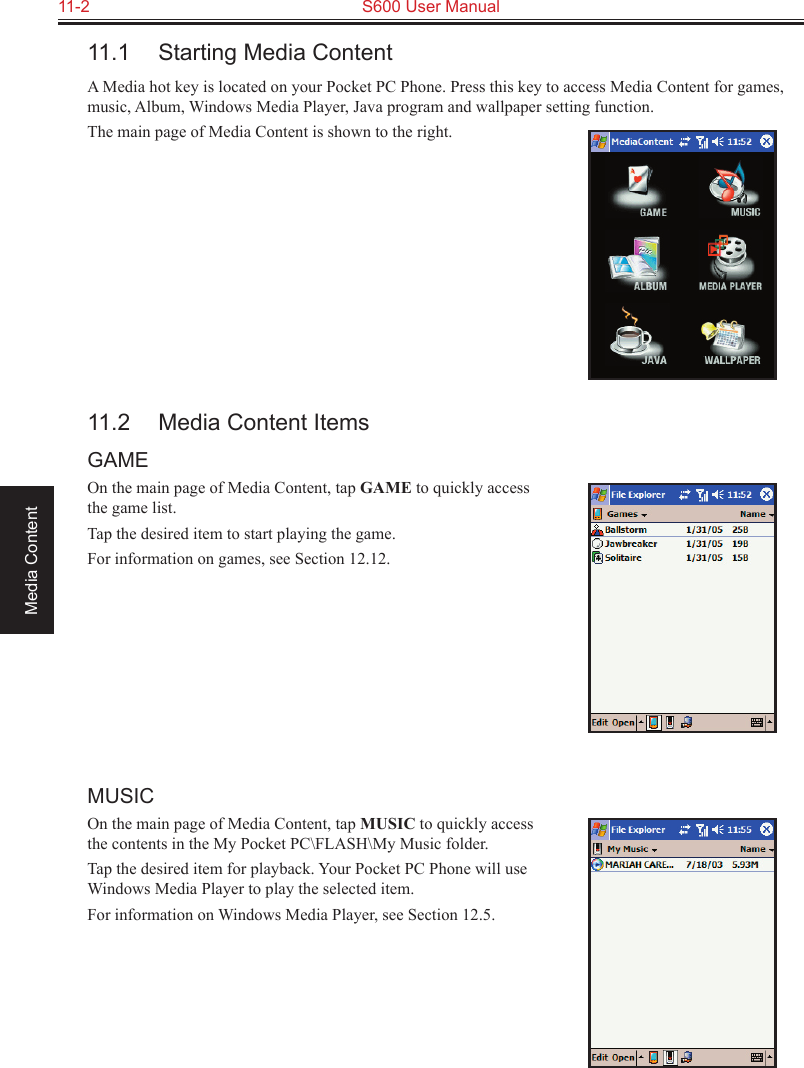
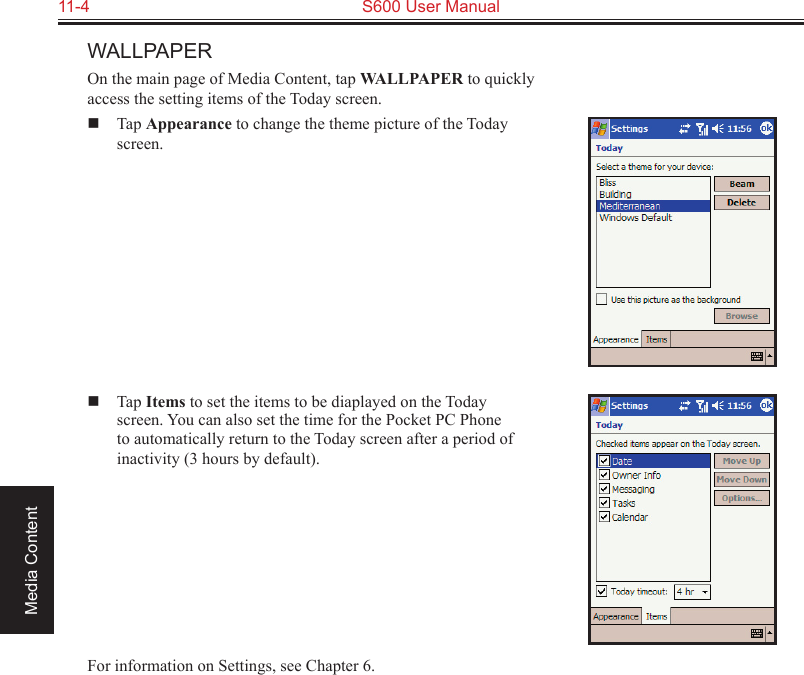
11.
incorrect FCC ID dismissal requested
USERS MANUAL 6 OF 7
Navigation menu
Upload a User Manual
Namespaces
Wiki Guide
HTML
PDF
Info
Views
User Manual
Discussion / Help
Navigation