LG Electronics USA SA565JP LASER PROJECTOR User Manual
LG Electronics USA LASER PROJECTOR
UserManual.wiki
>
LG Electronics USA
>
SA565JP User Manual
>
User Manual 2
Contents
1.
User Manual 1
2.
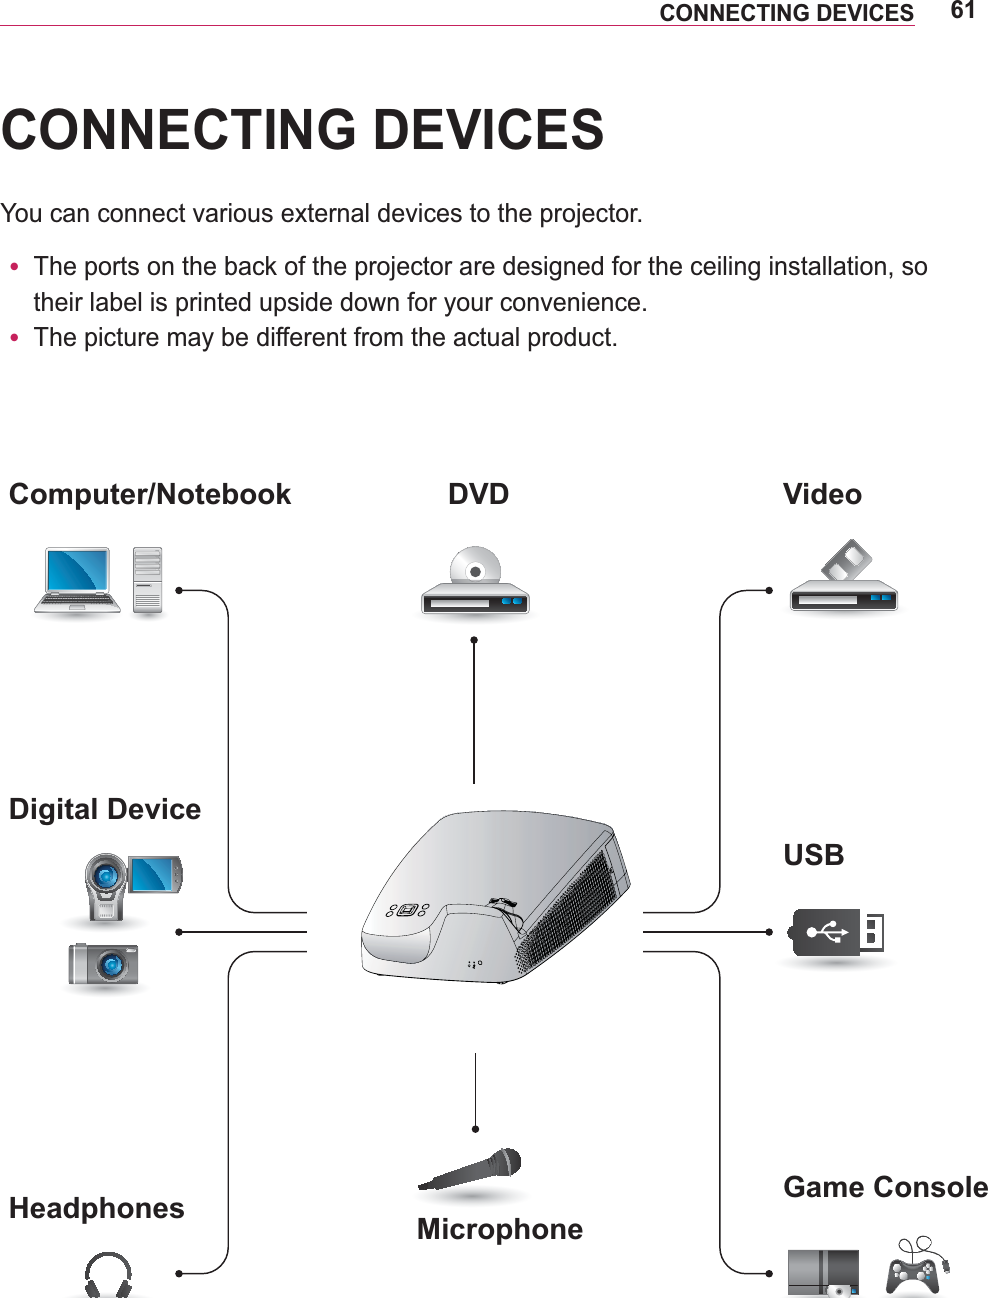
User Manual 2
3.
User Manual 3
User Manual 2
Navigation menu
Upload a User Manual
Namespaces
Wiki Guide
HTML
PDF
Info
Views
User Manual
Discussion / Help
Navigation

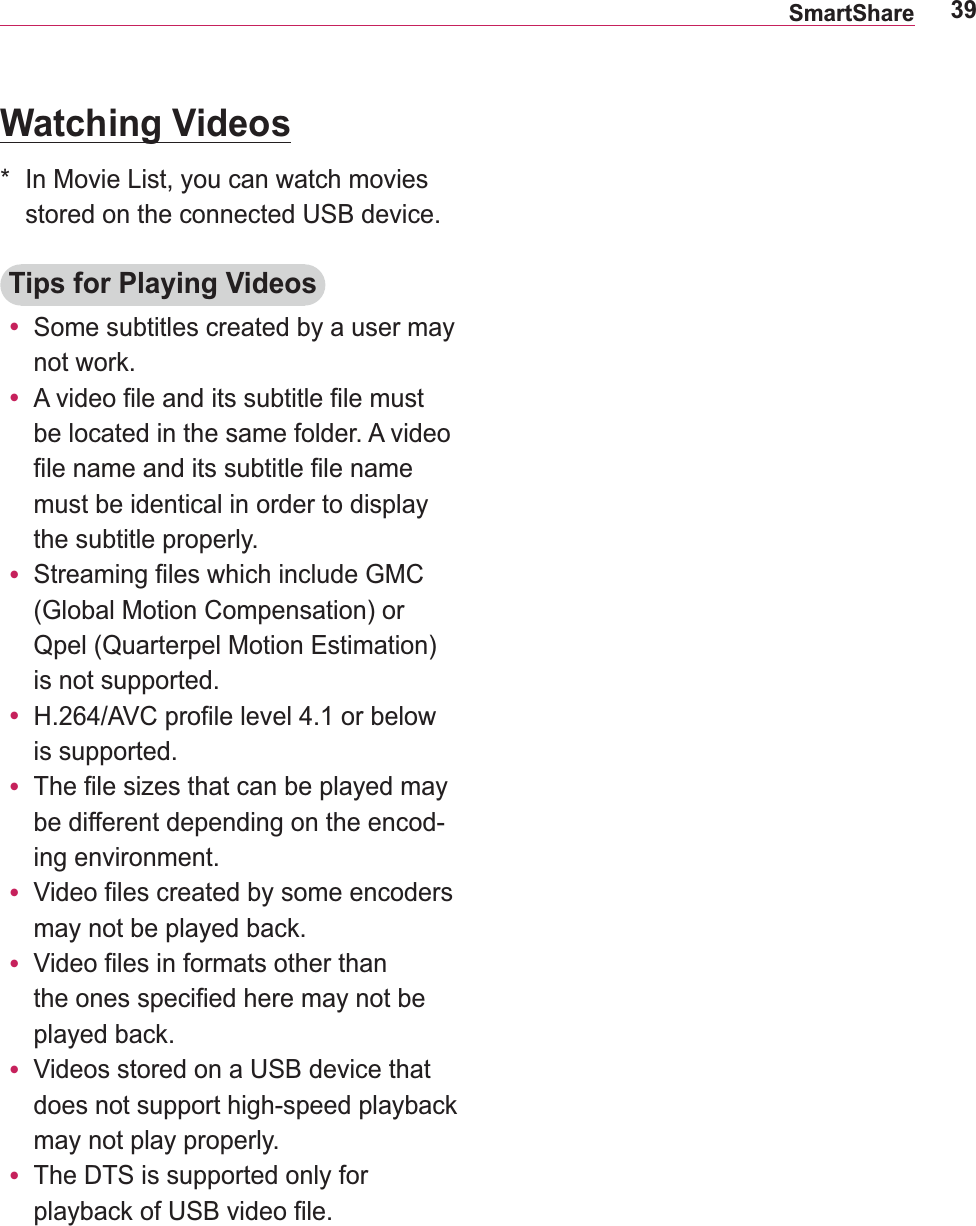
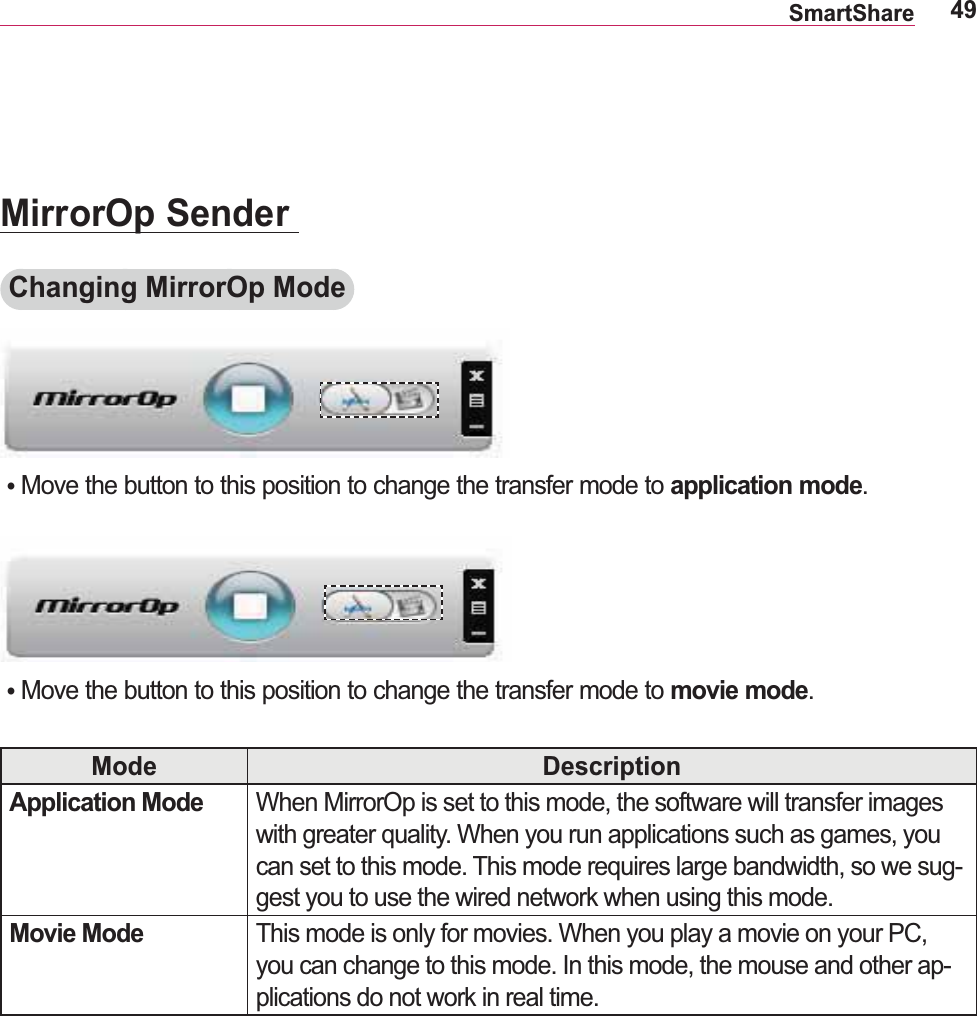
![45SmartShareViewing FilesSupported File Formats y File Viewer realigns a document, so it may look different from what is displayed on a PC.y For documents that include images, the resolution may look lower during the realign-ing process.y If the document is large or has many pages, it may take longer to load the document.y Unsupported fonts may be replaced by other fonts.Browsing File Viewer You can control playback using the following buttons.y Press the Go Page button to move to the previous y Press the volume button to zoom in or zoom out. OK button.2. Press the Up/Down/Left/Right buttons to move to Go Page or Zoom. ᰚGo Page Zoom Option List[125%] 11.pptx 1/2 31 KBItem DescriptionGo Page Moves to the page you want.Zoom Enlarges or reduces the photo.Option Sets Option for File Viewer.List Returns to a list.](https://usermanual.wiki/LG-Electronics-USA/SA565JP.User-Manual-2/User-Guide-1894018-Page-14.png)

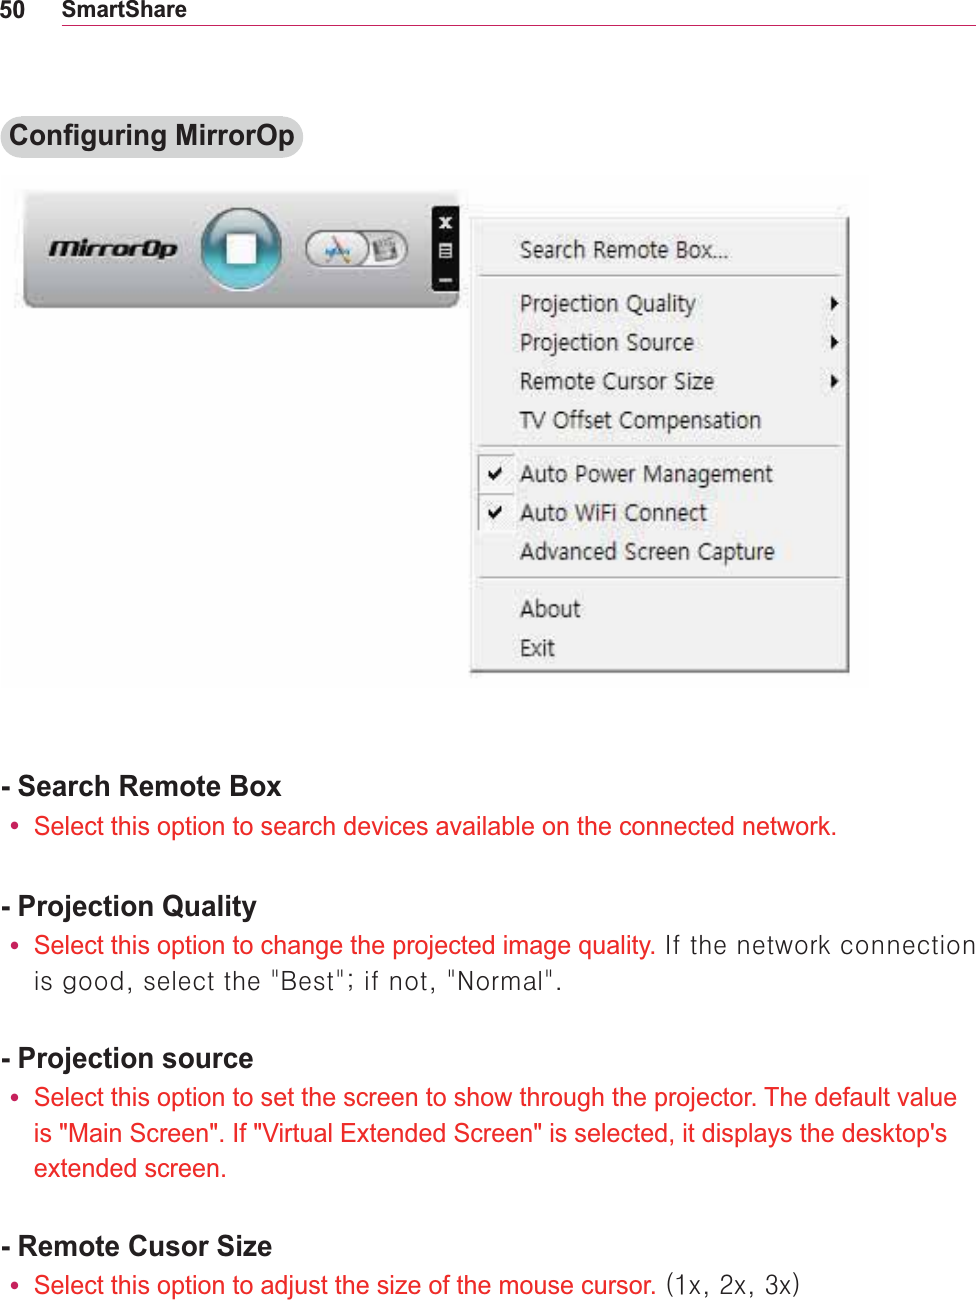
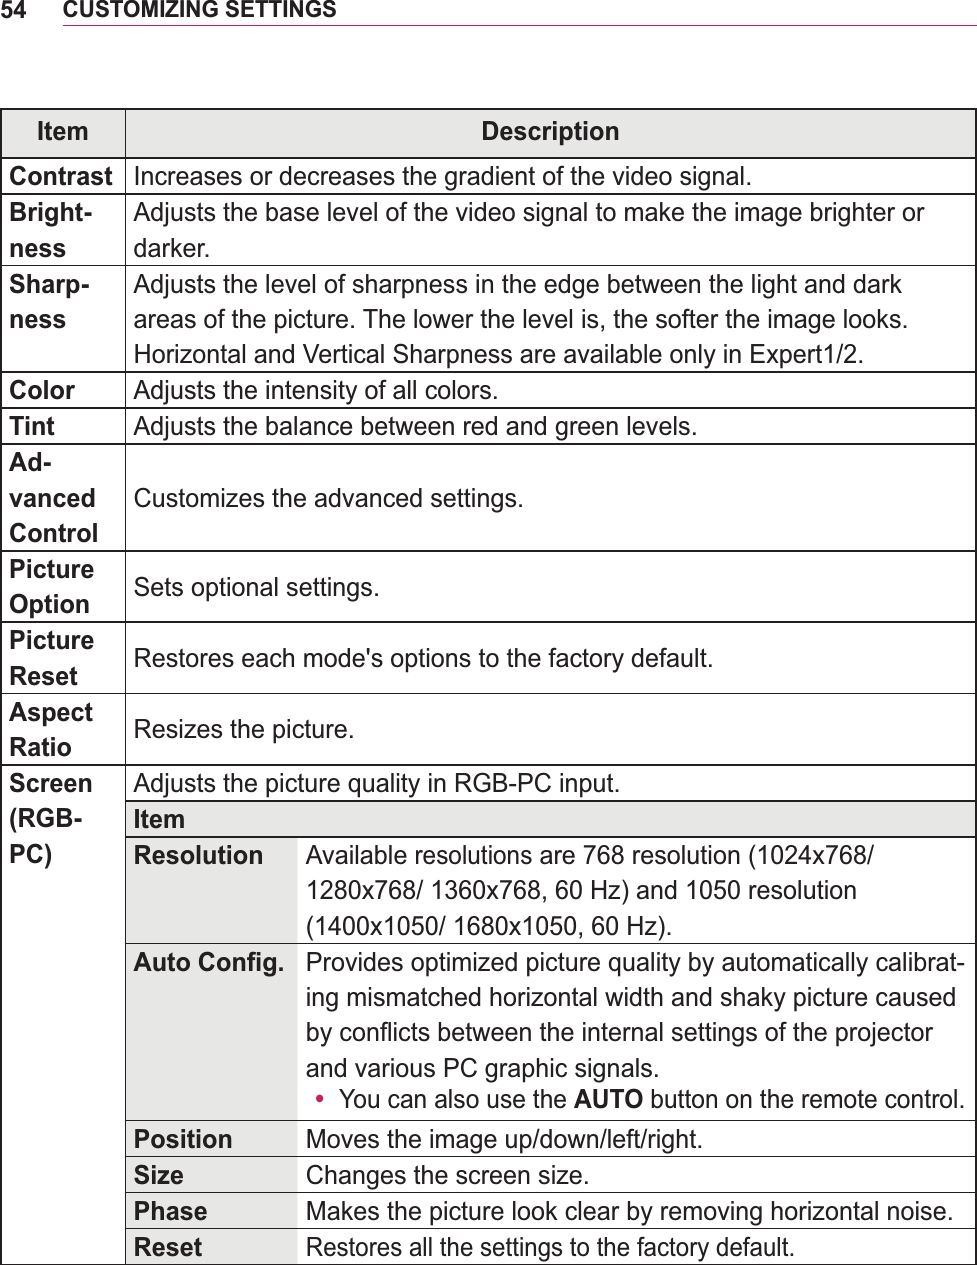
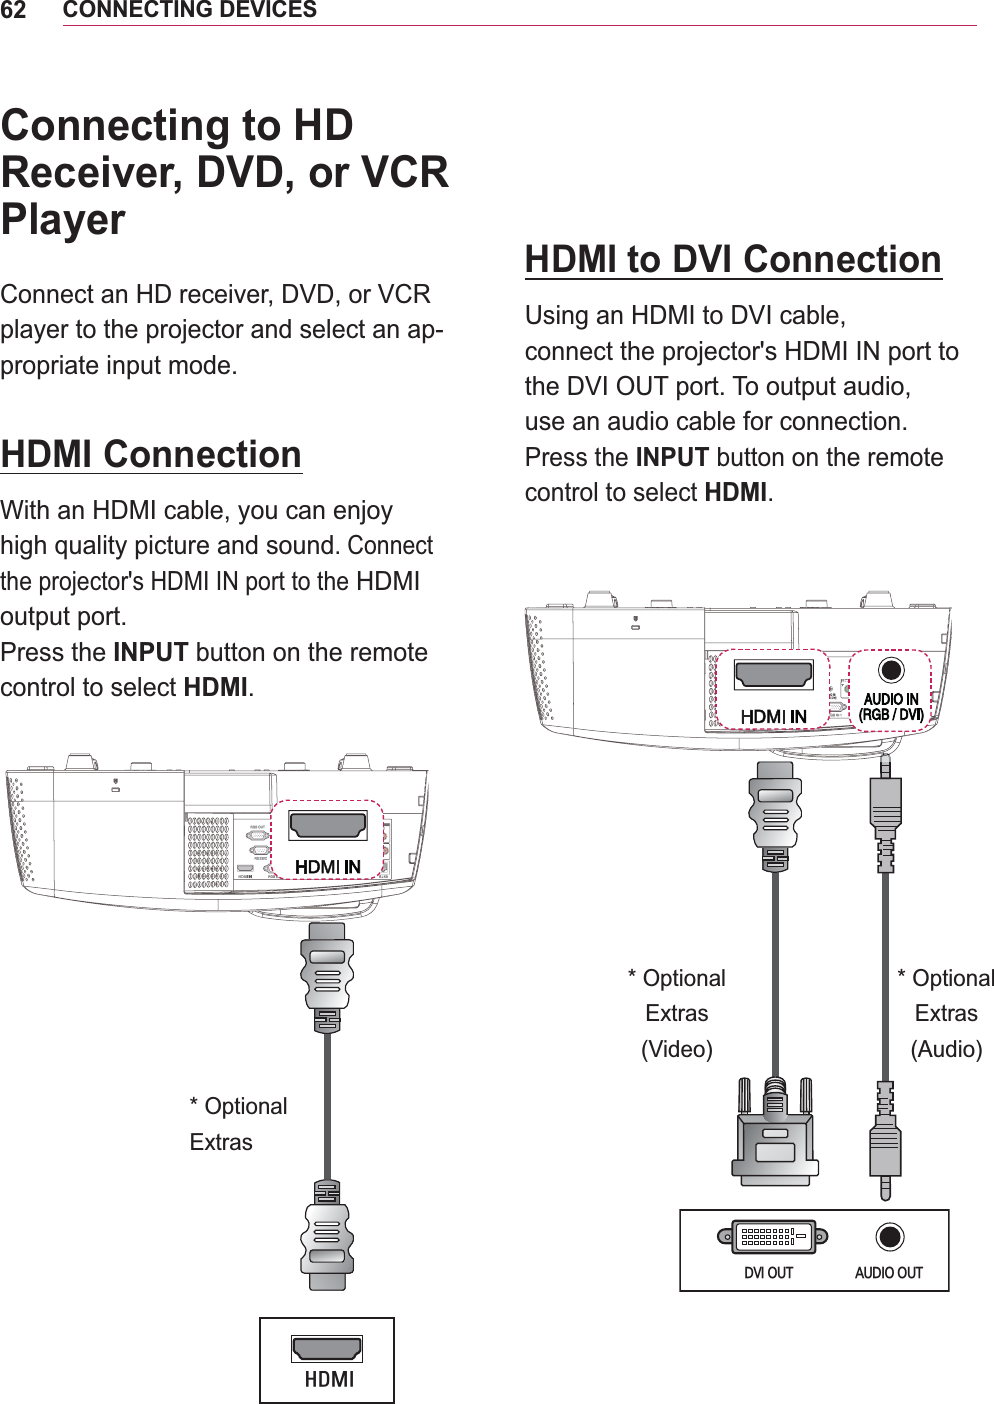
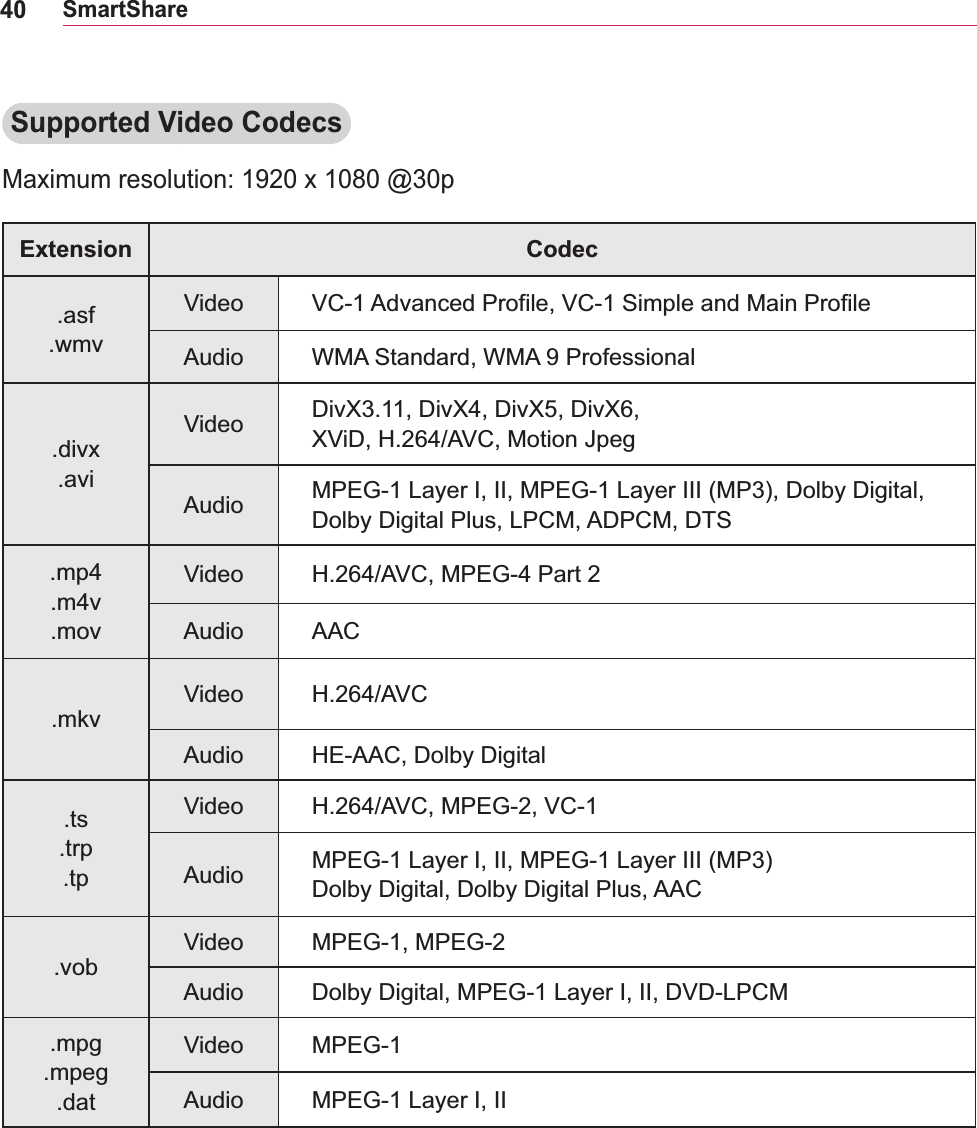
![68CONNECTING DEVICESswitching the output. For more infor-similar sections of the owner's manual of your computer.Brand Switching OutputNEC [Fn]+[F3]Panasonic [Fn]+[F3]Toshiba [Fn]+[F5]IBM [Fn]+[F7]Sony [Fn]+[F7]Fujitsu LG [Fn]+[F7]Samsung [Fn]+[F4]Macintosh Adjust the control panel to enable mirroring after start-up.](https://usermanual.wiki/LG-Electronics-USA/SA565JP.User-Manual-2/User-Guide-1894018-Page-37.png)