Microsoft NEM-2 GSM850/1900 Cellular Telephone User Manual 3300 ENv1 9355979 060503 CDROM
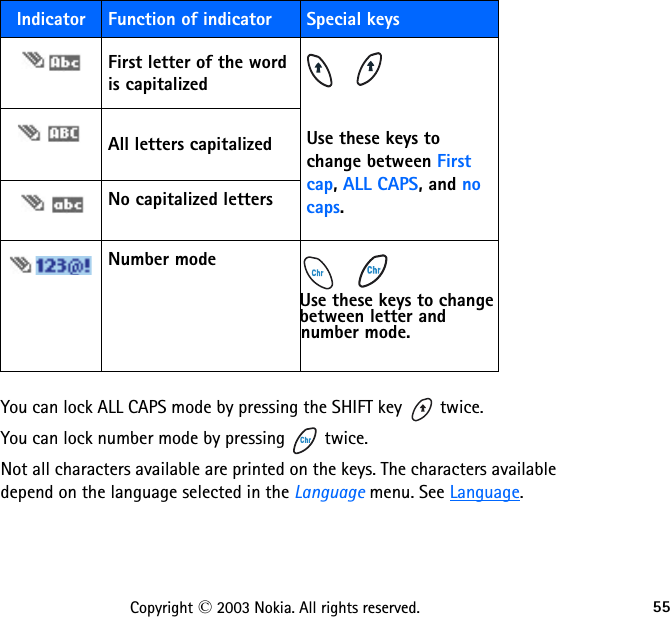
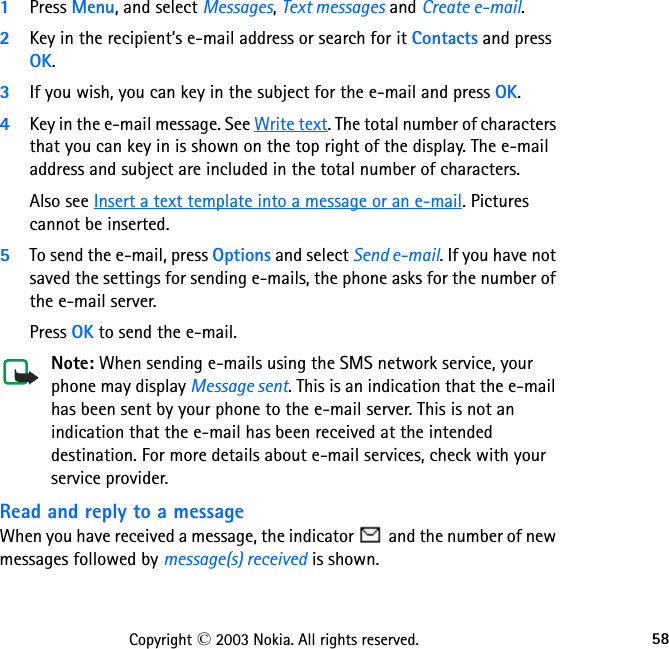
Microsoft Mobile Oy GSM850/1900 Cellular Telephone 3300 ENv1 9355979 060503 CDROM
Contents
- 1. Manual part 1
- 2. Manual Part 2
- 3. Manual part 2
- 4. Manual part 3
- 5. Manual part 4
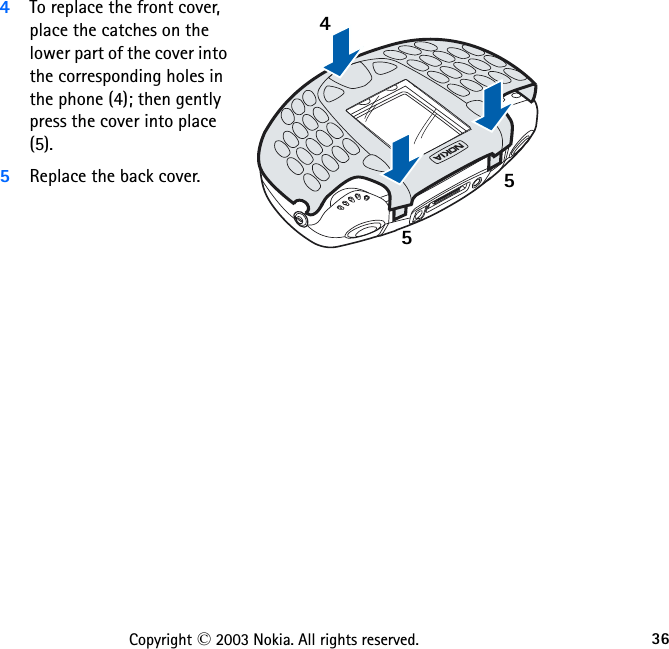
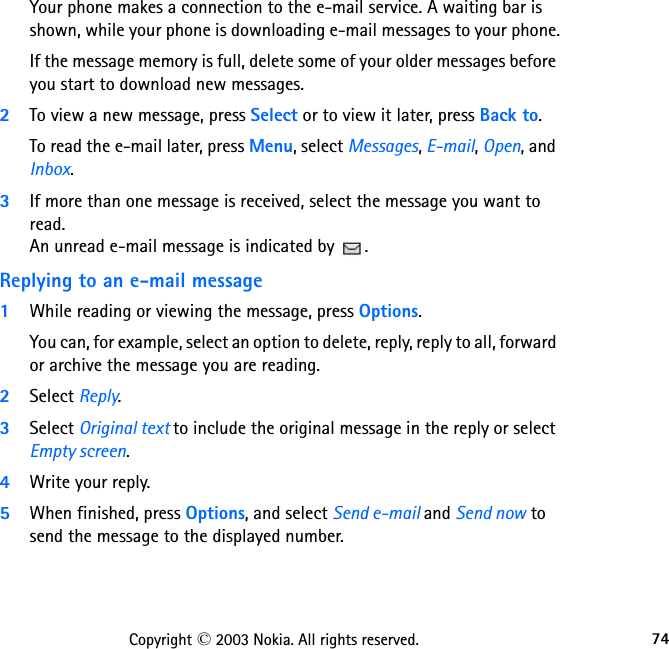
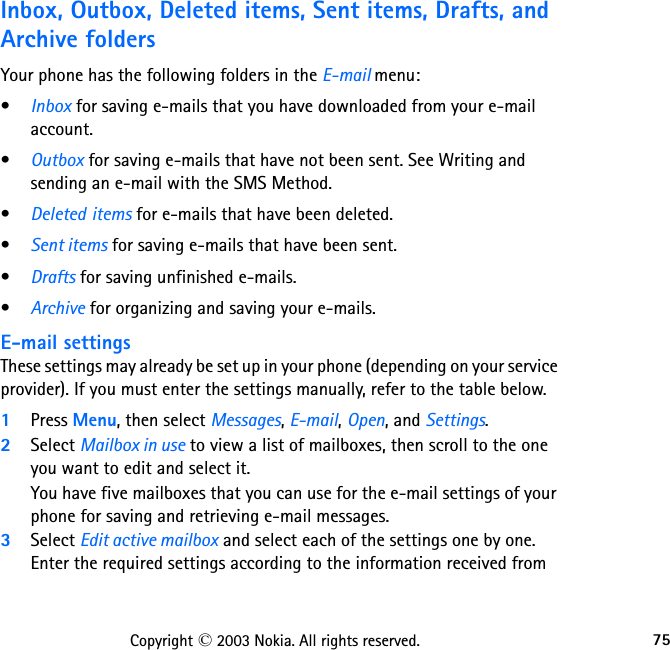
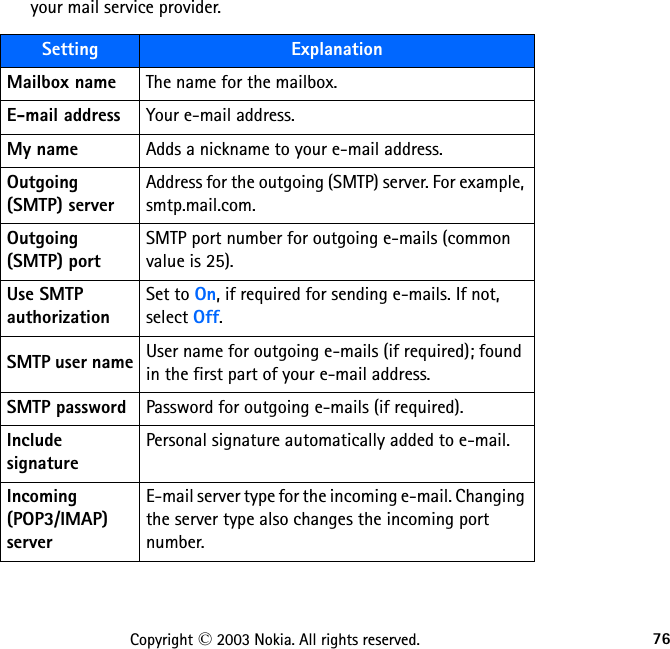
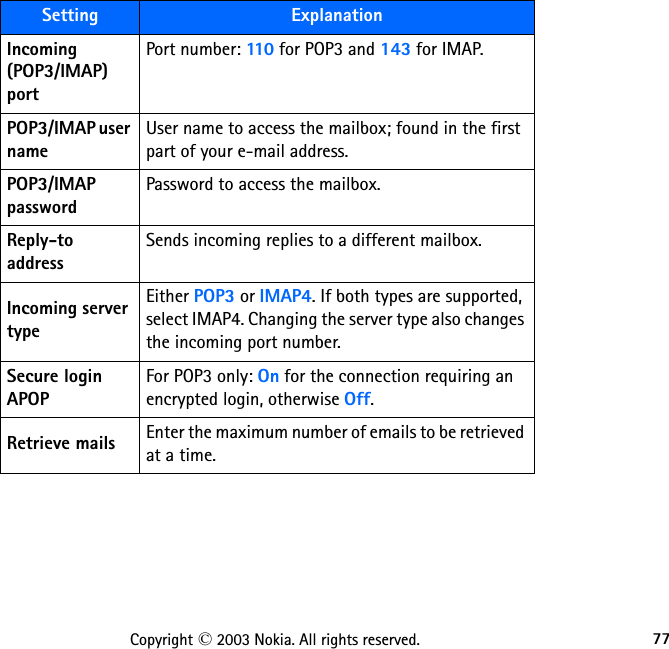
Manual part 3