NIKON TRIMBLE NT0001 Bluetooth module User Manual Focus4 manual 1 p
NIKON-TRIMBLE CO., LTD. Bluetooth module Focus4 manual 1 p
UserManual.wiki
>
NIKON TRIMBLE
>
NT0001 User Manual
>
Host 1 user manual 1 of 4
Contents
1.
Host 1 user manual 1 of 4
2.
Host 1 user manual 2 of 4
3.
Host 1 user manual 3 of 4
4.
Host 1 user manual 4 of 4
5.
Host 2 user manual 1 of 3
6.
Host 2 user manual 2 of 3
7.
Host 2 user manual 3 of 3
8.
Host 3 user manual 1 of 2
9.
Host 3 user manual 2 of 2
Host 1 user manual 1 of 4
Navigation menu
Upload a User Manual
Namespaces
Wiki Guide
HTML
PDF
Info
Views
User Manual
Discussion / Help
Navigation


![Contents12 Spectra Precision Focus 4 Total Station User Guide3 Getting Started. . . . . . . . . . . . . . . . . . . . . . . . . . . . . . . . . . 37Parts of the instrument . . . . . . . . . . . . . . . . . . . . . . . . . . . . . . . . . . . . . . . . . . . . . 38Instrument keyboard and display . . . . . . . . . . . . . . . . . . . . . . . . . . . . . . . . . . . . . . 40Instrument keyboard . . . . . . . . . . . . . . . . . . . . . . . . . . . . . . . . . . . . . . . . . . 40Status bar. . . . . . . . . . . . . . . . . . . . . . . . . . . . . . . . . . . . . . . . . . . . . . . . . . 41LCD backlight, laser pointer, beep sound, and contrast adjustment . . . . . . . . . . . . . 43[DSP] button . . . . . . . . . . . . . . . . . . . . . . . . . . . . . . . . . . . . . . . . . . . . . . . . . 44[MODE] button . . . . . . . . . . . . . . . . . . . . . . . . . . . . . . . . . . . . . . . . . . . . . . . . 46[HOT] key . . . . . . . . . . . . . . . . . . . . . . . . . . . . . . . . . . . . . . . . . . . . . . . . . . . 46Bubble indicator . . . . . . . . . . . . . . . . . . . . . . . . . . . . . . . . . . . . . . . . . . . . . 47Laser plummet (option). . . . . . . . . . . . . . . . . . . . . . . . . . . . . . . . . . . . . . . . . 47Turning on the instrument . . . . . . . . . . . . . . . . . . . . . . . . . . . . . . . . . . . . . . . . . . . 48Turning off the instrument . . . . . . . . . . . . . . . . . . . . . . . . . . . . . . . . . . . . . . . . . . . 48Sleep mode. . . . . . . . . . . . . . . . . . . . . . . . . . . . . . . . . . . . . . . . . . . . . . . . . 48Regional configuration. . . . . . . . . . . . . . . . . . . . . . . . . . . . . . . . . . . . . . . . . . . . . . 49List available jobs or data . . . . . . . . . . . . . . . . . . . . . . . . . . . . . . . . . . . . . . . . . . . . 50Entering data. . . . . . . . . . . . . . . . . . . . . . . . . . . . . . . . . . . . . . . . . . . . . . . . . . . . 50Entering a point name or number . . . . . . . . . . . . . . . . . . . . . . . . . . . . . . . . . . 50Entering a code . . . . . . . . . . . . . . . . . . . . . . . . . . . . . . . . . . . . . . . . . . . . . . 53Advanced feature: Searching for a code using the first character . . . . . . . . . . . . . . . . . . . 54Entering values in feet and inches . . . . . . . . . . . . . . . . . . . . . . . . . . . . . . . . . . 54Creating or opening a job . . . . . . . . . . . . . . . . . . . . . . . . . . . . . . . . . . . . . . . . . . . . 55Creating a new job . . . . . . . . . . . . . . . . . . . . . . . . . . . . . . . . . . . . . . . . . . . . 55Creating a control job . . . . . . . . . . . . . . . . . . . . . . . . . . . . . . . . . . . . . . . . . . 56Measuring distances . . . . . . . . . . . . . . . . . . . . . . . . . . . . . . . . . . . . . . . . . . . . . . . 56Sighting a prism reflector. . . . . . . . . . . . . . . . . . . . . . . . . . . . . . . . . . . . . . . . 56Taking a distance measurement . . . . . . . . . . . . . . . . . . . . . . . . . . . . . . . . . . . 57Viewing and changing the measurement settings . . . . . . . . . . . . . . . . . . . . . . . . 574 Applications . . . . . . . . . . . . . . . . . . . . . . . . . . . . . . . . . . . 59HA reset and angle operations. . . . . . . . . . . . . . . . . . . . . . . . . . . . . . . . . . . . . . . . . 60Setting the horizontal angle to 0 . . . . . . . . . . . . . . . . . . . . . . . . . . . . . . . . . . . 60Entering the horizontal angle . . . . . . . . . . . . . . . . . . . . . . . . . . . . . . . . . . . . . 60Station setup . . . . . . . . . . . . . . . . . . . . . . . . . . . . . . . . . . . . . . . . . . . . . . . . . . . . 60Baseline . . . . . . . . . . . . . . . . . . . . . . . . . . . . . . . . . . . . . . . . . . . . . . . . . . . 61Known. . . . . . . . . . . . . . . . . . . . . . . . . . . . . . . . . . . . . . . . . . . . . . . . . . . . 62Resection . . . . . . . . . . . . . . . . . . . . . . . . . . . . . . . . . . . . . . . . . . . . . . . . . . 64Advanced feature: Viewing and deleting a measurement in resection. . . . . . . . . . . . . . . . 67Base XYZ . . . . . . . . . . . . . . . . . . . . . . . . . . . . . . . . . . . . . . . . . . . . . . . . . . 67Remote BM . . . . . . . . . . . . . . . . . . . . . . . . . . . . . . . . . . . . . . . . . . . . . . . . 68BS Check . . . . . . . . . . . . . . . . . . . . . . . . . . . . . . . . . . . . . . . . . . . . . . . . . . 69Stakeout menu. . . . . . . . . . . . . . . . . . . . . . . . . . . . . . . . . . . . . . . . . . . . . . . . . . . 69S-O to Point . . . . . . . . . . . . . . . . . . . . . . . . . . . . . . . . . . . . . . . . . . . . . . . . 70L-O from Line . . . . . . . . . . . . . . . . . . . . . . . . . . . . . . . . . . . . . . . . . . . . . . . 71](https://usermanual.wiki/NIKON-TRIMBLE/NT0001.Host-1-user-manual-1-of-4/User-Guide-1089789-Page-12.png)
![Spectra Precision Focus 4 Total Station User Guide 13ContentsL-O from Arc. . . . . . . . . . . . . . . . . . . . . . . . . . . . . . . . . . . . . . . . . . . . . . . . 72XYZ . . . . . . . . . . . . . . . . . . . . . . . . . . . . . . . . . . . . . . . . . . . . . . . . . . . . . 73Advanced feature: Specifying a layout list by inputting points by range . . . . . . . . . . . . . . 75Programs menu . . . . . . . . . . . . . . . . . . . . . . . . . . . . . . . . . . . . . . . . . . . . . . . . . . 75Remote distance measurement (RDM) - overview . . . . . . . . . . . . . . . . . . . . . . . . 76RDM (Radial) . . . . . . . . . . . . . . . . . . . . . . . . . . . . . . . . . . . . . . . . . . . . . . . 77RDM (Cont) . . . . . . . . . . . . . . . . . . . . . . . . . . . . . . . . . . . . . . . . . . . . . . . . 77REM . . . . . . . . . . . . . . . . . . . . . . . . . . . . . . . . . . . . . . . . . . . . . . . . . . . . . 78Cogo . . . . . . . . . . . . . . . . . . . . . . . . . . . . . . . . . . . . . . . . . . . . . . . . . . . . . 78Advanced feature: Entering a range of points . . . . . . . . . . . . . . . . . . . . . . . . . . . . . . . . 83Advanced feature: Entering angle and distance offsets . . . . . . . . . . . . . . . . . . . . . . . . . . 89Recording measurement data . . . . . . . . . . . . . . . . . . . . . . . . . . . . . . . . . . . . . . . . . 90Switching between display screens . . . . . . . . . . . . . . . . . . . . . . . . . . . . . . . . . . . . . . 905 Menu Screen . . . . . . . . . . . . . . . . . . . . . . . . . . . . . . . . . . . 91Job . . . . . . . . . . . . . . . . . . . . . . . . . . . . . . . . . . . . . . . . . . . . . . . . . . . . . . . . . . 92Opening an existing job . . . . . . . . . . . . . . . . . . . . . . . . . . . . . . . . . . . . . . . . . 92Creating a new job . . . . . . . . . . . . . . . . . . . . . . . . . . . . . . . . . . . . . . . . . . . . 92Deleting a job . . . . . . . . . . . . . . . . . . . . . . . . . . . . . . . . . . . . . . . . . . . . . . . 94Setting the control job. . . . . . . . . . . . . . . . . . . . . . . . . . . . . . . . . . . . . . . . . . 95Displaying job information. . . . . . . . . . . . . . . . . . . . . . . . . . . . . . . . . . . . . . . 95Settings (basic job settings). . . . . . . . . . . . . . . . . . . . . . . . . . . . . . . . . . . . . . . . . . . 96Angle . . . . . . . . . . . . . . . . . . . . . . . . . . . . . . . . . . . . . . . . . . . . . . . . . . . . 96Distance . . . . . . . . . . . . . . . . . . . . . . . . . . . . . . . . . . . . . . . . . . . . . . . . . . 96Coordinate . . . . . . . . . . . . . . . . . . . . . . . . . . . . . . . . . . . . . . . . . . . . . . . . . 99Communications . . . . . . . . . . . . . . . . . . . . . . . . . . . . . . . . . . . . . . . . . . . . . 99Unit . . . . . . . . . . . . . . . . . . . . . . . . . . . . . . . . . . . . . . . . . . . . . . . . . . . . . 99Power saving. . . . . . . . . . . . . . . . . . . . . . . . . . . . . . . . . . . . . . . . . . . . . . . .100Recording. . . . . . . . . . . . . . . . . . . . . . . . . . . . . . . . . . . . . . . . . . . . . . . . . .100Other settings . . . . . . . . . . . . . . . . . . . . . . . . . . . . . . . . . . . . . . . . . . . . . . .101Data . . . . . . . . . . . . . . . . . . . . . . . . . . . . . . . . . . . . . . . . . . . . . . . . . . . . . . . . .102Viewing records. . . . . . . . . . . . . . . . . . . . . . . . . . . . . . . . . . . . . . . . . . . . . .102Deleting records . . . . . . . . . . . . . . . . . . . . . . . . . . . . . . . . . . . . . . . . . . . . .104Editing raw records . . . . . . . . . . . . . . . . . . . . . . . . . . . . . . . . . . . . . . . . . . .106Searching records. . . . . . . . . . . . . . . . . . . . . . . . . . . . . . . . . . . . . . . . . . . . .109Entering coordinates . . . . . . . . . . . . . . . . . . . . . . . . . . . . . . . . . . . . . . . . . .111Communication . . . . . . . . . . . . . . . . . . . . . . . . . . . . . . . . . . . . . . . . . . . . . . . . . .112Downloading coordinate data. . . . . . . . . . . . . . . . . . . . . . . . . . . . . . . . . . . . .112Uploading coordinate data. . . . . . . . . . . . . . . . . . . . . . . . . . . . . . . . . . . . . . .113Advanced feature: Editing the data order for upload . . . . . . . . . . . . . . . . . . . . . . . . . . 1141sec-Key. . . . . . . . . . . . . . . . . . . . . . . . . . . . . . . . . . . . . . . . . . . . . . . . . . . . . . .115[MSR] button settings . . . . . . . . . . . . . . . . . . . . . . . . . . . . . . . . . . . . . . . . . . .115[DSP] button settings . . . . . . . . . . . . . . . . . . . . . . . . . . . . . . . . . . . . . . . . . . .115Calibration . . . . . . . . . . . . . . . . . . . . . . . . . . . . . . . . . . . . . . . . . . . . . . . . . . . . .116](https://usermanual.wiki/NIKON-TRIMBLE/NT0001.Host-1-user-manual-1-of-4/User-Guide-1089789-Page-13.png)

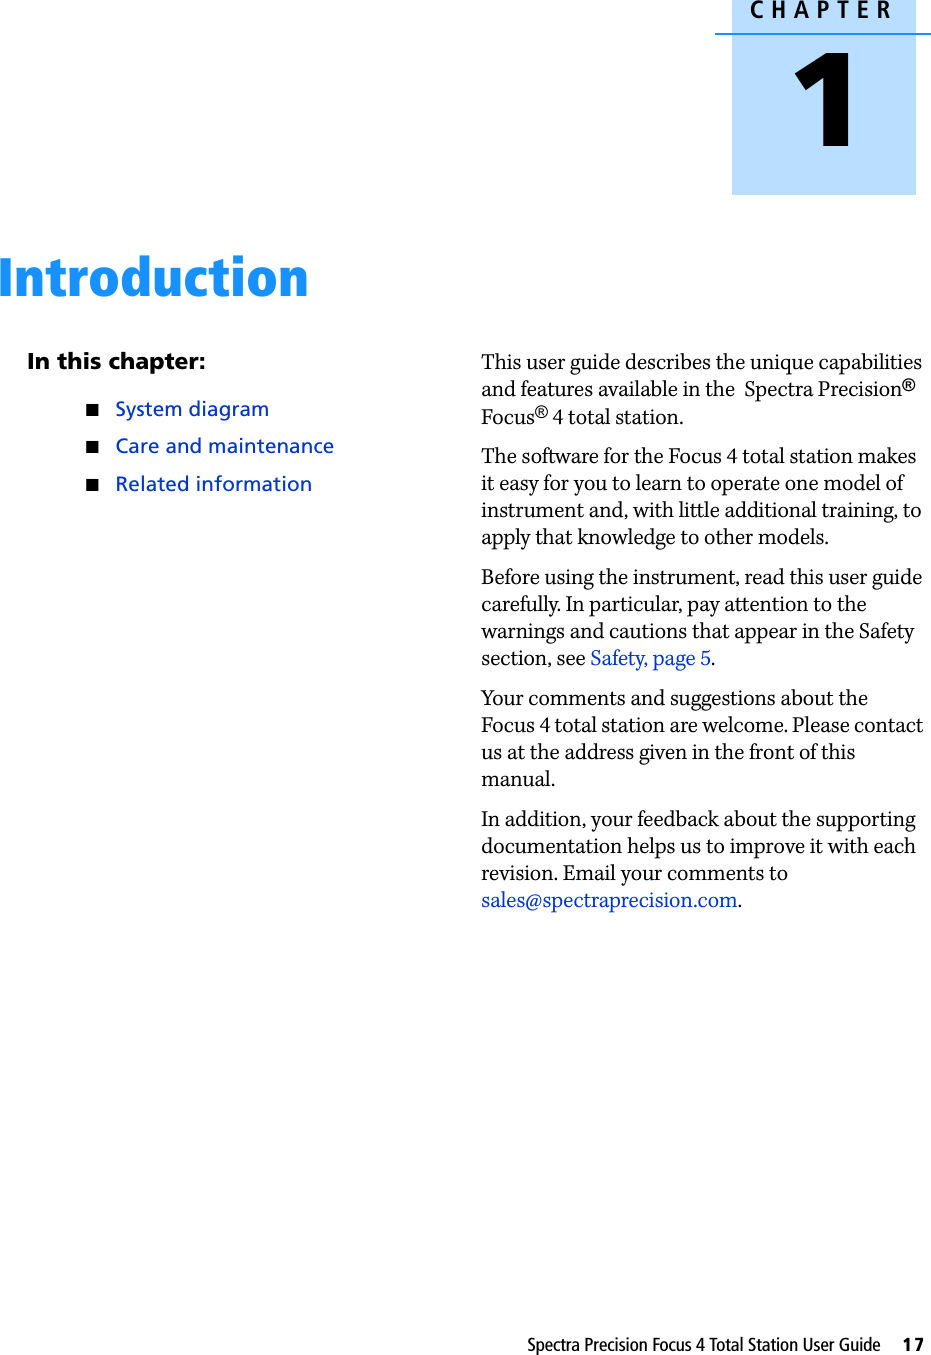
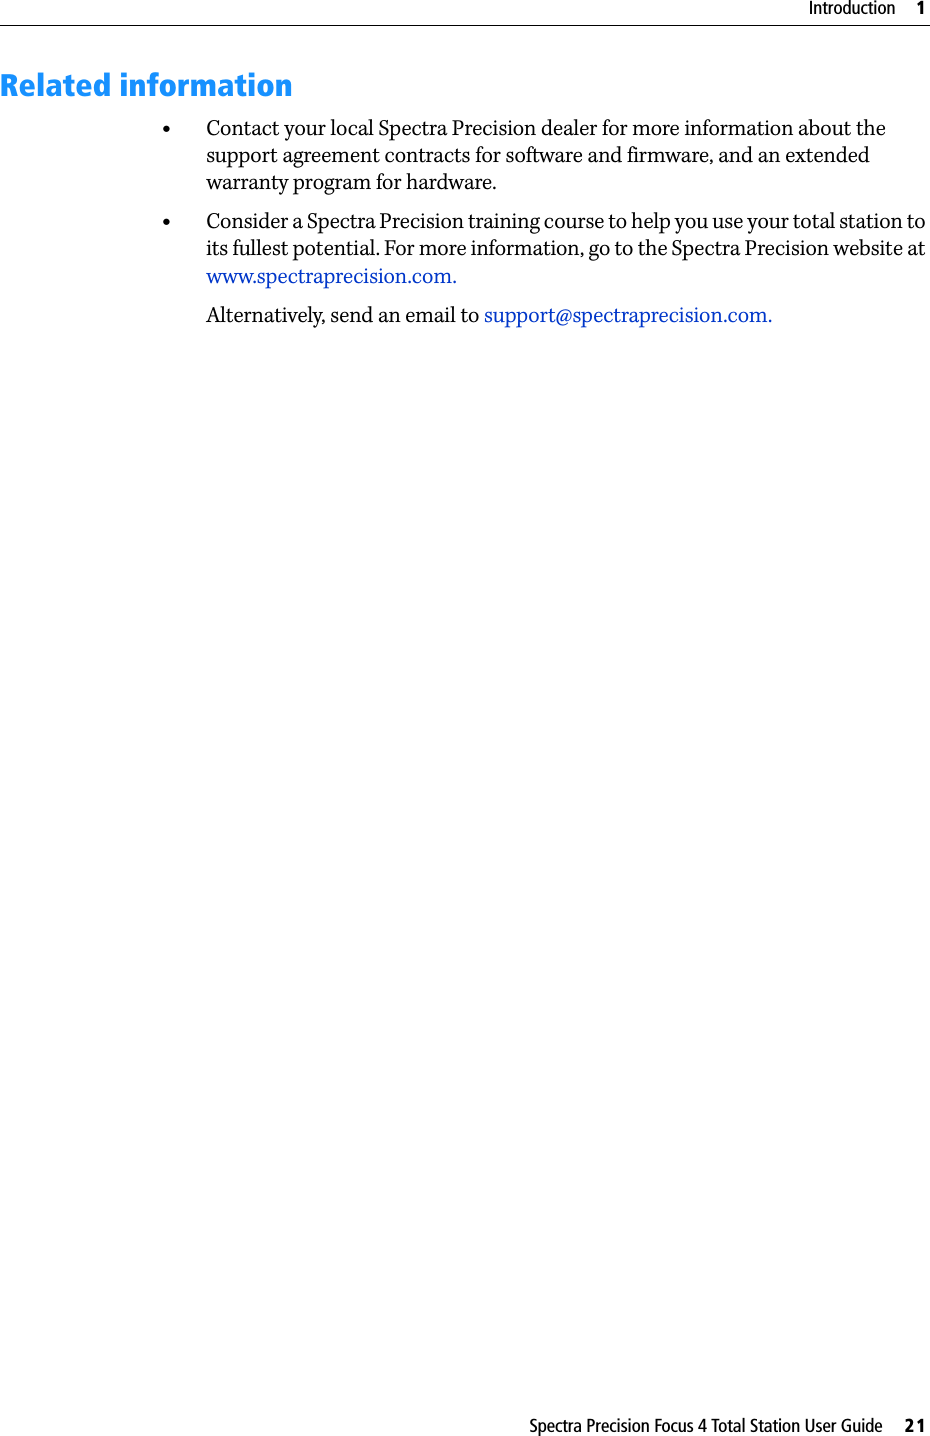


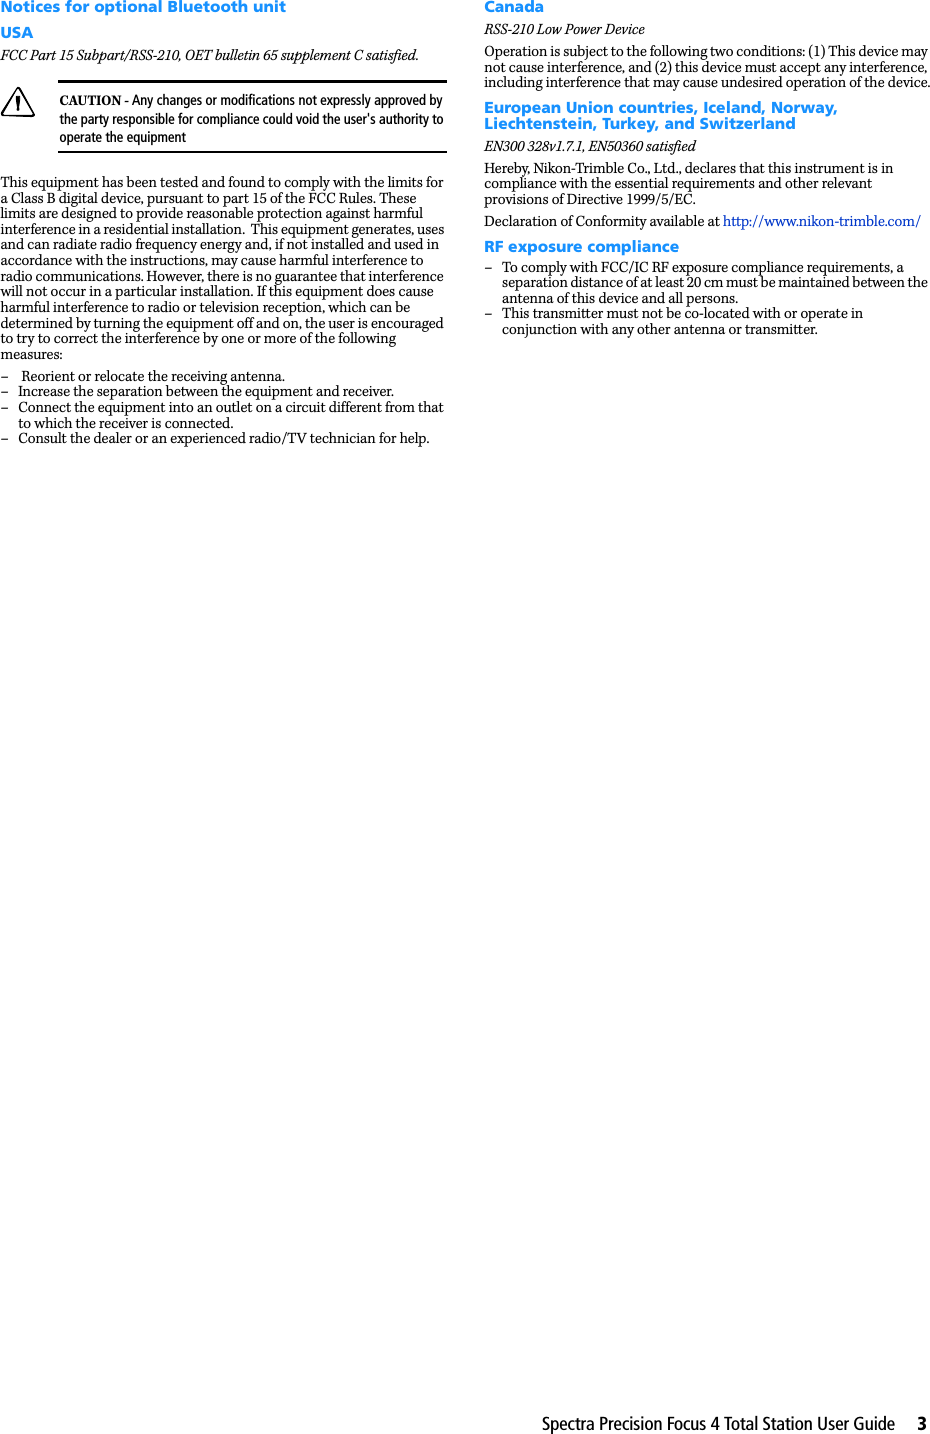
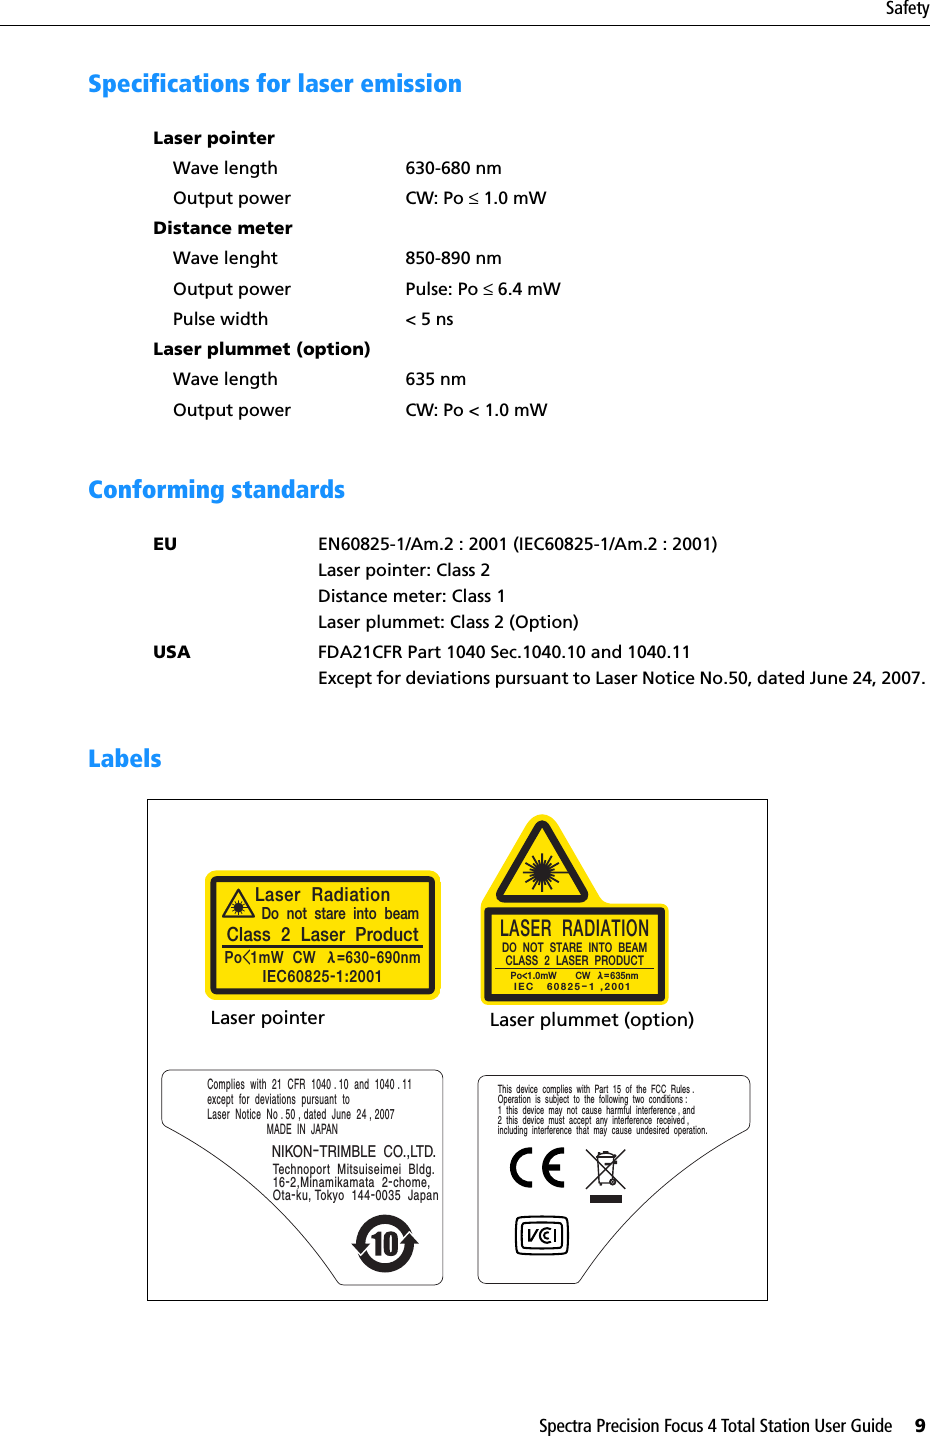
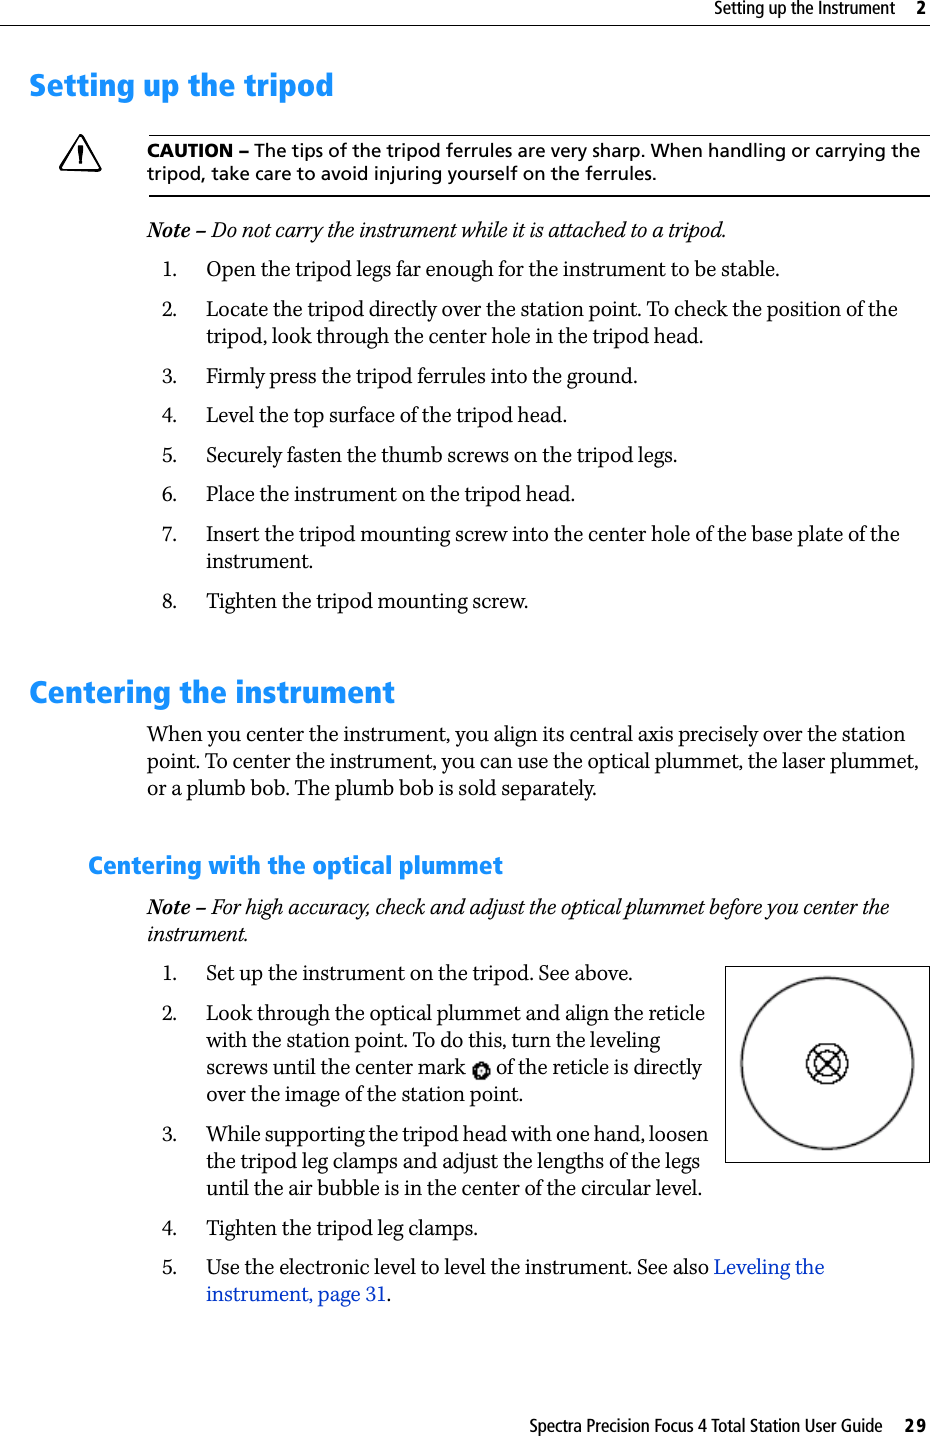
![2 Setting up the Instrument28 Spectra Precision Focus 4 Total Station User GuideDetaching the battery packCCAUTION – Avoid touching the contacts on the battery pack.1. If the instrument is turned on, press [PWR] to turn it off. 2. Turn the battery box release knob counterclockwise, open the battery box cover and then pull the battery pack out of the battery box.Attaching the battery pack1. Clear any dust or other foreign particles from the battery contacts.2. Turn the battery box release knob counterclockwise and then open the battery box cover.3. Put the battery pack into the battery box. Connect the battery pack at the bottom with the connecting direction faced inside.4. Close the battery box cover and then turn the knob clockwise until you hear a click sound. CCAUTION – If the battery pack is not attached securely, this could adversely affect the watertightness of the instrument.](https://usermanual.wiki/NIKON-TRIMBLE/NT0001.Host-1-user-manual-1-of-4/User-Guide-1089789-Page-28.png)
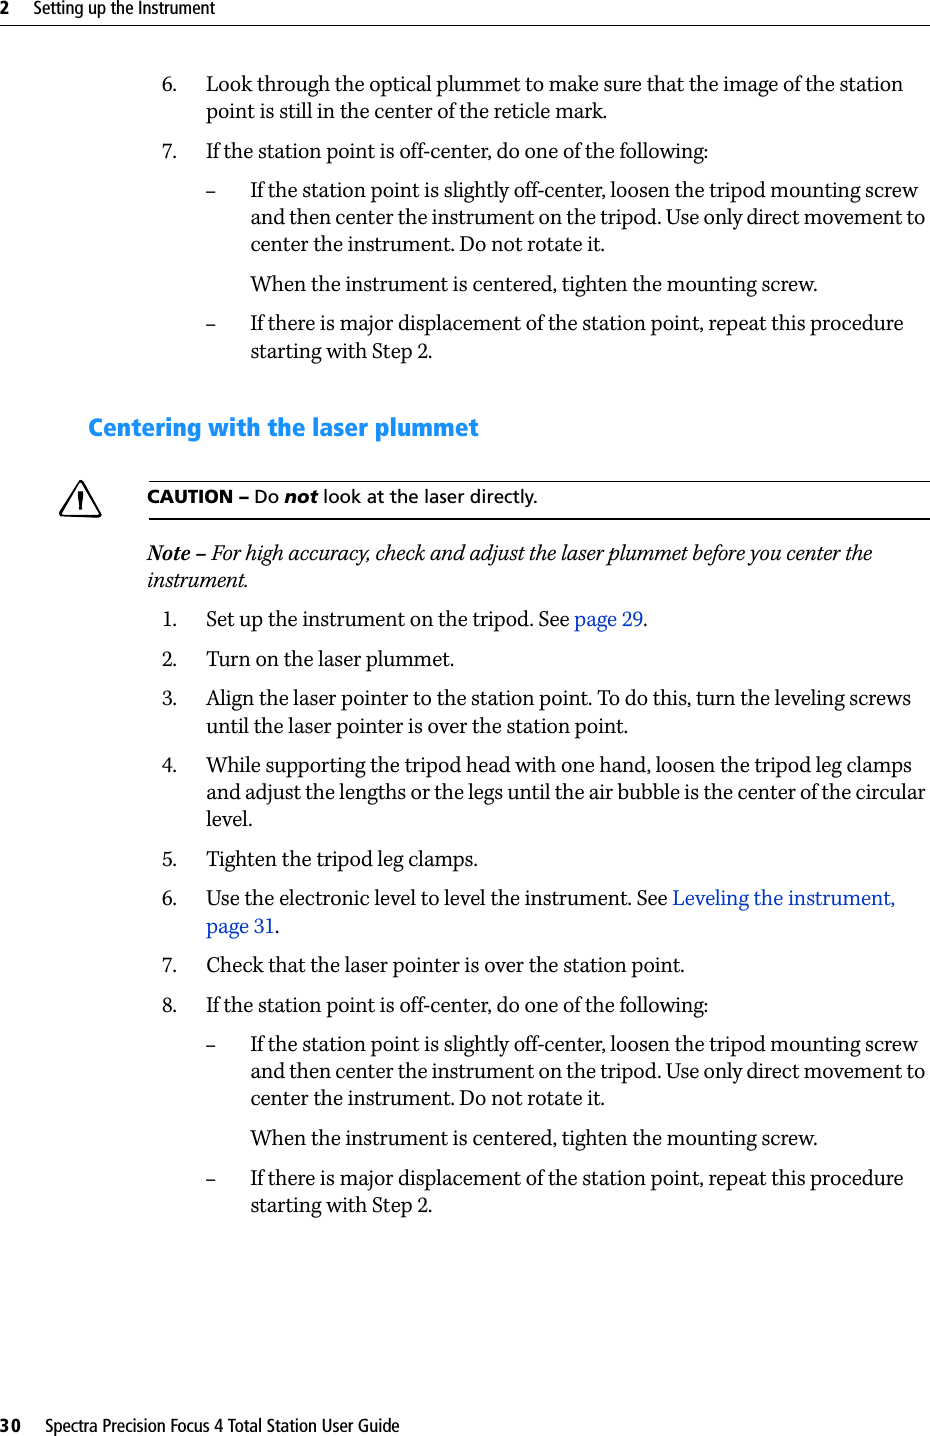
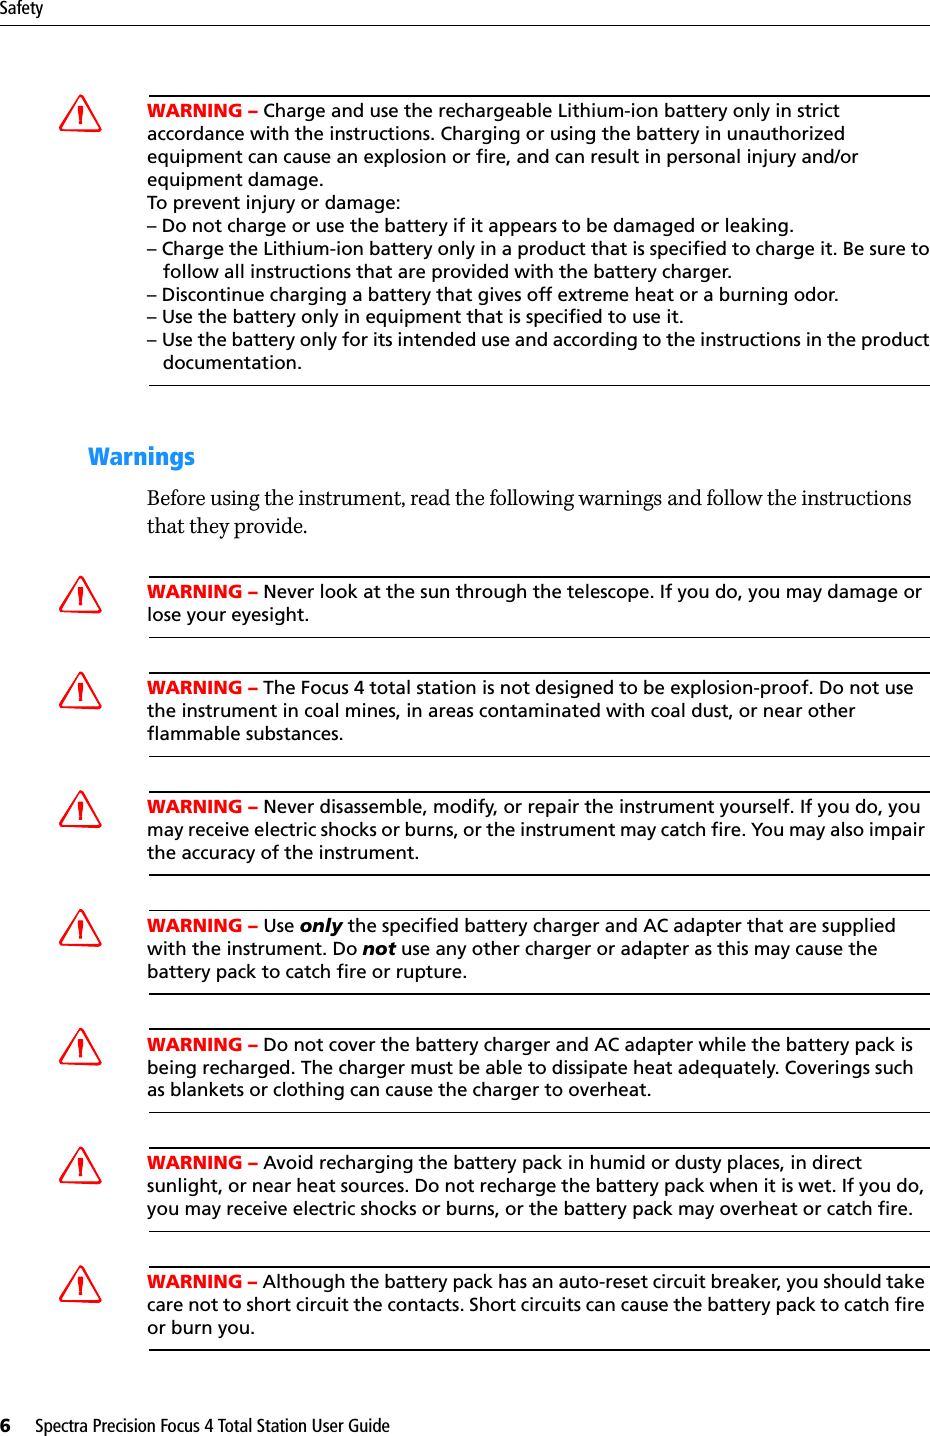
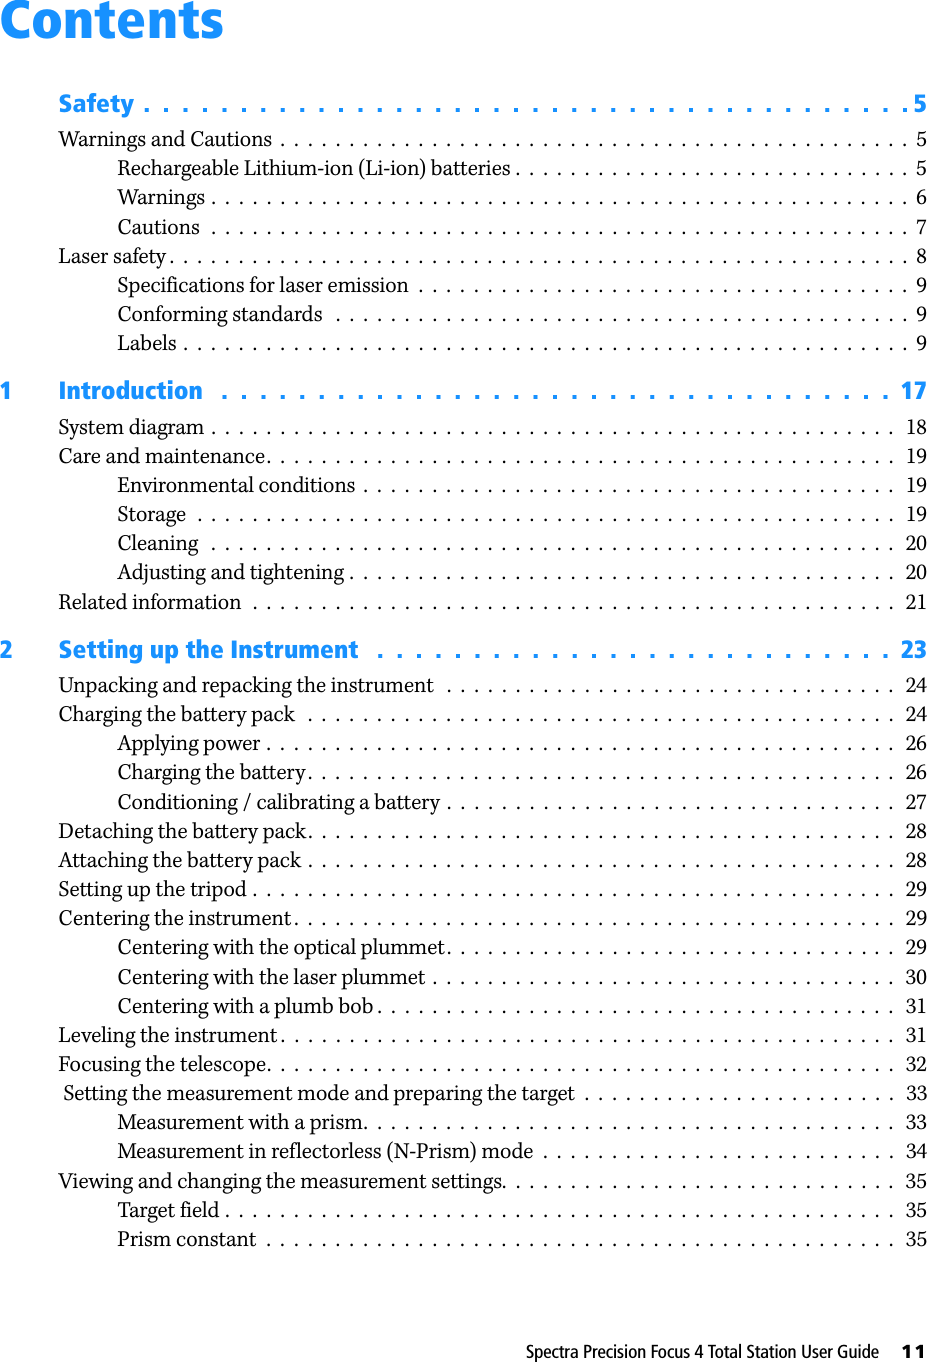
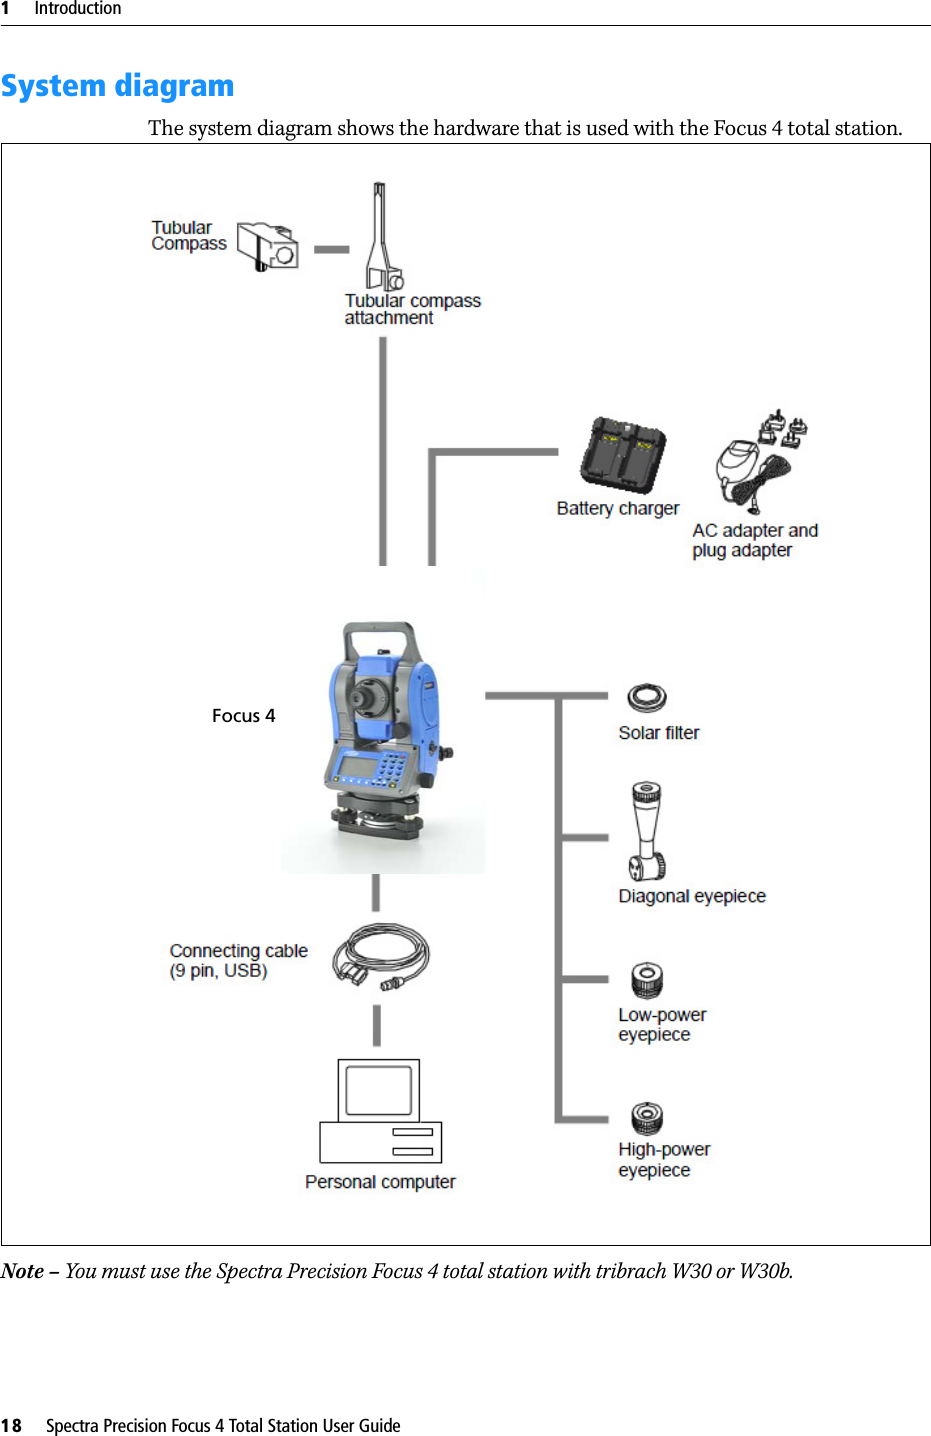
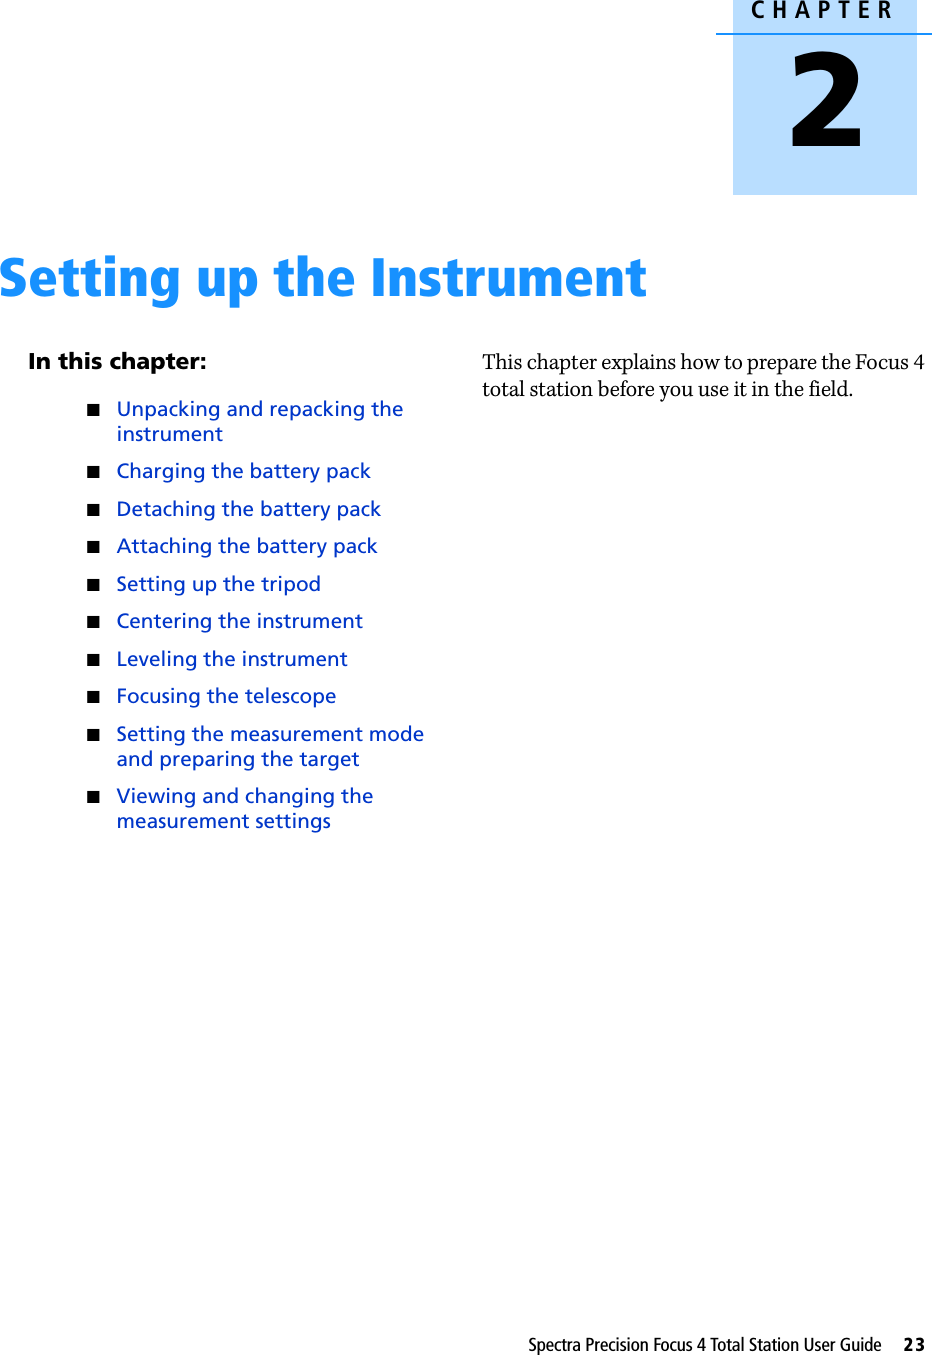
![Spectra Precision Focus 4 Total Station User Guide 33Setting up the Instrument 2 Setting the measurement mode and preparing the targetThe Focus 4 total station has two measurement modes: Prism mode (Prism) and Reflectorless mode (N-Prism). To change the mode at any time from any observation screen, hold down [MSR1] or [MSR2].Set the measurement mode depending on the target that you want to measure, as shown here. In some cases, you can measure to another target that is not appropriate to the set measurement mode.Note – The Focus 4 total station is Laser Class 1 in the measurement function, and Laser Class 2 in the Laser Pointer function. Do not sight the prism when the Laser Pointer is on.Measurement with a prismAs the Focus 4 total station is extremely sensitive, multiple reflections on the prism surface can sometimes cause a significant loss in accuracy.To maintain the accuracy of your measurements:•Use a prism with thin edges. Do not use a prism with scratches, a dirty surface, a chipped center, or thick edges. Target Target settingsPrism, reflector sheet Prism modeOther, reflective materials Reflectorless modeThin edgesChipped center Thick edges](https://usermanual.wiki/NIKON-TRIMBLE/NT0001.Host-1-user-manual-1-of-4/User-Guide-1089789-Page-33.png)
![Spectra Precision Focus 4 Total Station User Guide 35Setting up the Instrument 2Make sure there are no obstacles between the instrument and the target when taking measurements. When you need to take measurements across a road or a place where vehicles or other objects are frequently moving, take several measurements to a target for the best result.Viewing and changing the measurement settingsHold down [MSR1] or [MSR2] for one second.•To move the cursor between the fields, press [^] or [v].•To change the value in the selected field, press [<] or [>].The available values are:Target fieldIf the measurement is started with the Target field set to Prism mode, there is a dash in front of the prism constant, for example –18 mm.If the measurement is started with the Target field set to N-Prism (Reflectorless) mode, there is square bracket in front of the prism constant, for example ]18 mm.The displayed symbol will continuously move from left to right over the prism constant in the display.Prism constantThe factory default of the prism constant value of the Focus 4 total station is -30 mm.Change the prism constant to match the constant value of the prism you are using. Once you have set up the instrument, you can turn on the Focus 4 total station, change the instrument settings, and start a job. See also page 37.Field ValuesTarget Prism modeN-Prism modeConstant (prism constant)-999 mm through 999 mmMode PreciseNormalTrack Track (continuous MSR) ONTrack (continuous MSR) OFF](https://usermanual.wiki/NIKON-TRIMBLE/NT0001.Host-1-user-manual-1-of-4/User-Guide-1089789-Page-35.png)