Samsung Electronics Co BTW410 TX CARD FOR WIRELESS AMPLIFIER User Manual 5
Samsung Electronics Co Ltd TX CARD FOR WIRELESS AMPLIFIER 5
UserManual.wiki
>
Samsung Electronics Co
>
BTW410 User Manual
>
User Manual 5
Contents
1.
Users Manual 1
2.
Users Manual 2
3.
Users Manual 3
4.
Users Manual 4
5.
User Manual 5
User Manual 5
Navigation menu
Upload a User Manual
Namespaces
Wiki Guide
HTML
PDF
Info
Views
User Manual
Discussion / Help
Navigation

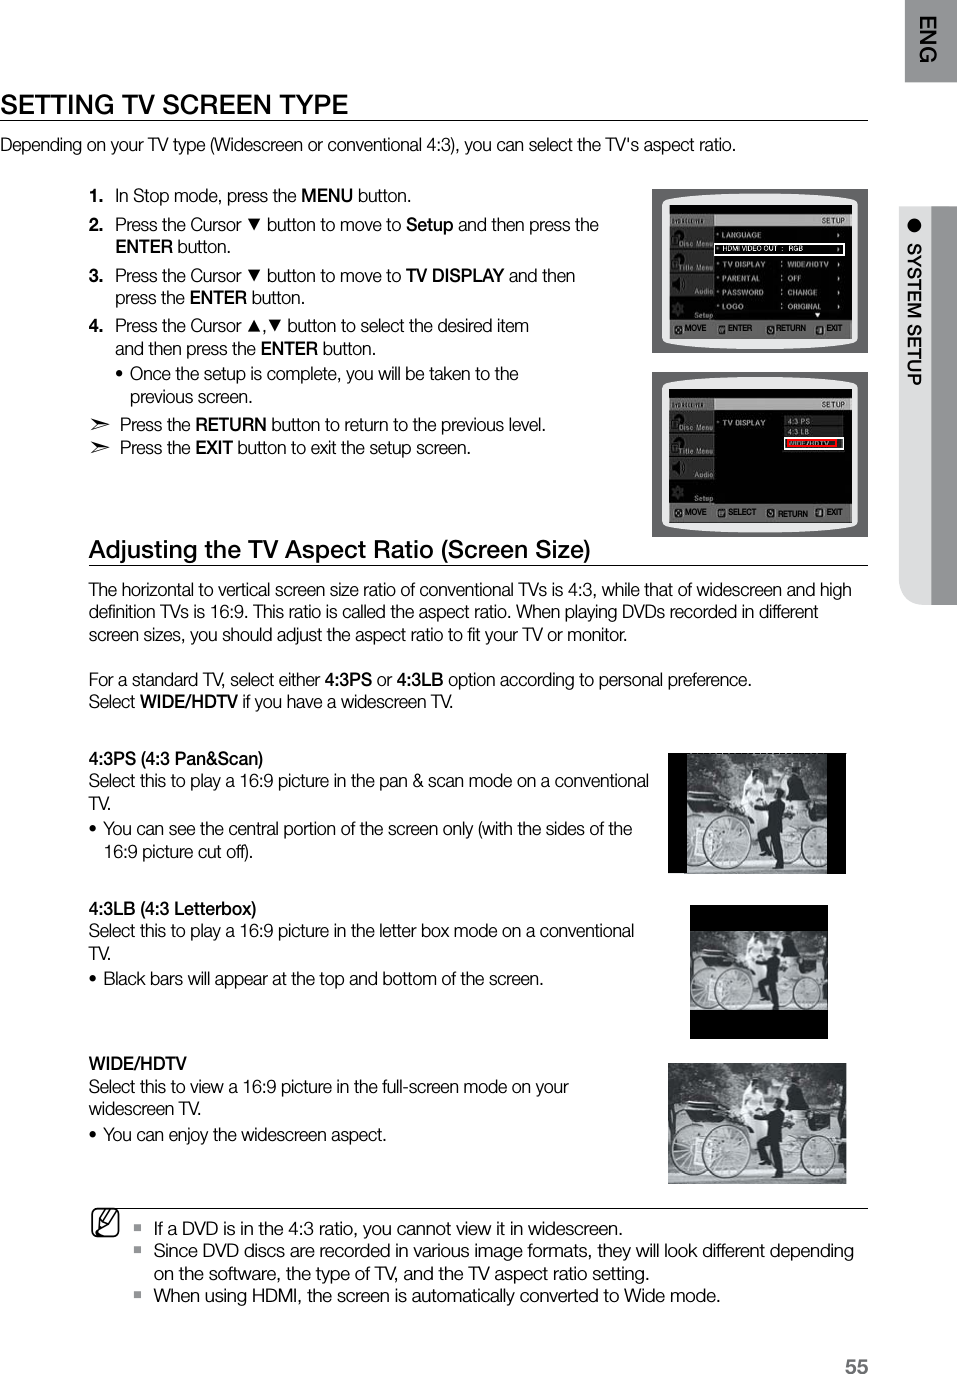
![playback52PLAYING MEDIA FILES USING THE USB HOST FEATUREYou can enjoy media files such as pictures, movies and music saved on an MP3 player, USB memory stick or digital camera in high quality video with 5.1 channel Home Theater sound by connecting the storage device to the USB port of the Home Theater.Connect the USB device to the USB port on the front 1. of the unit.Press the 2. FUNCTION button on the DVD Player or the PORT button on the remote control to select the USB mode.USB• appears on the display screen and then disappears.The USB MENU screen appears on the TV screen •and the saved file is played.To stop playback, press the 3. STOP (T) button. To prevent damage to the memory stored in the USB device, perform safe removal before disconnecting the USB cable.Press the • STOP (T) button twice in a row. The display will show REMOVE USB.Remove the USB cable.• MTo listen to your music files with 5.1 channel home theater sound, you must set the Dolby `Pro Logic II mode to Matrix. (See page 63) In USB mode, you are not able to change the resolution or use the SETUP menu if there is no `USB device connected to the USB port. Skip Forward/Back During playback, press the [,] button.When there is more than one file and you press the • ] button, the next file is selected.When there is more than one file and you press the • [ button, the previous file is selected.VOLUMEVOLUMEDISC CHANGEPHONES FUNCTIONAUX IN 1/ ASC IN Safe USB Removal](https://usermanual.wiki/Samsung-Electronics-Co/BTW410.User-Manual-5/User-Guide-1052978-Page-3.png)
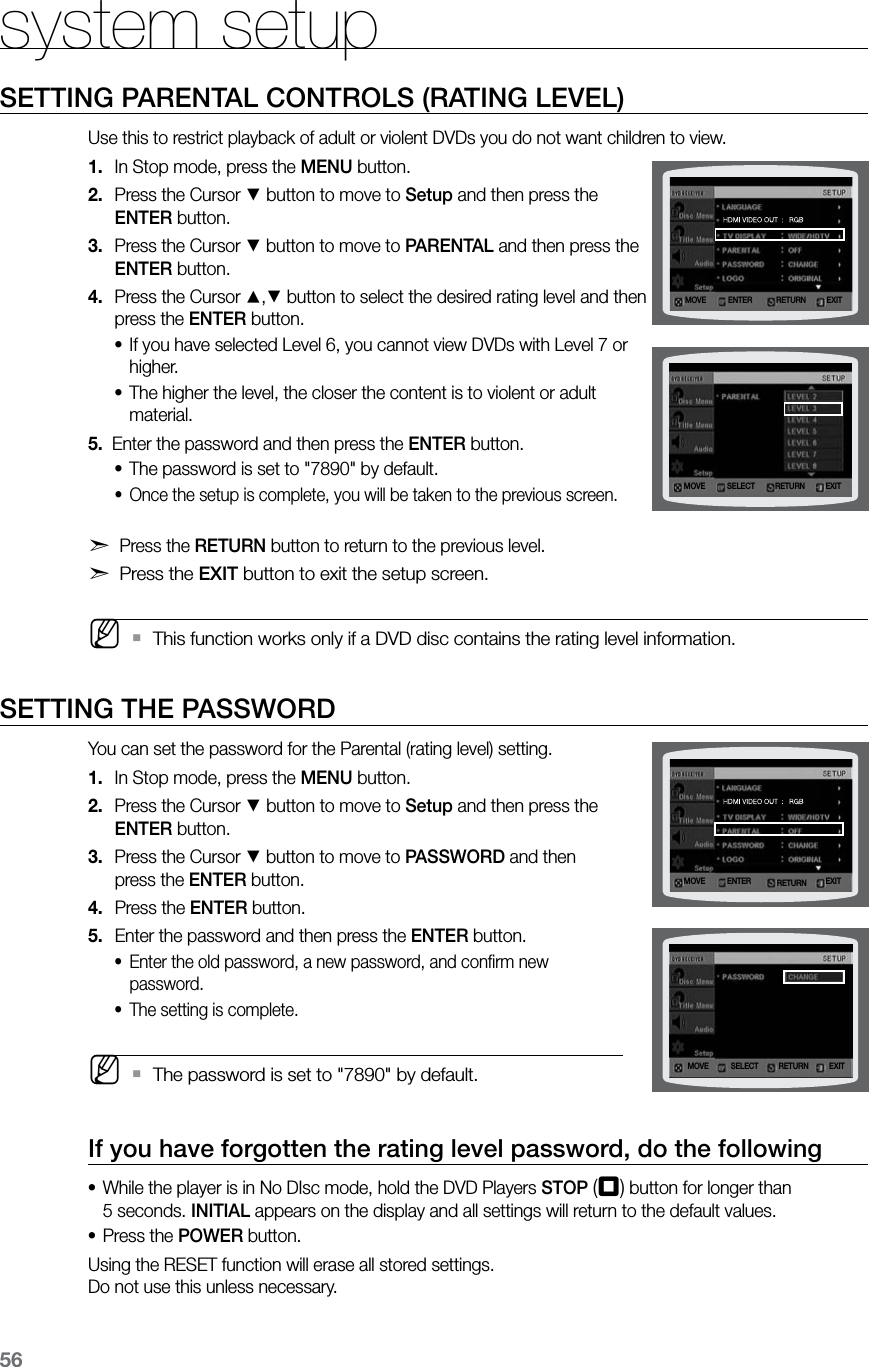
![66LISTENING TO RADIORemote Control Press the1. TUNER button to select the FM band.Tune in to the desired station.2. Automatic Tuning 1• : When the [,] button is pressed, a preset broadcast station is selected.Automatic Tuning 2• : Press and hold the ,,. button to automatically search for active broadcasting stations.Manual Tuning• : Briefly press the ,,. button to increase or decrease the frequency incrementally. Main Unit Press the 1. FUNCTION button to select the FM band.Select a broadcast station2. .Automatic Tuning 1• : Press the STOP (T) button to select PRESET and then press the [,] button to select the preset station. Automatic Tuning 2• : Press the STOP (T) button to select MANUAL and then press and hold the [,] button to automatically search the band.Manual Tuning• : Press the STOP (T) button to select MANUAL and then briefly press the button to tune in to a lower or higher frequency.Press the MO/ST button to listen in Mono/Stereo.• Each time the button is pressed, the sound switches between STEREO and MONO.• In a poor reception area, select MONO for a clear, interference-free broadcast.PRESETTING STATIONSExample : Presetting FM 89.10 in the memory Press the 1. TUNER button to select the FM band.Press the 2. ,,. button to select 89.10. Press the 3. TUNER MEMORY button.Press the 4. [,] button to select preset number.You can select between 1 and 15 presets.•5. Press the TUNER MEMORY button again.6. To preset another station, repeat steps 2 to 5.To tune in to a preset station, press the •[,] button on the remote control to select a channel.radio CD RIPPING S.VOL AUDIO UPSCALE S.VOL AUDIO UPSCALE CD RIPPING](https://usermanual.wiki/Samsung-Electronics-Co/BTW410.User-Manual-5/User-Guide-1052978-Page-17.png)