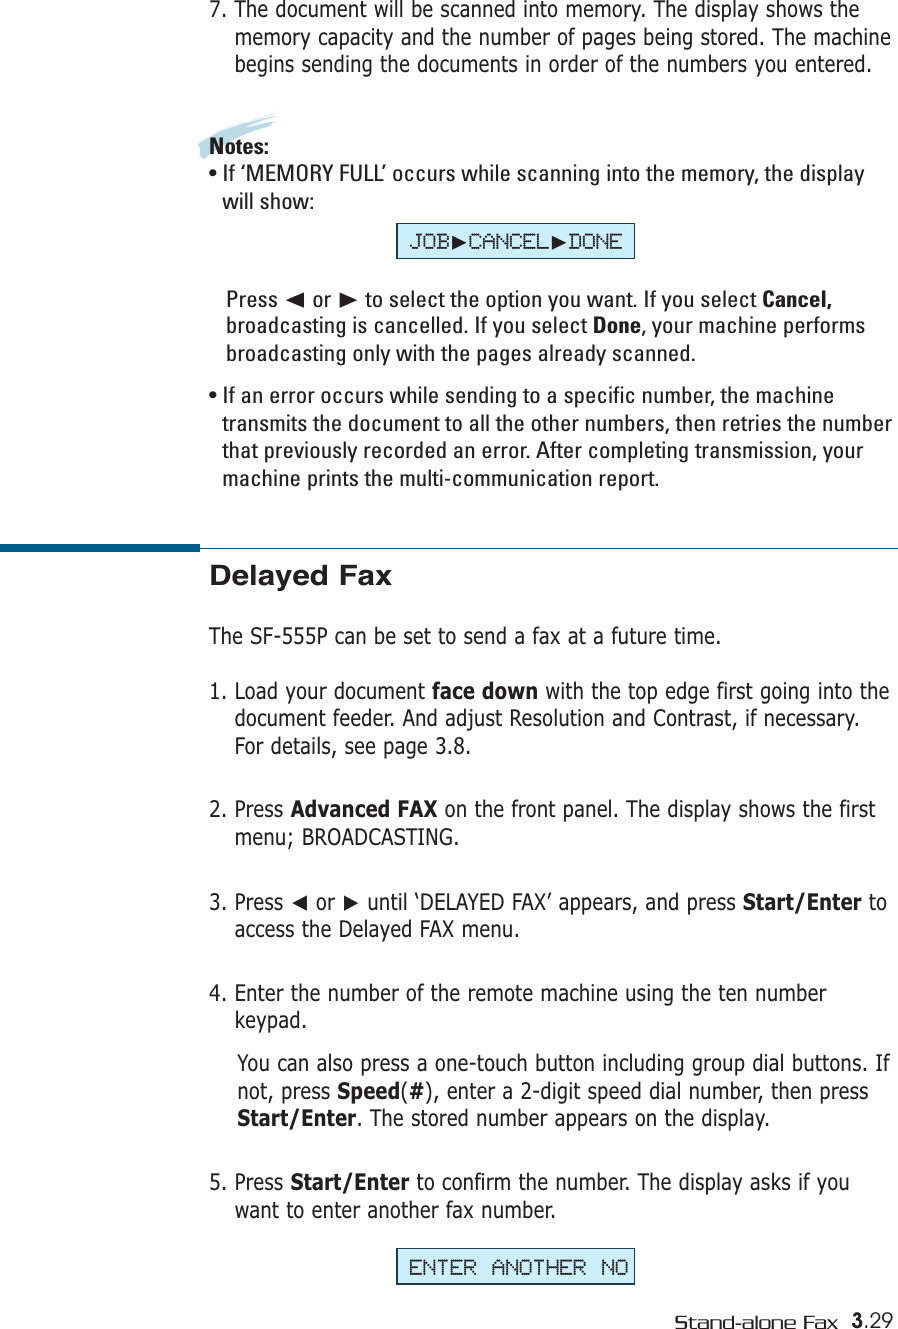
Samsung Electronics Co SF555P Multi Function Printer User Manual 01 Getting Started
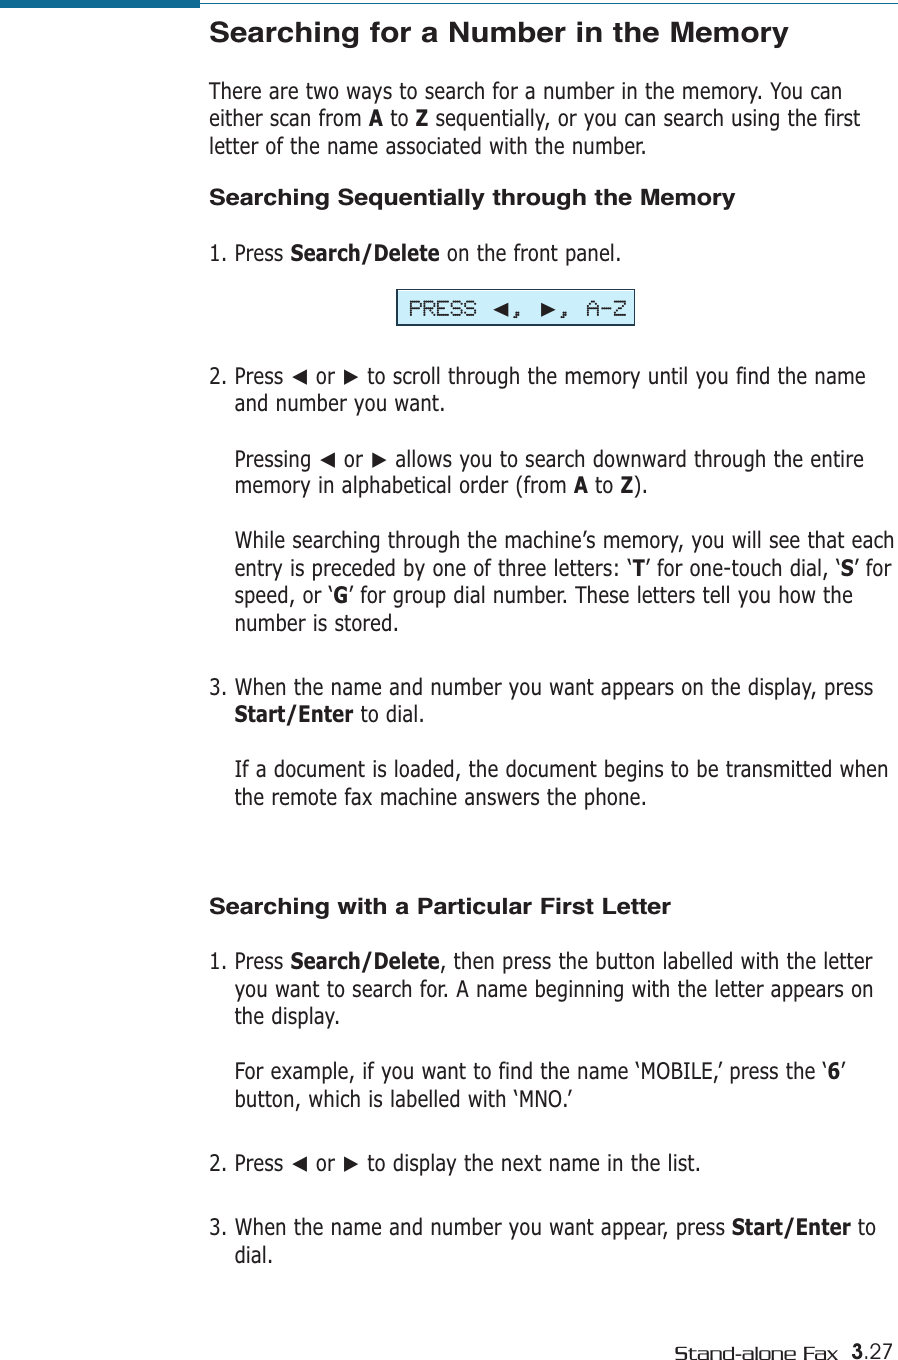
Samsung Electronics Co Ltd Multi Function Printer 01 Getting Started
UserManual.wiki
>
Samsung Electronics Co
>
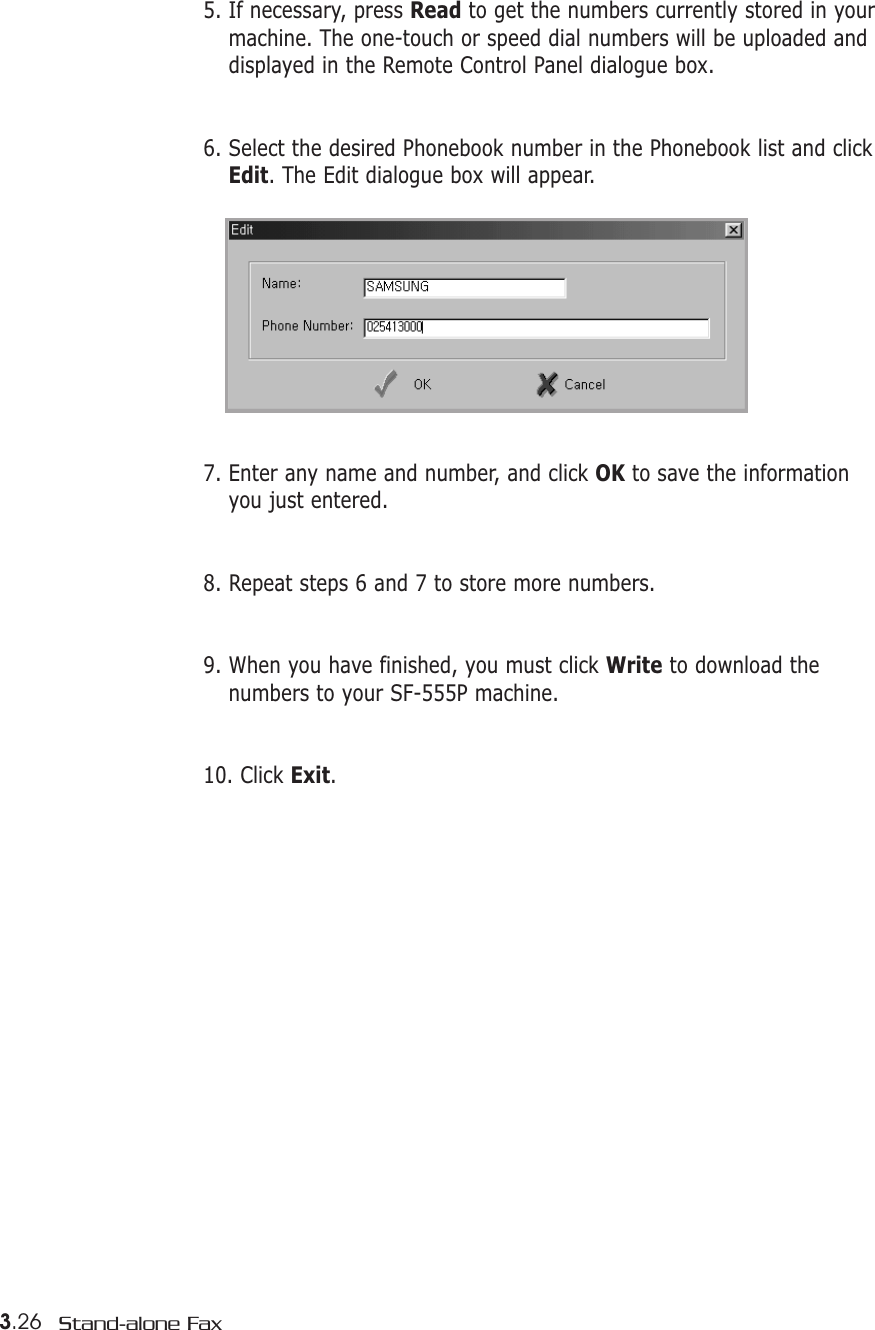
SF555P User Manual
>
Users Manual 2
Contents
1.
Users Manual 1
2.
Users Manual 2
3.
Users Manual 3
Users Manual 2
Navigation menu
Upload a User Manual
Namespaces
Wiki Guide
HTML
PDF
Info
Views
User Manual
Discussion / Help
Navigation

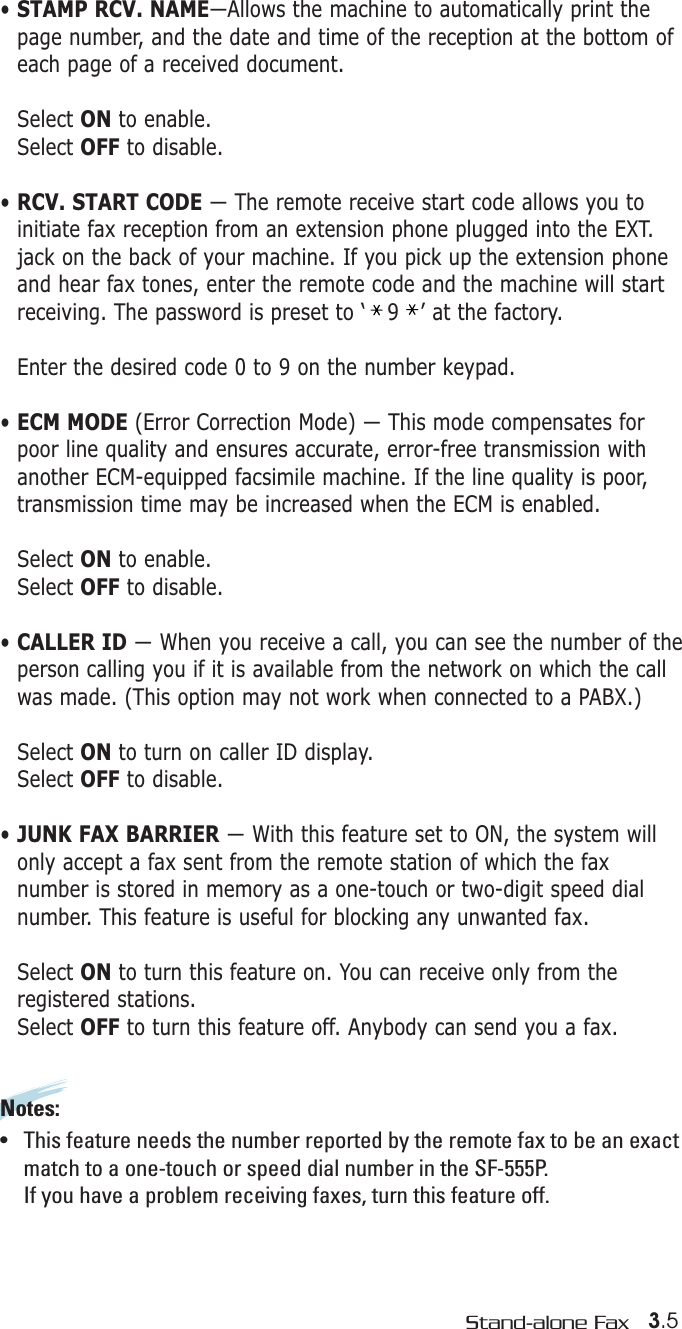
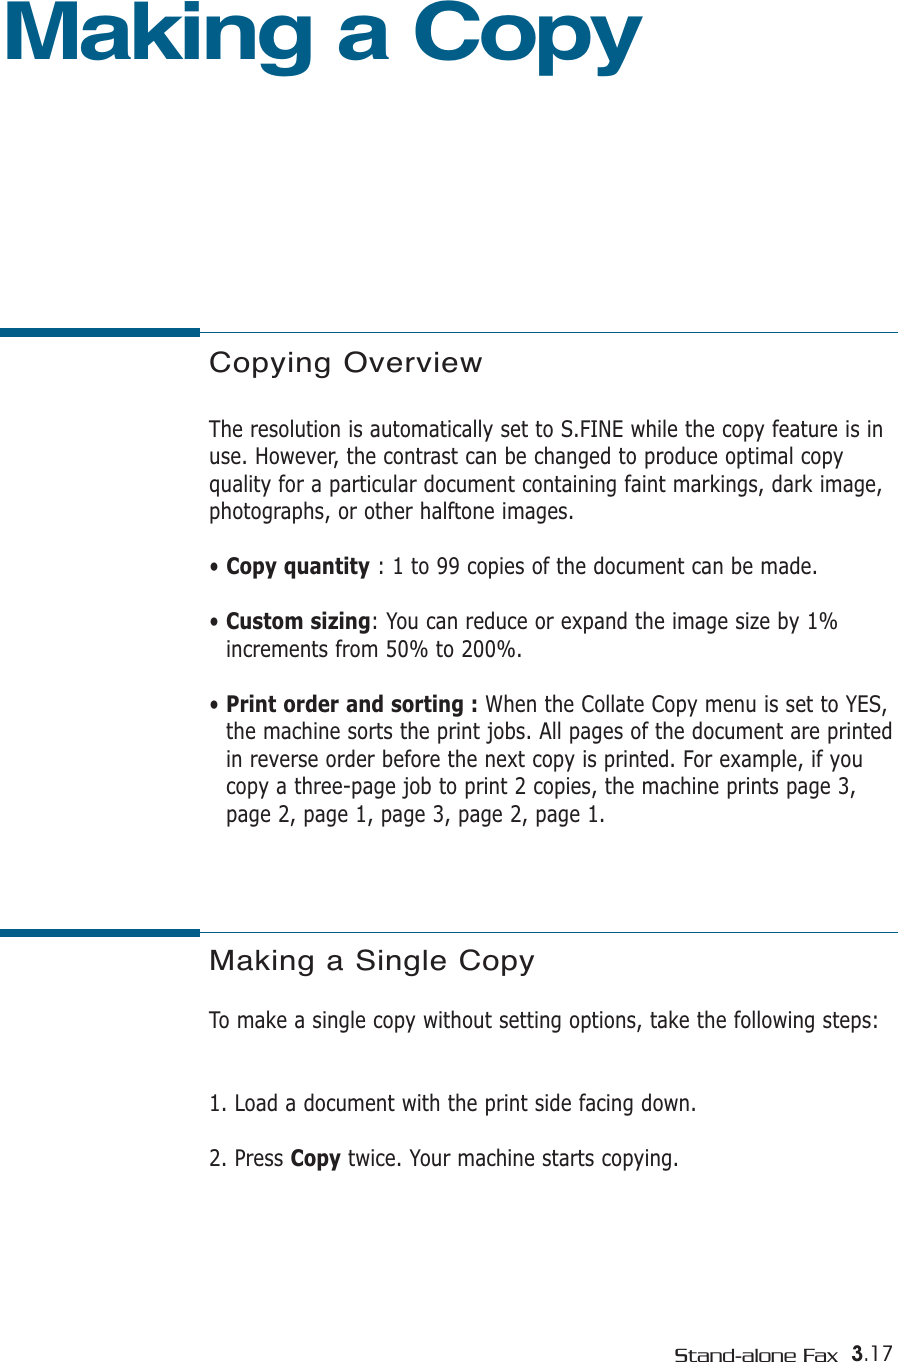
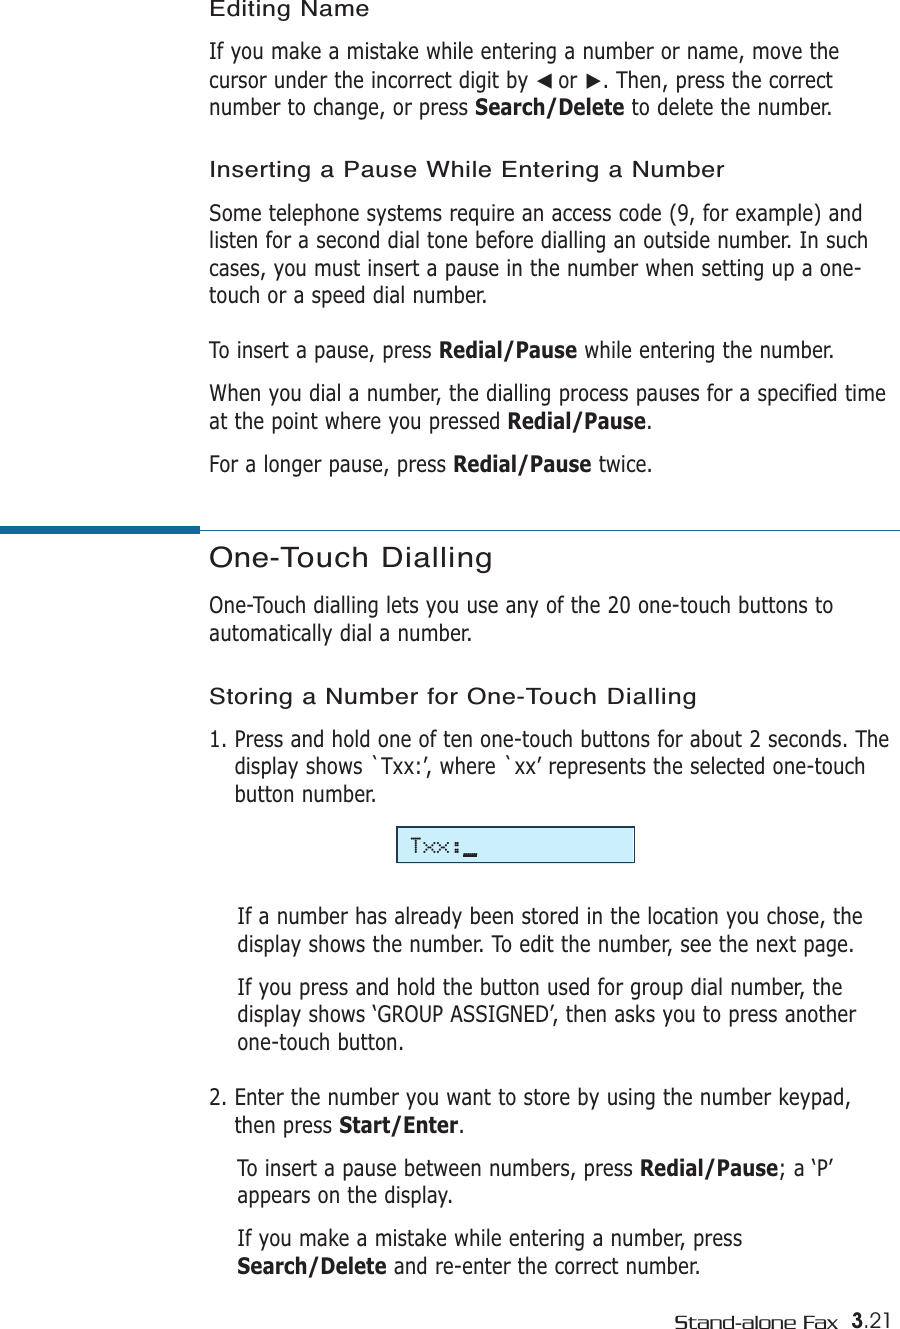
![3.1Stand-alone FaxSetting Volume Ringer VolumeYou can adjust the volume of the ringer to your desired volume. 1. Press ➛or ❿in Standby mode. The display shows the current ringer volume setting. 2. Press ➛or ❿until you find the desired loudness. Four levels areavailable; 0~3. You will hear the selected volume and the display will show the level.Setting ‘0’ turns the ringer off. The machine will work normally even ifthe ringer is set to off.3. Press Start/Enter to save the setting.Speaker Volume1. Press OHD/V.Req to adjust the speaker volume. If you cannot heardial tone, check the phone line connection.2. Press ➛or ❿repeatedly until you find the desired loudness. The display shows the current volume level.3. After choosing the desired volume level, press OHD/V.Req.Setting up Stand-alone Fax SystemRINGER VOL.[3]SPEAKER VOL.[2]](https://usermanual.wiki/Samsung-Electronics-Co/SF555P.Users-Manual-2/User-Guide-283615-Page-4.png)
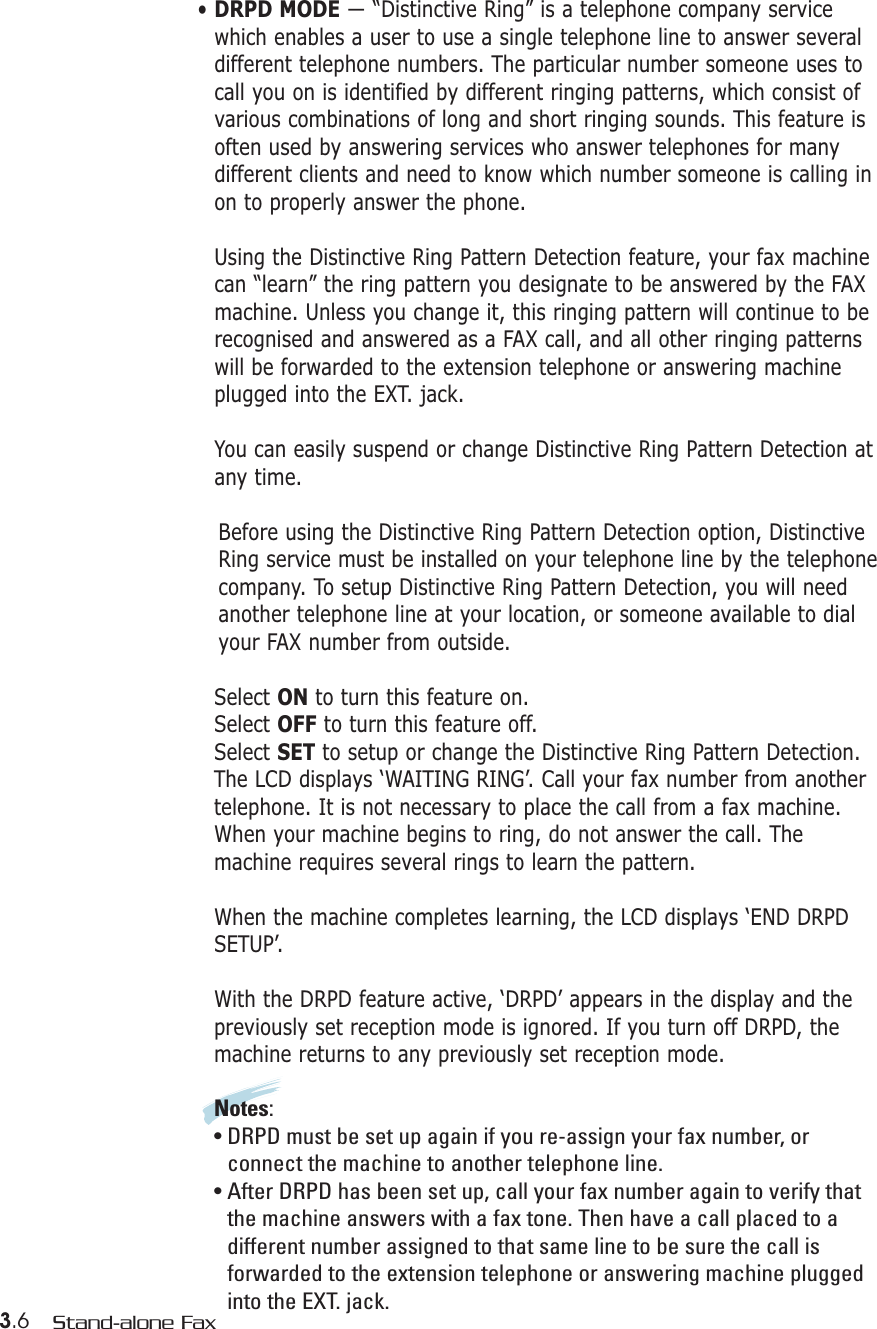
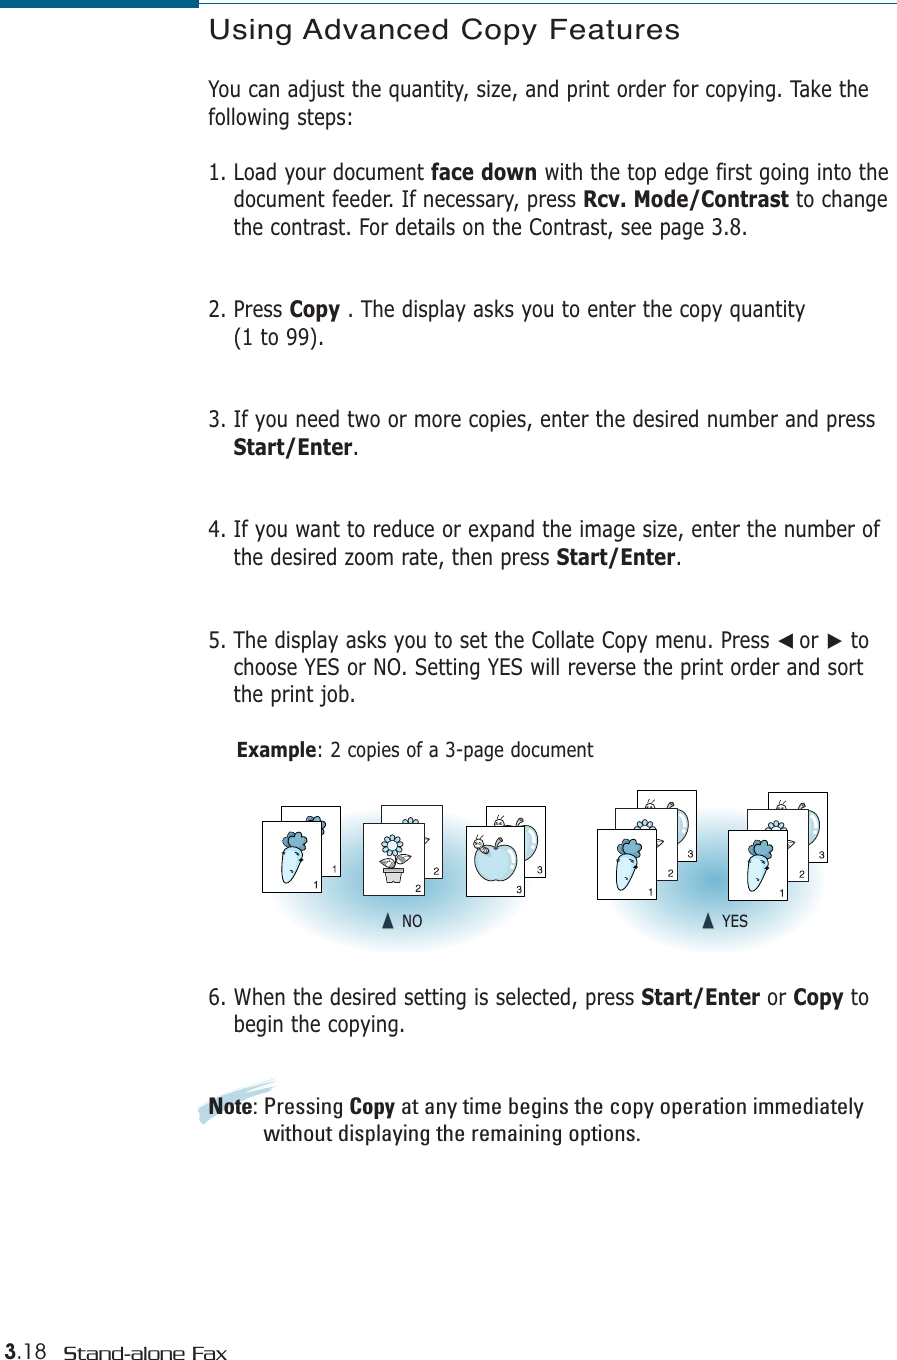
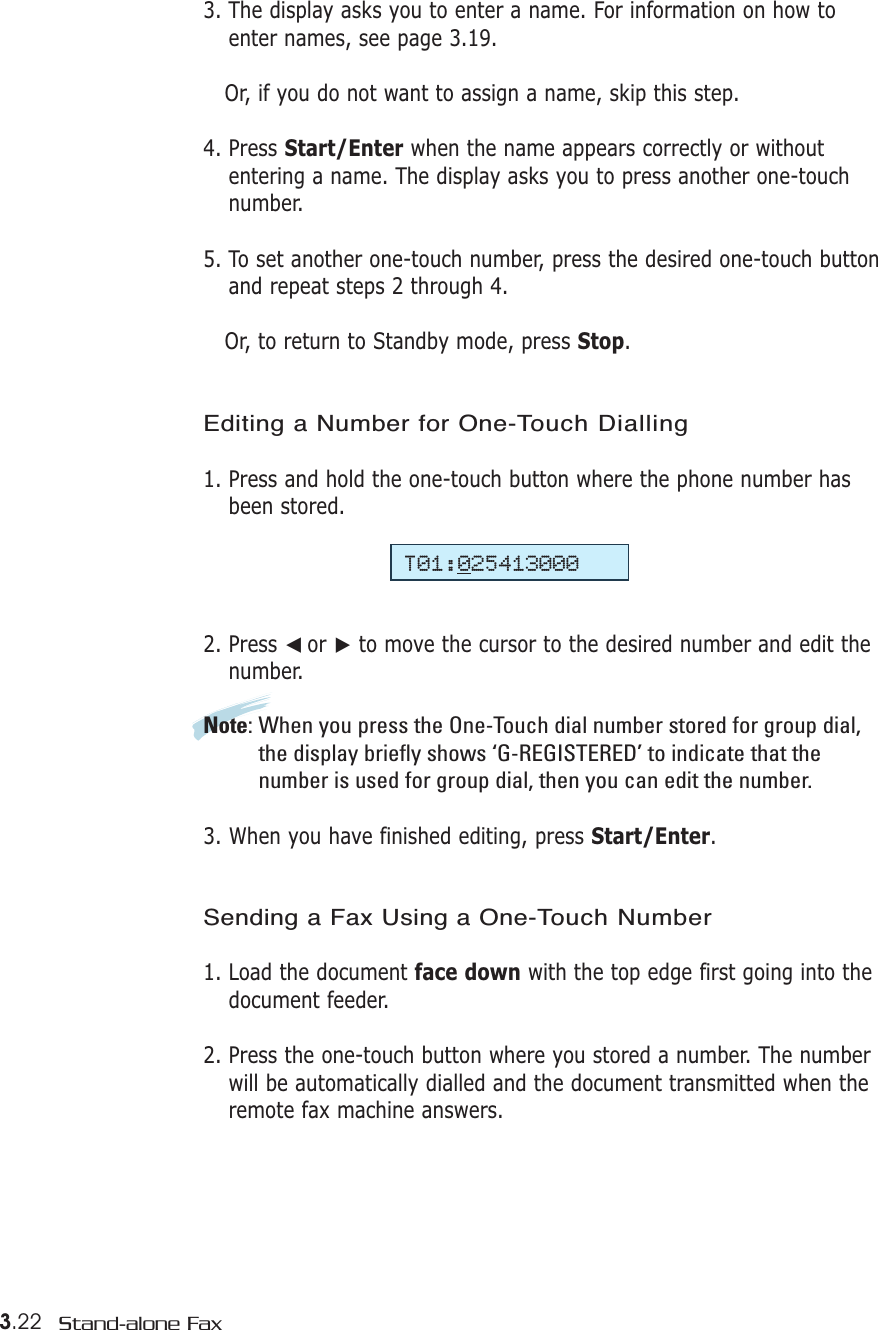
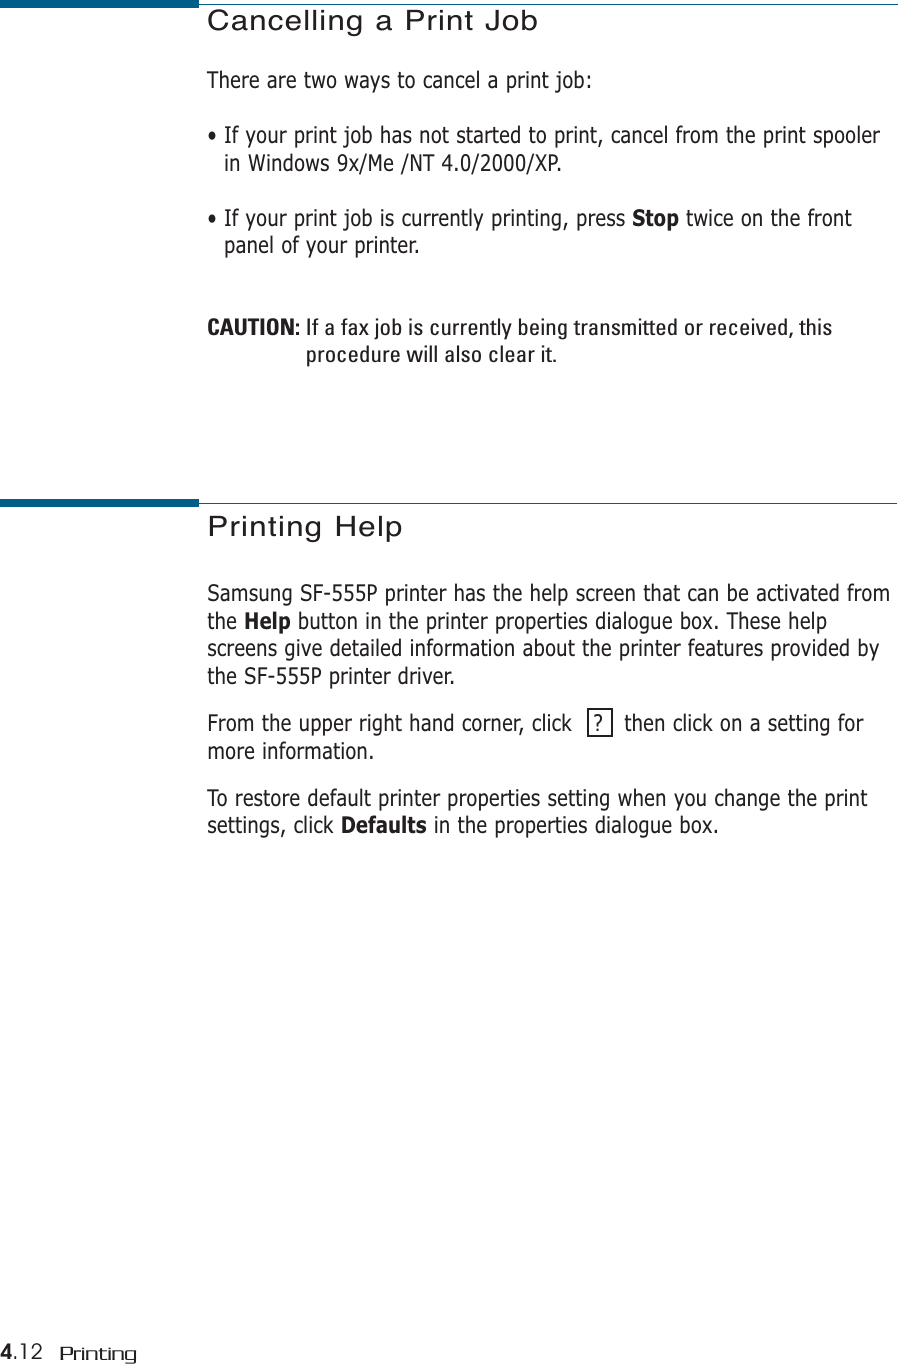
![3.23Stand-alone FaxSpeed DiallingYou can store up to 80 numbers in 2-digit Speed Dial locations (01-80). Storing a Number for Speed Dialling1. Press and hold Speed(#) for about 2 seconds. 2. Enter a 2-digit location number (01 through 80) where you want tostore a number, then press Start/Enter.If a number has already been stored in a location, the display showsthe number. To edit the number, see the next page.3. Enter the number you want to store, then press Start/Enter.4. To assign a name to the number, enter the desired name. Forinformation on how to enter names, see page 3.19.If you do not want to assign a name, skip this step. where xx represents thespeed location you haveselected at step 2.LOC. [01-80]❿##Sxx:05512637522Using Address LabelA One-touch label sheet is included with your machine. As you storenumbers in one-touch dial buttons, make a note of the numbers on thelabel to remind you which number is stored in each position.1. Remove the clear cover andlabel. 2. Write information on thelabel and replace the labeland cover. You may want to use pencilin case you wish to changethese numbers later.](https://usermanual.wiki/Samsung-Electronics-Co/SF555P.Users-Manual-2/User-Guide-283615-Page-26.png)
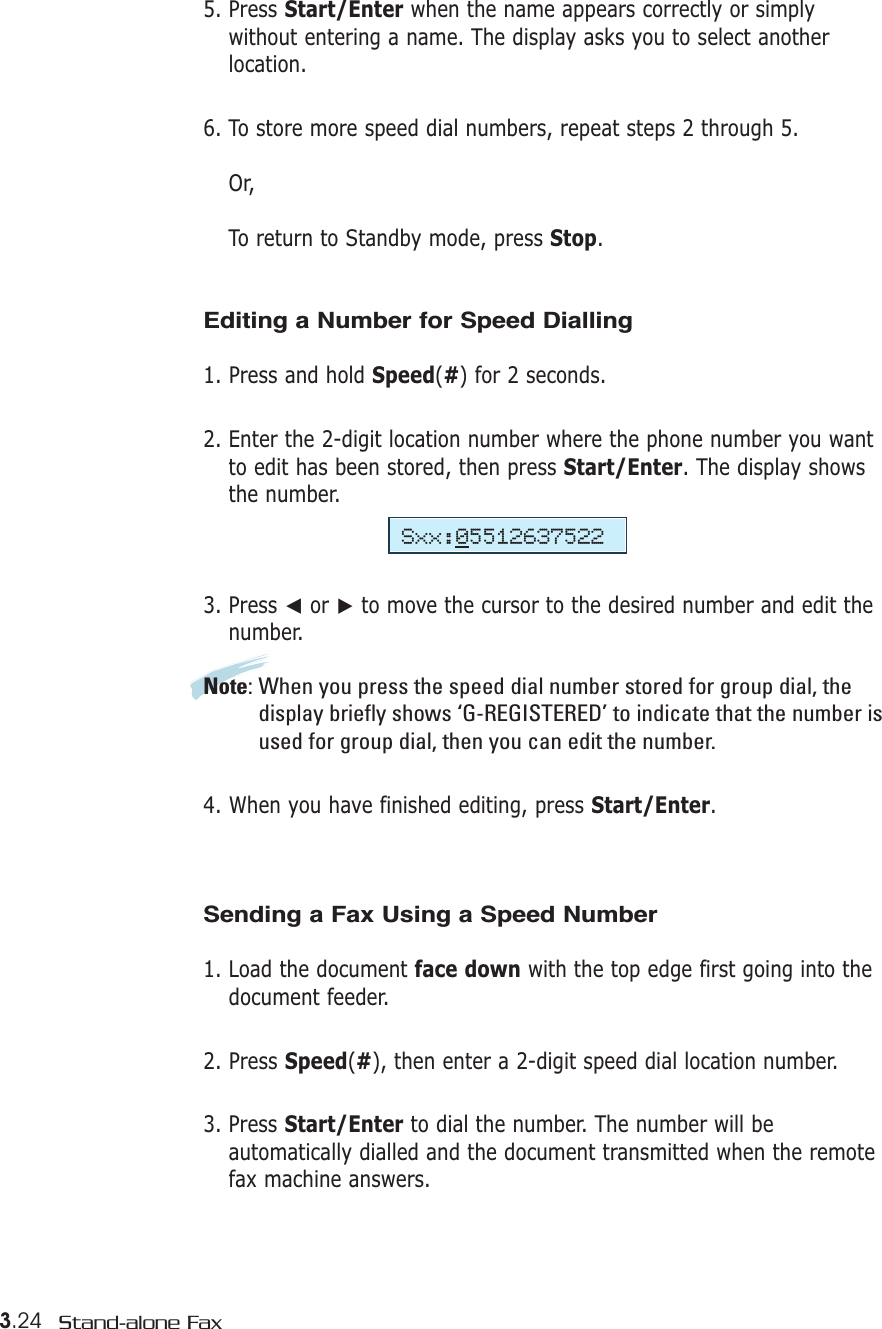
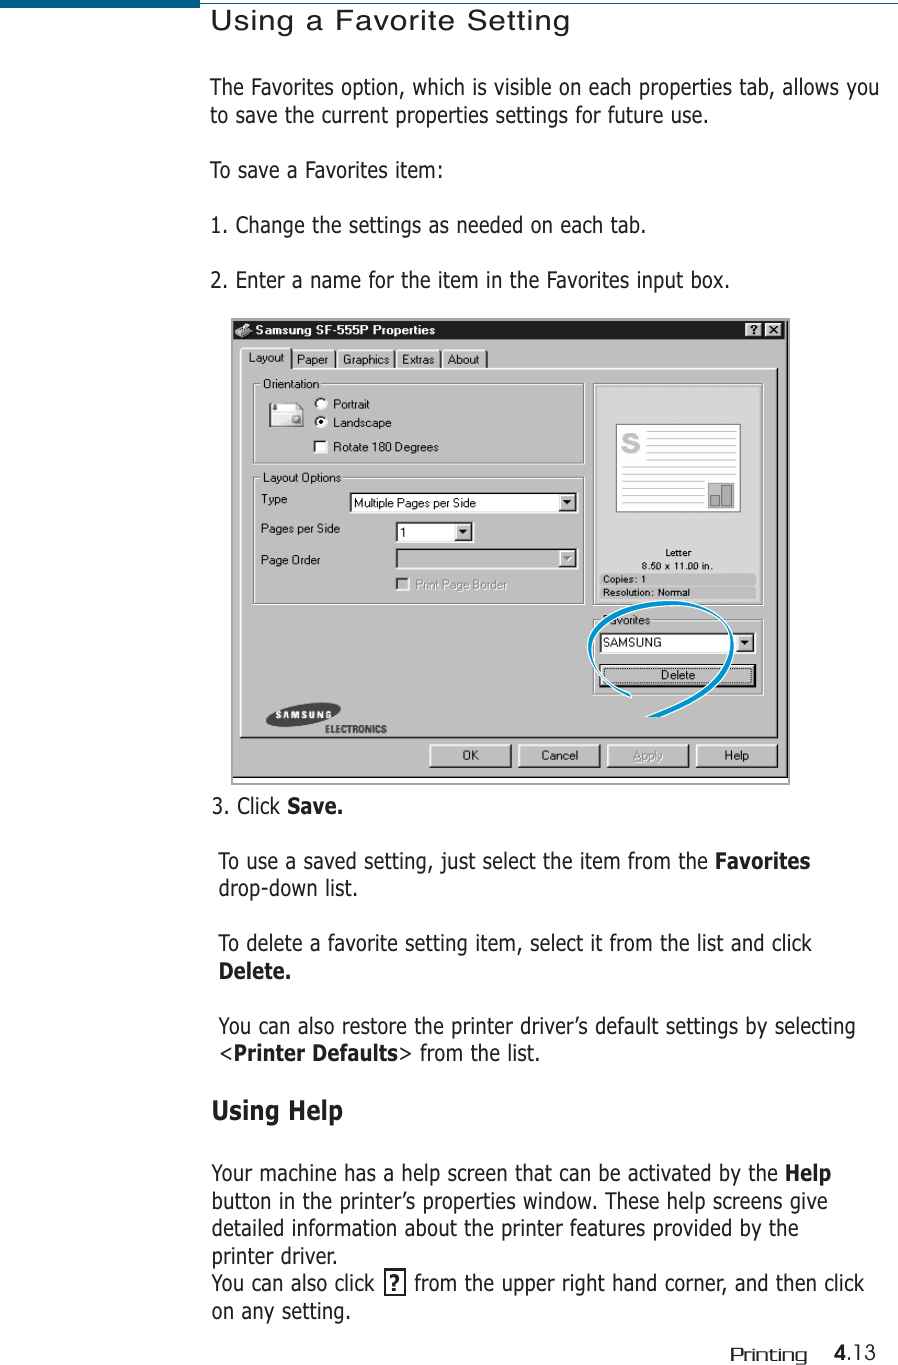
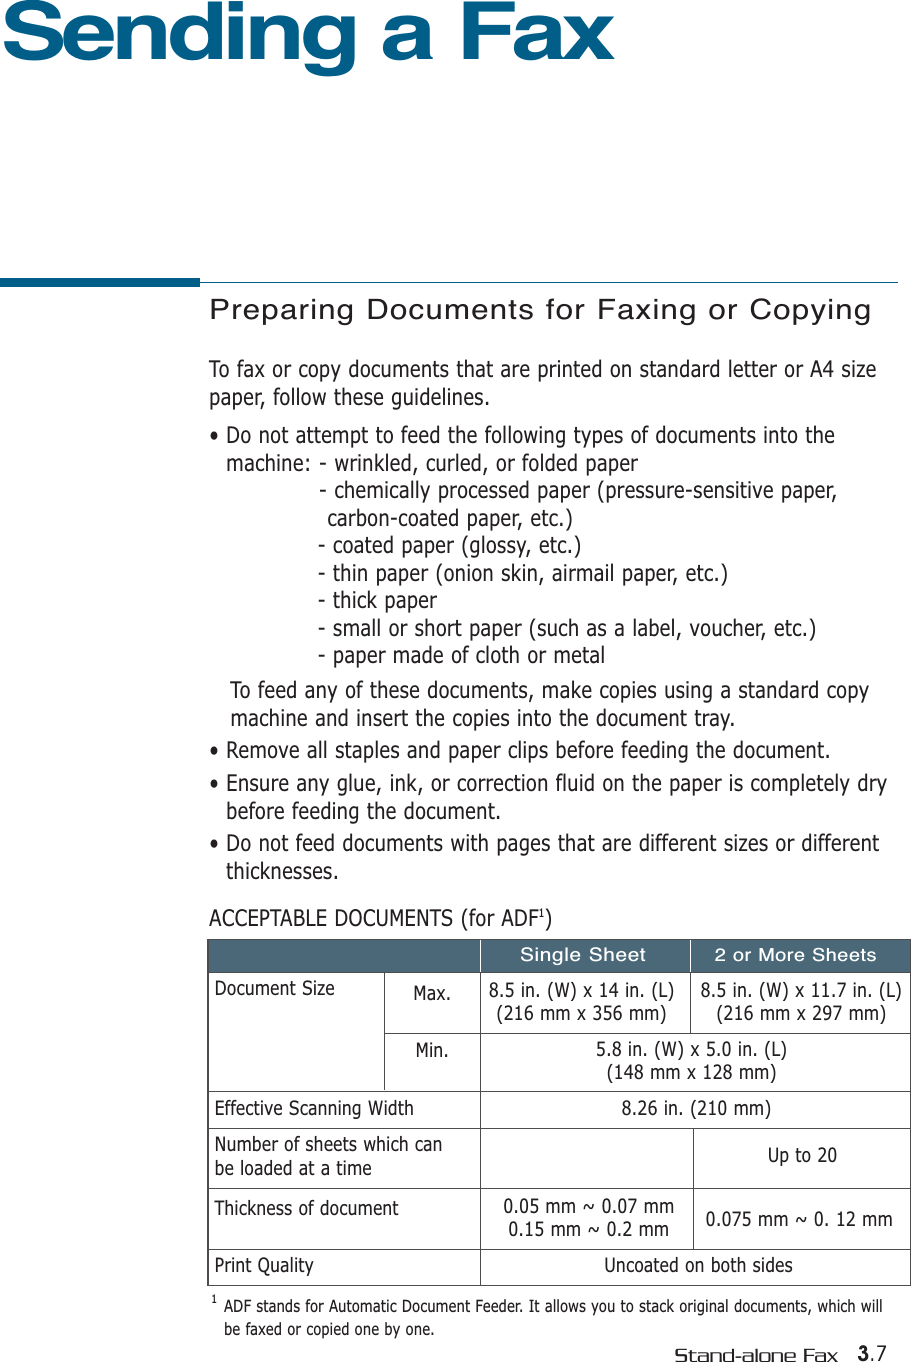
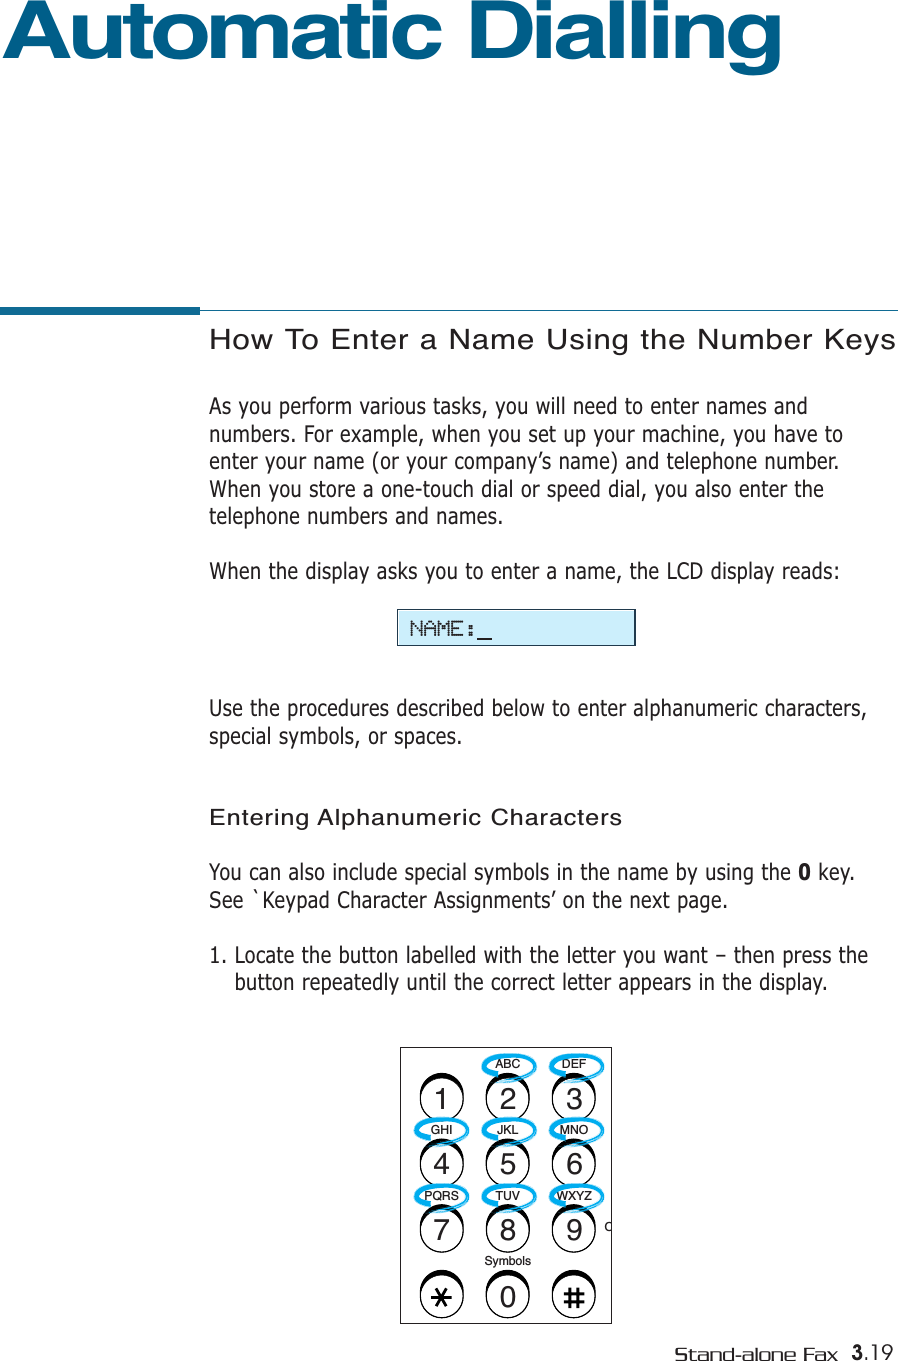
![3.32 Stand-alone FaxPollingWhat is Polling?Polling is used when one fax machine requests another to send adocument. This is useful when the person with the original document isnot in the office. The person to receive the document calls the machineholding the original and requests that the document be sent. In otherwords, it “polls” the machine holding the original.Polling TransmissionYou can program the fax machine to send documents in your absencewhen polled by a remote fax machine. A polling code is used to preventunauthorized polling of your machine. When you secure your machine inthis manner, only those who know the poll code can poll your machine.1. Load your document face down with the top edge first going into thedocument feeder, and adjust the resolution and contrast. For details,see page 3.8.2. Press Advanced FAX on the front panel. The display shows the firstmenu; BROADCASTING.3. Press ➛or ❿until ‘SEND POLLING’ appears, and press Start/Enterto access the Send Polling menu.4. The display asks you to enter a 4-digit poll code. The poll code ispreset to 0000 at the factory which represents no poll code.POLLCODE [0000]BULLETIN❿YES❿NO5. To use a poll code, enter the 4-digit code (except for 0000), thenpress Start/Enter. Or,If you do not want to secure the transmission with a poll code, pressStart/Enter when the display shows 0000 for the poll code, or press0000.6. The display asks you to store the document in the machine’s bulletinmemory.](https://usermanual.wiki/Samsung-Electronics-Co/SF555P.Users-Manual-2/User-Guide-283615-Page-35.png)
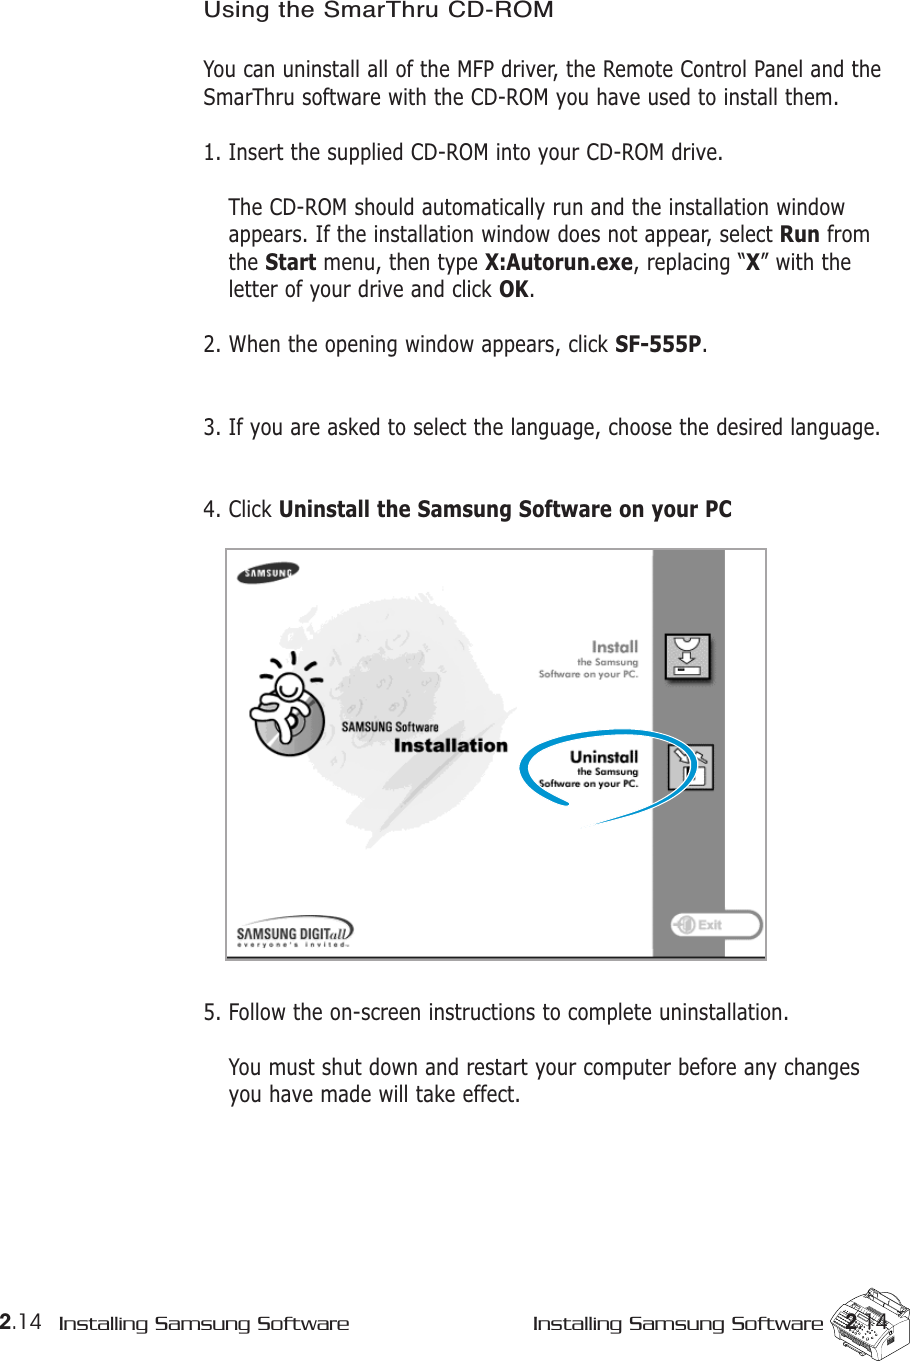
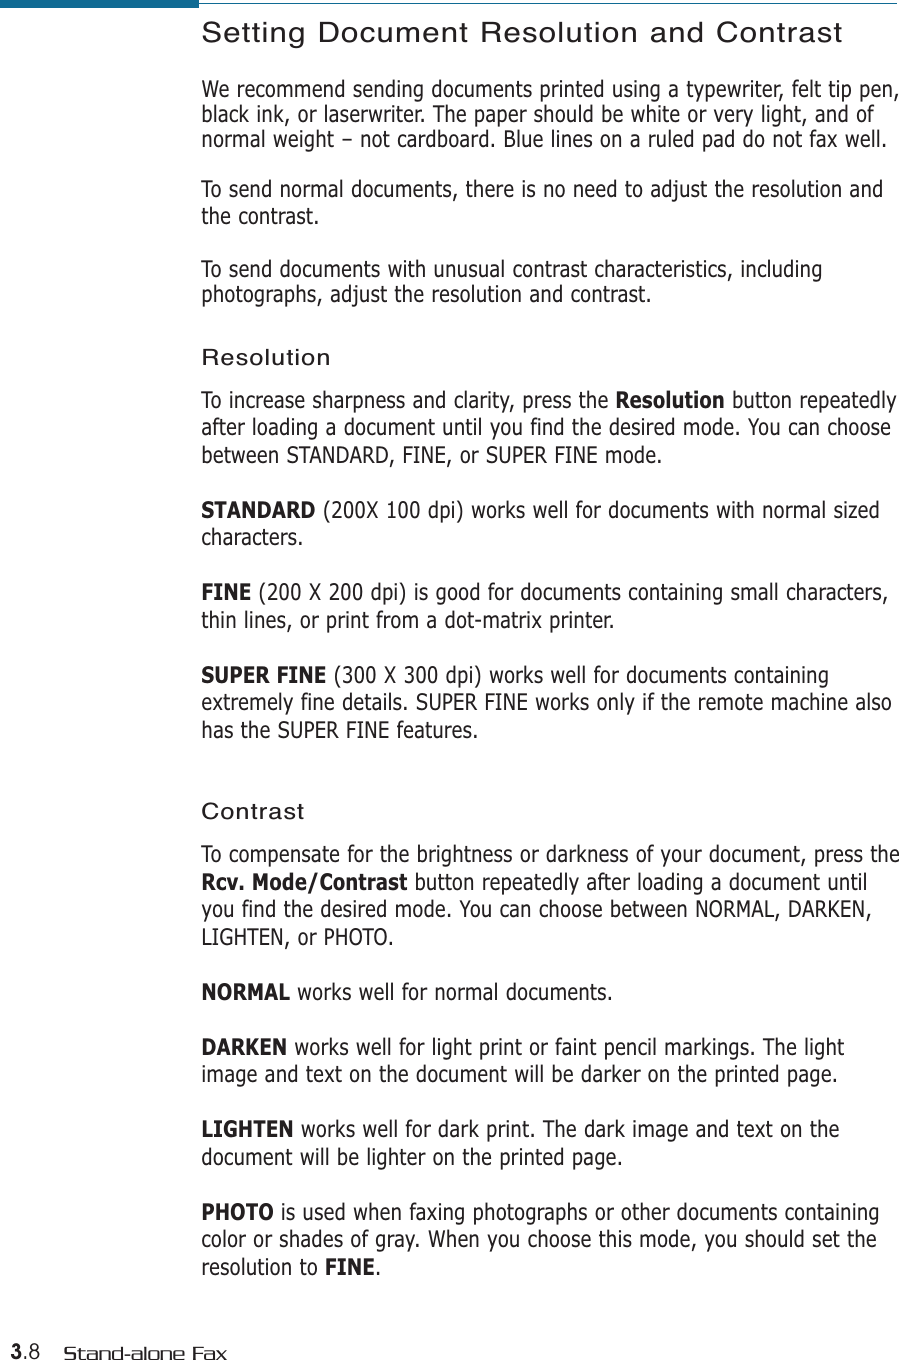
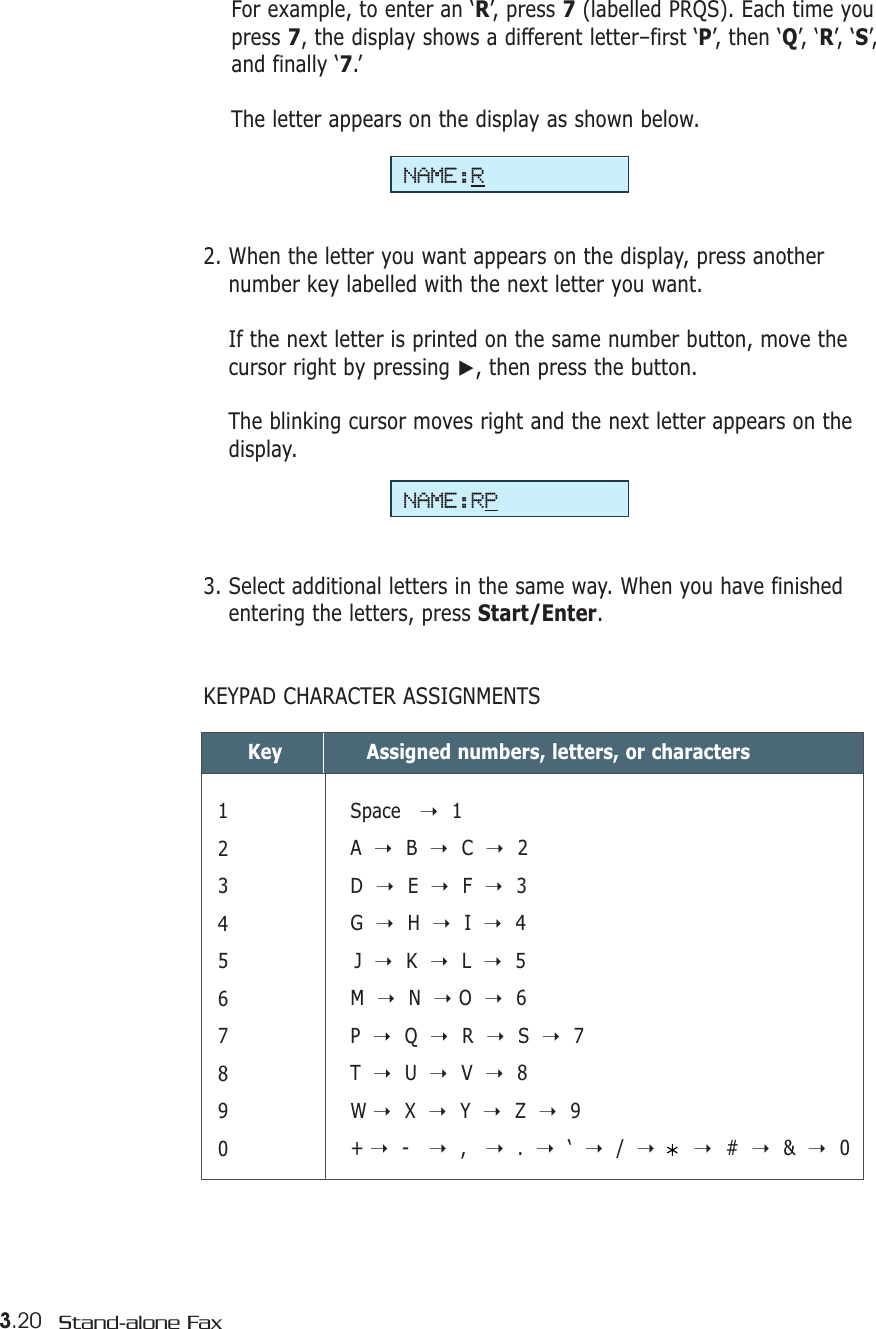
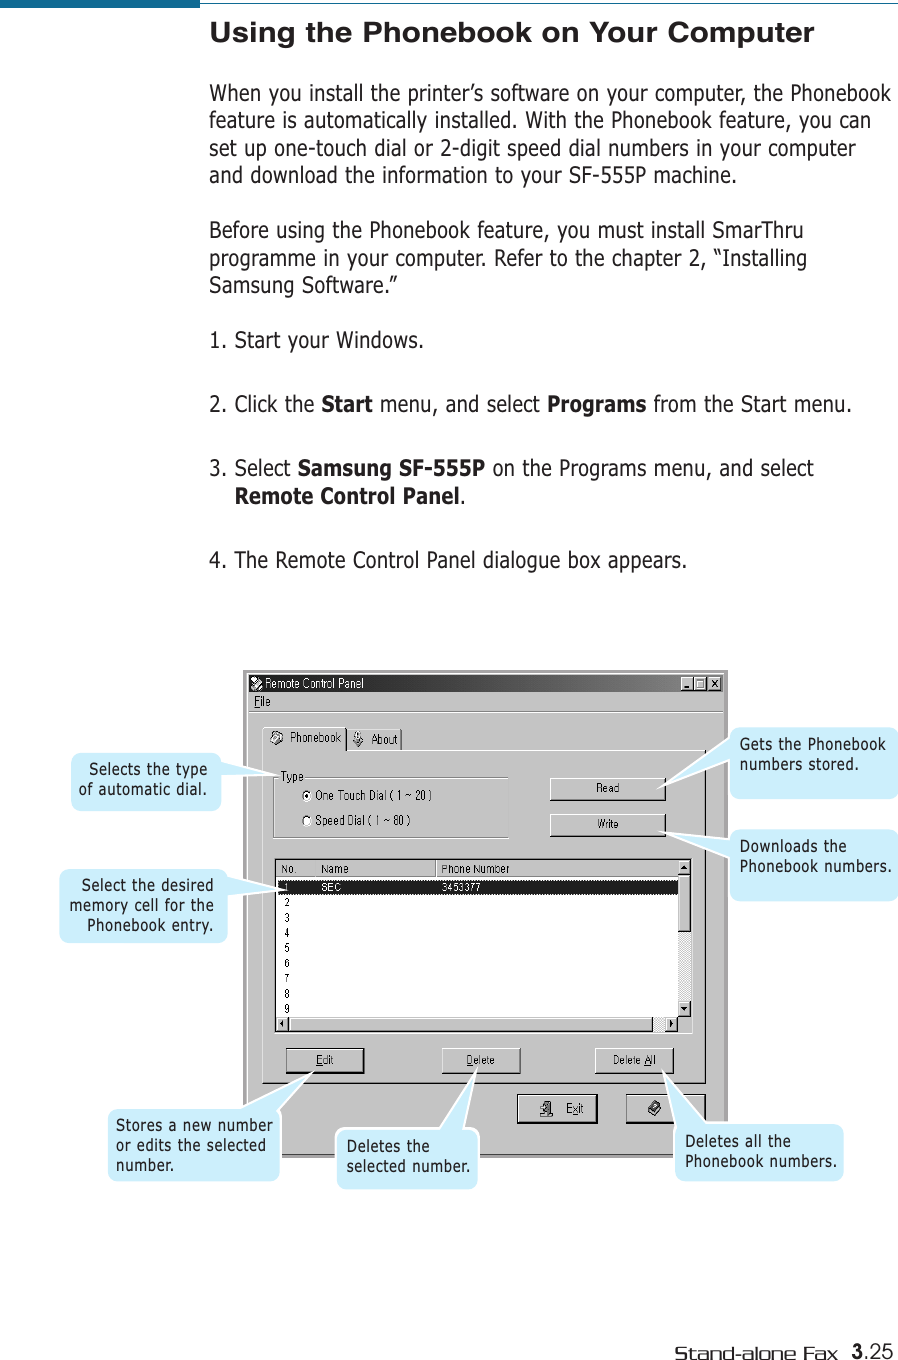
![3.33Stand-alone Fax7. Press ➛or ❿to highlight YES or NO, then press Start/Enter.If you want to store the document in the bulletin board memory,select YES. More than one remote station can poll that document fromyour machine. If not, the document will be automatically erased after being polled bya remote machine.8. The machine stores the document in memory. The display counts thenumber of pages being stored in memory and the memory capacityremaining.The machine returns to Standby mode and the display shows areminder that a Polling Transmission is set. The machine automatically switches to FAX mode (automatic receiving) when set to be polled.Polling ReceptionYou can set your machine to automatically receive documents from an unattended remote fax machines. This feature permits unattended polling in the evening hours when telephone rates are lower.Note: The remote machine must be ready for polling.1. Press OHD/V.Req or pick up the handset and when you hear a dialtone, call the remote fax machine. 2. When you hear the fax tone, press Advanced FAX. Then, ‘RECEIVEPOLLING?’ appears.3. Press Start/Enter. The display asks you for a 4-digit code. Poll code‘0000’ represents no code.4. If the remote machine is secured with a poll code, you must enter the correct code, and press Start/Enter. Or,If the remote machine is not secured with a poll code, pressStart/Enter to accept [0000] which represents no code.5. The machine begins to receive polling.Notes: • To cancel the operation, press Stop at any time.• Not all fax machines have polling capability, and polling incompatibility can occur between different manufacturers.](https://usermanual.wiki/Samsung-Electronics-Co/SF555P.Users-Manual-2/User-Guide-283615-Page-36.png)