Samsung Electronics Co SIT200EMRB OFFICESERV SOHO User Manual USERS MANUAL 2 OF 2
Samsung Electronics Co Ltd OFFICESERV SOHO USERS MANUAL 2 OF 2
Contents
- 1. USERS MANUAL 1 OF 2
- 2. USERS MANUAL 2 OF 2
USERS MANUAL 2 OF 2
76 © SAMSUNG Electronics Co., Ltd.
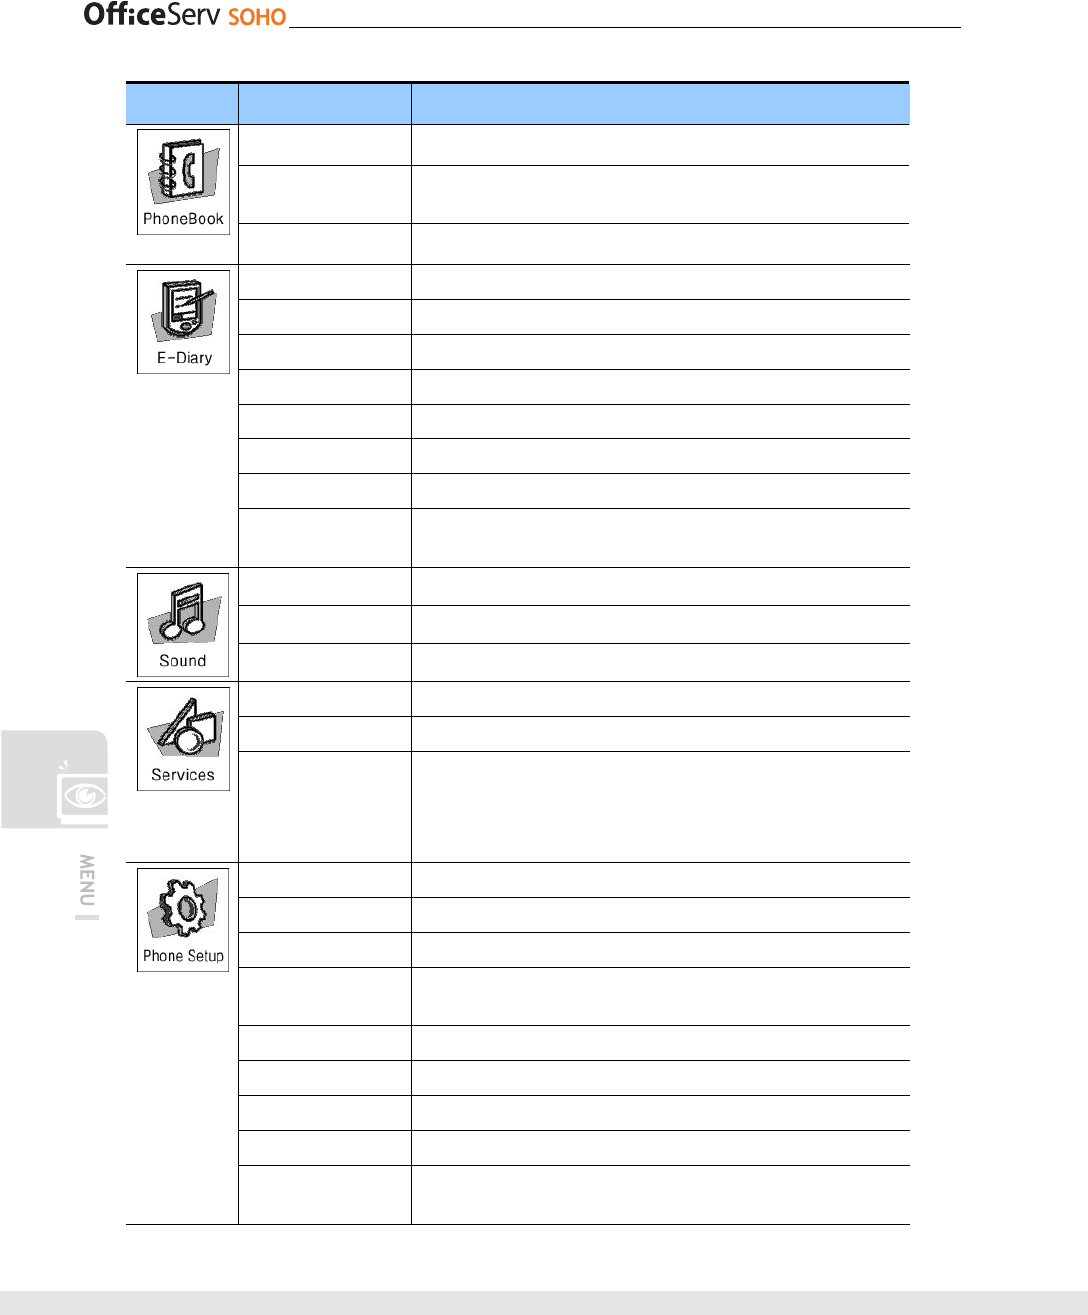
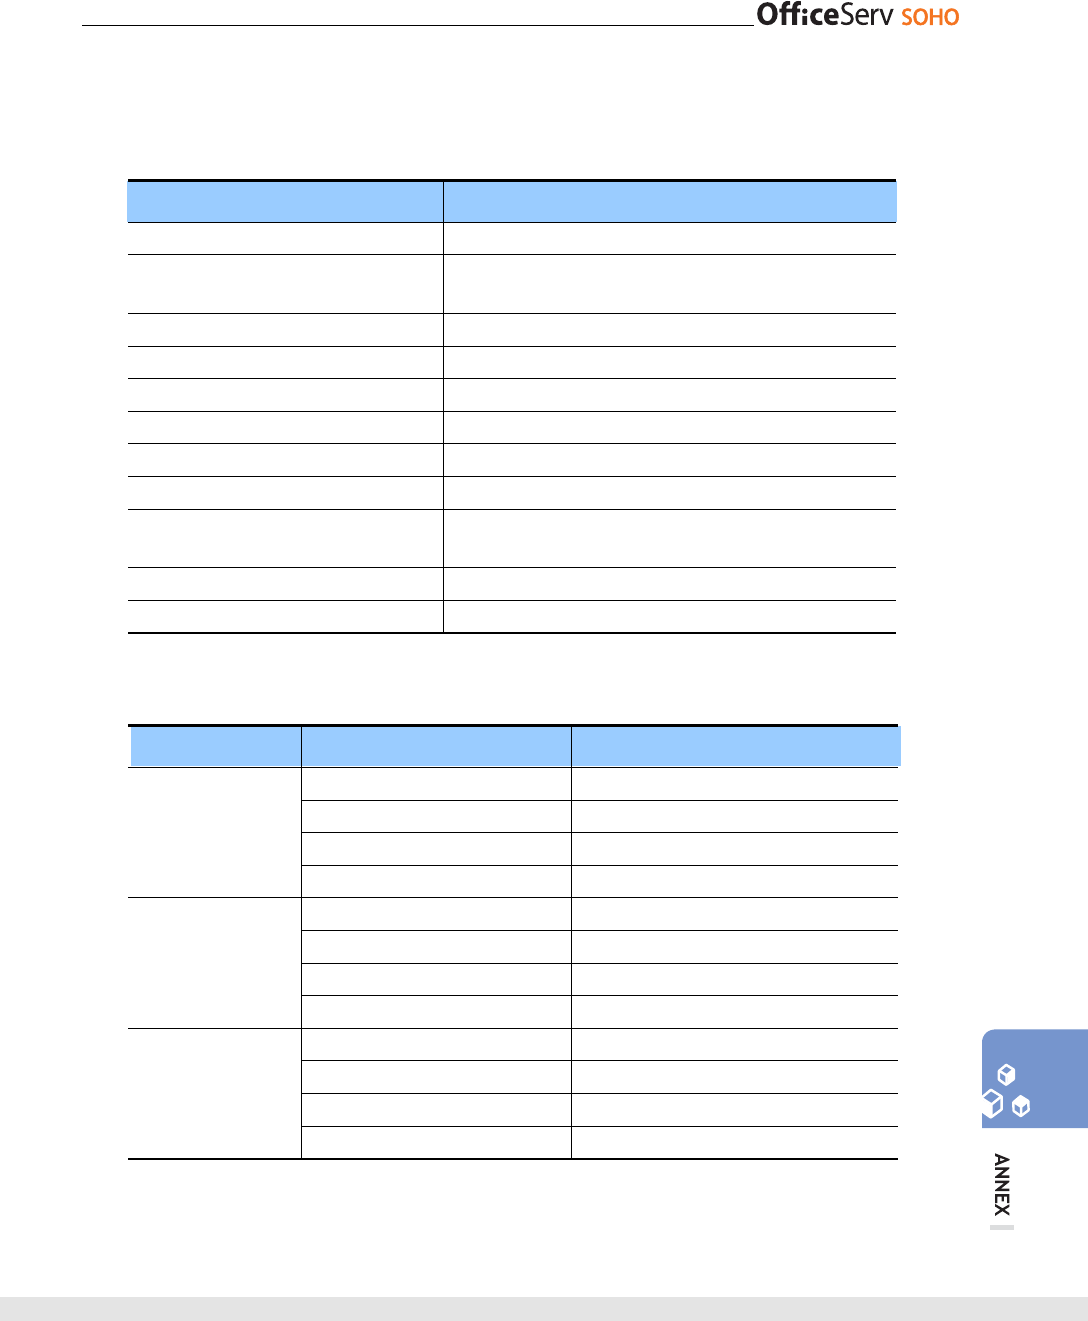
Menu Item Description
Edit Group Add/modify/delete a group
Register Memory
Button
Allows associating the most frequently used numbers with the
memory(M1- M4) buttons.
Delete All Delete all items in the phonebook
Wakeup Call Set up wake up call alarm service
Alarm Configuration of the Alarm service
Scheduler Simple Scheduler
Memo Memo for notes
Calculator Calculator
World Time Display the time in the various parts of the world
D-Day Allow storing anniversary dates
Unit Converter Conversion between the various units of measurement(weight,
length, etc)
Ring Tone Set the tones of the various ring types
Key Tone Set the key tones
Volume Set the volume of the various ring tones
Missed calls Lists the calls that had no answer
Conference conference services
Services Activate the services provided by Service Provider(info 412, Wake
Up Service, Chiarotel, Urgent Calls)
User can make his/her own service phone number list.
For example, customer service center, technical support center.
My Phone Customization of the settings of the Base Station
Mobile Setup Customization of the Wireless Terminals settings
a/b Port Setup Customization of the a/b port(SLT) settings
Network Setup Configuration of the IP network system parameters(WAN, LAN and
WLAN)
Global Setup Configuration of the settings of the System
EasyInstall Guided procedure for the configuration of the basic system settings
Auto Attendant Configuration of the automatic answering service
Least Cost Routing Configure Least Cost Routing setup
Symbol Description Describe the meaning of the icons on the display of the Base
Station.
© SAMSUNG Electronics Co., Ltd. 77
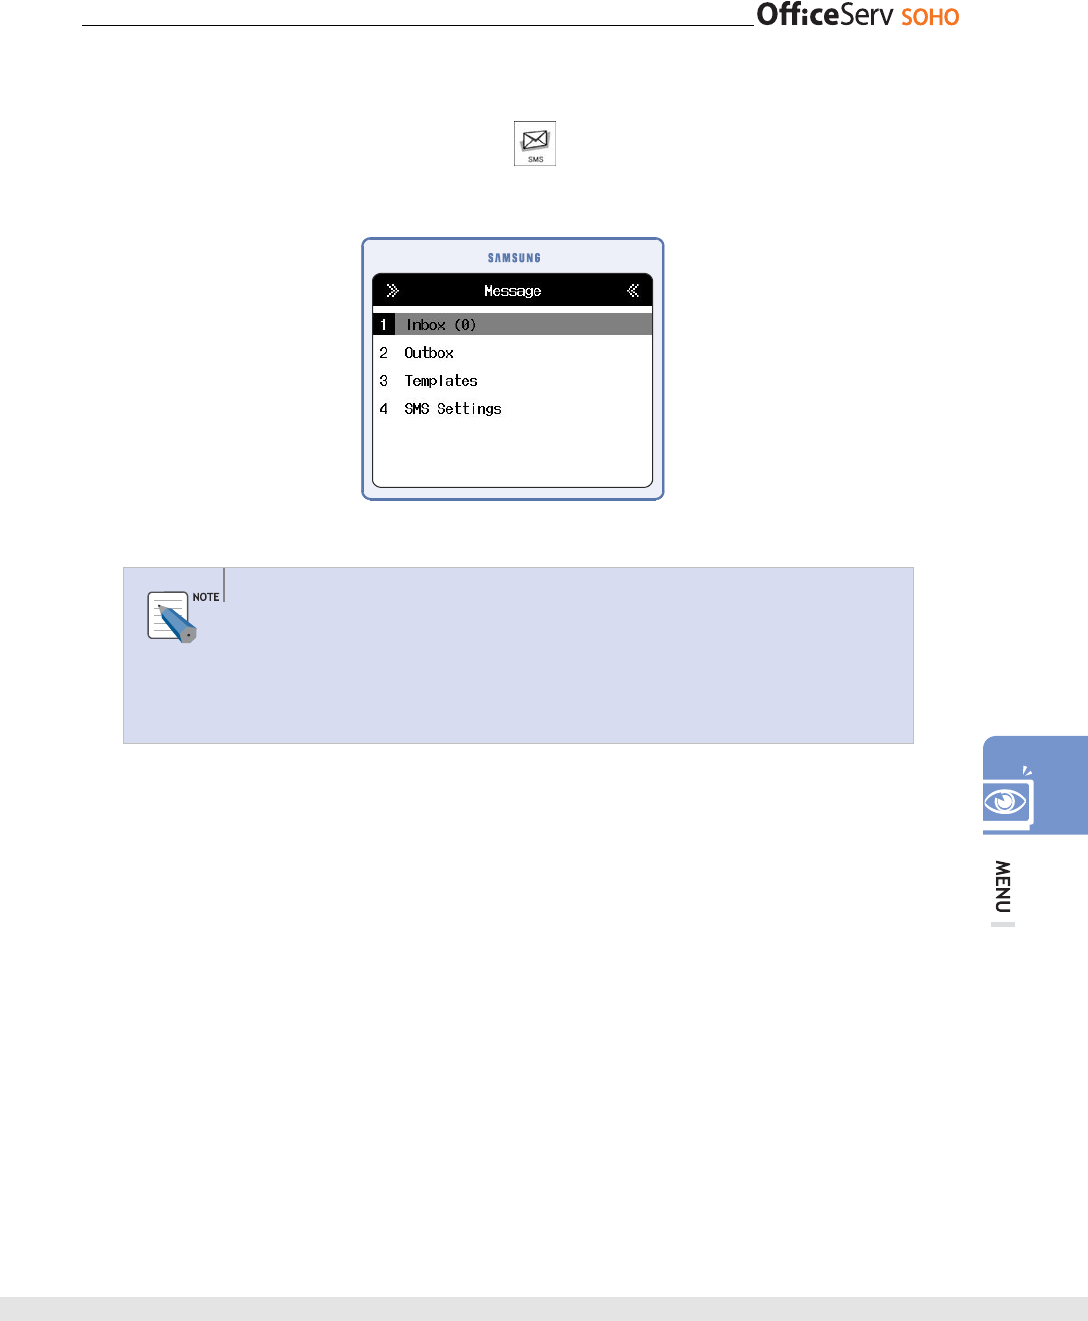
SMS
Press [Menu] and select the Message icon( ) by using the direction button.
Press [OK] button to display the Message menu screen below:
Message
Message can be sent or received through a cellular phone or equipment that can
exchange text messages. Message may not be exchanged or message may be
sent at very low speed due to the service provider. Or, message service contents
may be changed due to the service provider.
78 © SAMSUNG Electronics Co., Ltd.
Inbox
This function allows you to check an incoming message or to set message reception
status. Up to 60 incoming messages can be saved.
[Menu]
[1. Inbox]
When new messages arrive, the number of the messages is
displayed on the LCD.
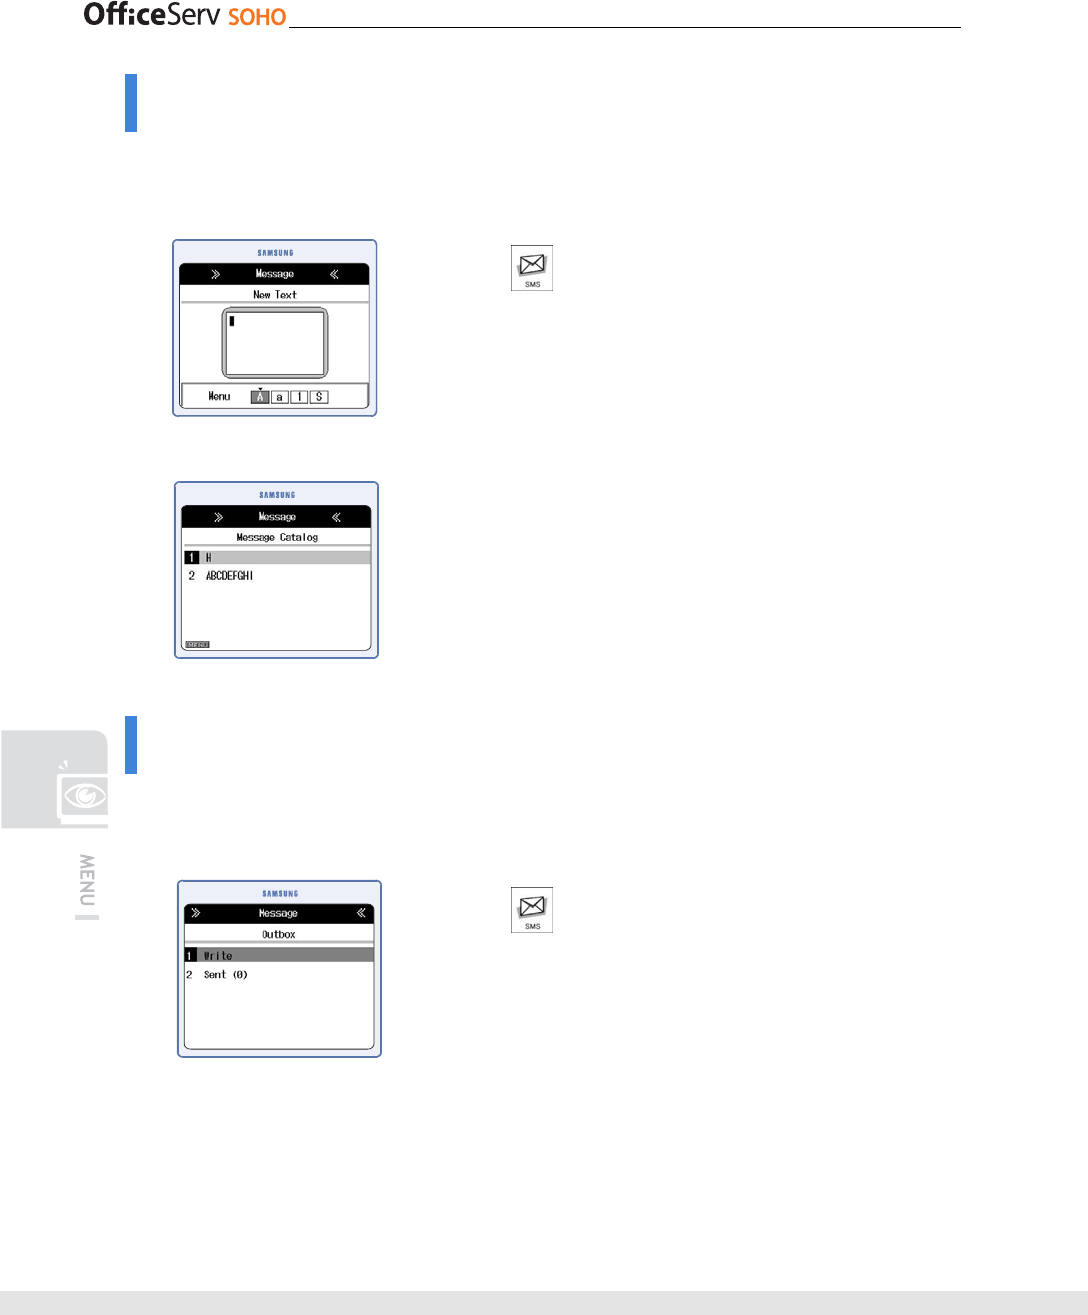
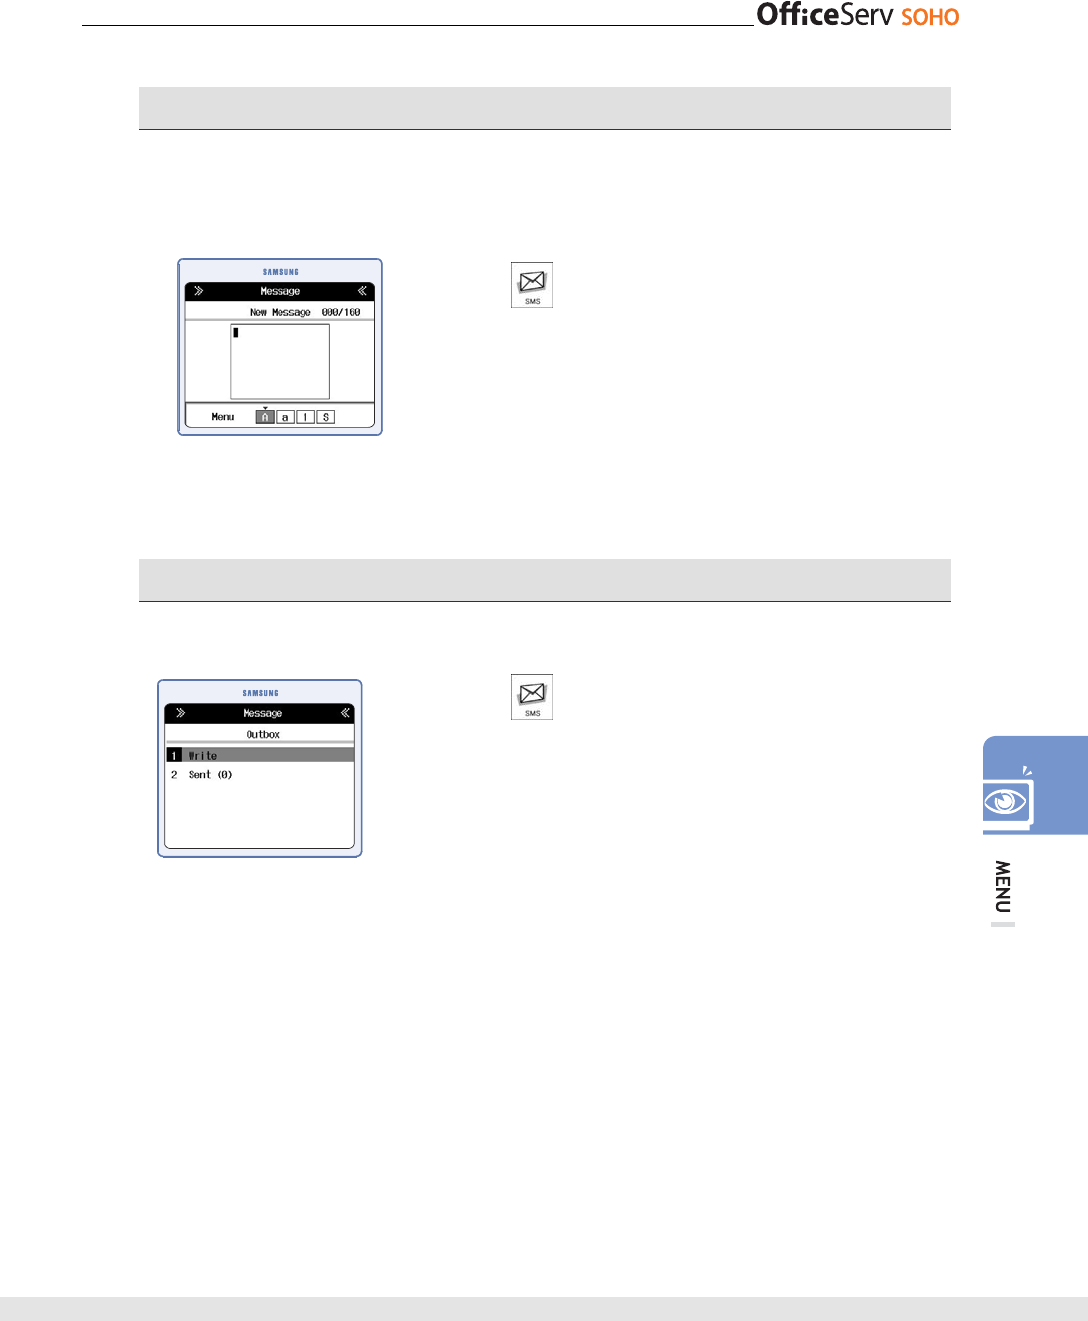
Outbox
This function allows you to send a text message by using the writing or outgoing
message box function. Up to 30 outgoing messages can be saved.
[Menu]
[2. Outbox]
© SAMSUNG Electronics Co., Ltd. 79
Write
This function allows you to write the new message. And Enter the destination Number
to send the message
[Menu]
[2. Outbox] [1. Write]
[1. New Message] [OK]
Enter the Destination Number [OK]
(Press [Menu] button to find the deston)
Sent
This function shows you the list of message sent.
[Menu]
[2. Outbox] [2. Sent]
80 © SAMSUNG Electronics Co., Ltd.
Templates
This function allows you to write, edit, send, and delete a message saved in the message
box, and to delete all messages saved in the message box.
[Menu]
[3. Templates]
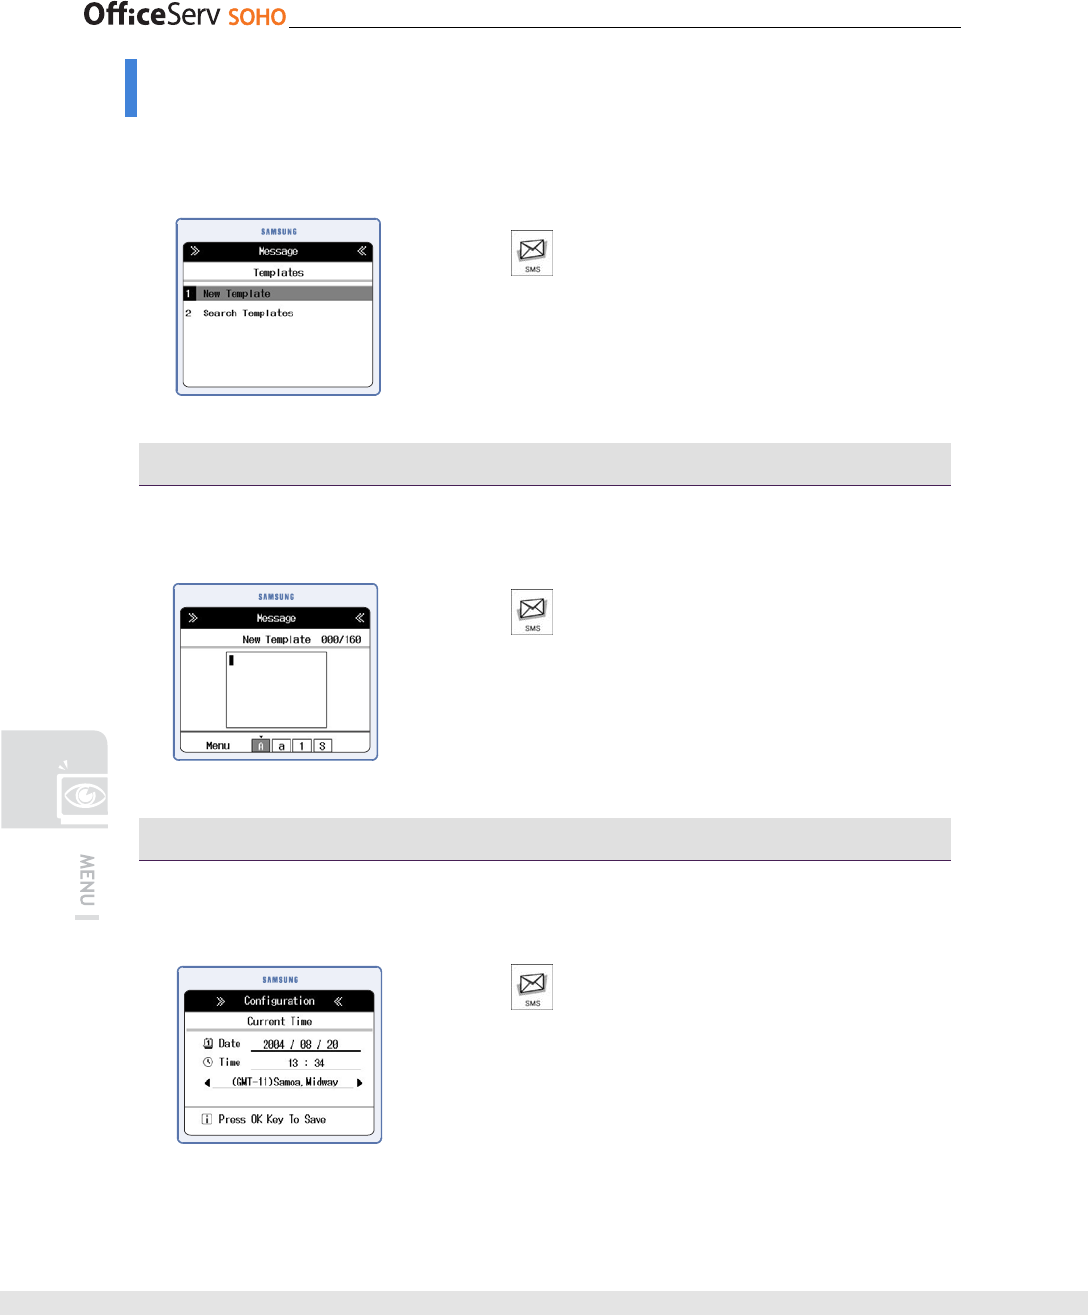
New Template
This function allows you to register a new message to the Template list.
[Menu]
[3.Templates]
[1. New Template] Write a message [OK]
• Up to 10 messages can be saved in the message box.
Search Templates
This function allows you to check the template saved in the Templates. When a call is
connected while writing a new template, the template is saved.
[Menu]
[3. Templates]
[2. Search Template] Select a Template [OK]
• Press the [Menu] button to add, edit, send or delete a
message, or to delete all messages.
© SAMSUNG Electronics Co., Ltd. 81
SMS Settings
This function allows you to set a call back number or set the C.O. line to be used when a
message is sent/received.
[Menu]
[4. SMS Settings]
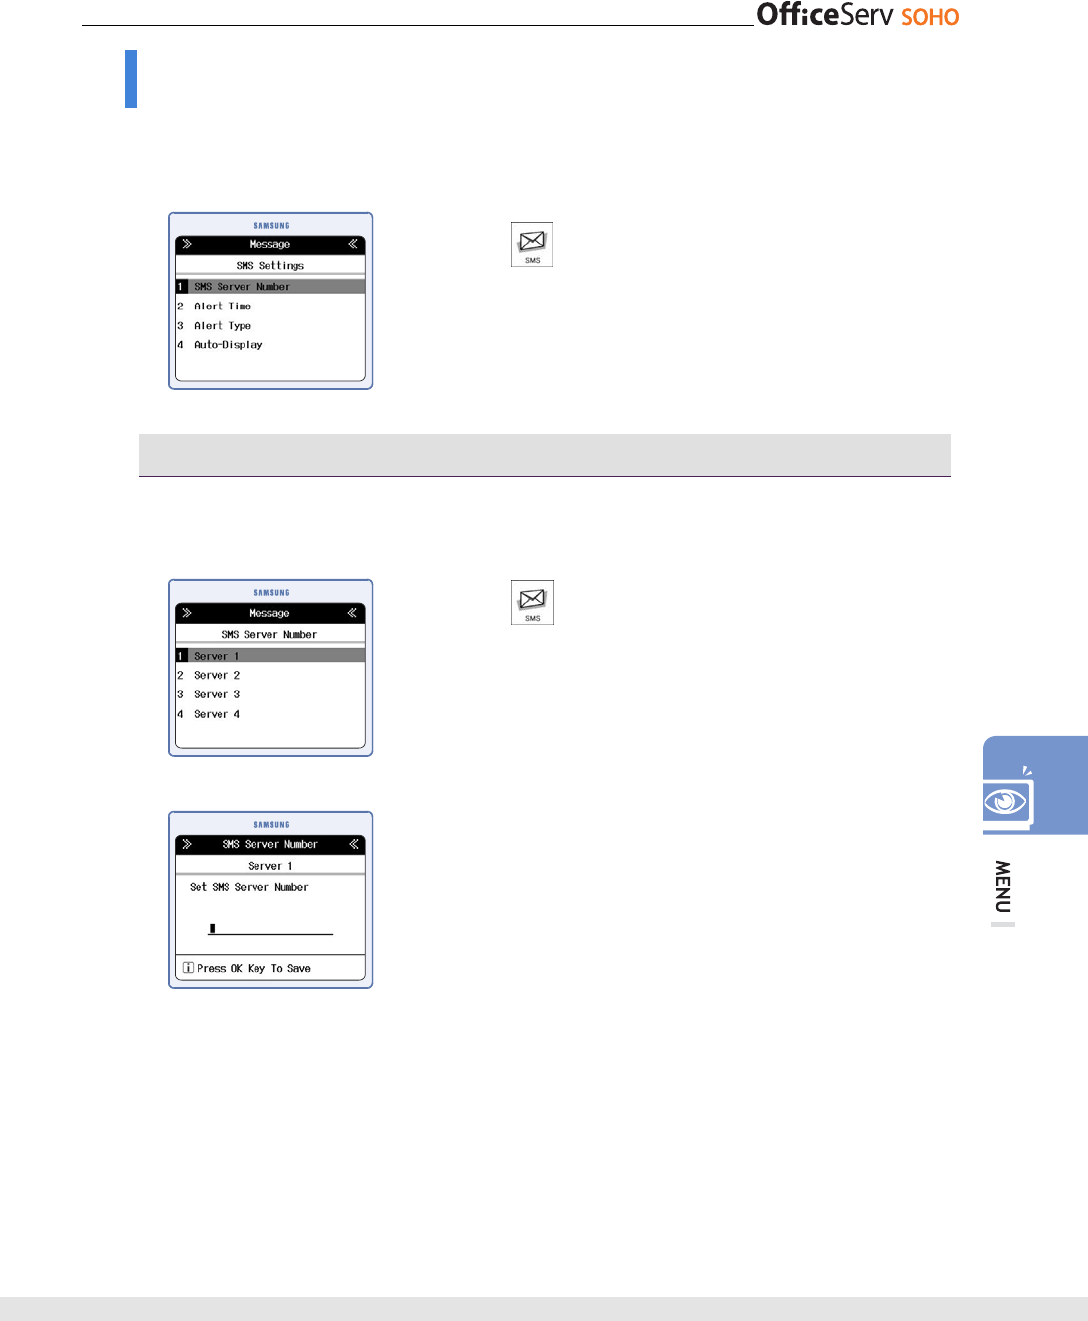
SMS Server Number
This function allows you to set the callback number when a message is sent.
[Menu]
[4. SMS Settings] [1. SMS Server
Number] Select the Sever to save the Number Enter
the SMS Number [OK] button
82 © SAMSUNG Electronics Co., Ltd.
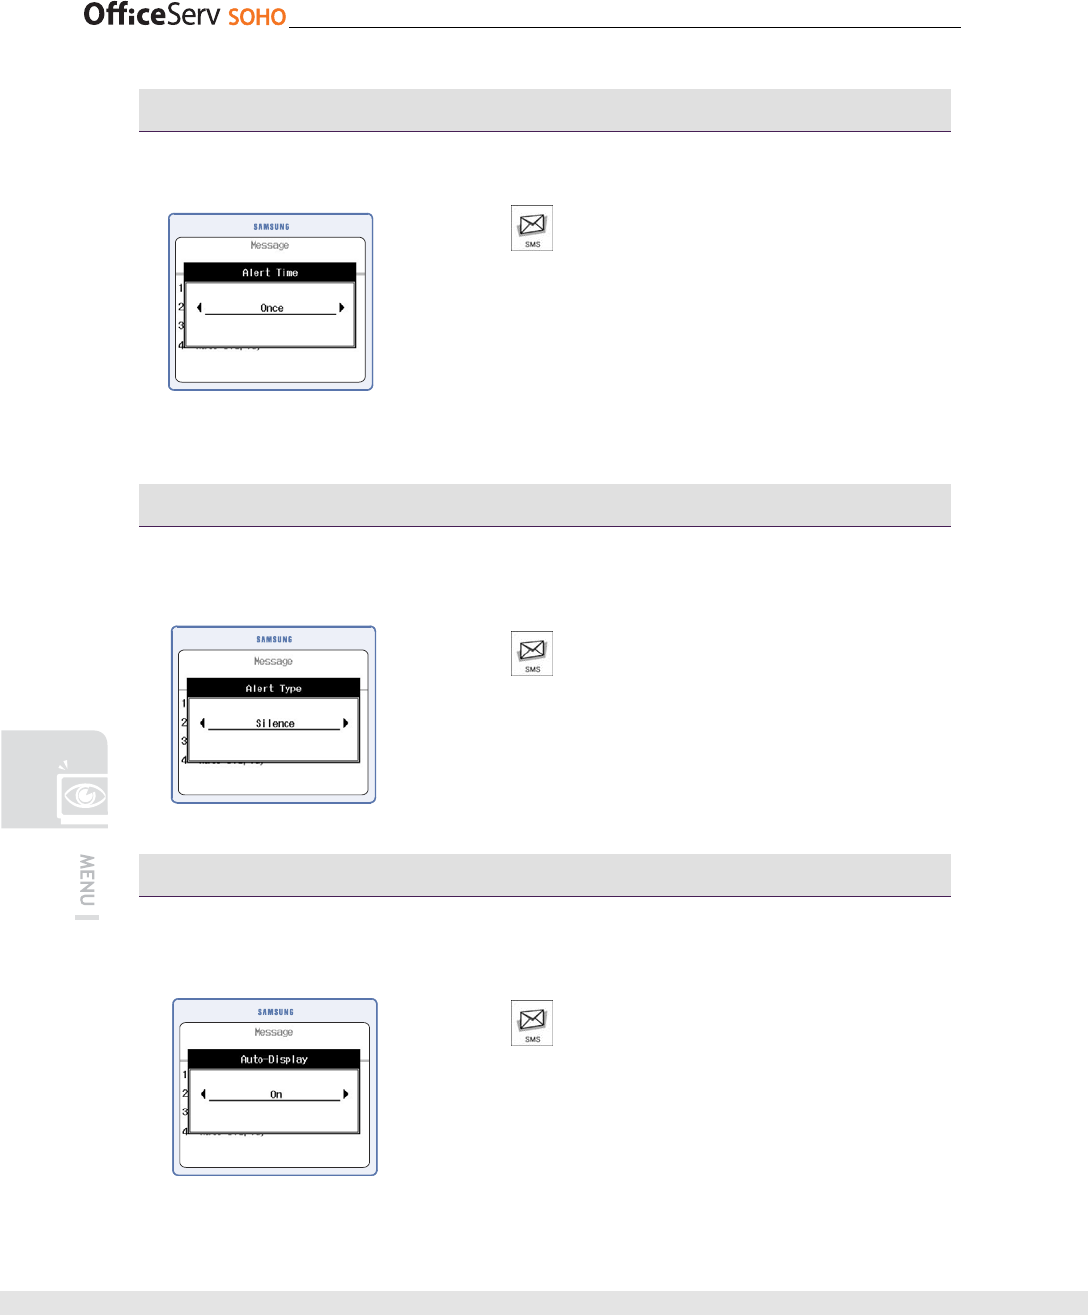
Alert Time
This function allows you to set alert time to notify a new message arrival.
[Menu]
[4. SMS Setting]
[2. Alert Time] Set alert time [OK]
• Once: Alarm rings once when a message arrives.
• Every 2 Min: Alarm rings every two minutes until a new
message is checked.
• No Tone: Alarm does not ring even if a new message
arrives.
Alert Type
This function allows you to set alert type that notifies to the user when a message
arrives.
[Menu]
[4. SMS Setting] [3. Alert Type]
Select alert type [OK]
• Silent/Tone1/Tone2/Tone3/Tone4: The selected alarm
rings at the setting alarm interval.
Auto-Display
This function allows you to set whether an incoming message is displayed on the
LCD when the message arrives.
[Menu]
[4. SMS Setting]
[4. Auto-Display]
Set whether a message is displayed [OK]
• On: Displays message content and the message notifying
a new message.
• OFF: Displays only the message notifying a new message
© SAMSUNG Electronics Co., Ltd. 83
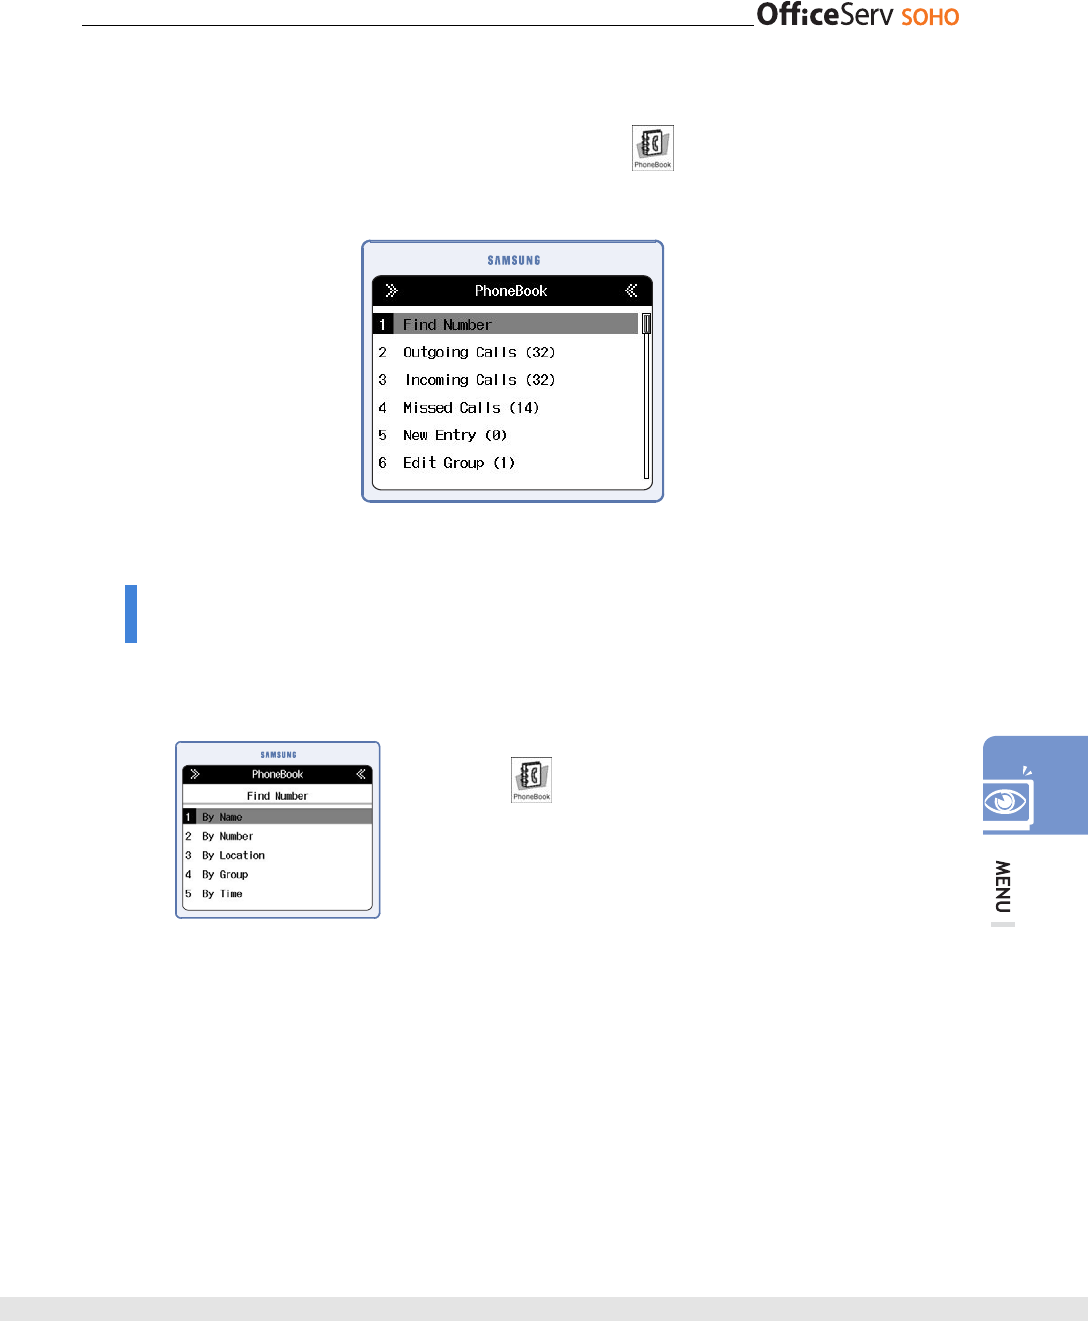
PhoneBook
Press the [Menu] button and select the PhoneBook icon( ) by using the direction
button. Press the [OK] button to display the PhoneBook screen.
Find Number
This function allows you to search a registered phone number by name, phone number,
speed dial number, group, or by time.
[Menu]
[1. Find Number]
84 © SAMSUNG Electronics Co., Ltd.
By Name
This function allows you to search a phone number from registered names.
[Menu] [1. Find Number] [1. By Name]
Enter a name [OK] Move the curser
to the target name Select a number of
home/mobile/work/other [Send]
By Number
This function allows you to search a phone number from registered phone numbers.
[Menu] [1. Find Number]
[2. By Number] Enter a phone number
[OK] Move to the target phone number
[Send]
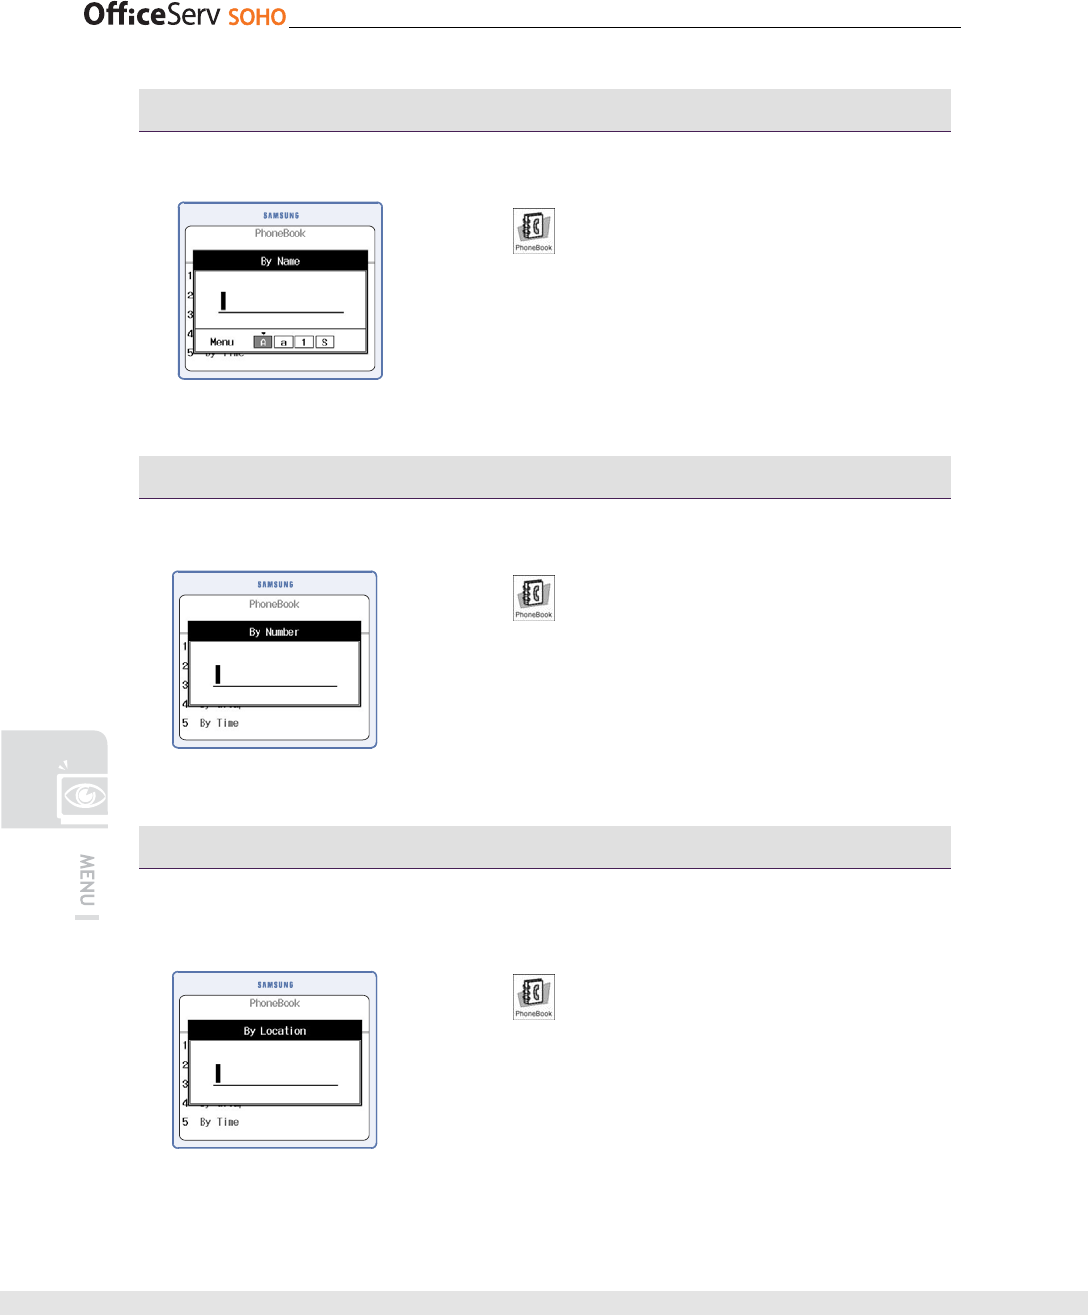
By Location
This function allows you to search a phone number from registered speed dial
numbers.
[Menu] [1. Find Number]
[3. By Location] Enter a speed dial number
[OK] Move to the target speed dial number
[Send]
© SAMSUNG Electronics Co., Ltd. 85
By Group
This function allows you to search a phone number from registered groups.
[Menu]
[1. Find Number]
[4. By Group] Select a group
[OK] Move to the target name
Select a number of home/mobile/work/other
[Send]
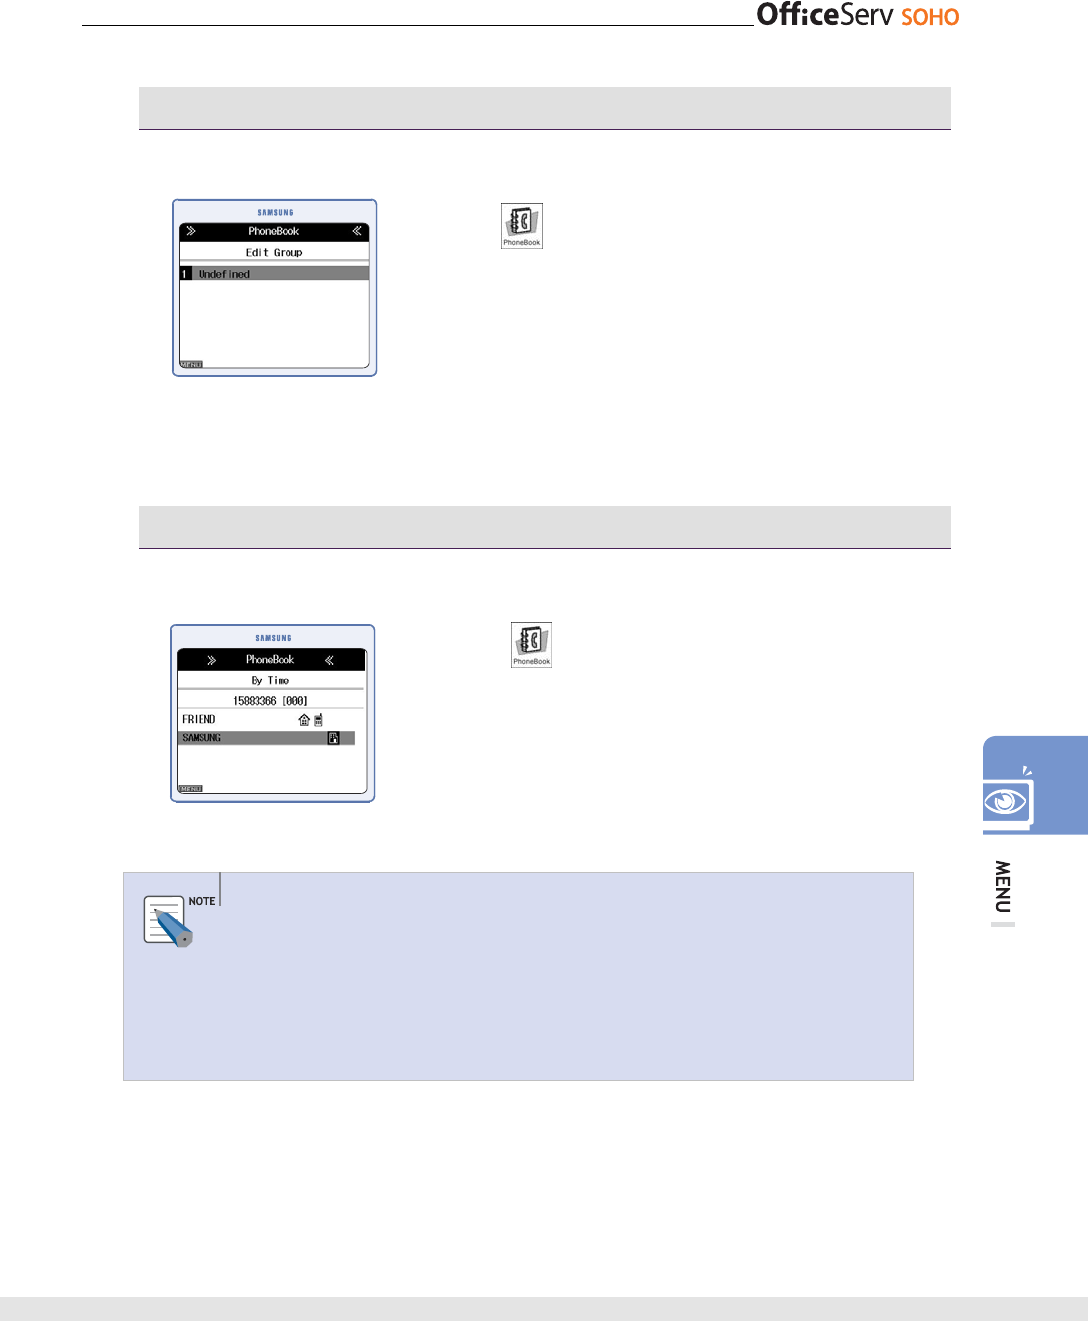
By Time
This function allows you to search a phone number from registered times.
[Menu]
[1. Find Number]
[5. By Time] Move to the target name
Select a number of home/mobile/work/other
[Send]
Searching Phone Number
- Press the [OK] button without entering a phone number or name in the input
screen. Then, all phone numbers are displayed.
- Press the [Menu] button when the phone number to be edited or deleted is
displayed. Then, a pop-up menu opens. Select a menu from the pop-up menu
to edit/delete/register the phone number.
86 © SAMSUNG Electronics Co., Ltd.
Outgoing Call
This function allows you to search recent outgoing calls or to make a call immediately.
Up to 30 recent outgoing calls can be saved.
[Menu]
[2. Outgoing Call]
Move to the target phone number [Send]
• If you press [OK] [Menu] on the list, you can
save/edit/delete that list.
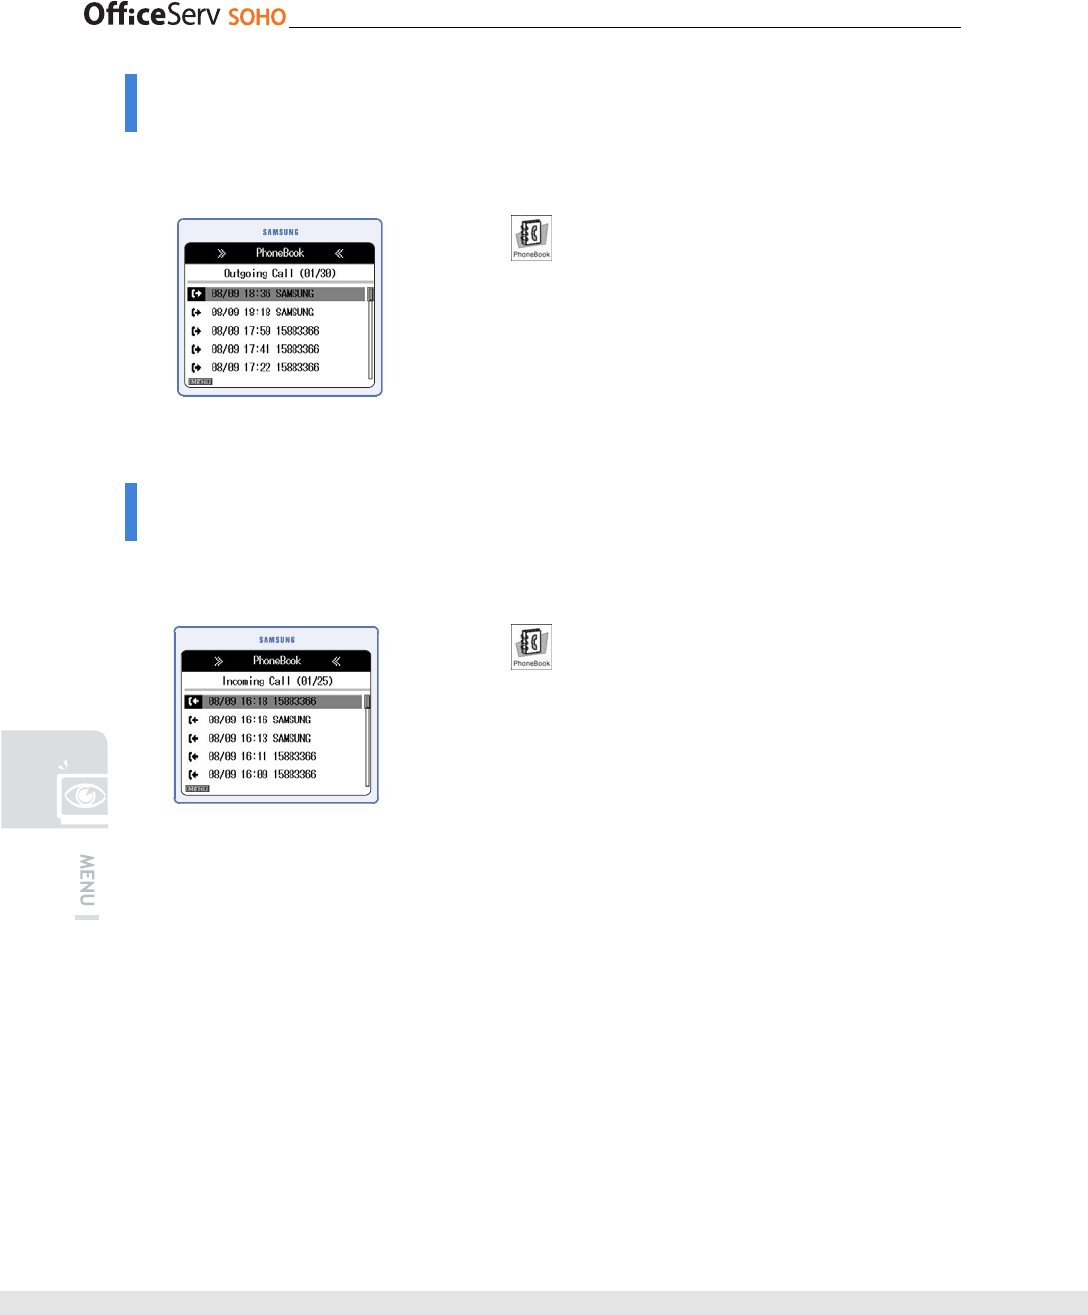
Incoming Call
This function allows you to search recent incoming calls or to make a call immediately.
Up to 30 recent incoming calls can be saved.
[Menu]
[3. Incoming Call]
Move to the target phone number [Send]
• If you press [OK] [Menu] on the list, you can
save/edit/delete that list.
© SAMSUNG Electronics Co., Ltd. 87
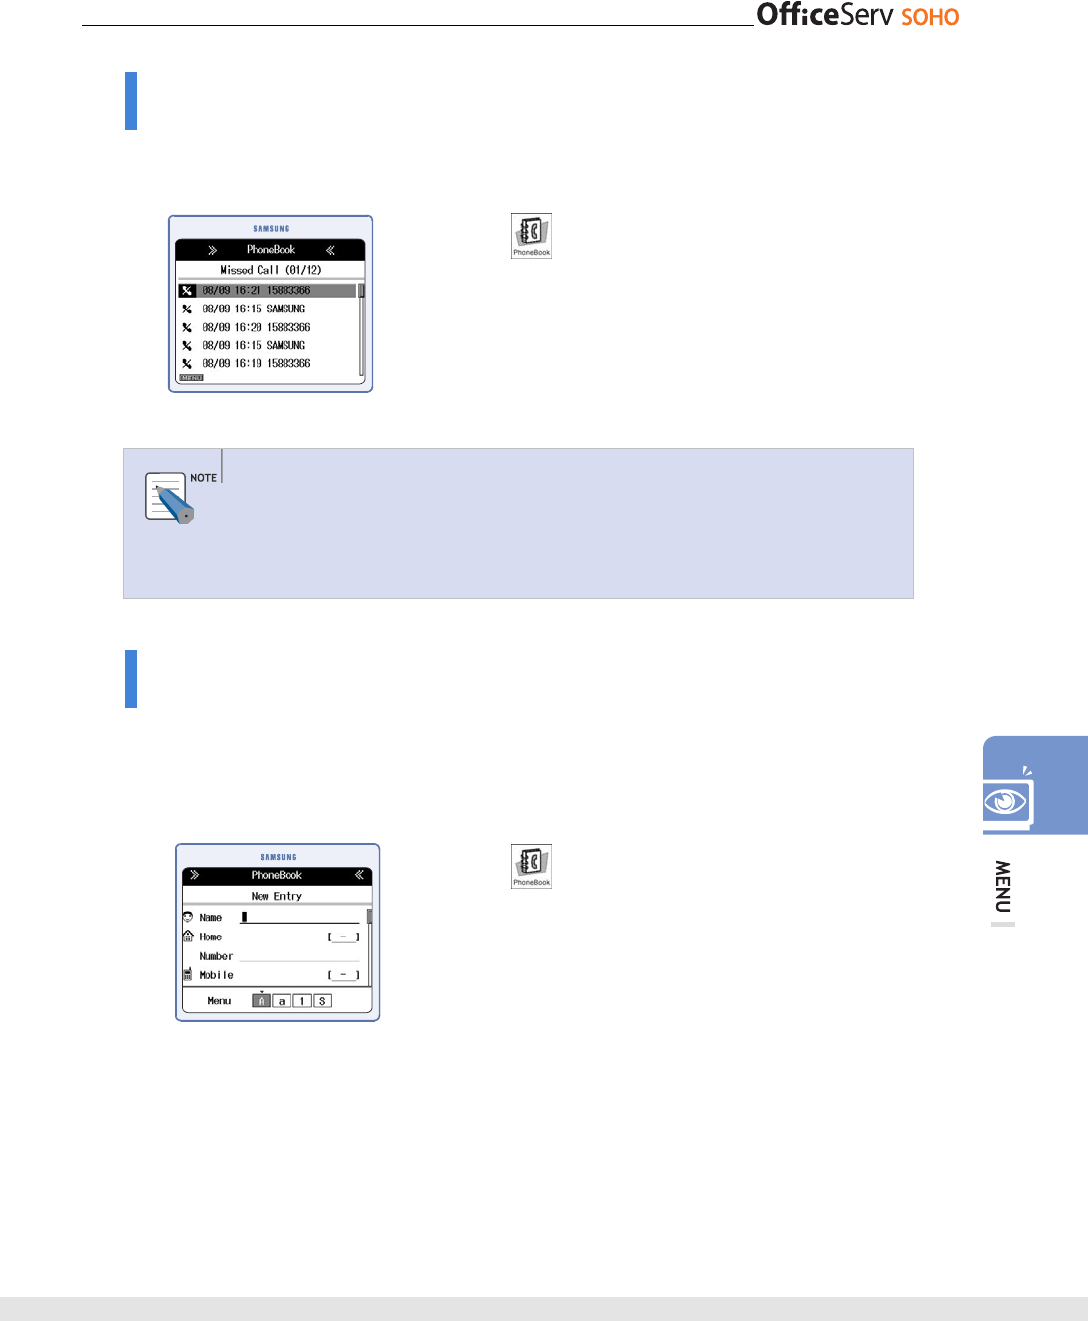
Missed Call
This function allows you to retrieve missed call numbers or make a call immediately.
Up to 30 missed call numbers can be saved.
[Menu]
[4. Missed Call]
Move to the target phone number [Send]
Searching Outgoing/Incoming/Missed Call
Press the [Menu] button when the phone number to be edited or deleted from the
outgoing/incoming/missed call numbers is displayed, or when all phone numbers
to be deleted are displayed.
New Entry
This function allows you to save phone numbers. Up to four numbers(home/mobile/
work/other) for each person can be saved. In addition, fax number, e-mail, group, and
memo can be saved.
Up to 250 persons and up to 1000 speed dial numbers(from 0 to 999) can be saved.
[Menu]
[5. Store Number]
Enter user data [OK]
• To use the pause function for registering a phone number,
enter a phone number, i.e. ARS, press the [Menu] button
and enter the pause symbol, 'p', and enter the function
number of the ARS.
88 © SAMSUNG Electronics Co., Ltd.
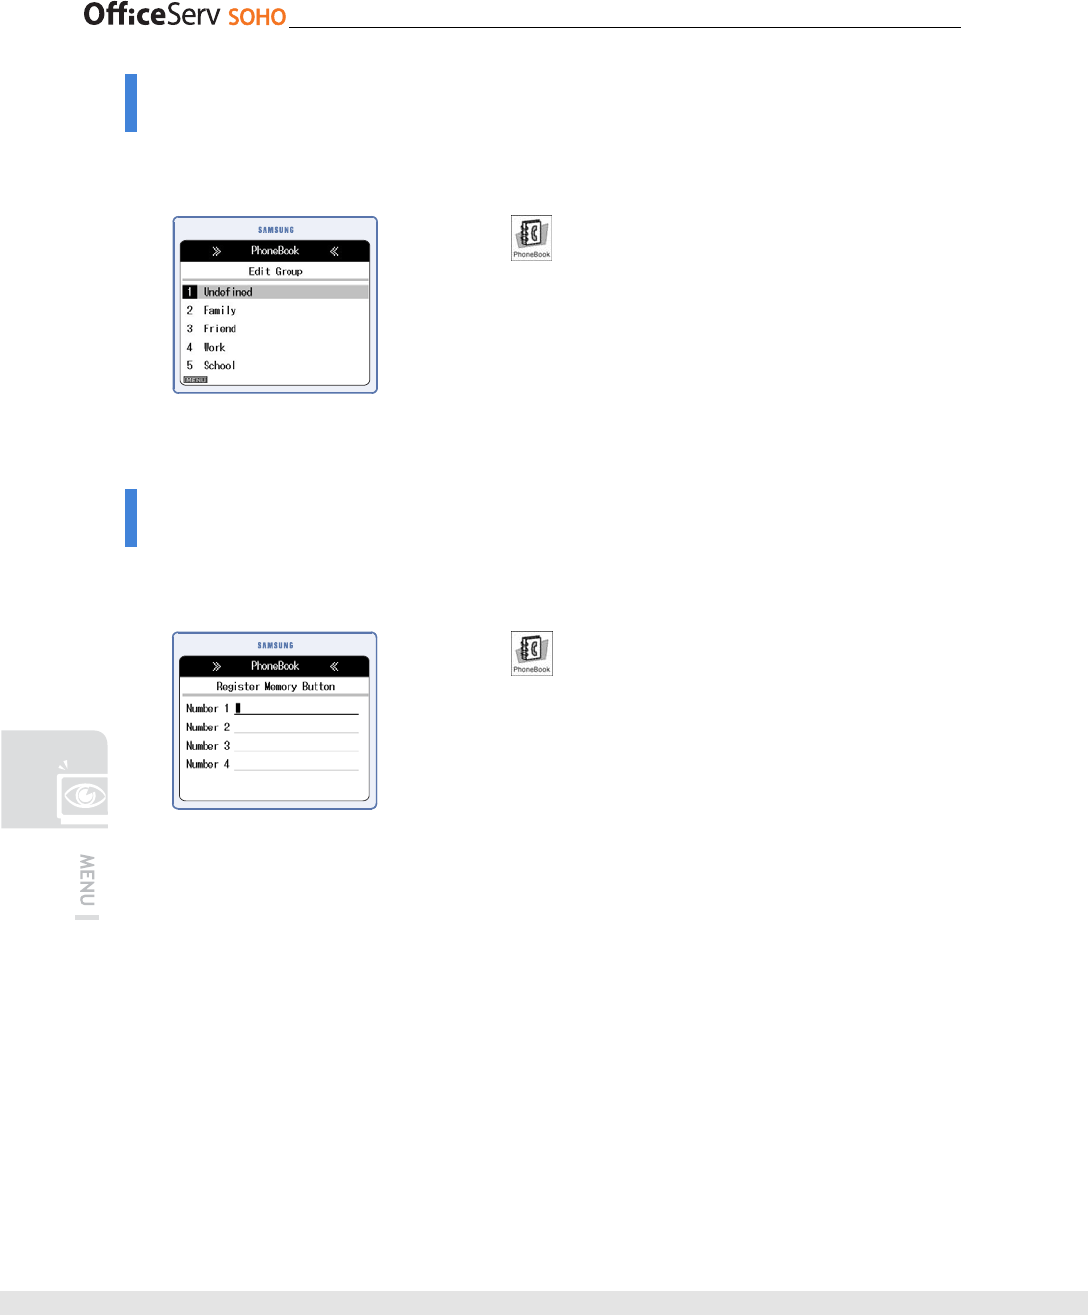
Edit Group
This function allows you to add/delete a group or to modify a group name. Up to nine
groups including undefined group can be saved.
[Menu]
[6. Edit Group]
Select the group whose name will be edited
or deleted [Menu] Select [Add], [Edit],
or [Delete]
• Undefined name cannot be edited or deleted.
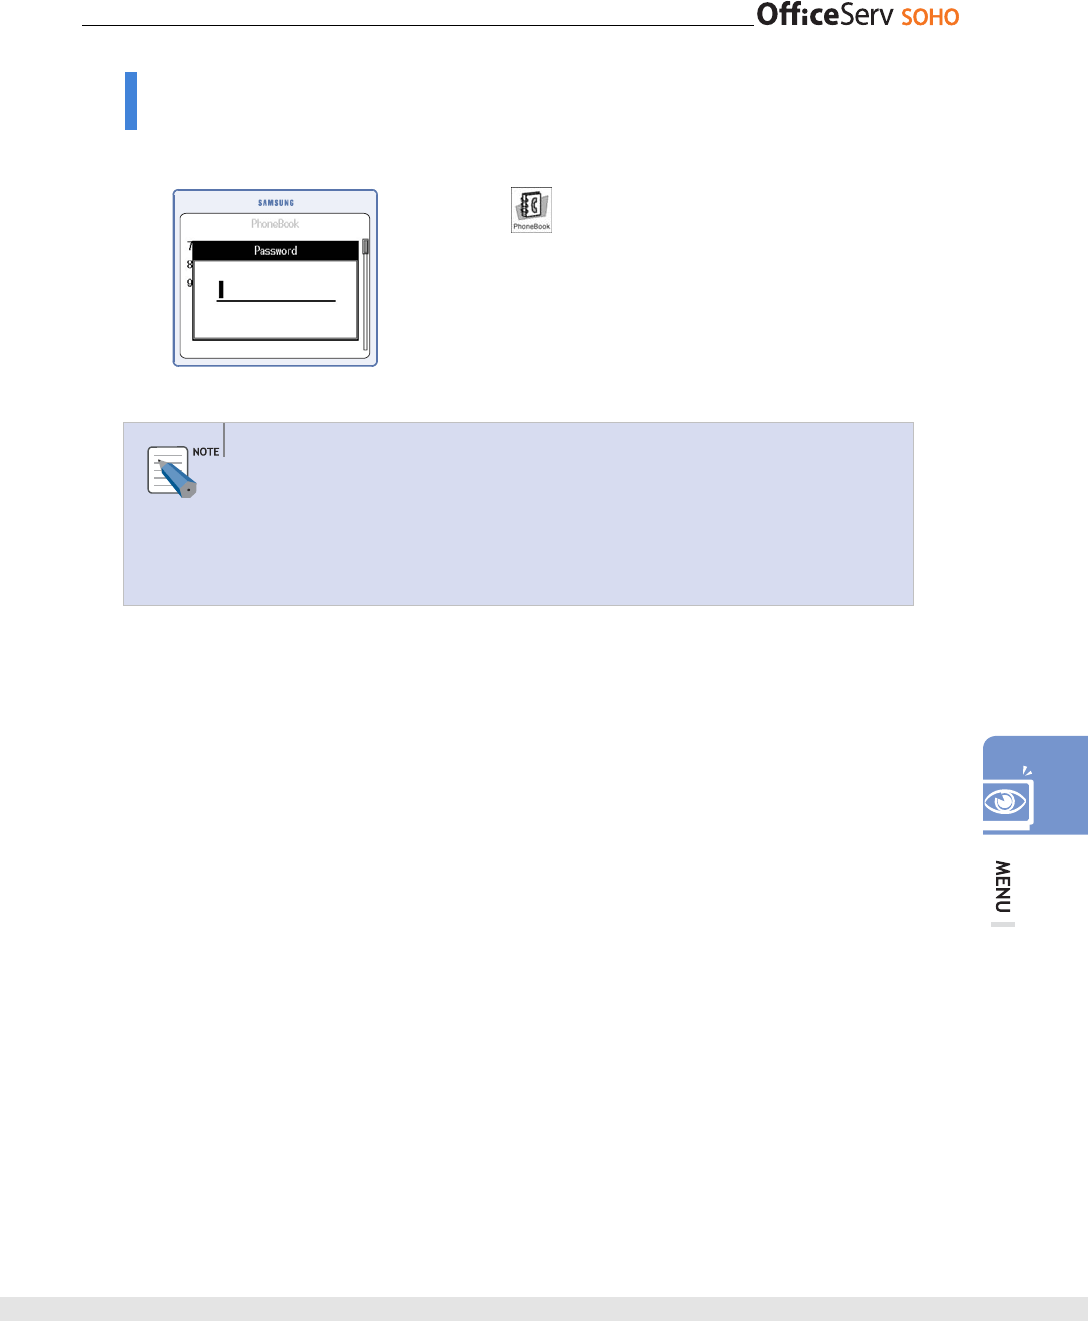
Register Memory Button
This function allows you to register a phone number frequently used to the M(memory)
button.
[Menu]
[8. Register Memory Button]
Enter a phone number into the memory button
to be registered [OK]
© SAMSUNG Electronics Co., Ltd. 89
Delete All
This function allows you to delete all registered phone numbers.
[Menu]
[9. Delete All]
Enter password Select [Yes] [OK]
Deleting All Phone Numbers
- All registered phone numbers are deleted. However, recent outgoing call
numbers, incoming call numbers and missed call numbers are not deleted.
- Default password is ‘0000’. If you forget a password, contact the store where
you bought OfficeServ SOHO or a service center.
90 © SAMSUNG Electronics Co., Ltd.
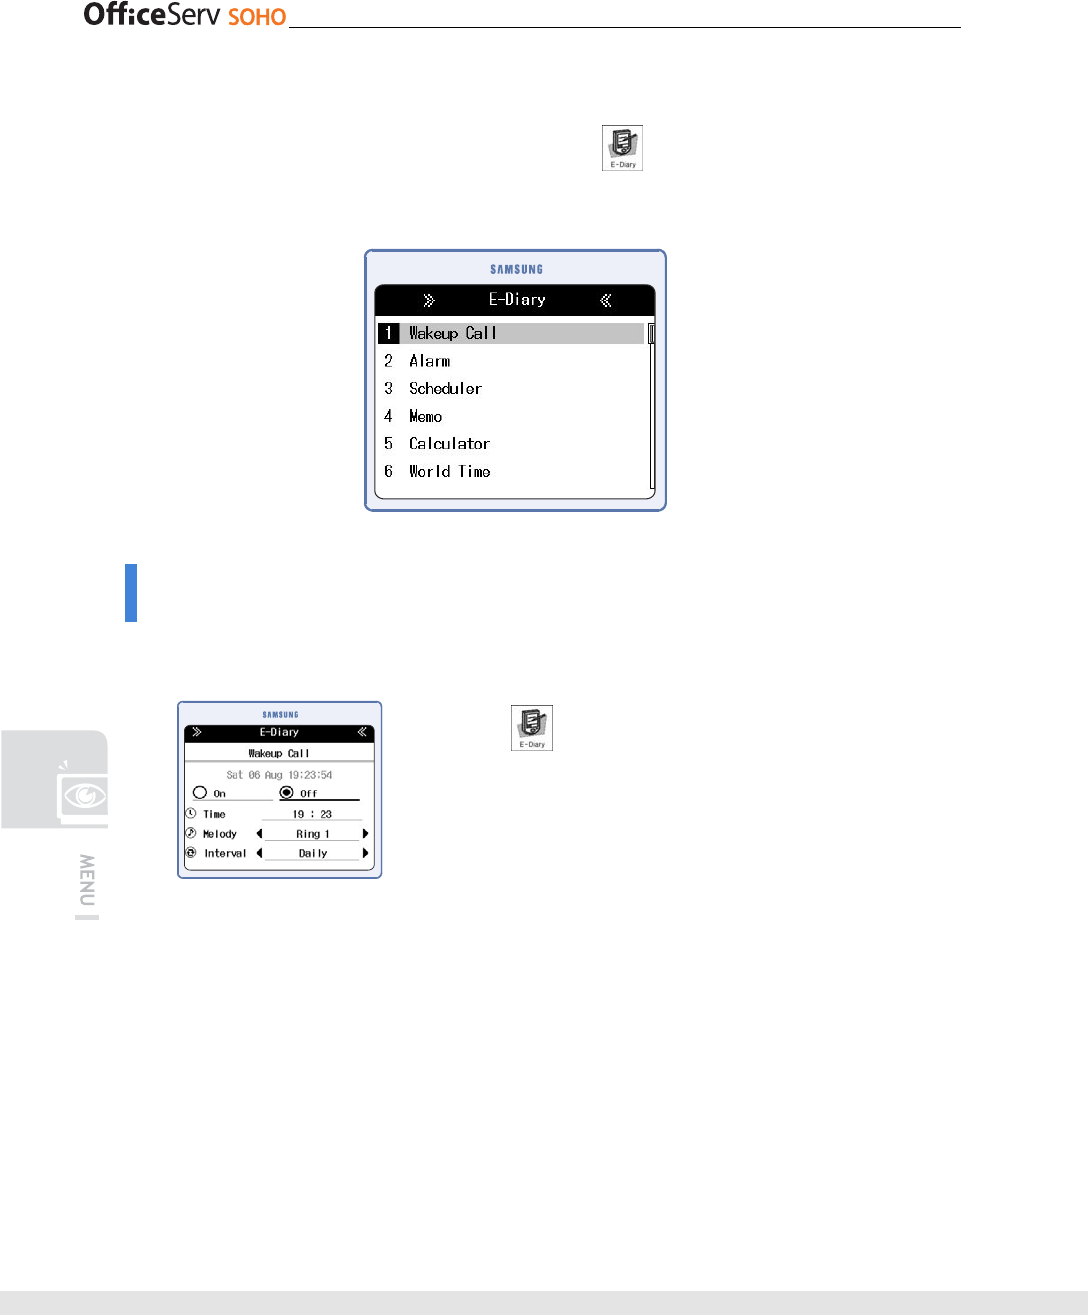
E-Diary
Press the [Menu] button and select the E-Diary icon( ) by using the direction button.
Press the [OK] button to display the E-Diary screen.
Wakeup Call
This function allows you to set alarm time and interval to ring the alarm. This function is
conveniently used for wakeup call or conference time notification.
[Menu] [1. Wakeup Call]
Set Time, Melody, and Interval
Select [On] by using the direction button [OK]
• Select [Off] and press [OK] button to release a wakeup call.
© SAMSUNG Electronics Co., Ltd. 91
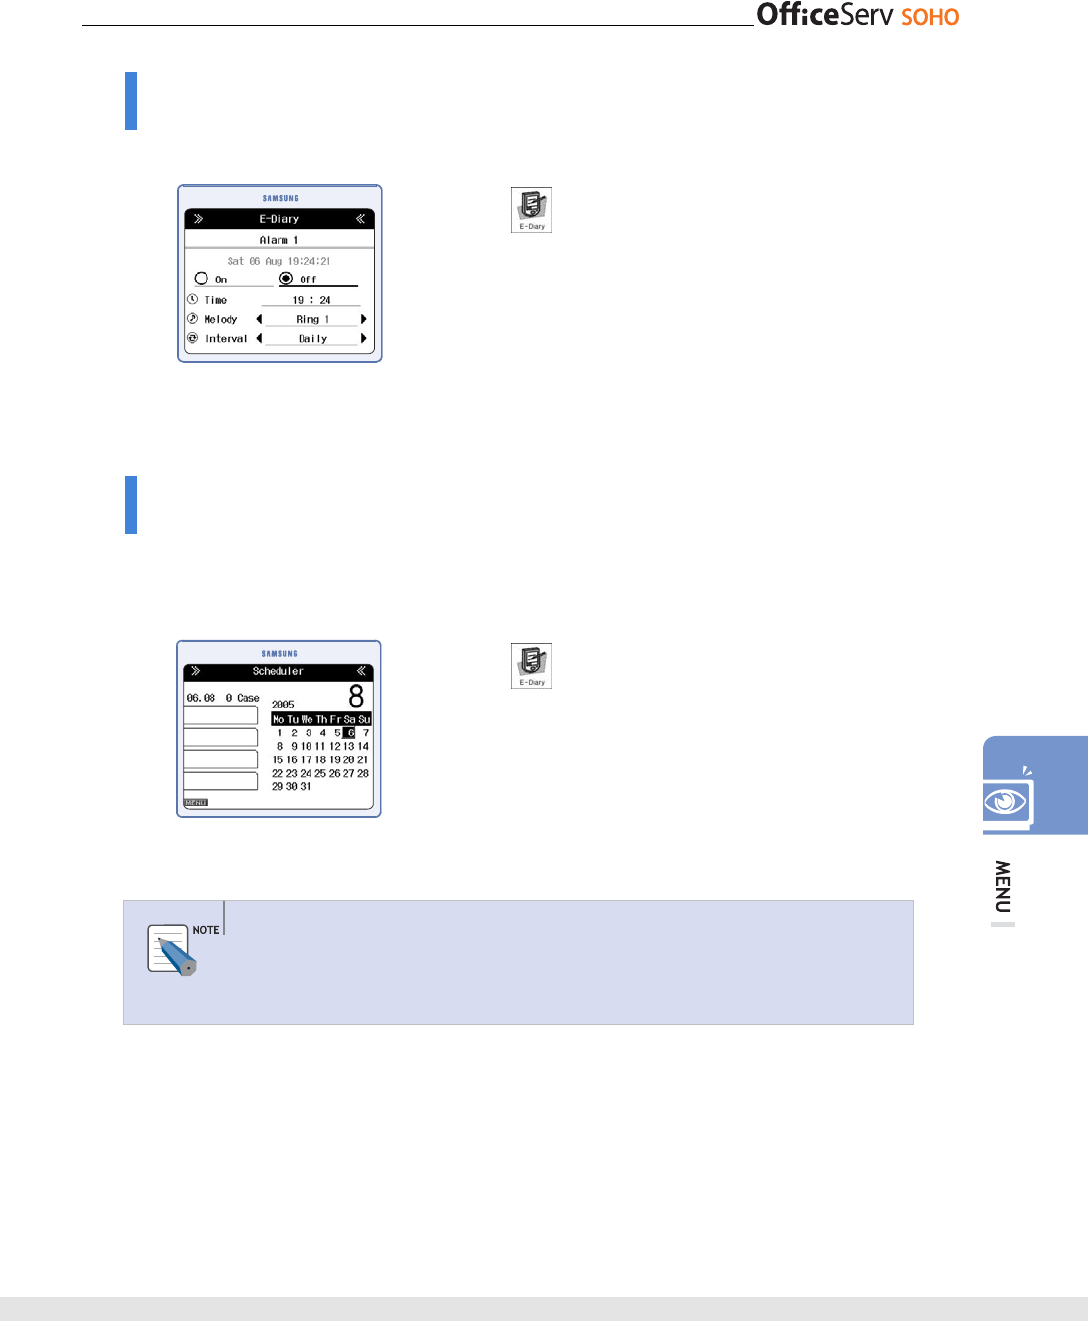
Alarm
This function allows you to set two alarm clocks to ring the alarm.
[Menu]
[2. Alarm] Select [Alarm 1]
or [Alarm 2] Set Time, Melody, and Interval
Select [On] by using the direction button
[OK]
• Select [Off] and press [OK] button to release a wakeup call.
Scheduler
This function allows you to register the date and hour of an important schedule to ring an
alarm at the setting time for one minute. Up to 120 schedules can be registered. Up to 16
English characters can be registered for a schedule.
[Menu]
[3. Scheduler] Set Date
[OK] [Menu] [Add] Set schedule items
[OK]
Adding/Editing/Deleting a Schedule or Deleting All Schedules
Set a date and press the [Menu] button to add/edit/delete a schedule or to delete
all schedules.
92 © SAMSUNG Electronics Co., Ltd.
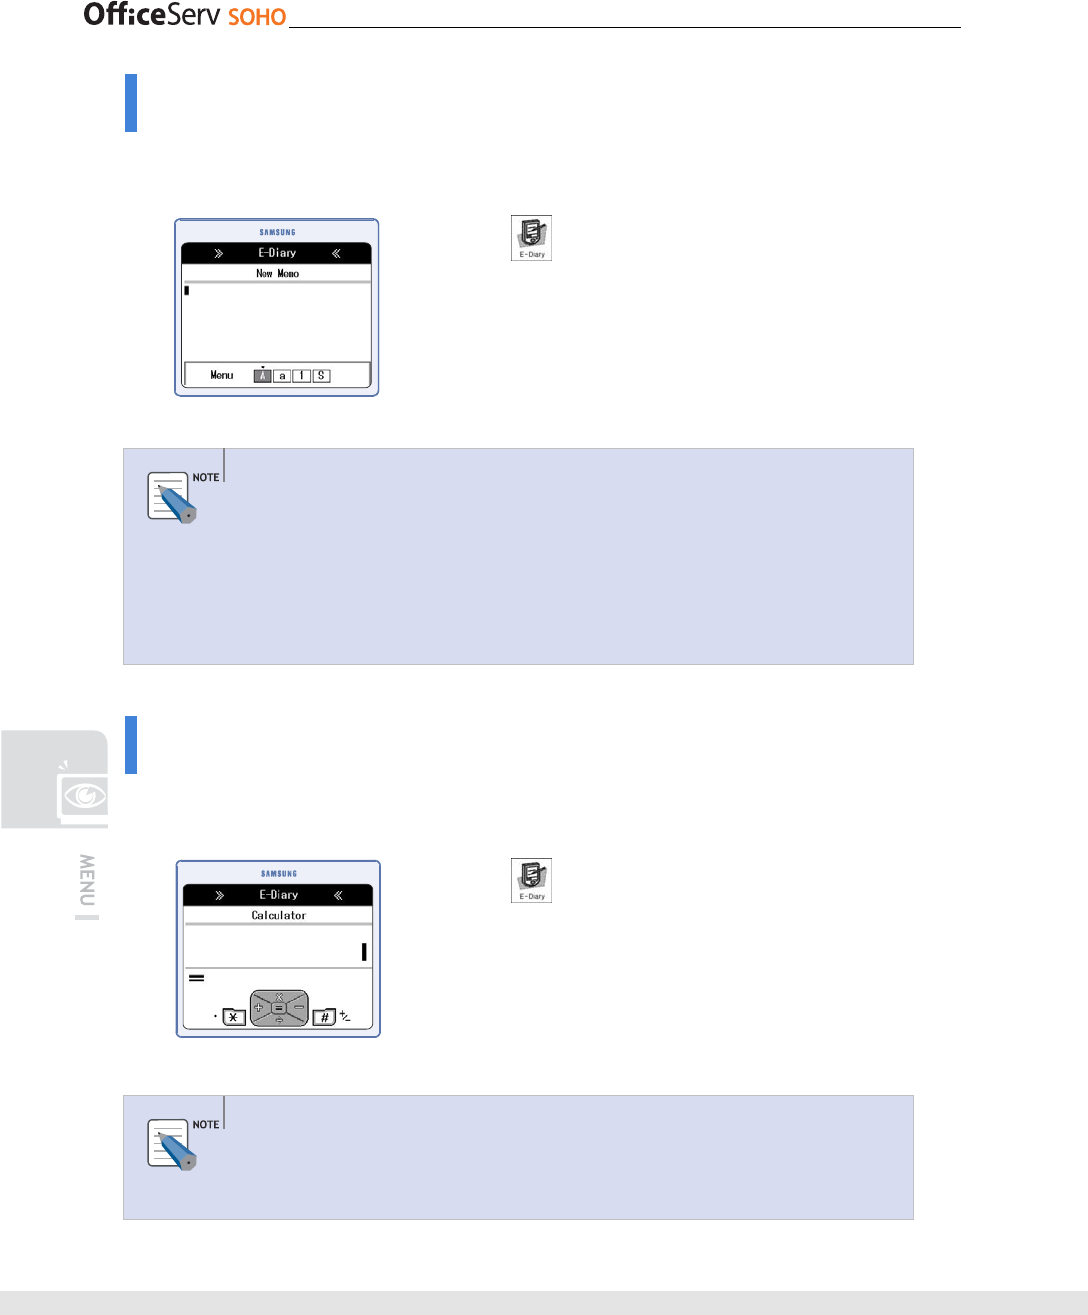
Memo
This function allows you to save a simple memo in the phone. Up to five memos can be
saved.
[Menu]
[4. Memo]
Enter memo contents [OK]
• You can use the volume button to move to next line while
writing a message.
- Checking and Editing Memo
Press the [OK] button in the memo list screen to display the screen displaying the
memo. Then, press the [Menu] button to edit the memo.
Adding/Deleting a Memo or Deleting all Memos
Press the [Menu] button to add/delete a memo or to delete all memos from the
Memo list screen.
Calculator
This function allows you to calculate four fundamental operations(addition, subtraction,
multiplication, and division).
[Menu]
[5. Calculator]
Enter a number, an operator, and a number
[OK]
Operation by Calculator
Enter the [#] button for a negative number, and enter the [*] button for a decimal
point.
© SAMSUNG Electronics Co., Ltd. 93
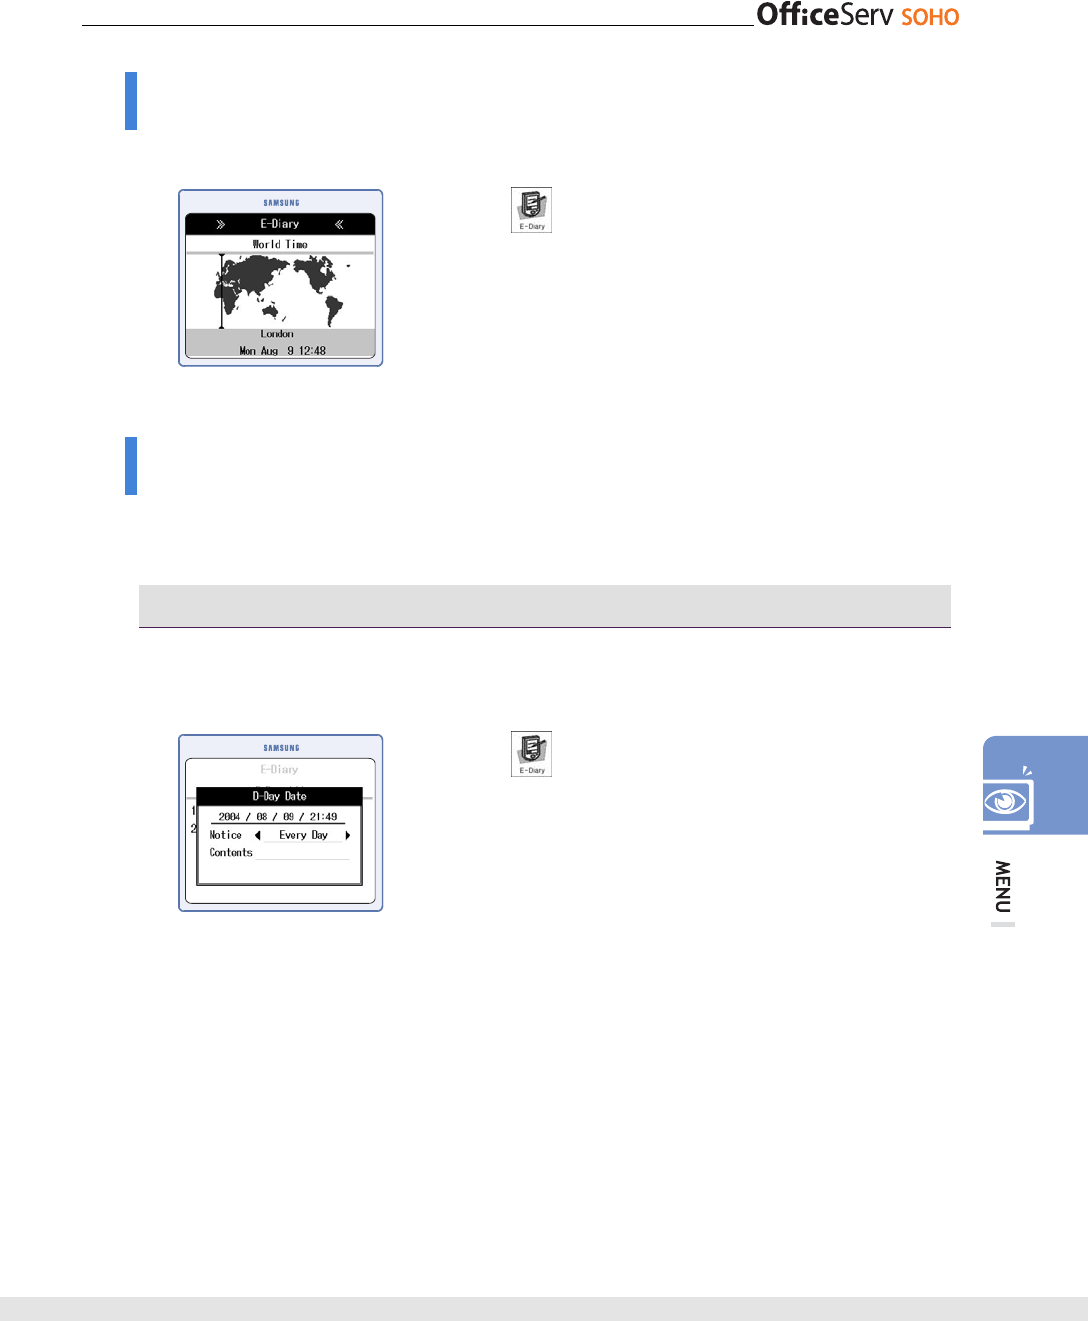
World Time
This function allows you to check the current time of cities around the world.
[Menu]
[6. World Time]
Select a city by using the direction button
D-Day
This function allows you to register an important schedule and to check the left time and
past time.
D-Day Add
This function allows you to enter D-Day directly or to enter a reference date to
calculate the left days/past days automatically.
[Menu]
[7. D-Day]
[1. D-Day Add] [1. D-Day Exact Date]
Enter an item [OK]
• Select [2. D-Day Base/Off] from [7.D-Day] and select a
date, days, and D-Day Before/After to calculate and enter
the D-Day.

94 © SAMSUNG Electronics Co., Ltd.
D-Day List
This function allows you to search the D-Day lists.
[Menu]
[7. D-Day]
[2. D-Day List] Set a D-Day
[OK]
• Select the target D-Day and press the [Menu] button from
the D-Day list screen. Then, a pop-up menu opens. Select
a menu from the pop-up menu and edit/delete a D-Day
or delete all D-Days.
Unit Change
This function allows you to convert a unit such as length, weight, area, volume and
temperature to another unit.
[Menu]
[8. Unit Change]
Select an item by using the direction button
[OK] Enter a value [OK]
© SAMSUNG Electronics Co., Ltd. 95
Sound
Press [Menu] and select the Message icon( ) by using the direction button.
Press [OK] button to display the Message menu screen below:
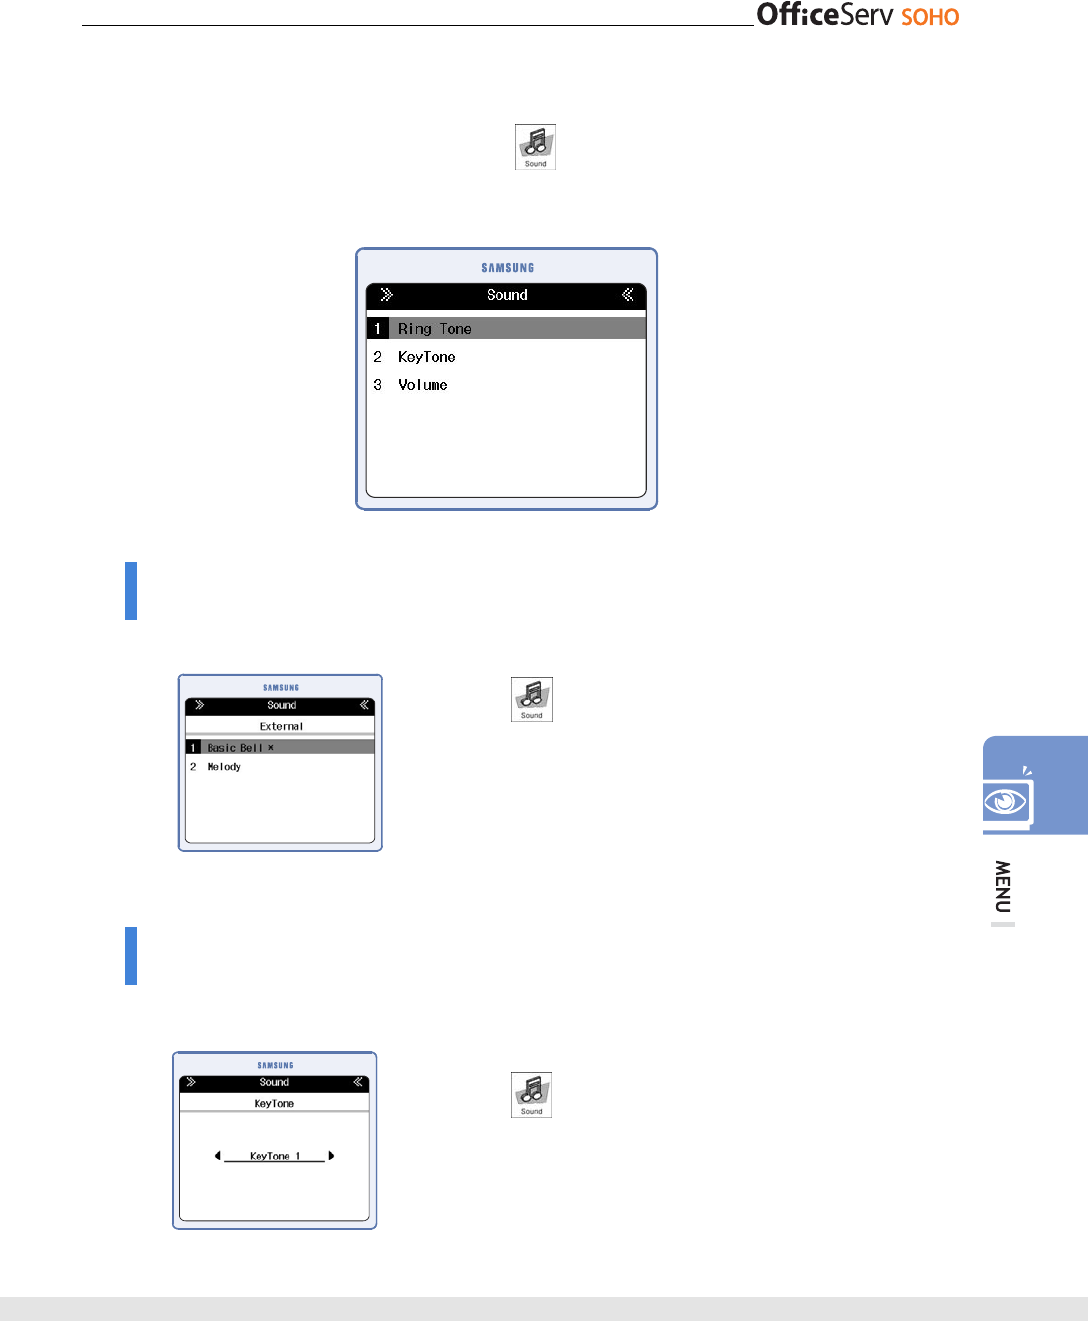
Ring Tone
This function allows you to set an External, Internal Door Ring Tone of OfficeServ SOHO.
[Menu]
[1. Ring Tone]
[1. External] or [2. Internal] or [3. Door] [1. Basic
Bell] or [2. Melody] Select Basic Bell or Melody [OK]
• Each number of Basic Bell/Melody types is seven.
KeyTone
This function allows you to set a KeyTone of OfficeServ SOHO
[Menu] [2. KeyTone]
Select KeyTone Type [OK]
96 © SAMSUNG Electronics Co., Ltd.
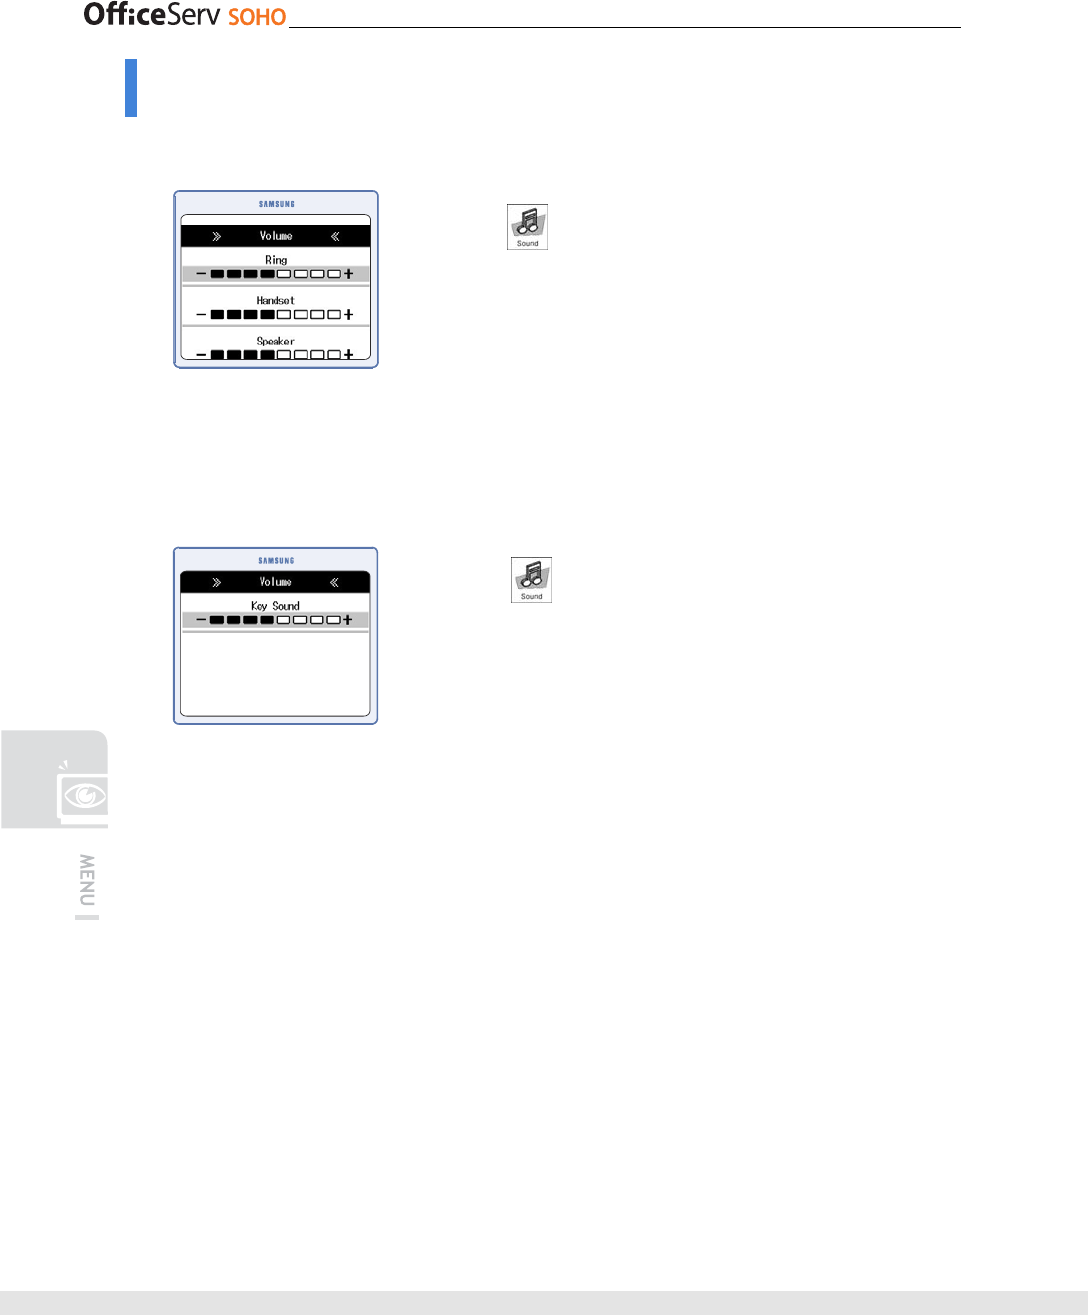
Volume
This function allows you to set a Volume of OfficeServ SOHO
[Menu]
[3. Volume]
[1. Ring/Handset/Speaker]
Use the direction button or the [▼Vol▲] button to
control each item volume [OK]
• The volume of ring including mute has 9 levels.
• The volume of handset/speaker has 8 levels and mute
function does not exist.
[Menu] [3. Volume]
[2. Key Sound] Use the direction button
or the [▼Vol▲] button to control key sound volume
[OK]
• The volume of key sound including mute has 9 levels.

© SAMSUNG Electronics Co., Ltd. 97
Services
Press the [Menu] button and select the Services icon( ) by using the direction
button. Press the [OK] button to display the Services screen.
Missed Calls
This function shows you missed call list.
[Menu] [1. Missed Calls]
Conference - Group Conference
This function allows you to set the conference group.
[Menu]
[2. Conference] [1. Group
Conference] Enter the group name and station number
[OK]
98 © SAMSUNG Electronics Co., Ltd.
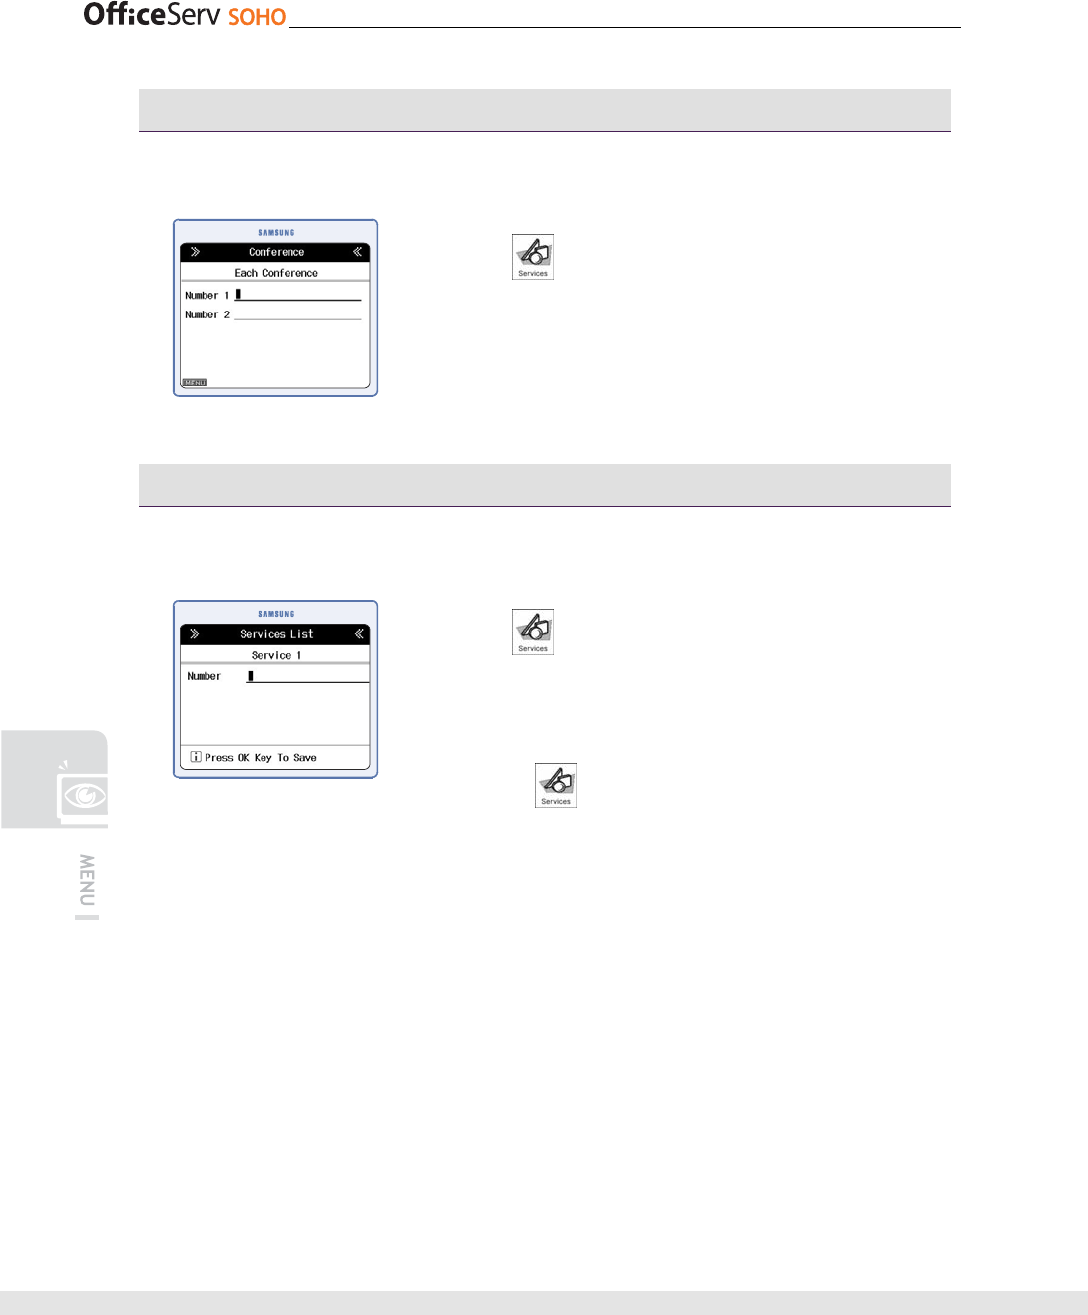
Conference - Each Conference
This function allows you to set each conference.
[Menu]
[2. Conference] [2. Each
Conference] Station number to Conference [OK]
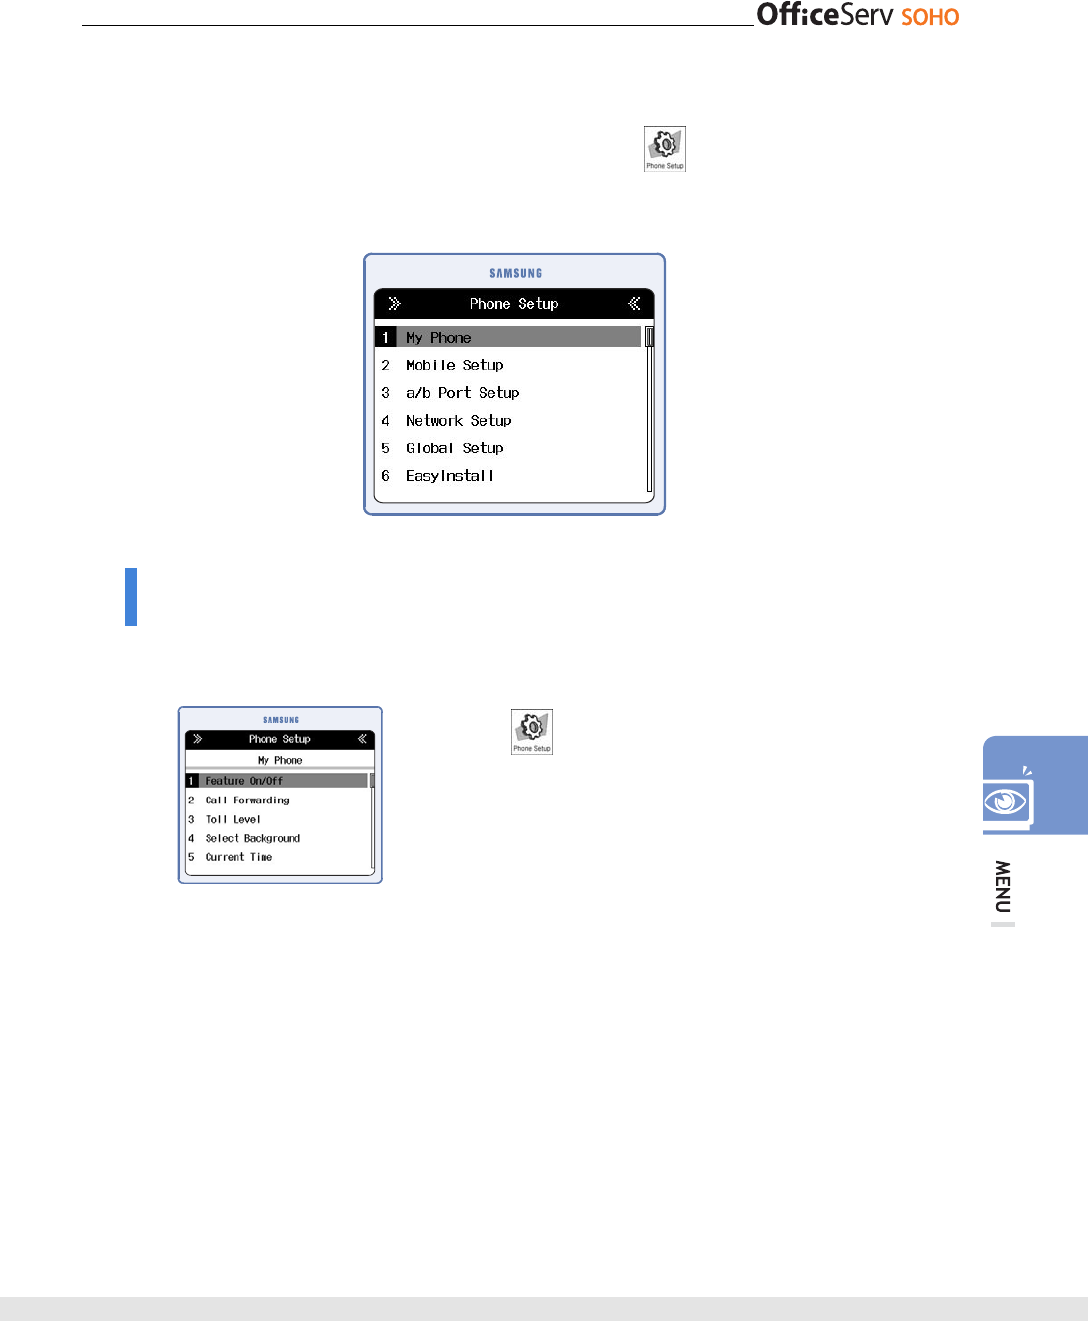
Services - Call Up
This function allows you to set the call up service.
[Menu]
[3.Services] Select the target service
number [OK] [2. Edit] Enter the destination
number to call up service [OK]
• [Menu]
[3.Services] Select the target service
number [OK] [1. Call Up], You can call the registered
number.
© SAMSUNG Electronics Co., Ltd. 99
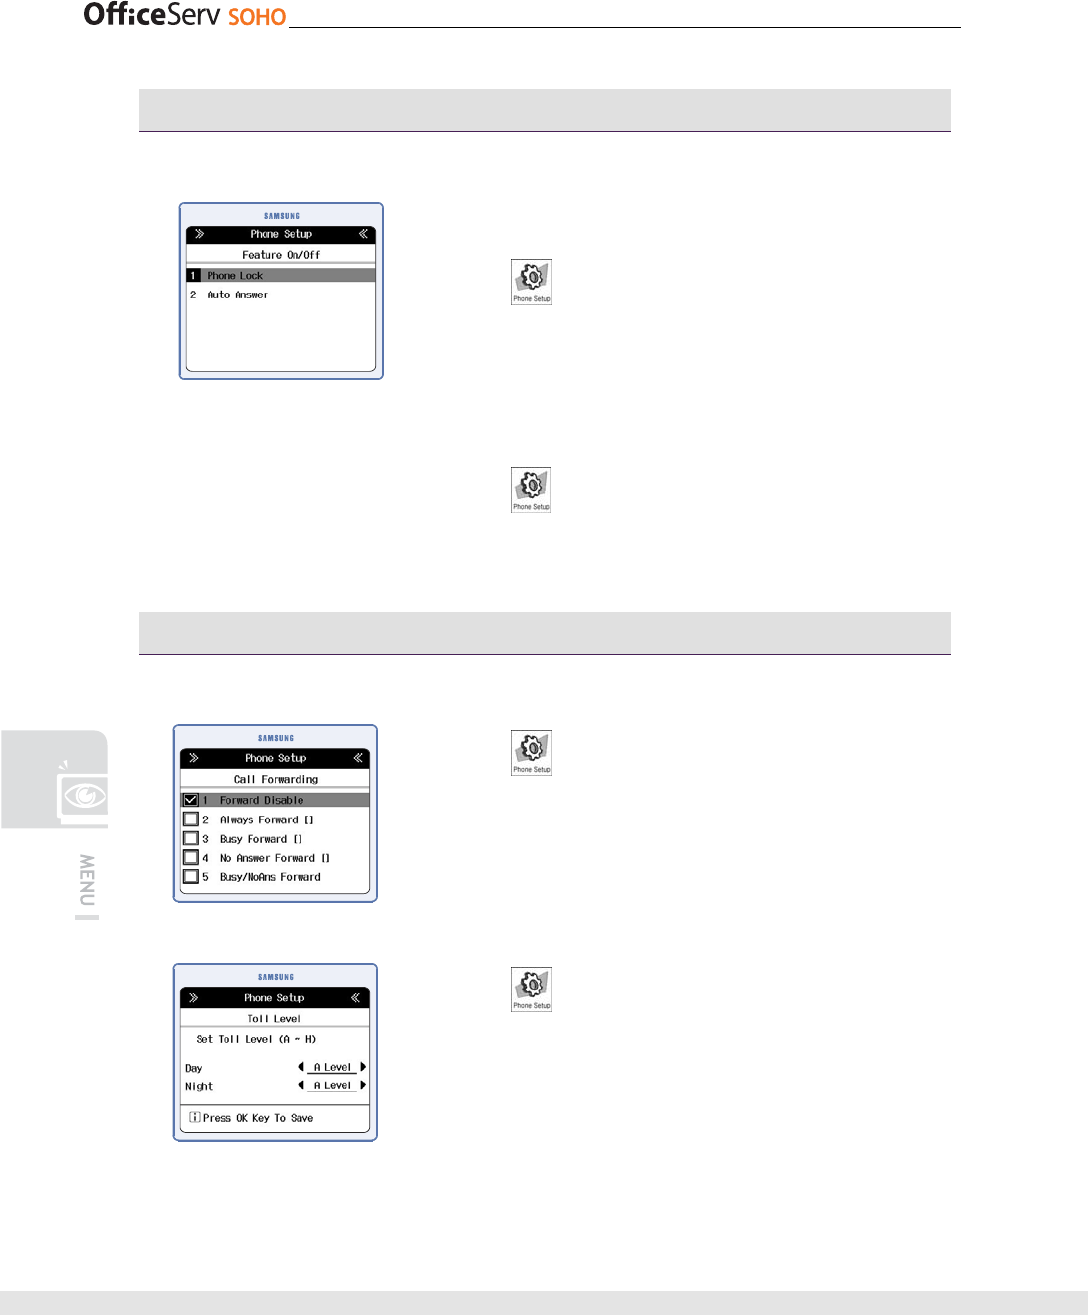
Phone Setup
Press the [Menu] button and select the Phone Setup icon( ) by using the direction
button. Press the [OK] button to display the Phone Setup screen.
My Phone
This function allows you to set a background of LCD screen, bell sound/volume, current
time, password, and language of OfficeServ SOHO.
[Menu] [1. My Phone]
100 © SAMSUNG Electronics Co., Ltd.
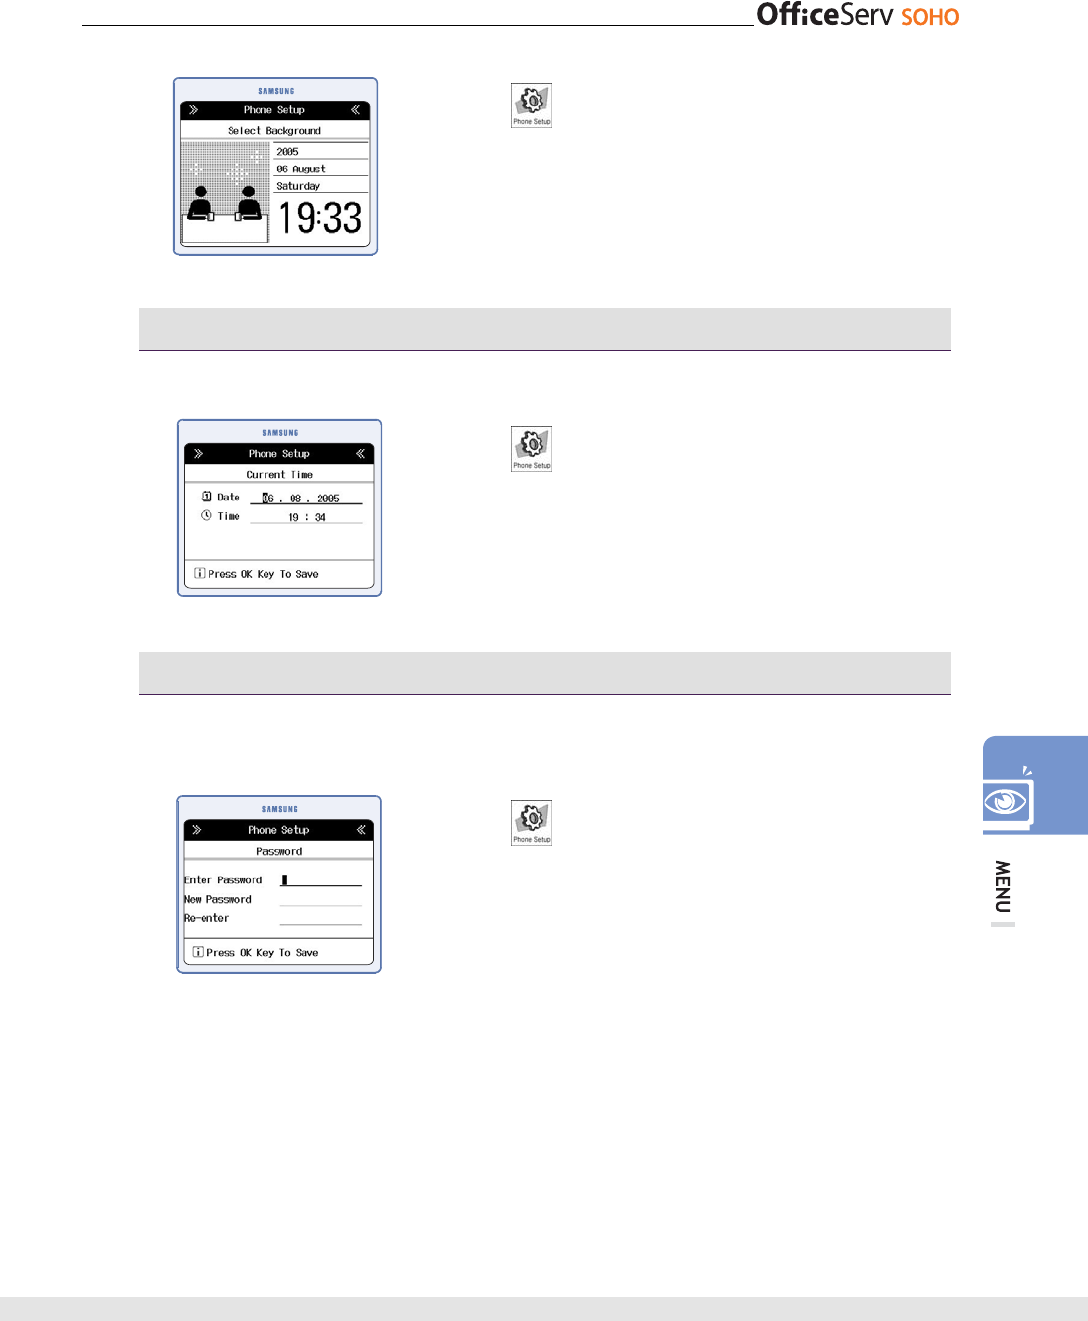
Feature On/Off
This function allows you to set a Feature of OfficeServ SOHO.
1. Phone Lock:
[Menu] [1. My Phone]
[1. Phone Lock] Select ‘LOCK’ or ‘UNLOCK’ [OK]
• If you select ‘LOCK’, you must enter the password before
using the all functions.
2. Auto Answer:
[Menu] [1. My Phone]
[1. Auto Answer] Select ‘On’ or ‘Off’ [OK]
Call Forwarding
This function allows you to set the call forwarding function.
[Menu]
[1. My Phone]
[2. Call Forwarding] Select a Forwarding Option
[OK] select the destination
[Menu]
[1. My Phone]
[3. Toll Level] Set the toll level of the Day and Night
[OK]
© SAMSUNG Electronics Co., Ltd. 101
[Menu]
[1. My Phone]
[4. Select Background] Select background
[OK]
Current Time
This function allows you to set current time and time zone.
[Menu]
[1. My Phone]
[5. Current Time]
Set Date and Time [OK]
Password
This function allows you to change a 4-digit password to protect private life of the user
or to set various phone functions. Default password is ‘0000’.
[Menu]
[1. My Phone]
[6. Password] Enter the current
password Enter a new password and the new
password again [OK]
• move the cursor with direction buttons.
102 © SAMSUNG Electronics Co., Ltd.
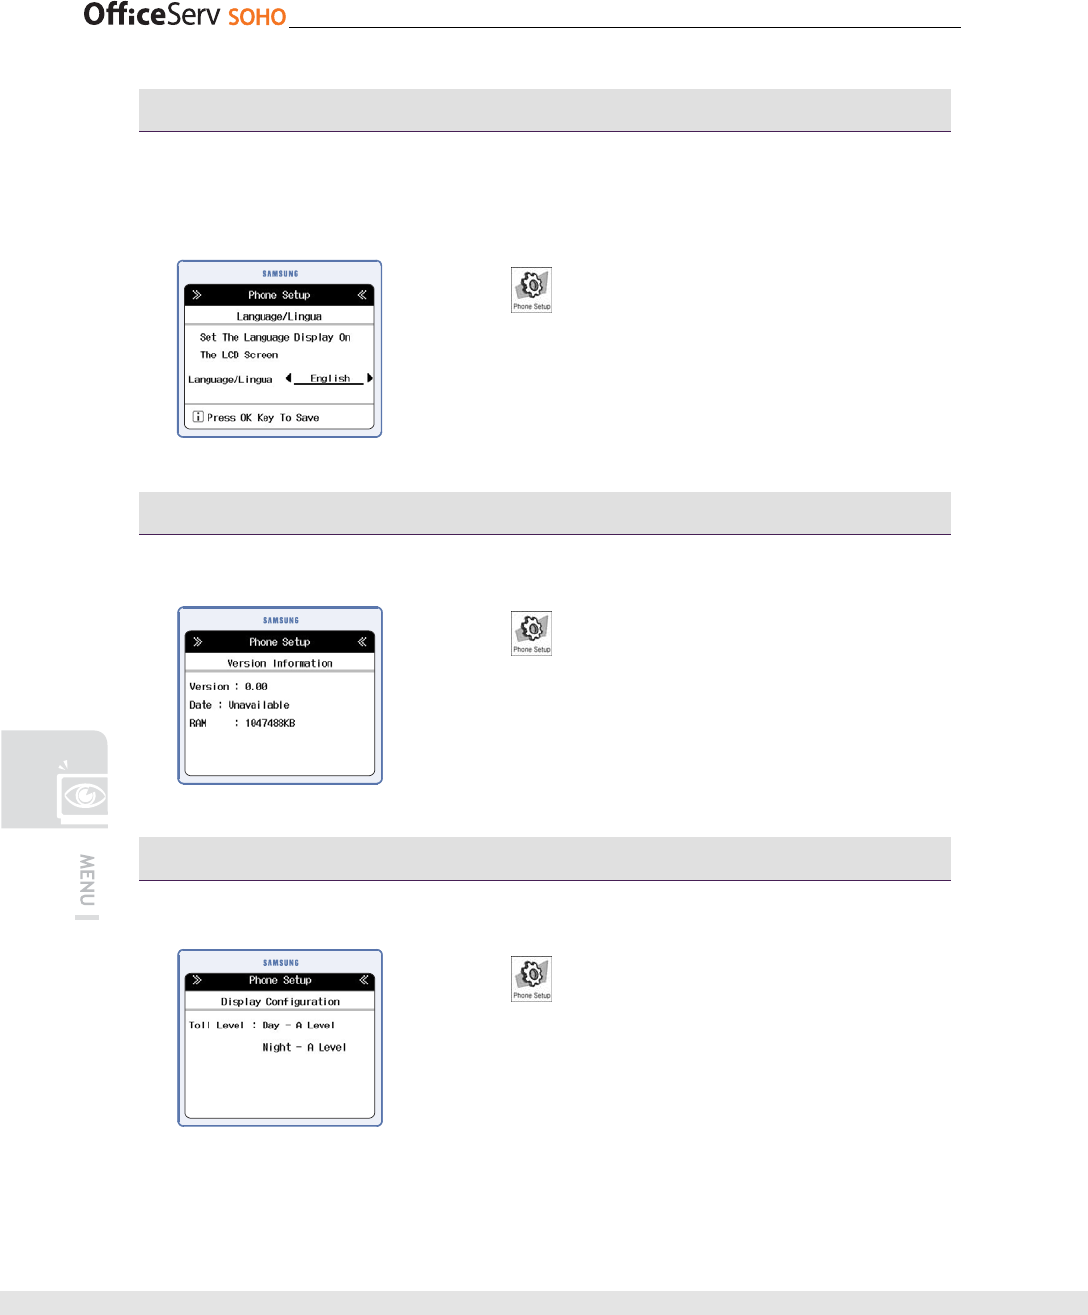
Language/Lingua
This function allows you to set the language displayed on the LCD screen. If the
language setting is changed to another, OfficeServ SOHO will be restarted
automatically.
[Menu]
[1. My Phone]
[7. Language/Lingua] Select a language by
using the direction button [OK]
Version Information
This function allows you to check Version information of the OfficeServ SOHO.
[Menu]
[1. My Phone]
[8. Version Information] [OK]
Display Configuration
This function allows you to check configuration status of the OfficeServ SOHO.
[Menu]
[1. My Phone]
[9. Display Configuration] [OK]
© SAMSUNG Electronics Co., Ltd. 103
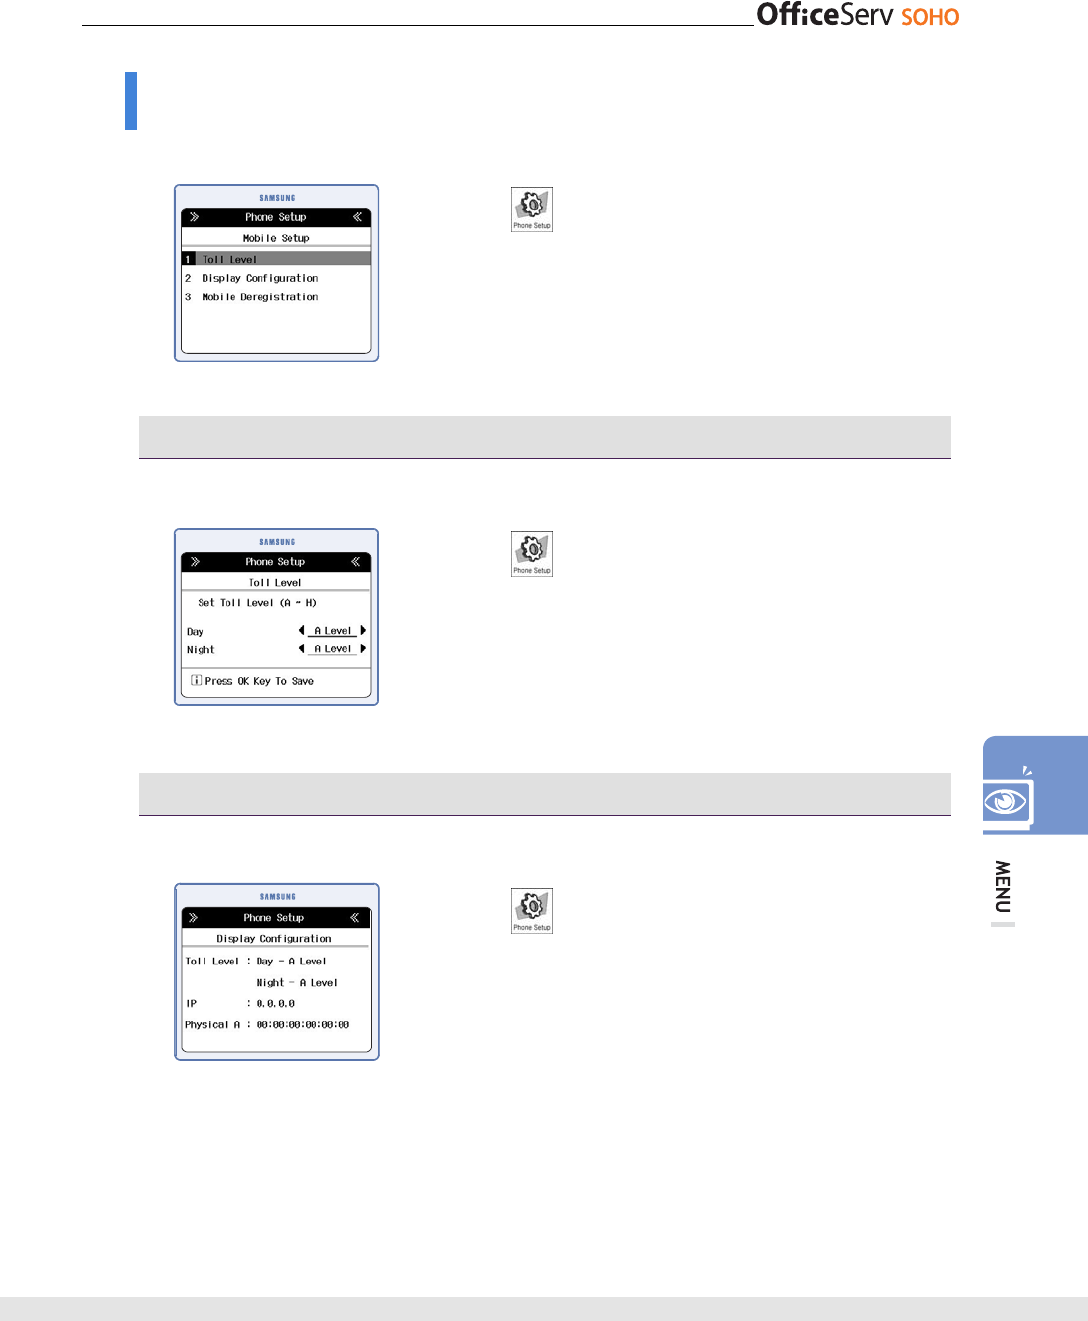
Mobile Setup
This function allows you to set system usage environment of OfficeServ SOHO.
[Menu]
[2. Mobile Setup] Select the station
Number [OK]
Toll Level
This function allows you to set the toll level of the mobile station.
[Menu]
[2. Mobile Setup] Select the station
Number [1. Toll Level] Set the toll level of day and
night [OK]
Display Configuration
This function allows you to see the current configuration of selected station.
[Menu]
[2. Mobile Setup] Select the station
Number [2. Display Configuration]
104 © SAMSUNG Electronics Co., Ltd.
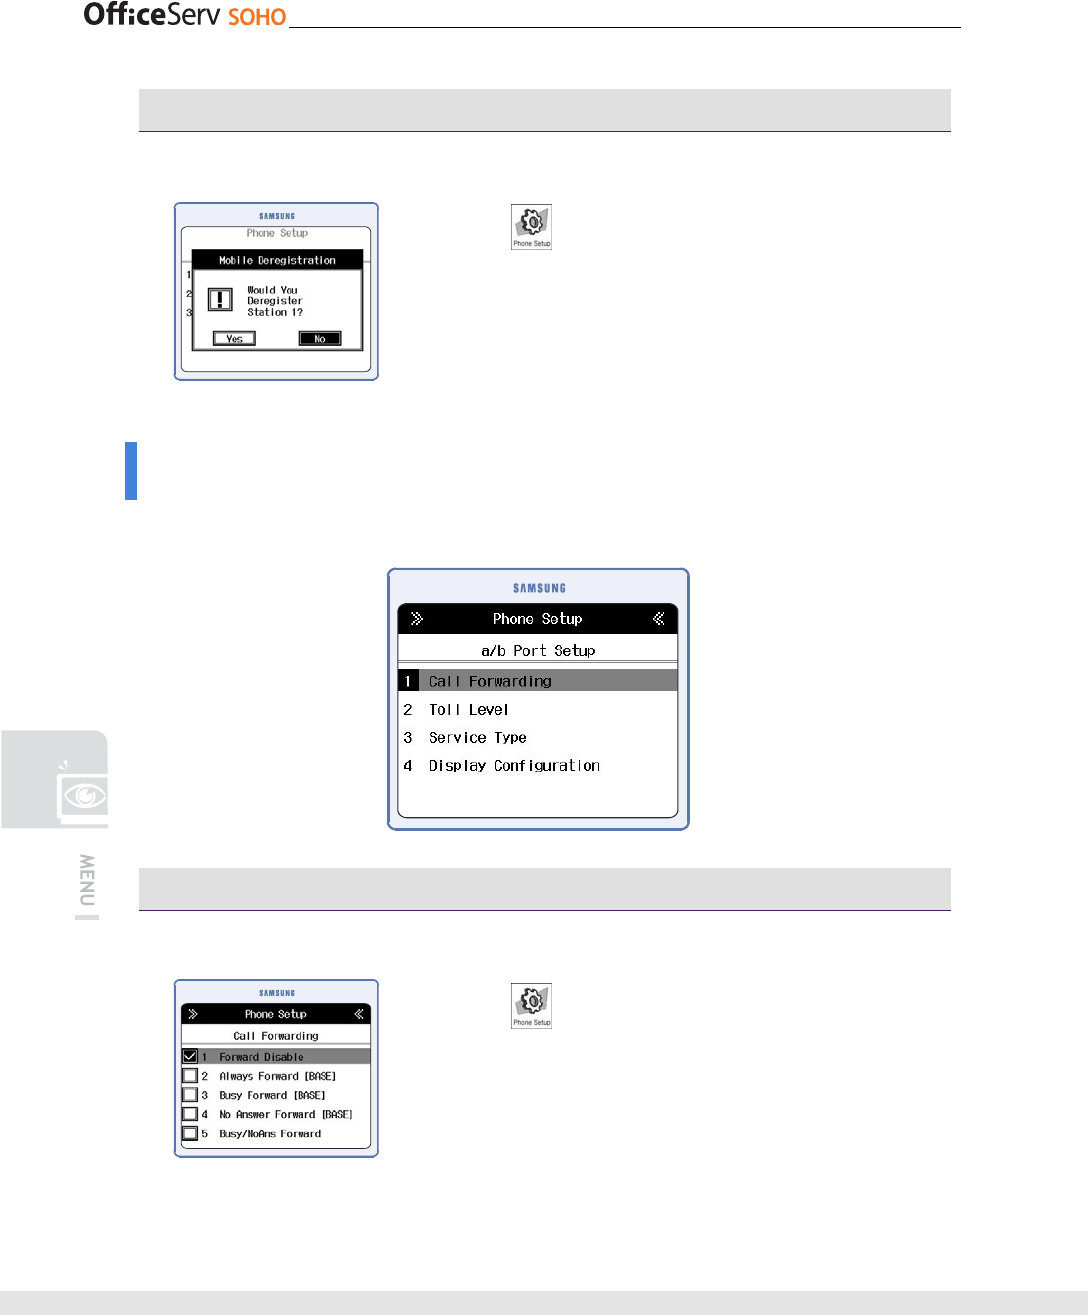
Mobile Deregistration
This function allows you to deregistration of an OfficeServ SOHO WLAN phone.
[Menu]
[2. Mobile Setup] Select the station
Number [3. Mobile Deregistration]
• Select [No] to cancel the registration of a WLAN phone.
a/b port Setup
This function allows you to set a/b port of OfficeServ SOHO.
Call Forwarding
This function allows you to see the current configuration of a/b port.
[Menu]
[3. a/b port Setup] [1. Call
Forwarding] Select the Call Forwarding type.
© SAMSUNG Electronics Co., Ltd. 105
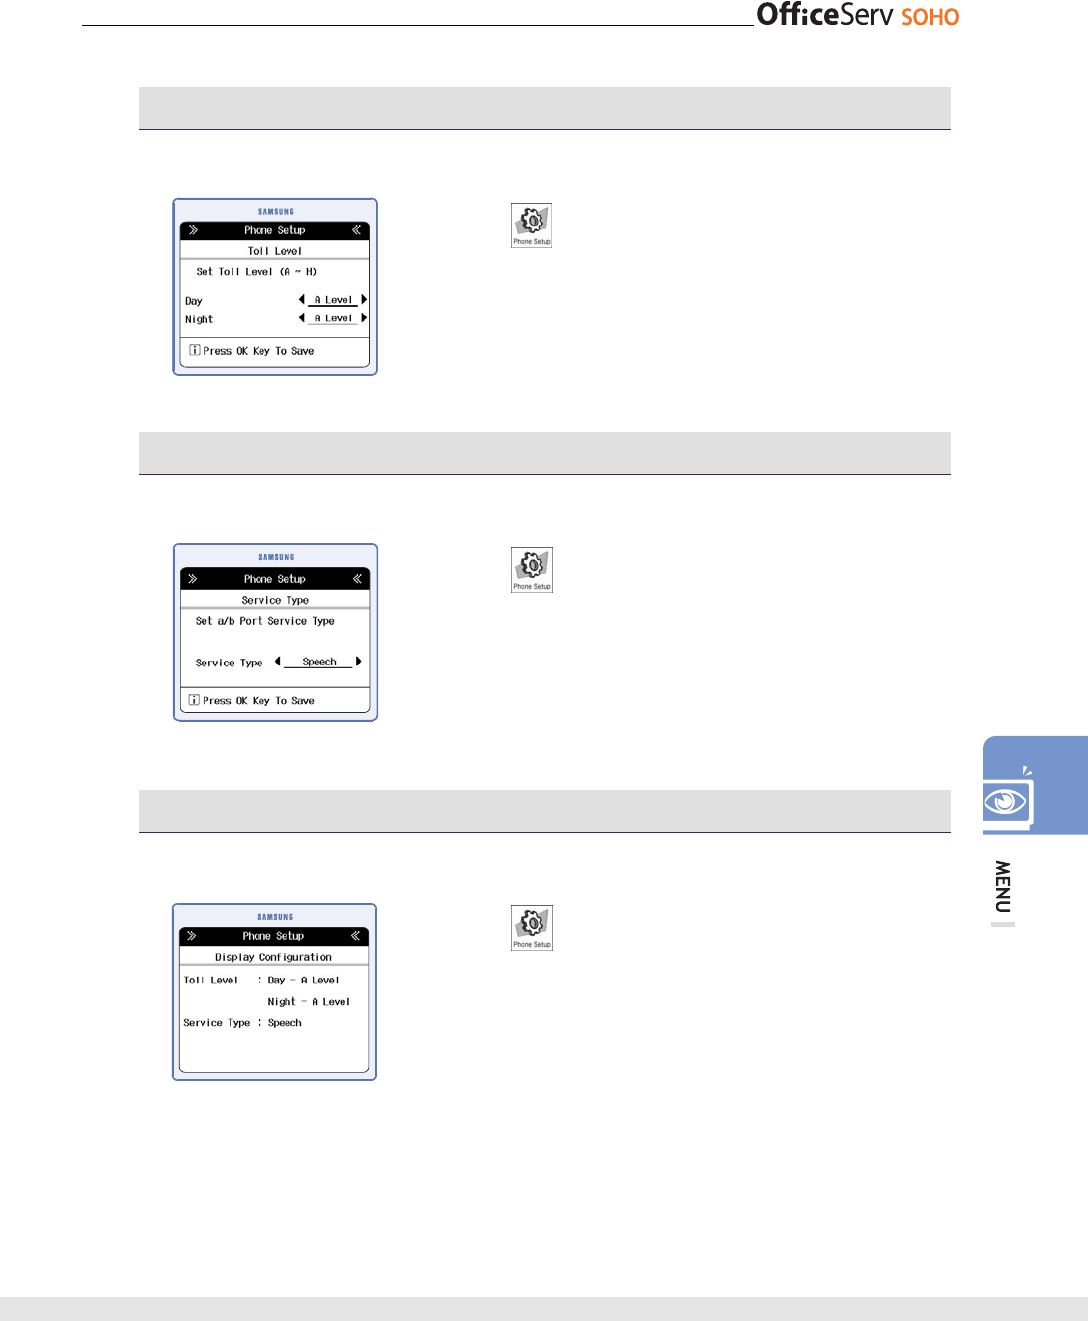
Toll level
This function allows you to set the day and night toll level of the a/b port.
[Menu] [3. a/b port Setup] [2. Toll level]
Set the toll level of day and night [OK]
Service Type
This function allows you to set the service type. Select
[Menu]
[3. a/b port setup] [3. Service Type]
Select Service Type [OK]
• If Station Number Setting is selected, set the target station
number and press [OK] button.
• If Station Group Getting is selected, set the target station
group and press [OK] button.
Display Configuration
This function shows you current a/b port configurations.
[Menu]
[3. a/b port setup] [3. Display
Configuration]
106 © SAMSUNG Electronics Co., Ltd.
Network Setup
This function allows you to set network configurations. You can set WAN, LAN, Wireless
LAN.
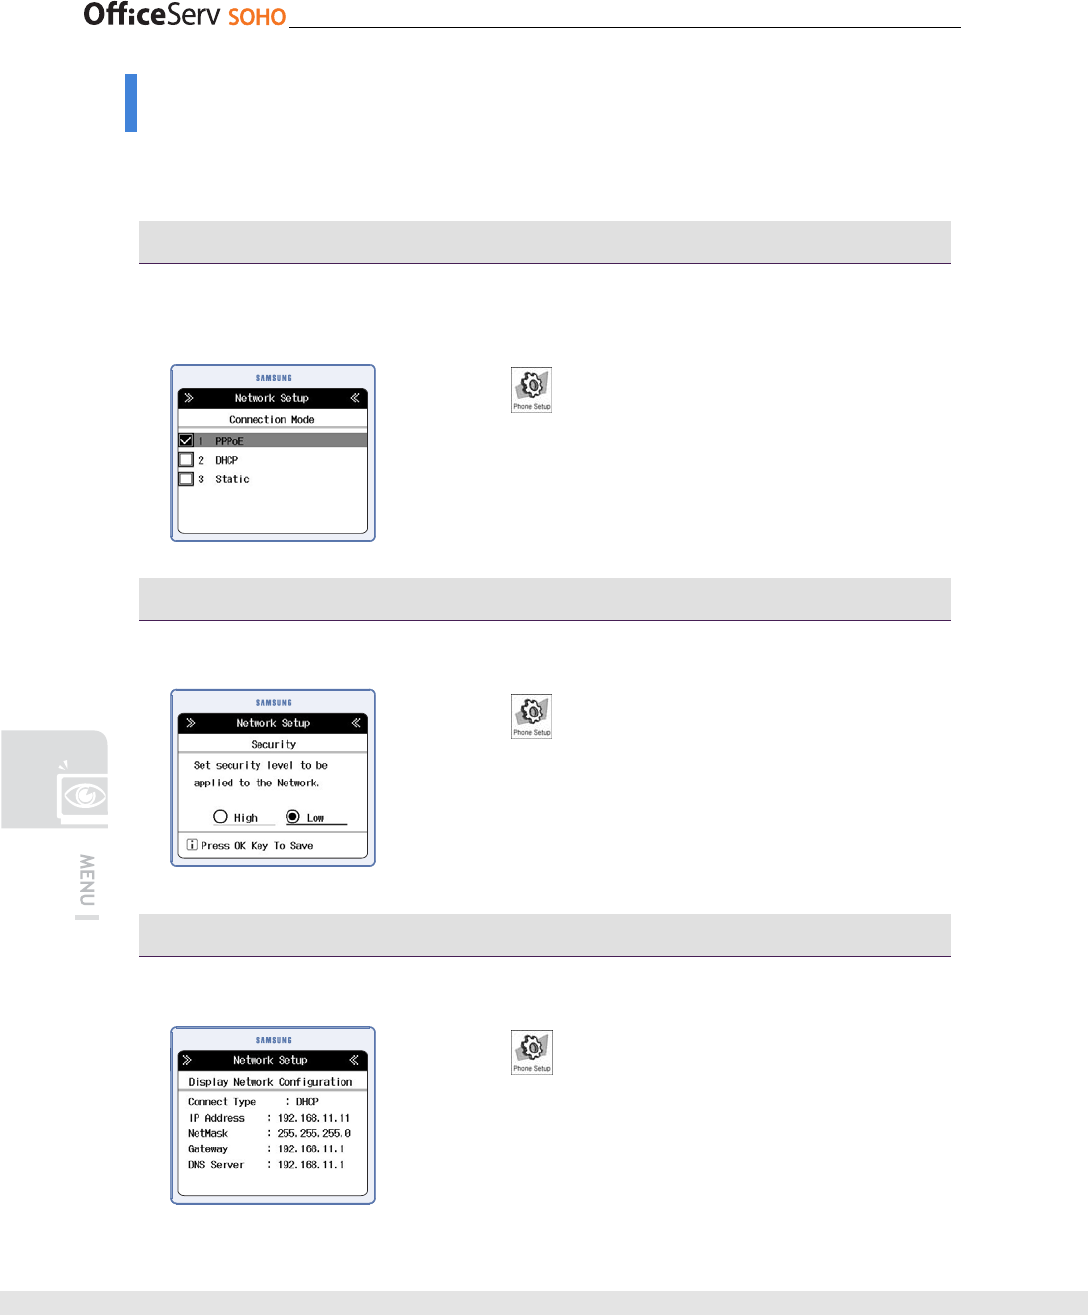
WLAN - Connection Mode
This function allows you to set the connection mode of the Officeserv SOHO. Select
the mode according to the using network connection type.
[Menu]
[4. Network Setup] [1. WAN Setup]
[1. Connection Mode] Enter Password Select the
Mode
WAN - Security
This function allows you to set the security level to be applied to the network.
[Menu]
[4. Network Setup] [1. WAN Setup]
[2. Security] Select the security level [OK]
WAN - Display Network Configuration
This function shows you current WAN configurations.
[Menu] [4. Network Setup] [1. WAN Setup]
[3. Display Network Configuration]
© SAMSUNG Electronics Co., Ltd. 107
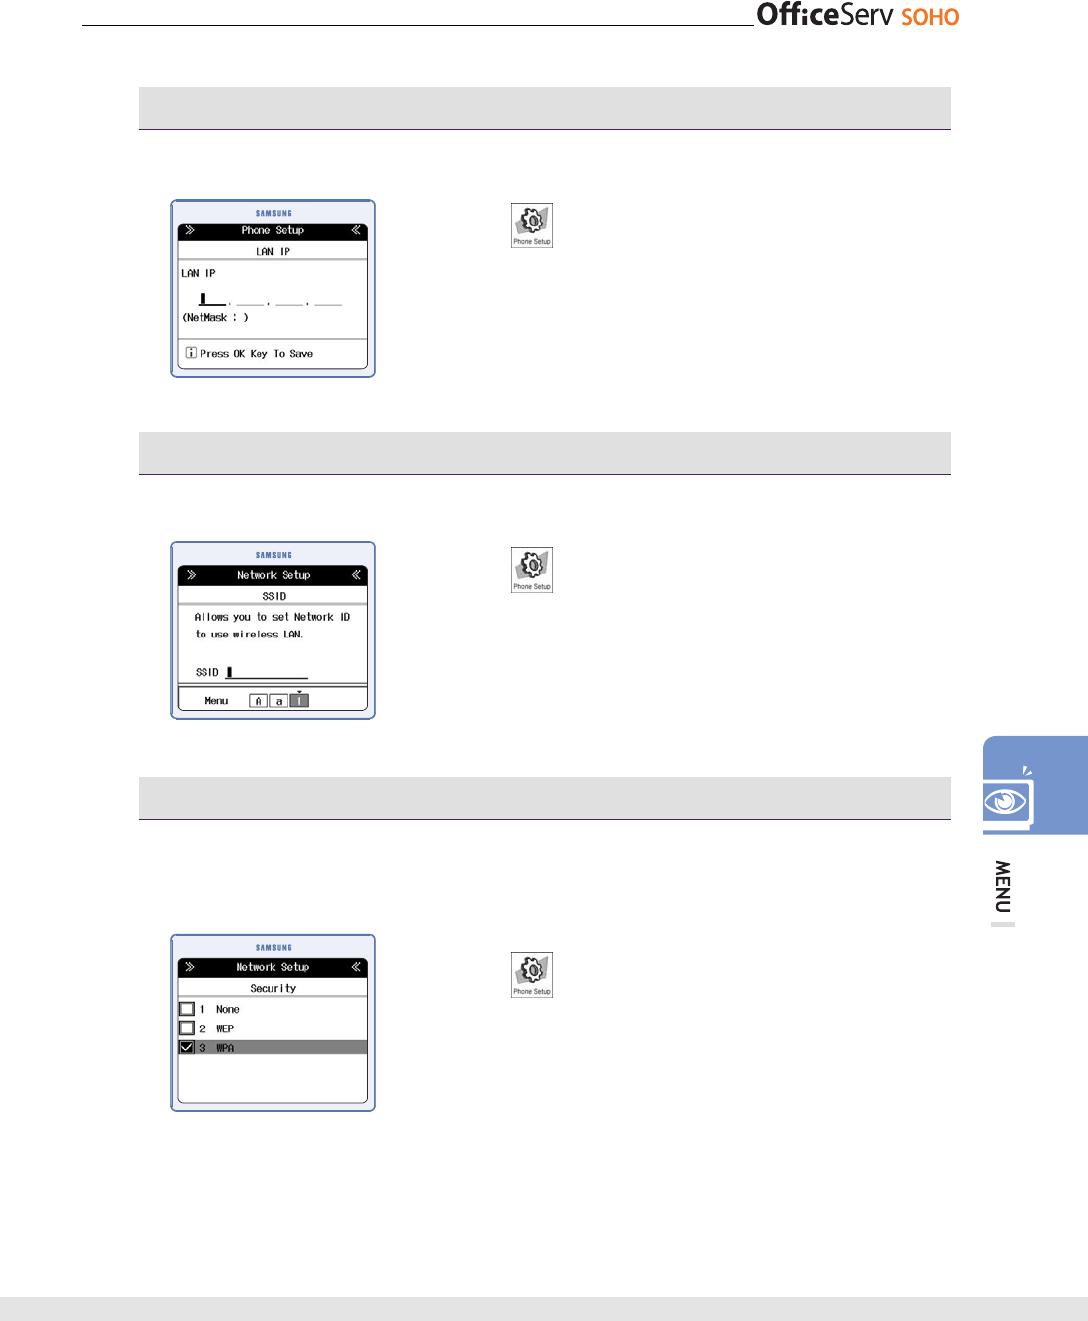
LAN - LAN IP
This function allows you to set LAN IP address.
[Menu] [4. Network Setup]
[2. LAN Setup] [1. LAN IP] Set the IP address [OK]
Wireless LAN - SSID
This function allows you to set SSID. SSID is used network ID for wireless LAN.
[Menu] [4. Network Setup]
[3. Wireless LAN Setup] [1. SSID] Set SSID.
Wireless LAN - Securty
This function allows you to set WLAN Security mode. There are three types of
security mode, None/ WEB/WPA. ‘None’ is not need additional settings.
[Menu] [4. Network Setup]
[3. Wireless LAN Setup] [2. Security]
108 © SAMSUNG Electronics Co., Ltd.
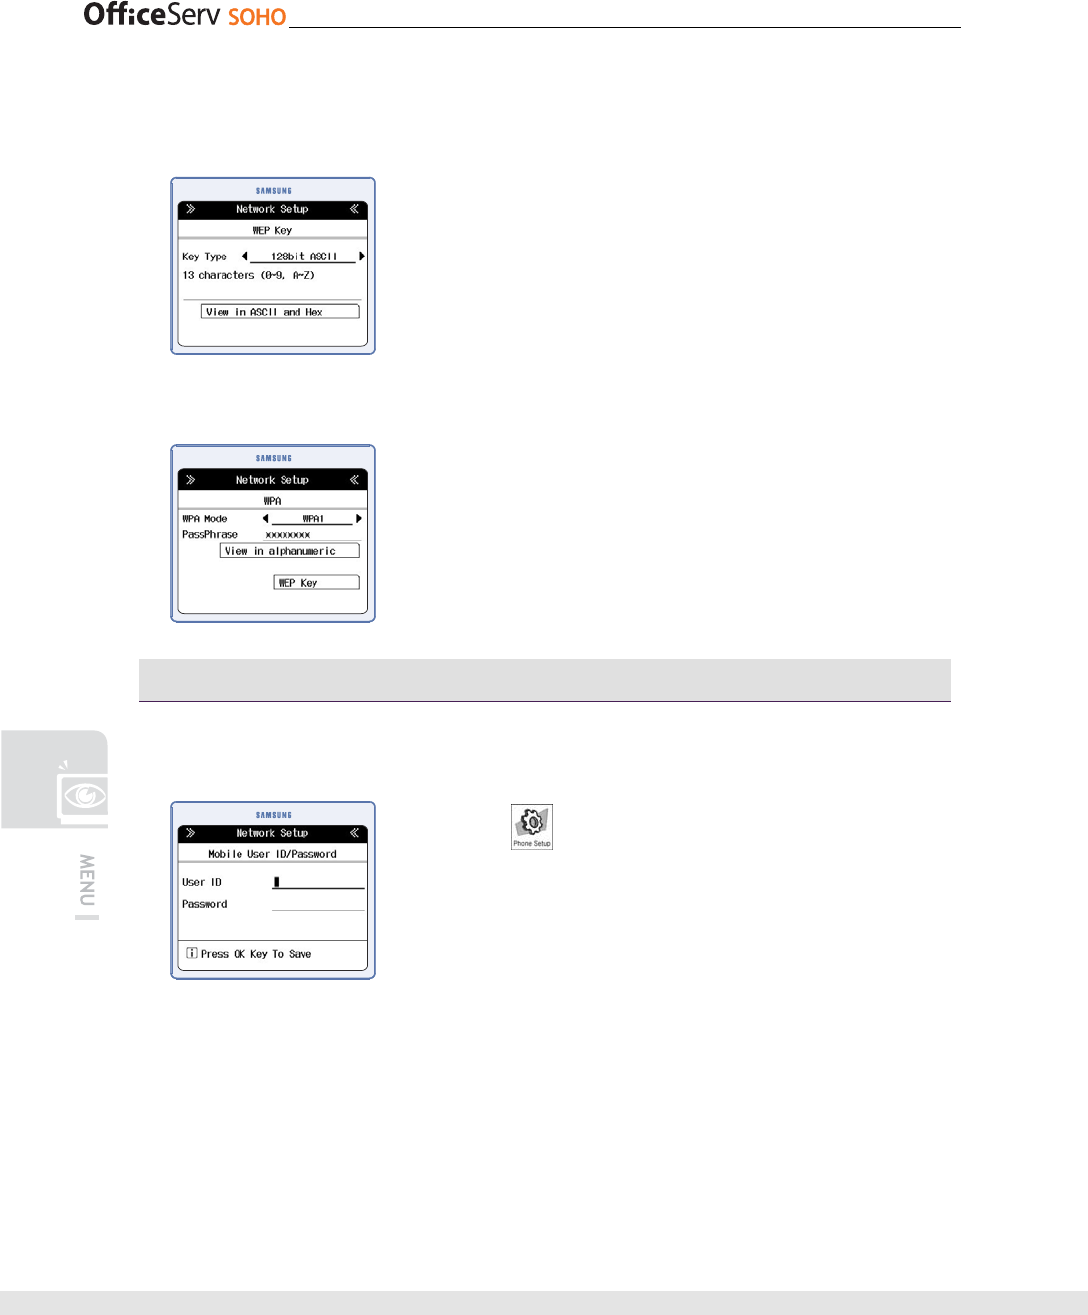
If you select WEP, Set Key type and enter the Web key. The character type is different
according to the selected Key Type.
If you select WPA, Set WPA Mode and enter the PassPhrase with HEX.
Wireless LAN - Mobile User ID/Password
This function allows you to set Mobile User ID/Password to register mobile phones to
OfficeServ SOHO.
[Menu] [4. Network Setup]
[3. Wireless LAN Setup] [3. Mobile user ID/Password]
Enter the User ID/ Password [OK]
© SAMSUNG Electronics Co., Ltd. 109
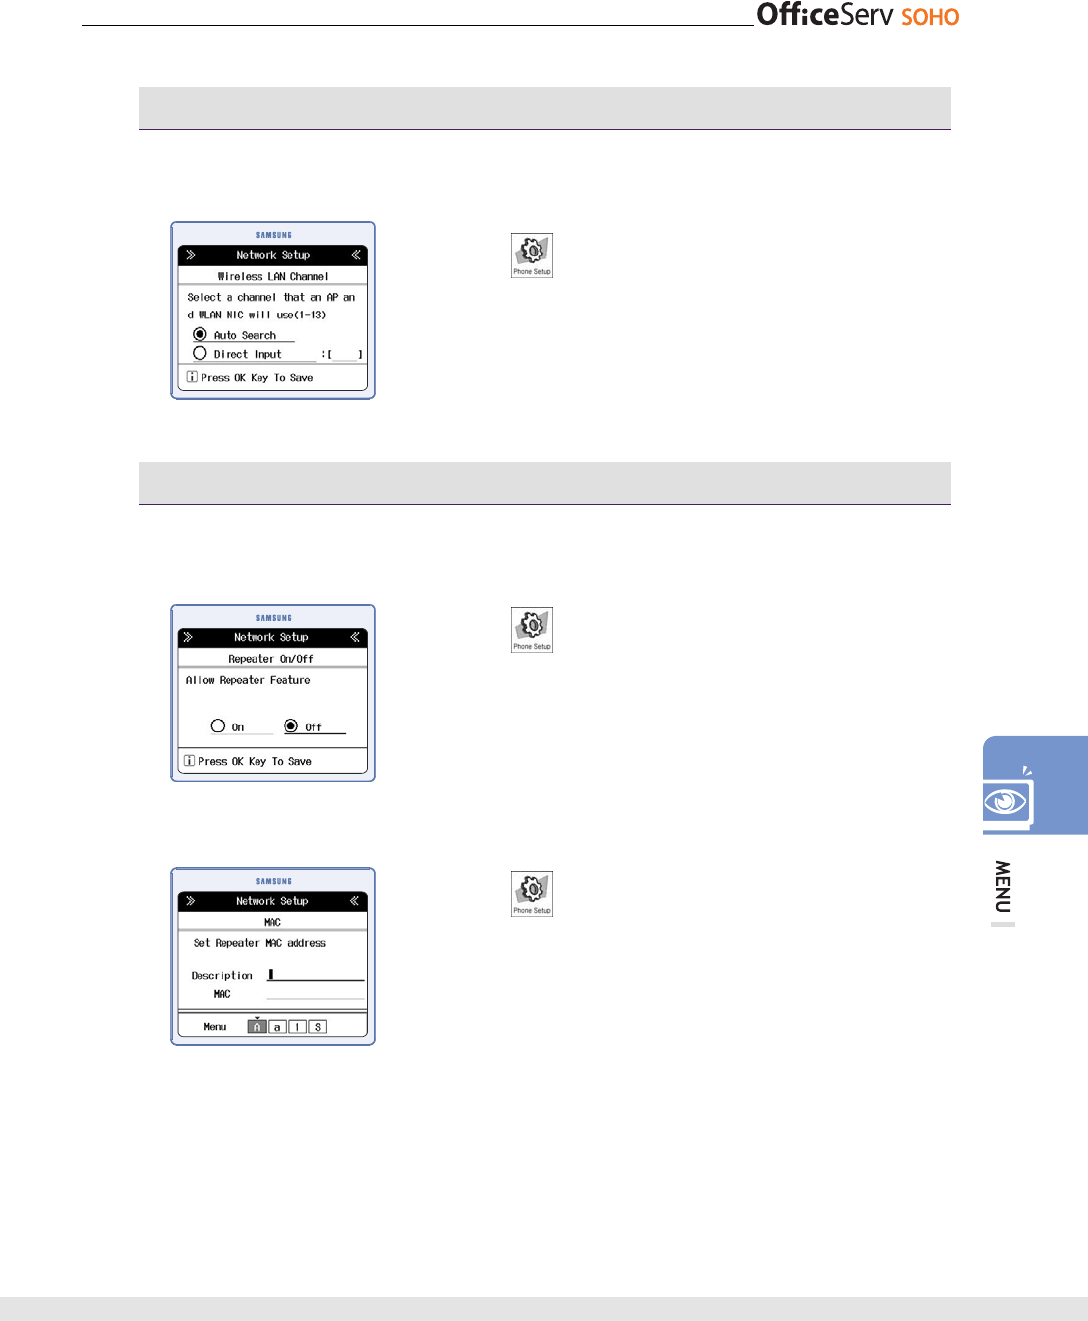
Wireless LAN - Wireless LAN Channel
This function allows you to set the Wireless LAN Channel that an AP and WLAN NIC
use.
[Menu] [4. Network Setup]
[3. Wireless LAN Setup] [4. Wireless LAN Channel]
Select the Select channel type [OK]
• If you select the ‘Direct Input’, enter the direct channel
number.
Wireless LAN - Repeater
This function allows you to set Repeater configurations when the OfficeServ SOHO is
used as Repeater mode.
[Menu] [4. Network Setup]
[3. Wireless LAN Setup] [5. Repeater] [1. Repeater
On/Off] Select On/Off [OK]
[Menu] [4. Network Setup]
[3. Wireless LAN Setup] [5. Repeater] [2. Repeater
List] Select the Repeater to edit [OK]
• Enter the Description of Repeater and MAC address.
• To delete Repeater, select the repeater on Repeater List
menu and Press [menu]. Select [1. Delete].
110 © SAMSUNG Electronics Co., Ltd.
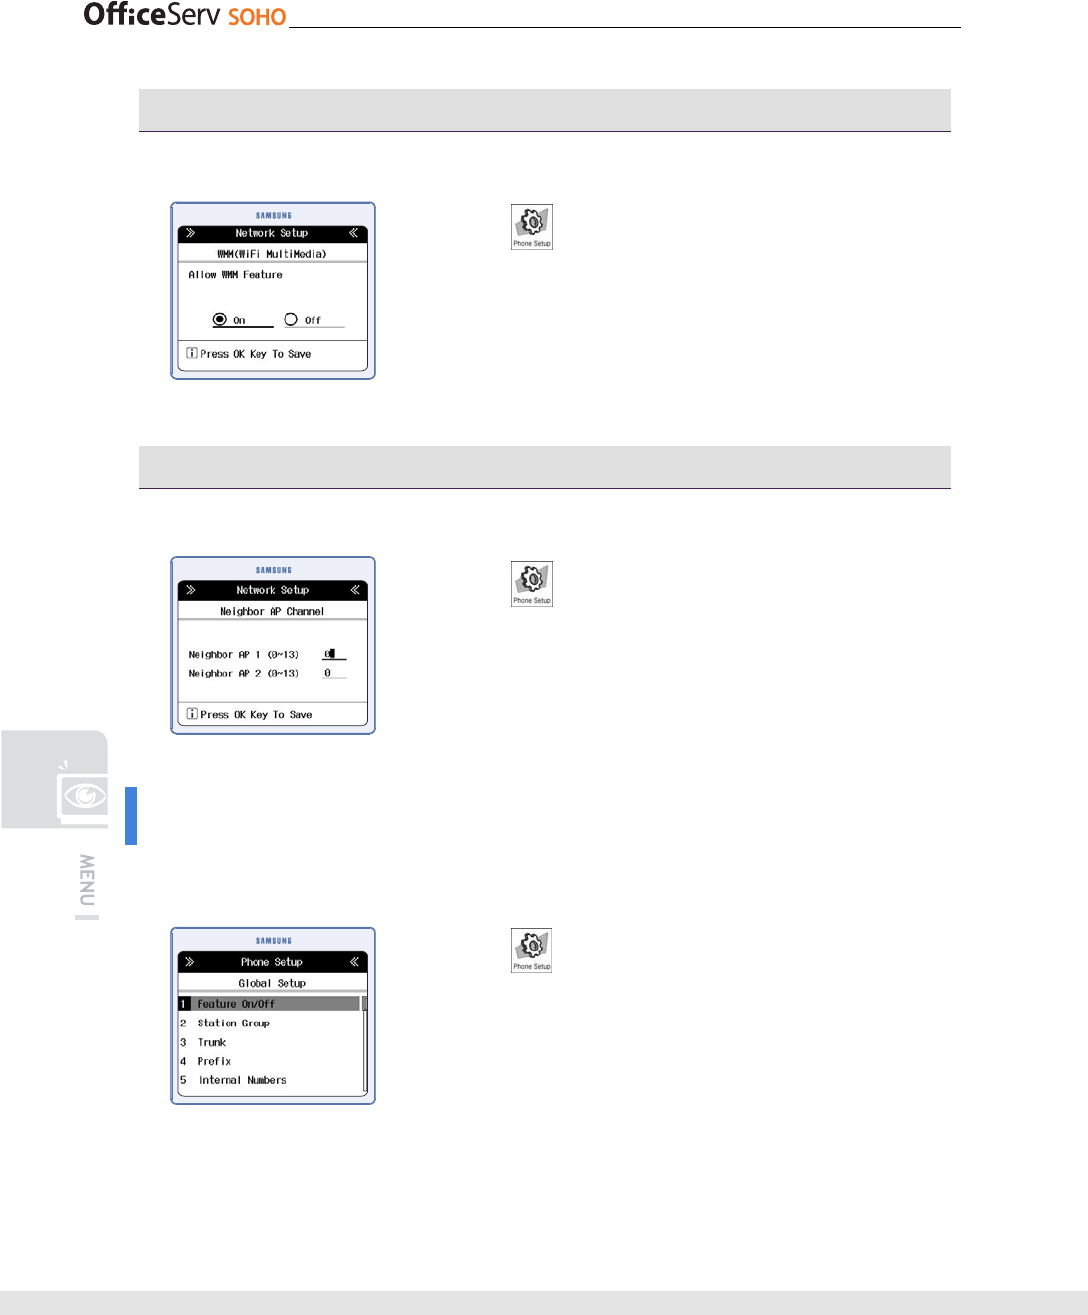
Wireless LAN - WMM (WiFi MultiMedia)
This function allows you to set the feature On/Off of WMM(WiFI Multimedia).
[Menu] [4. Network Setup]
[3. Wireless LAN Setup] [ 6. WMM] Set to On/Off
[OK]
Wireless LAN - Neighbor AP Channel
This function allows you to set the Neighbor AP Channel.
[Menu] [4. Network Setup]
[3. Wireless LAN Setup] [7. Neighbor AP Channel]
Set the AP channel [OK]
Global Setup
This function allows you to set Global configurations to use general and special features
of OfficeServ SOHO.
[Menu] [5. Global Setup]

© SAMSUNG Electronics Co., Ltd. 111
Feature On/Off - Music On Hold
This function allows to set the Hold Music when the call is holding.
[Menu] [5. Global Setup]
[1. Feature On/Off] [1. Music On Hold] Select the
Music On Hold Type [OK]
• Music On Hold types are Music/ Tone/ Silence.
Feature On/Off - Courtesy Answering
This function allows to set the Courtesy Answering.
[Menu] [5. Global Setup]
[1. Feature On/Off] [ 2. Courtesy Answering] Select
On/Off [OK]
Feature On/Off - CID Detection
This function allows to set CID Detection of external Line.
[Menu] [5. Global Setup]
[1. Feature On/Off] [ 3. CID Detection] Select On/Off
of Line 1/2 [OK]
112 © SAMSUNG Electronics Co., Ltd.
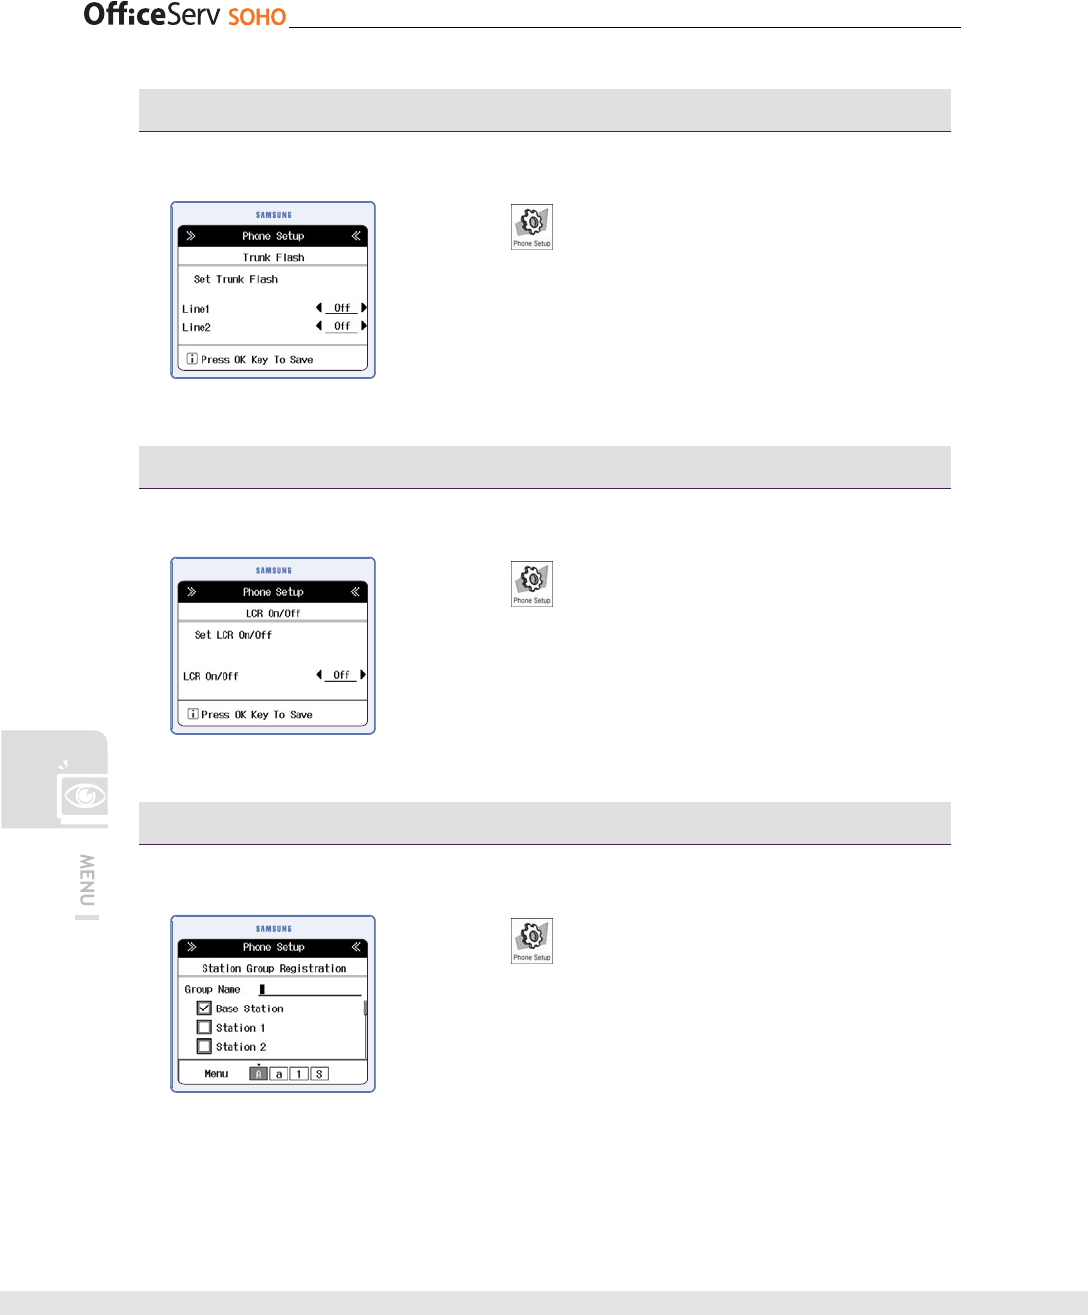
Feature On/Off - Trunk Flash
This function allows to set Trunk Flash of External Line.
[Menu] [5. Global Setup]
[1. Feature On/Off] [ 4. Trunk Flash] Select On/Off of
Line 1/2 [OK]
Feature On/Off - LCR On/Off
This function allows you to set LCR.
[Menu] [5. Global Setup]
[1. Feature On/Off] [ 5. LCR On/Off] Select On/Off
[OK]
Station Group Registration
This function allows you to organize the station group.
[Menu] [5. Global Setup]
[2. Station Group] Select the station group to edit
Press ‘*’ to select the station number to make a group
[OK]

© SAMSUNG Electronics Co., Ltd. 113
Trunk - Ring Destination
This function allows you to set Ring Destination.
[Menu] [5. Global Setup]
[3. Trunk] [1. Ring Destination] Select the station
number to Ring [OK]
Trunk - PRS Type
This function allows to set PRS Type of external Lines.
[Menu] [5. Global Setup]
[4. Trunk] [2. PRS Type] Set the PRS type of Line1/2
[OK]
Trunk - Dial Type
This function allows you to set Dial Type of external Lines.
[Menu] [5. Global Setup]
[5. Trunk] [3. Dial Type] Select dial type of Line1/2
[OK]
114 © SAMSUNG Electronics Co., Ltd.
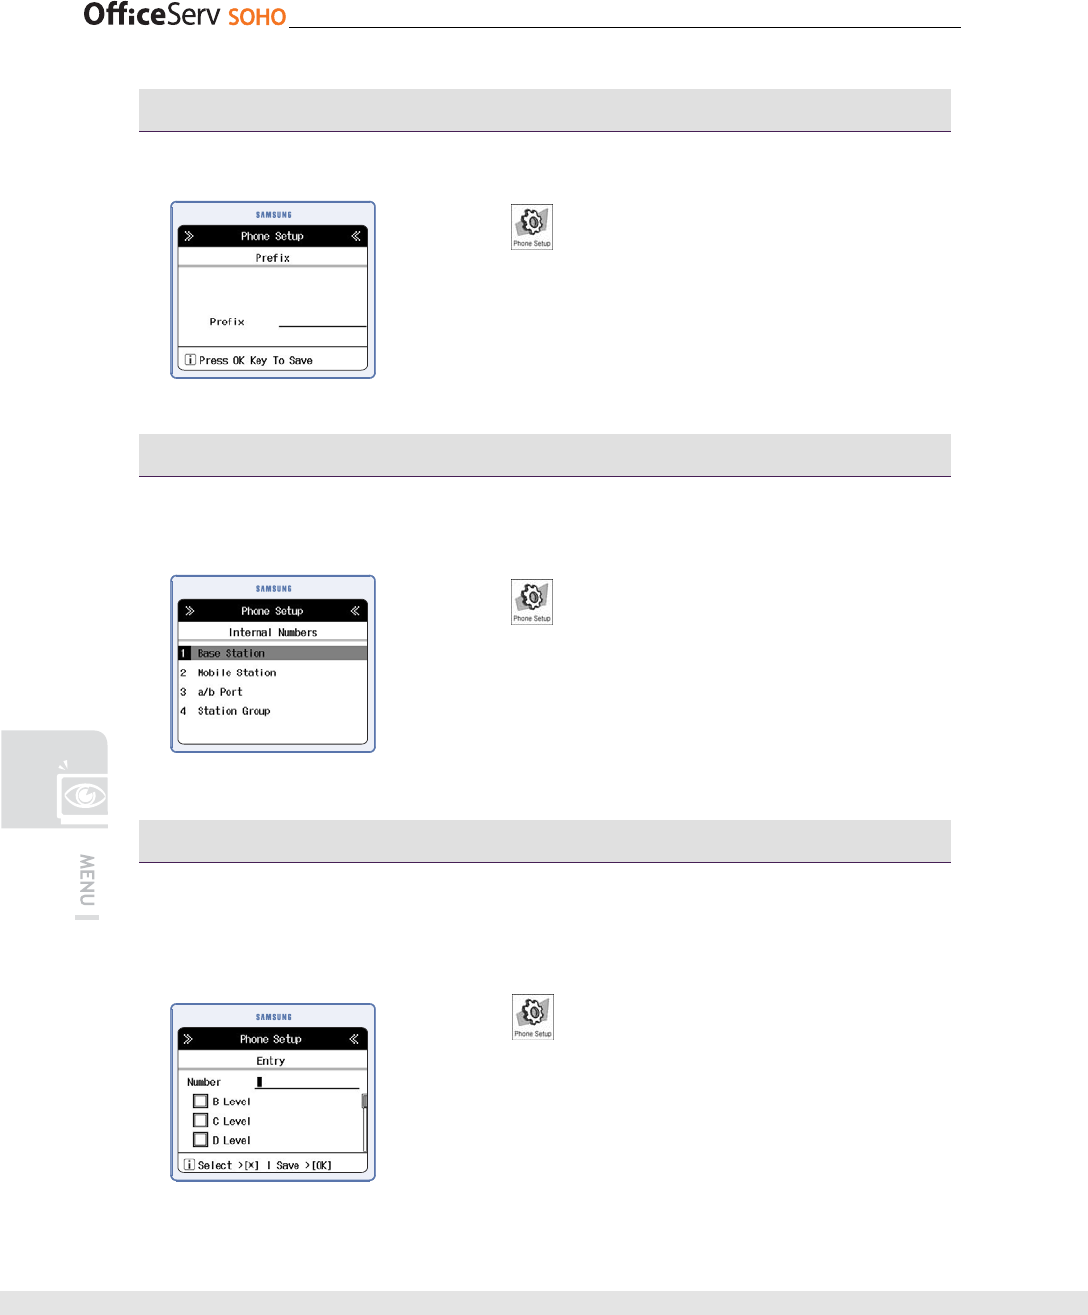
Prefix
This function allows you to set the number to prefix the destination call number.
[Menu] [5. Global Setup]
[6. Prefix] Enter the number [OK]
Internal Numbers
This function allows you to set internal numbers of Base station, mobile stations, a/b
port. Station group.
[Menu] [5. Global Setup]
[7. Internal Numbers] Select the station to set number
enter the number [OK]
Call Filter list
This function allows you to set the call filter list you would like to filter.
Black List
[Menu] [5. Global Setup]
[8. Call Filter list] [1. Black List] Select the number
to edit or ‘Not Registered’ to register the black list
Enter the number and set the filter level using ‘*’ [OK]
© SAMSUNG Electronics Co., Ltd. 115
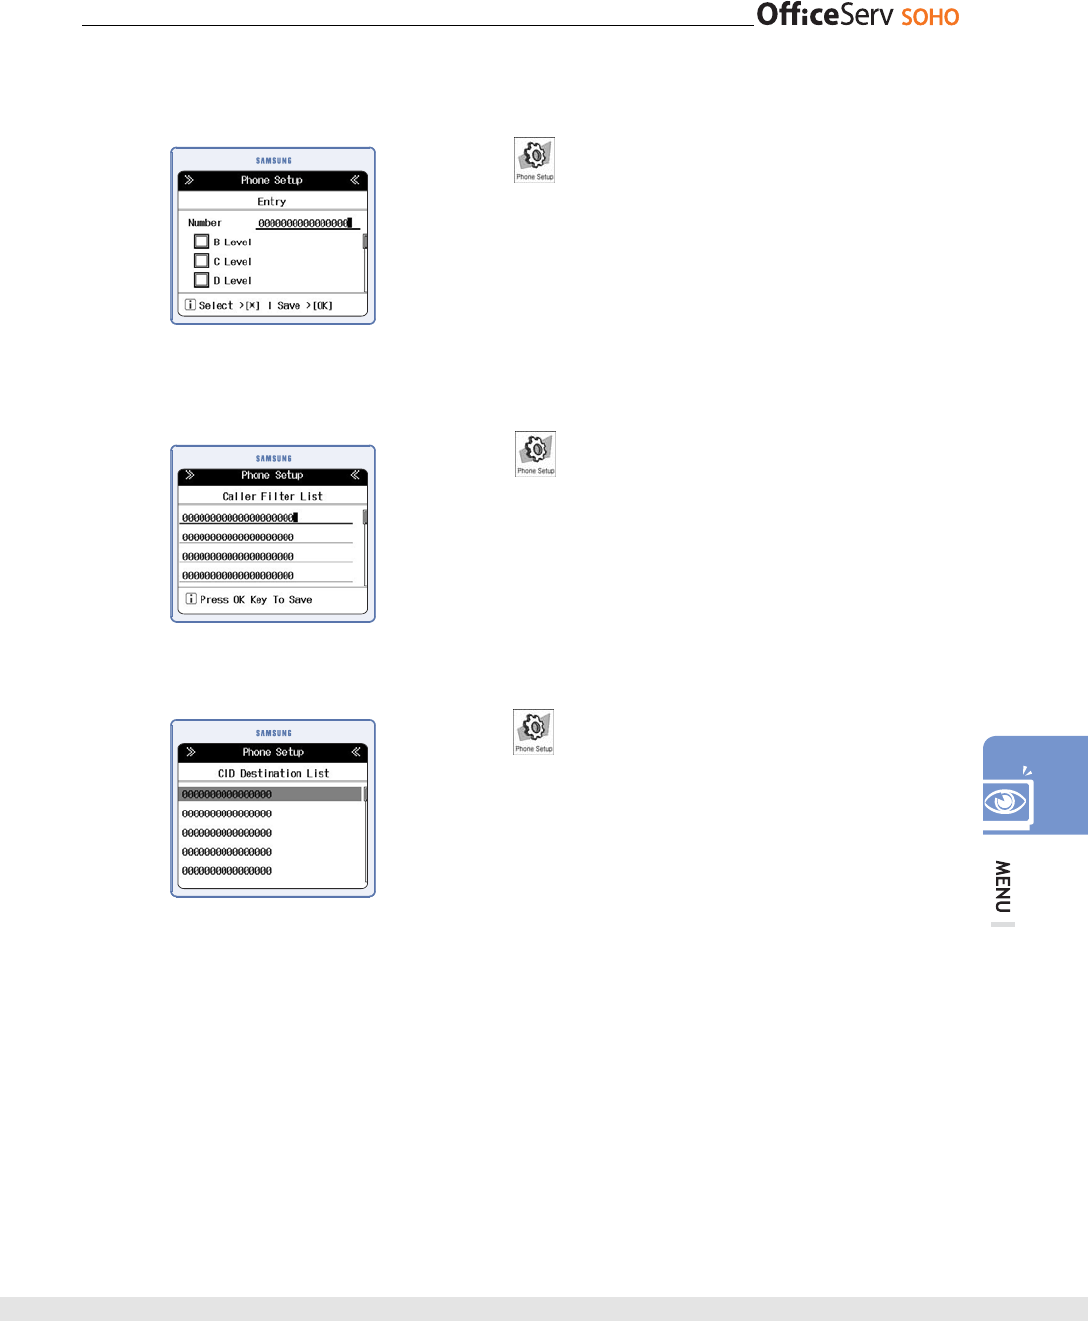
White List
[Menu] [5. Global Setup]
[8. Call Filter list] [2. White List] Select the number
to edit or ‘Not Registered’ to register the white list
Enter the number and set the filter level using ‘*’ [OK]
Caller Filter List
[Menu] [5. Global Setup]
[8. Call Filter list] [3. Caller Filter List] Enter the
number [OK]
CID Destination List
[Menu] [5. Global Setup]
[8. Call Filter list] [4. CID Destination List] Select the
number to edit or ‘Not Registered’ to register Enter the
Incomming number and set the station to apply [OK]
116 © SAMSUNG Electronics Co., Ltd.
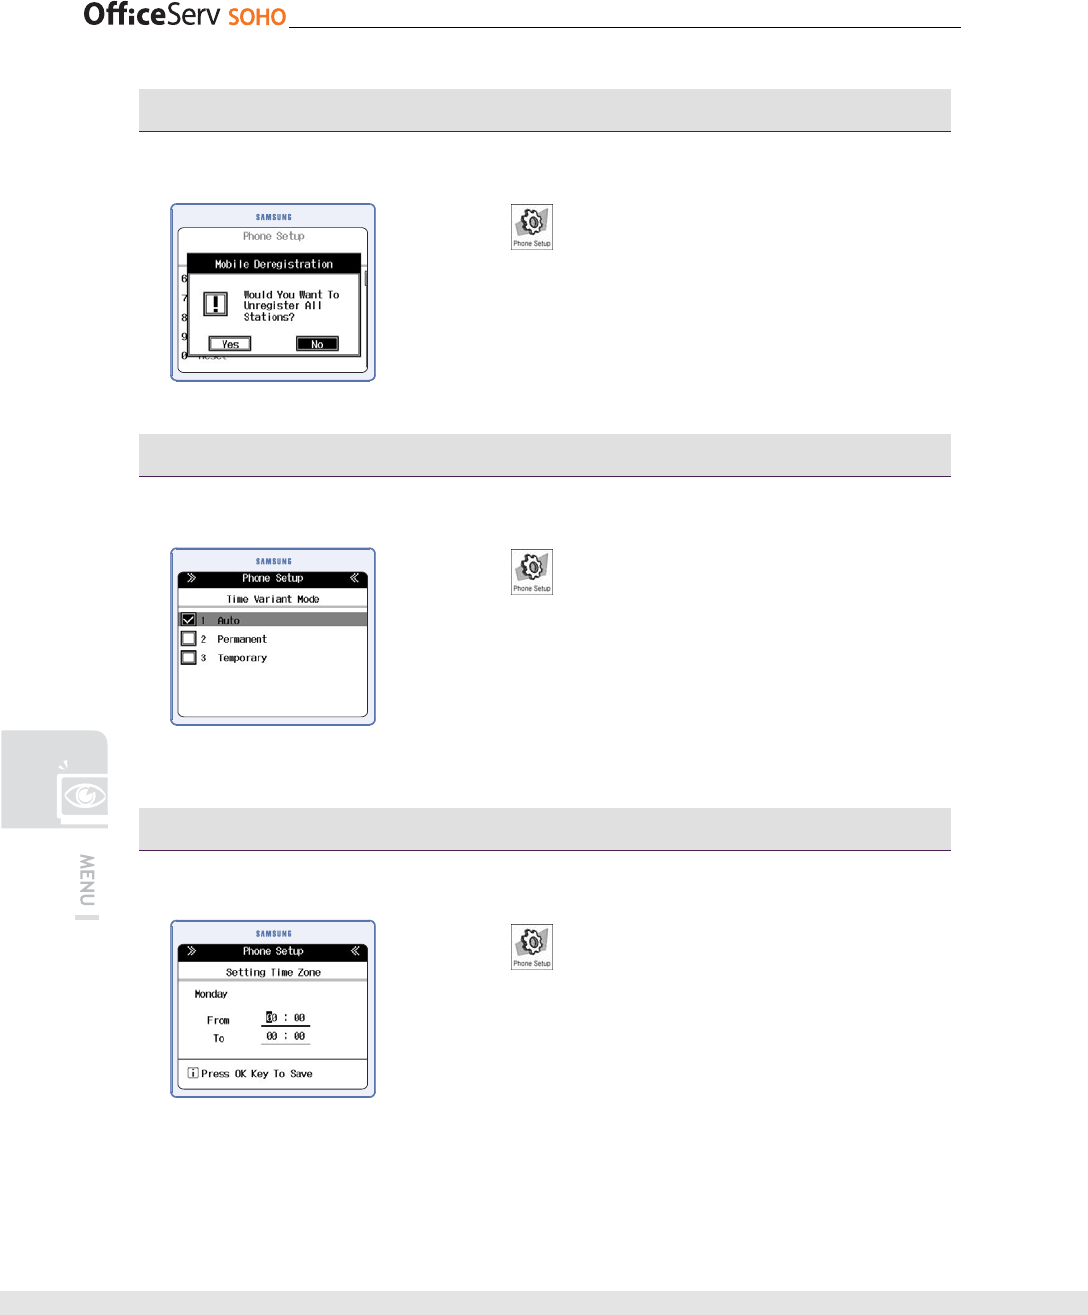
Mobile Deregistration
This function allows you to deregister all mobile phones.
[Menu] [5. Global Setup]
[7. Mobile Deregistration] Select Yes/No [OK]
Time Variant mode
This function allows you to set time variant Mode.
[Menu] [5. Global Setup]
[8. Time Variant] [1. Time Variant Mode] Select the
mode Auto/ Permanent/Temporary [OK]
• If you select Permanent of Temporary, set the day or night
apply to.
Time Variant - Time Zone
This function allows you to set time zone.
[Menu] [5. Global Setup]
[8. Time Variant] [2. Time Zone] Select the Day to
edit the time zone set the Time zone [OK]
© SAMSUNG Electronics Co., Ltd. 117
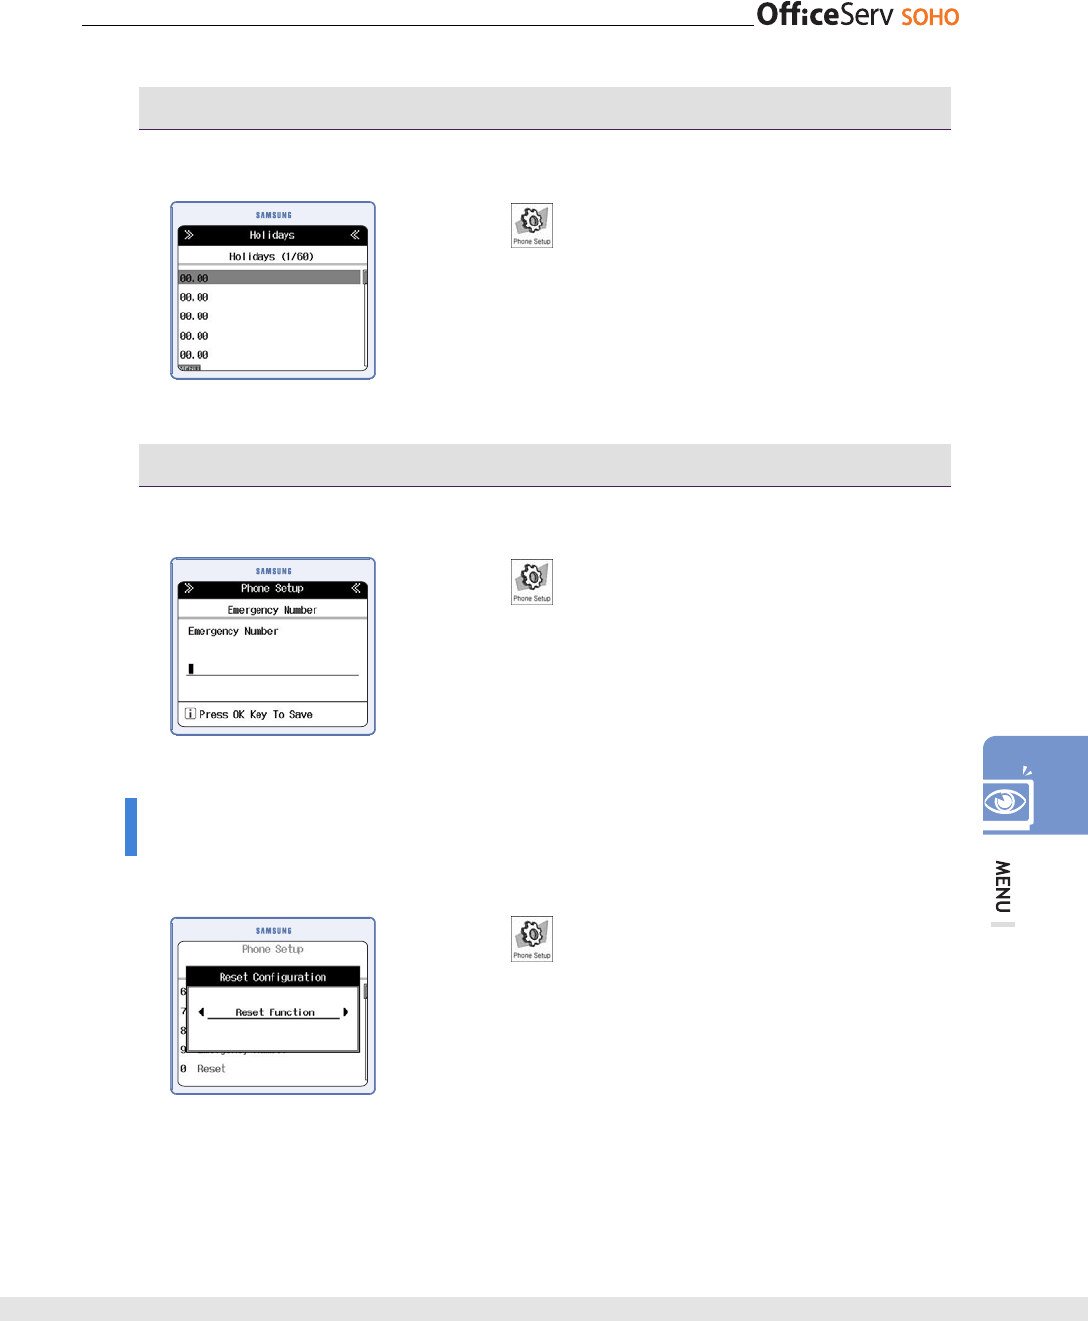
Time Variant - Holidays
This function allows you to set holidays.
[Menu] [5. Global Setup]
[8. Time Variant] [3. holidays] Enter the date [OK]
• After entering the date and press [ok], you can see the
holiday list like left LCD display. If you press [Menu], you
can add, modify, delete the holiday schedule.
Emergency Number
This function allows you to set emergency number.
MENU] [5. Global Setup]
[9. Emergency Number] Select the number to edit or
‘Not Registered’ to add the emergency number [OK]
Enter or modify emergency number [OK]
Reset
This function allows you how to reset the OfficeServ SOHO.
MENU] [5. Global Setup]
[0. Reset] Enter Password Select Reset Option,
Reset Function/Reset All [OK]
118 © SAMSUNG Electronics Co., Ltd.
Easy Install
Reference the ‘Easy Install’ Section in this guide. [Menu] [6. Easy Install]
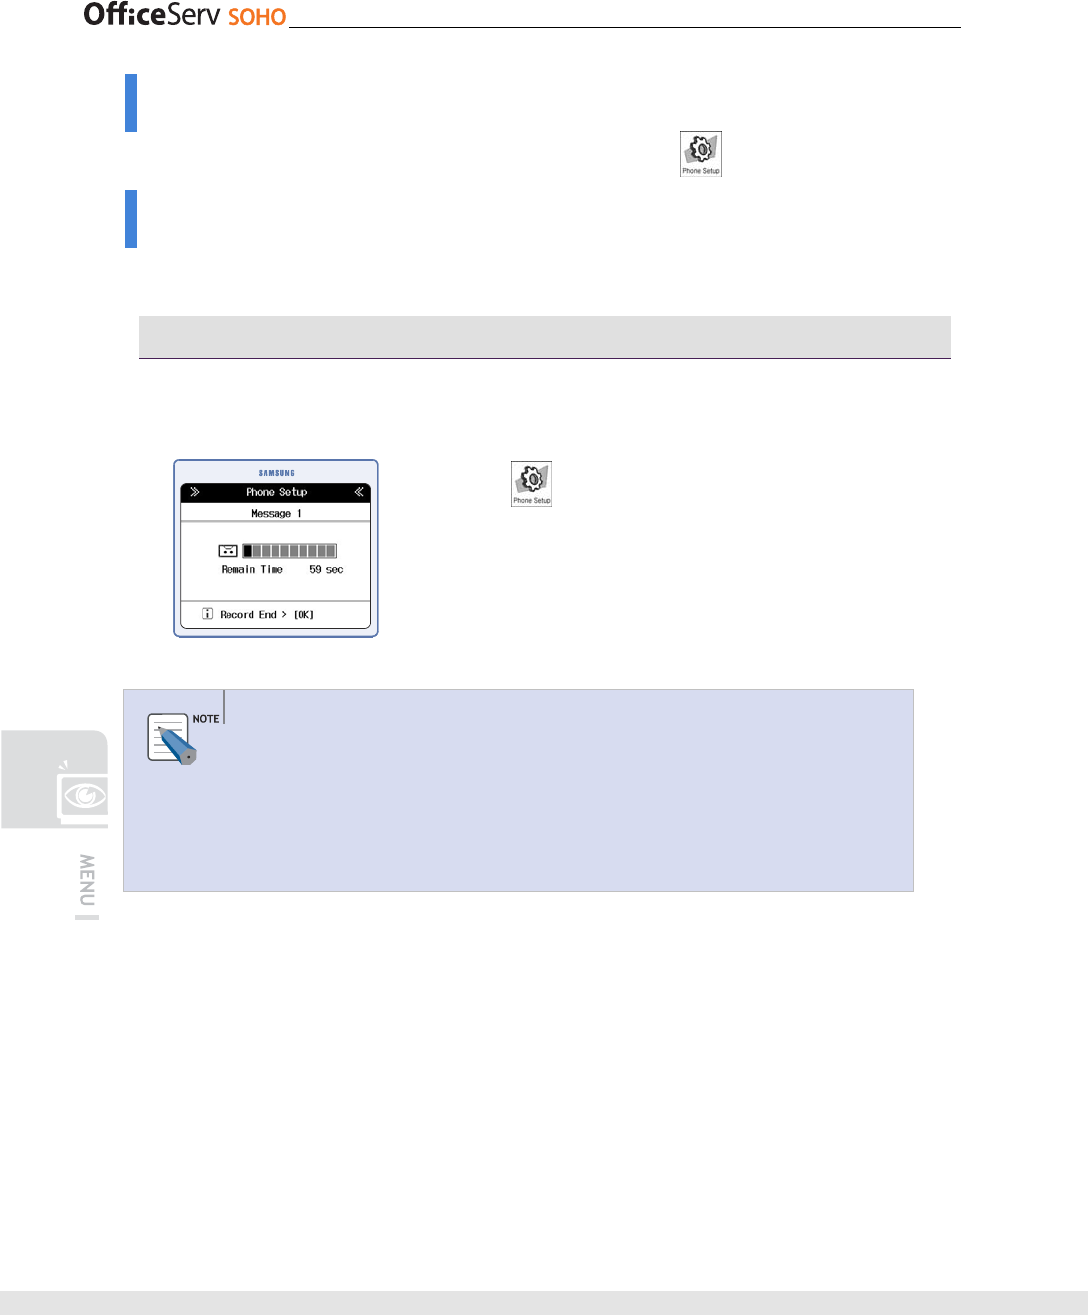
Auto Attendant
This function allows you to set AA(Auto Attendant).
Record
This function allows you to record an auto attendant message if Auto Attendant is
selected.
[Menu]
[7. Auto Attendant] [1. Record]
Select Message1 or Message2 [OK] Record the
Message To finish recording, Press [End] [OK]
• An auto attendant message can be recorded for up to one
minute.
Example of Auto Attendant Message
If ‘Auto Attendant’ is selected for an incoming call destination, an auto attendant
message can introduce a company or station numbers. For example, ‘{{ trade
company. Press the target dept number. Press 1 for Sales dept, press 2 for General
Managing dept, and press 0 for introduction’. Station numbers can be set in ‘Auto
Attendant Ring Assign’ of ‘Ring Destination’.
© SAMSUNG Electronics Co., Ltd. 119
Play
This function allows you to play an auto attendant message to check the message.
[Menu] [7. Auto Attendant] [1. Record] Select Message1 or
Message2 [OK] Play an auto attendant message
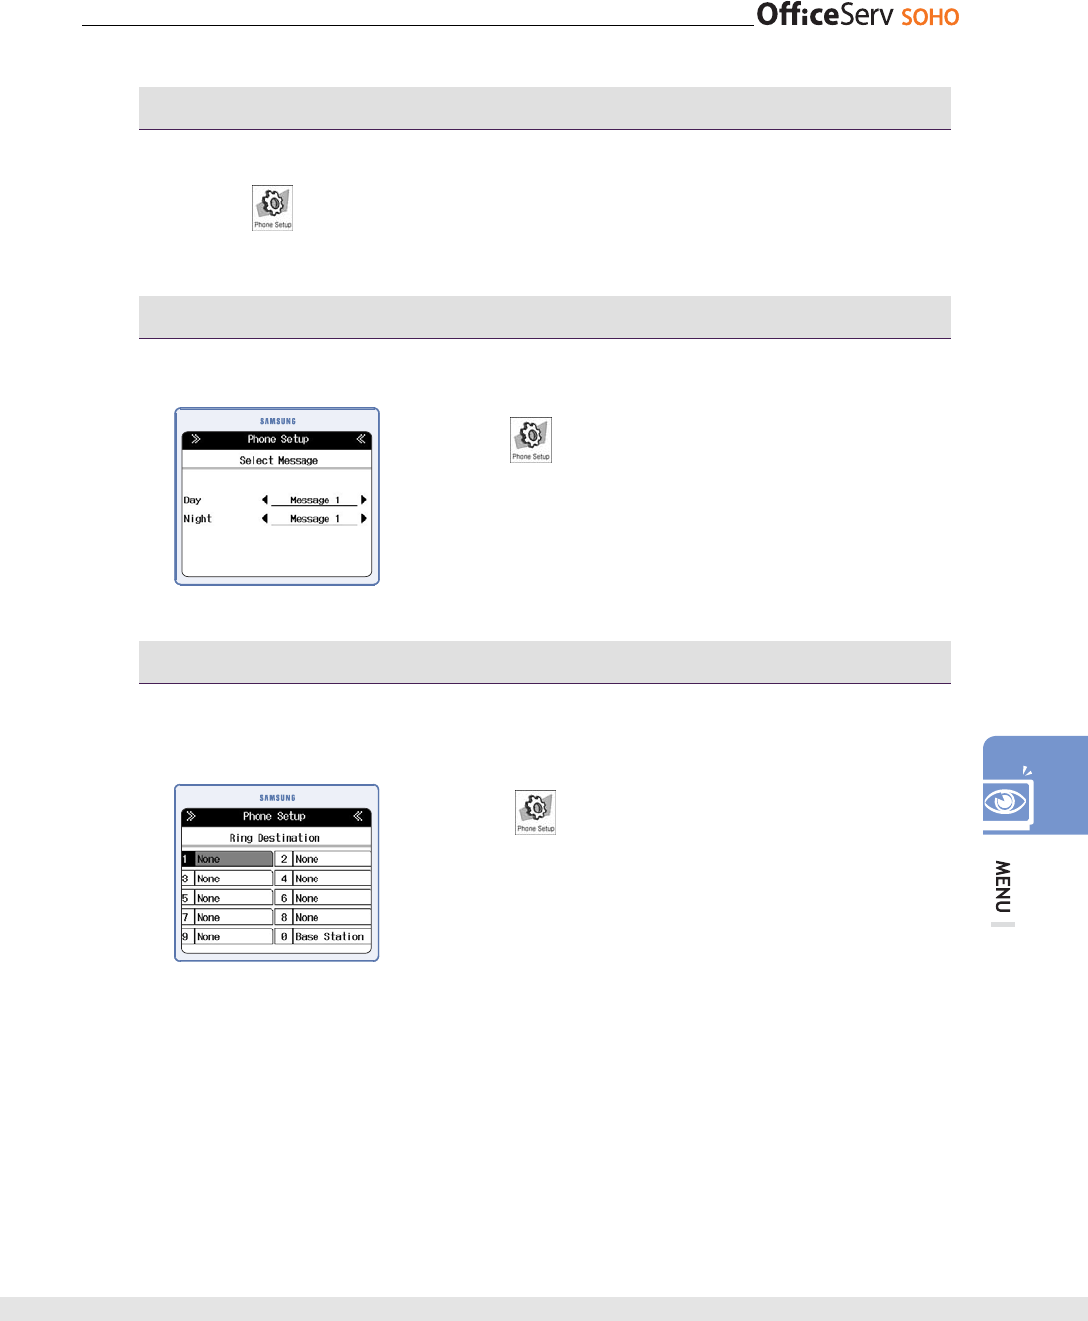
Select message
This function allows you to select the message to use AA message.
[Menu] [7. Auto Attendant] [3. Select
Message] Set the Message1 or Message2 [OK]
Ring Destination
This function allows you to set destination stations for each button when using the
Auto Attendant function for a call incoming through a C.O. line.
[Menu]
[7. Auto Attendant] [4. Ring
Destination] select Day or Night Select the target
number [OK] Set Auto Attendant Ring Assign
[OK]
120 © SAMSUNG Electronics Co., Ltd.
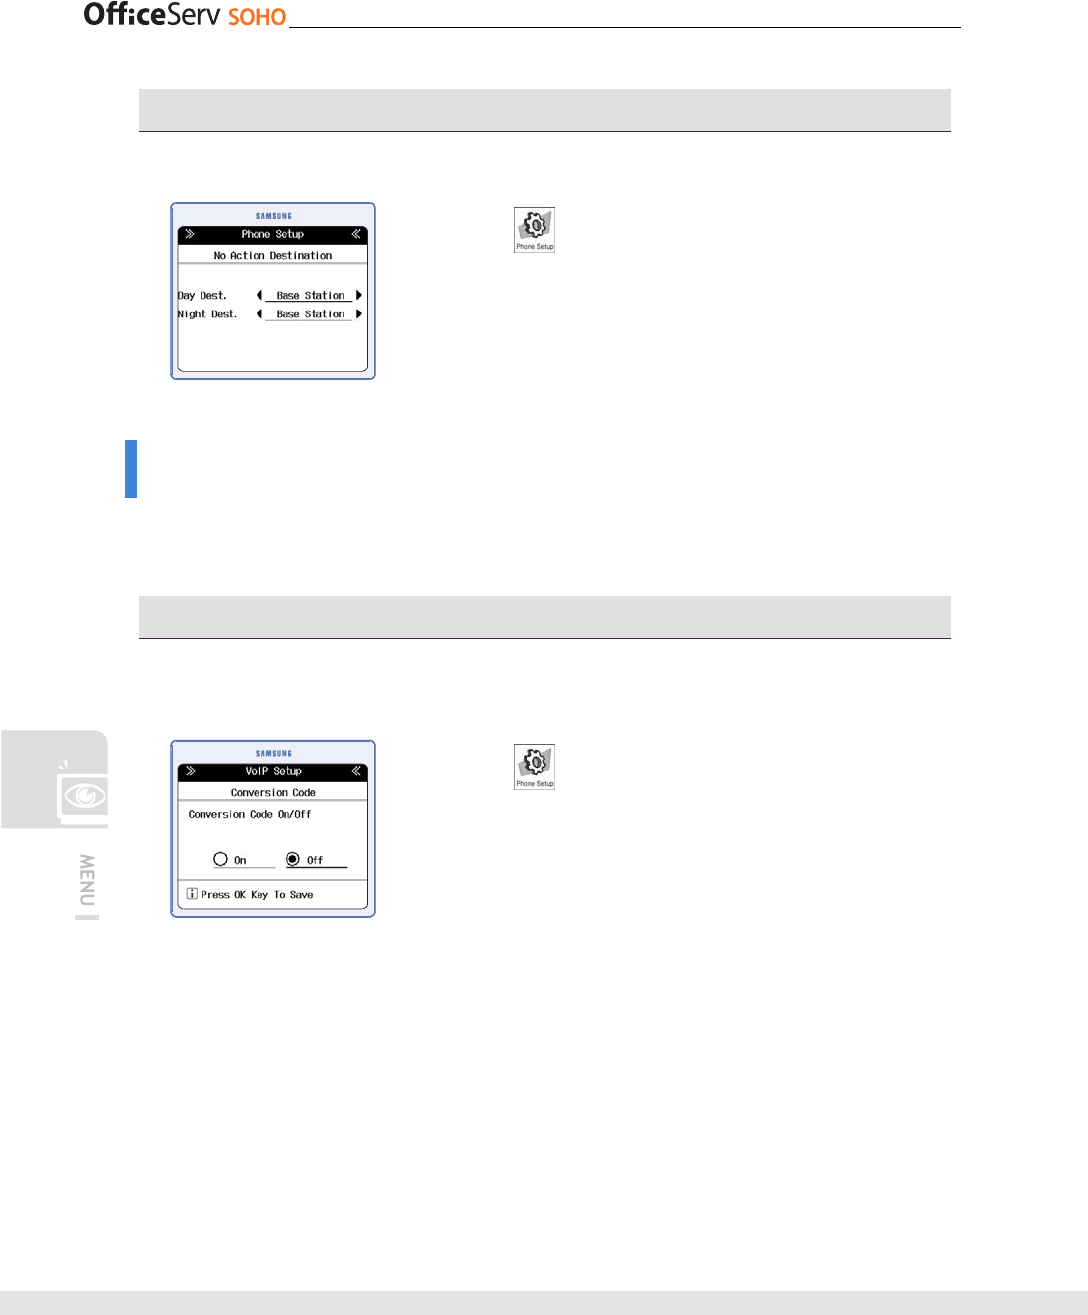
No Action Destination
This function allows you to set destination when no station answer the call.
[Menu]
[7. Auto Attendant] [5. No Action
Destination] Set the target station.
VoIP Setup
This function allows you to set VoIP configurations. Before setting, contact the ISP for
VoIP service.
Feature On/Off - Conversion Code
This function allows you to set the Conversion Code On/Off. If it’s set to On, change
the call mode with pressing ‘#’.
[Menu] [8. VoIP Setup] [1. Feature On/Off]
[1. Conversion Code] Select On/Off [OK]
© SAMSUNG Electronics Co., Ltd. 121
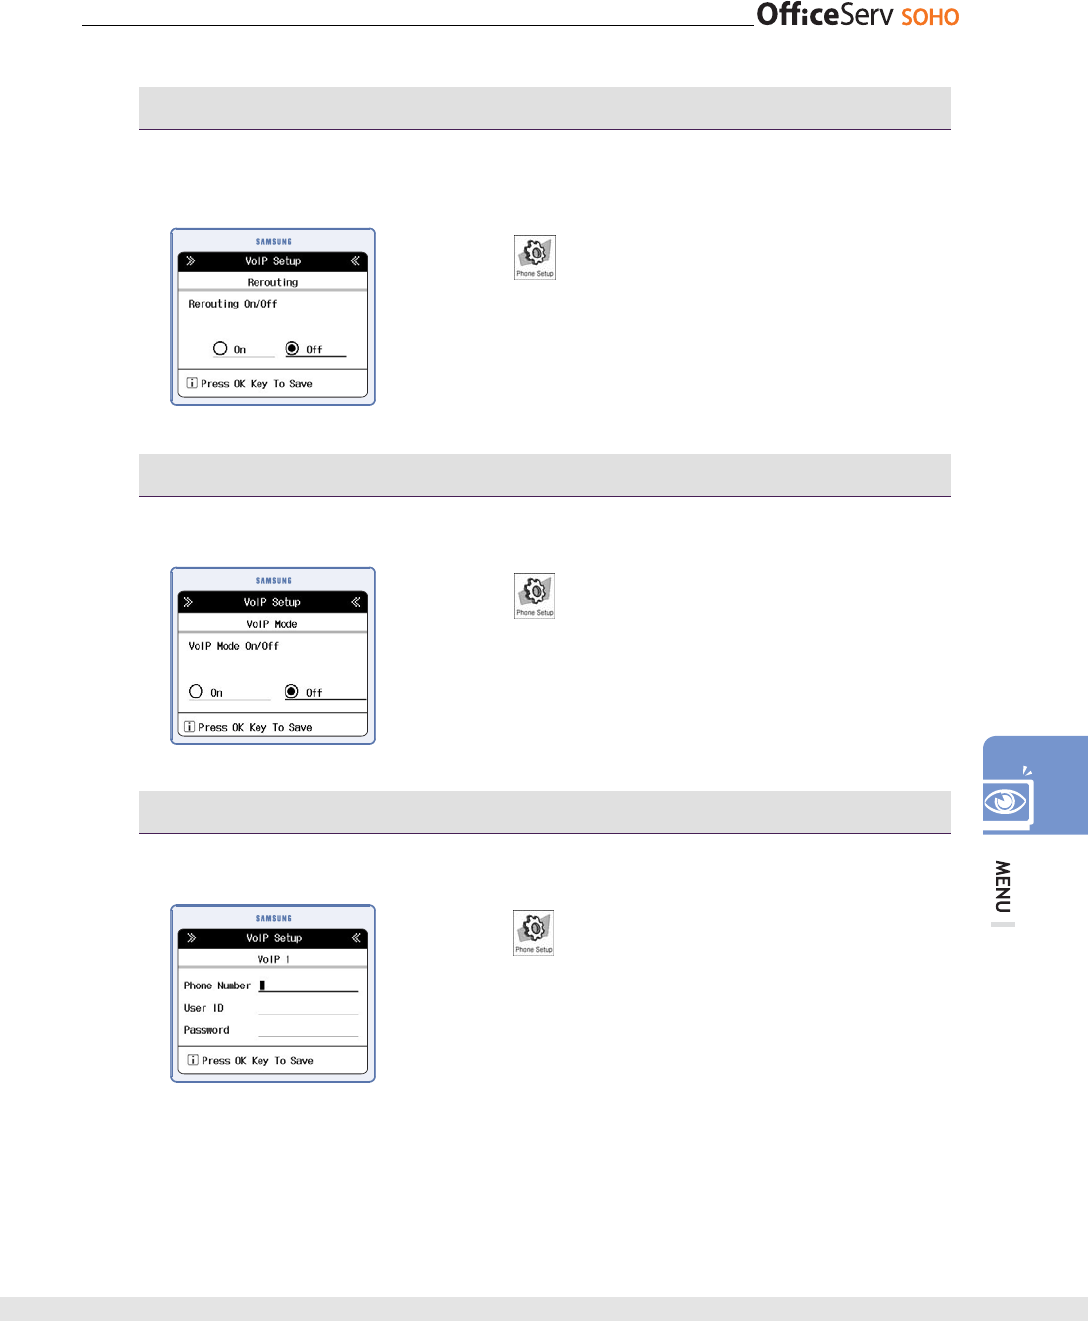
Feature On/Off - Rerouting
This function allows you to set rerouting or not, when VoIP or C.O line has some
problem.
[Menu]
[8. VoIP Setup] [1. Feature On/Off]
[2. Rerouting] Select On/Off [OK]
Feature On/Off - VoIP mode
This function allows you to set the default calling mode to VoIP mode or not.
[Menu] [8. VoIP Setup] [1. Feature On/Off]
[2. VoIP Mode] Select On/Off [OK]
Account registration
This function allows you to register the account for VoIP service.
[Menu] [8. VoIP Setup] [2. Account
Registration Select the VoIP number to register or to
edit Enter the Phone number, user ID and Password
[OK]
122 © SAMSUNG Electronics Co., Ltd.
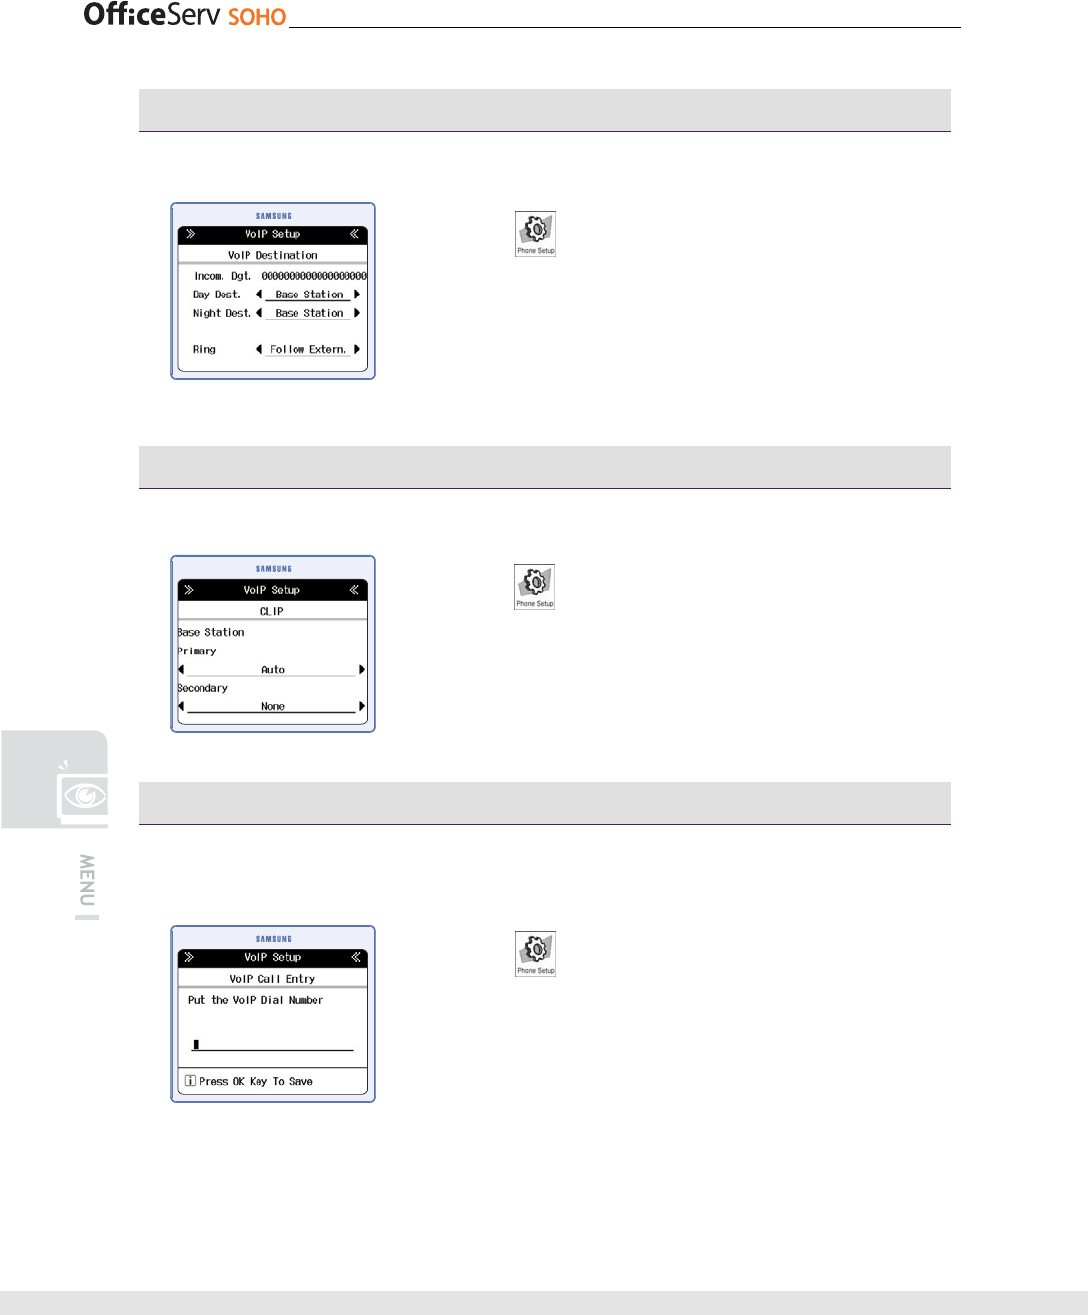
Destination Table
This function allows you to set Destination table using incoming digit.
[Menu] [8. VoIP Setup] [3. Destination table]
Select the target number Set the destination station
[OK]
CLIP
This function allows you to set the CLIP.
[Menu] [8. VoIP Setup] [4. CLIP] Select the
target station Set the CLIP [OK]
VoIP Call List
This function allows you to set the call number list that should be called through VoIP
Line.
[Menu] [8. VoIP Setup] [5. VoIP Call List]
Select the target number or ‘Not Registered’ to edd
Enter the number [OK]
© SAMSUNG Electronics Co., Ltd. 123
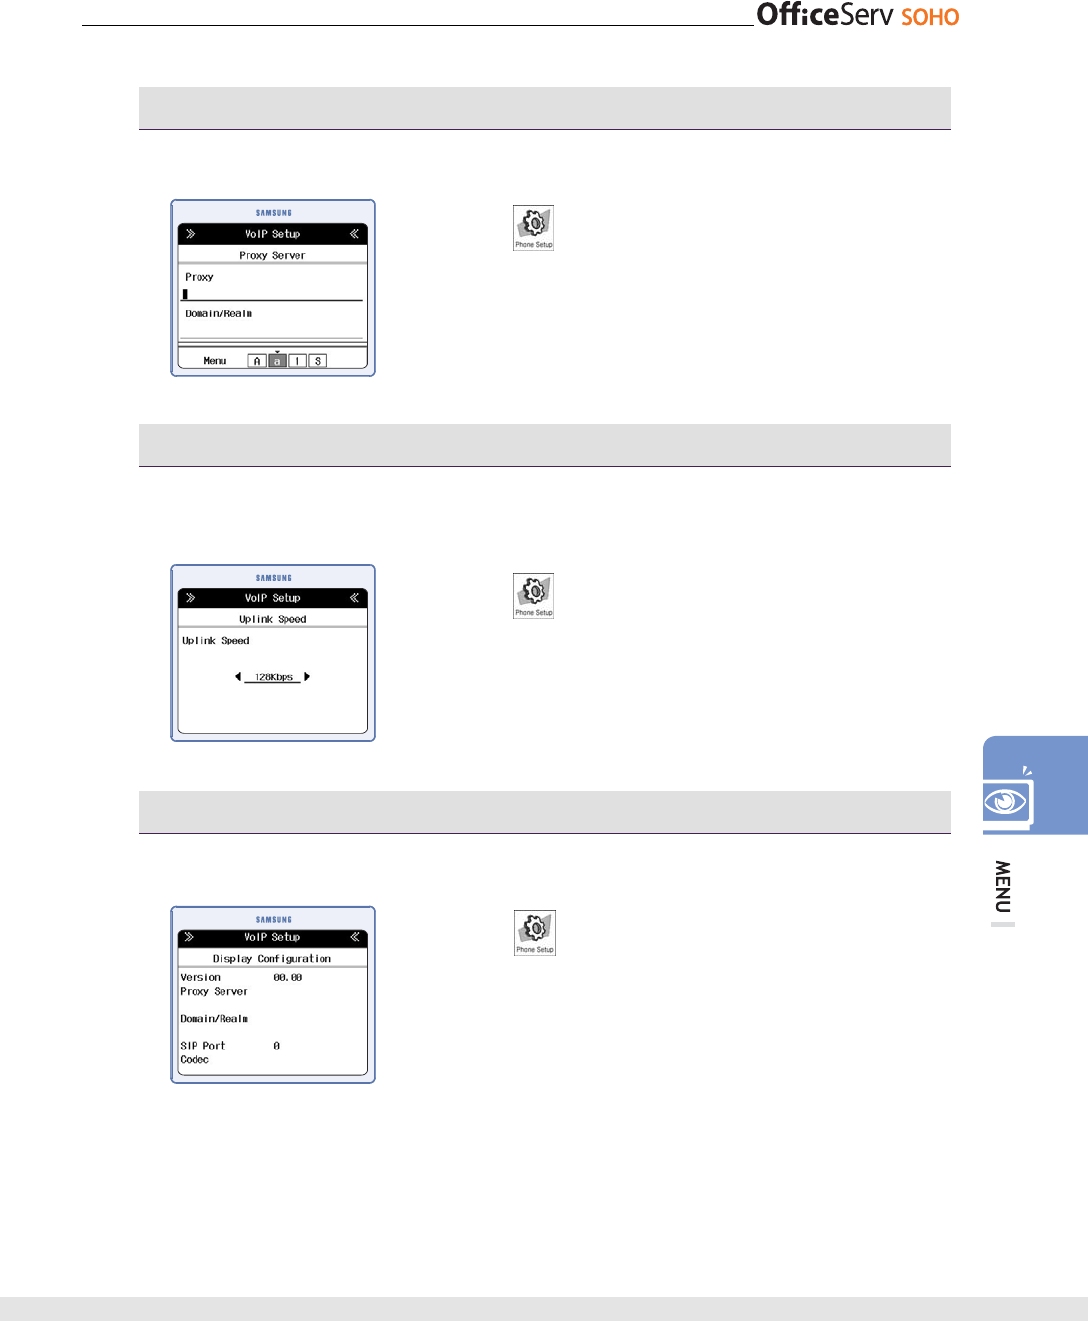
Proxy Server
This function allows you to set Proxy server URL for VoIP service.
[Menu] [8. VoIP Setup] [6. Proxy Server]
Enter the URL to use proxy Server [OK]
Uplink Speed
This function allows you to set the uplink speed to VoIP call. According to uplink
speed, the maximum VoIP call number is changed.
[Menu] [8. VoIP Setup] [7. Uplink Speed]
Select the speed [OK]
Display Configuration
This function shows you the current VoIP configurations.
[Menu] [8. VoIP Setup] [8. Display
Configuration] [OK]
124 © SAMSUNG Electronics Co., Ltd.
Least Cost Routing
This function allows you to set LCR(Least Cost Routing).
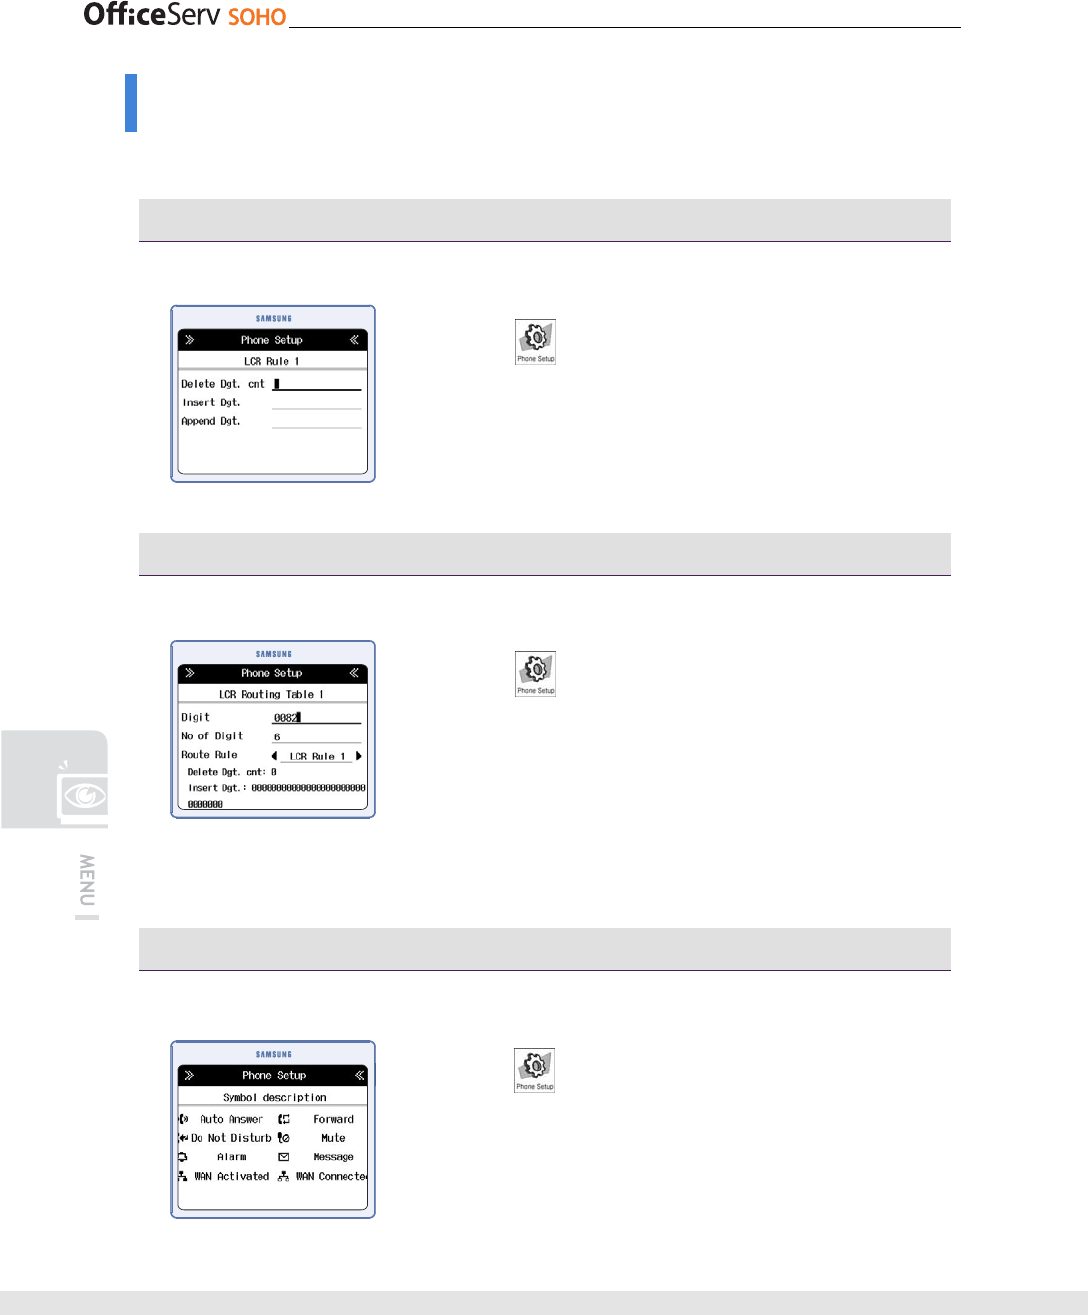
LCR Rules
This function allows you to set LCR rules.
[Menu] [9. Least Cost Routing] [1. LCR
Rules] Enter the digit [OK]
• Delete Dgt. cnt: Digit count to delete.
• Inser Dgt: Number to Inser.to dial number.
• Append Dgt: Nember to Append to dial number.
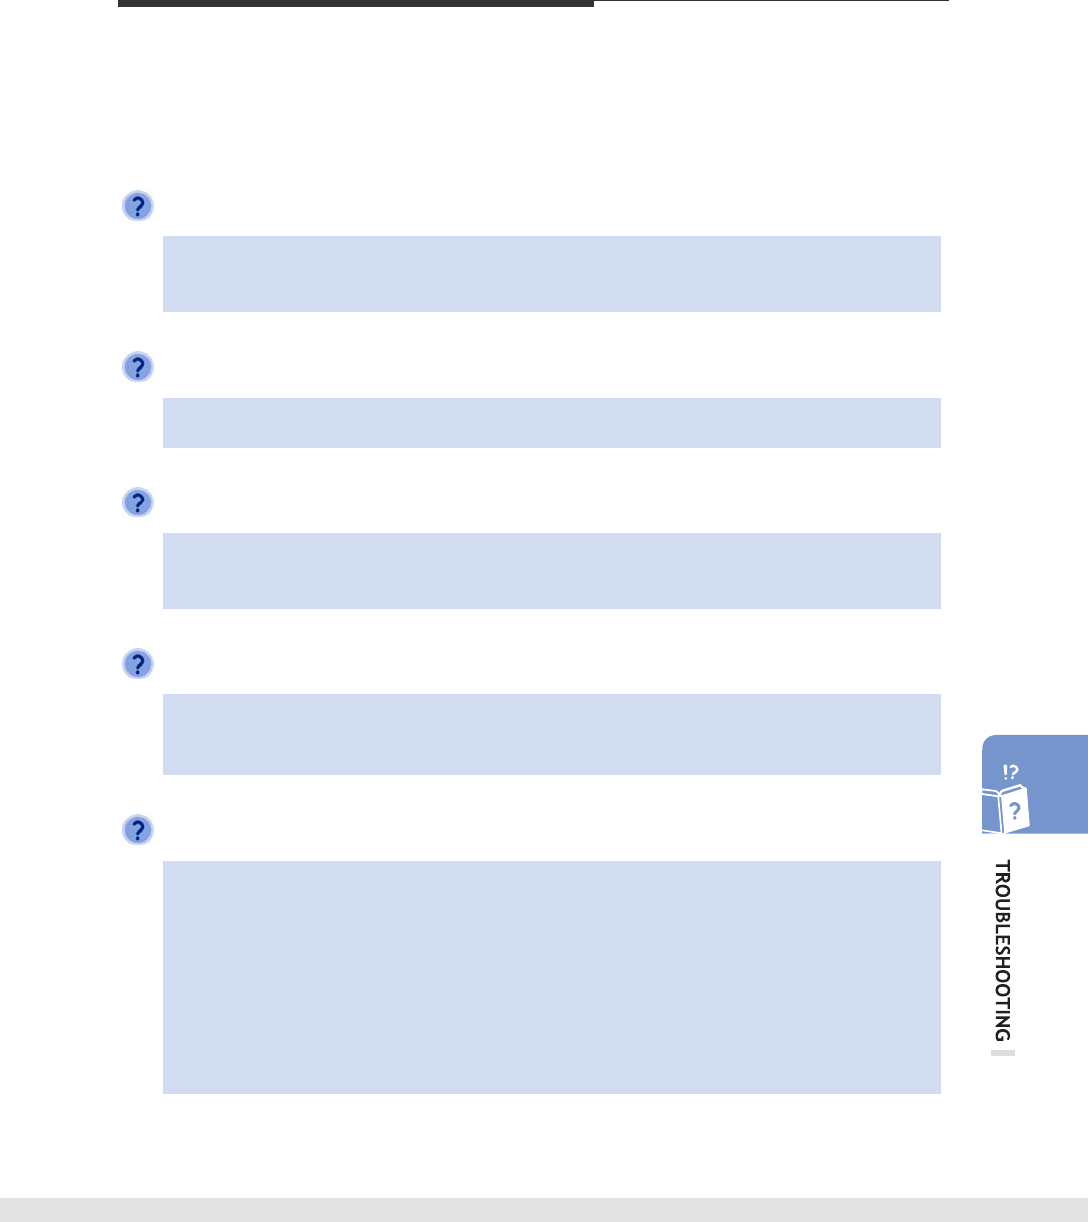
LCR Routing Table
This function allows you to set LCR Routing table.
[Menu] [9. Least Cost Routing] [2. LCR
Routing Tables] Select the target table number [OK]
Enter the digit [OK]
• Digit: Digit to Apply the LCR Rules.
• No of Digit: the number of digit to compare with dialing
number.
• Route Rule: Select the Rule number
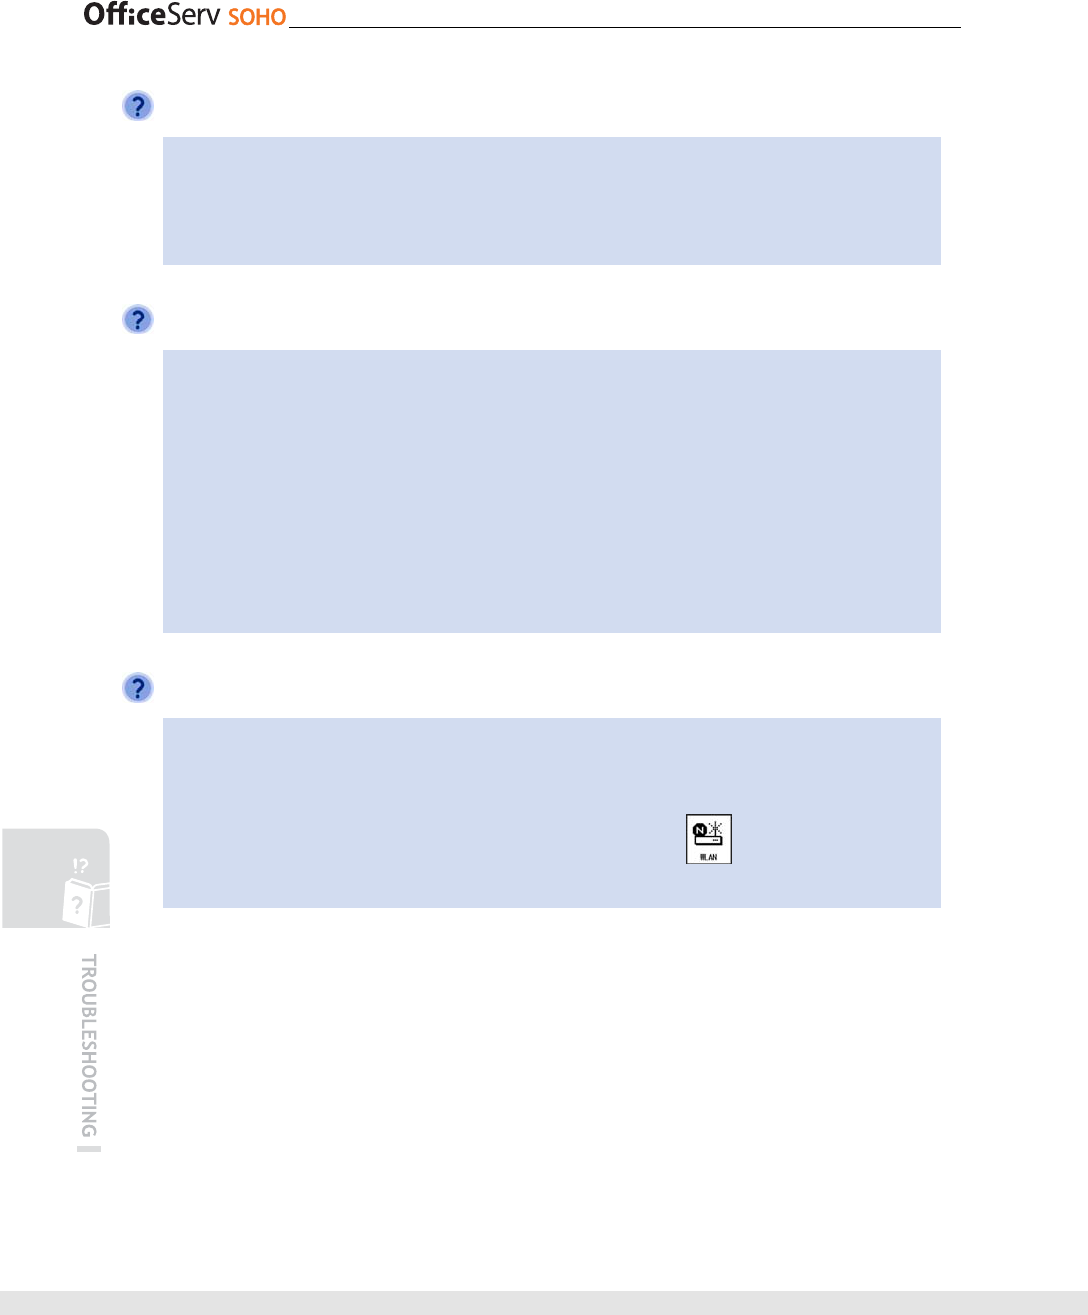
Symbol Description
This function shows you the symbol and the description.
[Menu]
[0. Symbol Description]
© SAMSUNG Electronics Co., Ltd. 125
TROUBLESHOOTING
This section describes the problems that may occur while OfficeServ SOHO is used and
the troubleshooting of the problems. Check the following cases before contacting a
service center.
Nothing is displayed on the LCD screen.
Check if the connection between the power cable of OfficeServ SOHO
and the phone line is established properly.(Refer to ‘Installation’ of this guide.)
A bell is not ringing or the bell sound is low.
Press the [▼Vol▲] button to turn the bell volume up.
Making a call by lifting a handset during power failure is disabled.
Making a conversation by lifting a handset during power failure is available when
a C.O. line is connected to PSTN 1. Check if the C.O. line is connected to PSTN 1.
A wakeup call/alarm is not ringing at the setting time.
- Check if the current time is properly set in OfficeServ SOHO.
- Check if an alarm is set.
Caller ID is not displayed on the LCD screen.
- Check if the CLIP service requested to the telephone company.
- Caller requested the telephone company not to disclose his/her ID.
- Call was made from an area where the CLIP service is not provided
(e.g., international calls).
- Call was made from a public phone.
- Information provided by the telephone company is damaged.
- The telephone company does not serve CLIP.
126 © SAMSUNG Electronics Co., Ltd.
The registration status of a WLAN phone is not properly displayed.
If OfficeServ SOHO restarts due to a power failure, software upgrade or change in
settings, the status of the WLAN phone will be displayed as normal in approximately
three minutes. If the registration status is not displayed properly after three minutes,
turn off and turn on the WLAN phone again.
Network environment is not set properly.
- Check the connection method to external network and network information
(IP address, gateway, and subnet mask).
- Check PC operating system, and check if LAN card is mounted on the PC.
- Check the Internet service system first.
- Turn off the external modem. Wait for approximately five minutes and turn on the
external modem and OfficeServ SOHO in sequence.
- Check if an ADSL connection program is installed in the PC. Remove the connection
program using [Add/Remove Programs] of [Control Panel] and set the Internet
service again.
WLAN phone cannot be registered.
- Check if the SSID is correct.
- Check if an encryption key(WEP key) is set. If so, refer to the manual registration
procedure and register the WLAN phone.
- You can verify the SSID and encryption key at [Menu] [2. WLAN Setup]
Enter password(default: 0000) [4. WLAN Information] of OfficeServ SOHO.
© SAMSUNG Electronics Co., Ltd. 127
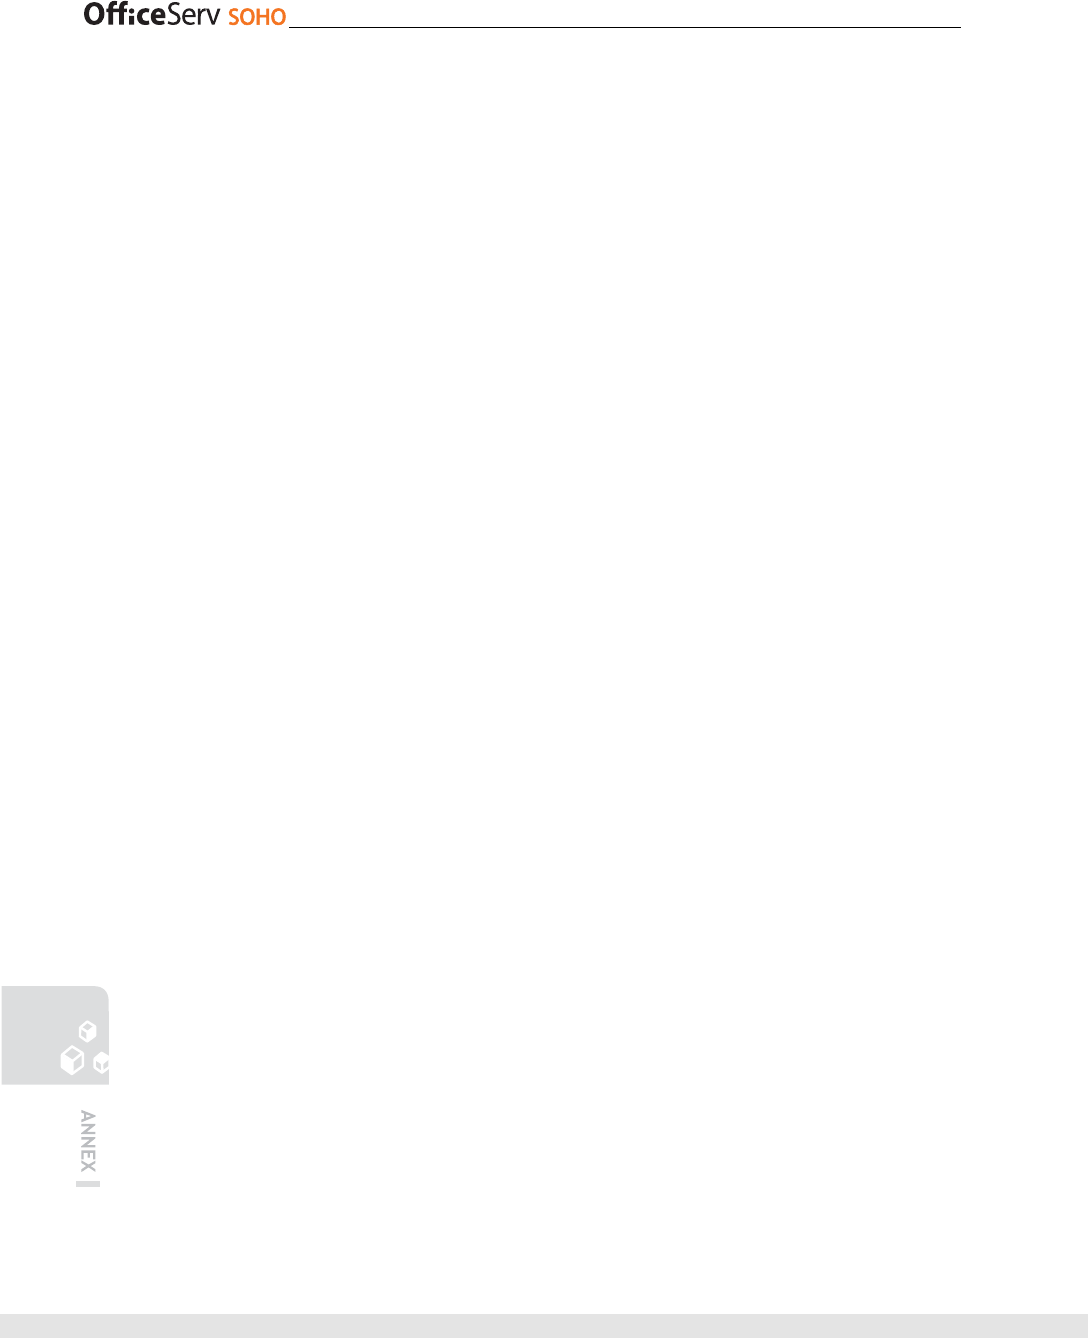
WEB MANAGEMENT
What is Web Management System?
Web Management System allows you to access the OfficeServ SOHO server through a
PC and to set or retrieve network environment, security status, and system management
of the OfficeServ SOHO.
Web Management Main Functions
- Default setting: Sets IP address, Internet line, and system date/hour.
- Advanced setting: Sets detailed information such as internal network management.
- Security setting: Sets OfficeServ SOHO NAT, and filtering.
- System setting: Sets OfficeServ SOHO database, upgrades OfficeServ SOHO,
and changes its password.
- Status retrieval: Retrieves the current values set in OfficeServ SOHO.
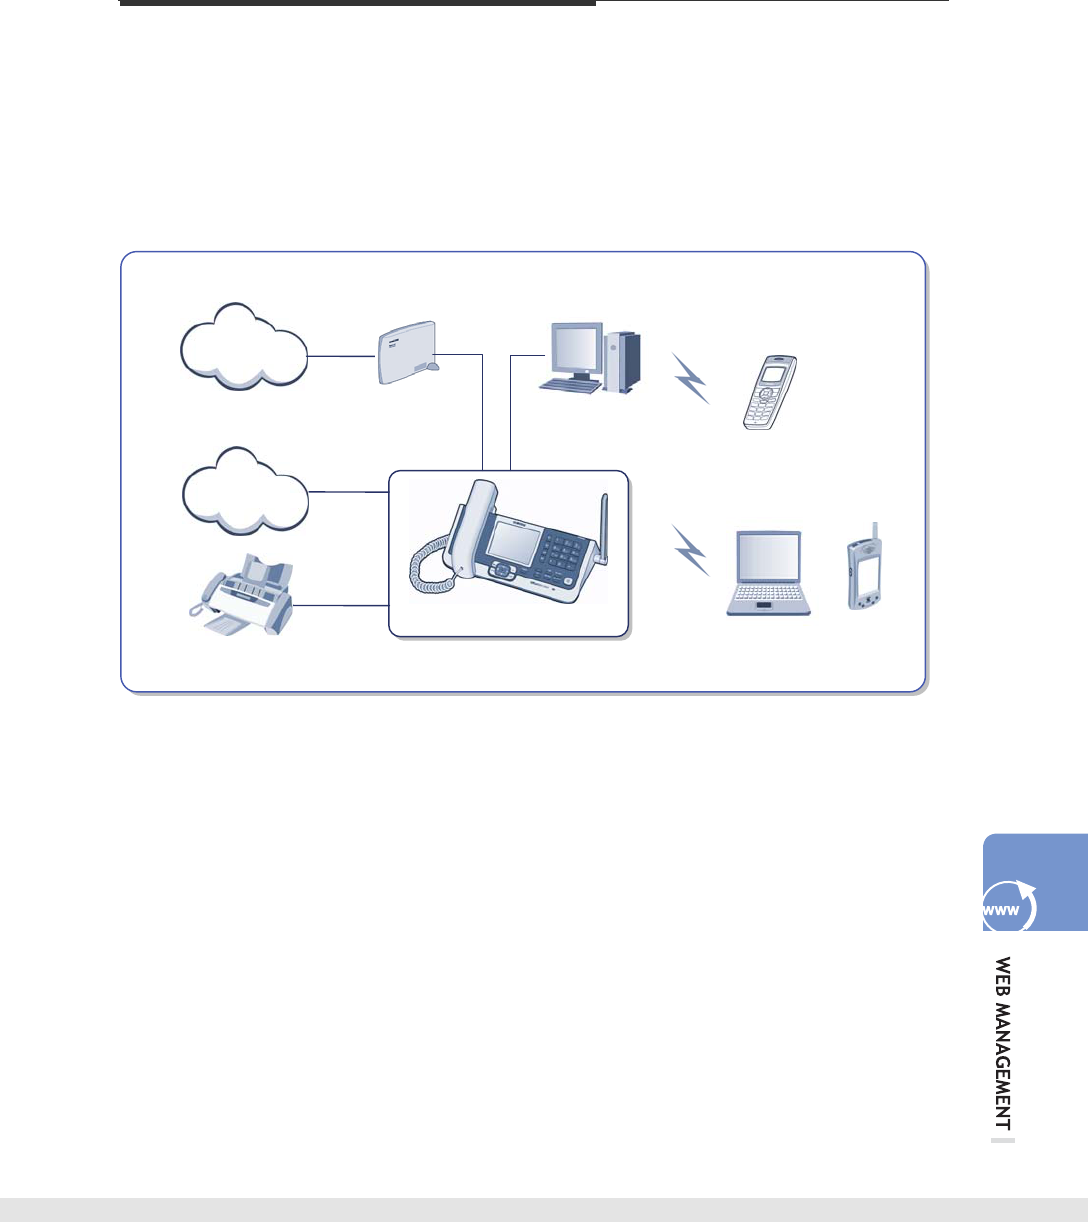
PC
WIP-5000M
WLAN phone
IEEE802.11 b
IEEE802.11 b/g
PSTN
Internet
Intranet
External Modem
(xDSL/Cable)/LAN
Web Management
FAX
Laptop
Com
p
uter
OfficeServ SOHO
PDA
128 © SAMSUNG Electronics Co., Ltd.
Login
Follow the steps below to access the Web Management system:
1.
Connect the OfficeServ SOHO to the PC.
Connect one end of the supplied LAN cable to the LAN OUT port on the back of
OfficeServ SOHO. Connect the other end of the LAN cable to the LAN port of the PC.
In a PC where a wireless LAN card is used, check the SSID setting of OfficeServ
SOHO, and then establish a wireless connection in accordance with the manual
provided by the LAN card manufacturer.
SSID
- The default SSID of OfficeServ SOHO is 111111(Default SSID is set
differently for each device) Check the default SSID from [Menu] [Phone
Setup] [6. WLAN Setup] [2. SSID] in the OfficeServ SOHO.
- Separate software does not need to be installed because the software
package of the Web Management system is included in the OfficeServ
SOHO.
2.
Set a connection in the local area of PC. Select one of the automatic allocation
method(DHCP) and direct setting method(Static IP).
• To establish a connection in the direct setting method, set IP addresses as follows in the
Internet protocol(TCP/IP) properties window of [Local properties] in PC:
- IP Address: An address of 192.168.111.2 to 192.168.111.239
- Subnet Mask: 255.255.255.0
- Default Gateway: 192.168.111.1
• To establish a connection in the automatic allocation method, select [obtain an IP address
automatically] from the Internet protocol(TCP/IP) properties window in [Local properties] of
the PC. Then, an IP address is set automatically.
© SAMSUNG Electronics Co., Ltd. 129
3.
Once settings are completed, enter the LAN IP address(192.168.111.1), which is the
default setting of OfficeServ SOHO delivery, in the URL address bar after running a
web browser(Internet Explorer 5.0 or higher) in the PC to access the system.
To access OfficeServ SOHO from the PC connected to Internet, enter the IP
address when the WAN setting is set to Static IP in OfficeServ SOHO.
A connection might be closed depending on settings(e.g., filtering) when
accessing OfficeServ SOHO from Internet. Connect to Hhttp://192.168.111.1H in
the local network.
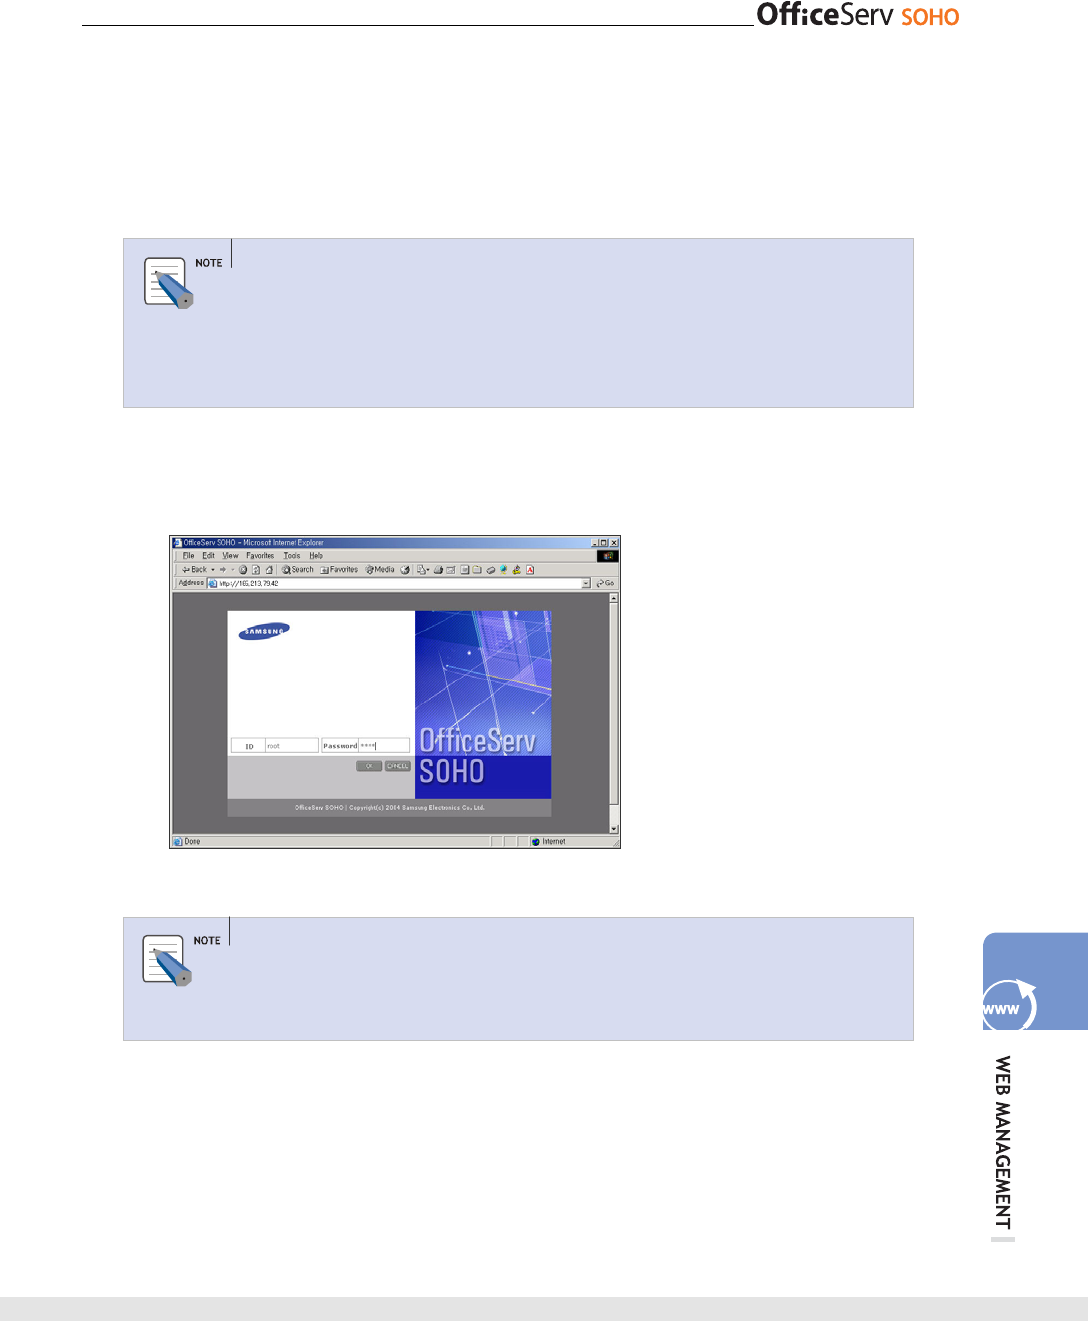
4.
Once the login window appears, enter the initial administrator ID and password, and
click [OK]. The initial ID and password are root and 0000.
Password
The password can be changed in [System] [Password], however the
administrator ID cannot be changed.
130 © SAMSUNG Electronics Co., Ltd.
Data
This section allows you to set the ‘Data’ menu.
Network
This menu allows you to set network configurations of OfficeServ SOHO.
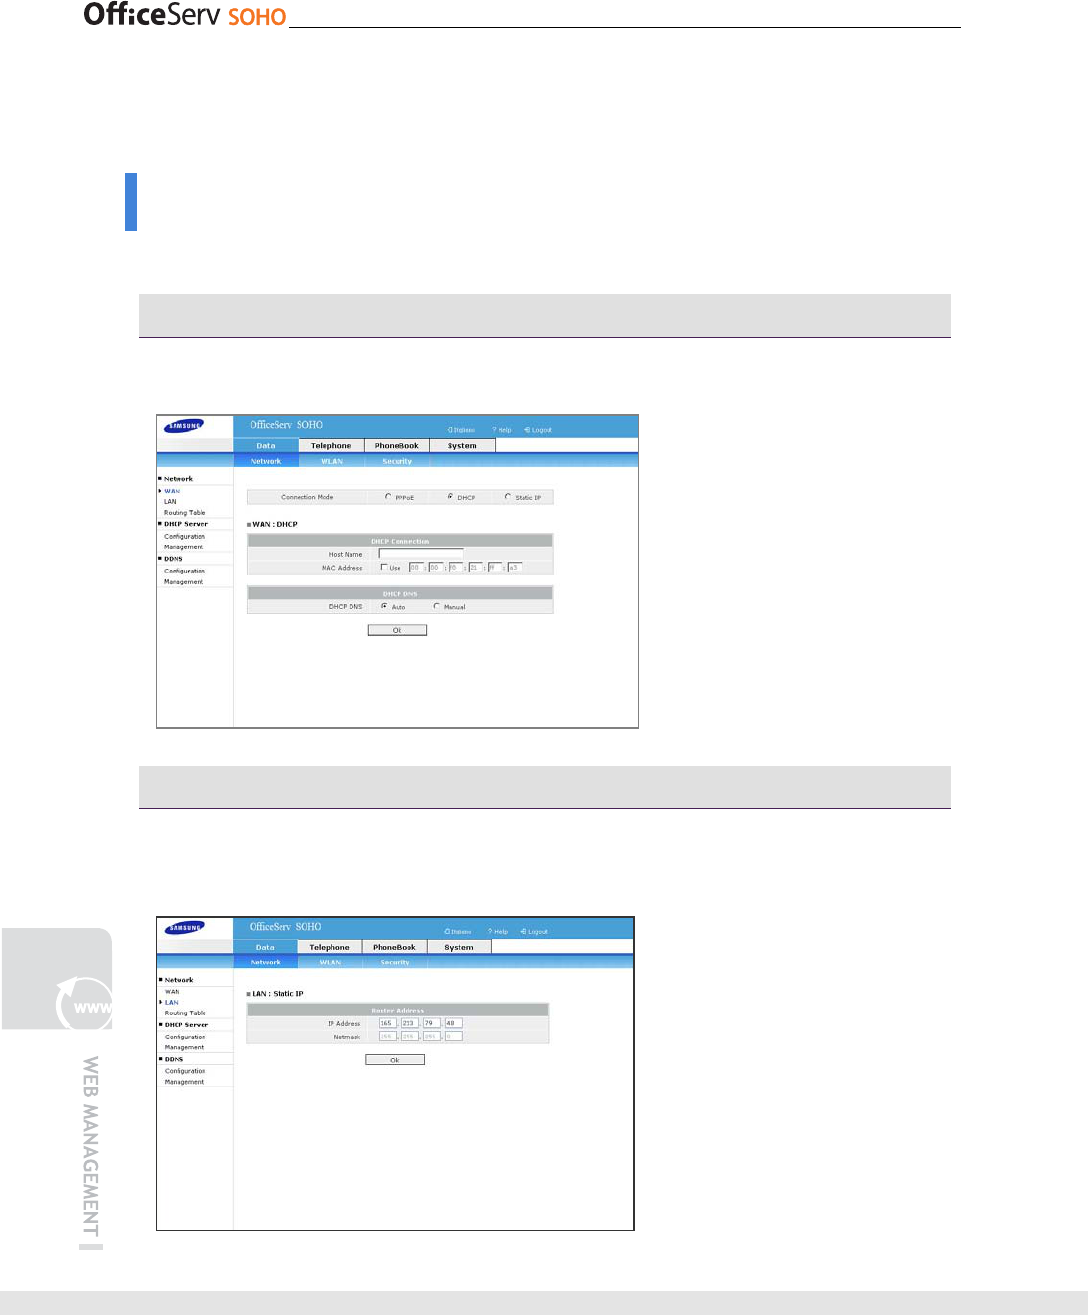
WAN
First, select the ‘Connection Mode’ and set WAN information according to the mode.
LAN
This menu allows the user to configure LAN by using OfficeServ SOHO.
Retrieve the gateway IP and netmask of LAN.
© SAMSUNG Electronics Co., Ltd. 131
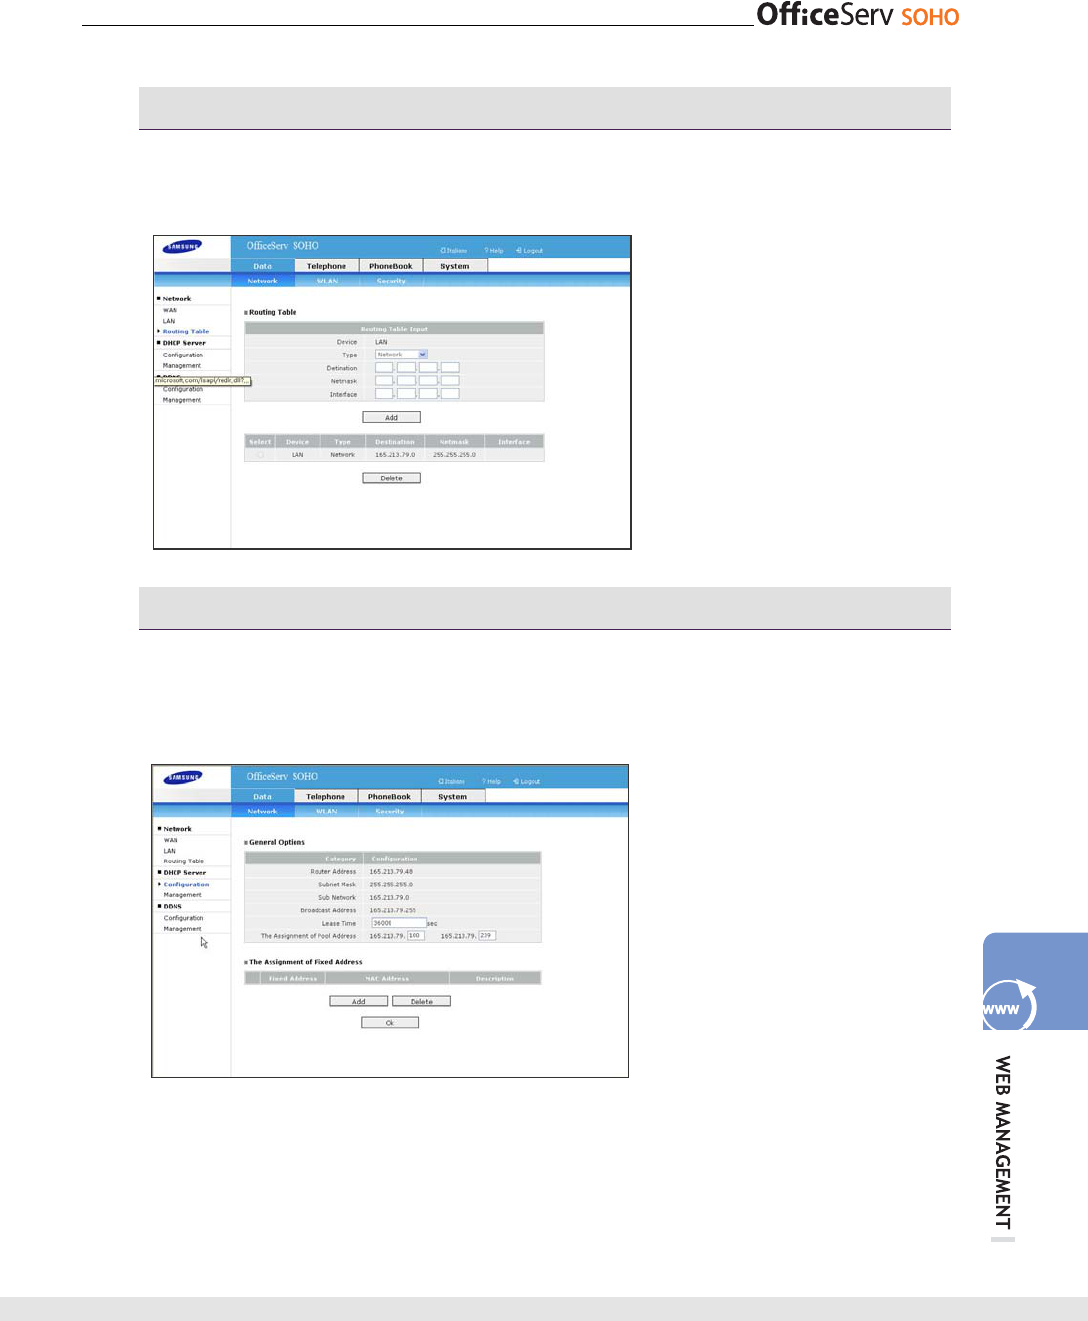
Routing Table
This menu allows you to set the Routing Table. Select the type and enter the
destination IP address, Netmask and Interface IP address. And press [Add] button.
DHCP Server - Configuration
This menu allows you to set details such as general settings, static address allocation,
and scope address allocation of the DHCP server, which allocates an IP to the PC
connected to OfficeServ SOHO and to operate or stop the DHCP server.
132 © SAMSUNG Electronics Co., Ltd.
- Lease Time: This is an IP lease time, that is, a time to maintain the IP allocated by
the DHCP server.
- The Assignment of Pool Address: Enter the IP address to set scope address allocation.
Press [Add] Button to set static address allocation.
DHCP of WAN
DHCP of WAN is a client that leases an IP from an external DHCP server. DHCP
refers to a server that allocates an IP to the LAN PC connected to OfficeServ
SOHO.
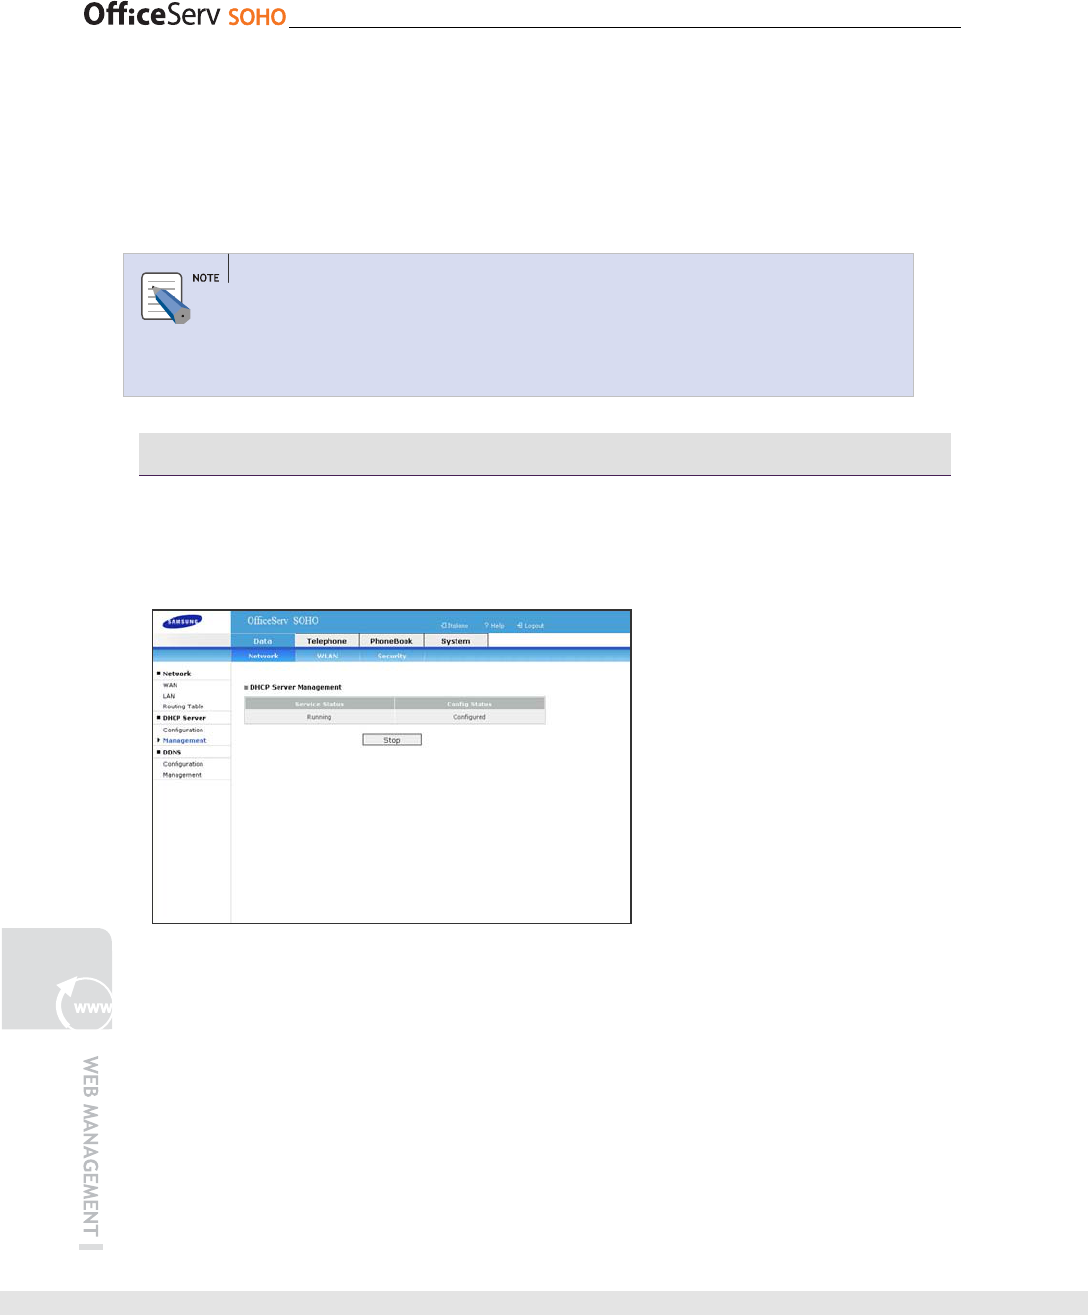
DHCP Server - Management
This menu allows you to operate the DHCP server. Click [Stop] to stop the operation
of the DHCP server. Once the DHCP server stops, the [Stop] button is changed to the
[Run] button. Click [Run] to operate the DHCP server.
© SAMSUNG Electronics Co., Ltd. 133
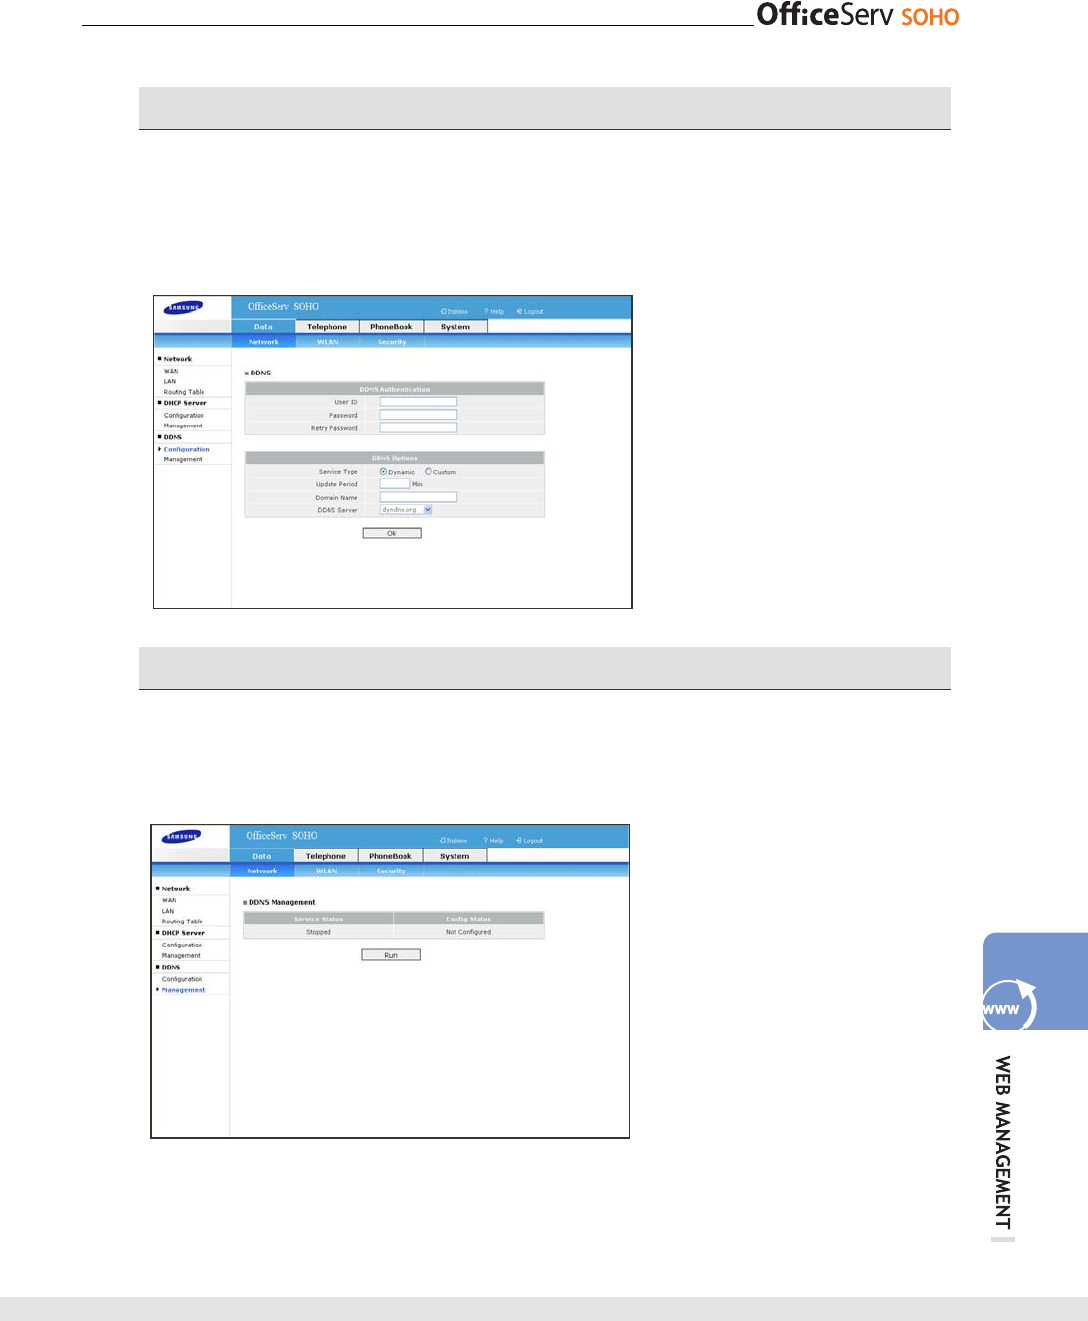
DDNS - Configuration
This menu allows you to set the dynamic DNS service. Also, DDNS allows the user to
access OfficeServ SOHO in the same domain name regardless of dynamically
allocated IPs. DDNS updates dynamically variable IP addresses to the DDNS server
periodically unlike regular DNS server. To use this function, sign up www.dyndns.org
DDNS - Management
This menu allows you to provide the DDNS service. Click [Stop] to stop the operation
of the DHCP server. Once the DHCP server stops, the [Stop] button is changed to the
[Run] button.
134 © SAMSUNG Electronics Co., Ltd.
WLAN
This menu allows you to set WLAN configurations of OfficeServ SOHO.
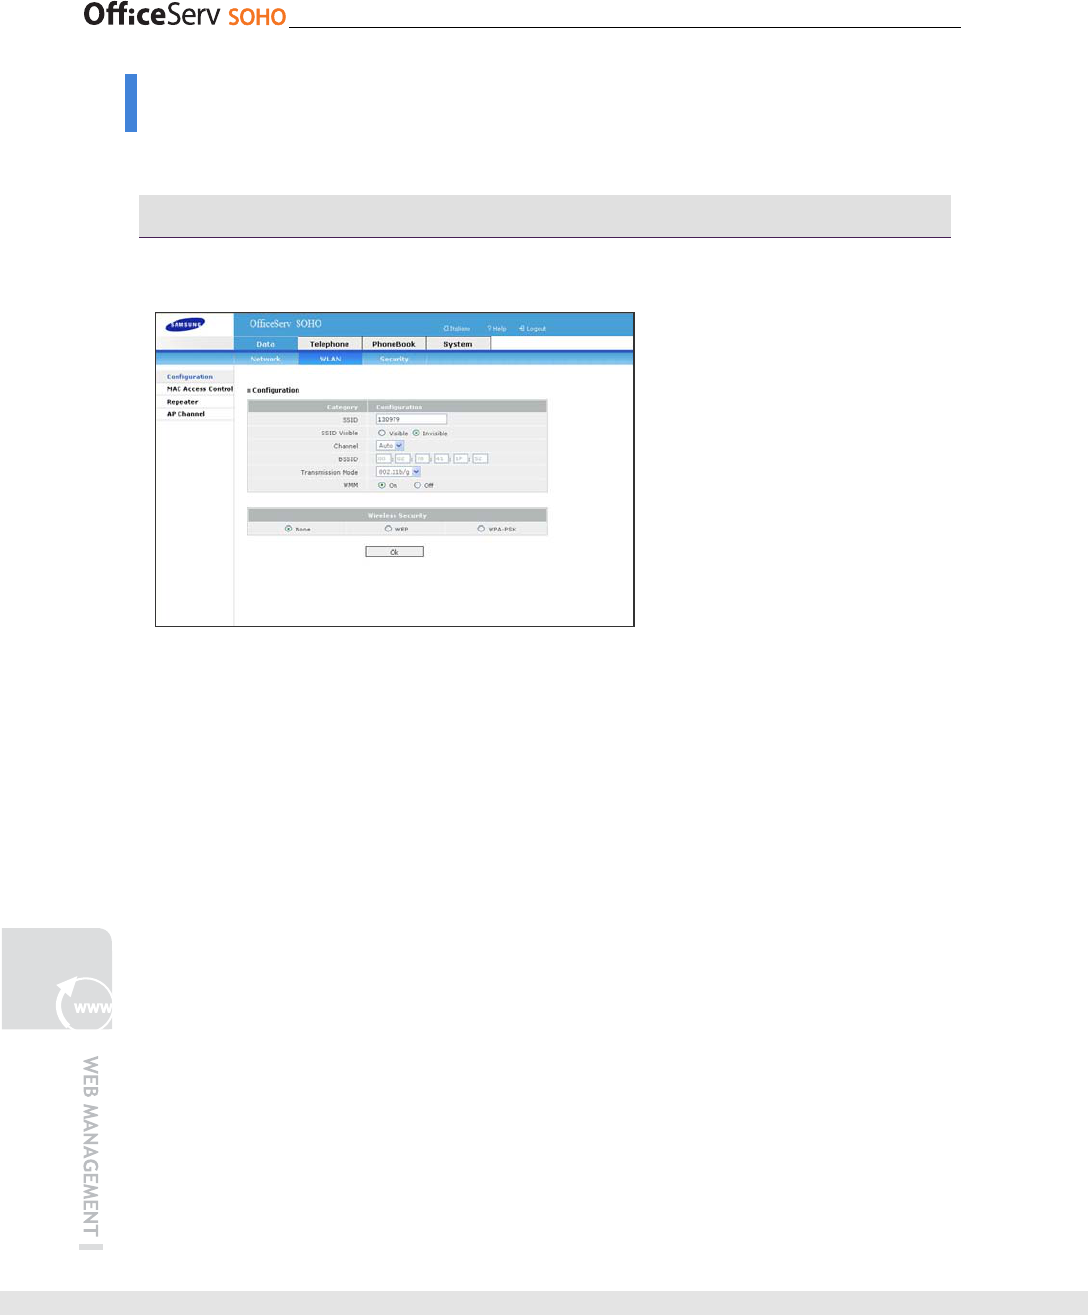
Configurations
This menu allows the user to set details of wireless LAN.
- SSID: Enter Service Set Identifier(SSID) with numbers of six characters or less. The
SSID is an identifier of Access Point(AP).
That is, each AP is searched separately by using SSID in a PC where a wireless
LAN card is installed. Select an SSID of OfficeServ SOHO from the searched SSIDs
to make communications with each other. Set a different SSID from the one of the
neighboring AP.
- SSID Visible: Set the SSID visible or not at other AP.
- Channel: Set the radio channel to one of Auto and 1~13. If wireless APs are
adjacent, set different AP channels to avoid interference. It is recommended that the
radio channel should be set with 3 to 4 spacing.
[Auto] allows the user to set a channel automatically by checking the available
channel at the time when the setting is applied. The channel determined when
setting to [Auto] can be checked from [Status] [Wireless].
- BSSID: The MAC address of the network interface connected to the wireless LAN
device is displayed.
- Wireless Security: Select the security mode to apply to the WLAN.

© SAMSUNG Electronics Co., Ltd. 135
MAC Access Control
This menu allows you to set MAC access control. To apply the OfficeServ SOHO,
Select ‘On’.
Repeater
This menu allows you to allow the repeater, and add the MAC address to Repeater list.
Enter the MAC address of Repeater to be allowed, press [OK] button.
136 © SAMSUNG Electronics Co., Ltd.
AP Channel
This menu allows you to set Neighbor AP channel.
Security
This menu allows you to set security configurations of OfficeServ SOHO.
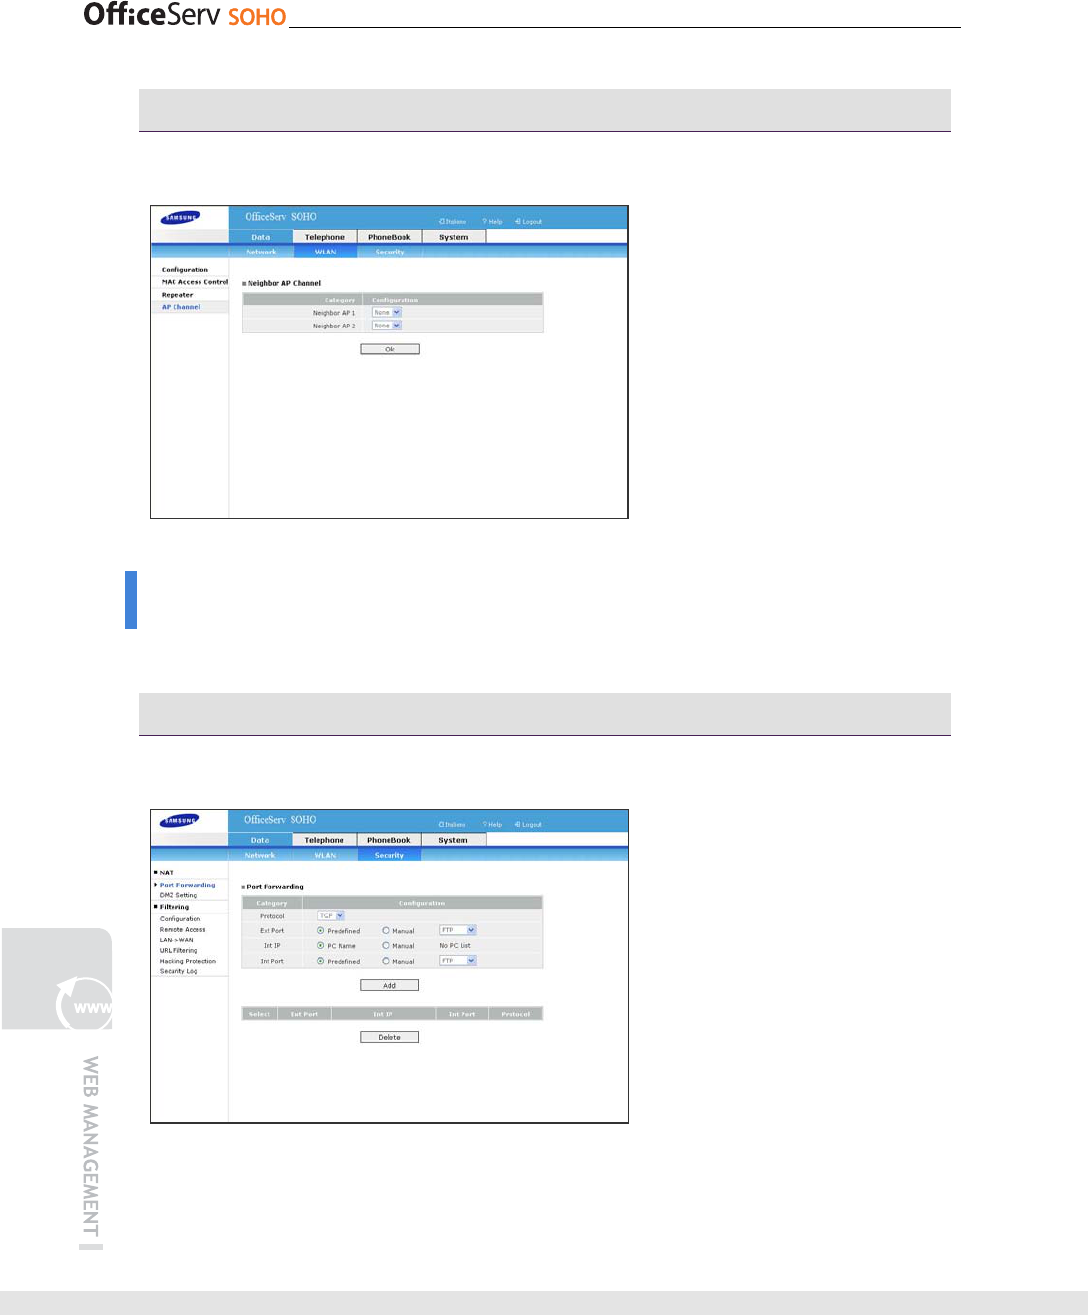
NAT - NAT Forwarding
This menu allows you to set port forwarding.
© SAMSUNG Electronics Co., Ltd. 137
- Protocol: Select a transmission layer protocol(e.g., TCP and UDP) to access.
- Ext Port: Enter the port that will be used to connect to WAN. Select [Predefined] to select
one of FTP, Telnet, SMTP, HTTP, and POP3. Select [Manual] to enter the port number
manually.
- Int IP: Enter the IP address of the internal host that provides services. Select [PC
Name] to set a host PC. Select [Manual] to enter the IP address of the host PC. In such
a case, enter the ending address.
- Int Port: Enter the number of the port that provides services in the internal host.
Select [Predefined] to select one of FTP, Telnet, SMTP, HTTP, and POP3. Select
[Manual] to enter the port number manually.
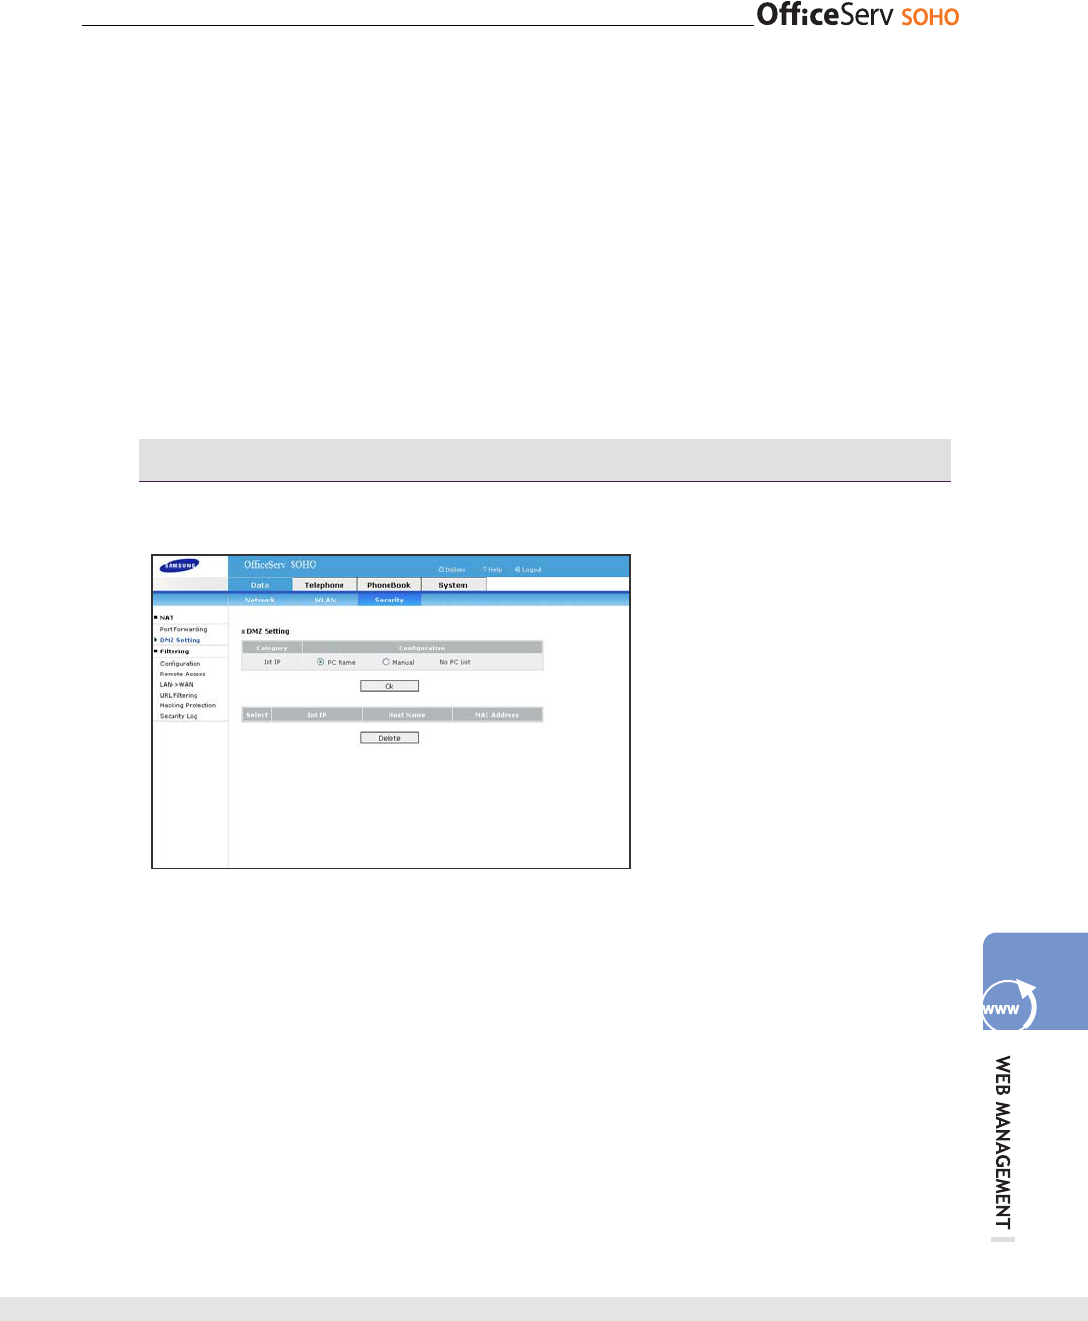
NAT - DMZ Setting
This menu allows you to set DMZ setting.
- Int IP: Enter the IP address of the internal host to be set as a DMZ server. Select
[PC Name] to set a host PC. Select [Manual] to enter the IP address manually. In
such a case, enter only the ending IP address.

138 © SAMSUNG Electronics Co., Ltd.
Filtering - Configuration
This menu allows the user to set a security level when connecting to internal or
external Internet in OfficeServ SOHO.
- Low: This is the default value. External and internal traffic is allowed.
- High: The external traffic that attempts access to OfficeServ SOHO is blocked while
the traffic from the internal network to WAN is allowed. Either port forwarding or
DMZ settings are maintained.
© SAMSUNG Electronics Co., Ltd. 139
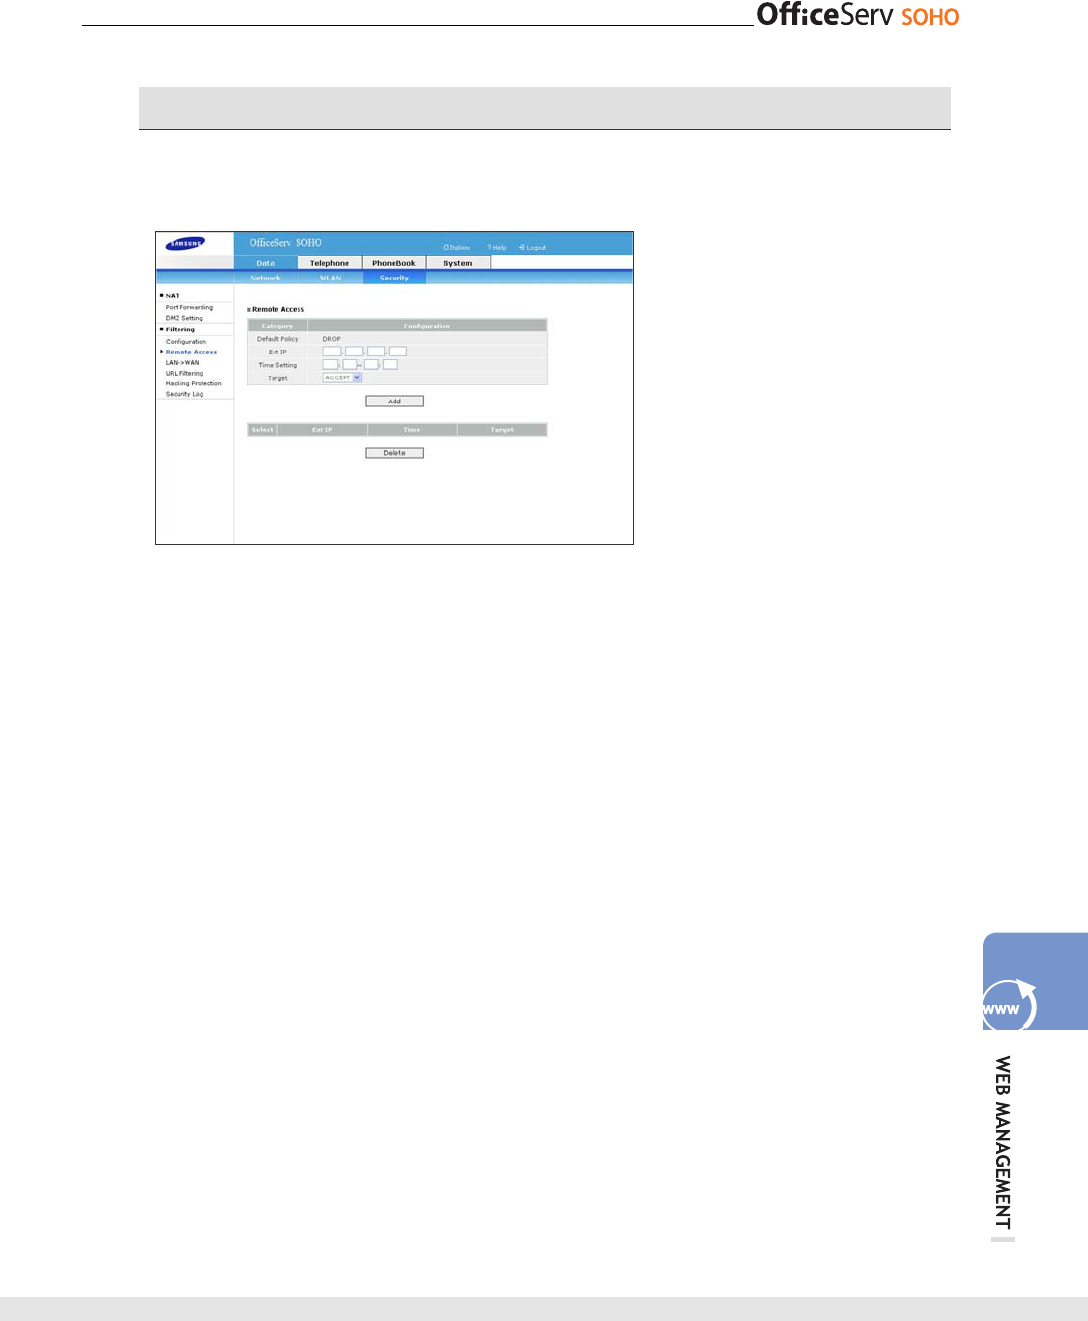
Filtering - Remote Access
This menu allows you to allow or block access by setting an IP address when external
access to OfficeServ SOHO is attempted
- Default Policy: Displays the security level set in [Security] [Filtering]
[Configuration]. That is, this option displays whether the HTTP session through
which external access to OfficeServ SOHO is performed is allowed or blocked.
- Ext IP: Enter the external IP address of the external access session to OfficeServ
SOHO.
- Time Setting: Enter the time period allow to access.
- Target: Set whether to allow or block access to the access session set in Ext IP.
140 © SAMSUNG Electronics Co., Ltd.
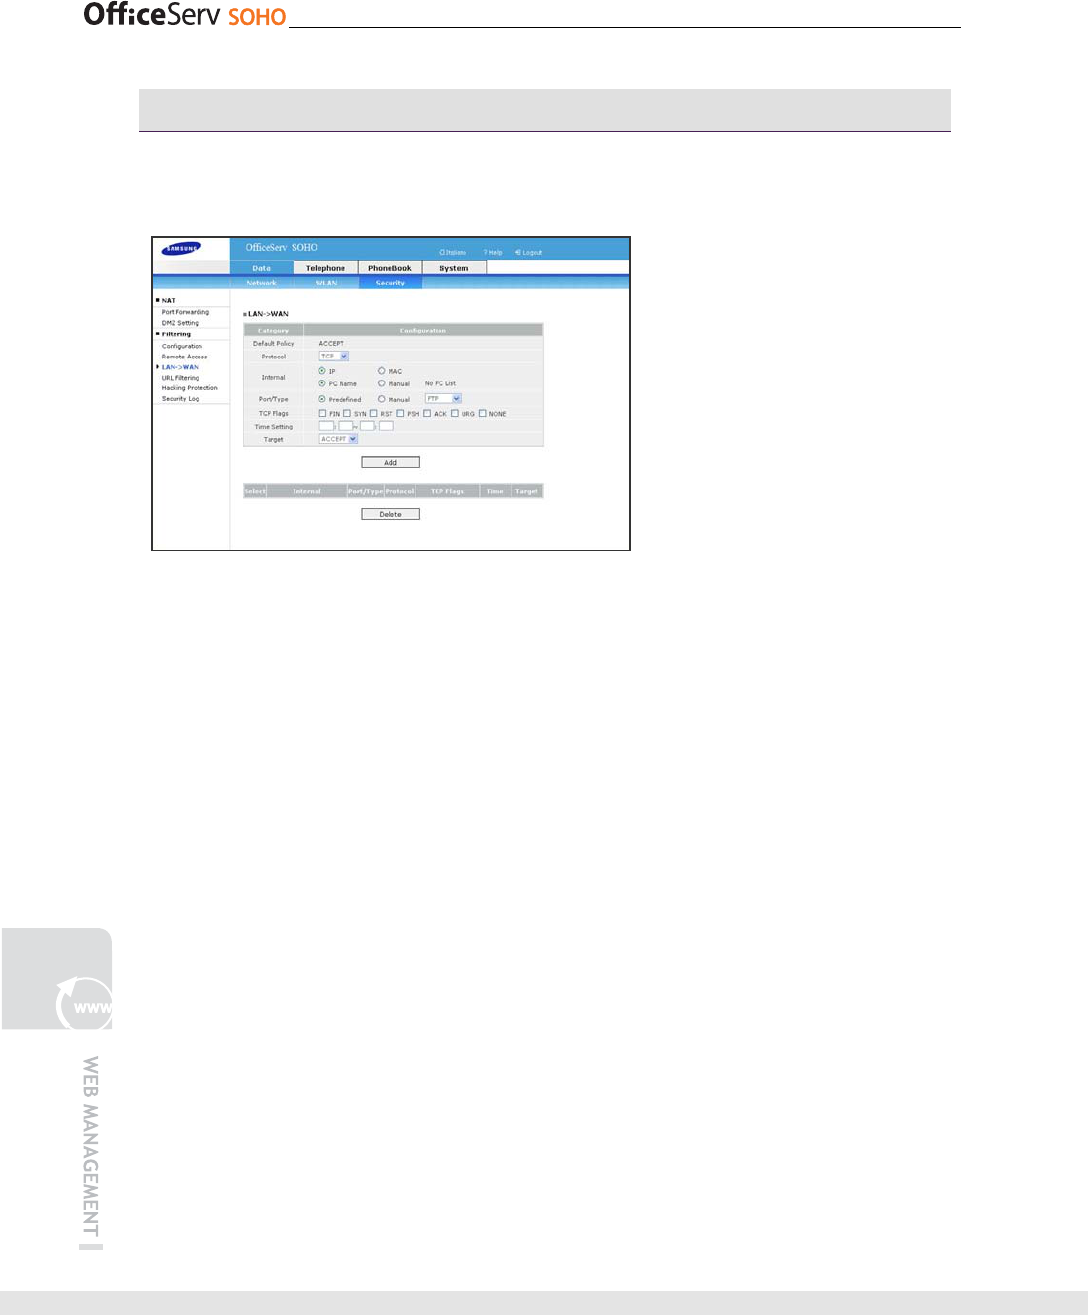
Filtering - LAN WAN
This menu allows the internal user to allow or block access to WAN by setting an IP
address or service.
- Default Policy: Displays whether internal access session to outside, which is set in
[Security] [Filtering] [Configuration], is allowed or blocked. The default policy of
internal access session to outside is ‘Allow’.
- Protocol: Set a protocol(e.g., TCP, ICMP, and UDP) of internal access session to
WAN.
- Internal: Enter the IP or MAC address of the internal host in internal access session
to WAN. Select [PC Name] to set a host PC. Select [Manual] to enter the IP/MAC
address manually. In such a case, enter only the ending address.
- Port Type: Enter the port number of the internal host in internal access session to
WAN. Select [Predefined] to set the port from FTP, Telnet, SMTP, HTTP, and POP3.
Select [Manual] to enter the port number manually.
- TCP Flag: Select the TCP Flag type.
- Time Setting: Enter the time period to apply.
- Target: Sets whether access to the access session is allowed or blocked. If ‘Drop’ is
selected, internal access to outside will be blocked regardless of the settings in
[Security] [Filtering] [Configuration].
© SAMSUNG Electronics Co., Ltd. 141
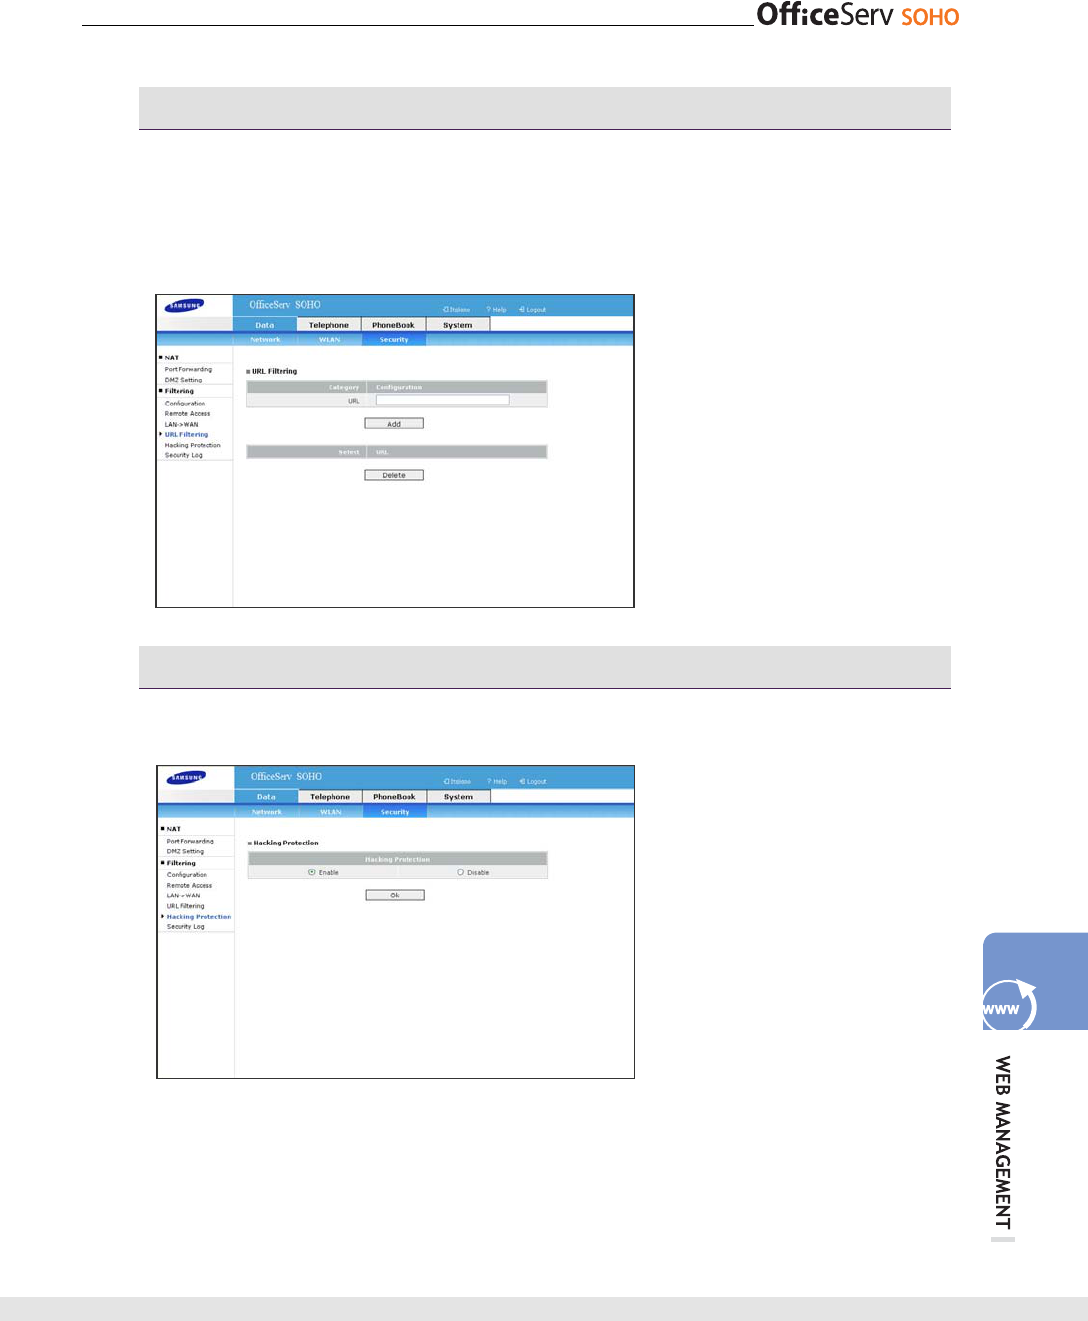
Filtering - URL Filtering
This menu allows the user to prevent LAN users from accessing a specific web
site(e.g., site on obscenity, gambling, and stock, which have nothing to do with work).
The function is enabled only when the system is connected to Internet. Enter the URL
of the target web site.
Filtering - URL Filtering
This menu allows you to apply the Hacking Protection mode to OfficeServ SOHO.
142 © SAMSUNG Electronics Co., Ltd.
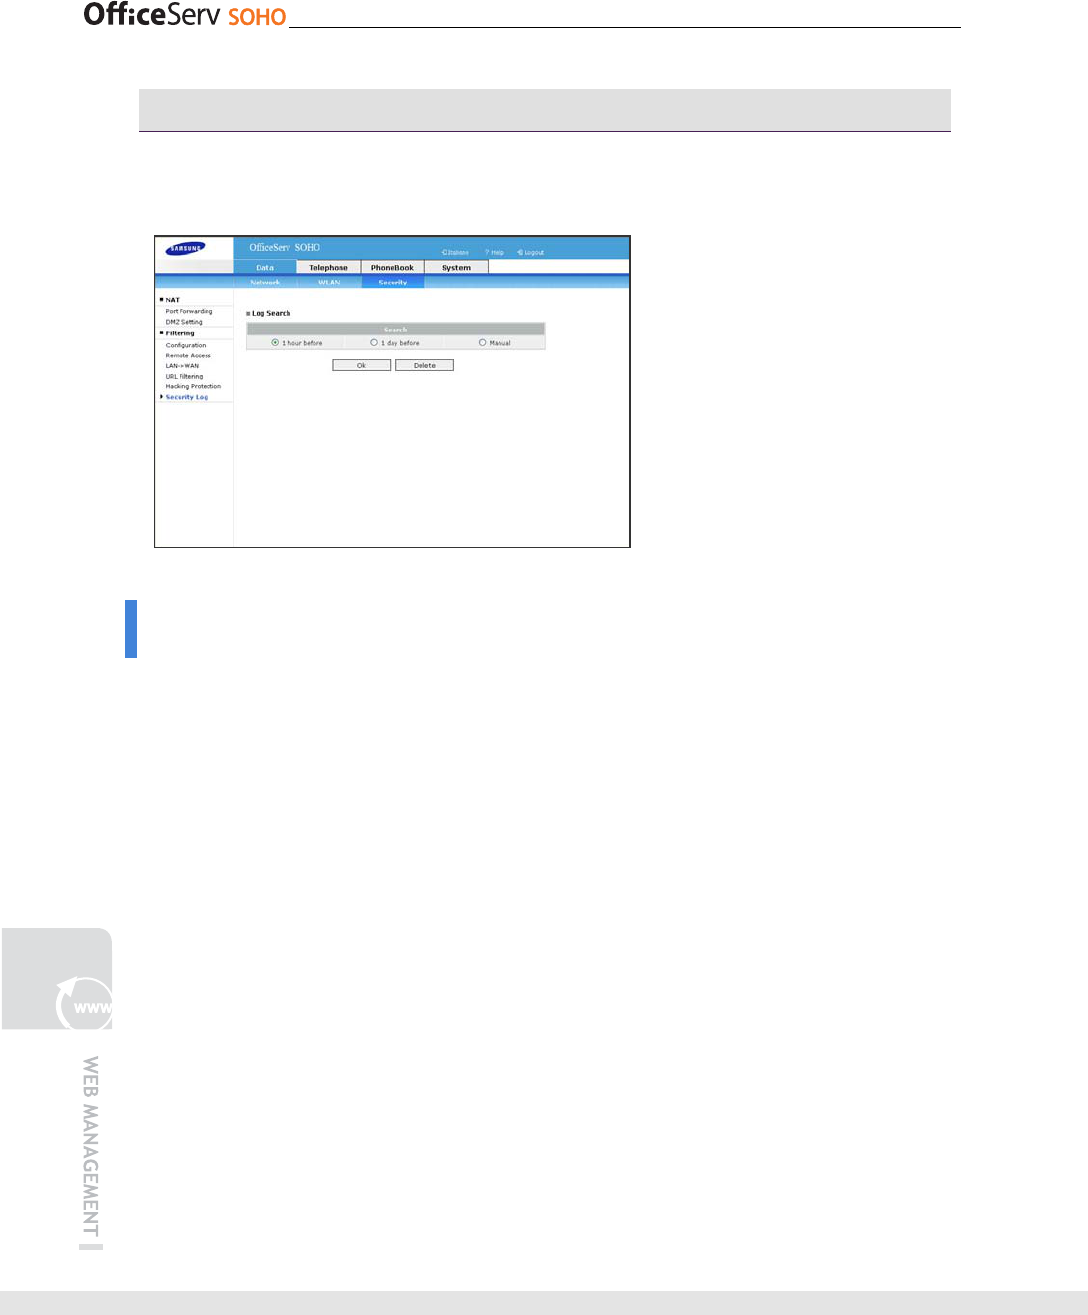
Filtering - Security Log
This menu shows you the Log files. Select the time period that you would like to
search.
Telephone & Phonebook
This menu allows you to set telephony features of OfficeServ SOHO and edit(of add)
the Phonebook. It services the same menu as manual setting of OfficeServ SOHO.
Reference to the ‘Menu’ section in this guide.
© SAMSUNG Electronics Co., Ltd. 143
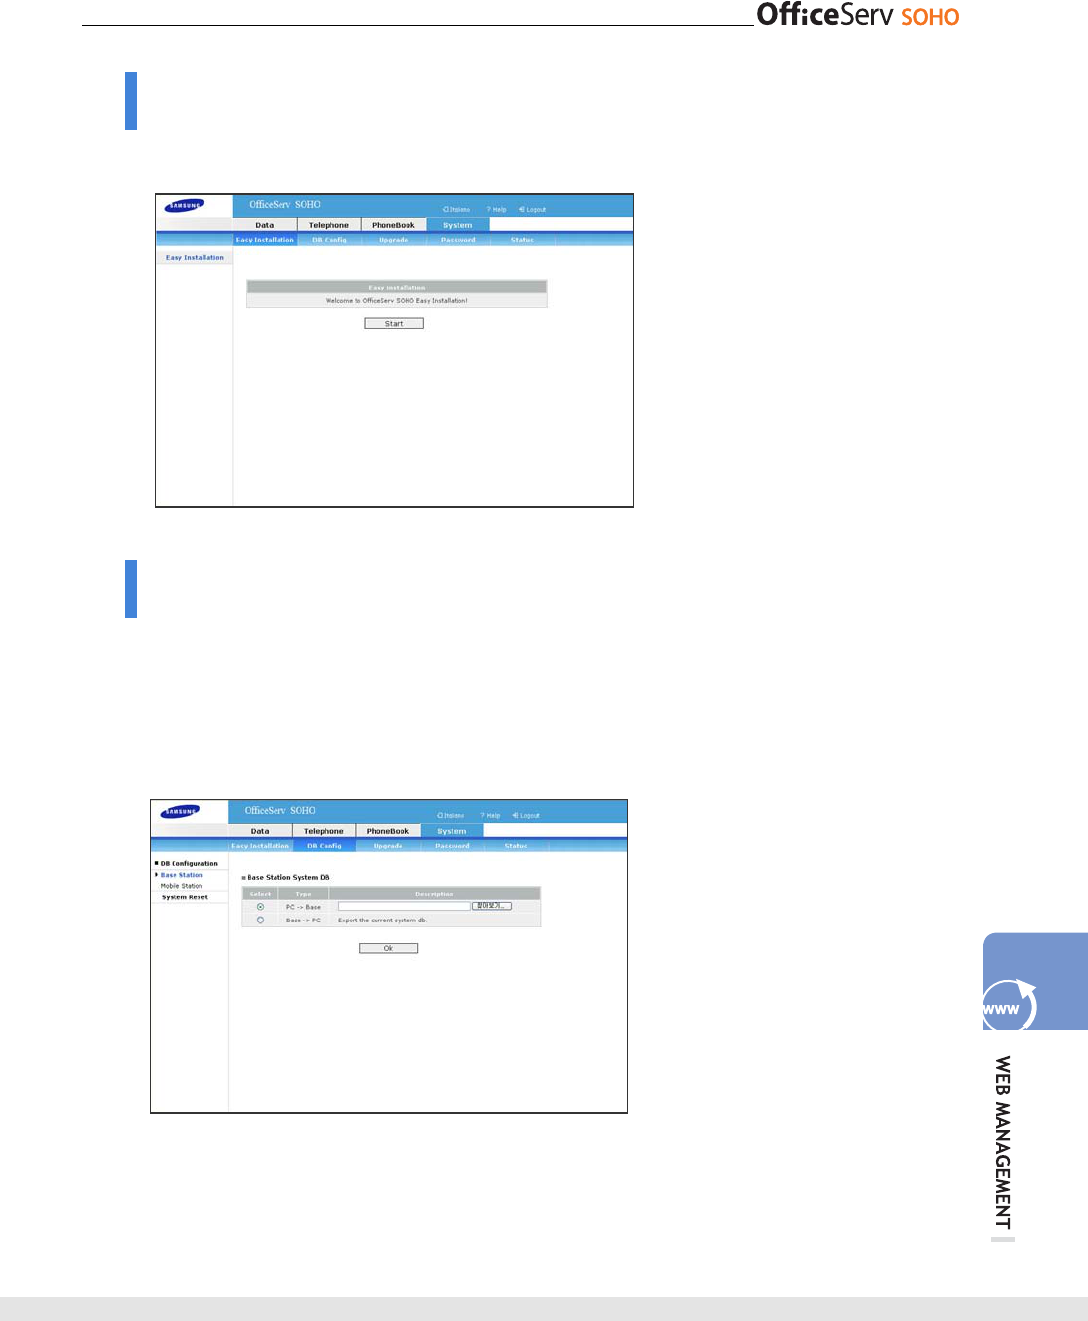
Eaasy Install
This menu allows you to set the OfficeServ SOHO Easy Installation.
DB Config
This function allows the user to import the DB file saved in PC to OfficeServ SOHO.
DB import enables the current settings to be changed to the imported DB. In such a
case, all settings are changed; thus, check if DB is valid before DB import. Also,
OfficeServ SOHO restarts automatically to apply the changed settings
Press [Browser] Button to find the saved DB in PC.
144 © SAMSUNG Electronics Co., Ltd.
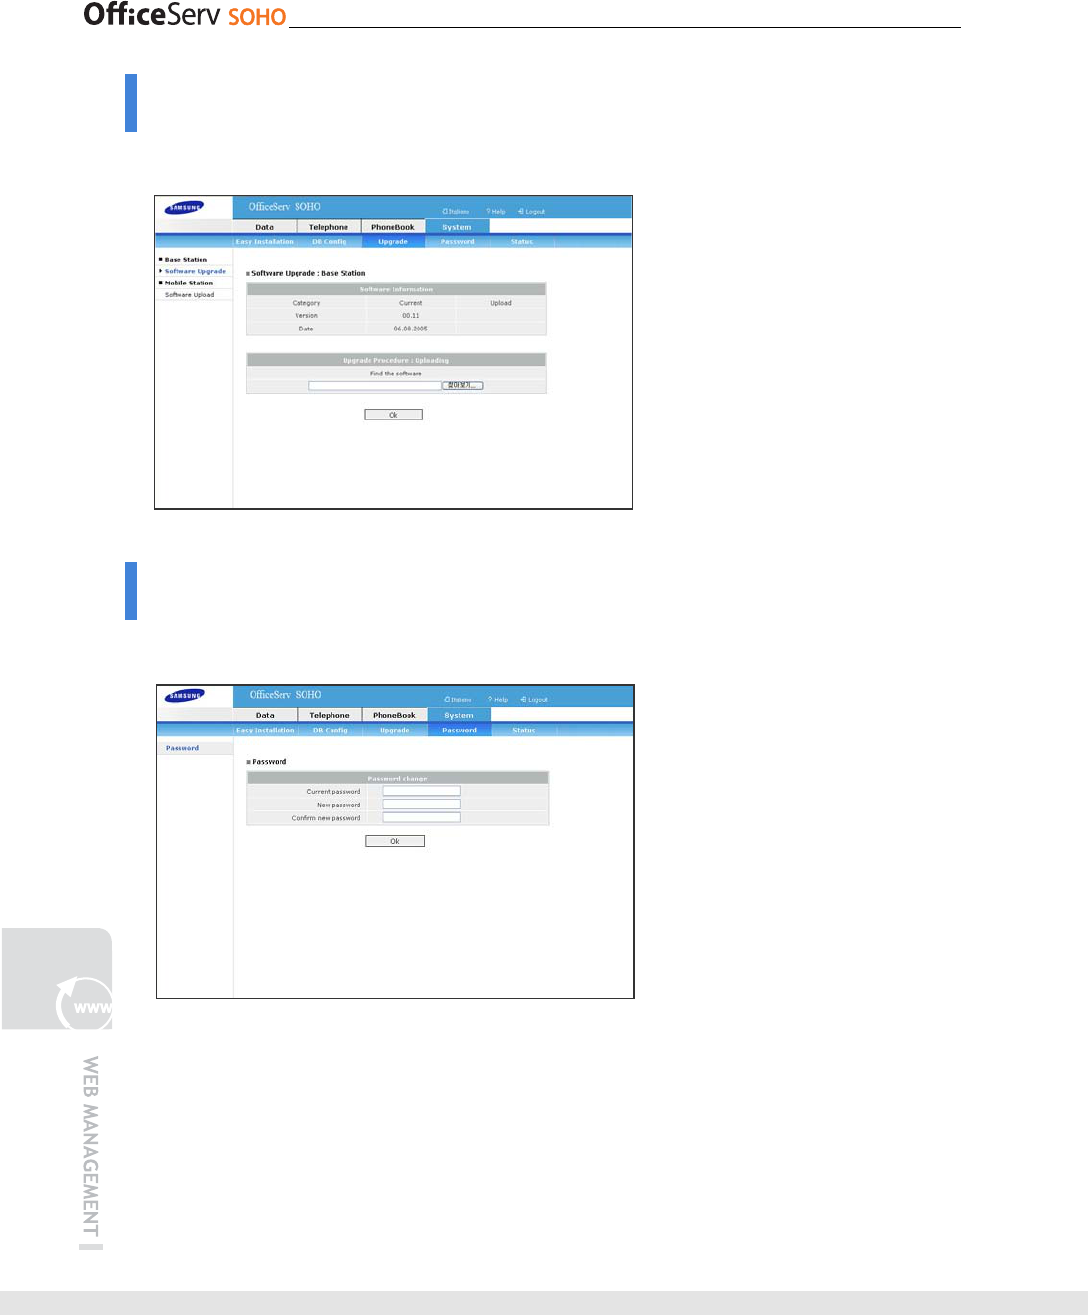
Upgrade
This menu allows you to upgrade a software package.
Password
This menu allows you to change the system password.
© SAMSUNG Electronics Co., Ltd. 145
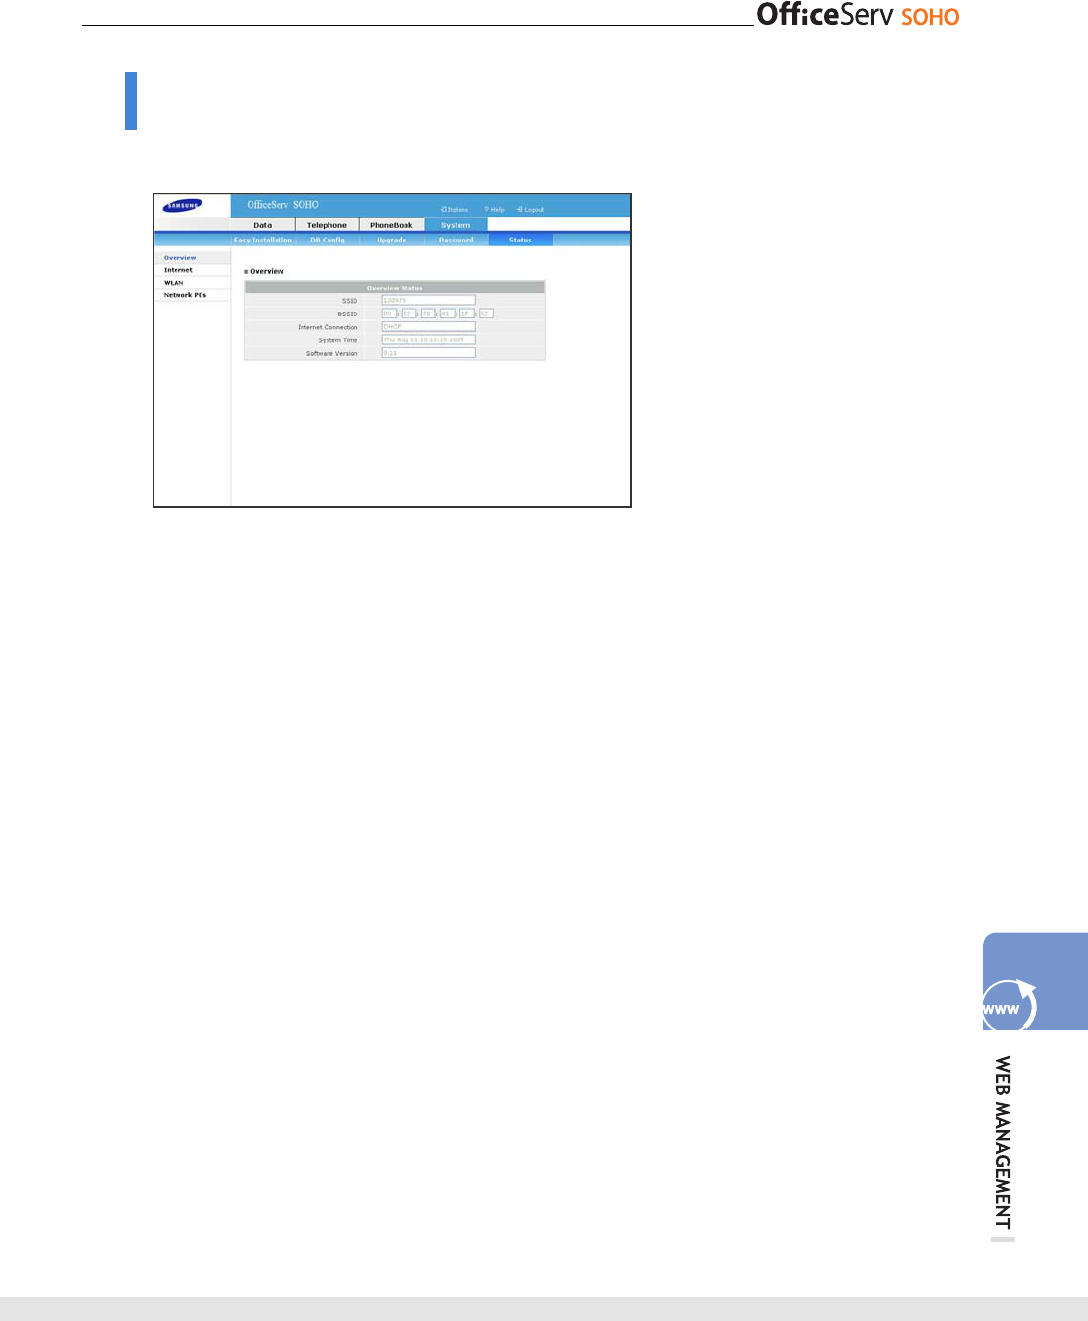
Status
The menu allows you to retrieve system settings of OfficeServ SOHO.

146
© SAMSUNG Electronics Co., Ltd.
ANNEX
What is OfficeServ SOHO CRM?
OfficeServ Small Office Home Office(SOHO) Customer Relationship Management(CRM)
is a program running on PC connected to OfficeServ SOHO. Users of OfficeServ SOHO
can perform customer data management and call control through the OfficeServ SOHO
CRM program.
OfficeServ SOHO CRM provides the following functions:
CID Based Customer Data Management
- Customer data management based on Caller Identification(CID).
- Customer DB configuration using template.
Customer Address Book Management
- Synchronization with OfficeServ SOHO address book/phonebook.
- Provides detailed customer data.
Call Control
- Various call control functions can be performed from a PC through CTI(Only available
for OfficeServ SOHO).
External Data Interwork
- Data interwork with Microsoft Outlook/Excel.
- Convenient customer data entry through inter-working with OfficeServ SOHO address
book.
© SAMSUNG Electronics Co., Ltd. 147
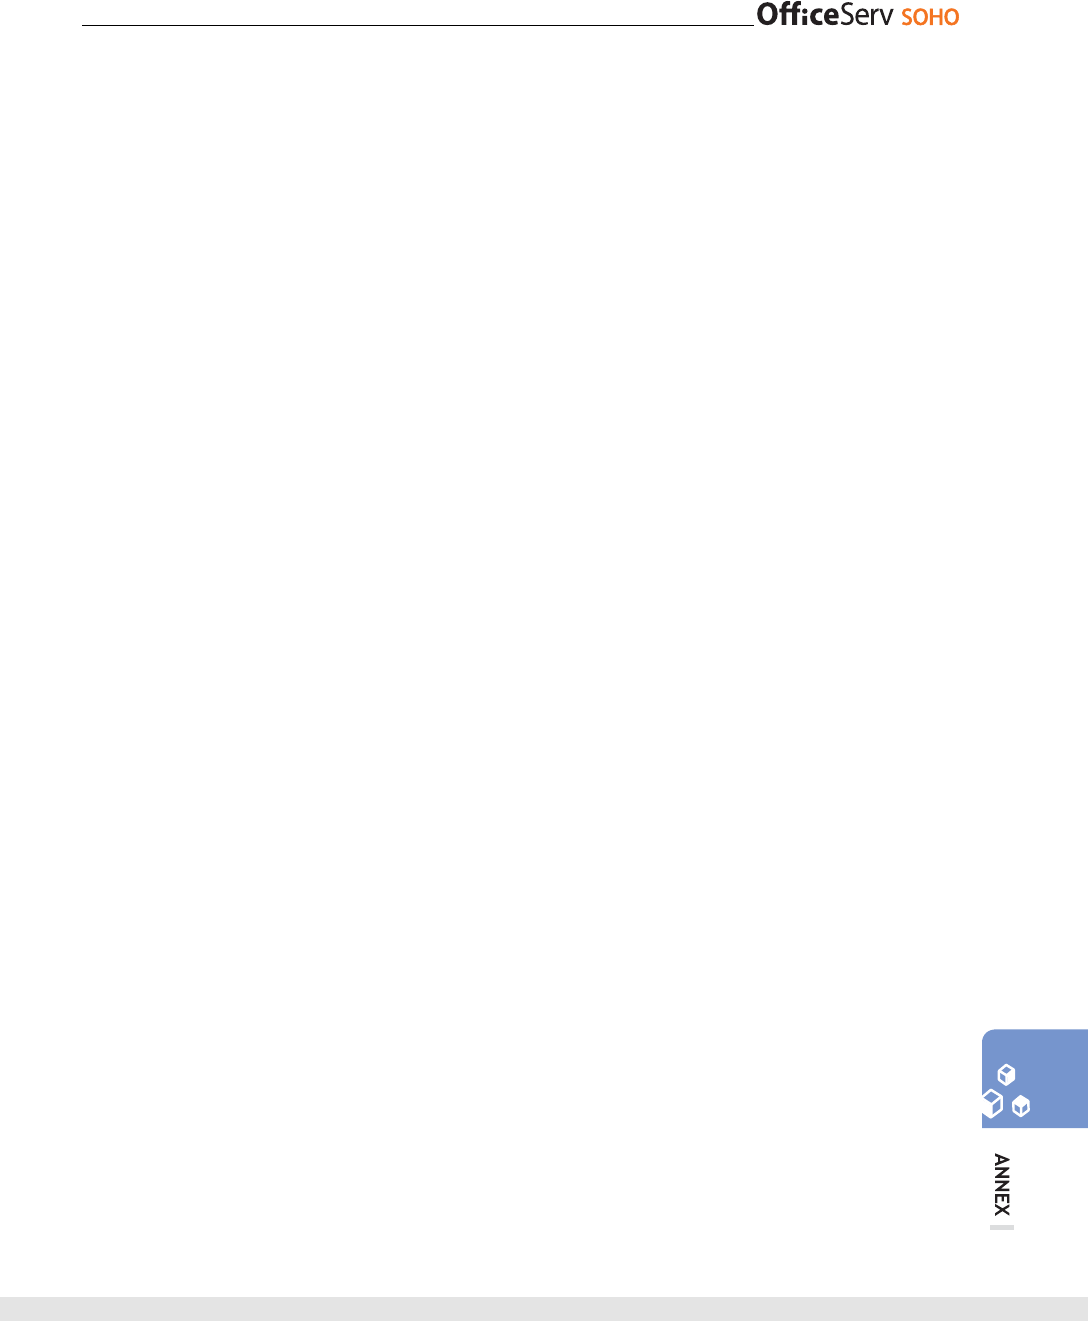
Specification
The specification of OfficeServ SOHO is described as follows:
Item Description
Model Name SIT200EM
Temperature(˚C) Temperature for operation: 0~45˚C
Temperature for storage: -25~70˚C
Humidity(%) 0~90%
Conversation through Speakerphone {
Internet Service {
WLAN Service {
RF 2.4 G ~ 2.483 GHz
Protocol IEEE 802.11 b/g
LCD LCD graphic: 320 × 240 pixel
Screen size: 89.9 × 61.7 mm
Number of Registered WLAN phones 8
Number of Registered wireless devices 6
RF Specification is described as follow:
Item Detailed Item Description
Interface MiniPCI Type IIIB
Form Factor MiniPCI Type IIIB
International Standard IEEE802.11b/g
General
specification
Operating voltage 3.3V +/- 5%
Output Power(11g) Under 19dBm
Output Power(11b) Under 19dBm
Current Consumption(11g) Under 550mA
Transmit
specification
Current Consumption(11b) Under 550mA
Maximum Input Lever(11g) Min –82dBm
Maximum Input Lever(11b) Min –87dBm
Current Consumption(11g) Ave 450mA
Receiver
specification
Current Consumption(11b) Ave 450mA
148 © SAMSUNG Electronics Co., Ltd.
■ Regulatory Information
- FCC Information
This equipment has been tested and found to comply with limits for a class B digital
device. Pursuant to Part 15 of the FCC Rules. These limits are designed to provide
reasonable Protection against harmful interference in a residential installation.
This equipment can generates, uses, and radiate radio frequency energy and, if not
installed and used in accordance with the instructions, may cause harmful
nterference to radio communications. However, there is no guarantee that
nterference will not occur in a particular installation.
If this equipment does cause unacceptable interference to radio and television
eception, which can be determined by turning the equipment off and on, the user is
encouraged to try to correct the interference by one or more of the following
measures.
■ Reorient or relocate the receiving antenna.
■ Increase the separation between the equipment and receiver.
■ Connect the equipment into an outlet on a circuit different from that to which the
receiver is connected.
■ Consult the dealer or an experienced Radio/TV technician for help.
■ Caution
■ Changes or modifications not expressly approved by the party responsible for
compliance could void the user’s authority to operate the equipment.
■ The antenna used for this transmitter must be installed to provide a separation
© SAMSUNG Electronics Co., Ltd. 149
distance of at least 20cm from all persons and must not be co-located or operation in
conjunction With any other antenna or transmitter.