Samsung Electronics Co SLM4075FX Mono Laser Printer User Manual M337x M387x M407x LEGAL XOA english 0530 re
Samsung Electronics Co Ltd Mono Laser Printer M337x M387x M407x LEGAL XOA english 0530 re
Contents
- 1. Users Manual 1
- 2. Users Manaul 2
- 3. Users Manual 3
- 4. Users Manual 4
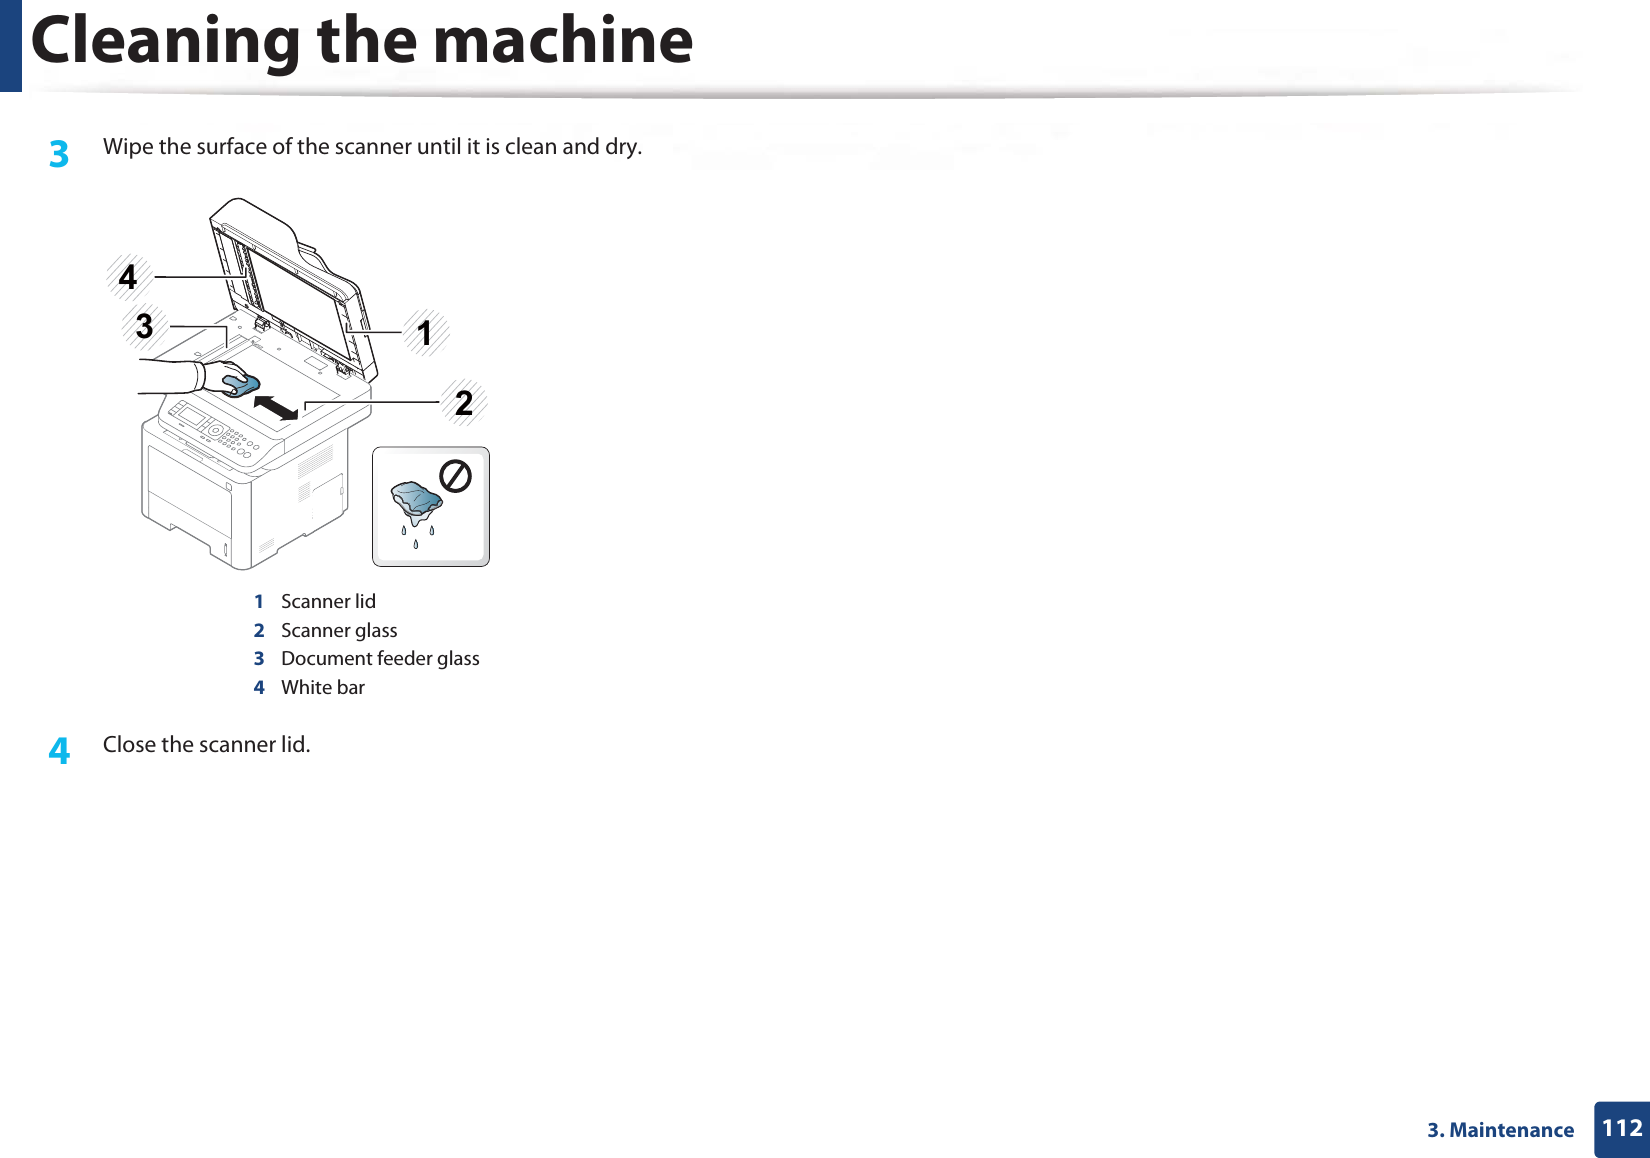
Users Manual 3