TRENDNET TEW654TR 802.11n Draft 2.0 Three Mode Wireless Pocket AP User Manual Manual Part 1
TRENDNET, INC. 802.11n Draft 2.0 Three Mode Wireless Pocket AP Manual Part 1
TRENDNET >
Contents
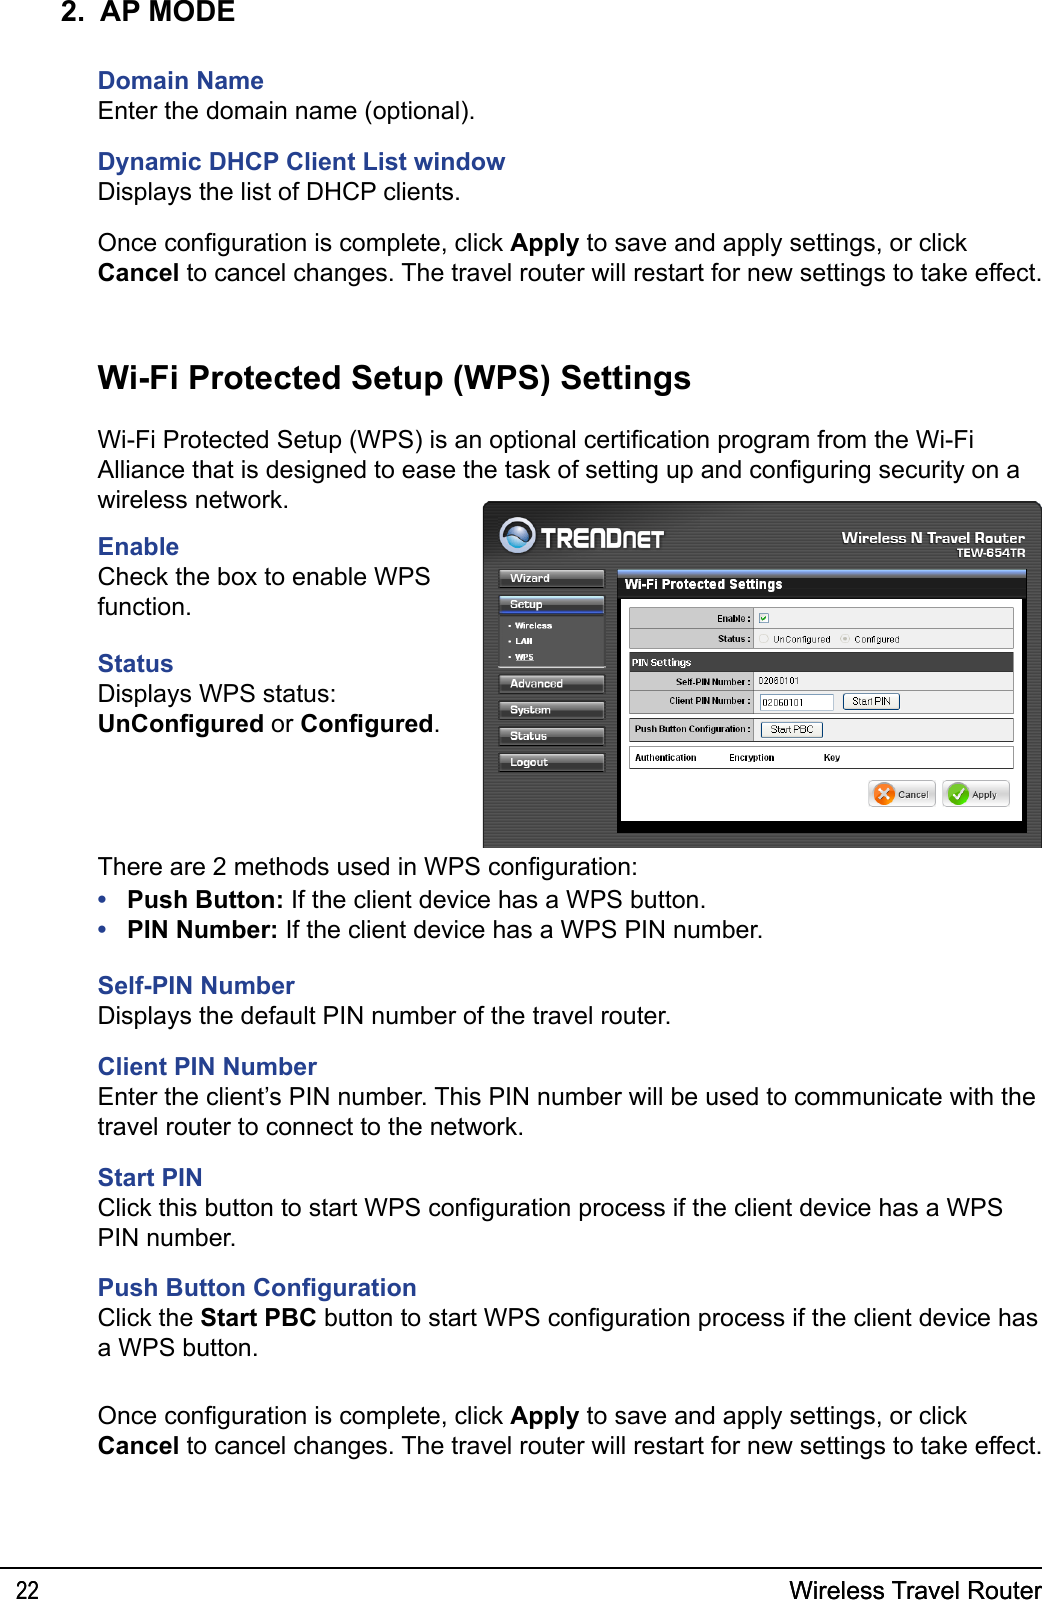
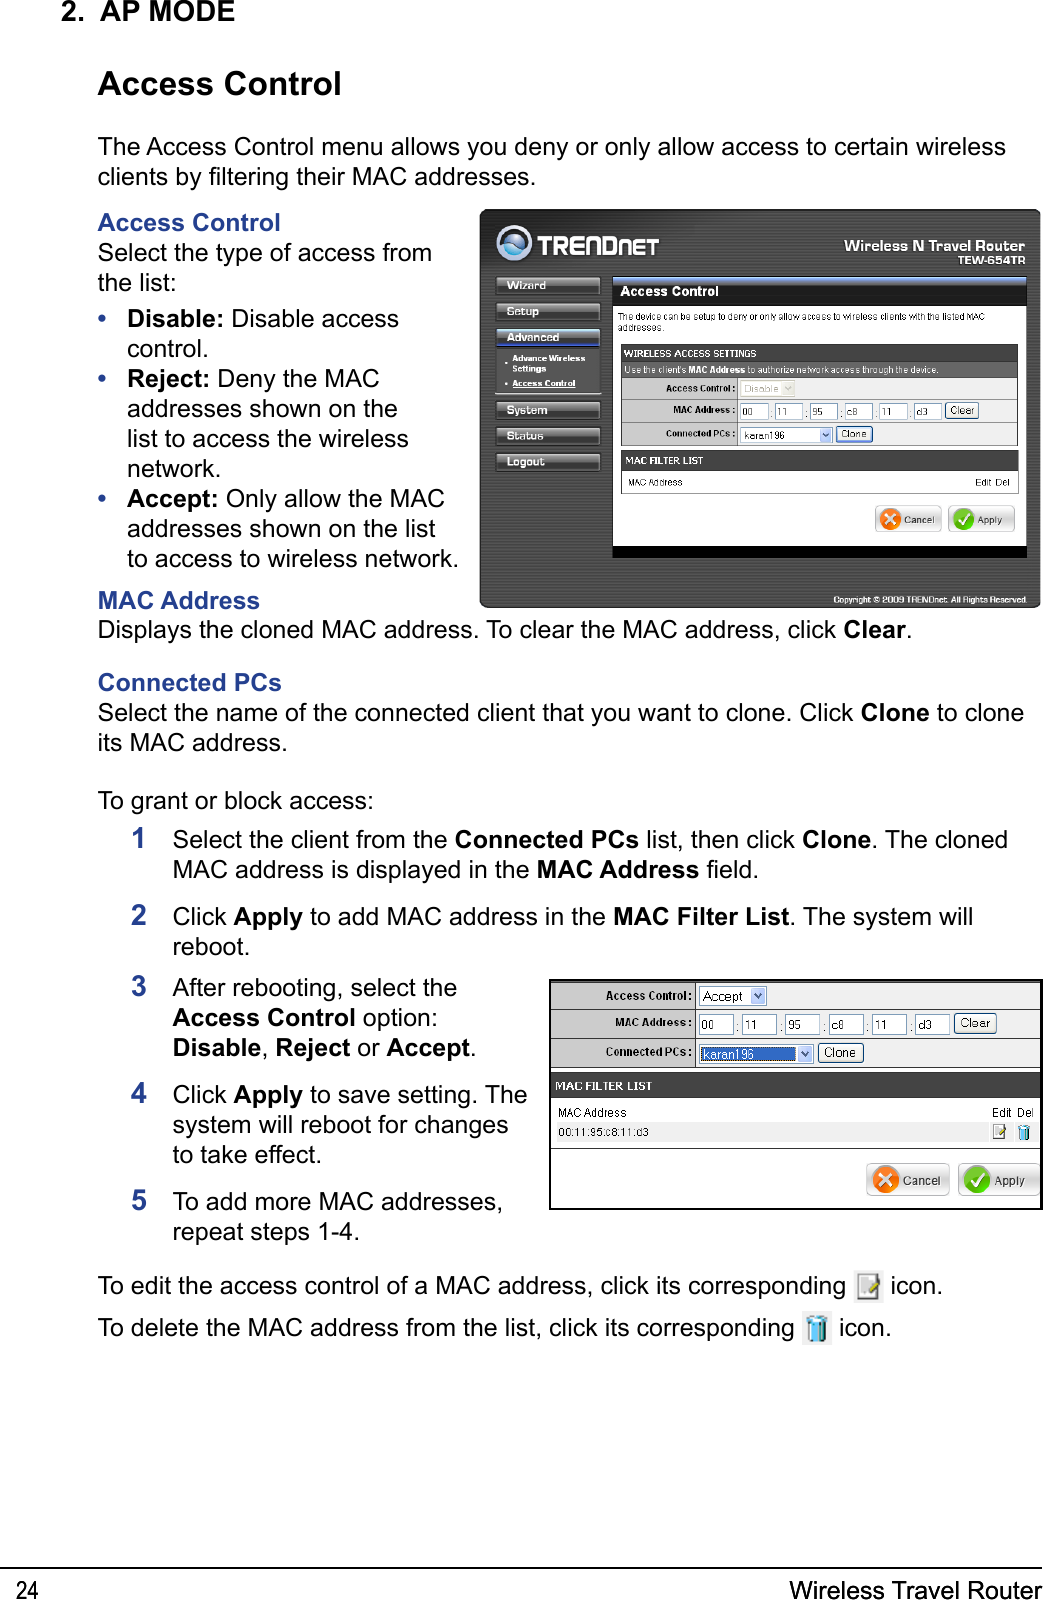
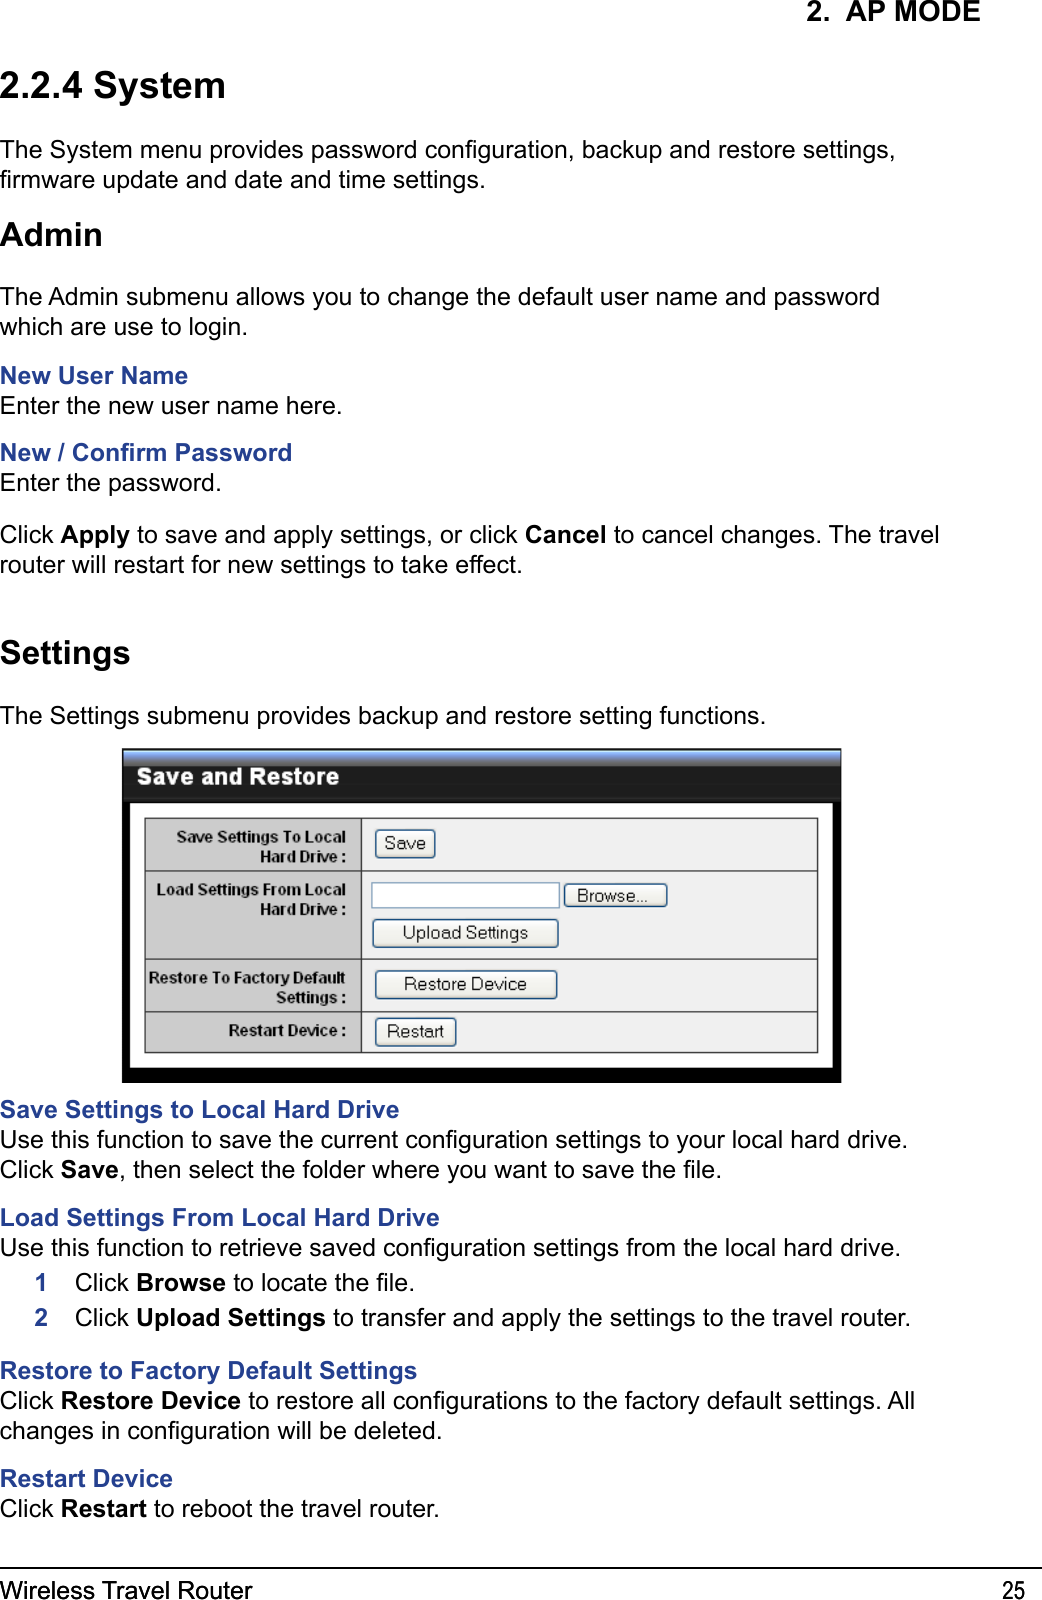
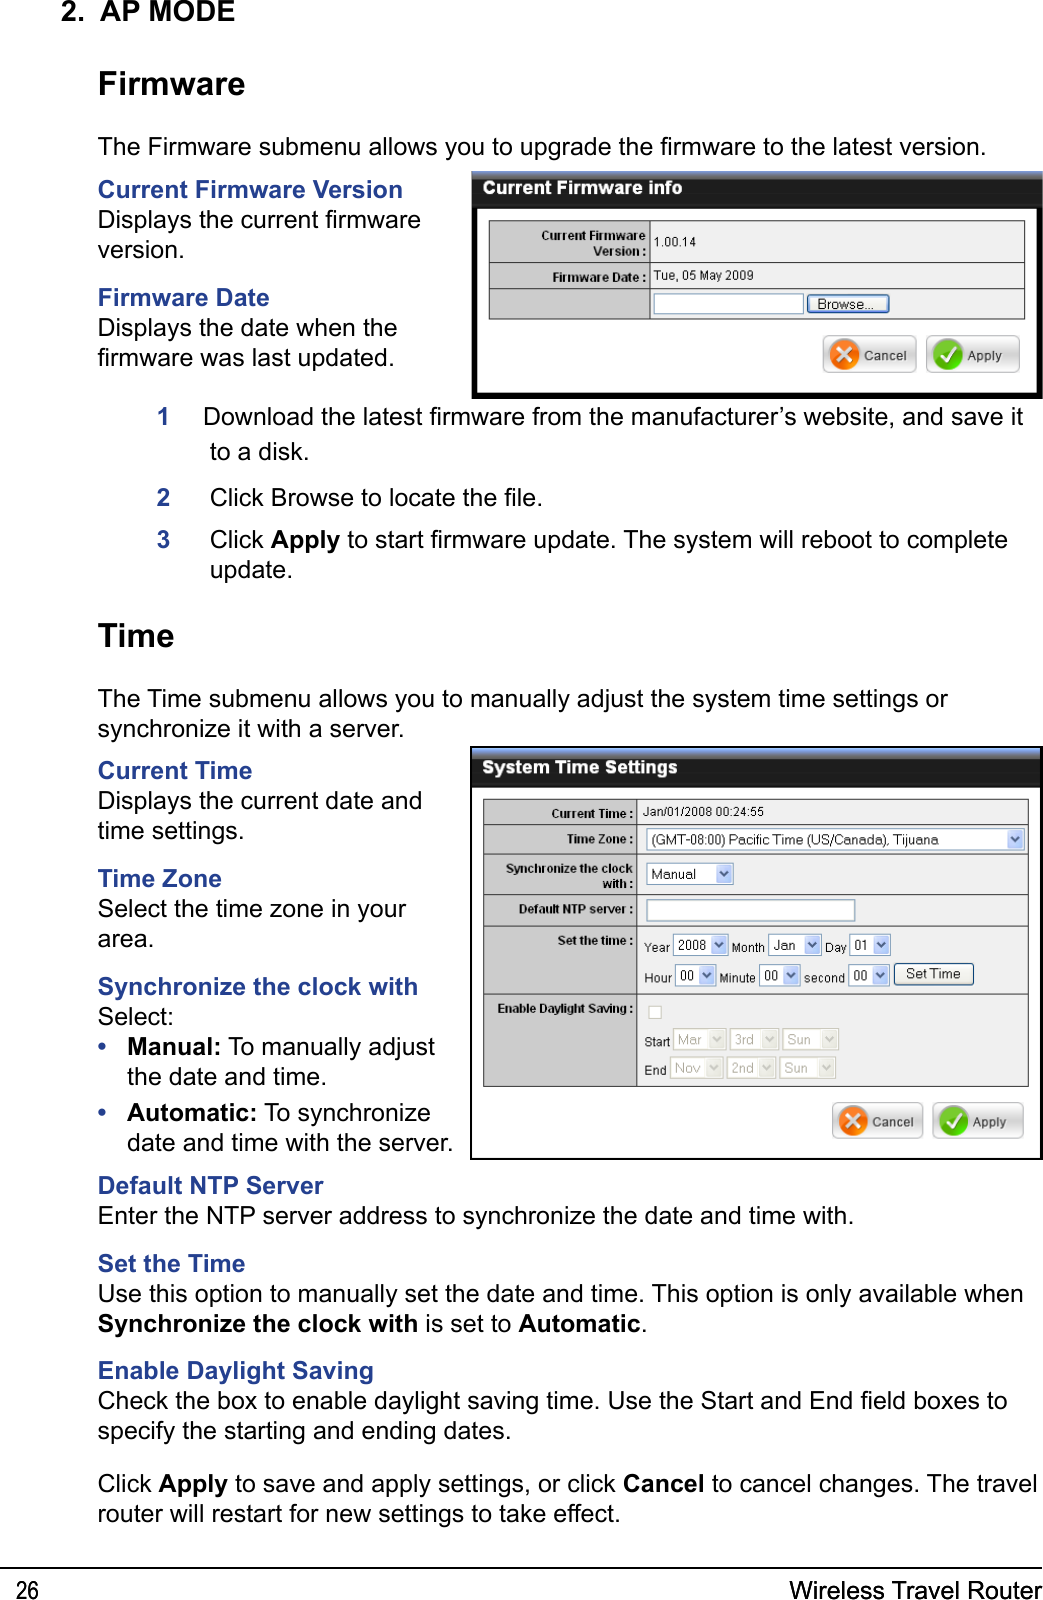
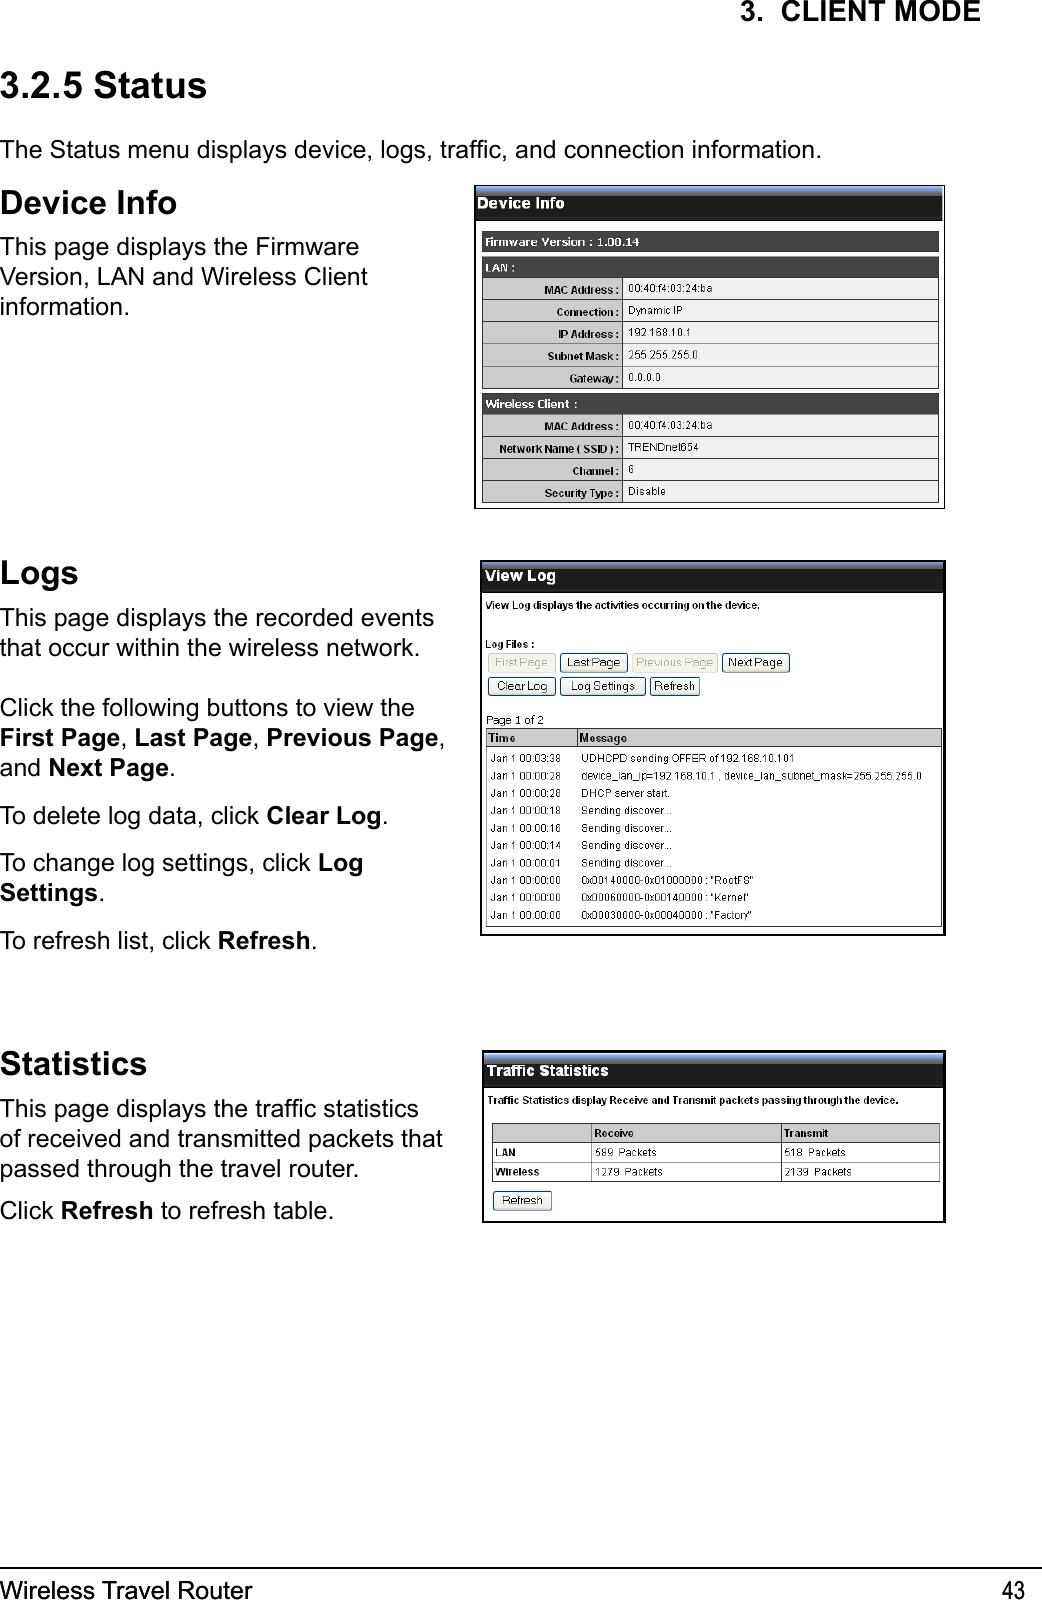
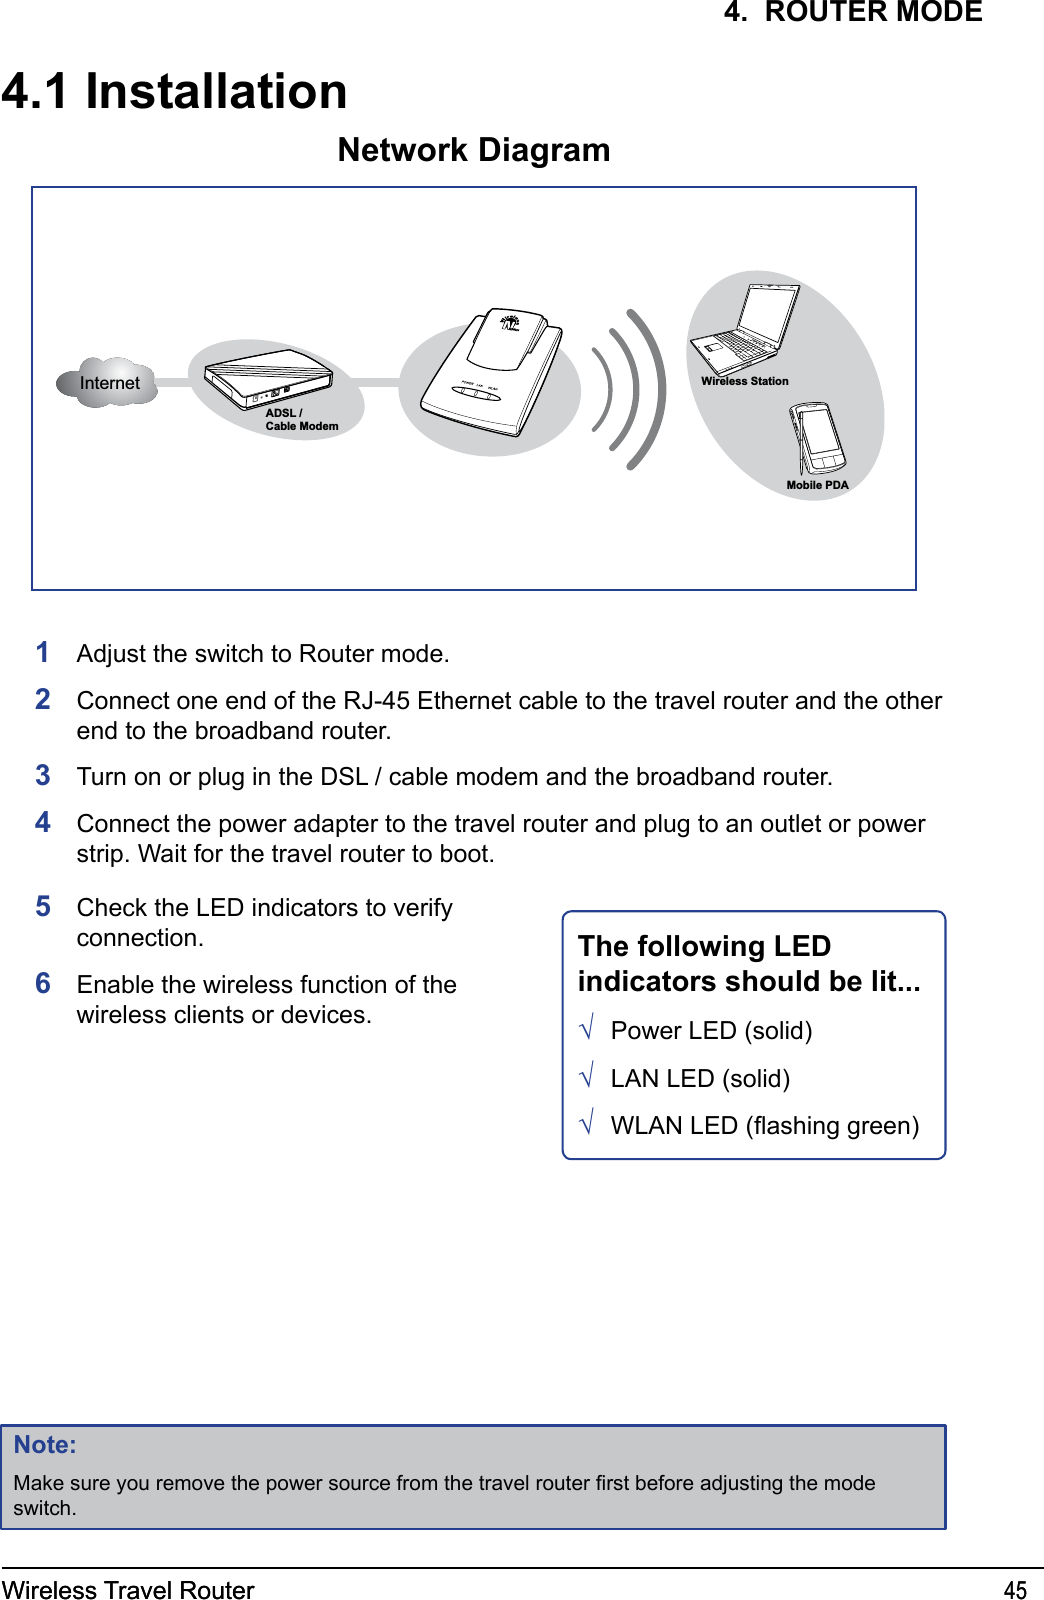
- 1. Manual Part 1
- 2. Manual Part 2
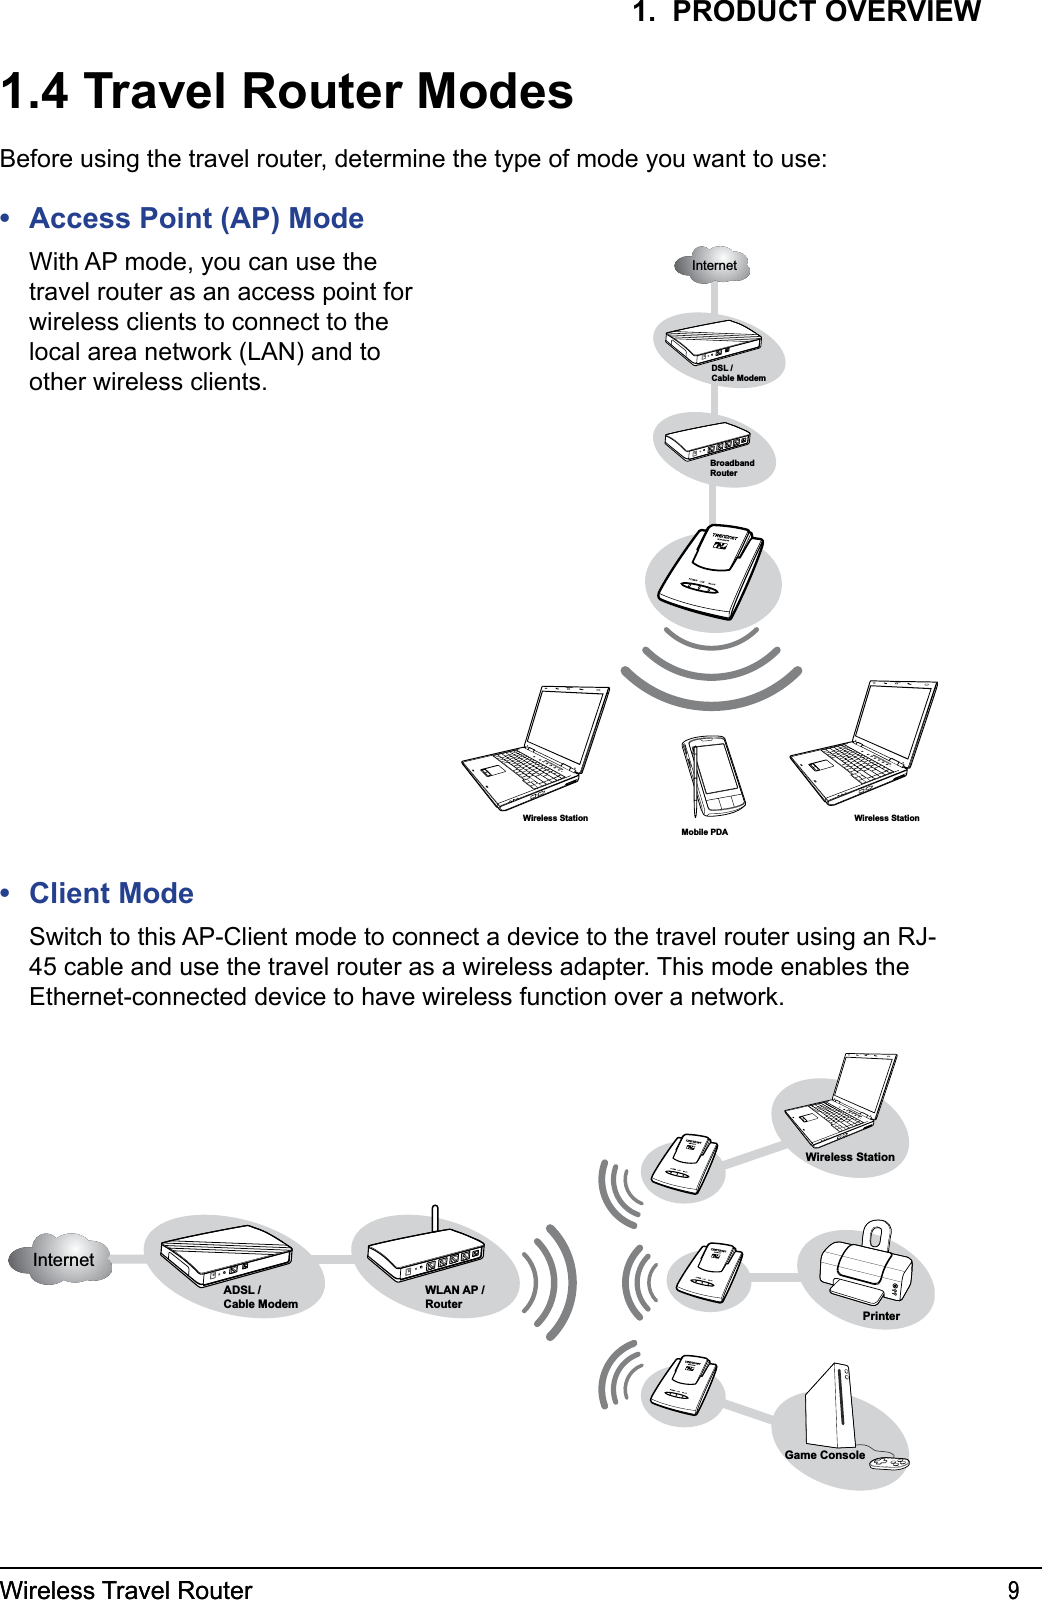
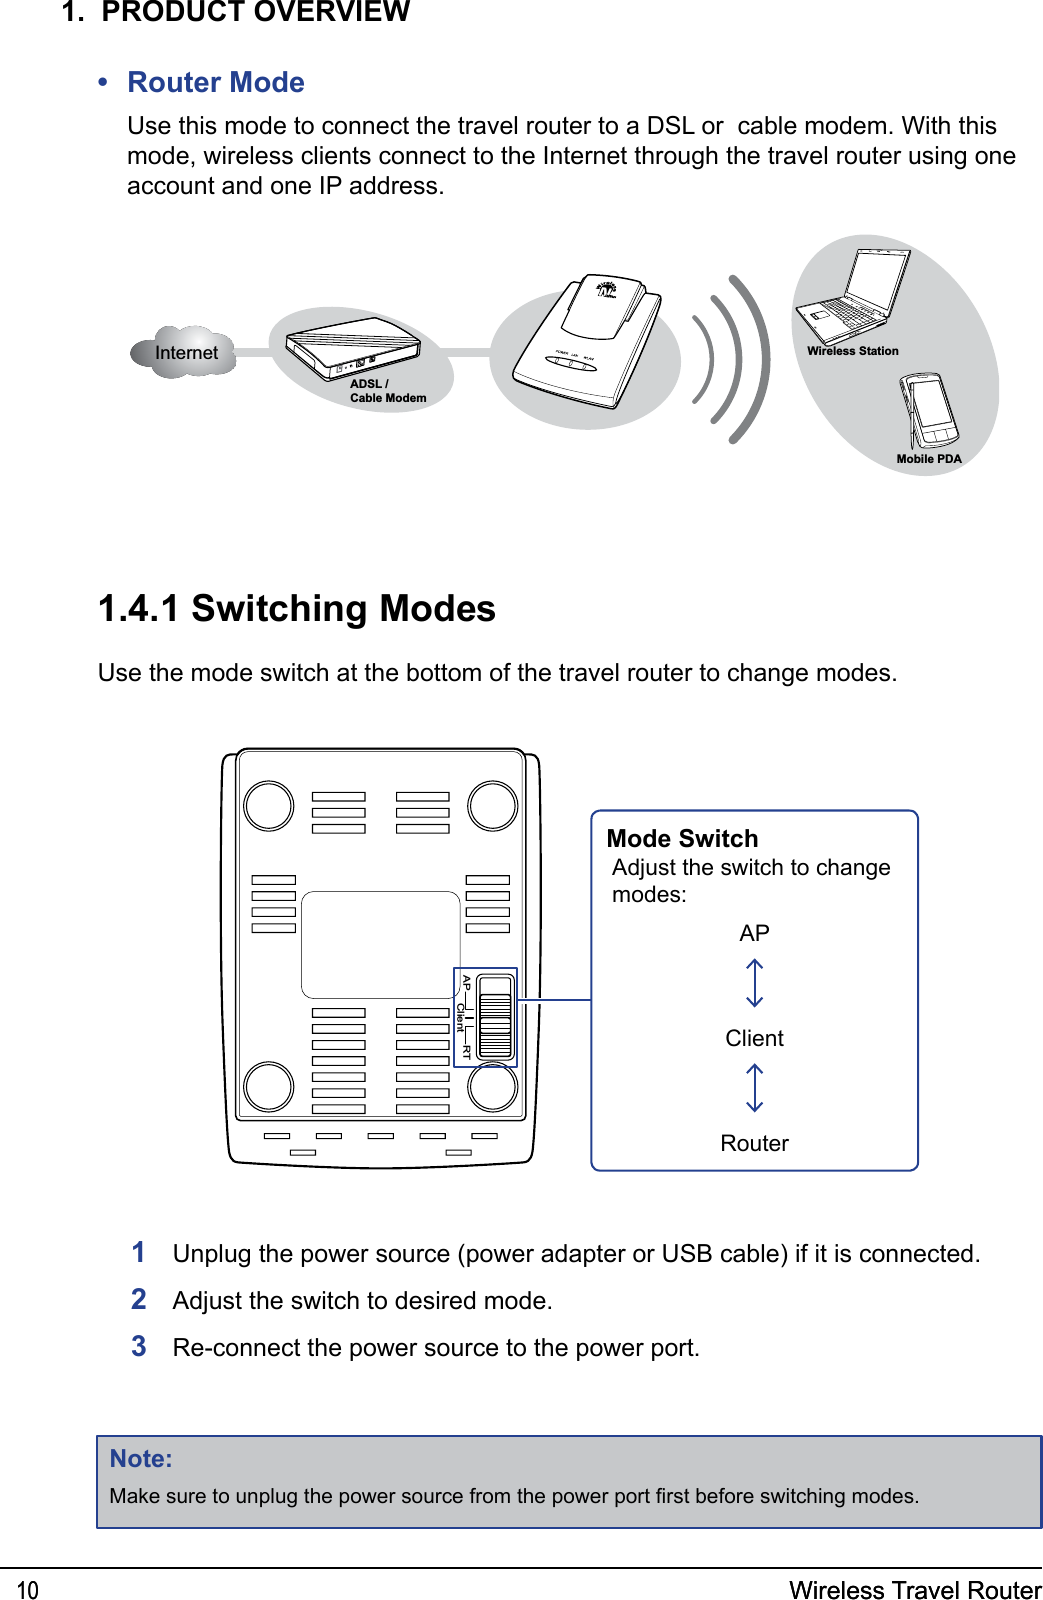
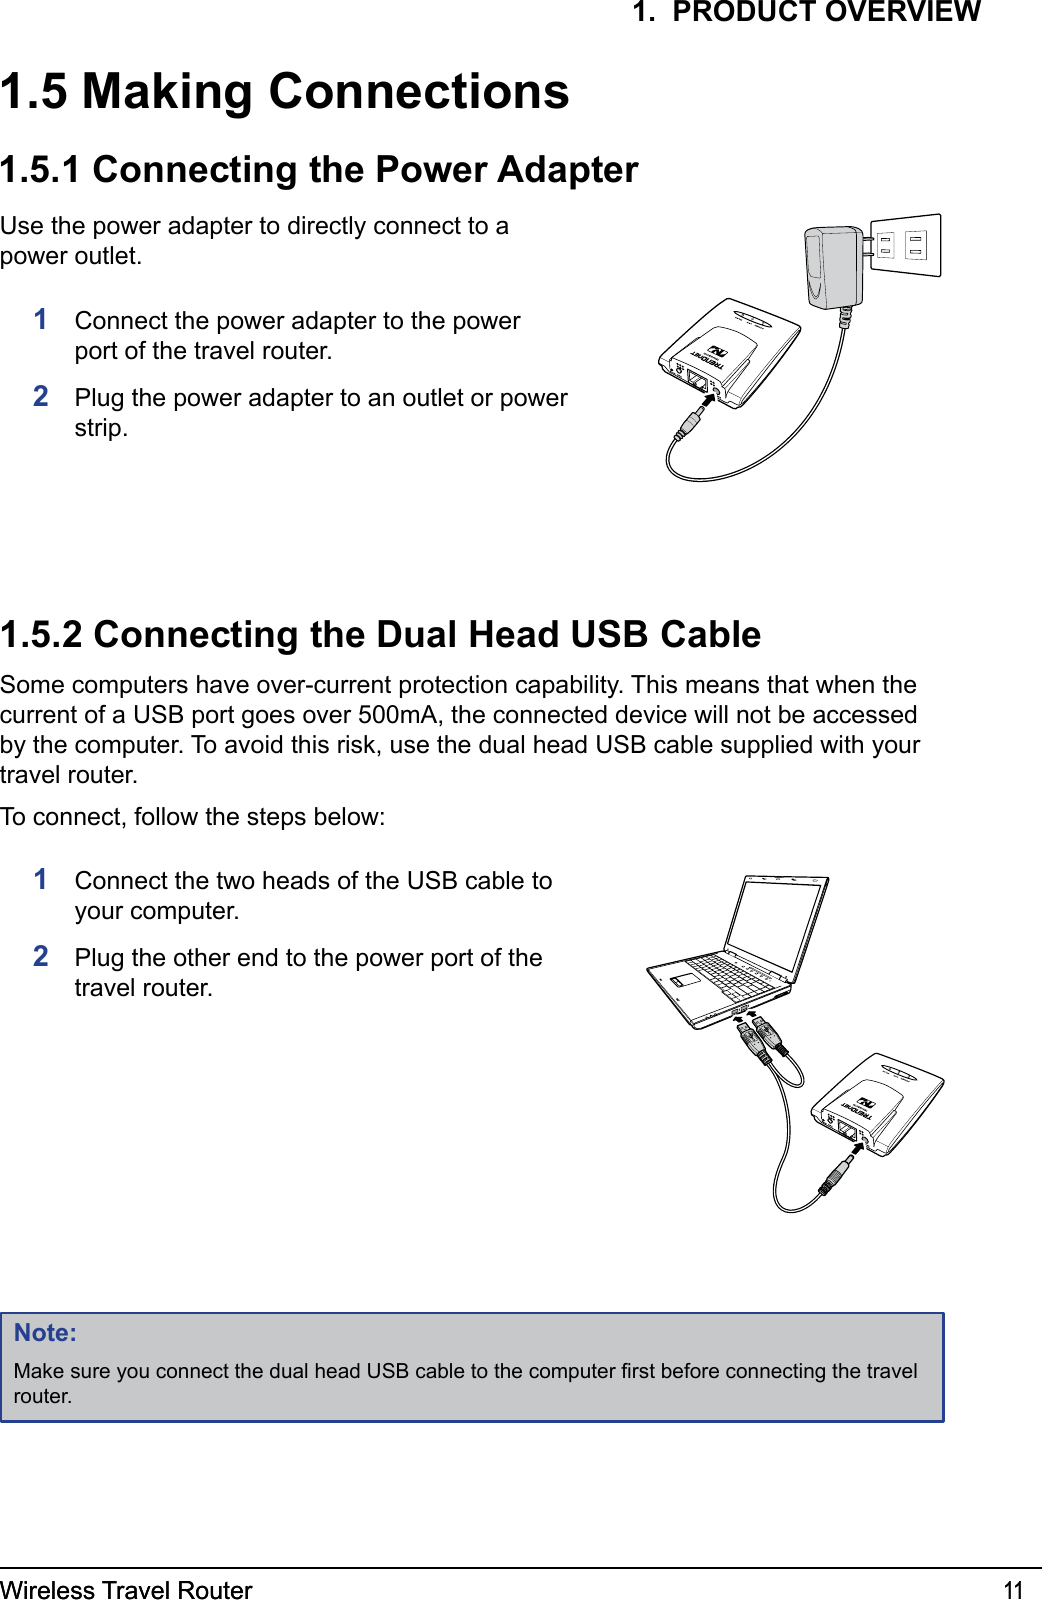
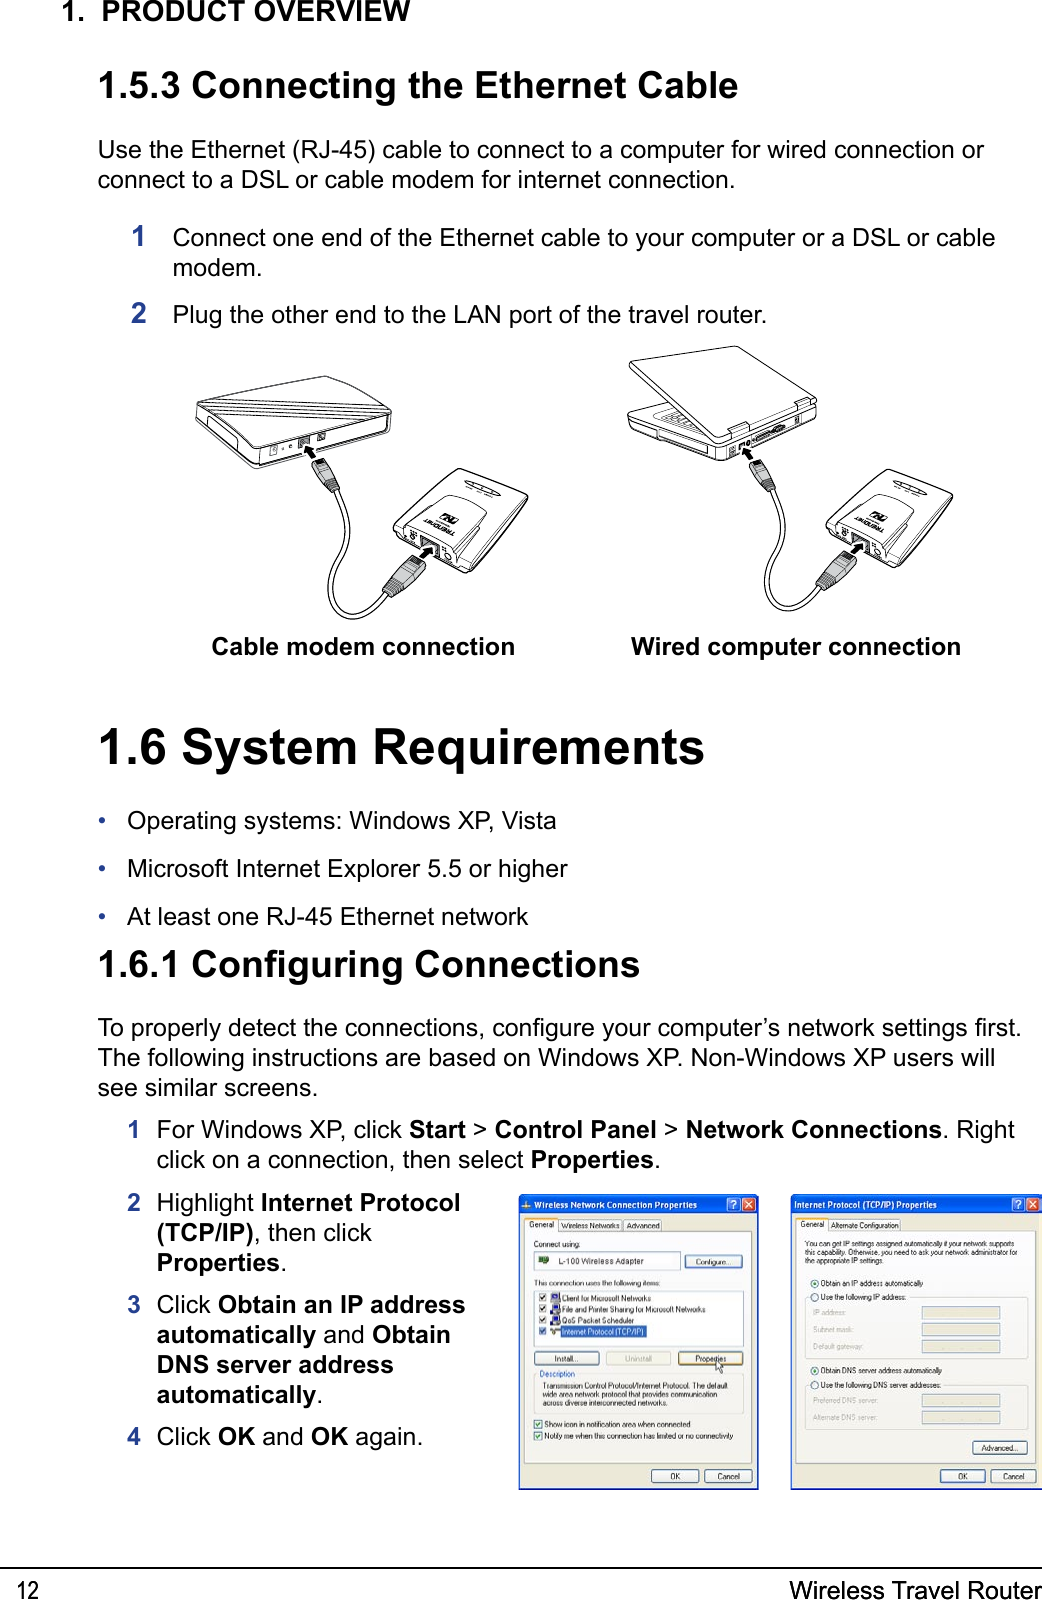
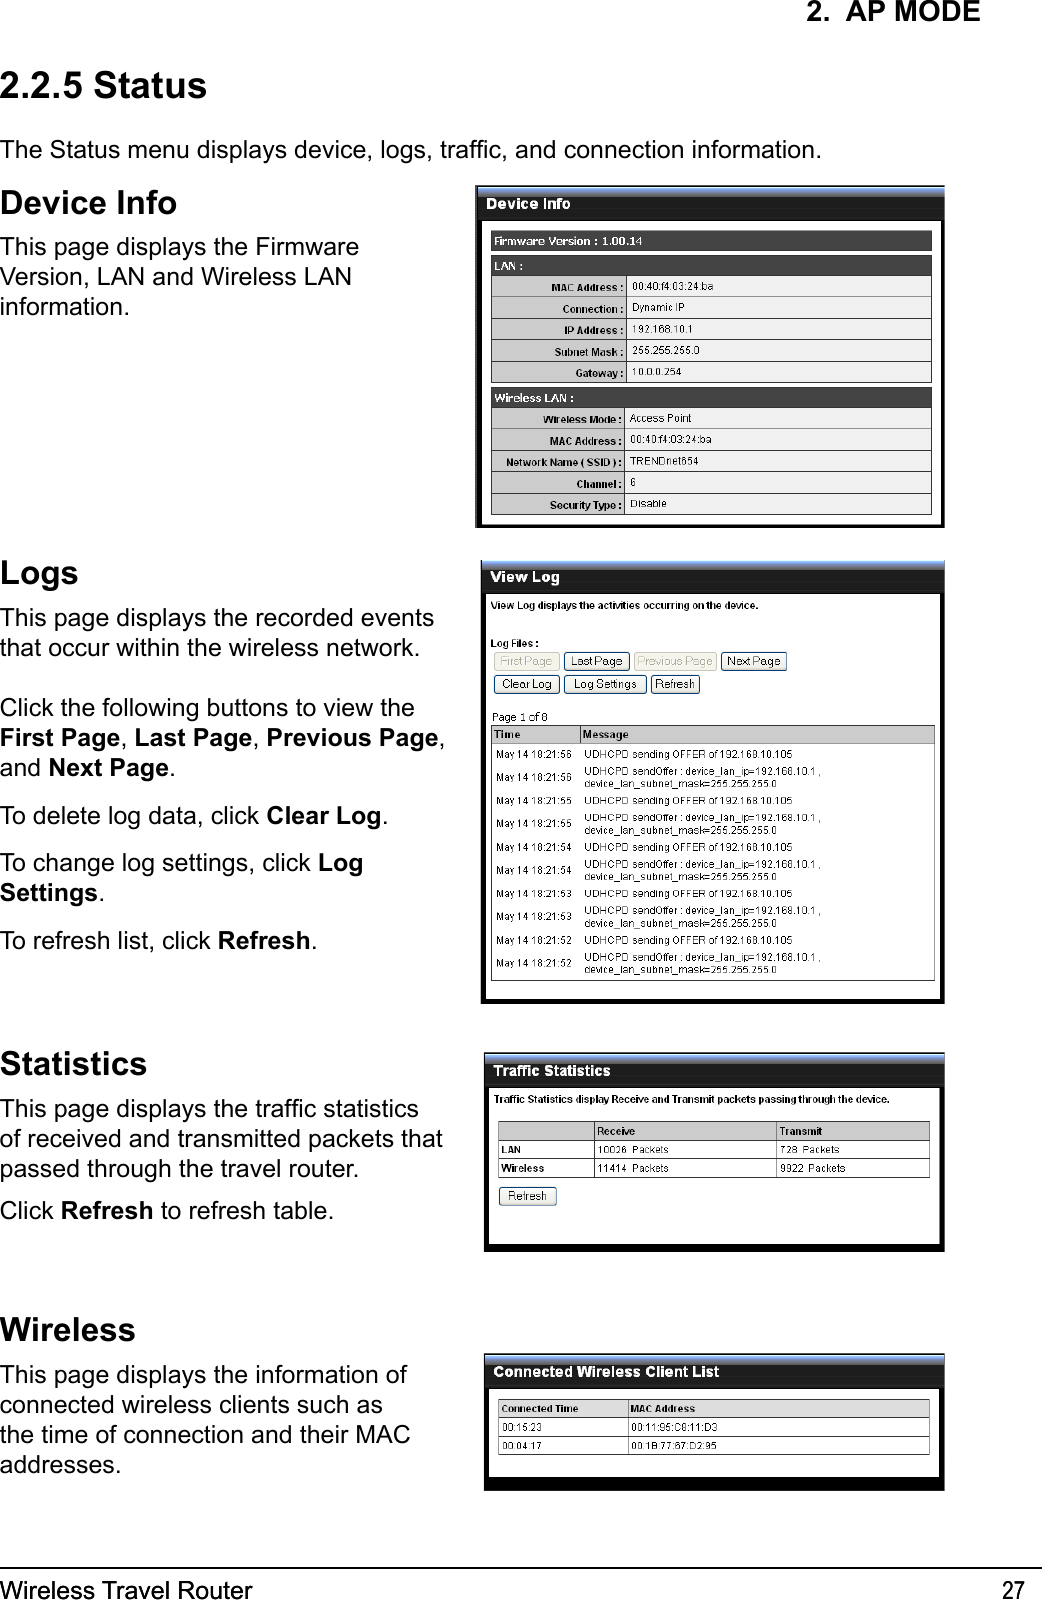
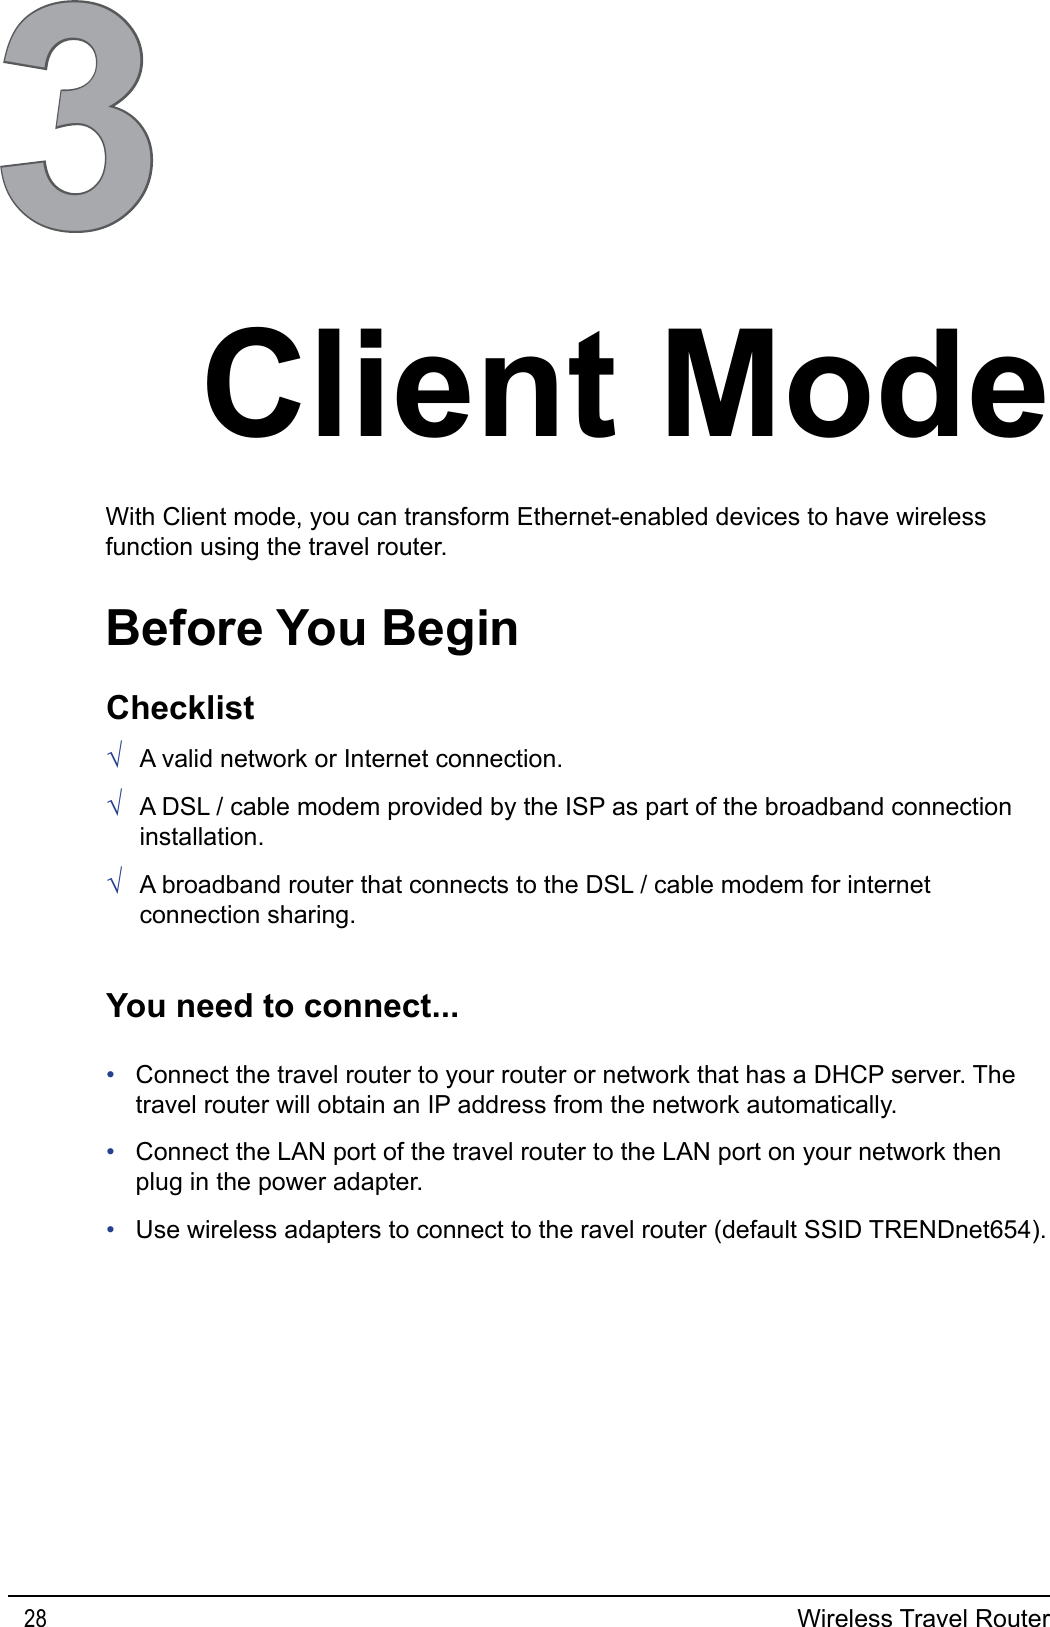
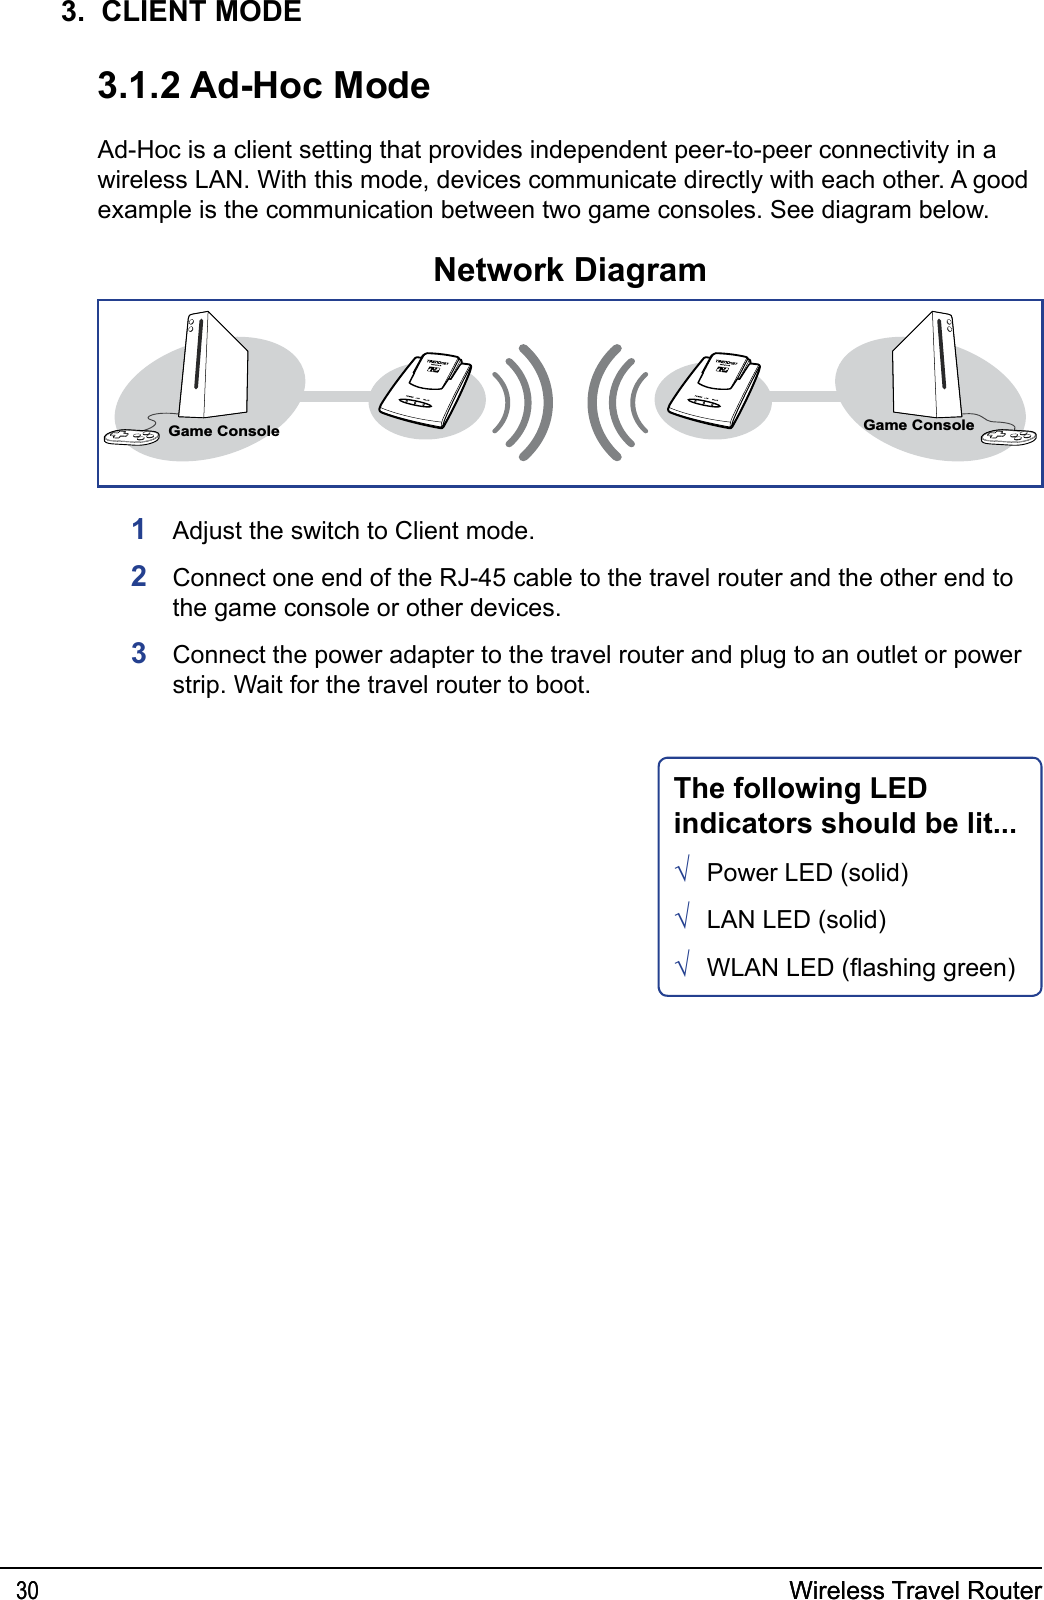
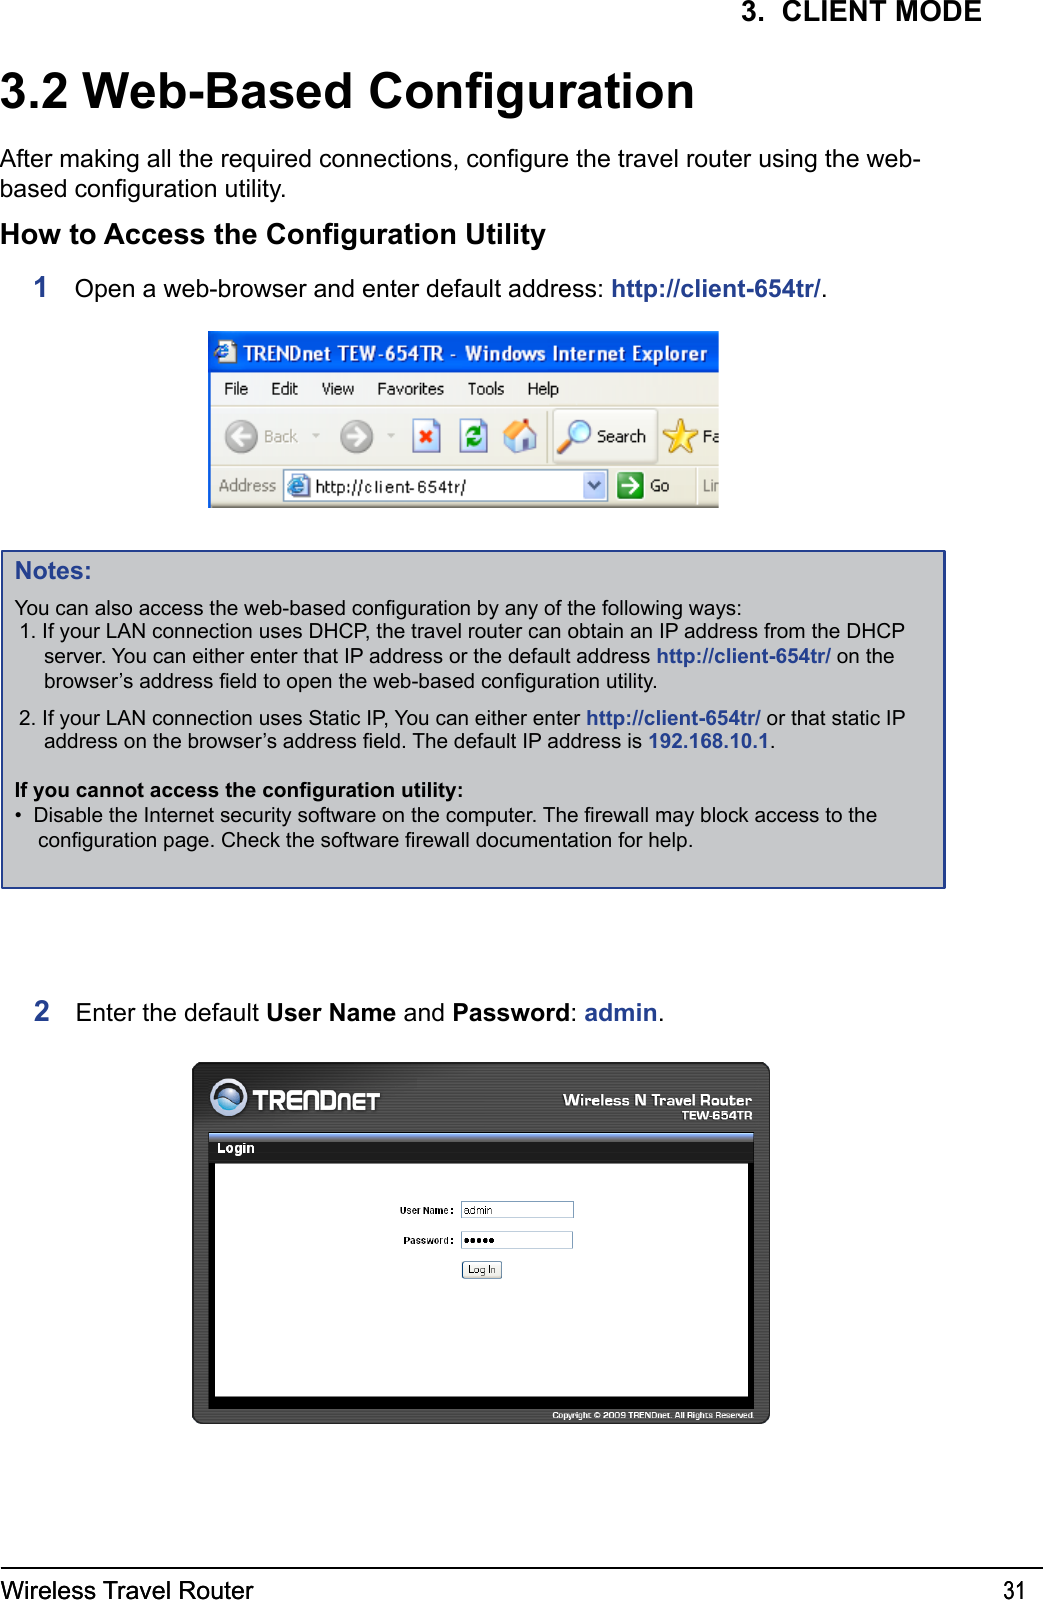
Manual Part 1