Thrane and Thrane A S IPHANDSET Wireless VoIP Handset User Manual VoIP UM
Thrane & Thrane A/S Wireless VoIP Handset VoIP UM
UserManual.wiki
>
Thrane and Thrane A S
>
IPHANDSET User Manual
>
Manual 1
Contents
1.
Manual 1
2.
Manual 2
3.
Manual revised 1
4.
Manual revised 2
5.
Manual revised 3
Manual 1
Navigation menu
Upload a User Manual
Namespaces
Wiki Guide
HTML
PDF
Info
Views
User Manual
Discussion / Help
Navigation

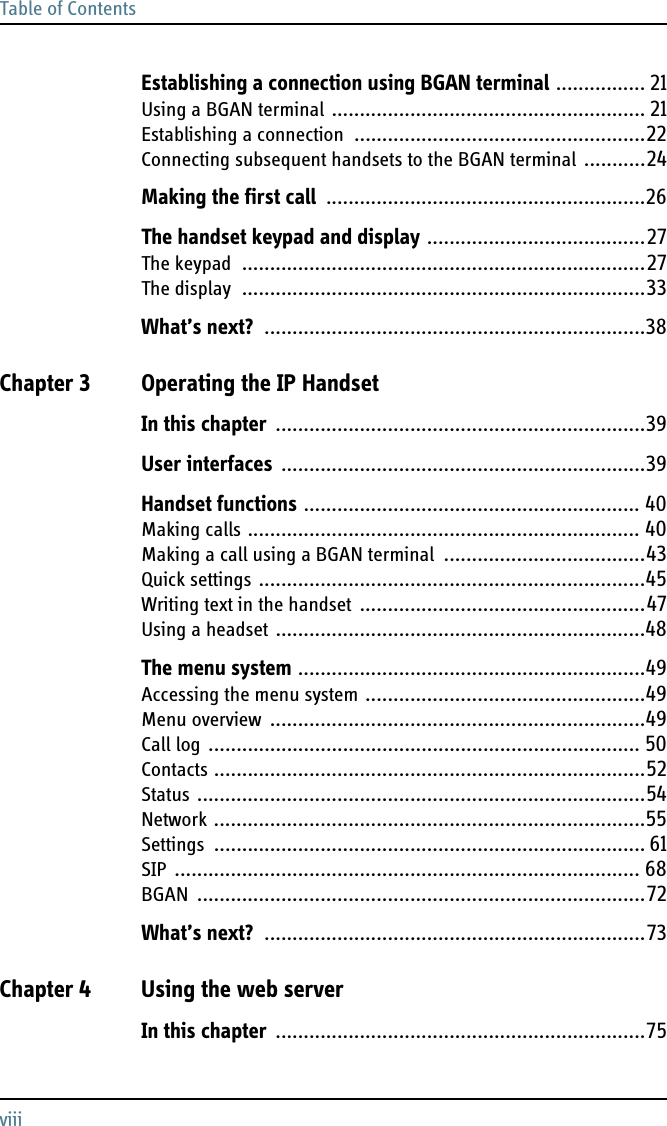
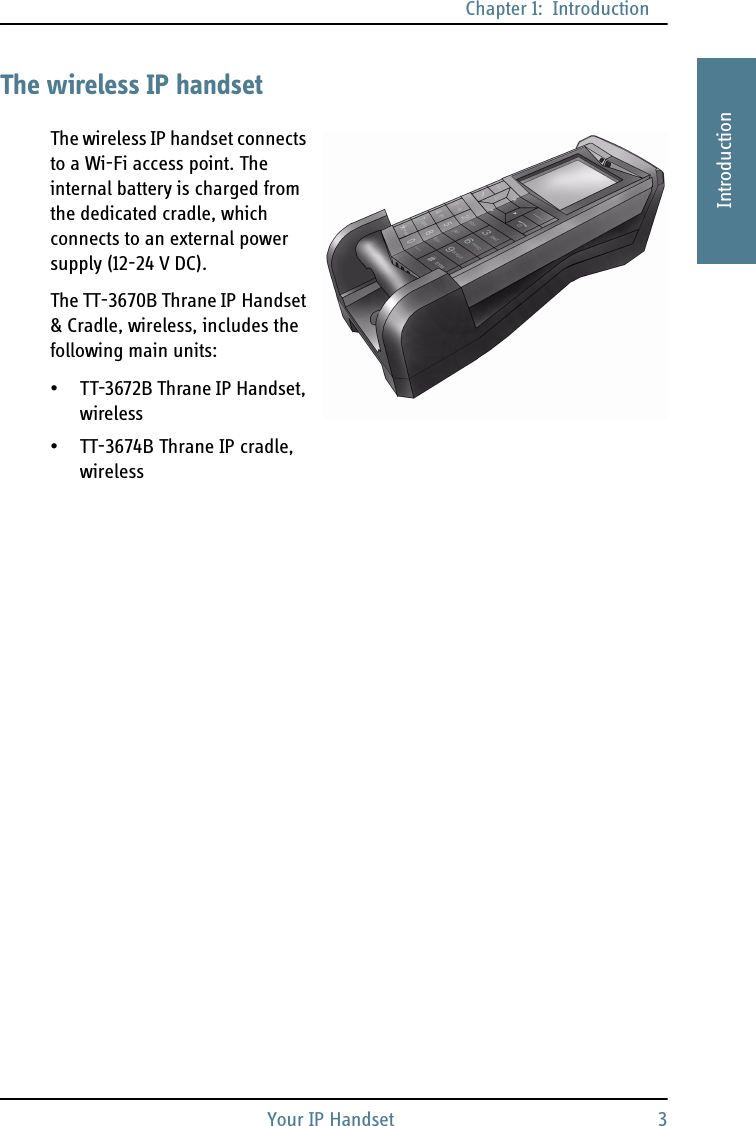

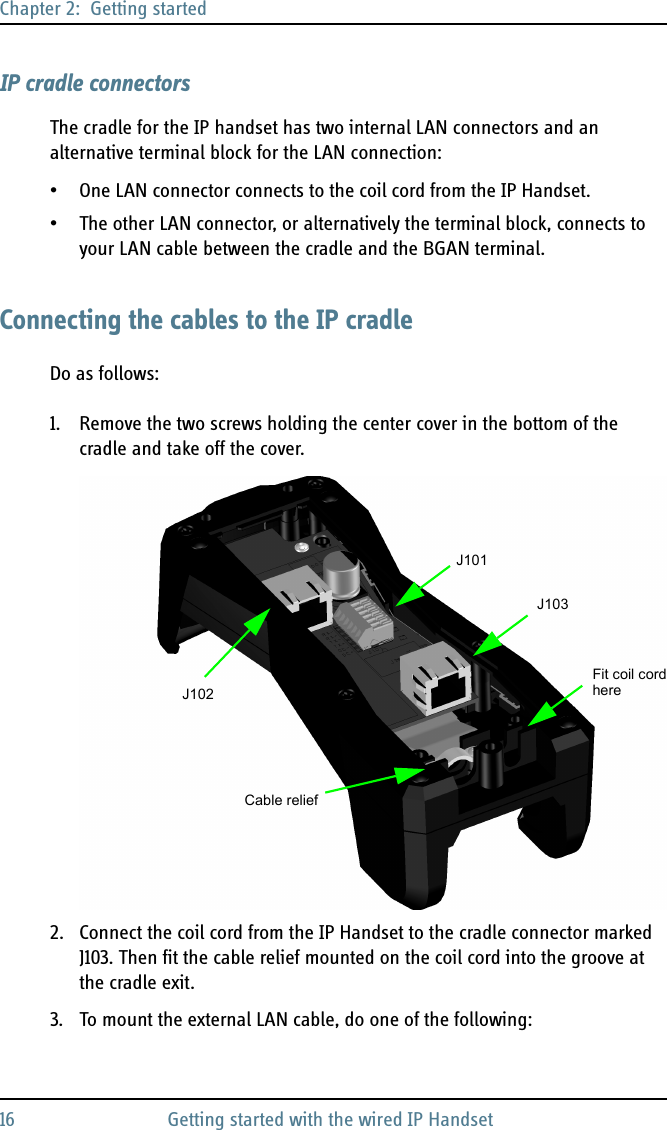
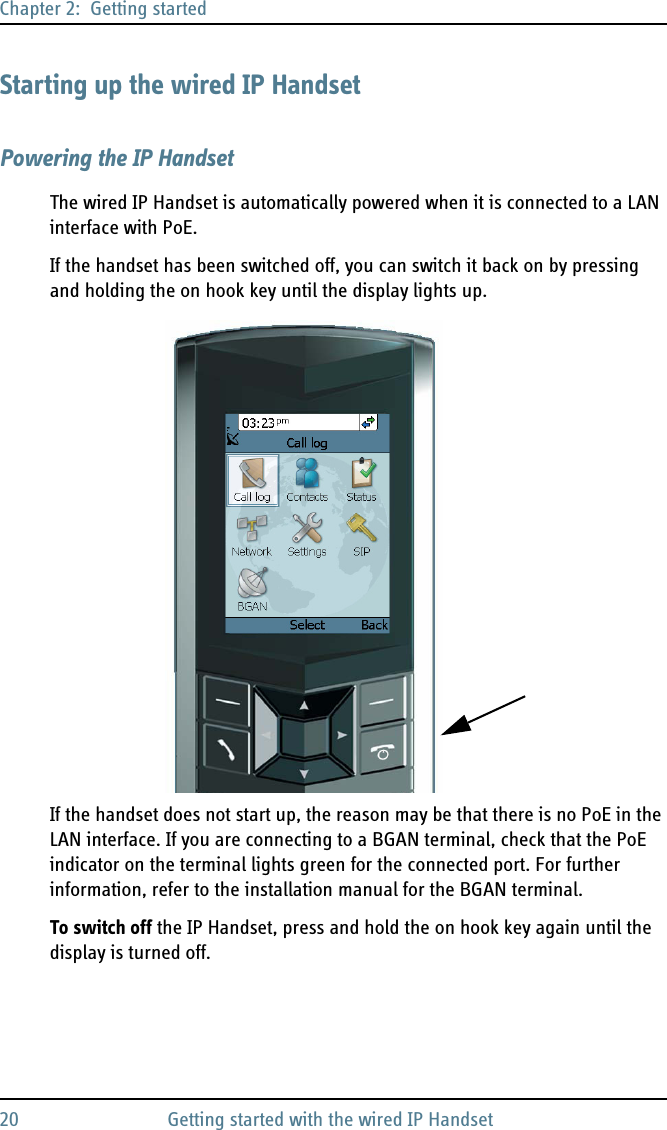


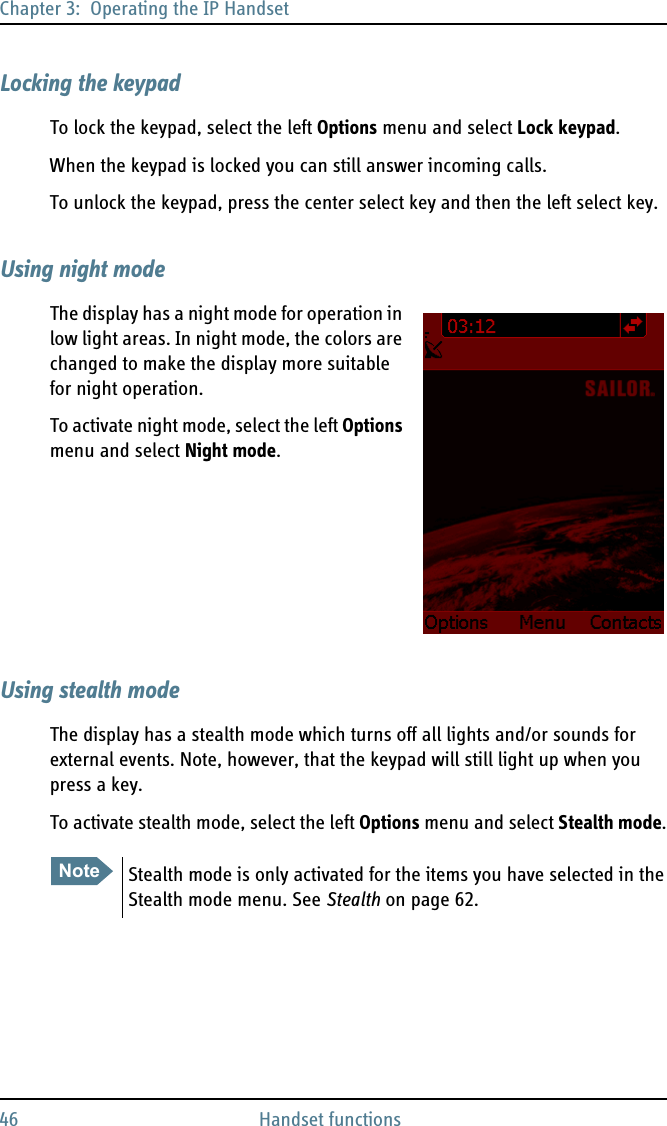
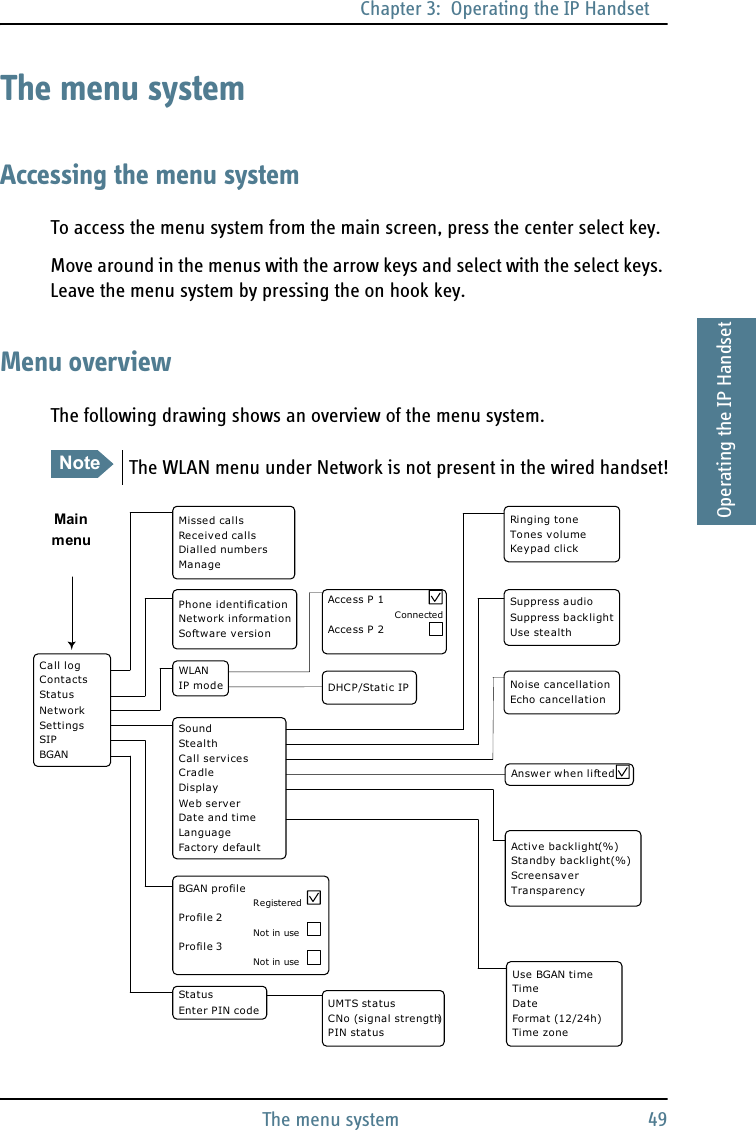
![Chapter 2: Getting startedThe handset keypad and display 312222Getting startedIn text mode, you have the functions listed below.The ∗ key switches between numeric, lowercase and uppercase characters.To get numbers from lowercase or uppercase mode, press and hold the key.At numerous presses on the same key, the character changes in the same sequence that the characters are listed in the table below.Key Numeric output Lowercase output Uppercase output1 1 . , @ : - ? . , @ : - ?2 2 a b c A B C33 d e f D E F44 g h i G H I55 j k l J K L66 m n o M N O77 p q r s P Q R S88 t u v T U V99 w x y z W X Y Z00 [space] [space]∗Switches between lowercase, uppercase and numbers# Symbols. Displays a list with the following additional symbols:. / : @ $ % ^ & * ( ) ~ ‘ - _ = + [ ] { } \ | ; ´ “ ! < > , ? # € <CR>](https://usermanual.wiki/Thrane-and-Thrane-A-S/IPHANDSET.Manual-1/User-Guide-980536-Page-41.png)