VTech Telecommunications 80-5995-00 WiFi Cordless Telephone System User Manual wf6972 draft19oct06
VTech Telecommunications Ltd WiFi Cordless Telephone System wf6972 draft19oct06
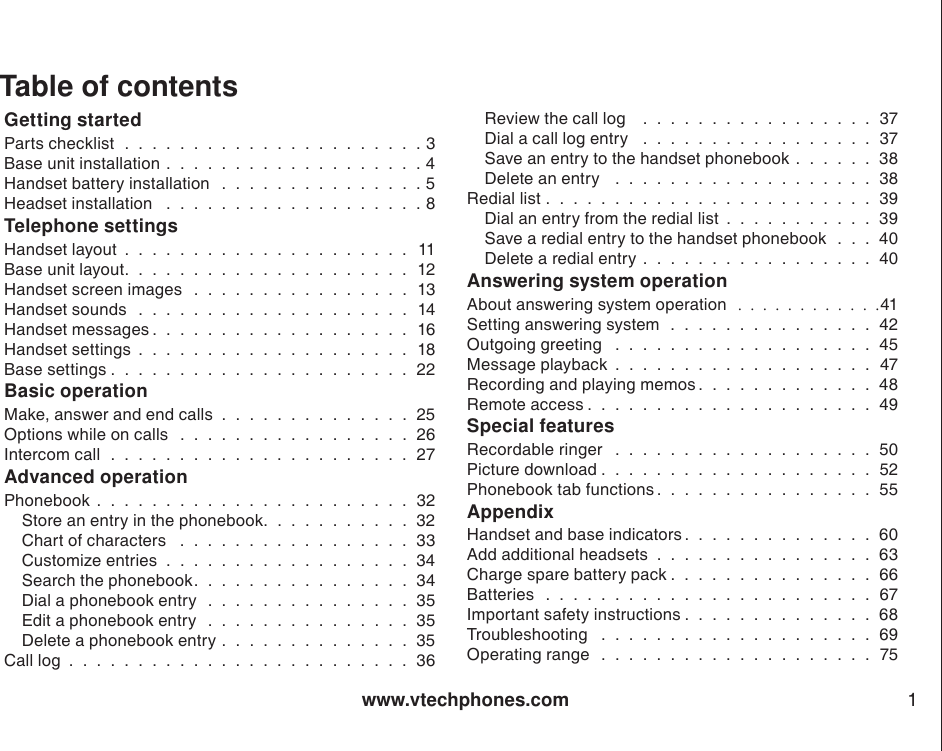
Contents
- 1. User Manual Part 1
- 2. User Manual Part 2
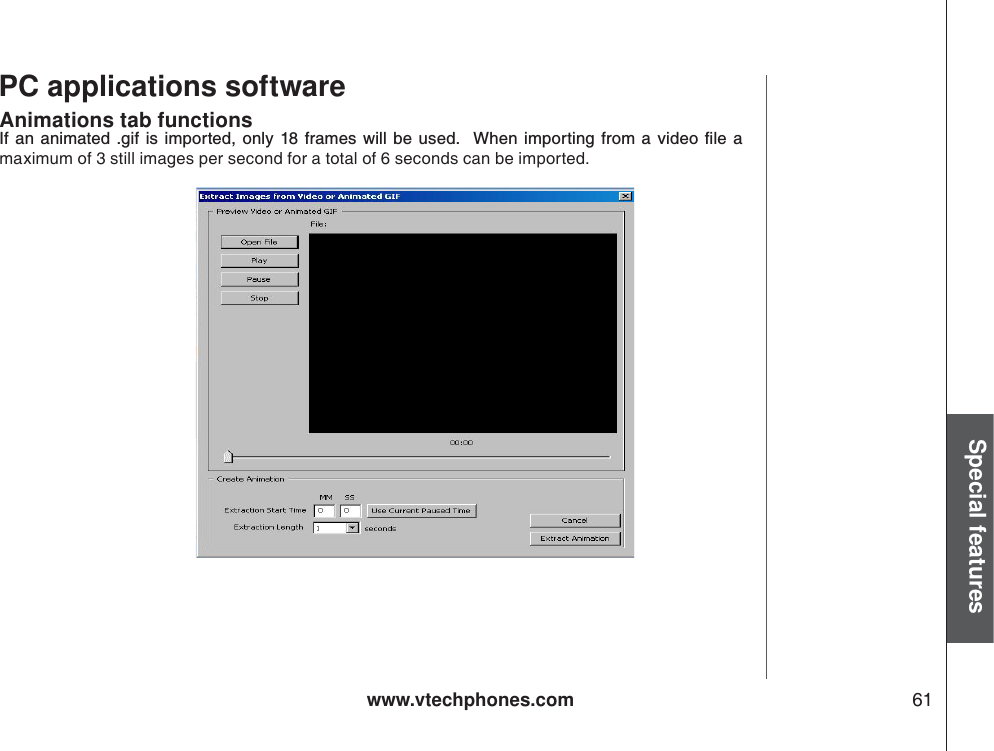
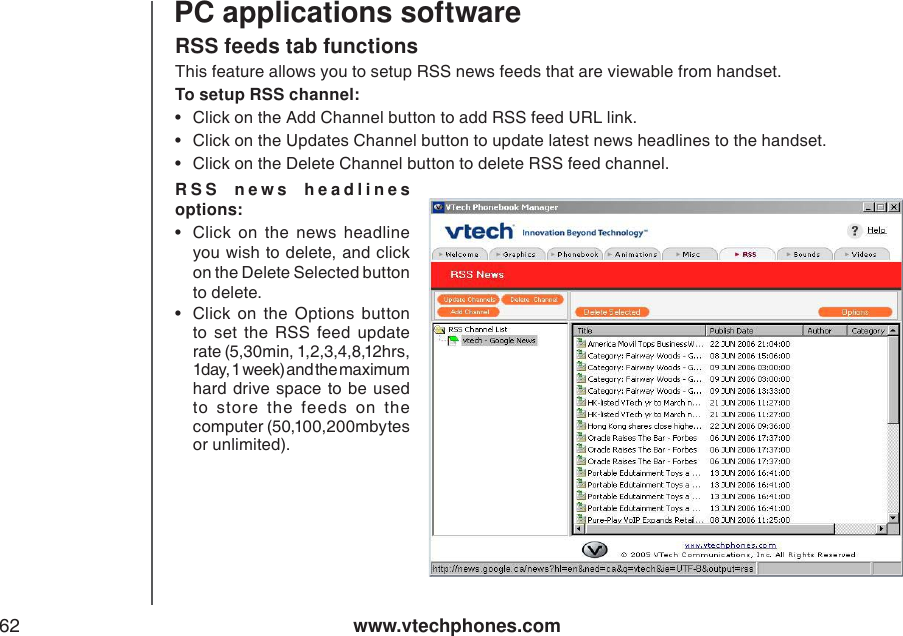
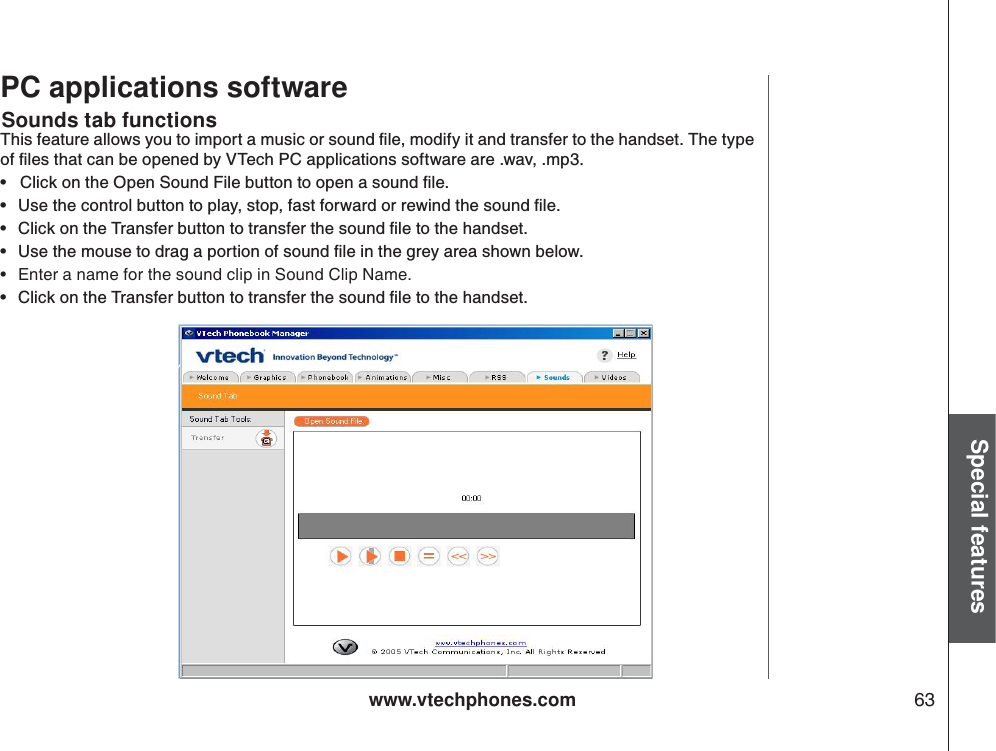
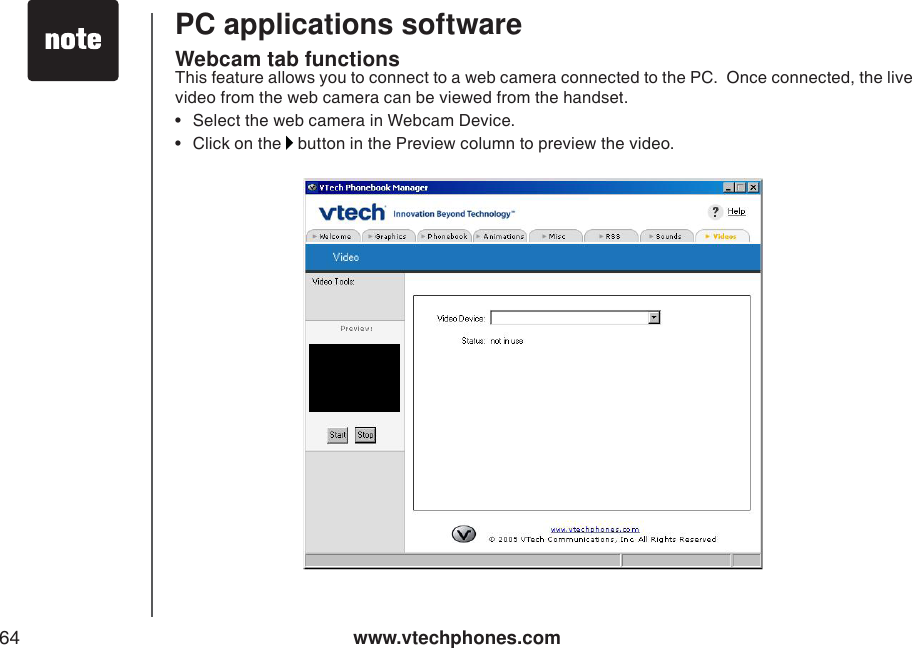
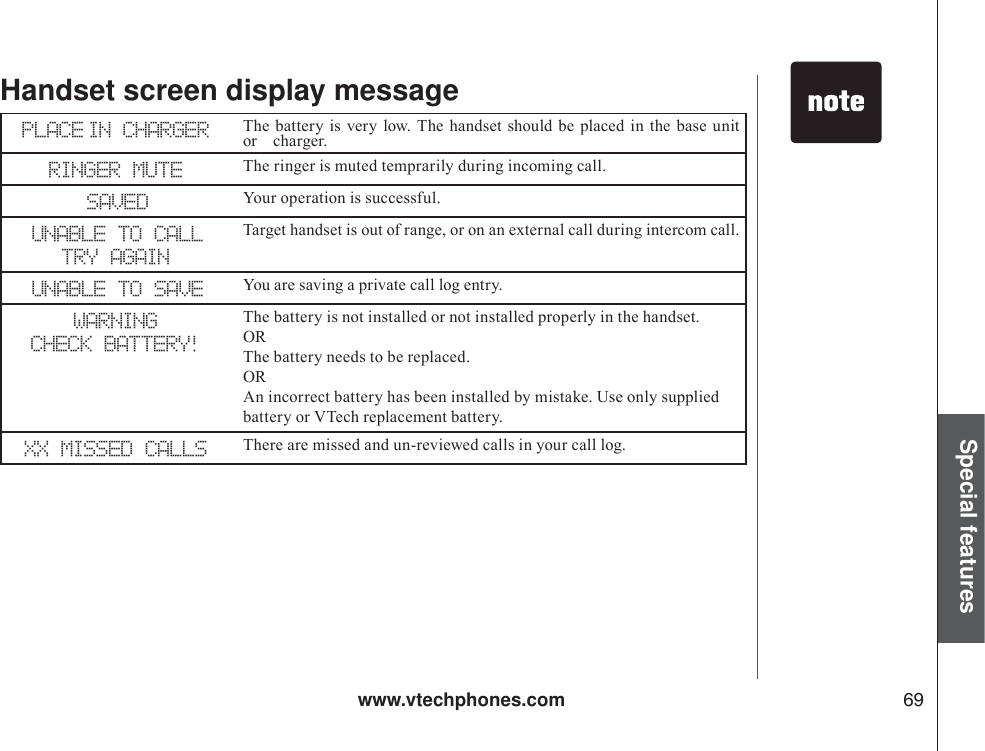
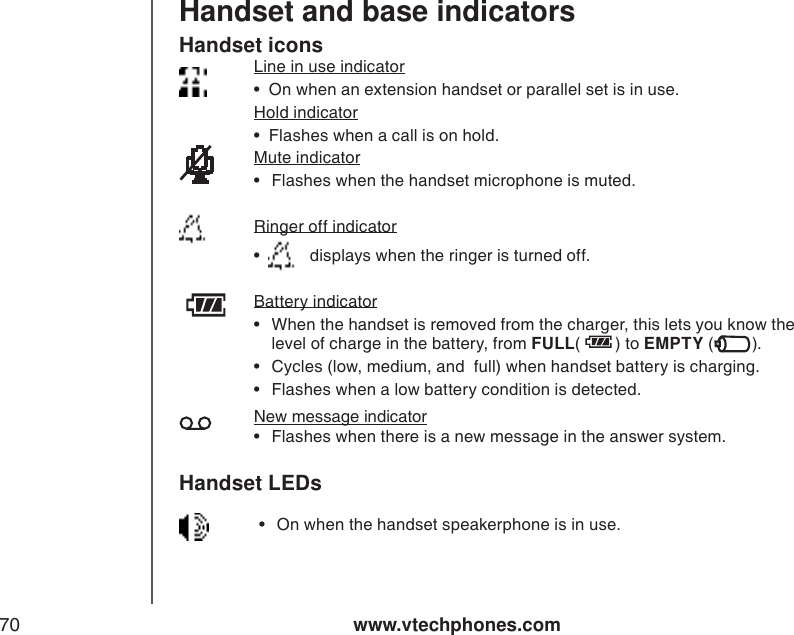
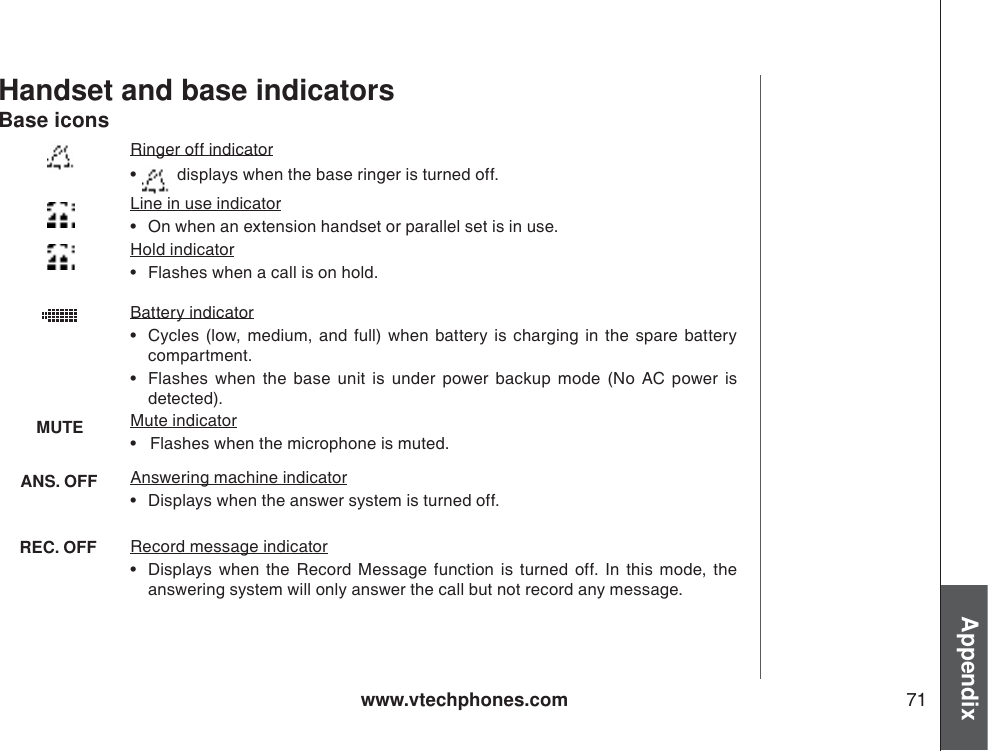
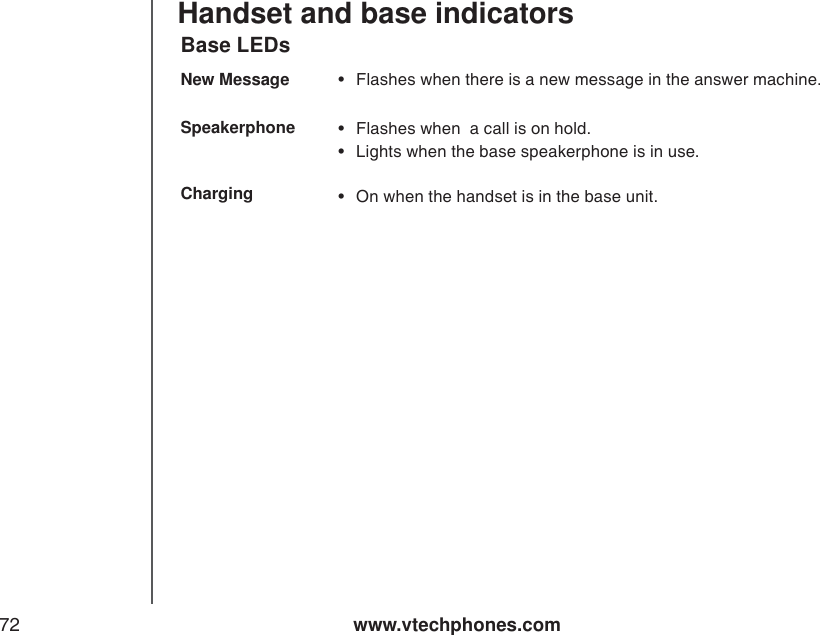
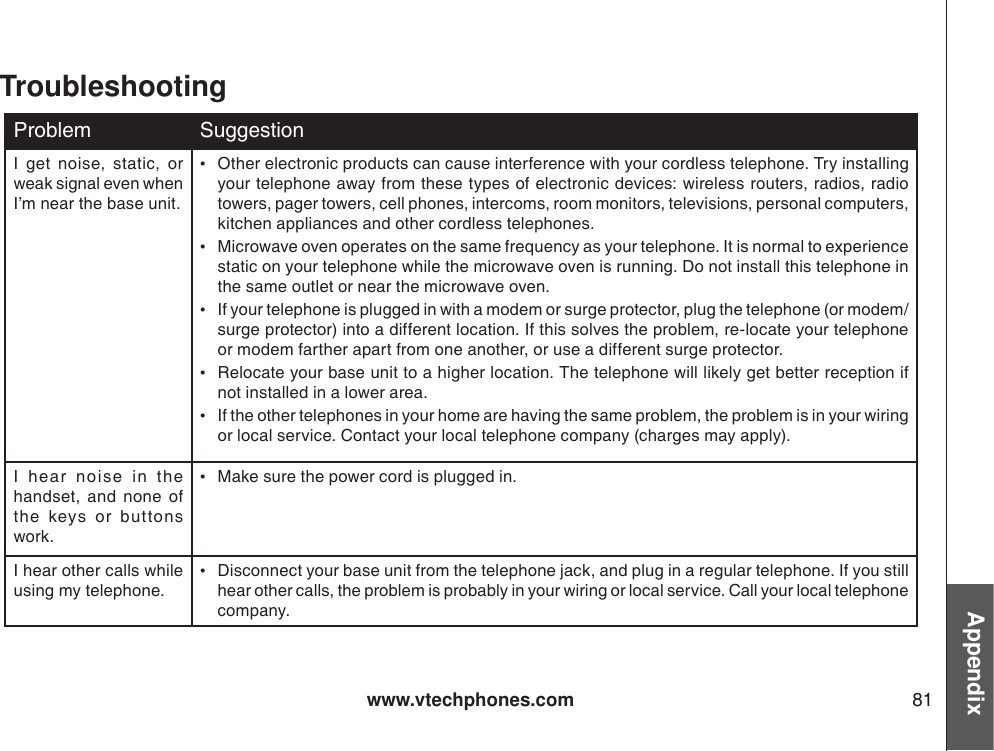
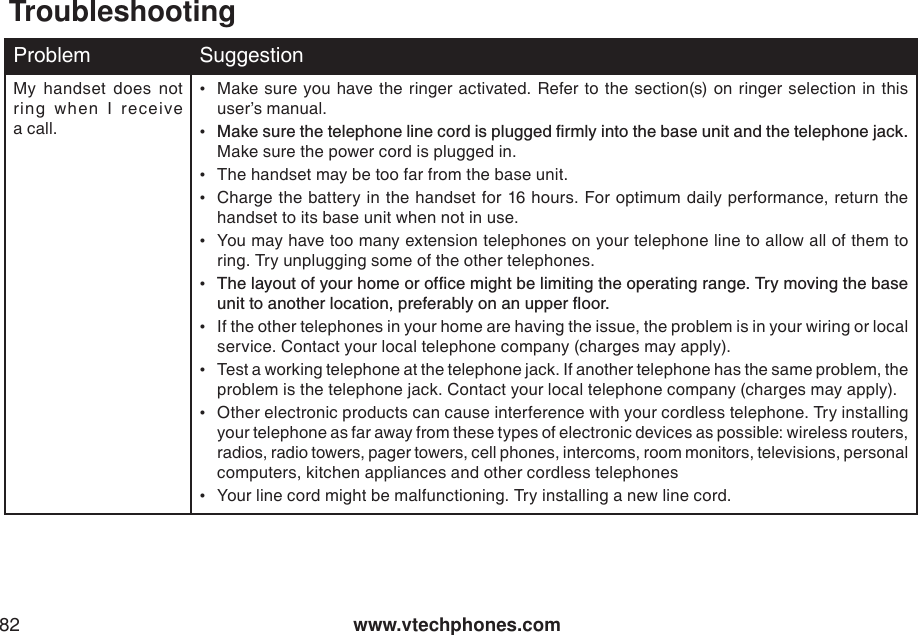
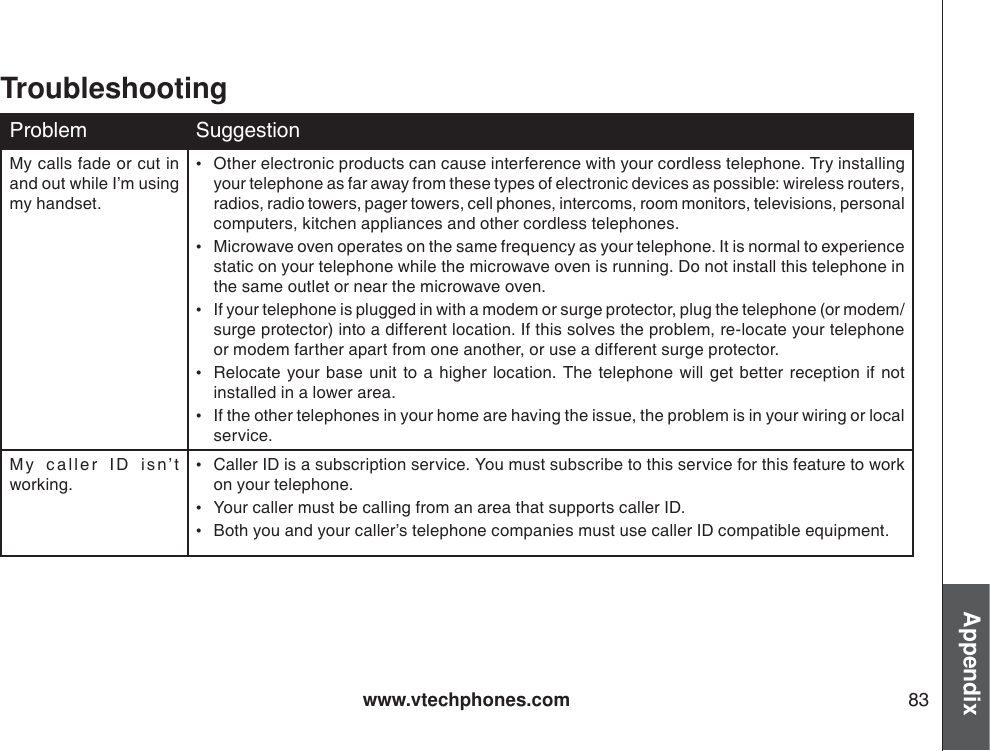
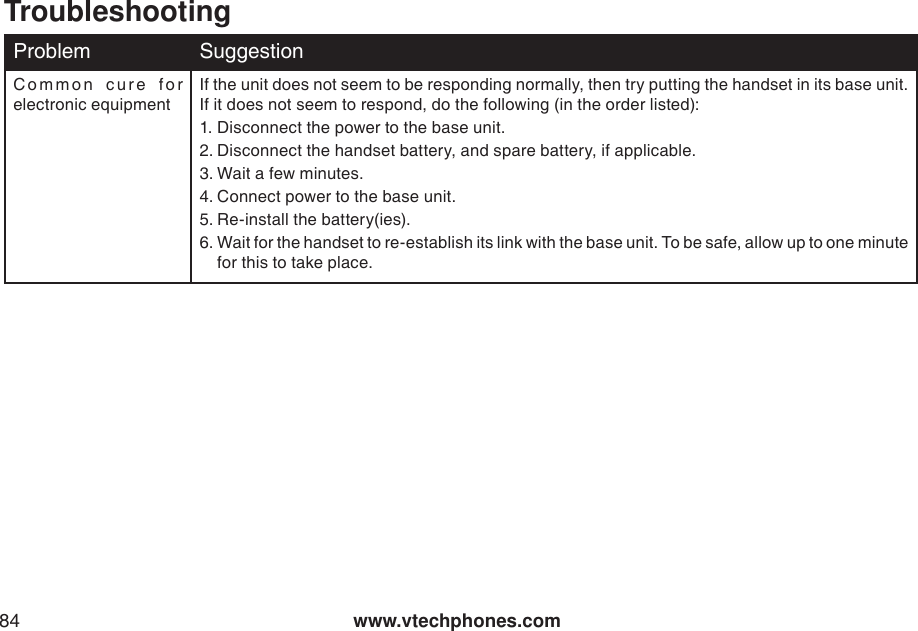
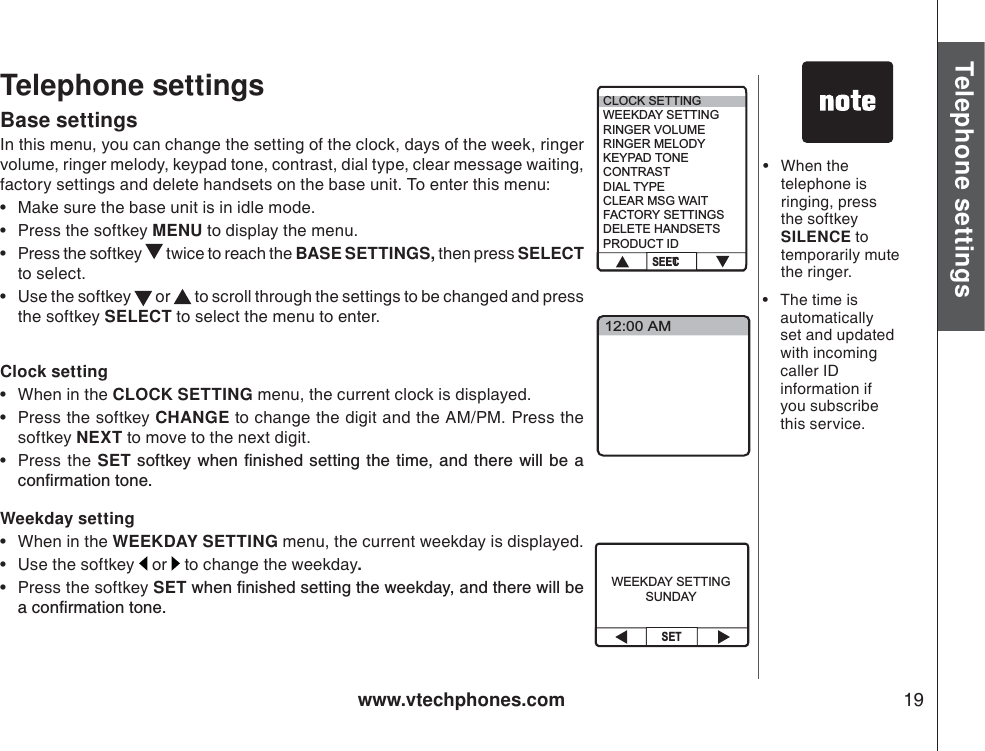
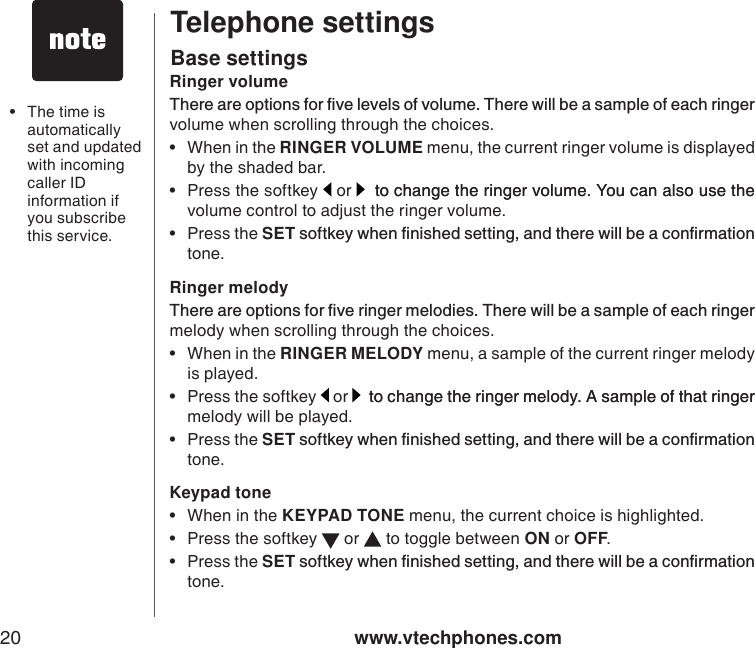
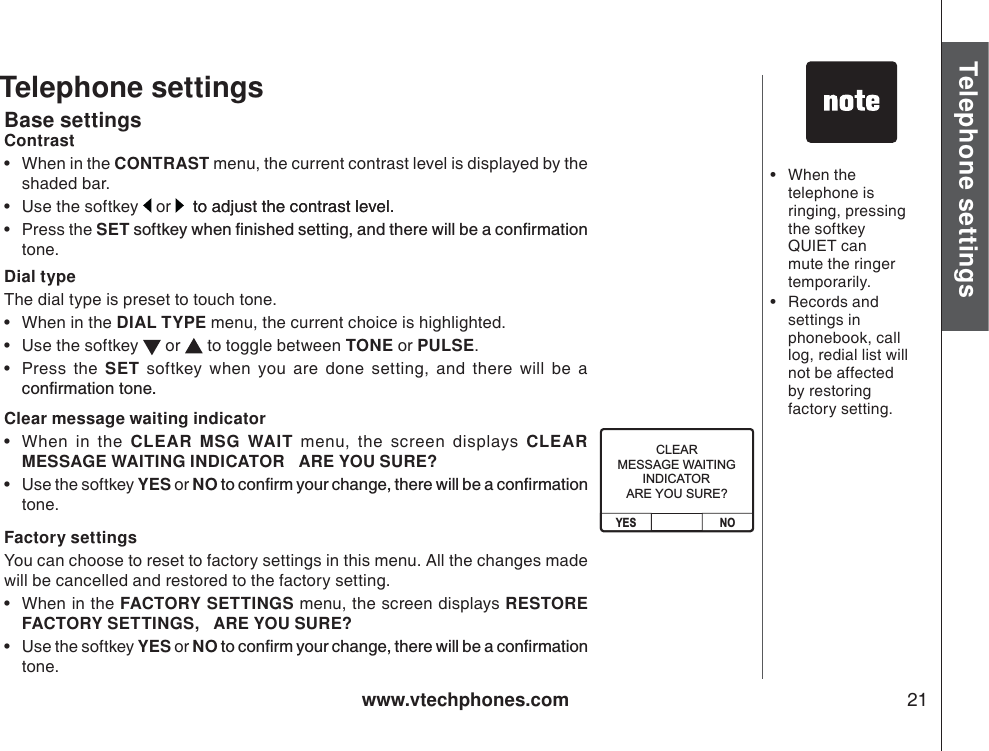
User Manual Part 2


![www.vtechphones.com22Telephone settings[Delete this empty page]](https://usermanual.wiki/VTech-Telecommunications/80-5995-00.User-Manual-Part-2/User-Guide-726558-Page-24.png)