Wistron SP230A Tri-Band (850/1800/1900) GSM/GPRS Packet PC Phone User Manual PPC4100 Owner s Manual EN 4 22
Wistron Corporation Tri-Band (850/1800/1900) GSM/GPRS Packet PC Phone PPC4100 Owner s Manual EN 4 22
Wistron >
Contents
- 1. User Manual 1 of 2
- 2. User manual 2 of 2
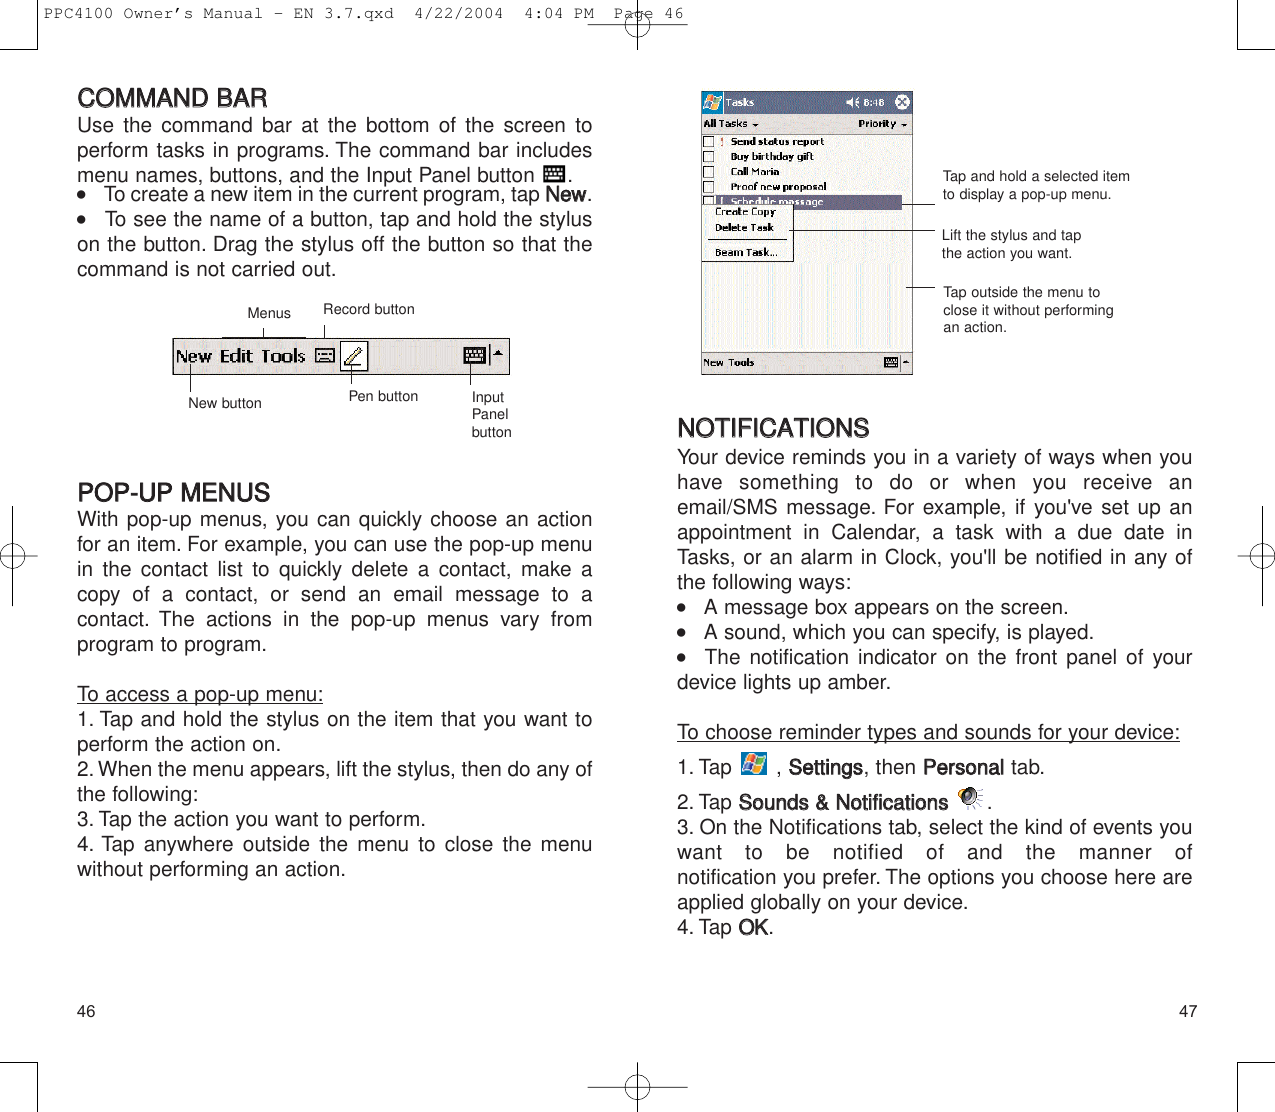
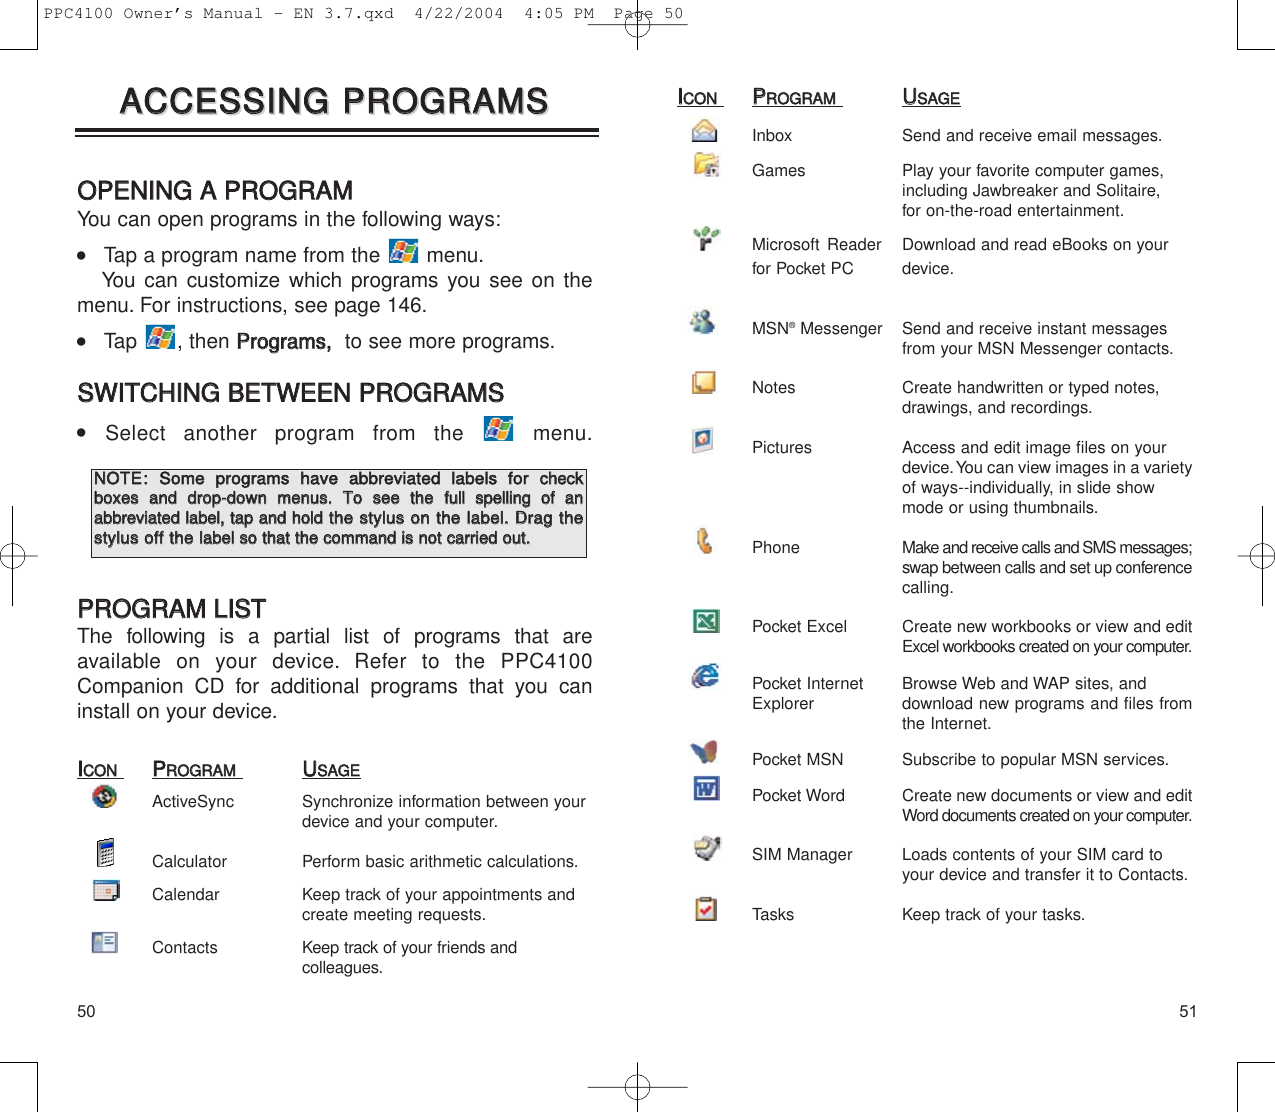
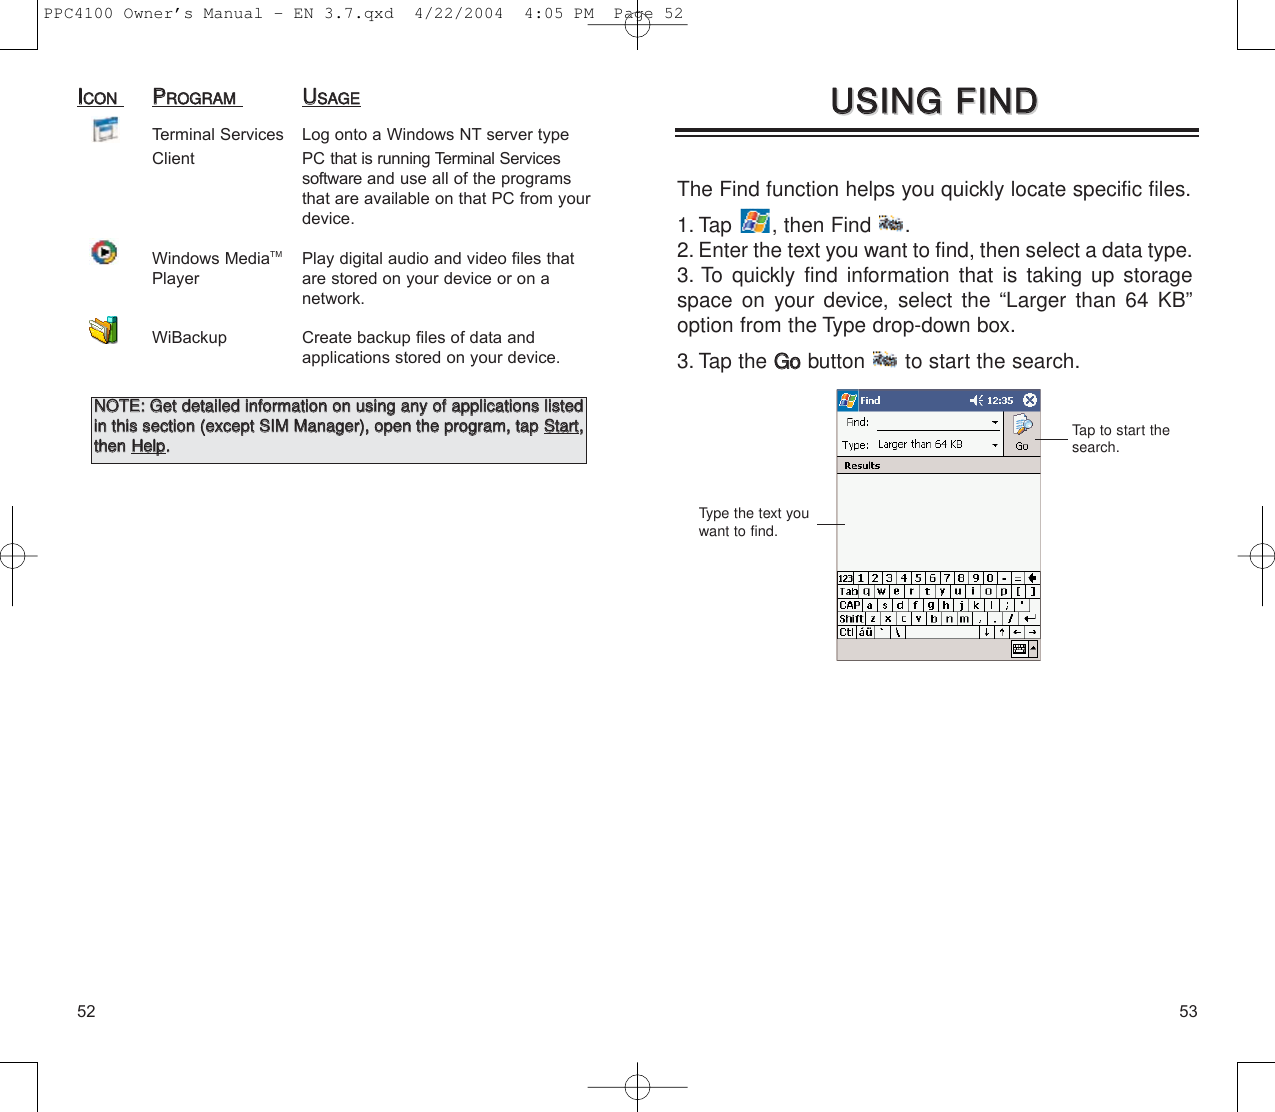
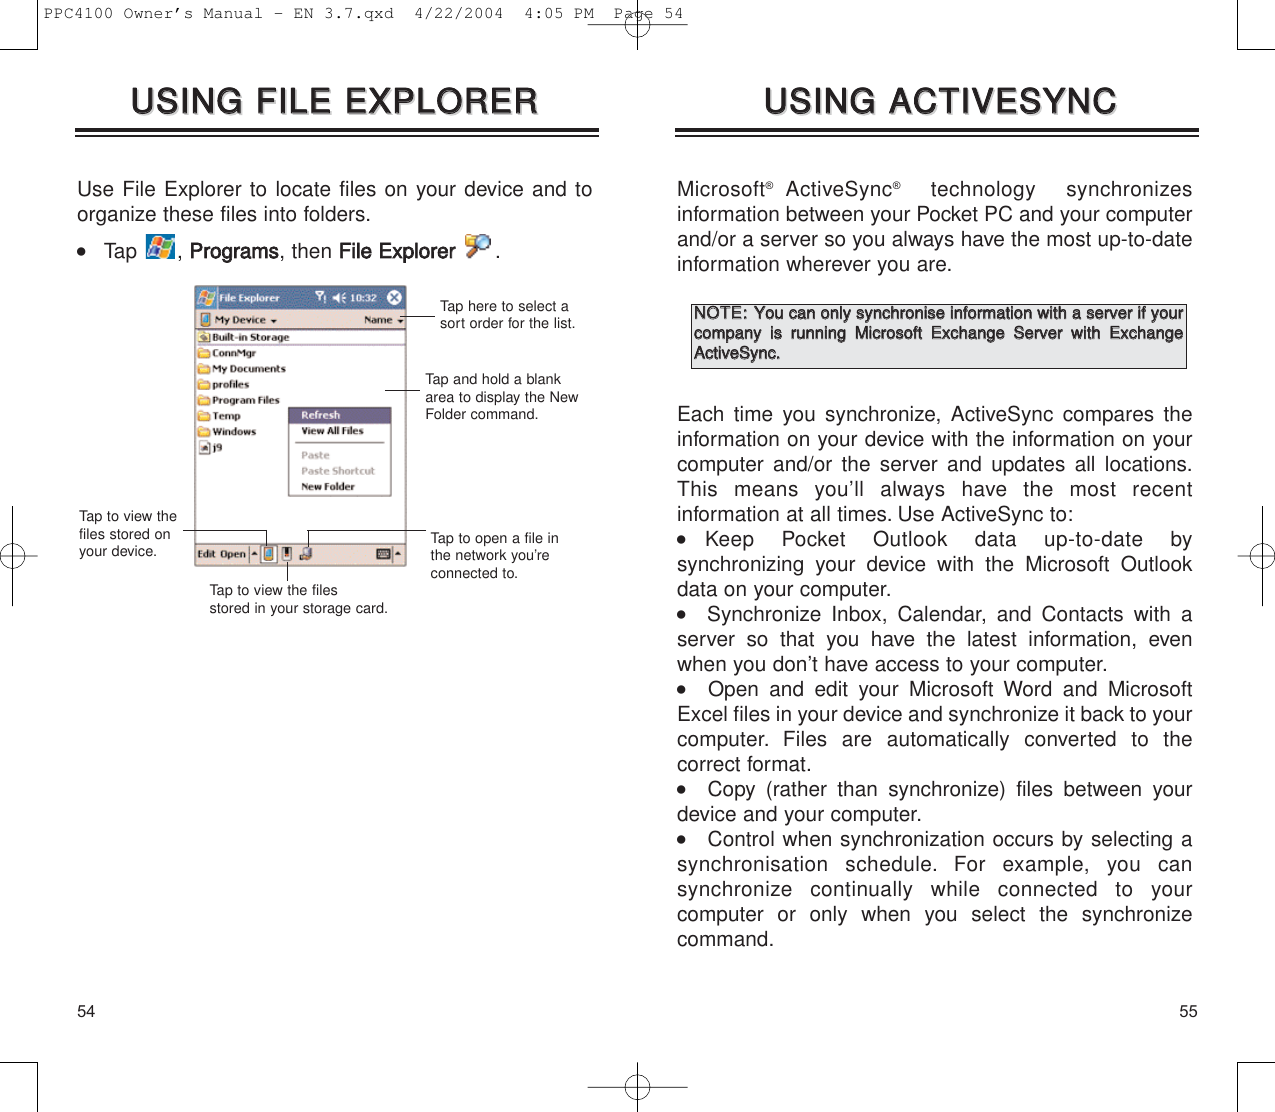
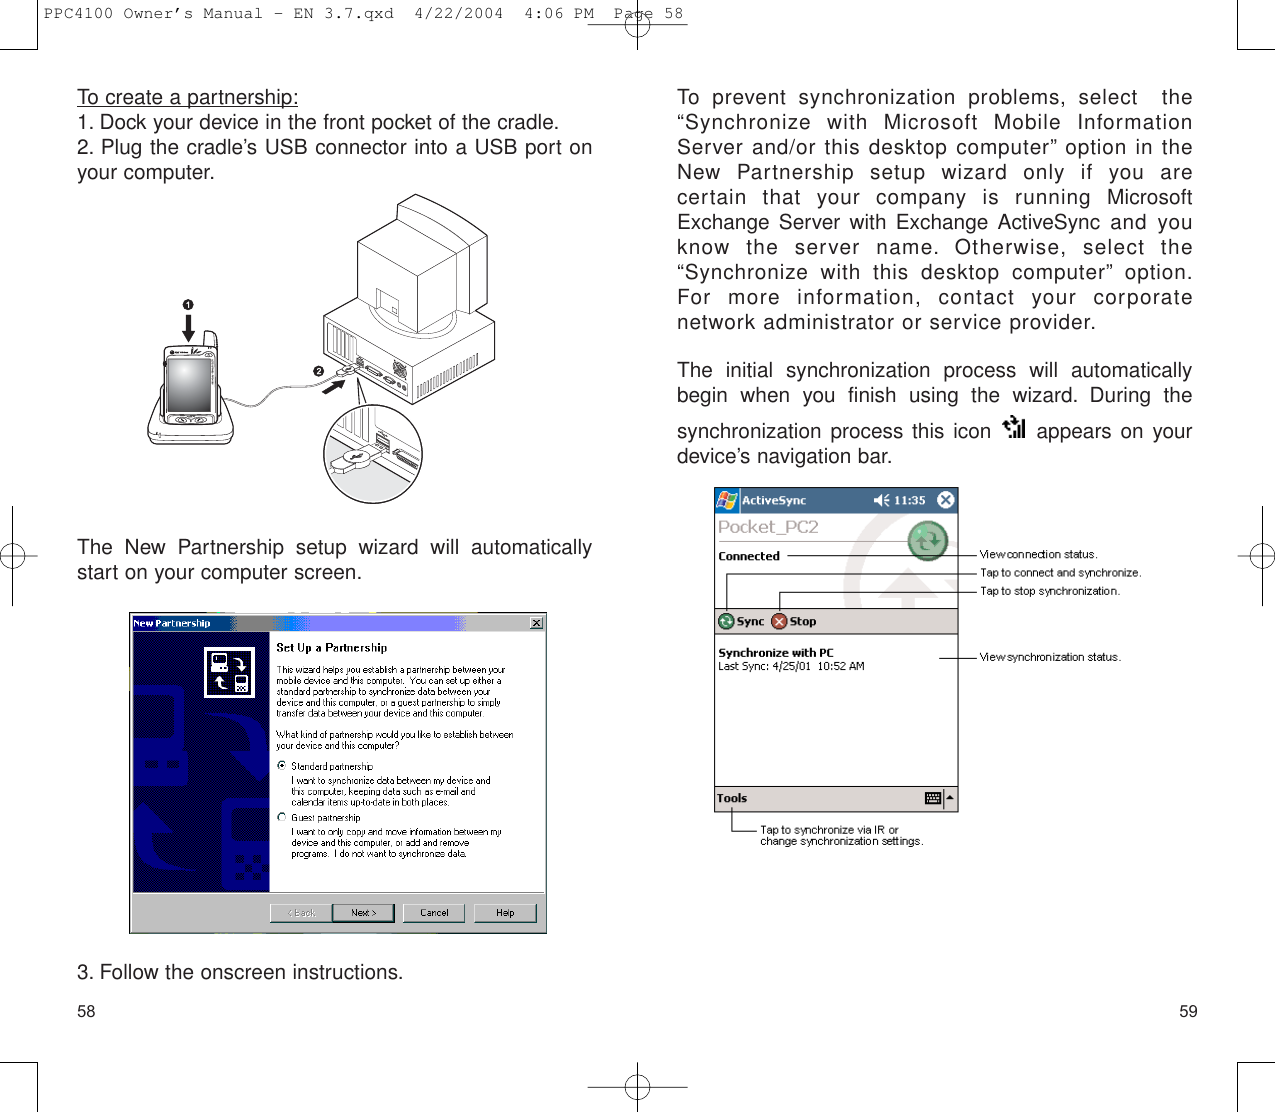
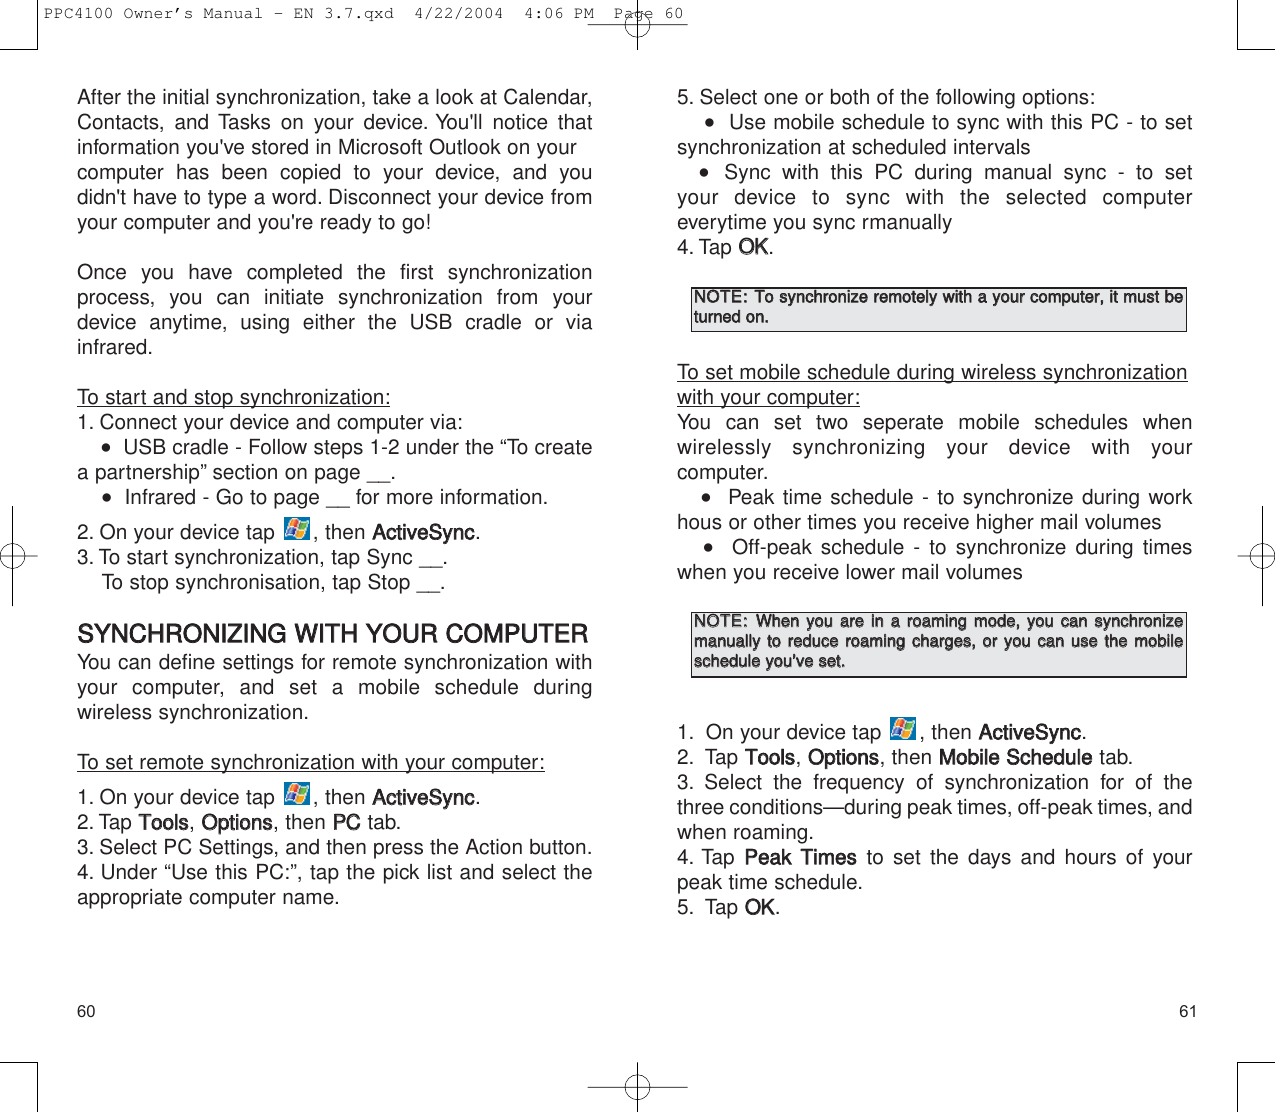
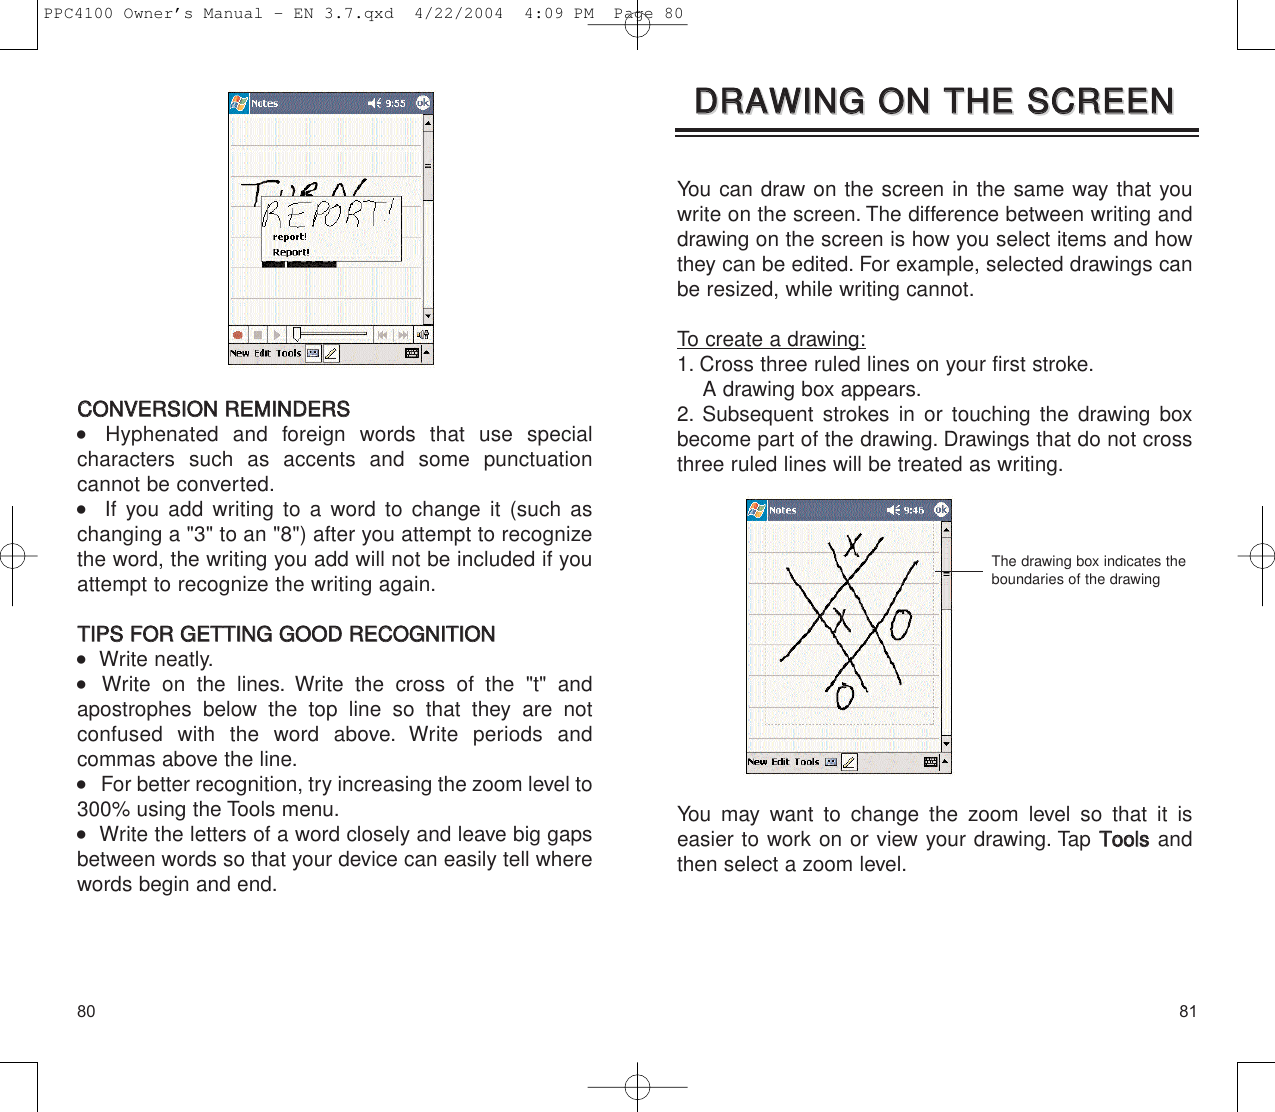
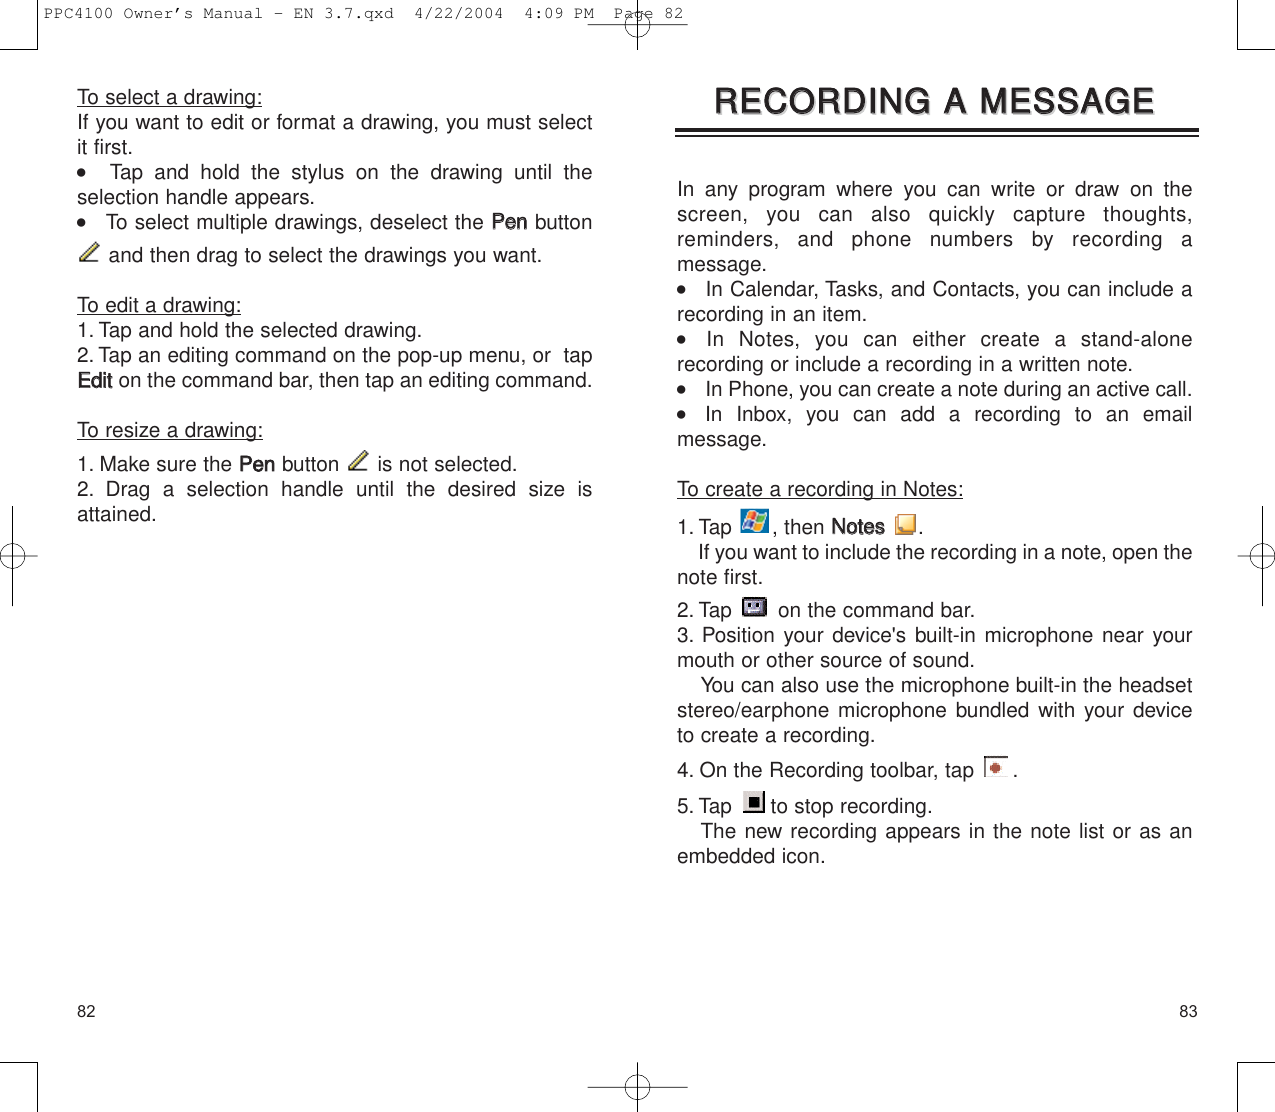
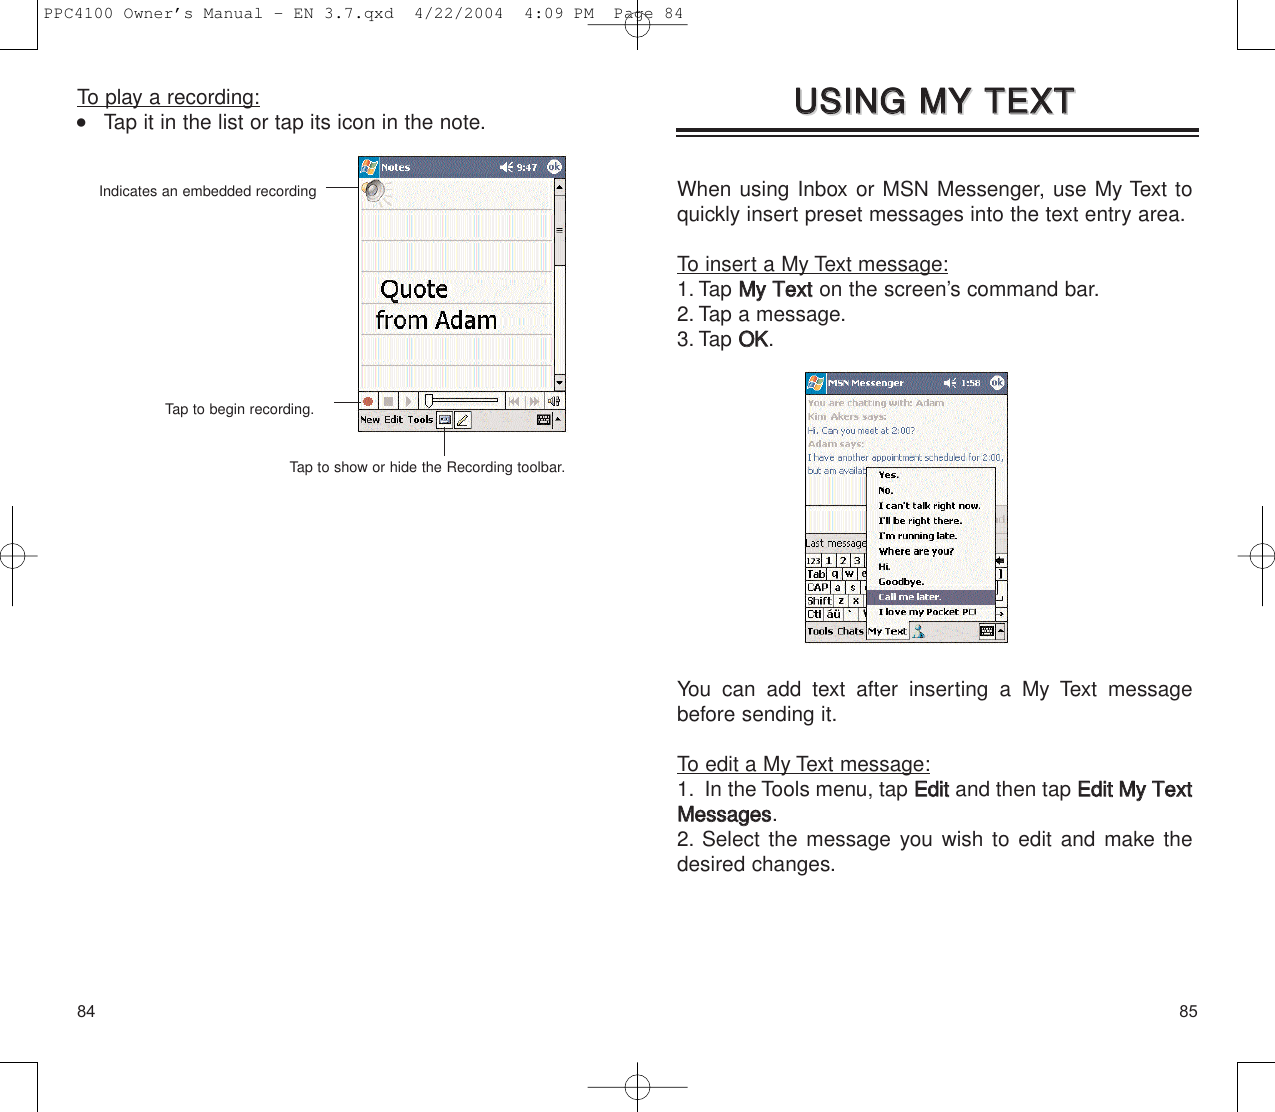
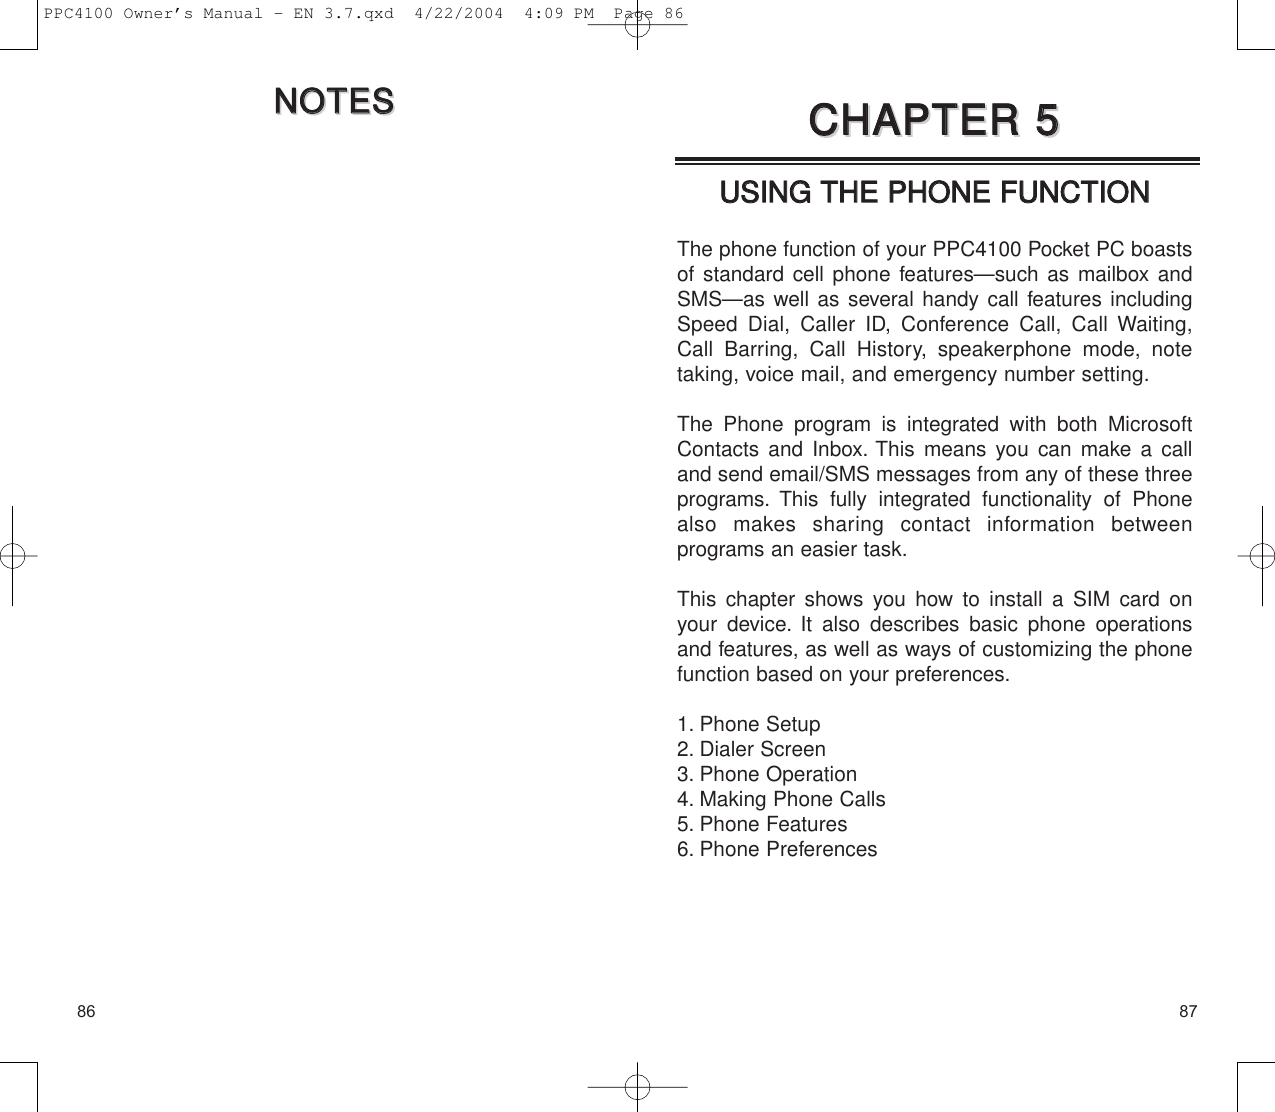
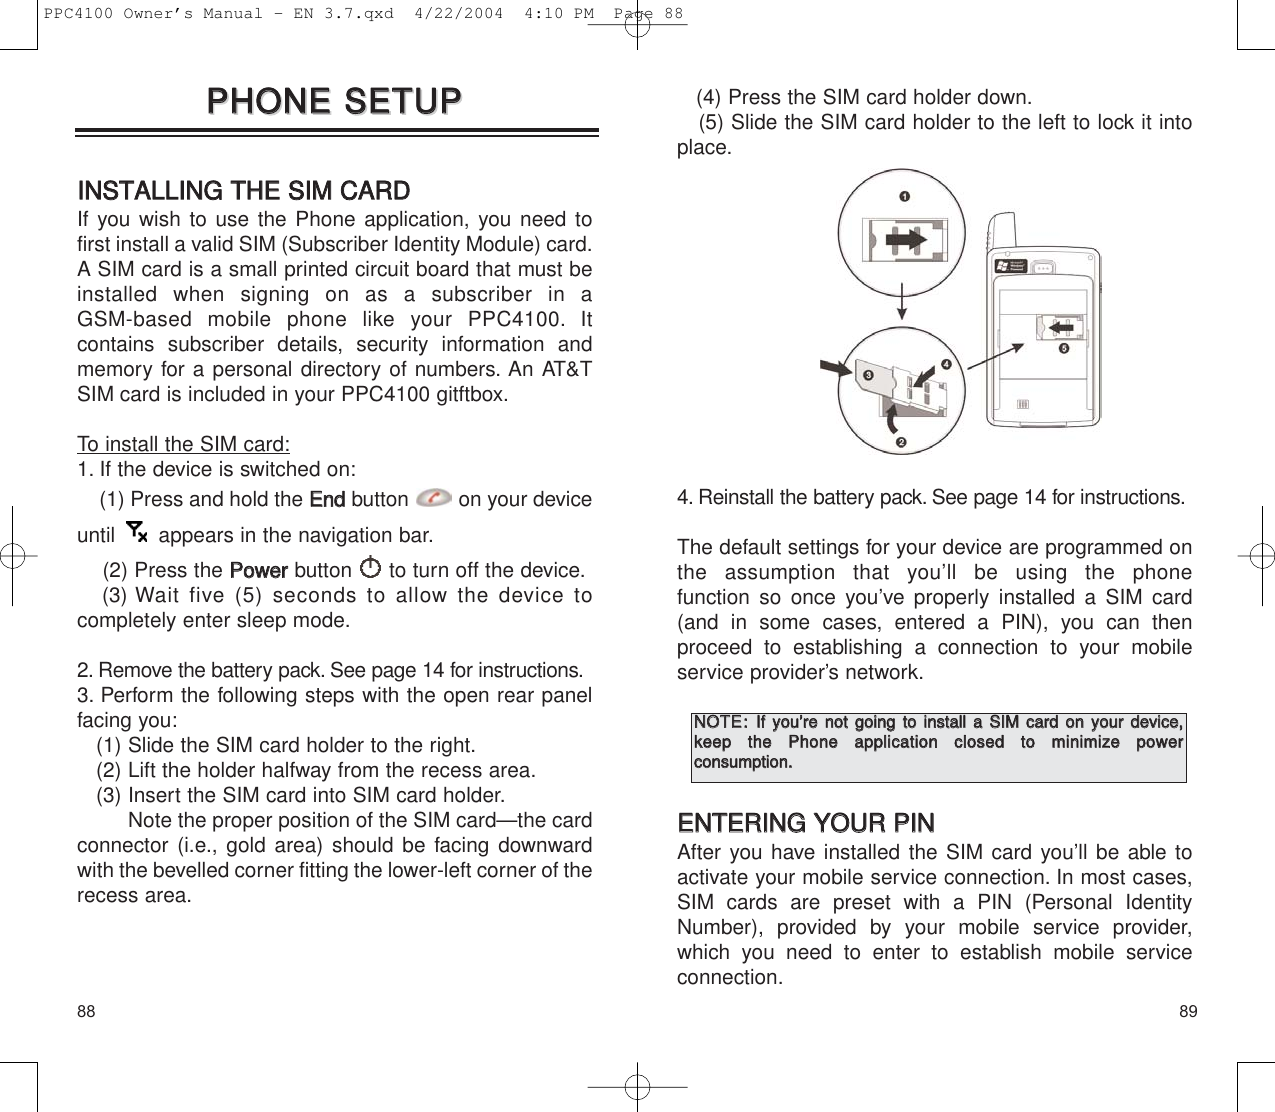
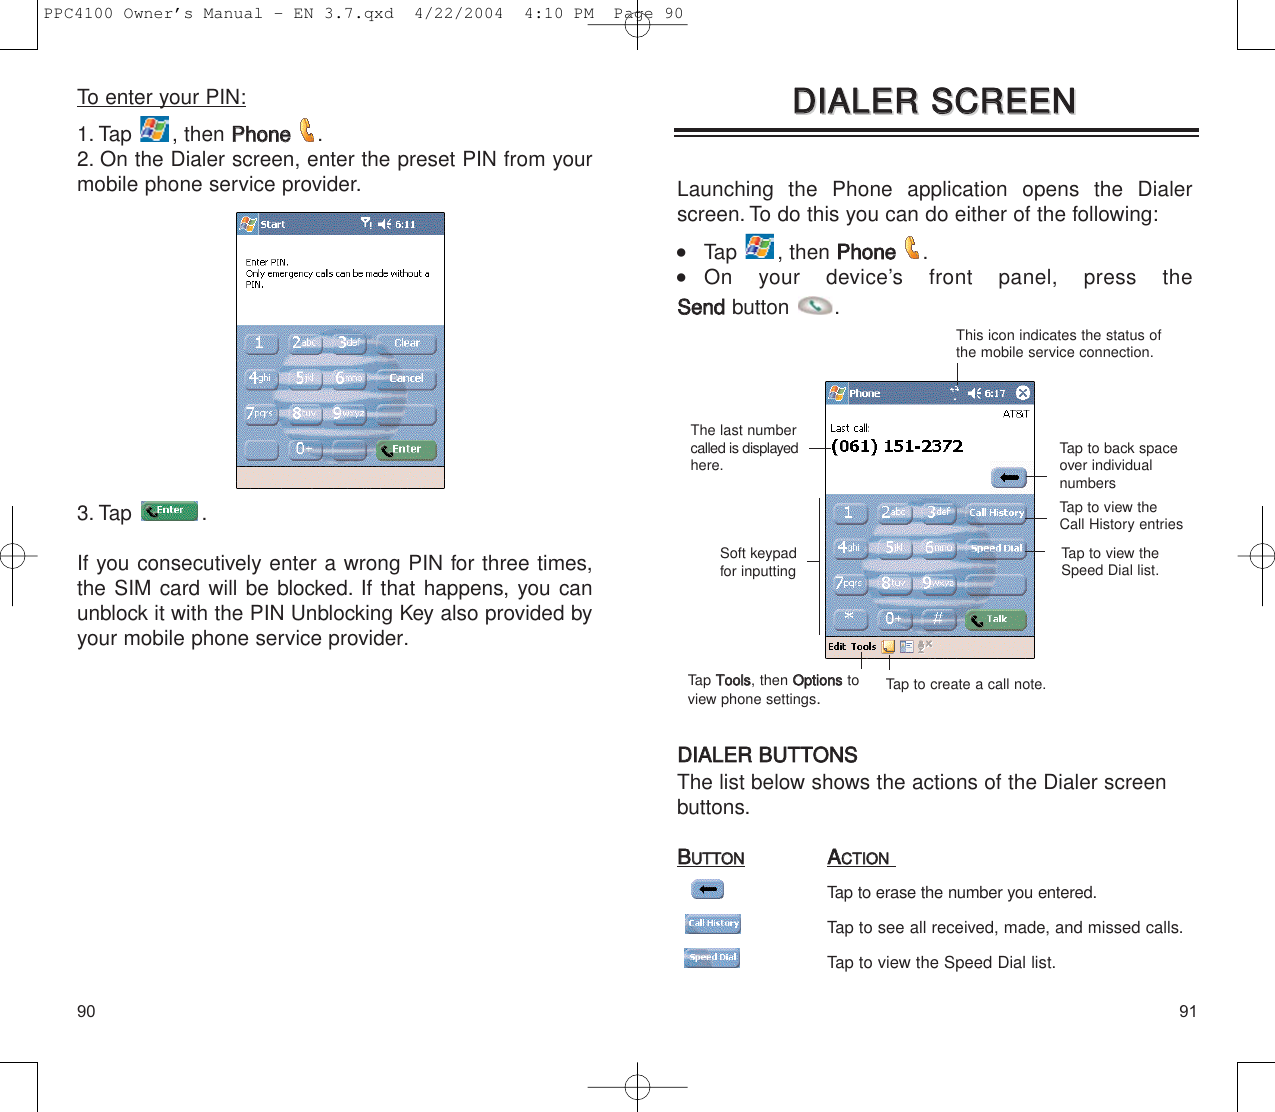
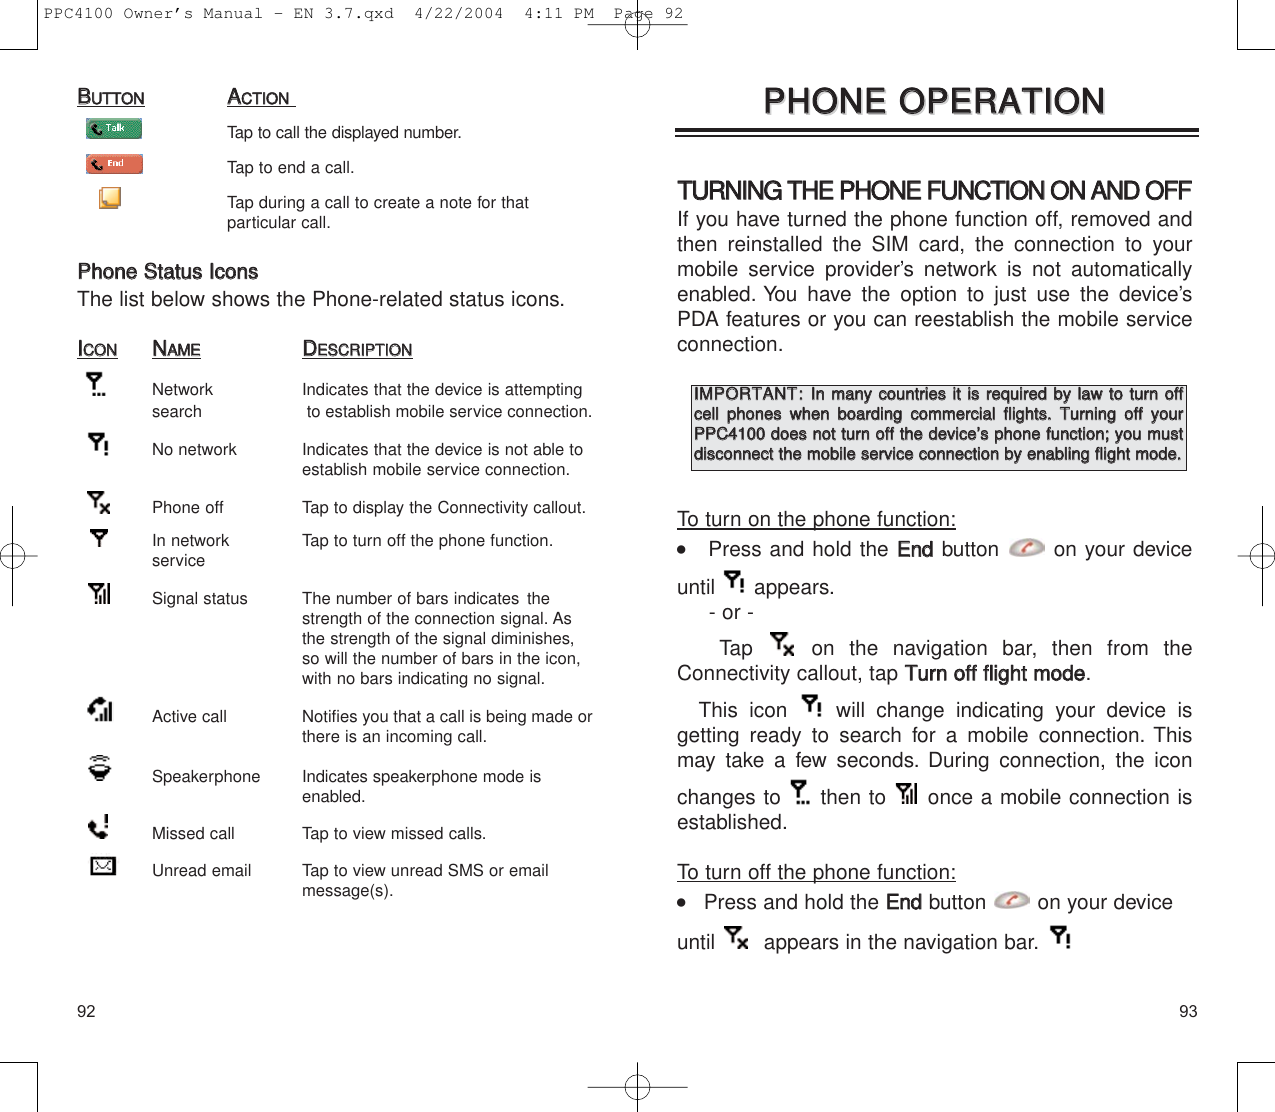
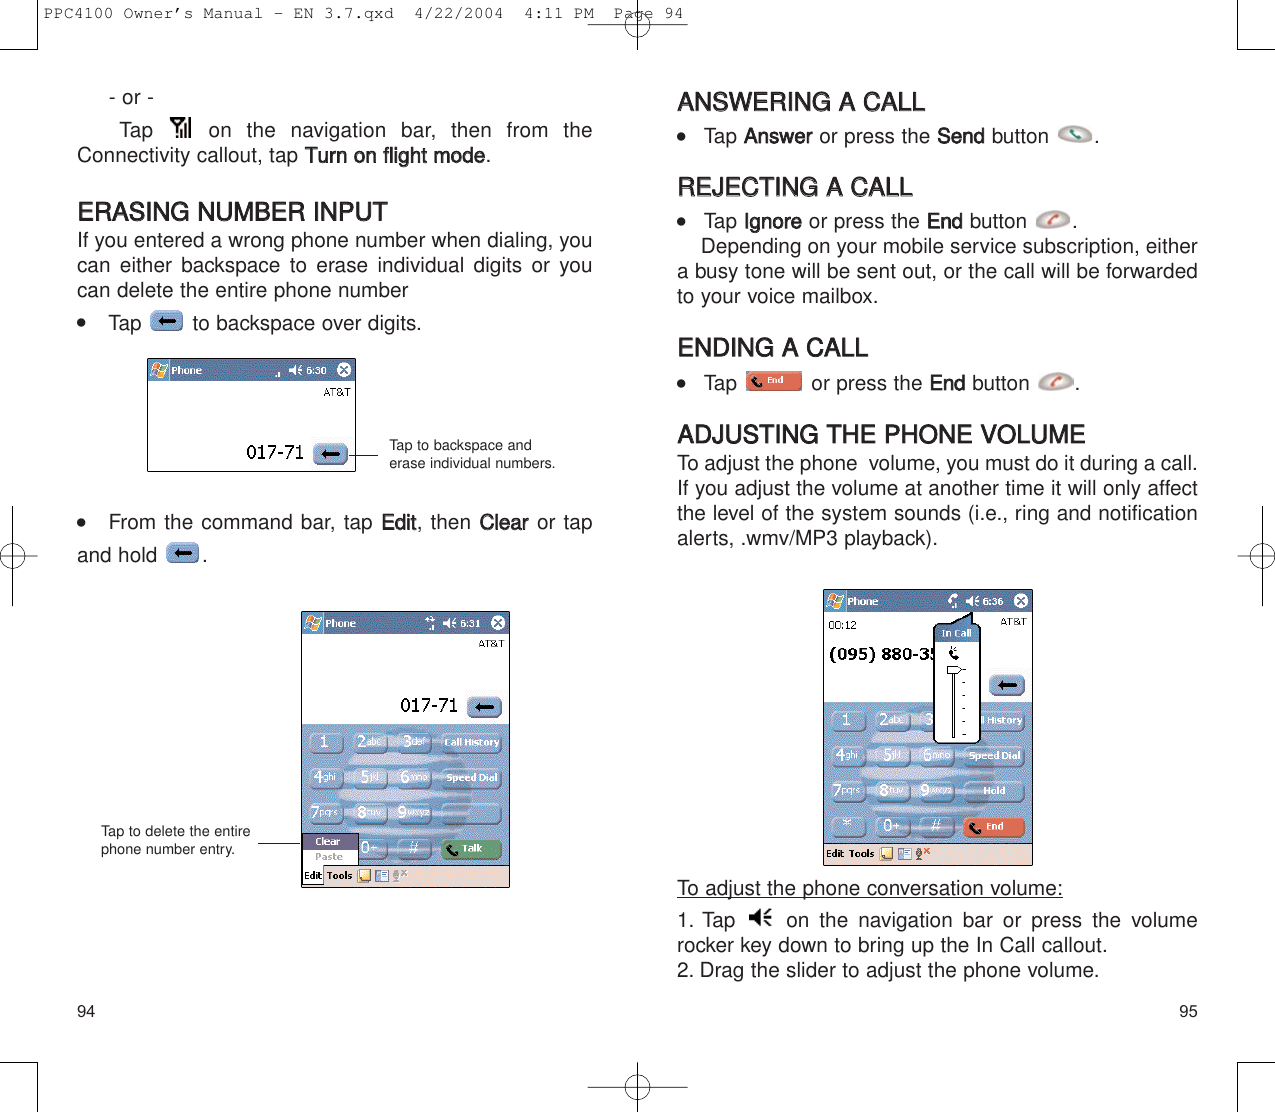
User Manual 1 of 2