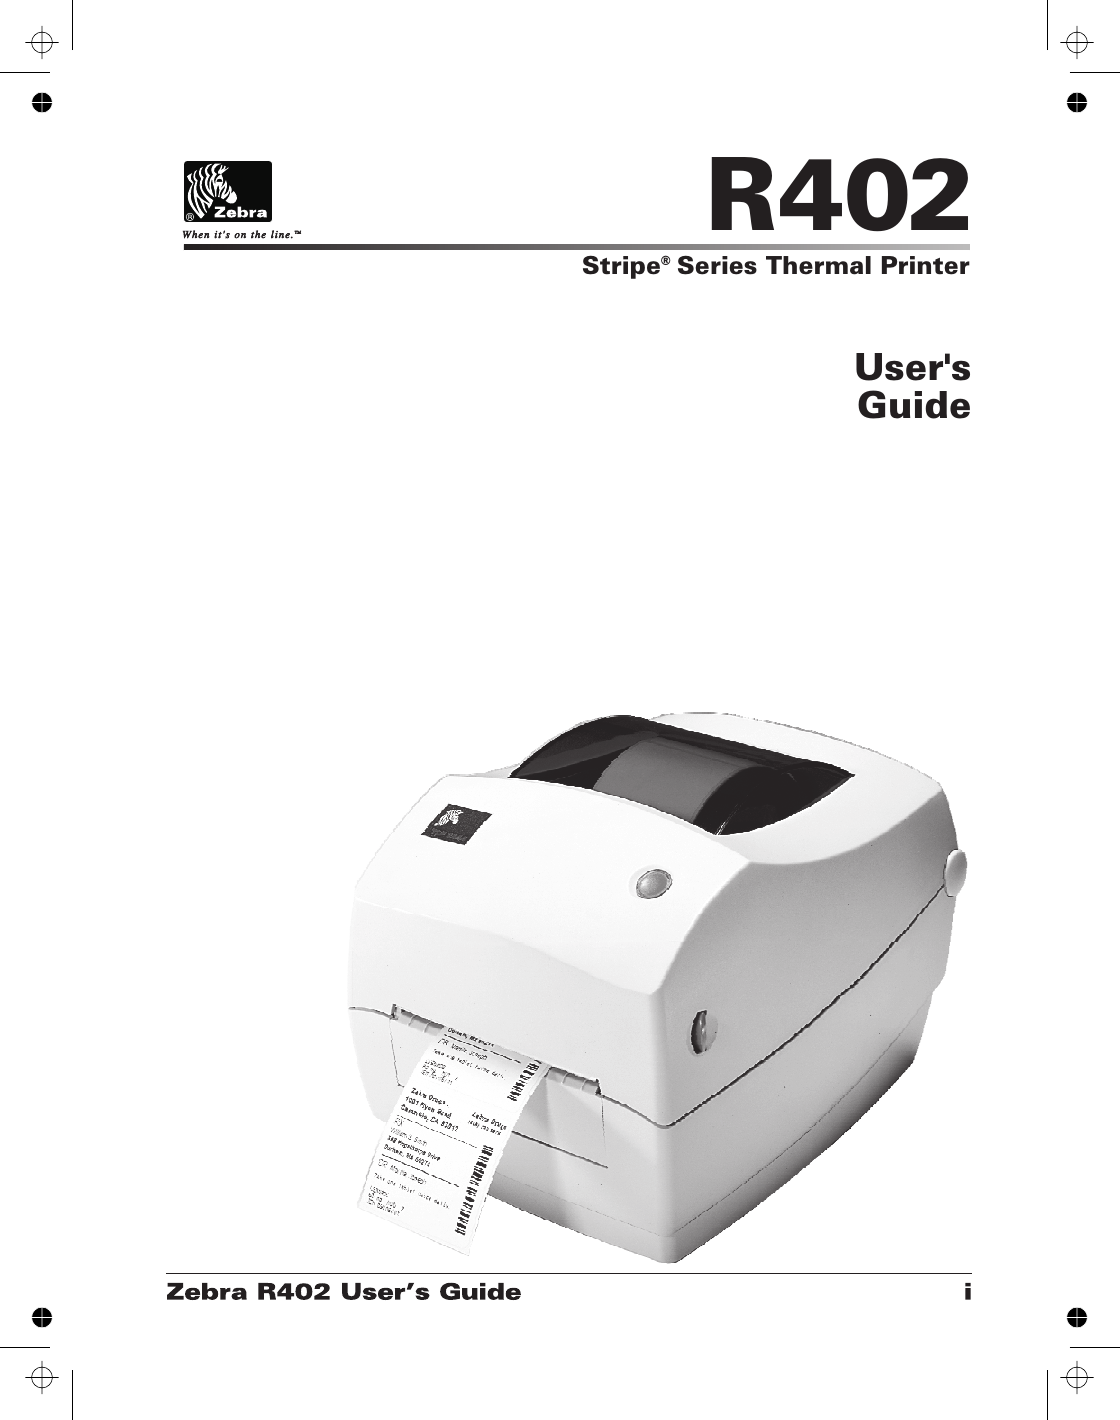
Zebra Technologies RFID-R402-2 Thermal Printer with RFID Capability User Manual Part 1

Zebra Technologies Corporation Thermal Printer with RFID Capability Users Manual Part 1

Users Manual Part 1

R402Stripe Series Thermal Printer®User sGuide'
ContentsIntroductionHello! . . . . . . . . . . . . . . . . . . . . . . . . . . . . . . . . . . . . . . . . . . . . . . . . . . . . . 1What’s in the Box?. . . . . . . . . . . . . . . . . . . . . . . . . . . . . . . . . . . . . . . . . . . 2Inspecting the Printer . . . . . . . . . . . . . . . . . . . . . . . . . . . . . . . . . . . . . . . . . 3Opening the printer . . . . . . . . . . . . . . . . . . . . . . . . . . . . . . . . . . . . . . . 3Closing the printer . . . . . . . . . . . . . . . . . . . . . . . . . . . . . . . . . . . . . . . . 5Reporting Damage. . . . . . . . . . . . . . . . . . . . . . . . . . . . . . . . . . . . . . . . 6Getting StartedModes of Printing. . . . . . . . . . . . . . . . . . . . . . . . . . . . . . . . . . . . . . . . . . . . 7Attaching Power Supply . . . . . . . . . . . . . . . . . . . . . . . . . . . . . . . . . . . . . . 8Loading Roll Media . . . . . . . . . . . . . . . . . . . . . . . . . . . . . . . . . . . . . . . . . . 9Placing the Roll in the Media Compartment . . . . . . . . . . . . . . . . . . . . 9Adjusting the Guides . . . . . . . . . . . . . . . . . . . . . . . . . . . . . . . . . . . . . 10Loading Ribbon . . . . . . . . . . . . . . . . . . . . . . . . . . . . . . . . . . . . . . . . . . . . 11Install the Ribbon Supply Roll . . . . . . . . . . . . . . . . . . . . . . . . . . . . . 11Install the Take-Up Core . . . . . . . . . . . . . . . . . . . . . . . . . . . . . . . . . . 11Attach and Tighten the Ribbon . . . . . . . . . . . . . . . . . . . . . . . . . . . . . 12Auto Calibration. . . . . . . . . . . . . . . . . . . . . . . . . . . . . . . . . . . . . . . . . . . . 13Operator Controls . . . . . . . . . . . . . . . . . . . . . . . . . . . . . . . . . . . . . . . . . . 14Power Switch . . . . . . . . . . . . . . . . . . . . . . . . . . . . . . . . . . . . . . . . . . 14Feed Button . . . . . . . . . . . . . . . . . . . . . . . . . . . . . . . . . . . . . . . . . . . 14Status Light . . . . . . . . . . . . . . . . . . . . . . . . . . . . . . . . . . . . . . . . . . . . 14Printing a Test Label . . . . . . . . . . . . . . . . . . . . . . . . . . . . . . . . . . . . . . . . 15Hooking Up the Printer and Computer . . . . . . . . . . . . . . . . . . . . . . . . . . 15Parallel Interface Requirements . . . . . . . . . . . . . . . . . . . . . . . . . . . . 16Interface Cable Requirements . . . . . . . . . . . . . . . . . . . . . . . . . . . . . . 16Communicating with the Printer . . . . . . . . . . . . . . . . . . . . . . . . . . . . . . . 17Adjusting the Print Width . . . . . . . . . . . . . . . . . . . . . . . . . . . . . . . . . . . 17Adjusting the Print Darkness . . . . . . . . . . . . . . . . . . . . . . . . . . . . . . . . 17Adjusting the Print Speed . . . . . . . . . . . . . . . . . . . . . . . . . . . . . . . . . . . 17Operation & OptionsThermal Printing . . . . . . . . . . . . . . . . . . . . . . . . . . . . . . . . . . . . . . . . . . . 19Replacing Supplies. . . . . . . . . . . . . . . . . . . . . . . . . . . . . . . . . . . . . . . . . . 20Adding a New Transfer Ribbon . . . . . . . . . . . . . . . . . . . . . . . . . . . . 20
Replacing a Partially Used Transfer Ribbon . . . . . . . . . . . . . . . . . . . 20Printing in Peel-Mode . . . . . . . . . . . . . . . . . . . . . . . . . . . . . . . . . . . . . . . 21Printing on Fan-Fold Media. . . . . . . . . . . . . . . . . . . . . . . . . . . . . . . . . . . 22RFID GuidelinesSupported Transponders . . . . . . . . . . . . . . . . . . . . . . . . . . . . . . . . . . . . . 24Tag-it Transponders. . . . . . . . . . . . . . . . . . . . . . . . . . . . . . . . . . . . . . 24I•Code Transponders. . . . . . . . . . . . . . . . . . . . . . . . . . . . . . . . . . . . . 25Picotag Transponders . . . . . . . . . . . . . . . . . . . . . . . . . . . . . . . . . . . . 26ISO-15693 Transponders. . . . . . . . . . . . . . . . . . . . . . . . . . . . . . . . . . 27ZPL II Commands for RFID . . . . . . . . . . . . . . . . . . . . . . . . . . . . . . . . . . 28^WT – Write Tag. . . . . . . . . . . . . . . . . . . . . . . . . . . . . . . . . . . . . . . . 28^RT – Read Tag. . . . . . . . . . . . . . . . . . . . . . . . . . . . . . . . . . . . . . . . . 29^RS – RFID Setup . . . . . . . . . . . . . . . . . . . . . . . . . . . . . . . . . . . . . . . 31^RI – RFID Get Tag Unique ID . . . . . . . . . . . . . . . . . . . . . . . . . . . . 31Sample of RFID Programming . . . . . . . . . . . . . . . . . . . . . . . . . . . . . 32MaintenanceCleaning . . . . . . . . . . . . . . . . . . . . . . . . . . . . . . . . . . . . . . . . . . . . . . . . . . 35Lubrication . . . . . . . . . . . . . . . . . . . . . . . . . . . . . . . . . . . . . . . . . . . . . . . . 35Replacing the Print Head . . . . . . . . . . . . . . . . . . . . . . . . . . . . . . . . . . . . . 36Removal. . . . . . . . . . . . . . . . . . . . . . . . . . . . . . . . . . . . . . . . . . . . . . . 36Assembly . . . . . . . . . . . . . . . . . . . . . . . . . . . . . . . . . . . . . . . . . . . . . . 37TroubleshootingResolutions. . . . . . . . . . . . . . . . . . . . . . . . . . . . . . . . . . . . . . . . . . . . . . . . 39Print Quality Problems. . . . . . . . . . . . . . . . . . . . . . . . . . . . . . . . . . . . . . . 42RFID Symptoms . . . . . . . . . . . . . . . . . . . . . . . . . . . . . . . . . . . . . . . . . . . 44RFID tags generally not programmed . . . . . . . . . . . . . . . . . . . . . . . . 44VOID messages are printed across media. . . . . . . . . . . . . . . . . . . . . 44Nothing is printed. . . . . . . . . . . . . . . . . . . . . . . . . . . . . . . . . . . . . . . . 44Manual Calibration . . . . . . . . . . . . . . . . . . . . . . . . . . . . . . . . . . . . . . . . 45Troubleshooting TestsPrinting a Configuration Label . . . . . . . . . . . . . . . . . . . . . . . . . . . . . 46Recalibration . . . . . . . . . . . . . . . . . . . . . . . . . . . . . . . . . . . . . . . . . . . 46Resetting the Factory Default Values . . . . . . . . . . . . . . . . . . . . . . . . . 47Communications Diagnostics . . . . . . . . . . . . . . . . . . . . . . . . . . . . . . . . . 47Feed Button Modes . . . . . . . . . . . . . . . . . . . . . . . . . . . . . . . . . . . . . . . . 48
IntroductionThis section describes what you get in your shipping box and provides anoverview of printer parts.  This section also has procedures that describehow to open and close the printer and report any problems.Hello!Thank you for choosing the Zebra®R402™Printer, a high-quality thermaldemand printer with RFID capability manufactured by the industry leader inquality, service, and value—Zebra Technologies Corporation. For over 25years, Zebra Technologies Corporation has provided customers with thehighest caliber of products and support.This manual provides all of the information you will need to operate yourprinter on a daily basis. RFID specific ZPL II commands are contained inthis manual.  To create label formats, refer to the ZPL II ProgrammingGuide (part # 46530L). This guide is available by contacting yourdistributor or Zebra Technologies Corporation.NOTE: Many printer settings may also be controlled by your printer’sdriver or label preparation software.  Refer to the driver or softwaredocumentation for more information.The Zebra R402 printer, when connected to a host computer, functions as acomplete system for printing and encoding “Smart” labels, tickets, and tags.The printer receives instructions from the host computer. Microprocessorscontinuously monitor these signals along with the inputs received from thecontrol panel and various sensors. The microprocessors interpret thisinformation and control the Zebra R402 printer’s mechanical drive, printHead, RFID Subsystem communications, command interpretation, labelformatting, and media and ribbon movement.
What’s in the Box?Save the carton and all packing materials in case you need to ship or storethe printer later.  After unpacking, make sure you have all parts.  Follow theprocedures for inspecting the printer to familiarize yourself with printerparts so you can follow the instructions in this book.
Inspecting the PrinterLook at the outside of the printer and make sure that all parts are present.Opening the printerTo access the media compartment, youmust open the printer.Pull the release levers towards you and liftthe cover.
INSPECTING THE PRINTER (continued)After opening the printer, check the media compartment.

Navigation menu