ARRIS C41 Satellite Home Media Center Client Receiver with integrated RF4CE Wireless Remote User Manual
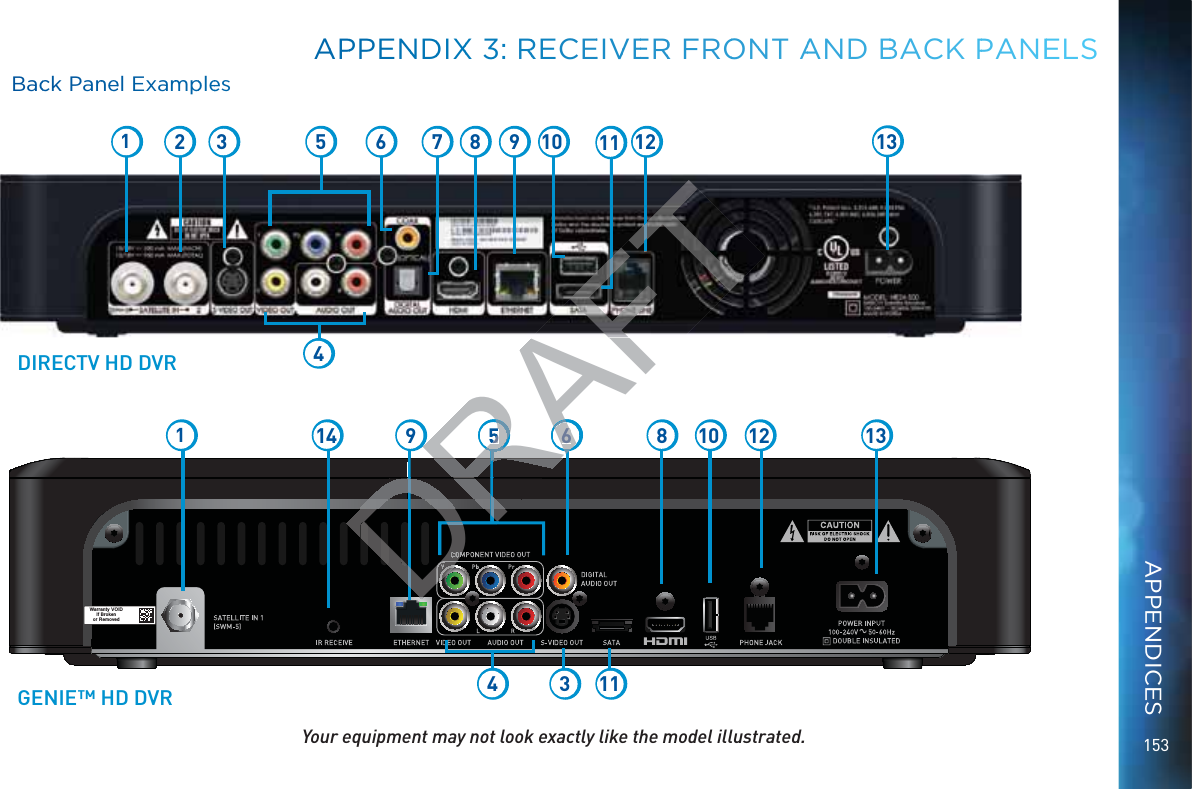
Pace Americas Satellite Home Media Center Client Receiver with integrated RF4CE Wireless Remote
ARRIS >
Contents
- 1. manual pt 1
- 2. manual pt 2
- 3. manual pt 3
- 4. manual pt 4
manual pt 4
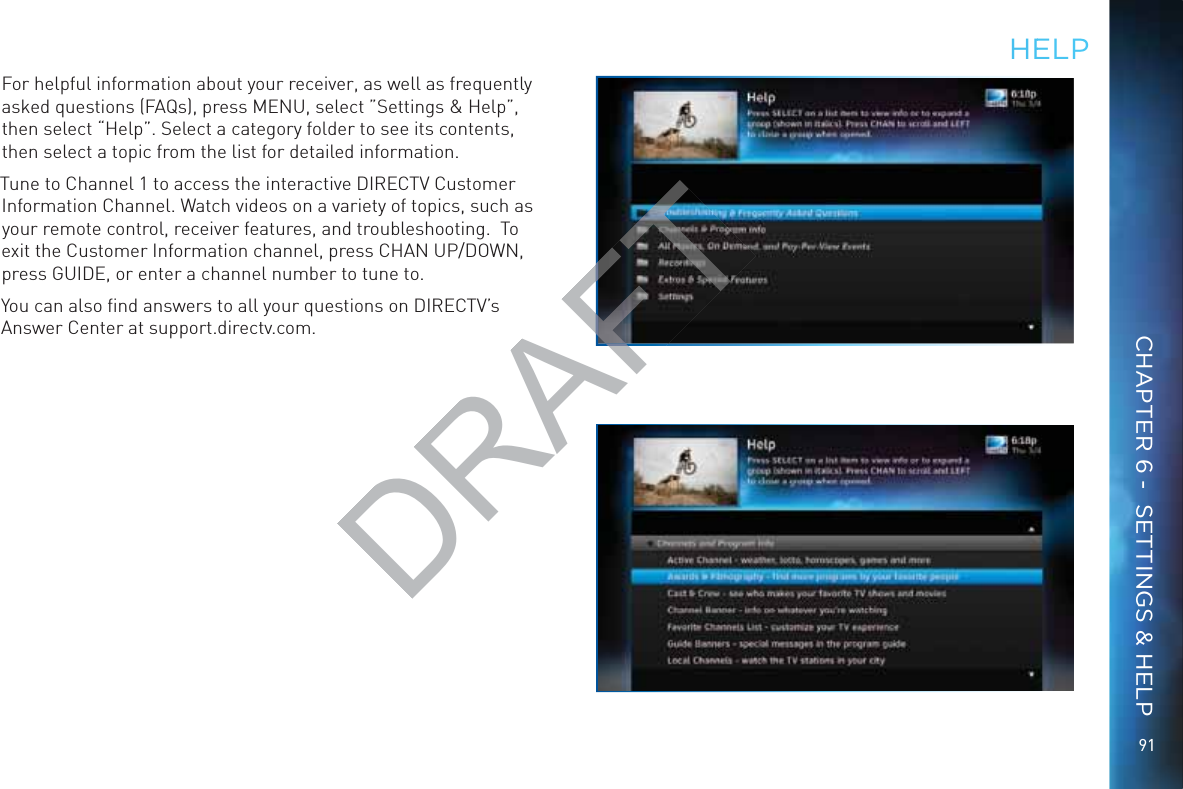
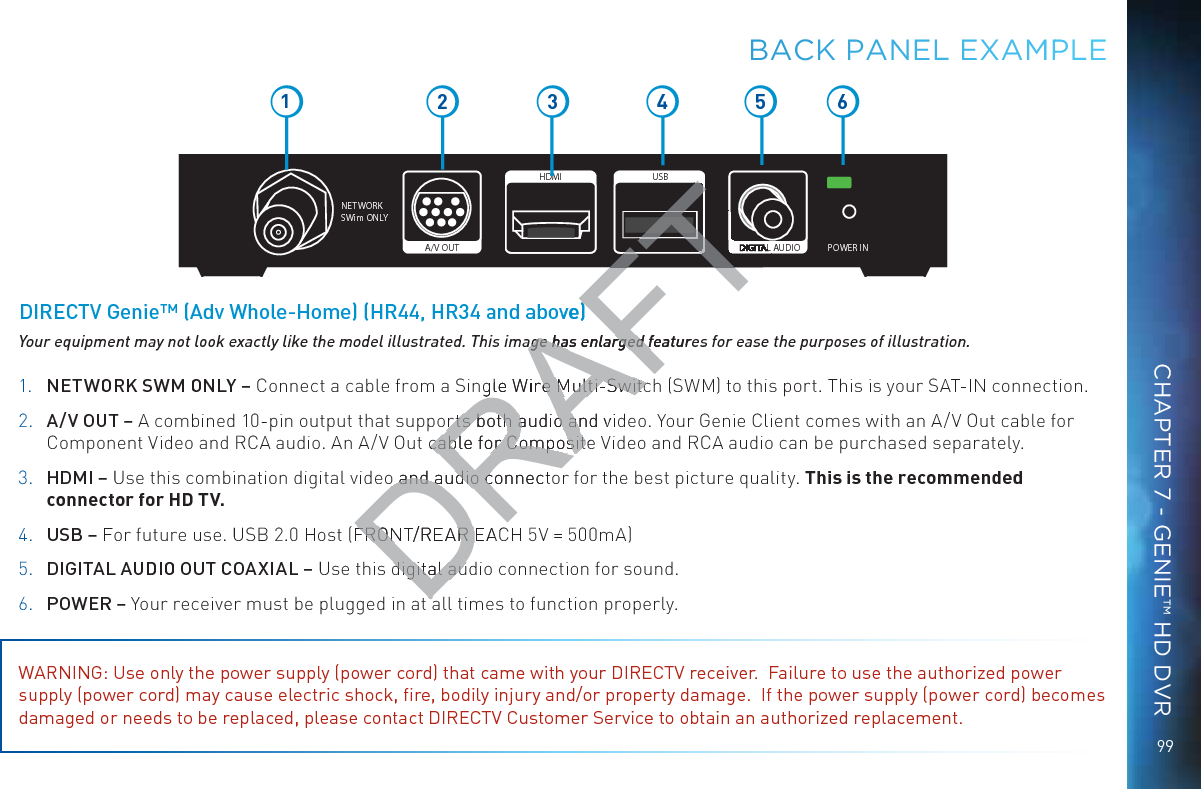
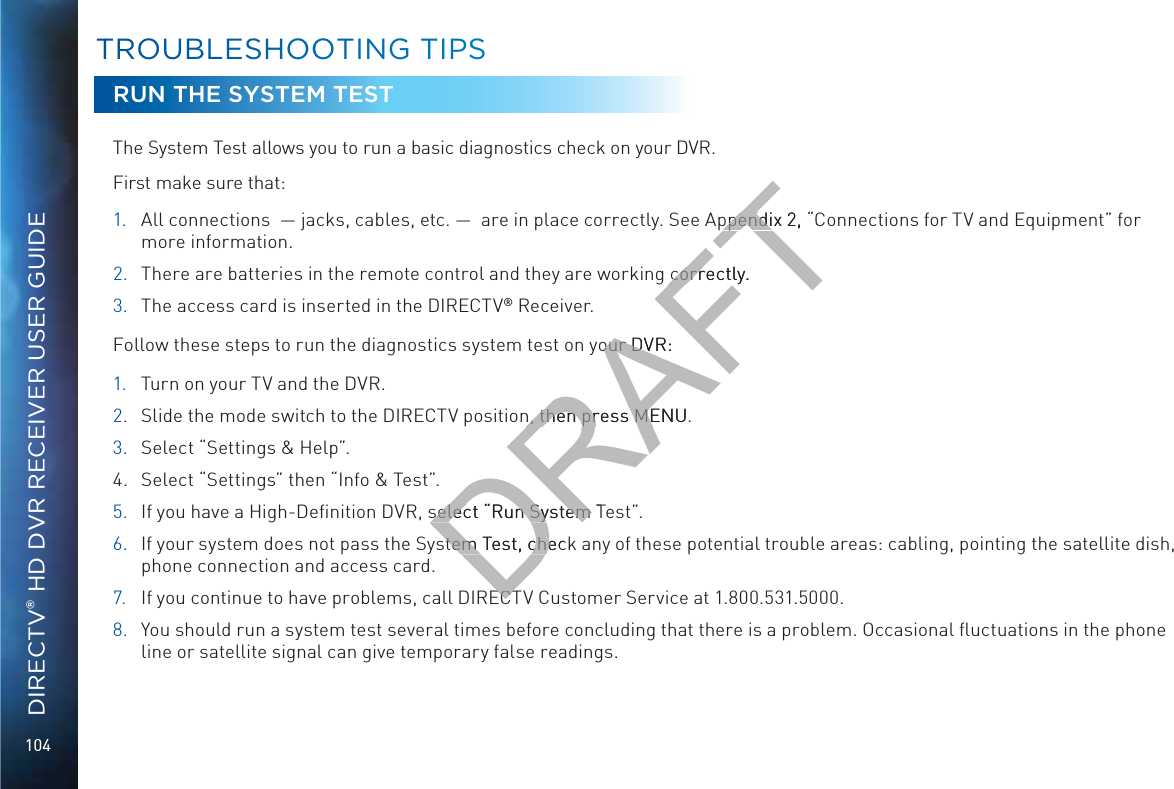
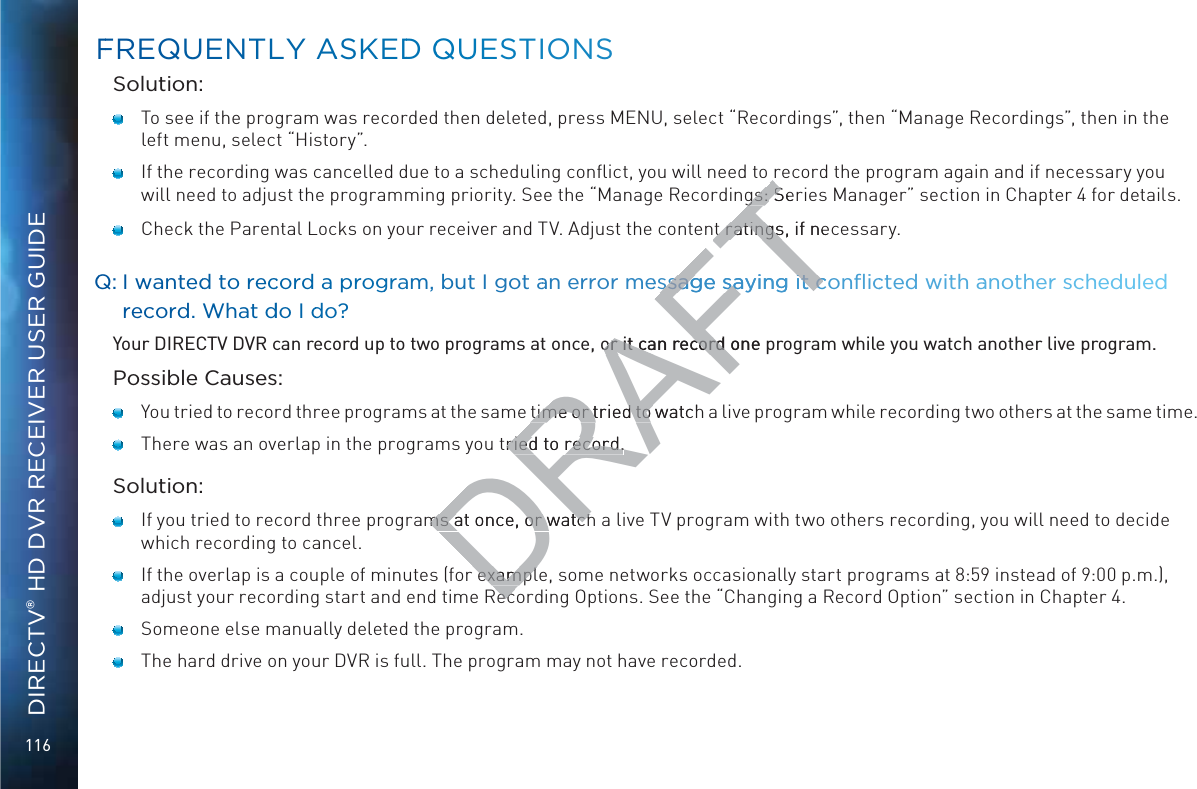
![8989SPENDING LIMITSLimit the amount that can be spent on each Pay Per View purchase. Select “Spending Limits”. Then enter your preferred spending dollar limit using the numbers on your remote.VIEWING HOURSSpecify days and times when TV watching is allowed in your household. Select “Viewing Hours”, then select the start times and durations for viewing. You can set hours based on “school c^\]ihº¸BdcYVn"I]jghYVn·VcY$dglZZ`ZcYc^\]ih¸;g^YVn"Saturday, and Sunday.PPARRENTAAAL CONNTROOLSCHAPTER 6 - SETTINGS & HELPDRAFTwed in your ed in your ct the start times ct the start tis based on “schools based on “schoZ`ZcYc^\]ih¸;g^YVnZ`ZcYc^\]ih¸;g^YV](https://usermanual.wiki/ARRIS/C41.manual-pt-4/User-Guide-1847738-Page-1.png)
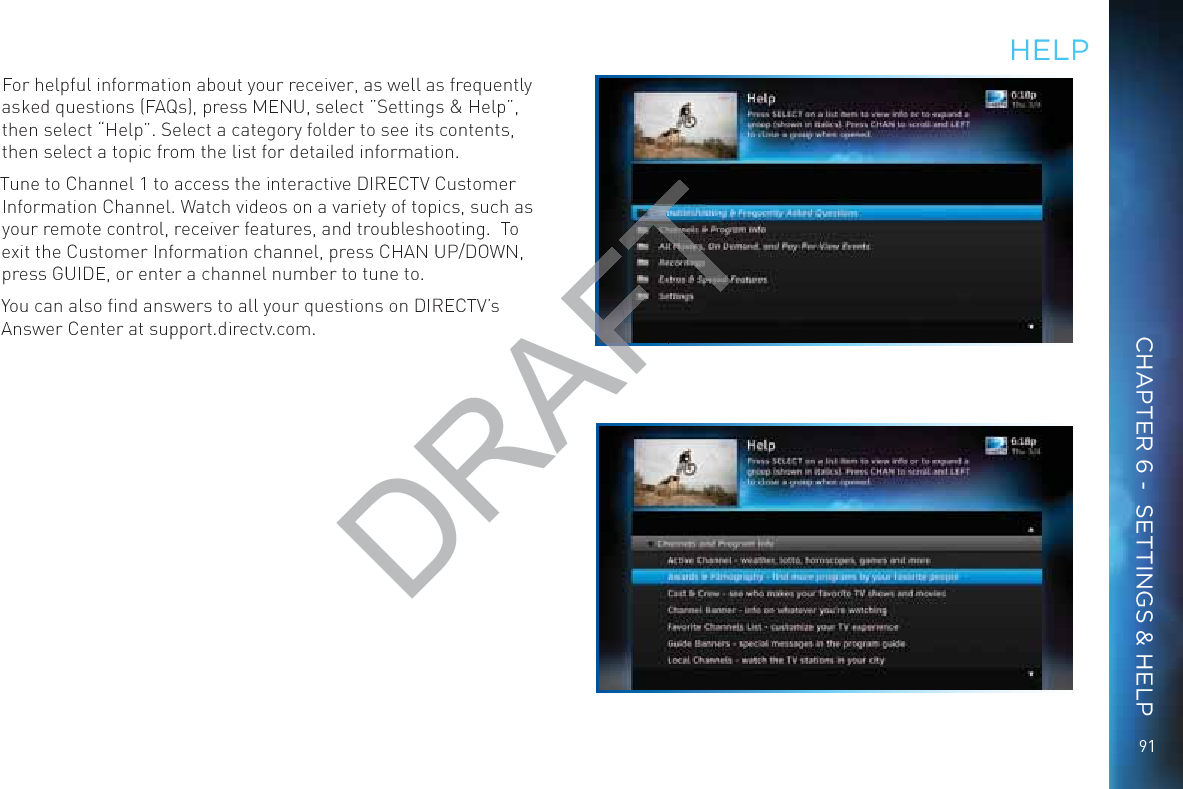

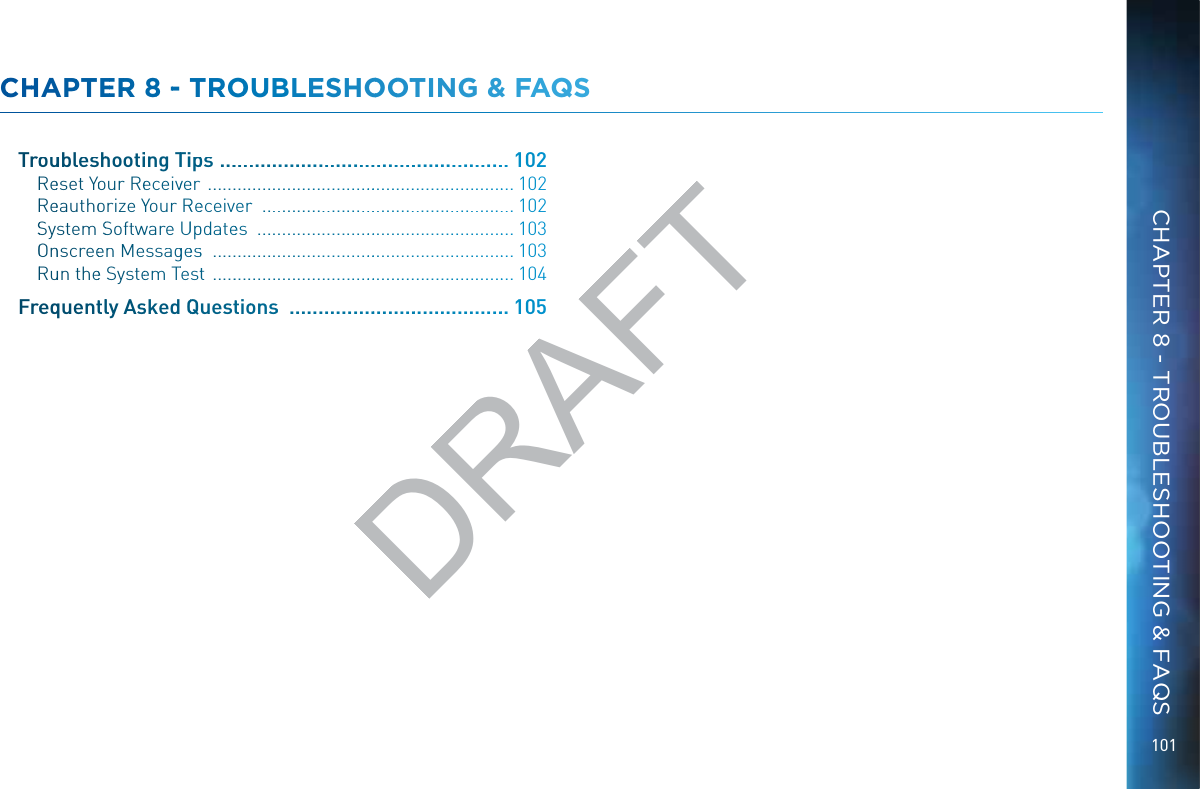
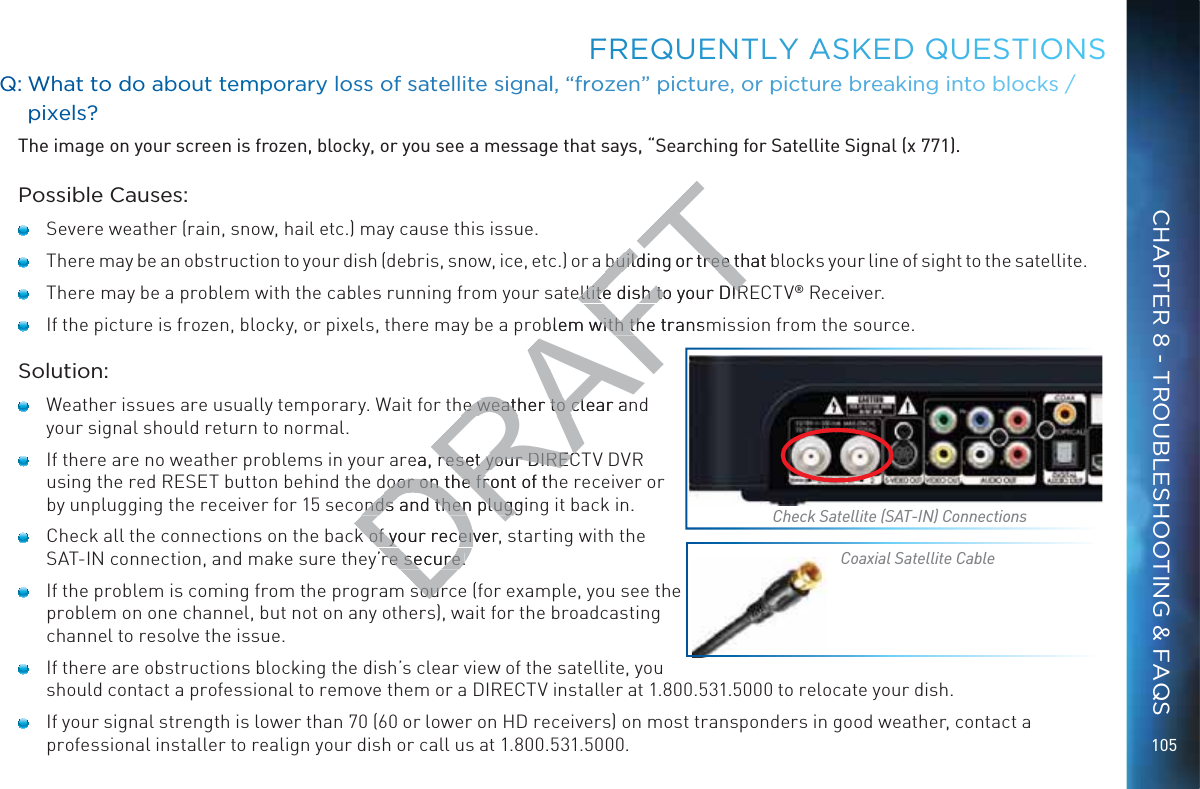
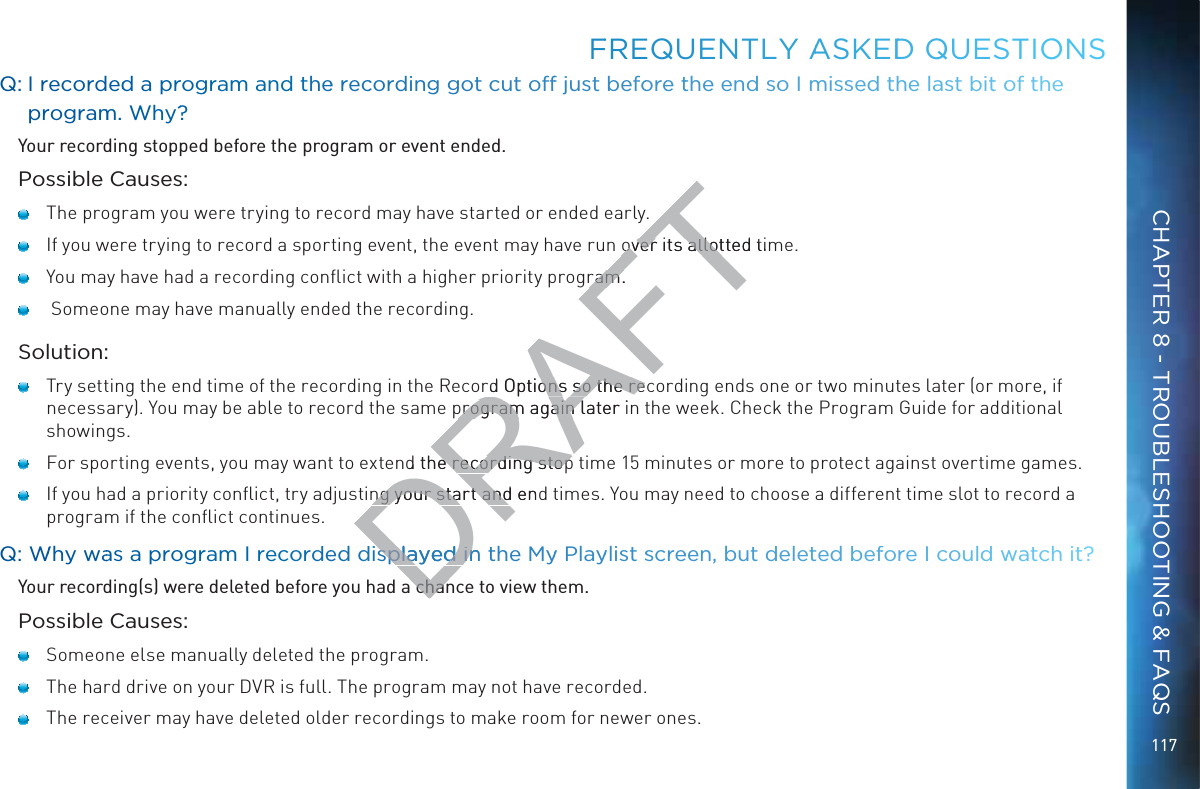


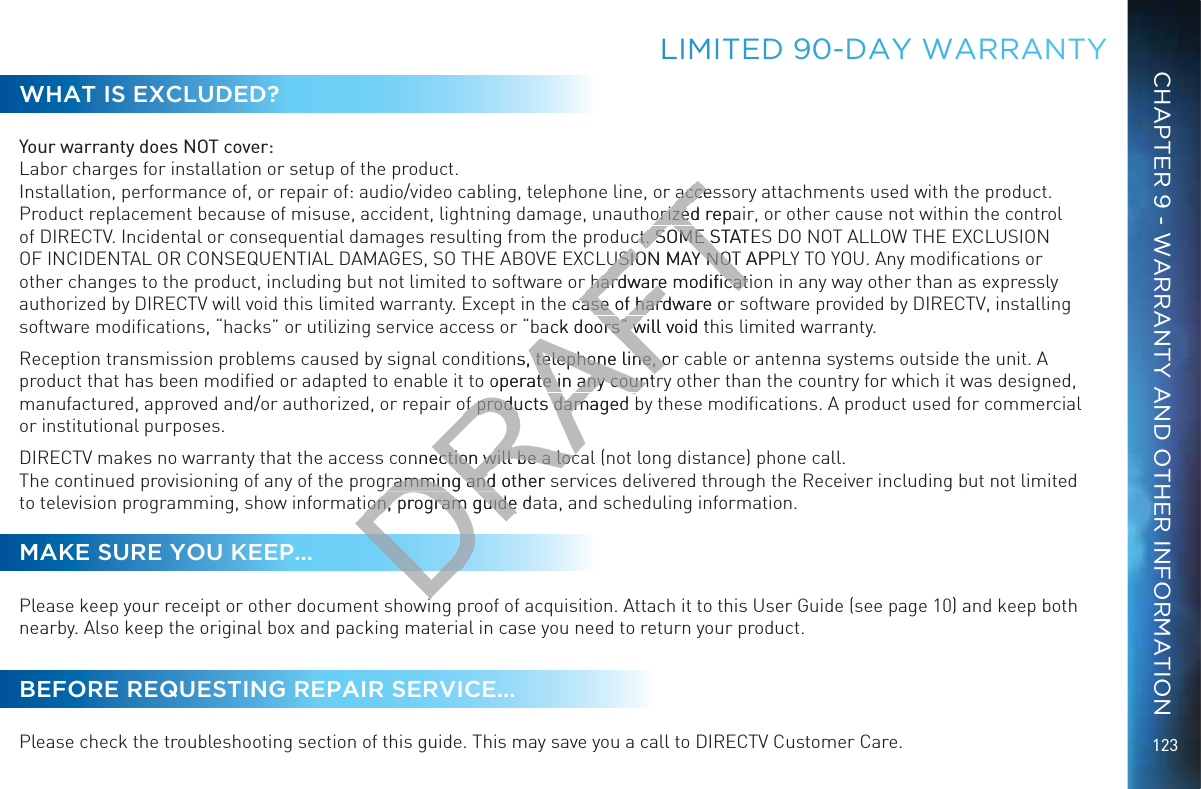
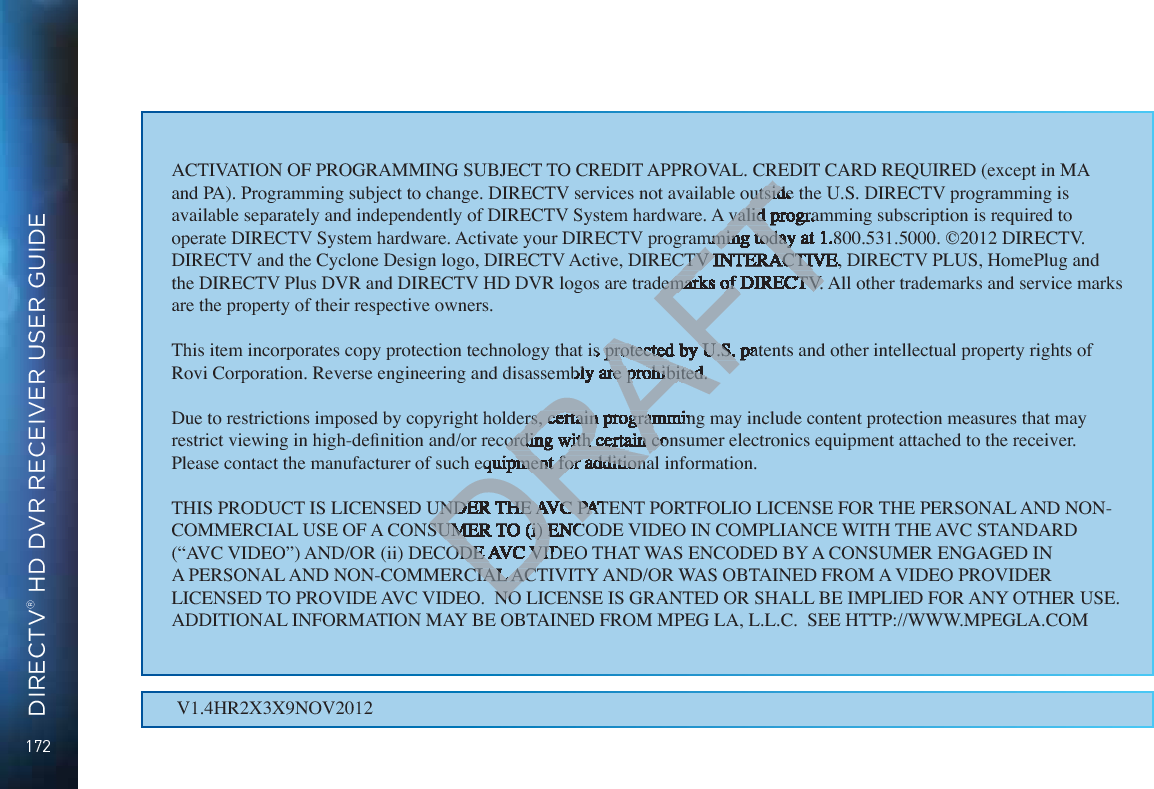
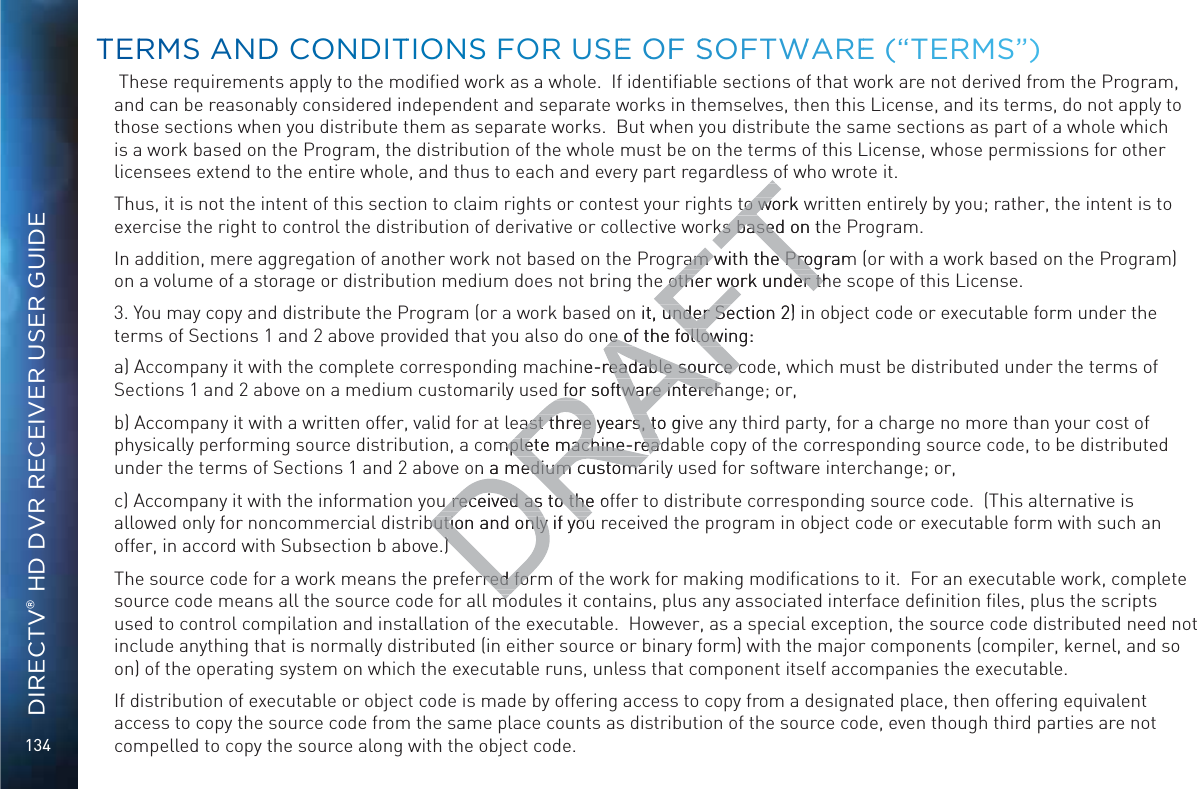
![126DIRECTV® HD DVR RECEIVER USER GUIDEThis device complies with Part 15 of the FCC Rules. Operation is subject to the following two conditions: (1) this device may not cause harmful interference, and (2) this device must accept any interference received, including interference that may cause undesired operation.Responsible Party:DIRECTV2230 E. Imperial HwyEl Segundo, CA 902451-800-DIRECTV IgVYZCVbZ/9>G:8IK IneZd[:fj^ebZci/9>G:8IKHViZaa^iZGZXZ^kZg Model Number: HR34, HR42, HR44, C31, C41, C41W and aboveFederal Communications Commission (FCC): This equipment complies with both Part 15 and Part 68 of the FCC rules. This equipment has been tested and found to comply with the limits of a Class B digital device, pursuant to part 15 of the FCC Rules.These limits are designed to provide reasonable protection against harmful interference in a residential installation.This equipment generates, uses, and can radiate radio frequency energy and, if not installed and used in accordance with the instructions, may cause harmful interference to radio communications. However there is no guarantee that interference will not occur in a particular installation. If this equipment does cause harmful interference to radio or television reception, which can be determined by removing and applying power to the equipment, the user is encouraged to try to correct the interference by one or more of the following measures: GZdg^ZcidggZadXViZi]ZgZXZ^k^c\satellite dish antenna. >cXgZVhZi]ZhZeVgVi^dcWZilZZci]ZZfj^ebZciVcYi]Z9>G:8IKGZXZ^kZg# 8dccZXii]ZZfj^ebZci^cidVcdjiaZidcVX^gXj^iY^[[ZgZci[gdbi]Viidl]^X]i]Z9>G:8IKGZXZ^kZg^hXdccZXiZY# 8dchjaii]ZYZVaZgdgVcZmeZg^ZcXZYgVY^d$IKiZX]c^X^Vc[dg]Zae#FFCC CUUSTOOMEERR INFOORRMMATIOONDRAFTequipment complies wequipment compomply with the limits mply with the limitsable protection againable protection againn radiate radio frequen radiate radio freqerence to radio comerence to radio comquipment doesquipment dor to the er to the eModel Number: HR34, HR42, HR44, C31, C41, C41W andAFand aboveabove](https://usermanual.wiki/ARRIS/C41.manual-pt-4/User-Guide-1847738-Page-38.png)
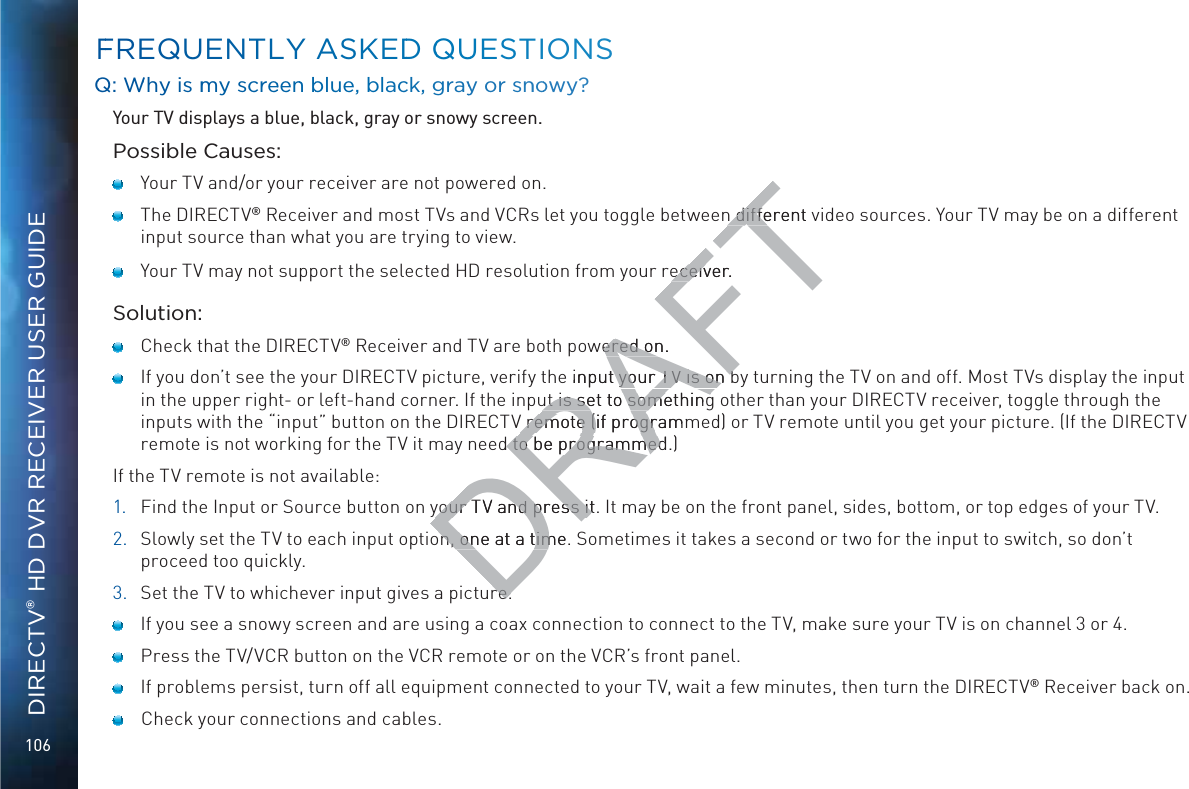
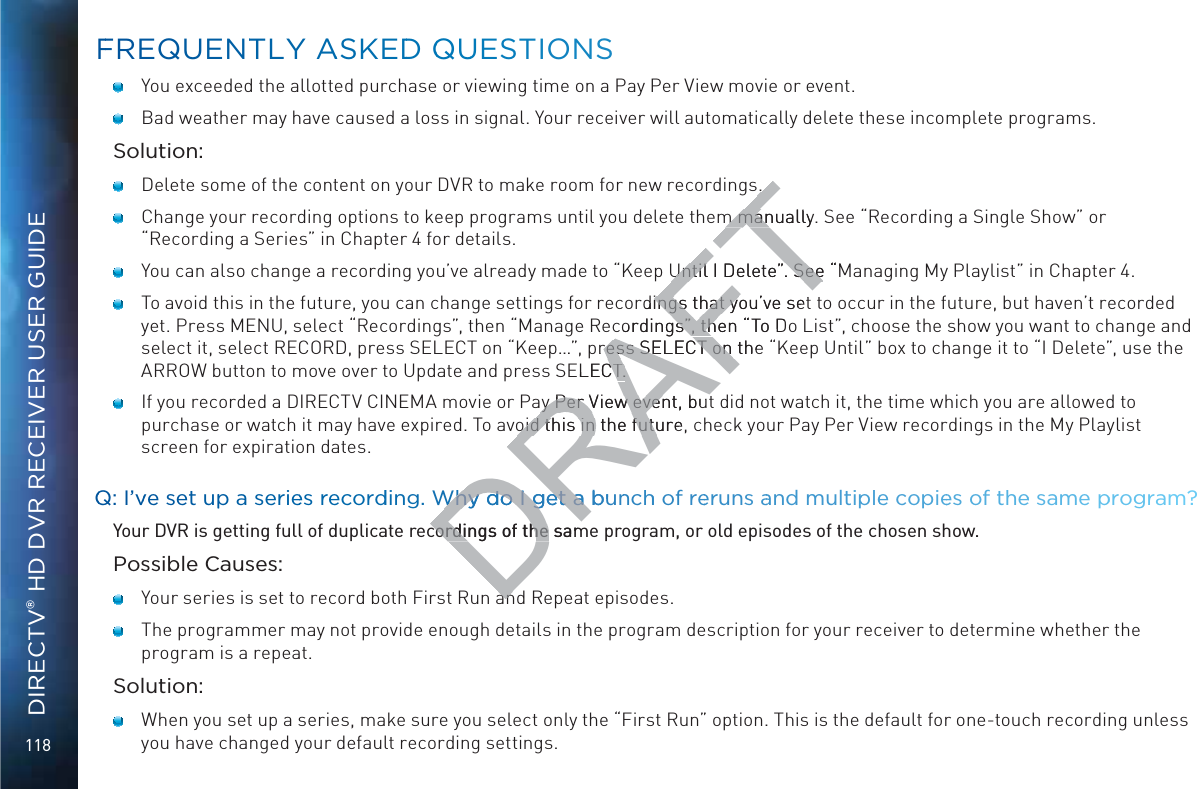
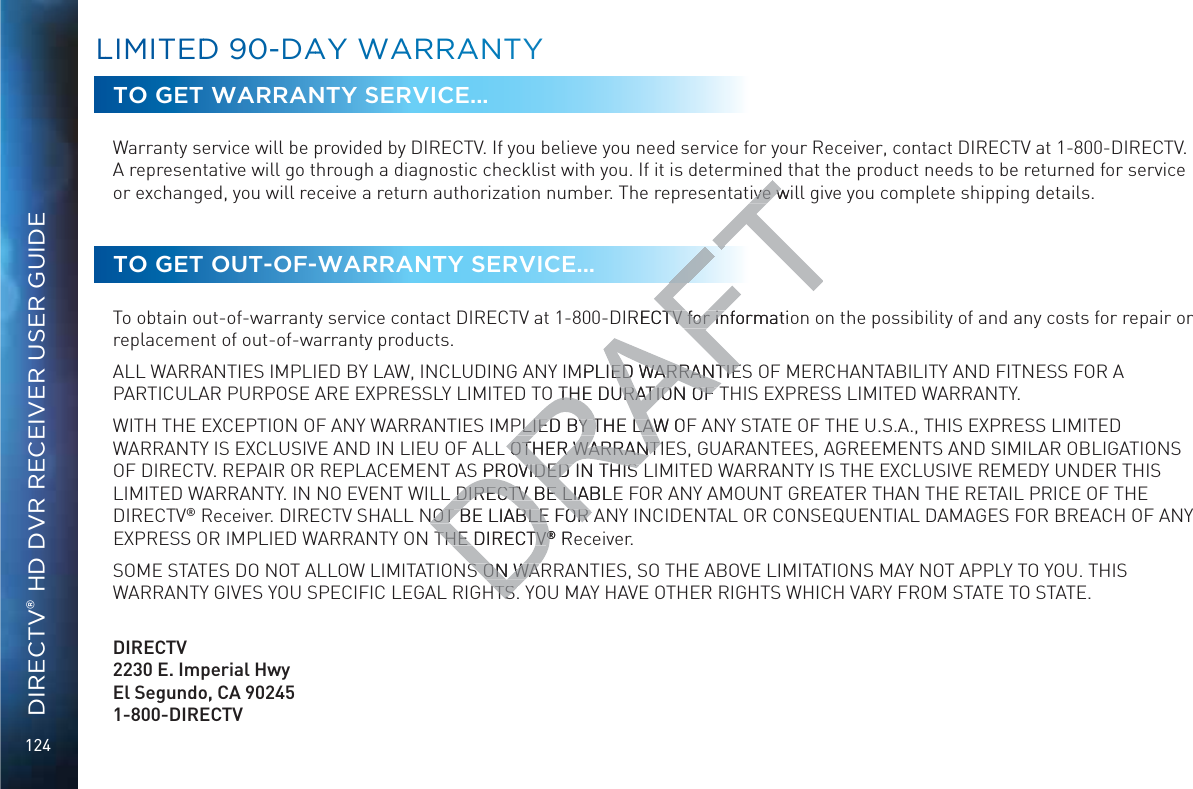
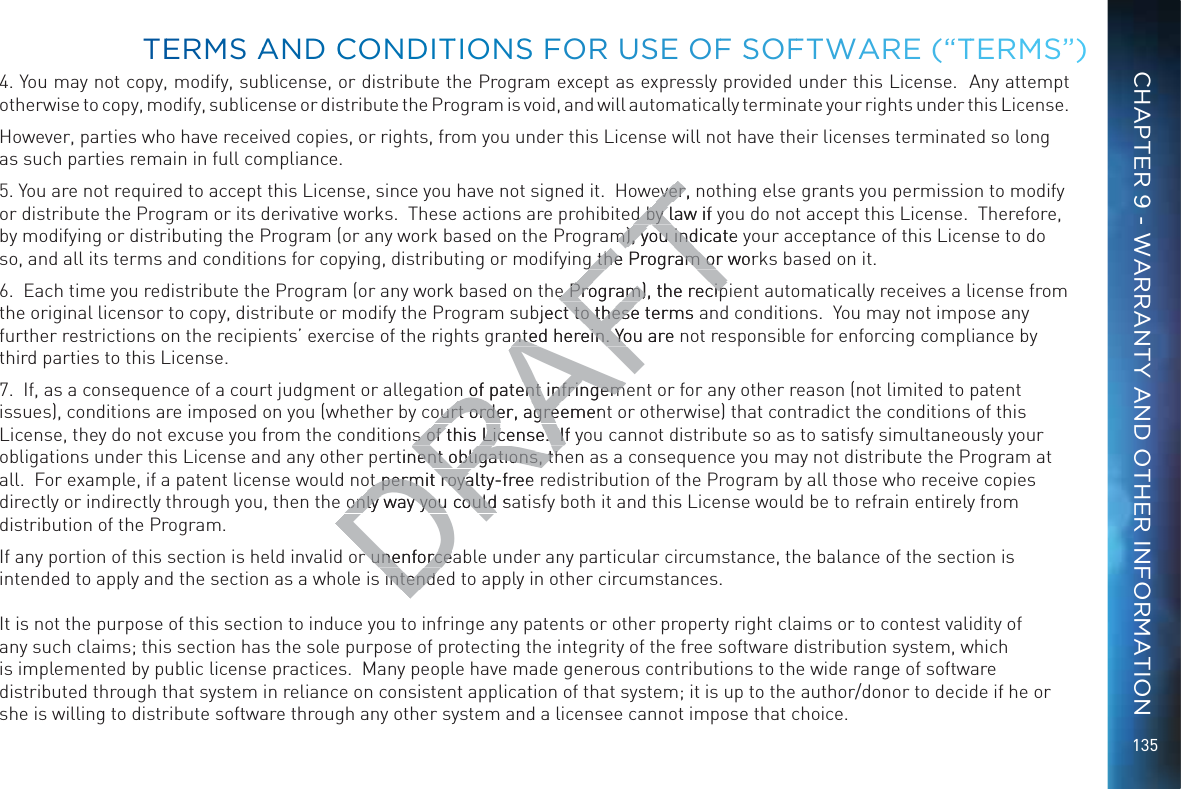
![127 86JI>DC/8]Vc\ZhdgbdY^ÃXVi^dchcdiZmegZhhanVeegdkZYWni]ZbVcj[VXijgZggZhedch^WaZ[dgXdbea^VcXZXdjaYkd^Yi]Zuser’s authority to operate the equipment.The user may find the following booklet, prepared by the Federal communications Commission, helpful: “How to Identify and Resolve Radio and TV Interference Problems”. This booklet is available from the U.S. Government Printing Office, Washington, DC. To meet FCC requirements, only peripherals (computer input/output devices, terminals, printers, etc.) certified to comply with Class B limits may be attached to this device. Operation with non-certified peripherals is likely to result in interference to radio and TV reception. To meet FCC requirements, shielded cables are required to connect the device to a personal computer, peripheral, or other Class B certified device.This equipment complies with Part 68 of the FCC Rules and the requirements adopted by ACTA. On the back of this equipment is a label that contains a product identifier in the format US:AAAEQ##TXXXX. If requested, this information must be provided to your telephone company. This equipment uses the following USOC Jack: RJ11C. A plug and jack used to connect this equipment to the premises’ wiring and telephone network must comply with the applicable FCC Part 68 rules and requirements adopted by ACTA. A compliant telephone cord and modular plug is provided with this product. It is designed to be connected to a compatible modular jack that is also compliant.See installation instructions for details.The REN (Ringer Equivalence Number) is used to determine the number of devices that may connect to a telephone line. Excessive RENs on a telephone line may result in the devices not ringing in response to an incoming call. In most but not all areas, the sum of the RENs should not exceed five (5.0).To be certain of the number of devices that may be connected to a line, as determined by the total RENs, contact your local telephone company. The REN for this product is part of the product identifier that has the format US: AAAEQ##TXXXX. The digits represented by ## are the REN without the decimal point (e.g., 03 is a REN of 0.3).If this DIRECTV® Receiver causes harm to the telephone network, the telephone company will notify you in advance that temporary discontinuance of service may be required. But if advance notice isn’t practical, the telephone company will notify the customer as soon as possible. Also, you will be advised of your right to file a complaint with the FCC if you believe it is necessary.The telephone company may make changes in its facilities, equipment, operations or procedures that could affect the proper functioning of your equipment. If they do, you will be notified in advance in order for you to make necessary modifications to FFCCCC CUUSTTOMMER INNNFORMMATIIONCHAPTER 9 - WARRANTY AND OTHER INFORMATIONDRAFTterteripherals iiphernnect the devicnnect therements adopted by Arements adopted by TXXXX. XXX. one company. This equone company. Tises’ wiring and telepes’ wiring and telecompliant telephone ant telephoner jack that is also comr jack that is alsd to determine the nuto determine the nudevices not ringing indevices not ringimay be connecmay be connis part of is part ofmal mal](https://usermanual.wiki/ARRIS/C41.manual-pt-4/User-Guide-1847738-Page-39.png)

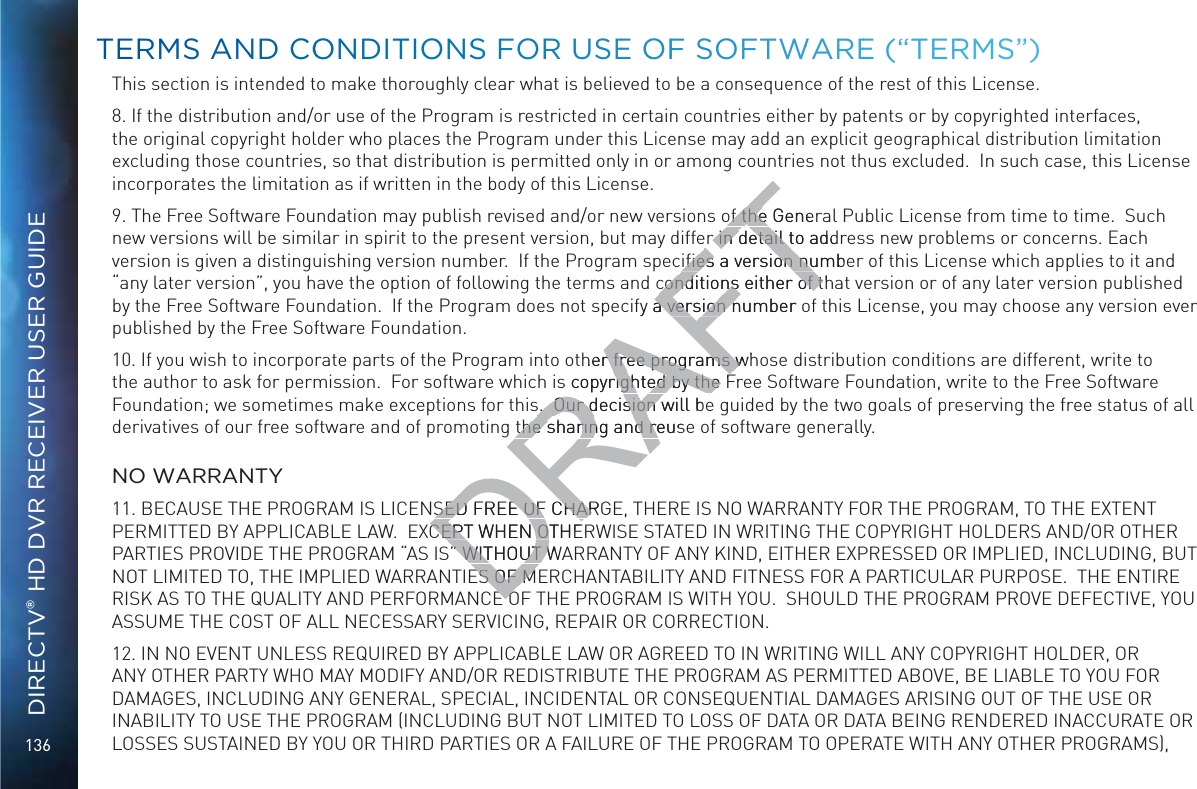

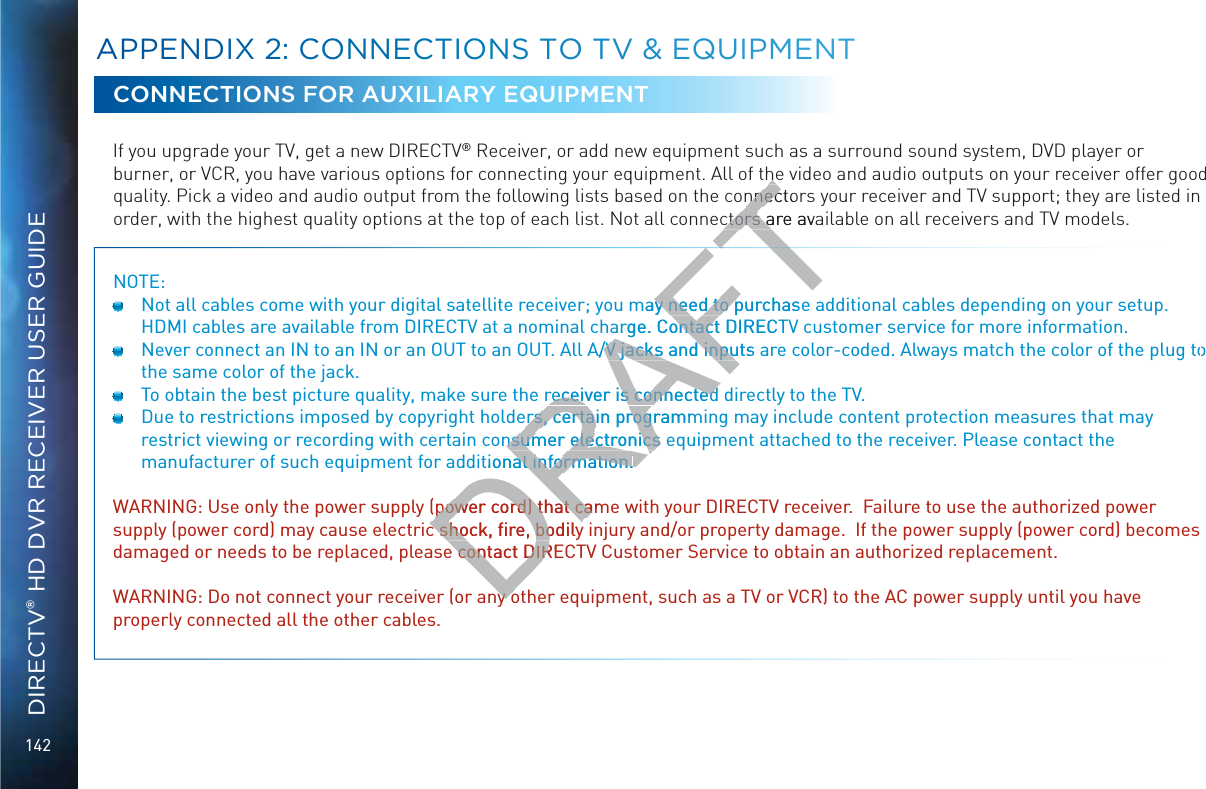
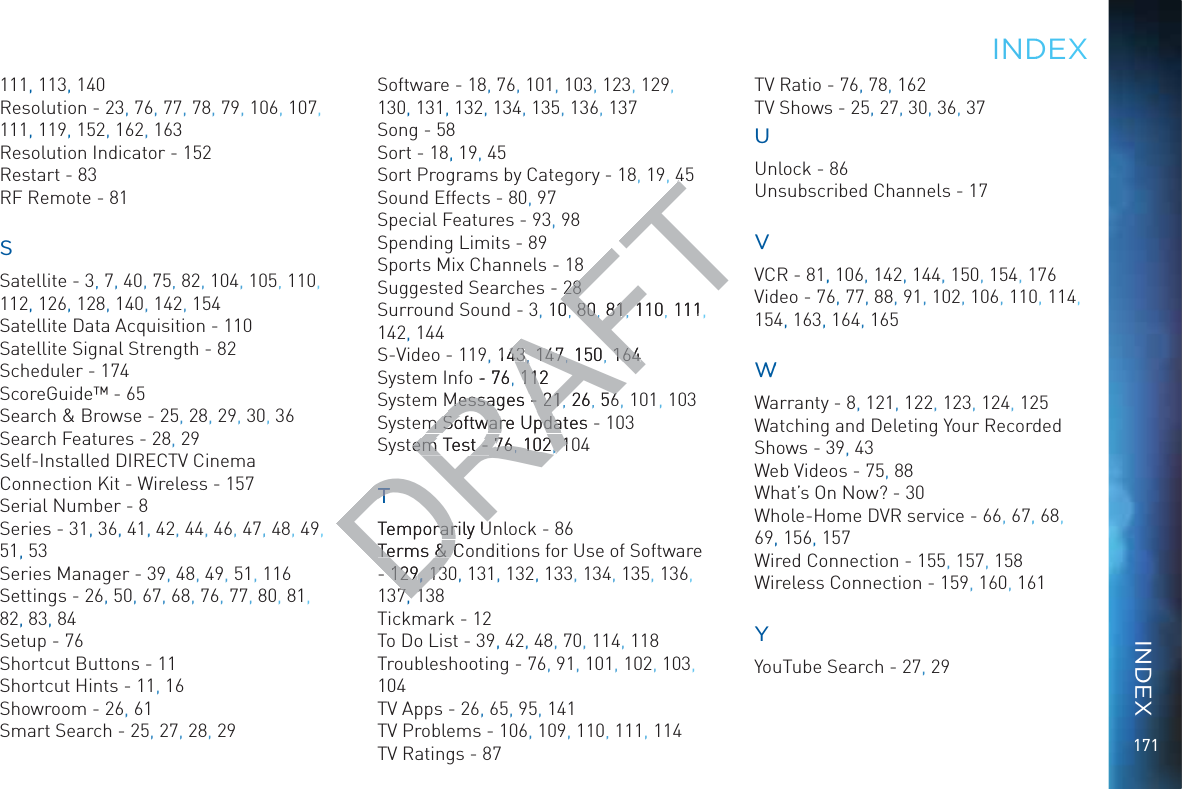
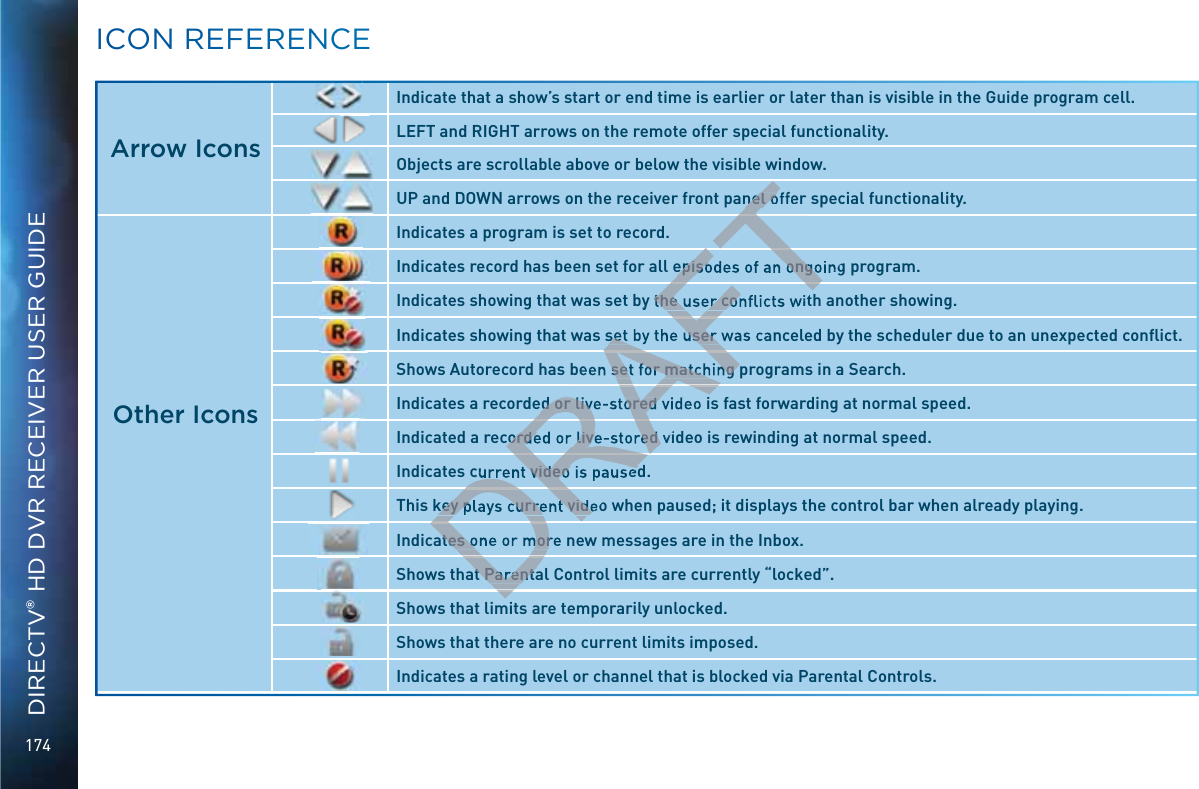
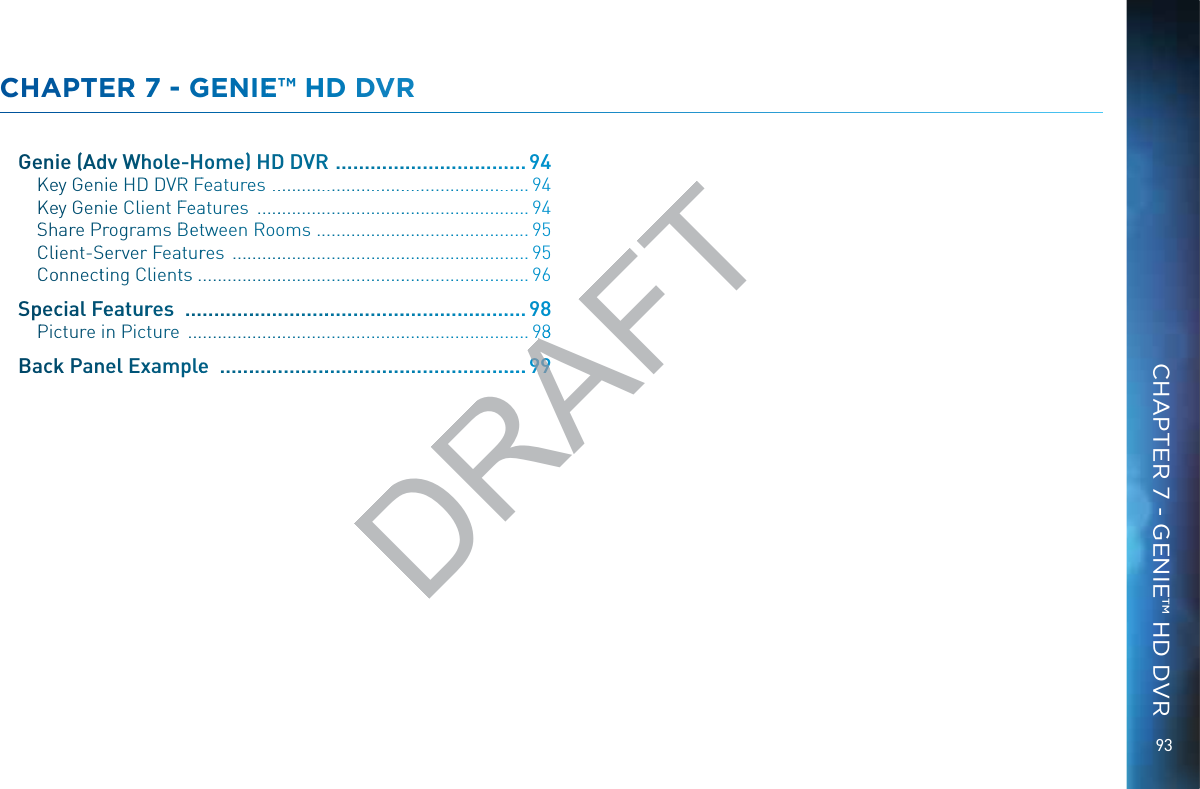
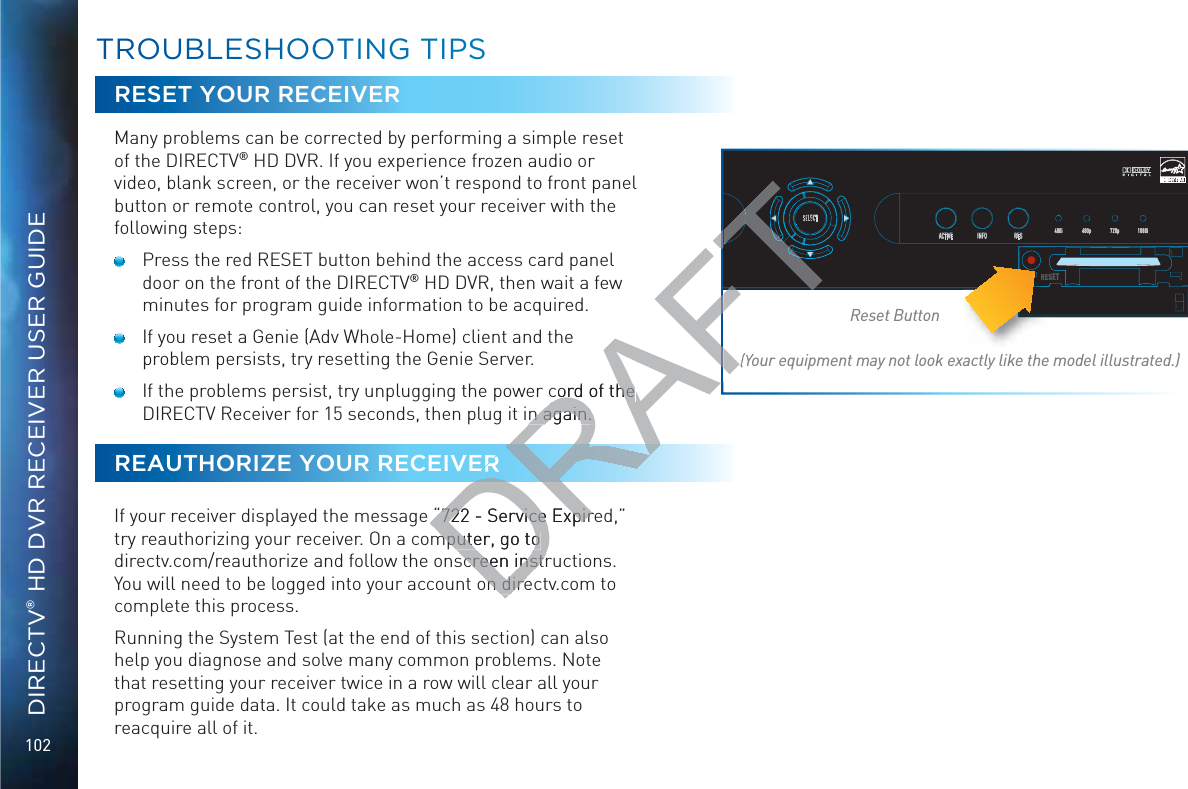
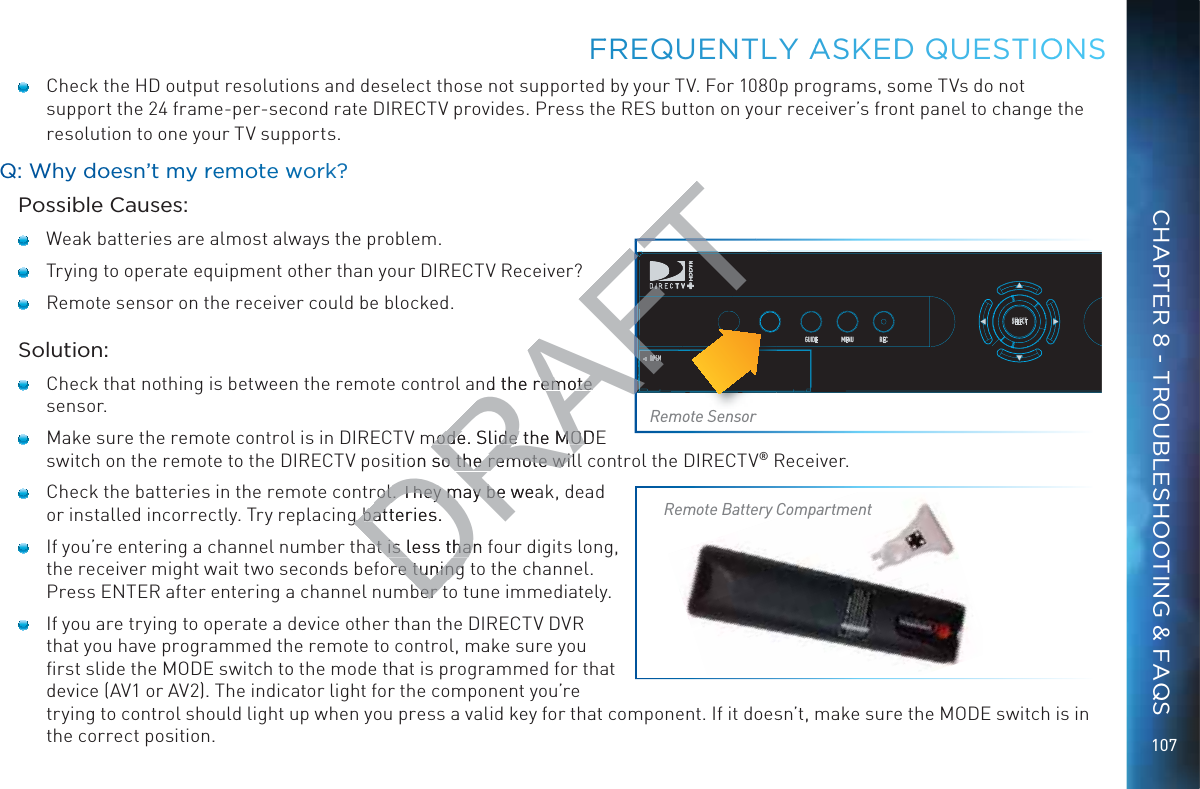
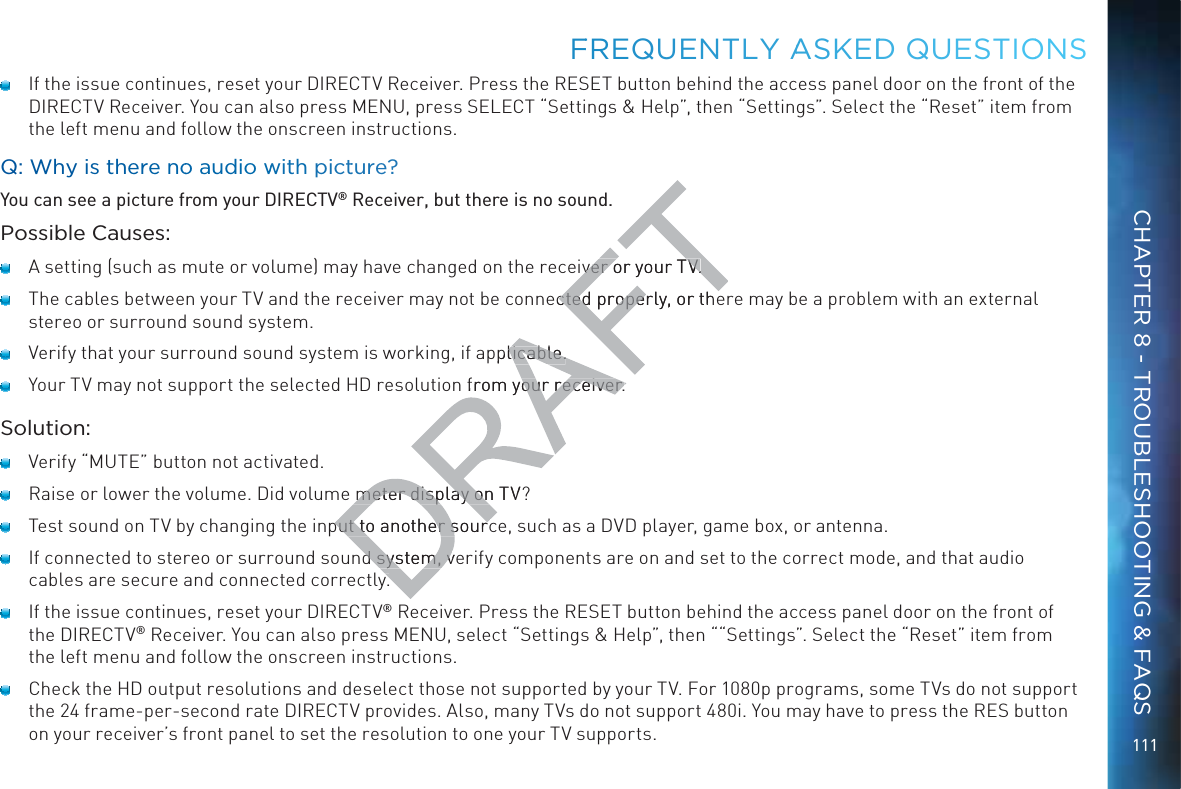
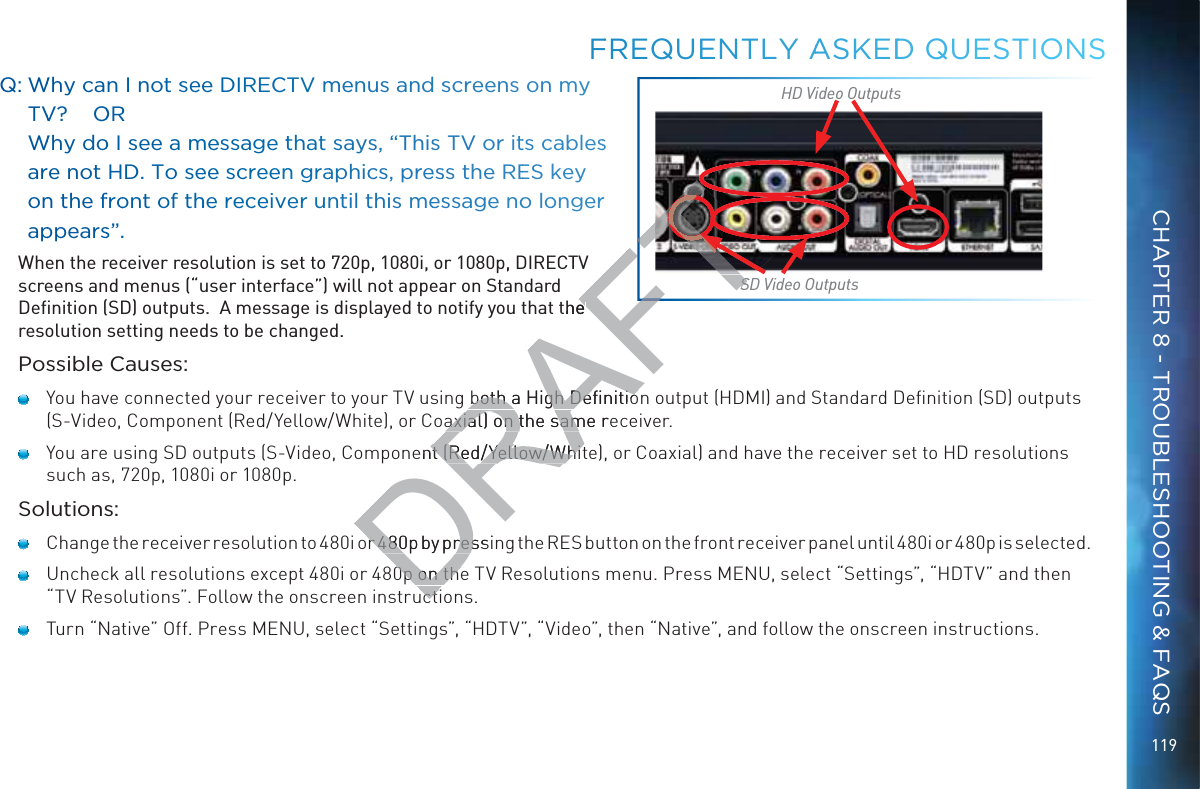
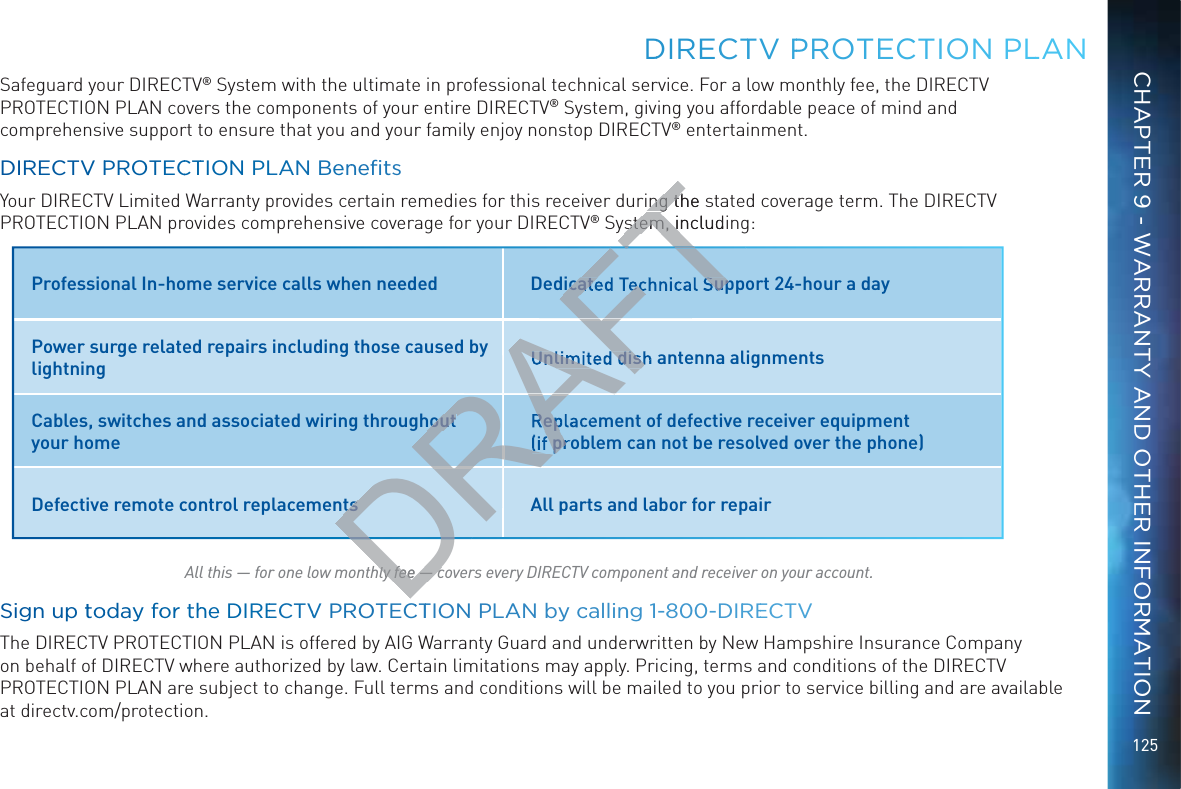
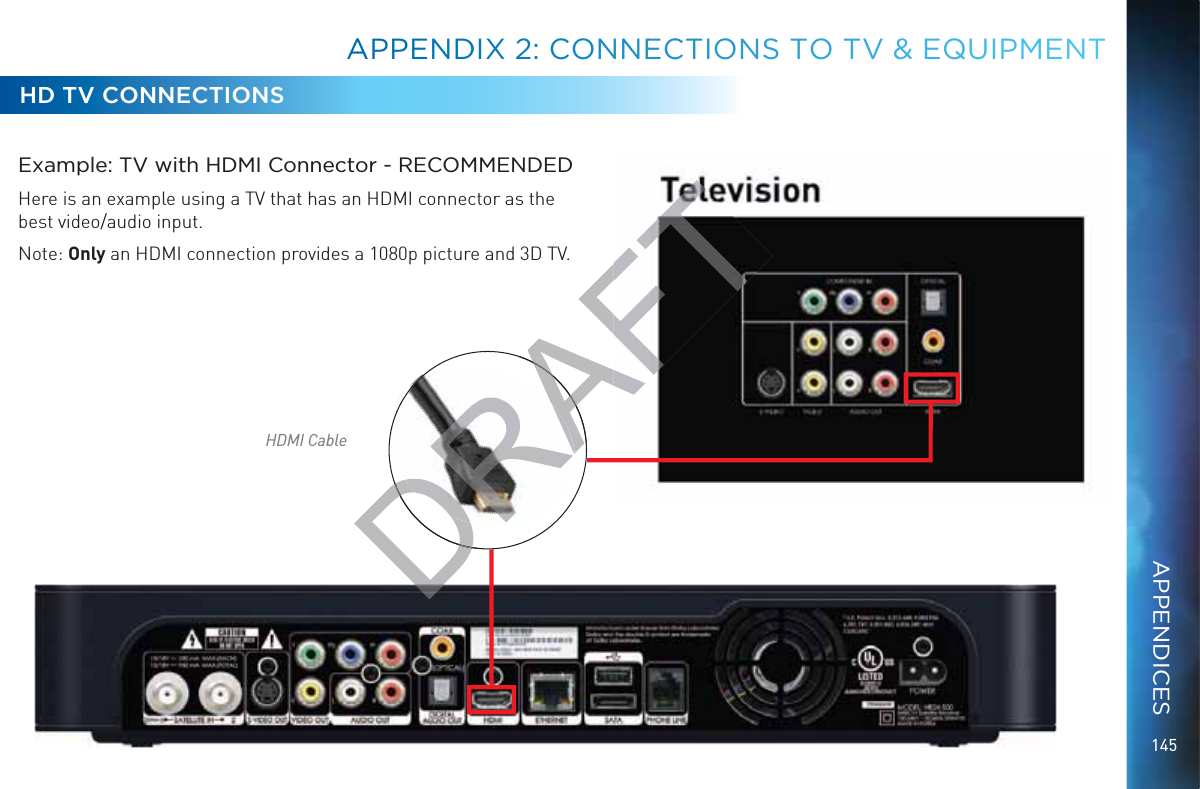
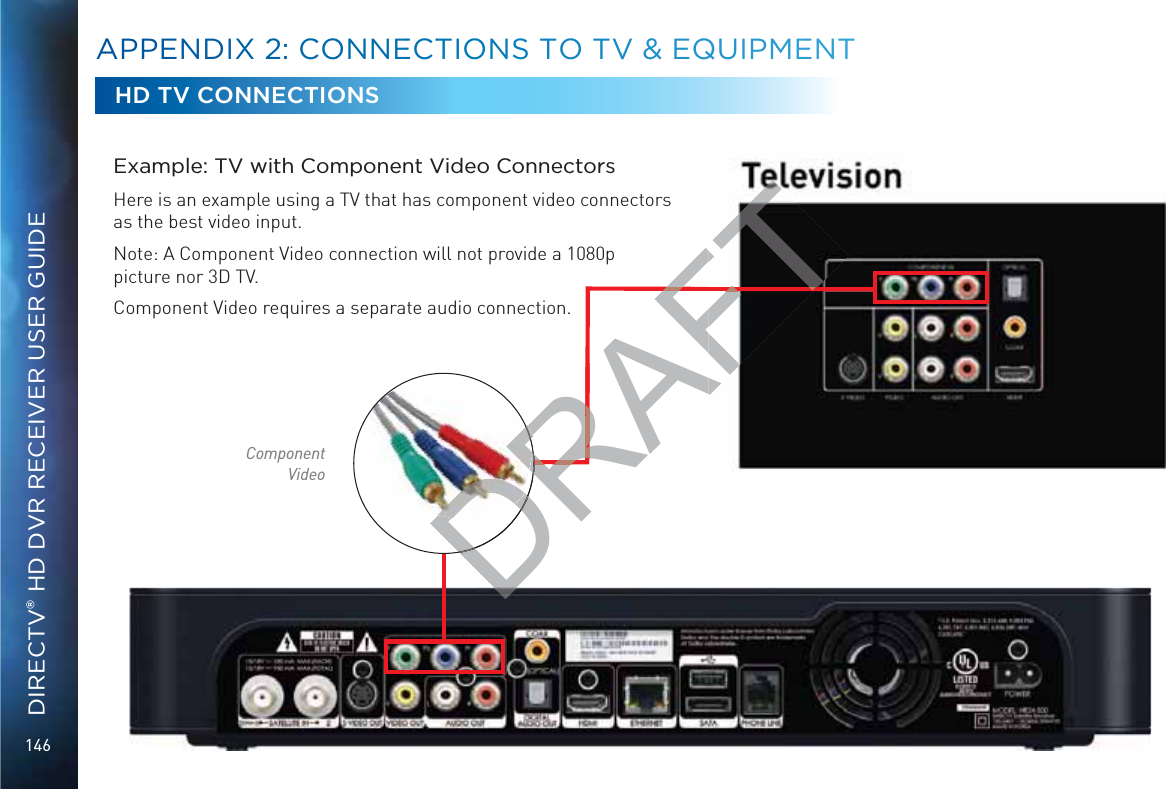
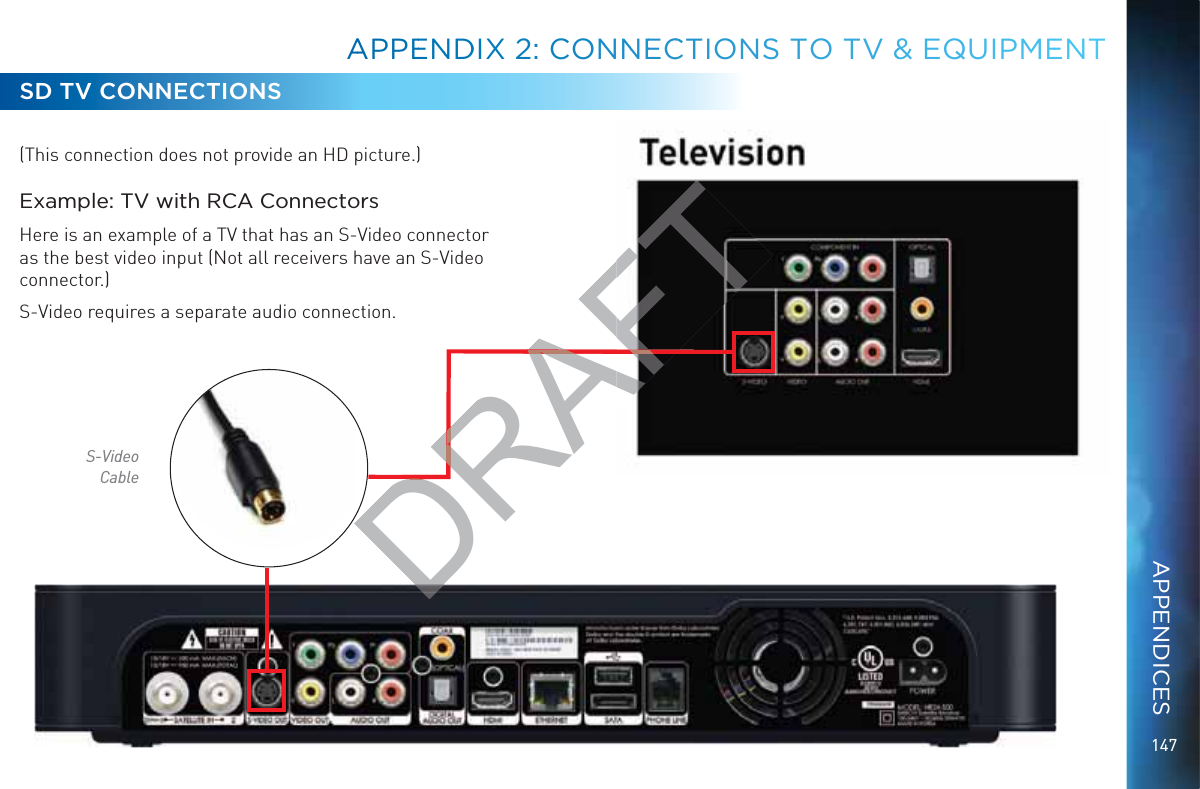
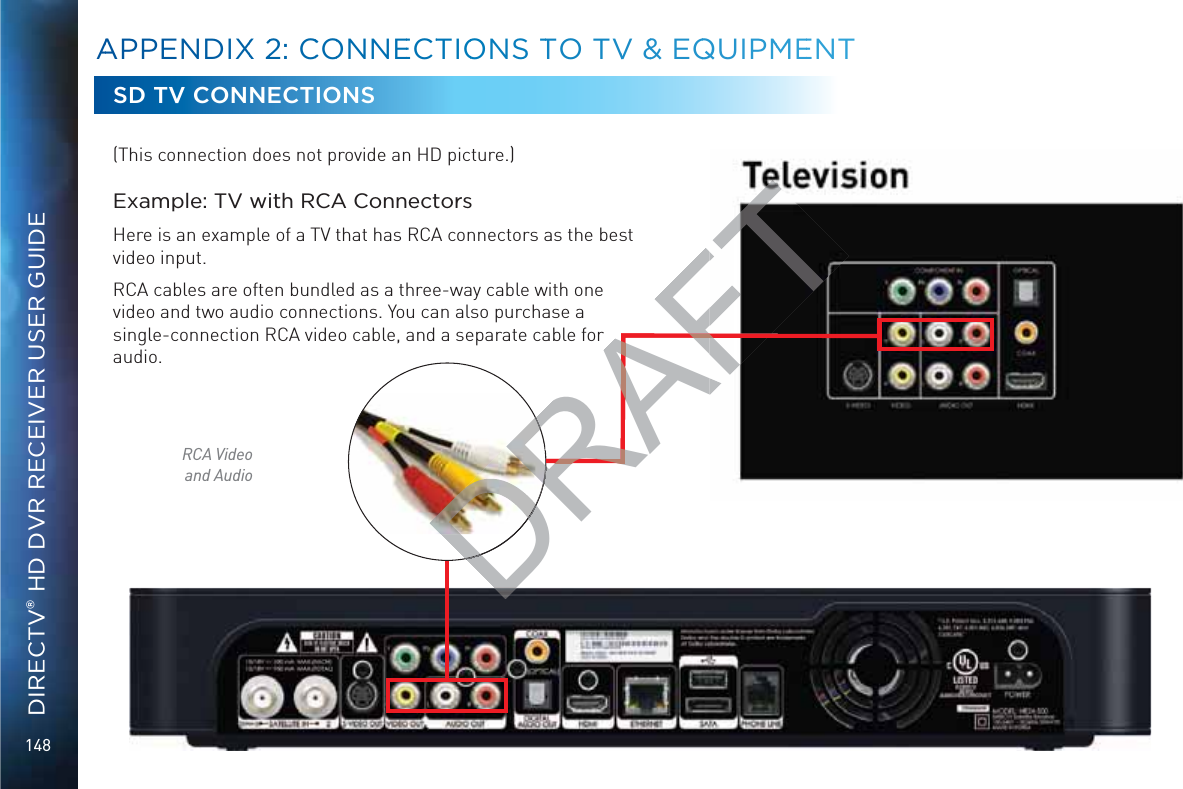
![143The table below shows the benefits and disadvantages of each type of available video connector: HDMI Component S-Video RCAHigh Def (HD) HD 1080p 3D Built-in Audio Standard Def HDD Videoo Connectioons HDMI [High-Definition Multimedia Interface] provides the best digital video and digital audio in one connector. HDMI is the only recommended cable, and is required for the highest quality 1080p signal and 3D TV. Component Video Output (YPbPr) provides high-quality HD video, but does not provide audio. You will need to connect audio separately using the digital audio or RCA audio connectors. Newer receivers have an “A/V Out” connector that provides Component Video and RCA audio output in a single, custom cable. Component cables do not provide 1080p or 3D TV.SD Videoo ConneecttioonsThese cables are provided for convenience only, and do not present an HD picture. They are useful if you have to connect your DIRECTV® HD DVR to an older CRT TV, a VCR, or other non-HD device. S-Video provides good video, but does not provide audio. You will need to connect audio separately using the digital audio or RCA audio connectors. (Not all receivers have S-Video outputs.) RCA output (composite video) provides good video and usually comes bundled with three cables for one video and two audio channels. AAPPEENNDDIX 2: CONNNNEECCTIONSS TOO TV &&& EQUIPMEENTAPPENDICESDRAFTFTTTTTTTFTFTFTFTFTFTFTFTFTFTFTFTs the best digital videe best digital videghest quality 1080p sghest quality 1080p sh-quality HD video, bh-quality HD videdio connectors. Neweo connectors. Newn a single, custom caa single, custom caonly, and do nonly, and do or otheror other](https://usermanual.wiki/ARRIS/C41.manual-pt-4/User-Guide-1847738-Page-55.png)
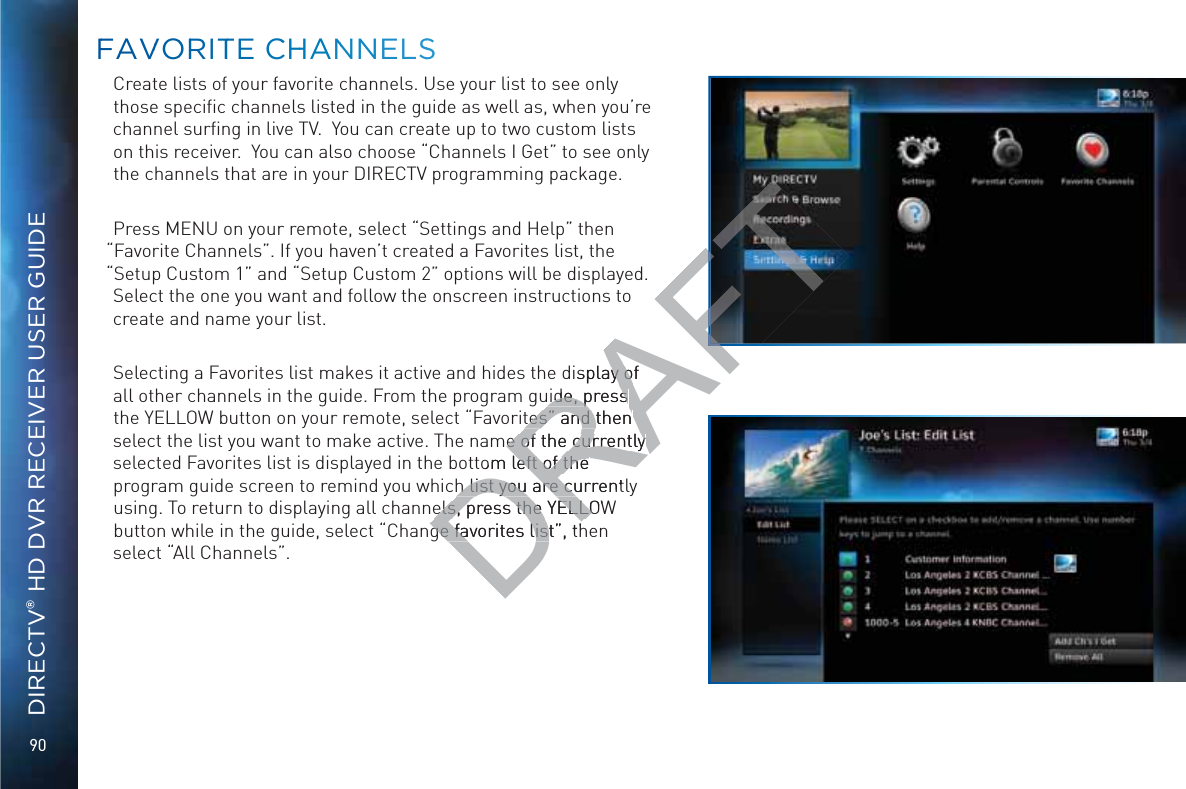
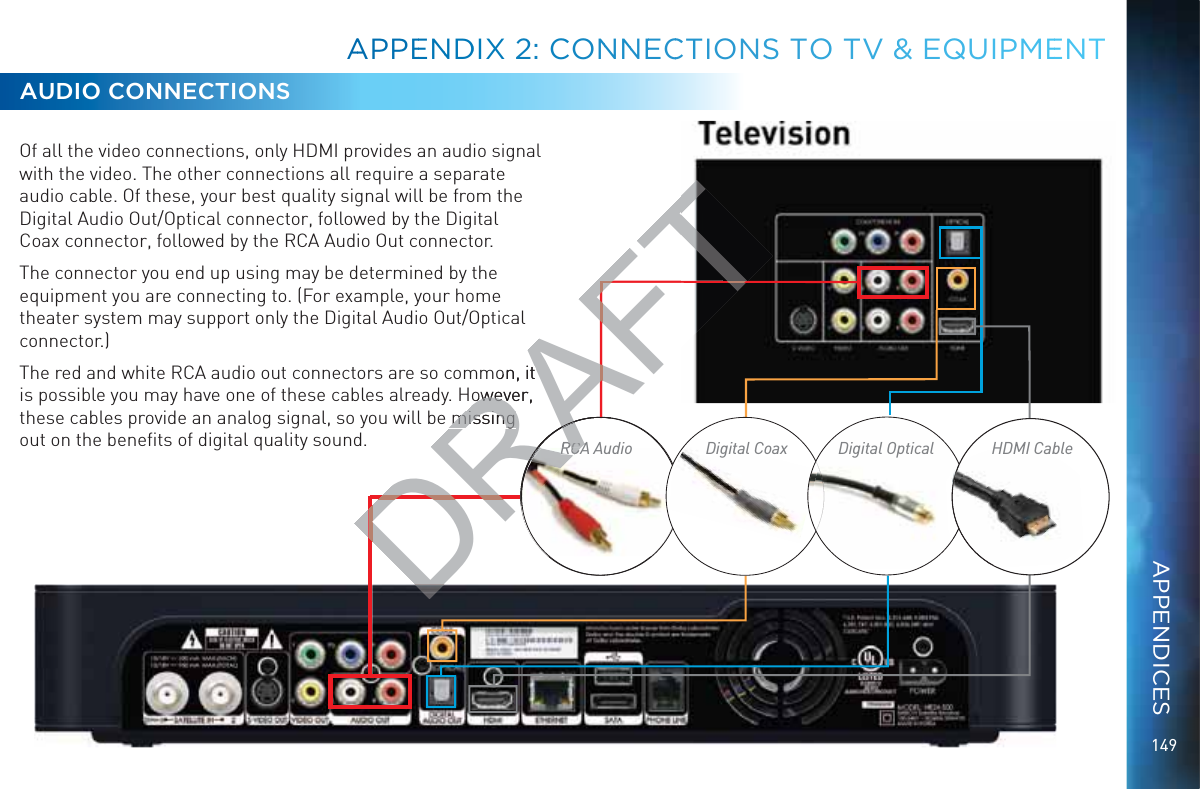
![144DIRECTV® HD DVR RECEIVER USER GUIDEAuddio Coonnnectioons HDMI [High-Definition Multimedia Interface] provides the best digital video and audio in one connector. Digital Audio Optical provides excellent quality digital audio and is often used on newer surround sound and DVD equipment. Digital Audio Coax provides high quality digital audio and is also found on newer surround sound and DVD equipment. RCA outputs provide good audio quality and are found on older auxiliary equipment.There are so many makes and models of TVs and auxiliary equipment, it is impossible to fully describe all of the possible connections between them and your receiver. Refer to the manuals for that equipment to see the connection options specific to each make and model. The following images show examples of how your receiver may be connected using the supported video and audio connections for the TV, the surround sound, and the DVD player/burner or VCR. Several models of DIRECTV Receivers are shown, giving you a variety of connection options to your TV and other equipment.AAPPENDIXX 22: CCOONNEECTTIOONS TTO TVV && EQQUIPMMEENTDRAFTnewnewry equipmery eqt is impossible to fut is impossibor that equipment to sor that equipment ur receiver may be cor receiver may be cor/burner or rner or VCR. SeveVer equipment.er equipment.](https://usermanual.wiki/ARRIS/C41.manual-pt-4/User-Guide-1847738-Page-56.png)
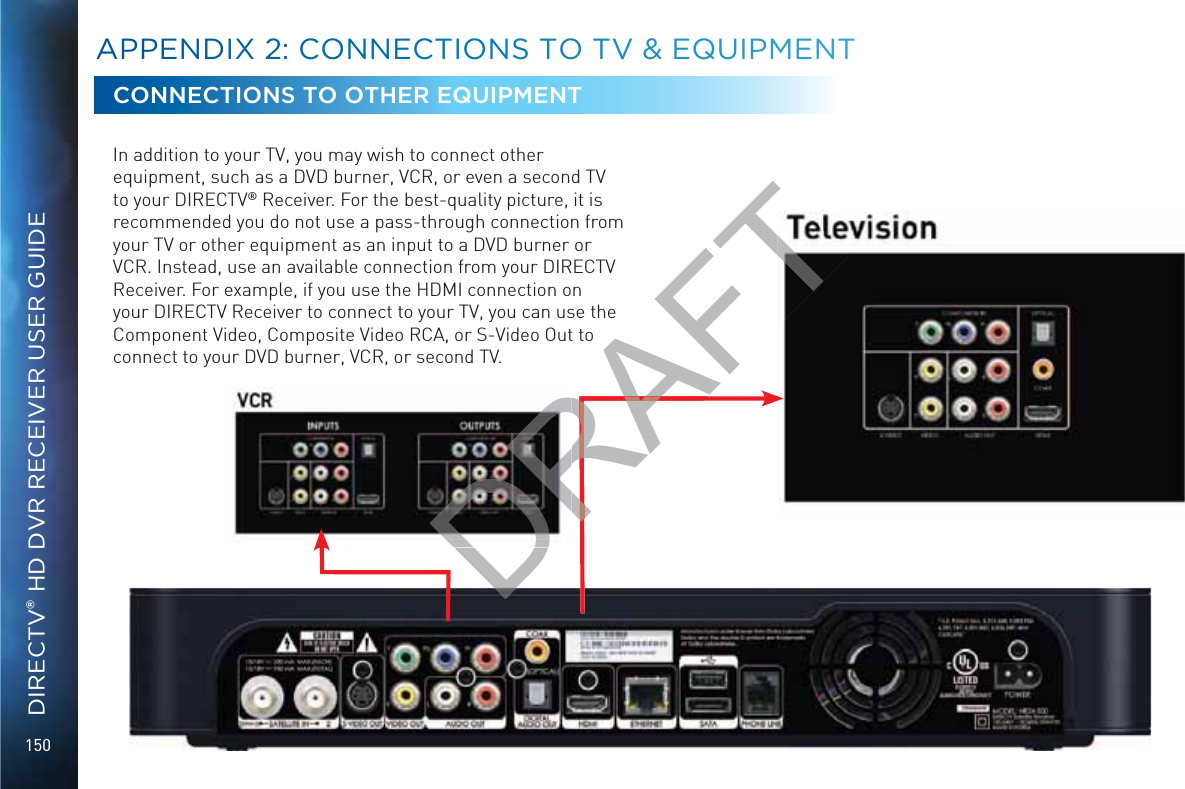


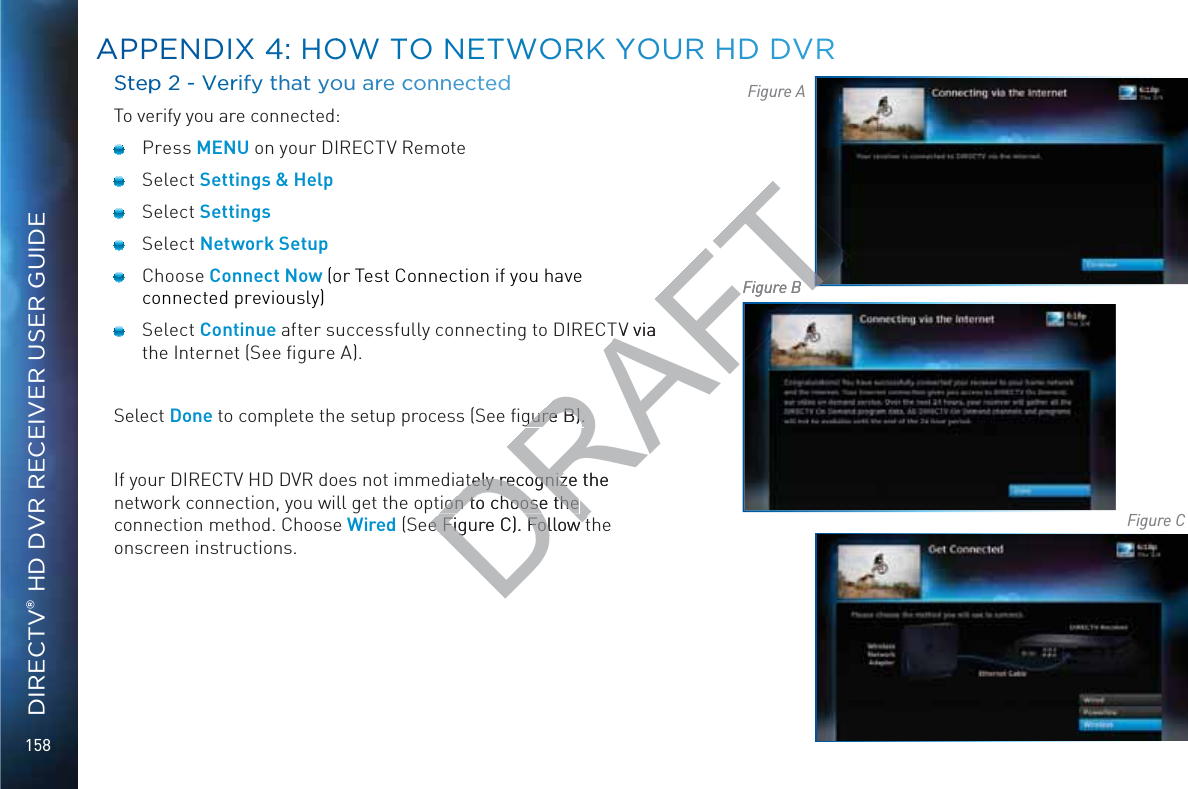
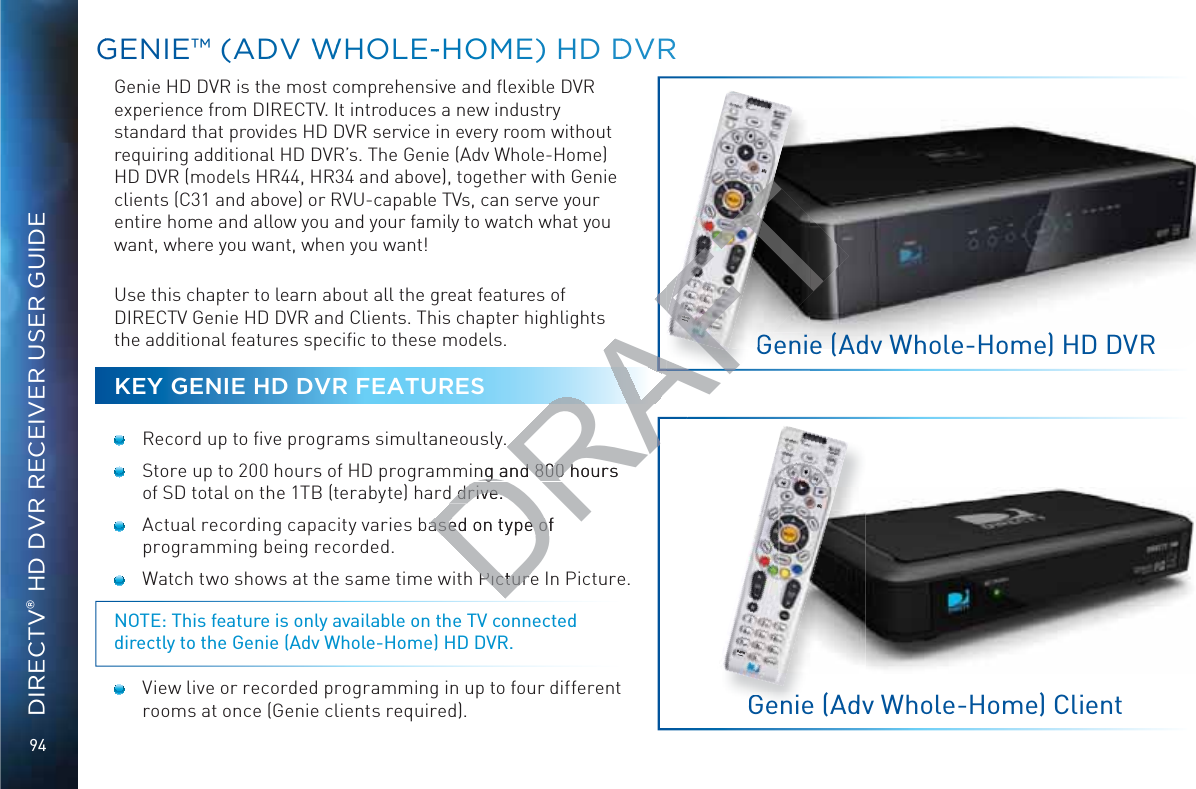
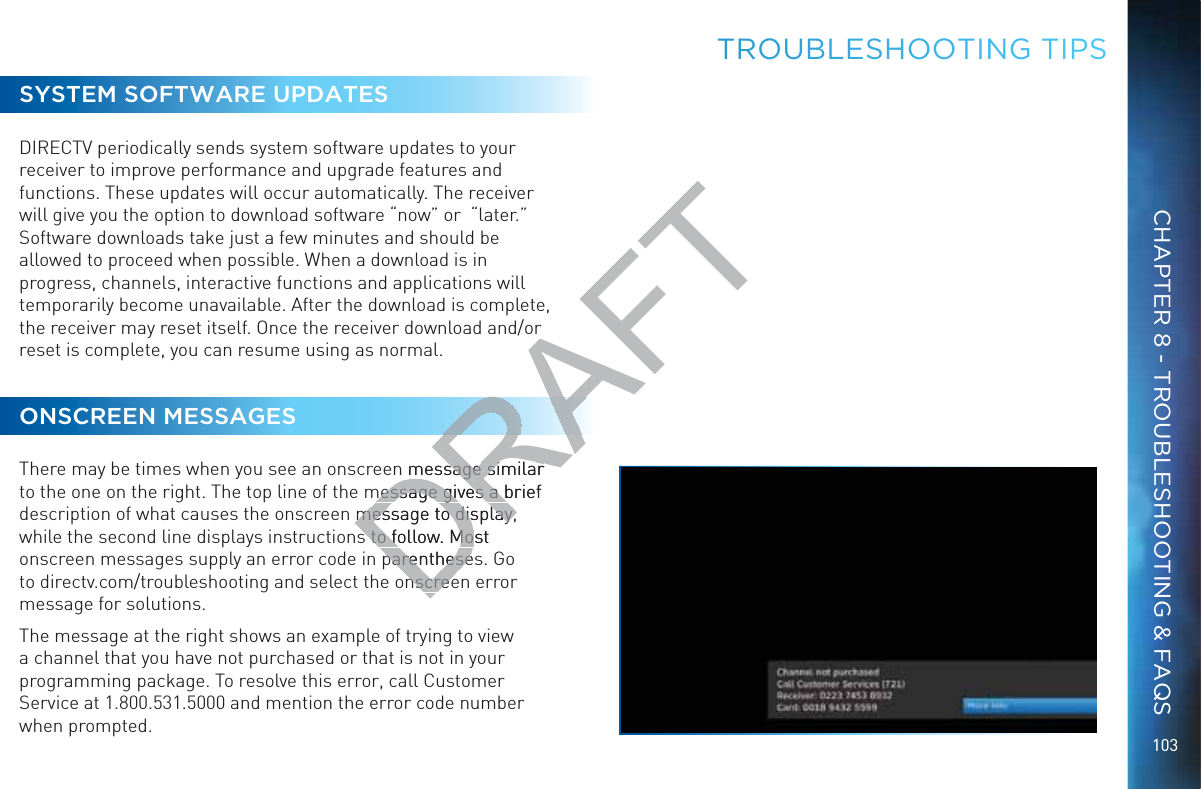
![159WIRELESSCreate a wireless connection between your wireless router and your DIRECTV HD DVR, so your receiver can access the Internet.Along with the Network Requirements at the beginning of Appendix 4, you will need: A wireless adapter that uses an Ethernet port to connect to a media device, preferably the DIRECTV CINEMA Connection Kit - Wireless, as mentioned above [USB devices are not supported by the DIRECTV HD DVR]. A wireless router (in place of a regular router). You must have initialized your wireless device for your home network before beginning to network your DIRECTV HD DVR.Steep 1: Coonnnect yoouur DIRECTV HD DVR ttoo the wirreless addapterrConnect one end of the Ethernet cable to the Ethernet port on the back of the wireless adapter. Connect the other end of the Ethernet cable to the Ethernet port on the back of your DIRECTV HD DVR. If using the DIRECTV Cinema Connection @^i·L^gZaZhh![daadlXdccZXi^dc^chigjXi^dch[djcY^ci]ZjhZg¼hbVcjVai]Vicame with the device (or go to directv.com/getconnected) to determine proper connection.Plug your wireless adapter into an electrical outlet.Ethernet cable plugs into DVR ReceiverEthernet cable connects to the Ethernet port of the wireless adapter.Ethernet CableWireless Transceiver DVR ReceiverAPPPEENDIX 44: HOOWWW TTO NETTWOORK YYYOUR HHD DDVRAPPENDICESDRAFTa device, a deventioned entionedR].ave initialized your ave initializedg to o network your network your R ttoo the to he he he Ethernet port on Ethernet port onof the Ethernet cabof the Ethernet cabng the DIRECTng the DIRECdjcY^cdjcY^cnnenneWire](https://usermanual.wiki/ARRIS/C41.manual-pt-4/User-Guide-1847738-Page-71.png)

![162DIRECTV® HD DVR RECEIVER USER GUIDESCREEN FORMAT & RESOLUTIONIn addition to resolution and interlacing, a television picture is also defined by its VheZXigVi^d¸gZ[Zgg^c\idi]Zh]VeZd[i]ZhXgZZcas defined by the ratio of the screen’s width to its height.;dgVcVad\IK!i]ZVheZXigVi^d^h)jc^ihl^YZWn(jc^ih]^\])/(#I]^h^hi]Z[Vb^a^Vgh]VeZd[XdckZci^dcVaIKh¸ha^\]ianl^YZgi]Vci]ZnVgZiVaa#H9IKVcY:9IKe^XijgZhXVcWZZ^i]Zg)/(dg&+/.#;dg=9IKWgdVYXVhih!i]ZVheZXigVi^d^h&+/.¸cZVganil^XZas wide as it is tall. This is approximately the shape of movies shown in theaters, which makes HD an ideal format for viewing movies on TV. You will be able to see much of what is captured on film, but lost on an SDTV display.>cdgYZgiddei^b^oZi]ZY^heaVnd[egd\gVbhdcndjgiZaZk^h^dc¸[dgZmVbeaZ!^[ndjVgZlViX]^c\V)/(X]VccZadcV&+/.IKdgk^XZkZghV¸ndjbVndXXVh^dcVaancZZYidX]Vc\Zi]ZgZhdaji^dcVcY$dghXgZZc[dgbVi#I]ZgZVgZild`Znhi]ViXVcWZjhZYidmake changes: the FORMAT key on the remote control and the RES (Resolution) key on the front panel of the DIRECTV HD DVR. To change your Screen Format, TV Ratio, or TV Resolution settings, press MENU, select “Settings & Help”, then “Settings”, and then “HDTV”.FOORMATT KKey on RReemote ControlPress the FORMAT key on your remote to cycle the resolutions settings supported by your TV, as well as the screen formats in conjunction with each individual resolution. Available screen formats such as crop, stretch or letter/pillar box, are based on the TV Ratio setting. With each press, an onscreen message will let you know what the current resolution/format setting is. For example, if you indicated that your TV supports only 1080i, 480i and 480p and it is a 16:9 television, and Native is turned off*, the cycle of settings for the FORMAT key are as follows:1st press: 480i/Stretch 5th press: 480p/Letter box 9th press: 1080i/Crop2nd press: 480i/Letter box 6th press: 480p/Crop 10th press: repeat cycle3rd press: 480i/Crop 7th press: 1080i/Stretch4th press: 480p/Stretch 8th press: 1080i/Letter boxAAPPENDIXX 55: AABBOUTT HHIGGH-DEEFINITTIOONNDRAFTZ[Vb^a^VZ[Vb=9IKWgdVYXVh=9IKWgdtheaters, which matheaters, whm, but lost on an SDTm, but lost on an S¸[dgZmVbeaZ!^[ndjVdgZmVbeaZ^dcVcY$dghXgZZc[dgY$dghX the RES (Resolution)the RES (Resoluon settings, press MEettings, press MEycle the resolutions sycle the resolutions son. Available screen fon. Available screcreen message will lcreen message will lV supports onlyV supports one as folloe as follo](https://usermanual.wiki/ARRIS/C41.manual-pt-4/User-Guide-1847738-Page-74.png)