ASUSTeK Computer M303 M303 GSM Camera Phone User Manual M303 UserMan
ASUSTeK Computer Inc M303 GSM Camera Phone M303 UserMan
UserManual.wiki
>
ASUSTeK Computer
>
M303 User Manual
>
Part 4
Contents
1.
Part 1
2.
Part 2
3.
Part 3
4.
Part 4
5.
Part 5
Part 4
Navigation menu
Upload a User Manual
Namespaces
Wiki Guide
HTML
PDF
Info
Views
User Manual
Discussion / Help
Navigation

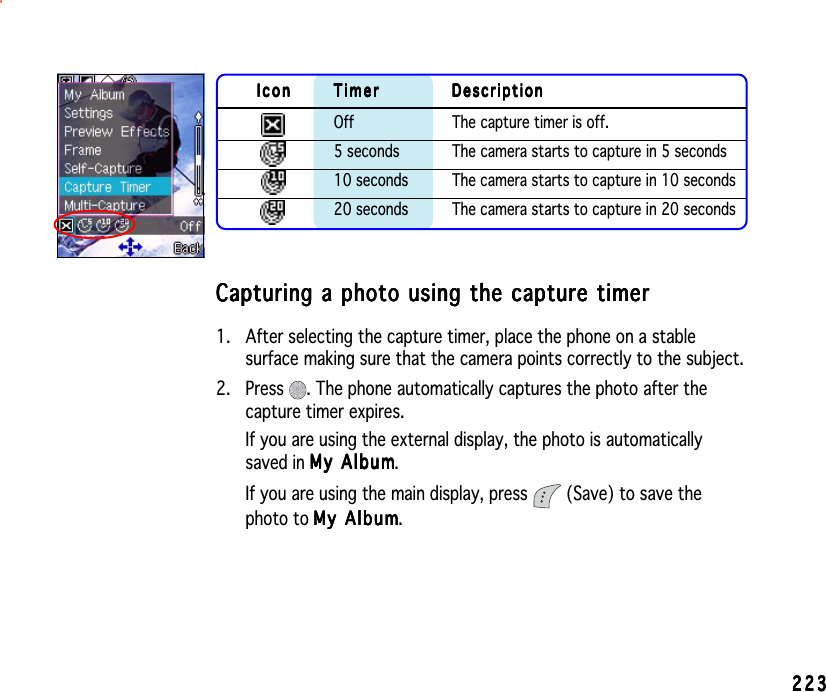
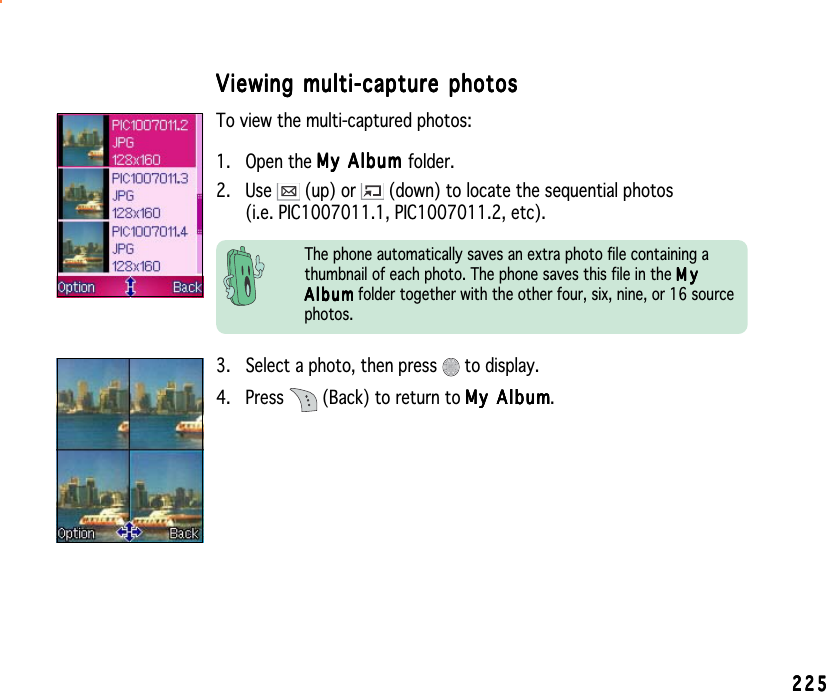
![224224224224224Using multi-captureUsing multi-captureUsing multi-captureUsing multi-captureUsing multi-captureThe multi-capture feature allows you to capture multiple photos inspecific time intervals. Use multi-capture when capturing sequential ormotion photos.To use multi-capture:1. Set the multi-capture interval following the instructions on the“Setting the multi-capture interval” section.2. Put the Camera in CaptureCaptureCaptureCaptureCa p t ure mode.3. Press (Option), highlight Multi-CaptureMulti-CaptureMulti-CaptureMulti-CaptureMulti-Capture from the menu.4. Press (left) or button to select the number of photos youwant to capture. You can capture 4 [ ], 6 [ ], 9 [ ], or 16photos. The multi-capture icon appears in the icon bar.5. Point the camera to your first subject, then press to startmulti-capturing. The camera automatically captures the images onthe main display in time intervals you earlier set.When finished, the display shows a thumbnail of each capturedphoto.6. Press (Save) to save the photos.• If the photo size is set larger than , the multi-capturefeature automatically changes the photo size to . Refer topage 210 for details on photo sizes.• The capture timer function automatically turns-off when youuse multi-capture.Multi-capture icon](https://usermanual.wiki/ASUSTeK-Computer/M303.Part-4/User-Guide-509487-Page-14.png)