Cisco Systems 102040 Hand Held Computer with Printer User Manual Quick Referenc Guide
Cisco Systems Inc Hand Held Computer with Printer Quick Referenc Guide
Contents
Quick Ref Guide
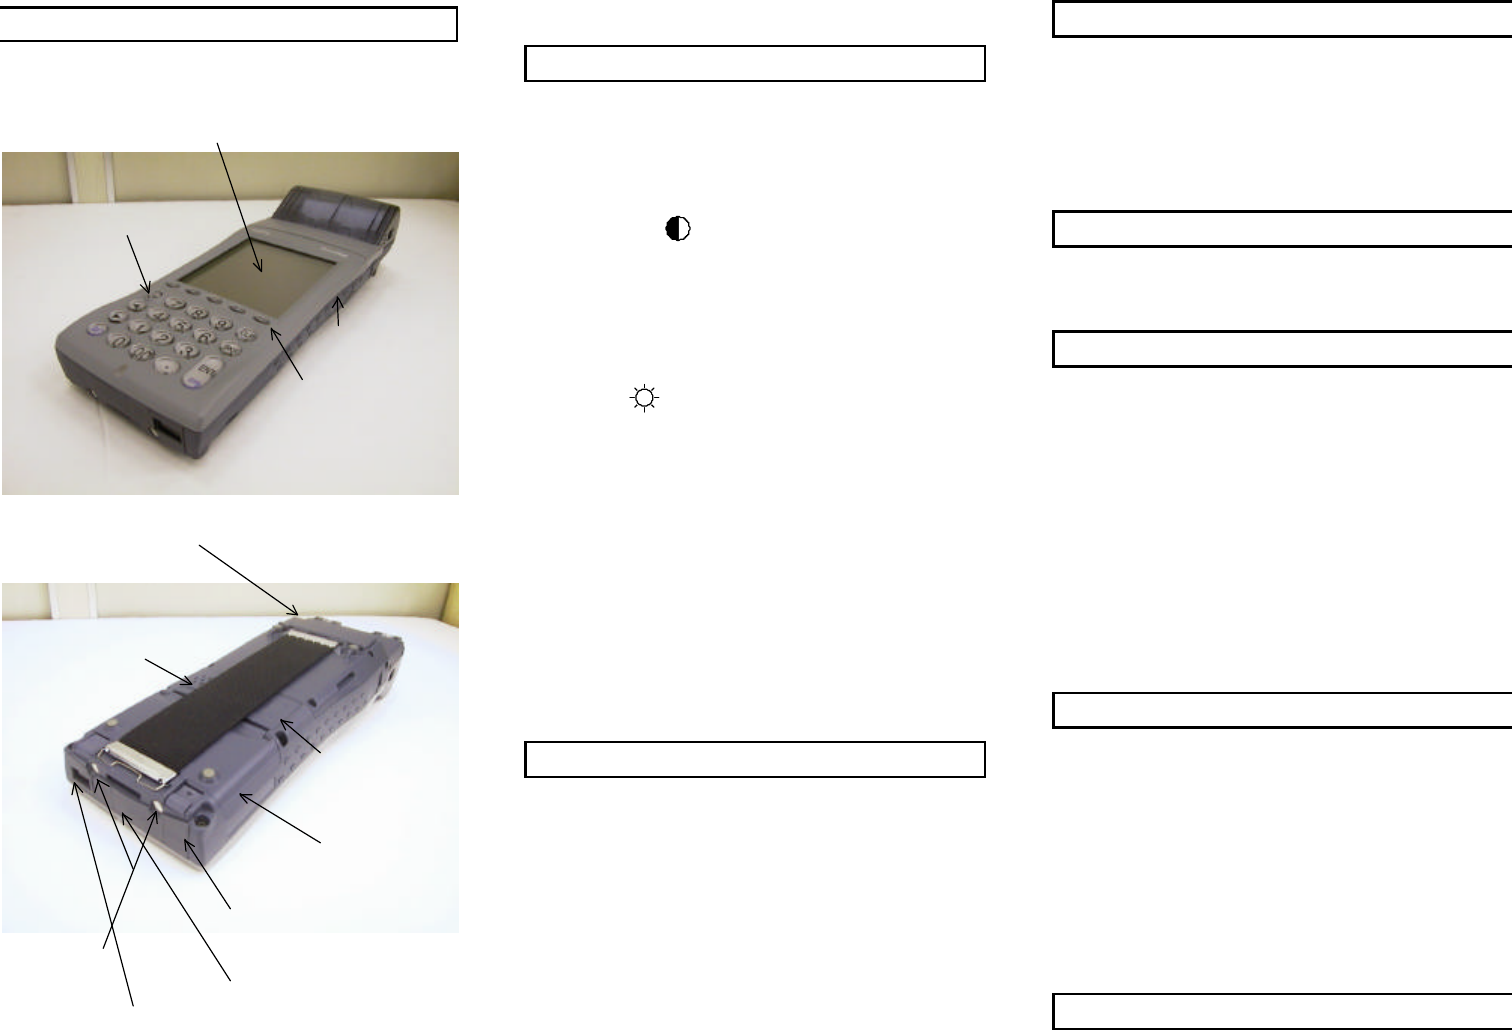
TeamPad 500 Controls and Switches
Operator Controls
Power Switch
Press the power [PWR] key to turn the power on. Hold the
switch down until green light (located below keypad) turns on.
To turn it off, press the [PWR] key.
LCD Contrast
To adjust the LCD contrast, press the following keys until the
desired contrast is attained:
[SFT] + [F3] key: increases the contrast.
[SFT] + [F4] key: decreases the contrast.
Backlight
Press the [SFT] + [F2] key to turn the LCD backlight on.
Press the [SFT] + [F2] key again to turn off.
Only use the backlight if needed, prolonged use of the backlight
decreases battery life and causes the main battery to require
recharging more often.
Other Common Functions
Press [SFT] + [F5] key to bring up popup alpha keyboard.
Press [SFT] + [SYS] key for battery status, re-calibrate touch
screen, speaker volume.
Integrated Printer Option
Press [SFT] + [F1] key for paper feed.
Replacing the Main Battery
Replace the battery when its performance cycle begins to
degrade substantially (approximately 500 charge cycles).
1. Power off the handheld.
2.Turn over the handheld.
3. Pull the hand strap down to release its clip from the lower
cover claw.
4. Make sure the backup battery has a sufficient charge to hold
the contents of RAM.
5. Release the left side lock of the battery cover.
6. While sliding the right side lock of the battery cover, lift the
battery cover.
7. Slide the battery to the right (opposite to the∇mark on the
battery).
8. Load a new battery, close the cover, close the left battery
lock and place the hand strap in the original position.
Charging the Battery
As the battery begins to run low on power, the message “Low
Main Battery” will appear on the screen, indicating that the
battery needs recharging. The best way to charge both the
main and backup batteries is while they are in the unit via an
AC adapter, CIU, or vehicle support carrier.
The external battery pack charger can also be used to charge
the main battery.
RS-232C Interface
The TeamPad 500 has an RS-232C connector, through which
data can be directed to a host computer. This transmission
requires the use of an RS-232C cable.
PCMCIA Cards (Option)
PCMCIA-compatible Type II cards can be inserted in the
handhelds. To insert and remove PCMCIA cards, follow these
steps:
1.Slide the locks of the card cover in the direction of the arrow
marks.
2.Turn back the cover, and insert the card in the card slot, the
side marked with the arrow mark (∆) facing up. Push the
card into position gently until its end is even with the
corresponding EJECT button.
3.When removing a card, open the card cover and then press
the EJECT button.
4.When the card comes out of the front, gently finish pulling it
out by hand.
Compact Flash Cards (Option)
Compact flash cards can be inserted in the handhelds. To
insert and remove cards, follow these steps:
1. Remove protective covering from right hand side of
handheld.
2. Insert the card into the card slot and gently push card into
position until it is securely attached.
3. Replace protective cover.
4. To remove card, take off protective cover.
Note: if flashcard is going to be removed often, it is
recommended that sticky tabs be applied to the card.
Printer (Option)
To change printer paper, follow these steps:
1. Slide side locks up; these are located on either side of cover.
2. Open printer paper cover- use forefinger and thumb placed
on three ridges located below locks and firmly tug.
Touch panel display
CIU charger
connections
Reset switch
Power
switch
Main Battery
cover
Function keys
PCMCIA slot
IrDA 1.1 I/F
RS232C I/F
AC adapter I/F
Compact flash slot
Sub Battery
cover
3. Drop paper in so that paper is fed up through bottom and pull
down.
4. Close cover and slide side locks down.
Cleaning
Covers
Use a wet cloth with alcohol (ethyl alcohol) or a light cleaning
solution that is squeezed tightly, or just use a dry cloth.
Display
Use a wet cloth with alcohol (ethyl alcohol) or dipped in water
which is squeezed tightly, or a dry cloth that has a fine weave
texture.
Troubleshooting
Symptom Diagnostic Procedure Corrective Action
1. Adjust contrast. Is
problem solved?
No: Go to step 2.
Power does
not come on.
2. Is the battery cover
closed and left switch
locked?
Yes: Go to step 3.
No: Close the battery
cover.
3. Has the battery been
charged? Does the
battery have adequate
charge?
Yes: Go to step 3.
No: Recharge the battery.
4. Remove the main and
backup batteries and
reinstall them. Does
the power come on?
Yes: Problem corrected.
No: Probable hardware
error on main circuit
board.
Symptom Diagnostic Procedure Corrective Action
1. Replace or recharge
the main battery, and
press the power key
again? Does the unit
come on normally?
Yes: Problem corrected.
No: Replace or recharge
the main battery.
2. Is the main battery
voltage low?
Yes: Replace or recharge
the main battery.
No: Go to step 3.
When the
power key is
pressed, the
LCD comes
on for an
instant and
then goes off.
3. Remove the main and
backup batteries and
reinstall them. Does
power come on?
Yes: Problem corrected.
No: Probable hardware
error on main circuit board.
Do’s
Do keep dirt away from connectors. Ensure that the rubber
connector covers are in place.
Do store the unit and replacement batteries in an area free from
dust, moisture, and vibration.
Do allow about 6 hours for charging a main battery. More time
is needed if the TeamPad 500 is in use during charging.
Do charge a main battery before use if it has been in storage
for a long time.
Do dispose of expended lithium ion main batteries (when they
can no longer be recharged) according to local regulations.
Do ensure that the charge connections on the unit are clean or
the unit may not recharge adequately.
Do calibrate the display whenever you change the RAM disk
size.
Do see the TeamPad 500 Systems User’s Guide for
instructions on calibrating the touch panel.
Don’ts
Don’t use the backlight unless you need it. Using the backlight
drains the battery more quickly.
Don’t press the reset switch unless necessary. The reset switch
clears all memory and reboots the unit.
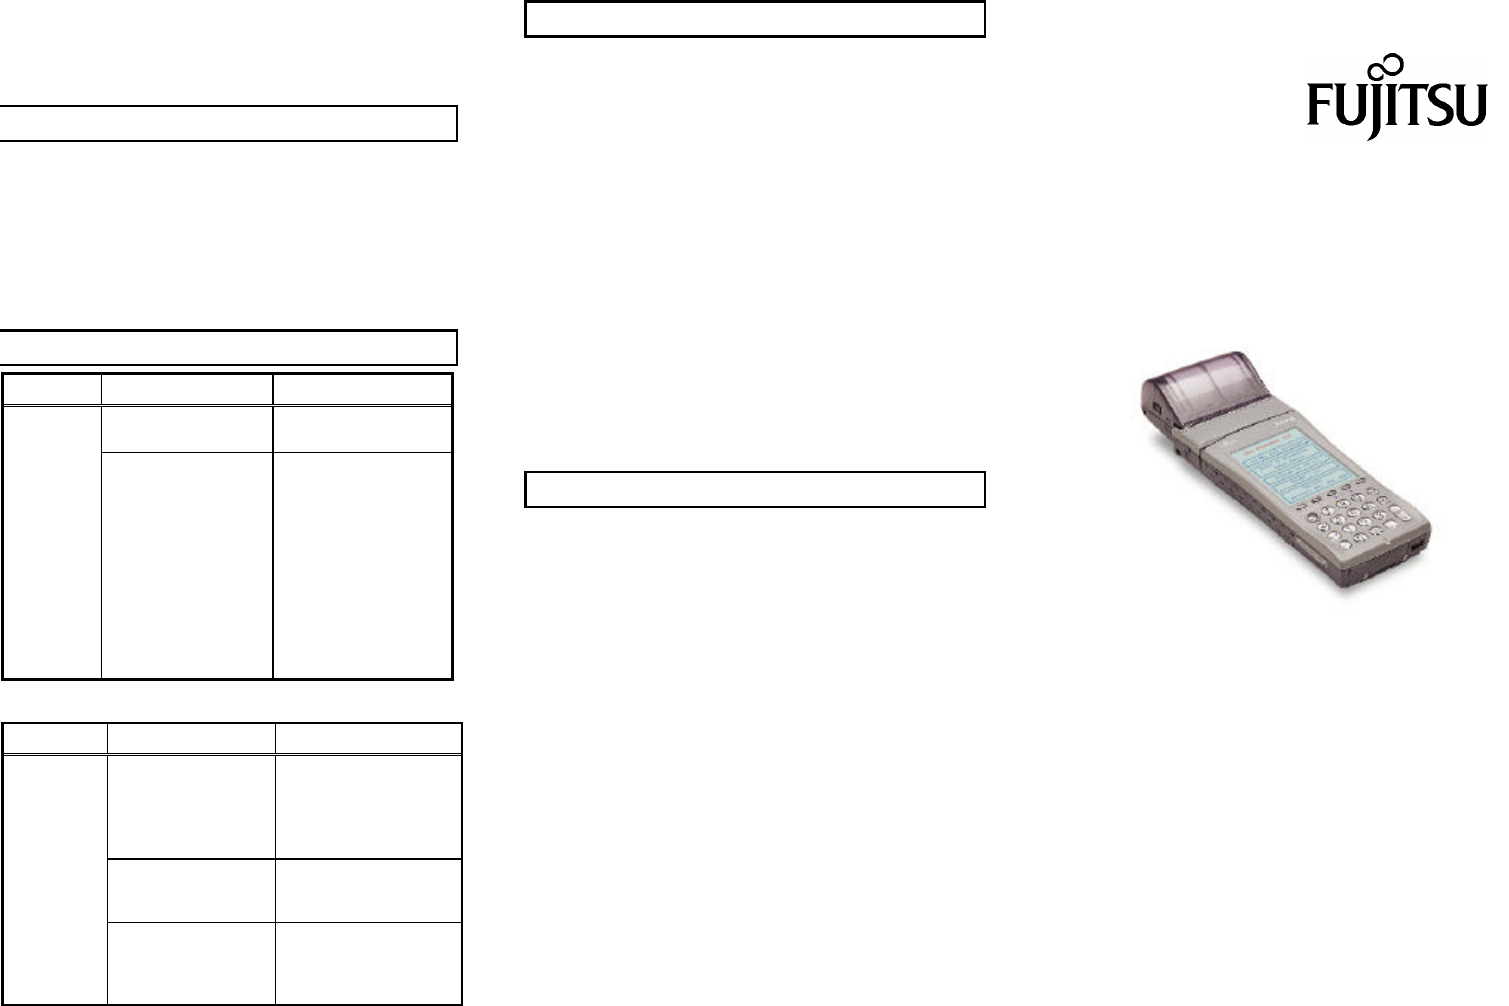
TeamPad 500
Quick Reference Guide
DCC 90000453
Thank you for purchasing the TeamPad 500. This guide
shows the major operator controls and their use, provides
information on charging and replacing the main battery, lists
some basic troubleshooting information, and offers procedures
to be followed and actions to be avoided. We recommend that
you keep this guide with the TeamPad 500. Following the
instructions in this guide can ensure that the TeamPad 500
performs reliably.
Fujitsu Transaction Solutions Inc.
Mobile Solutions Group
11085 North Torrey Pines Road
La Jolla, CA 92037
800-228-8683
www.fujitsuhandheld.com