Cisco Systems RTBIZ0352 Cisco Unified IP Endpoint 9951 with BT Module User Manual 9951 User Manual 106 152
Cisco Systems Inc Cisco Unified IP Endpoint 9951 with BT Module 9951 User Manual 106 152
Contents
- 1. 9951-User-Manual-1-19
- 2. 9951-User-Manual-20-43
- 3. 9951-User-Manual-44-57
- 4. 9951-User-Manual-58-105
- 5. 9951-User-Manual-106-152
9951-User-Manual-106-152
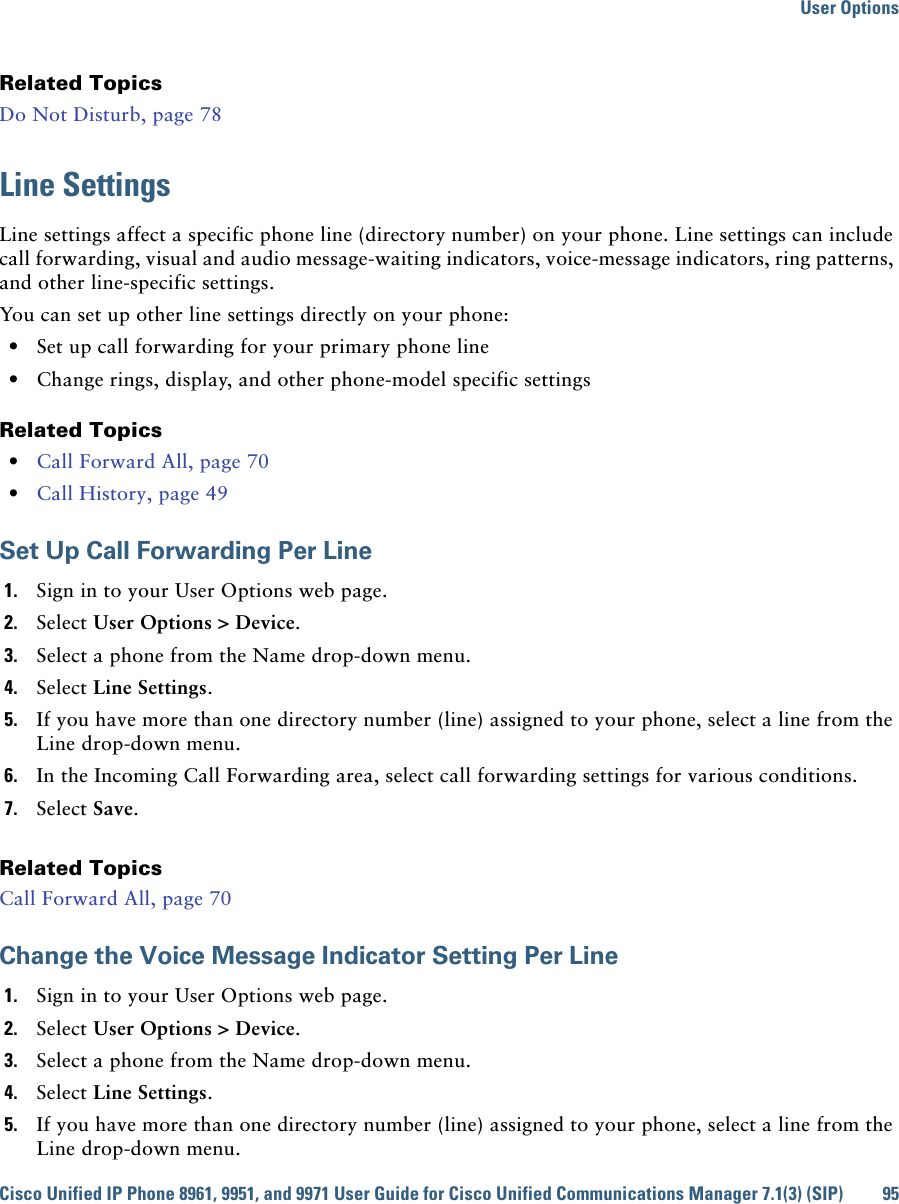
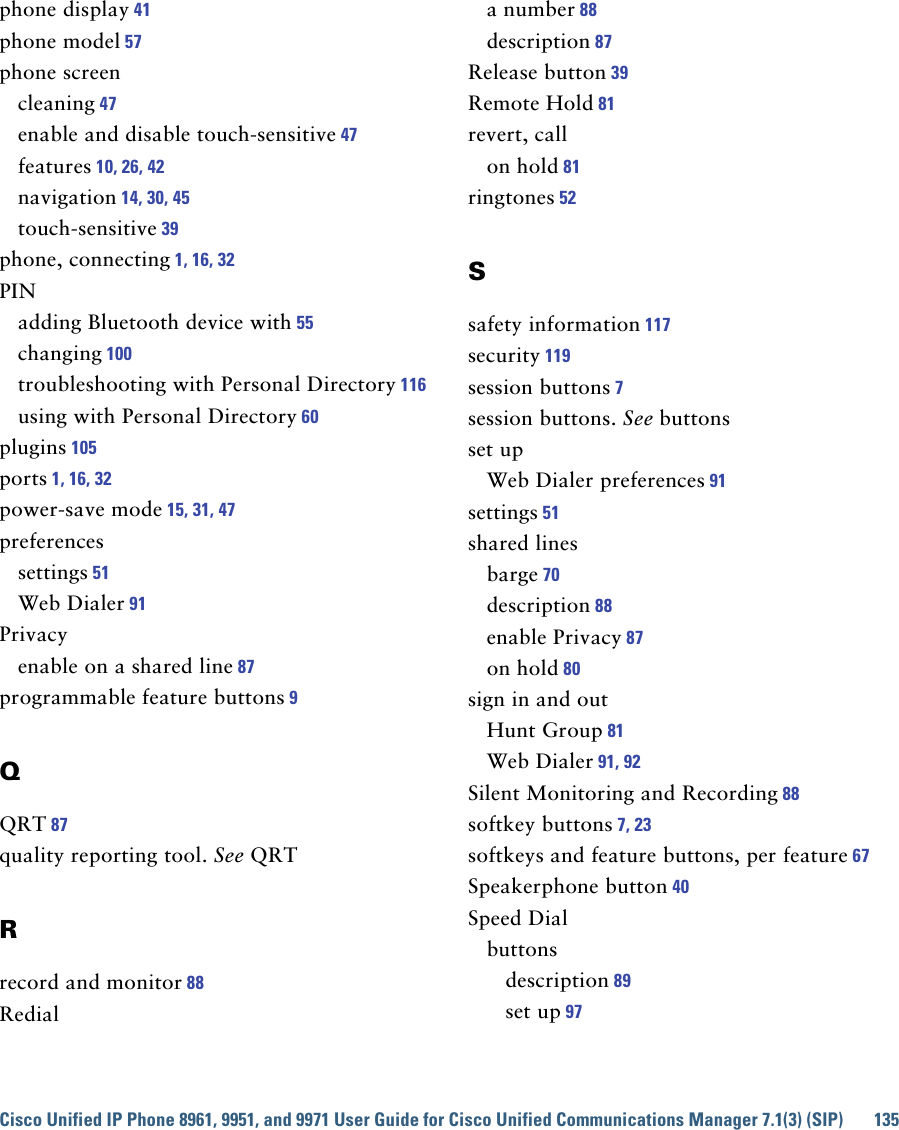
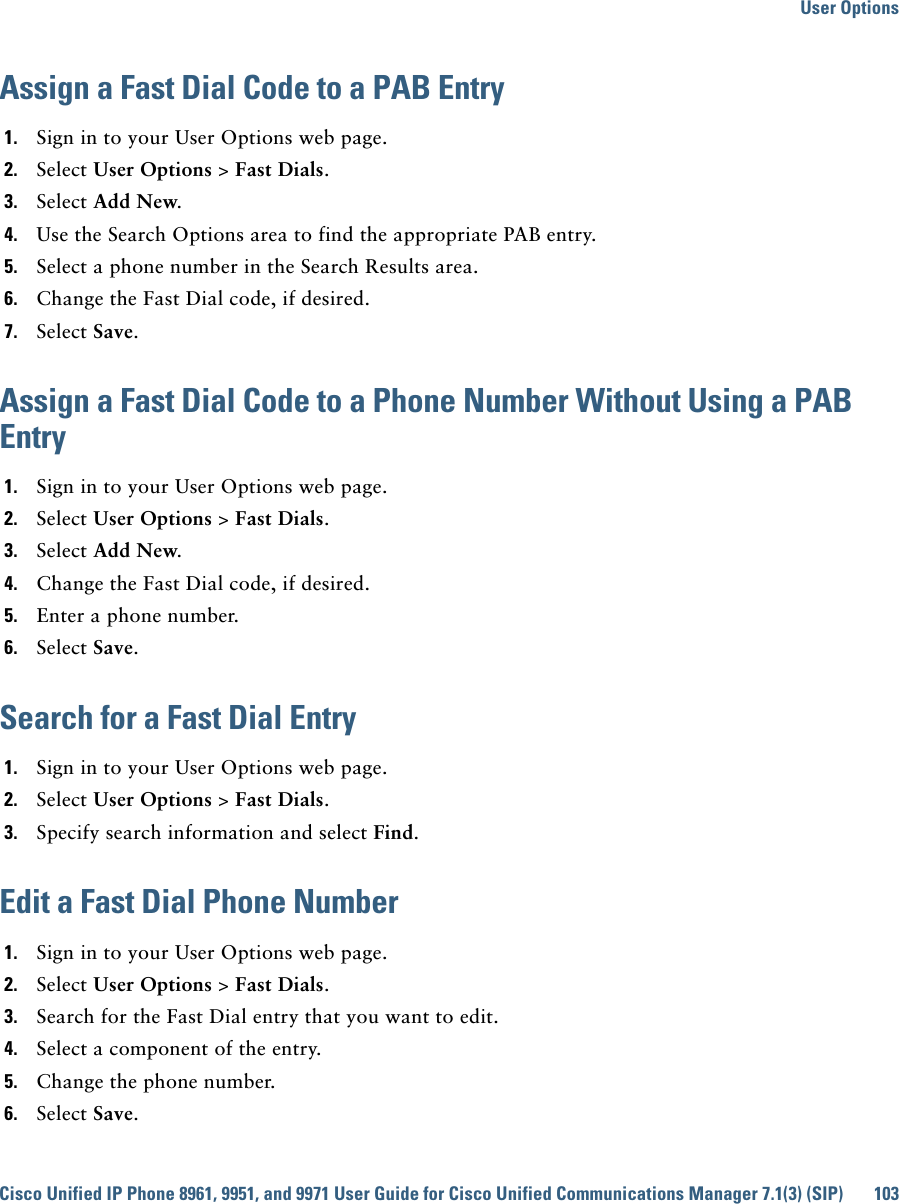
![96 OL-19963-01 6. In the Message Waiting Lamp area, choose from various settings. Typically, the default message waiting setting prompts your phone to display a steady red light from the handset light strip to indicate a new voice message.7. Select Save.Change the Audible Voice Message Indicator Setting Per Line1. Sign in to your User Options web page.2. Select User Options > Device.3. Select a phone from the Name drop-down menu.4. Select Line Settings.5. If you have more than one directory number (line) assigned to your phone, select a line from the Line drop-down menu.6. In the Audible Message Waiting Lamp area, choose from various settings.7. Select Save.Change the Ring Settings Per Line1. Sign in to your User Options web page.2. Select User Options > Device.3. Select a phone from the Name drop-down menu.4. Select Line Settings.5. If you have more than one directory number (line) assigned to your phone, select a line from the Line drop-down menu.6. In the Ring Settings area, set the option for Ring Setting (Phone Idle) and Ring Setting (Phone Active) from the drop-down menus. The options are: –Use System Default –Disable –Flash Only –Ring Once –Ring –Beep Only [this option is only available for Ring Setting (Phone Active)]7. Select Save.Change or Create a Line Text Label for Your Phone Display1. Sign in to your User Options web page.2. Select User Options > Device.](https://usermanual.wiki/Cisco-Systems/RTBIZ0352.9951-User-Manual-106-152/User-Guide-1222601-Page-3.png)
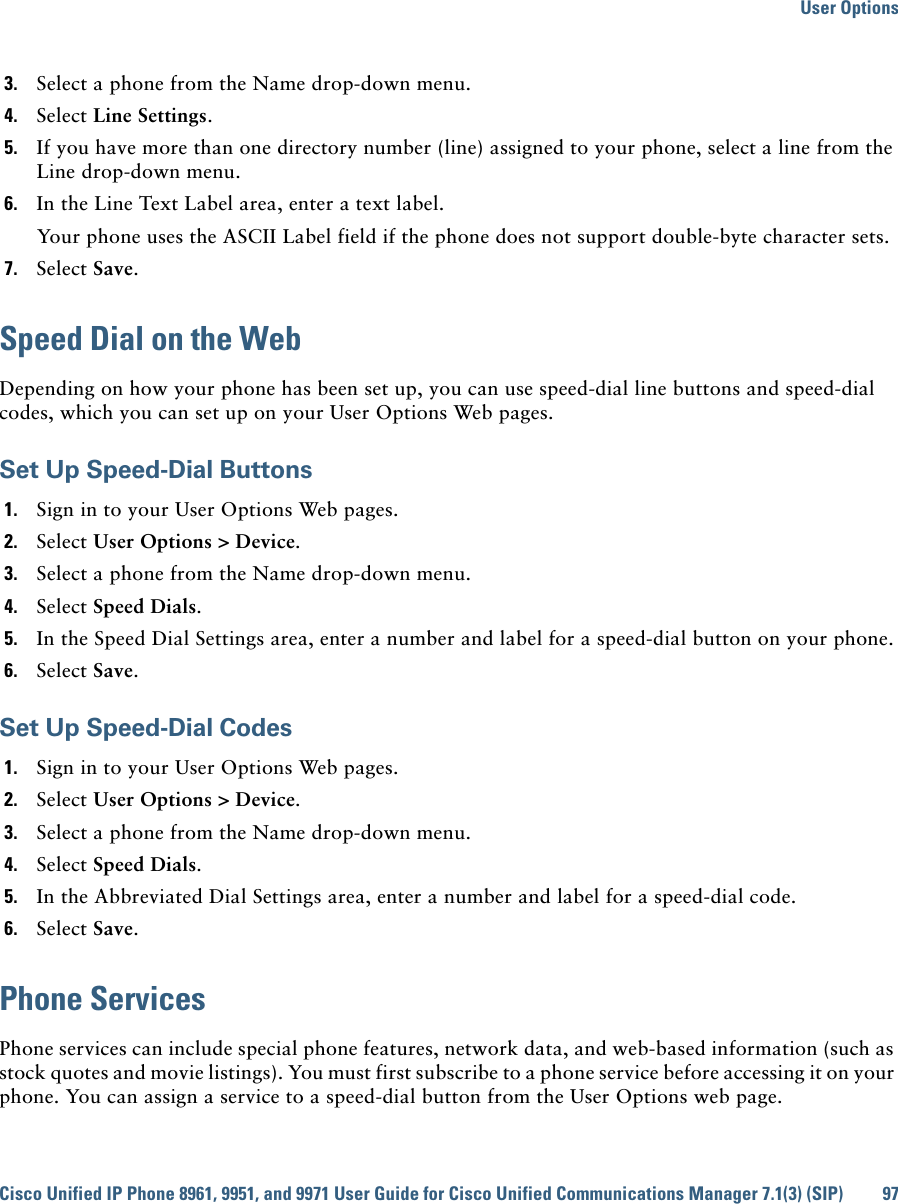

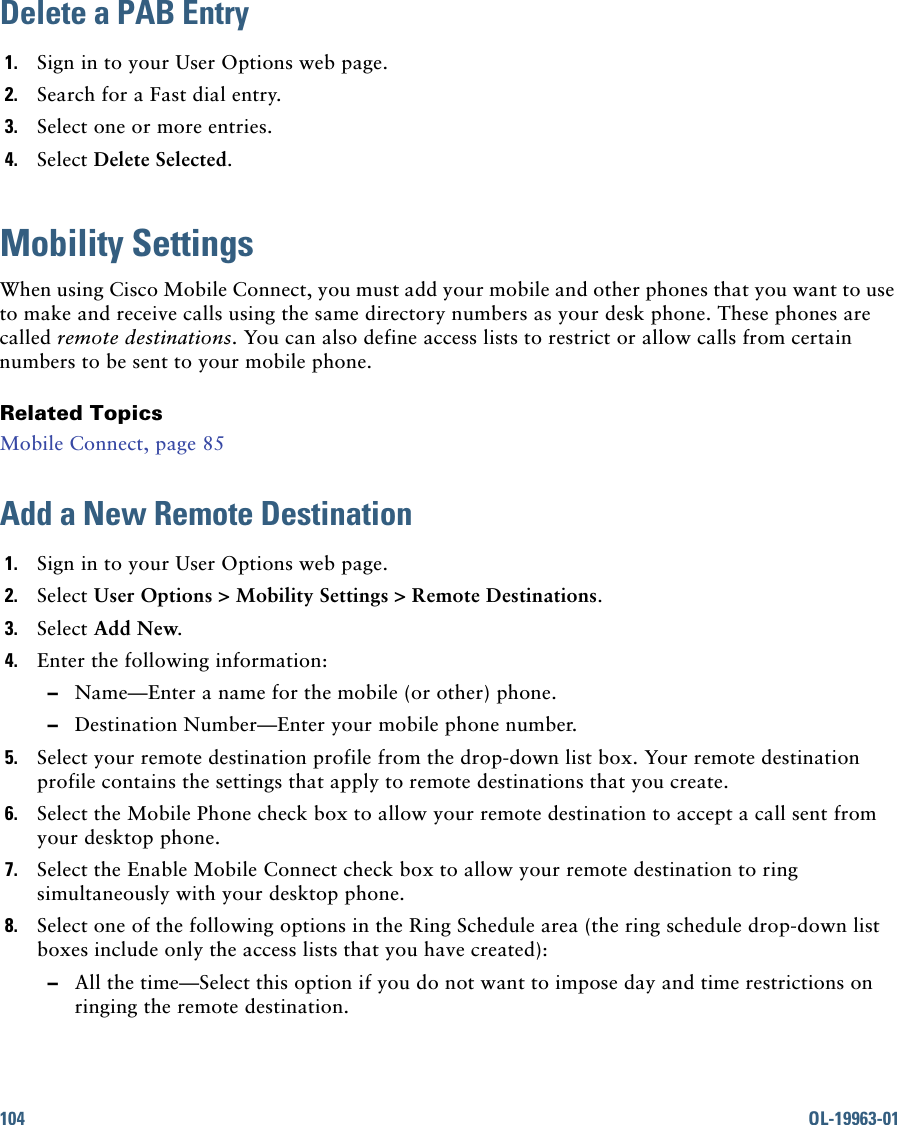

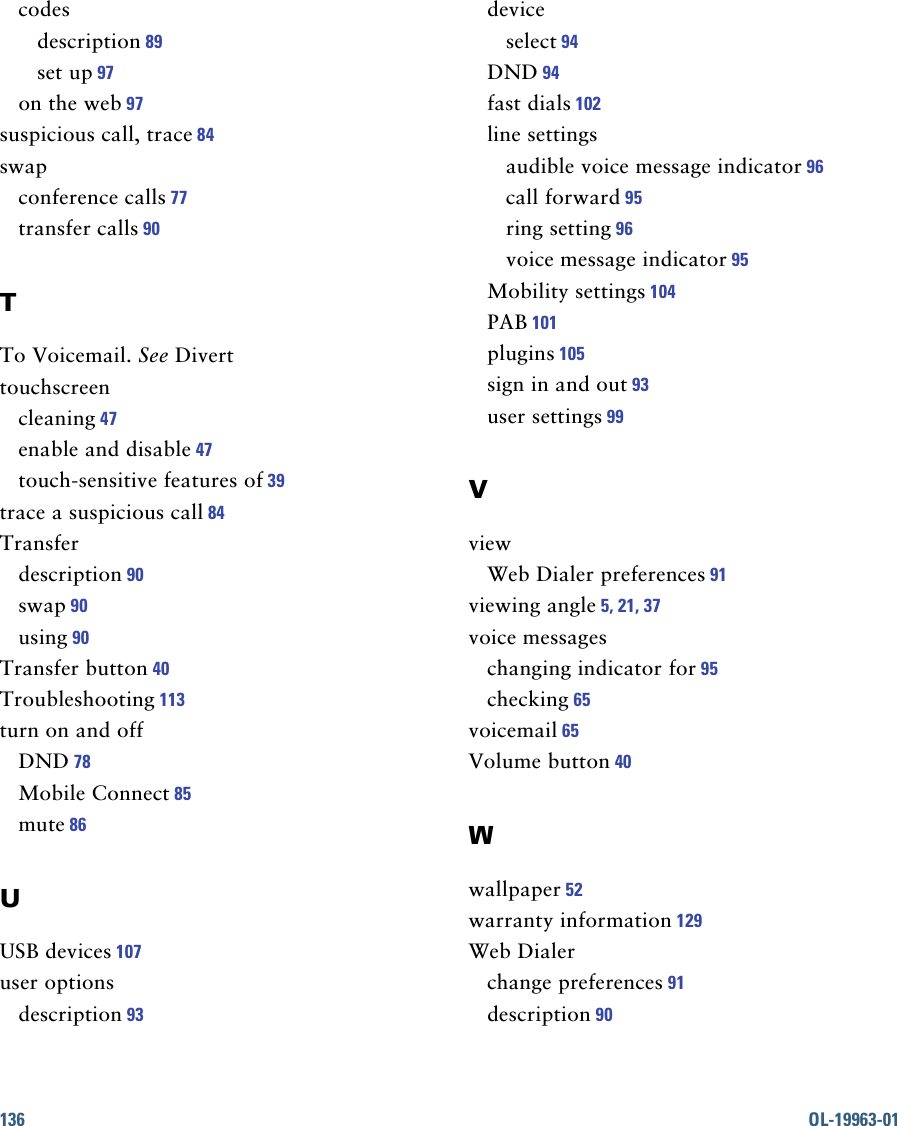
![Product Safety, Security, Accessibility, and Related InformationCisco Unified IP Phone 8961, 9951, and 9971 User Guide for Cisco Unified Communications Manager 7.1(3) (SIP) 117 Product Safety, Security, Accessibility, and Related InformationSafety and Performance InformationPower outages and other devices can affect your Cisco Unified IP Phone.Power OutageYour accessibility to emergency service through the phone is dependent on the phone being powered. If there is an interruption in the power supply, Service and Emergency Calling Service dialing will not function until power is restored. In the case of a power failure or disruption, you may need to reset or reconfigure equipment before using the Service or Emergency Calling Service dialing. External DevicesCisco recommends using good quality external devices (such as headsets) that are shielded against unwanted radio frequency (RF) and audio frequency (AF) signals. Depending on the quality of these devices and their proximity to other devices such as mobile phones or two-way radios, some audio noise may still occur. In these cases, Cisco recommends that you take one or more of these actions: • Move the external device away from the source of the RF or AF signals. • Route the external device cables away from the source of the RF or AF signals. • Use shielded cables for the external device, or use cables with a better shield and connector. • Shorten the length of the external device cable. • Apply ferrites or other such devices on the cables for the external device. Cisco cannot guarantee the performance of the system because Cisco has no control over the quality of external devices, cables, and connectors. The system will perform adequately when suitable devices are attached using good quality cables and connectors. Caution In European Union countries, use only external speakers, microphones, and headsets that are fully compliant with the EMC Directive [89/336/EC].](https://usermanual.wiki/Cisco-Systems/RTBIZ0352.9951-User-Manual-106-152/User-Guide-1222601-Page-24.png)