Delta Electronics orporated DN-715 NoteBook User Manual CHAP 5
Delta Electronics Incorporated NoteBook CHAP 5
UserManual.wiki
>
Delta Electronics orporated
>
DN-715 User Manual
>
USER MANUAL CHAP 5
Contents
1.
USER MANUAL CHAP0
2.
MANUAL CHAP 1
3.
MANUAL CHAP 2
4.
MANUAL CHAP 3
5.
USER MANUAL CHAP 4
6.
USER MANUAL CHAP 5
7.
USER MANUAL CHAP 7
8.
USER MANUAL CHAP 8
9.
USER MANUAL CHAP 6
USER MANUAL CHAP 5
Navigation menu
Upload a User Manual
Namespaces
Wiki Guide
HTML
PDF
Info
Views
User Manual
Discussion / Help
Navigation
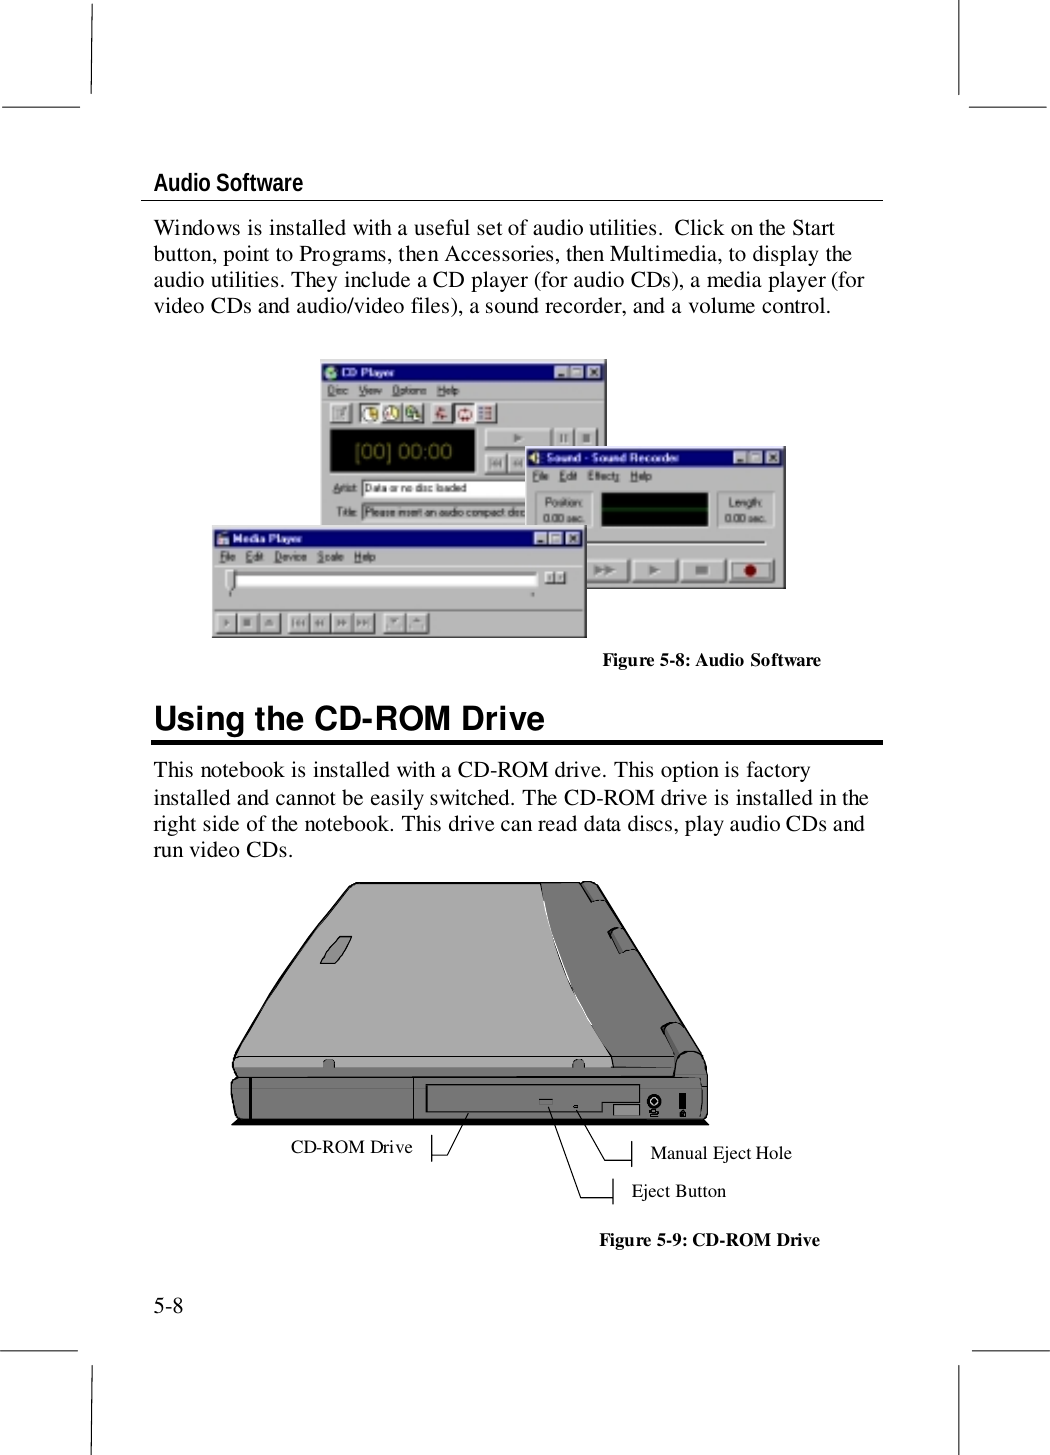
![5-2Video PortsYour notebook is installed with two video ports:TV-out PortMonitor PortFigure 5-1: Video PortsMonitor PortThe 15-pin external monitor port allows you to connect an external computermonitor to your notebook. You should ensure that the external monitor iscapable of supporting an XGA resolution of 1024 x 768. When the monitor isconnected to your system, you can select to display the notebook’s videooutput on the built-in screen or on the external monitor. You can even generatea simultaneous display on the screen and monitor.NOTE: Some monitors are now shipping with a USB (universal serialbus) interface. This notebook does not allow you to switch the displayto a monitor connected to a USB port.To change the video output when an external monitor is connected, use the hotkeys [FN] + [F3]. Each press of the keys cycles the video output to the monitorport, to both the built-in screen and the monitor port, and then back to thebuilt-in screen only.](https://usermanual.wiki/Delta-Electronics-orporated/DN-715.USER-MANUAL-CHAP-5/User-Guide-90613-Page-4.png)