Electronic Systems Technology ESTEEM195ES Wireless Ethernet Radio Modem User Manual CHAPTER 2
Electronic Systems Technology Wireless Ethernet Radio Modem CHAPTER 2
Contents
Users Manual Chapter 4
CHAPTER 4
WEB CONFIGURATION
The ESTeem Model 195Es Web Configuration Manager is an internal web server that will allow setup, monitoring and
diagnostics of all operating parameters in the Model 195Es. The 195Es can be configured using any current web browser software
such as Internet Explorer, Netscape or Mozilla.
LOGGING ON TO THE ESTeem WEB PAGE
1. Using your Web Browser connect to the Model 195Es Web
Page with the IP Address that you have assigned it in Chapter
3.
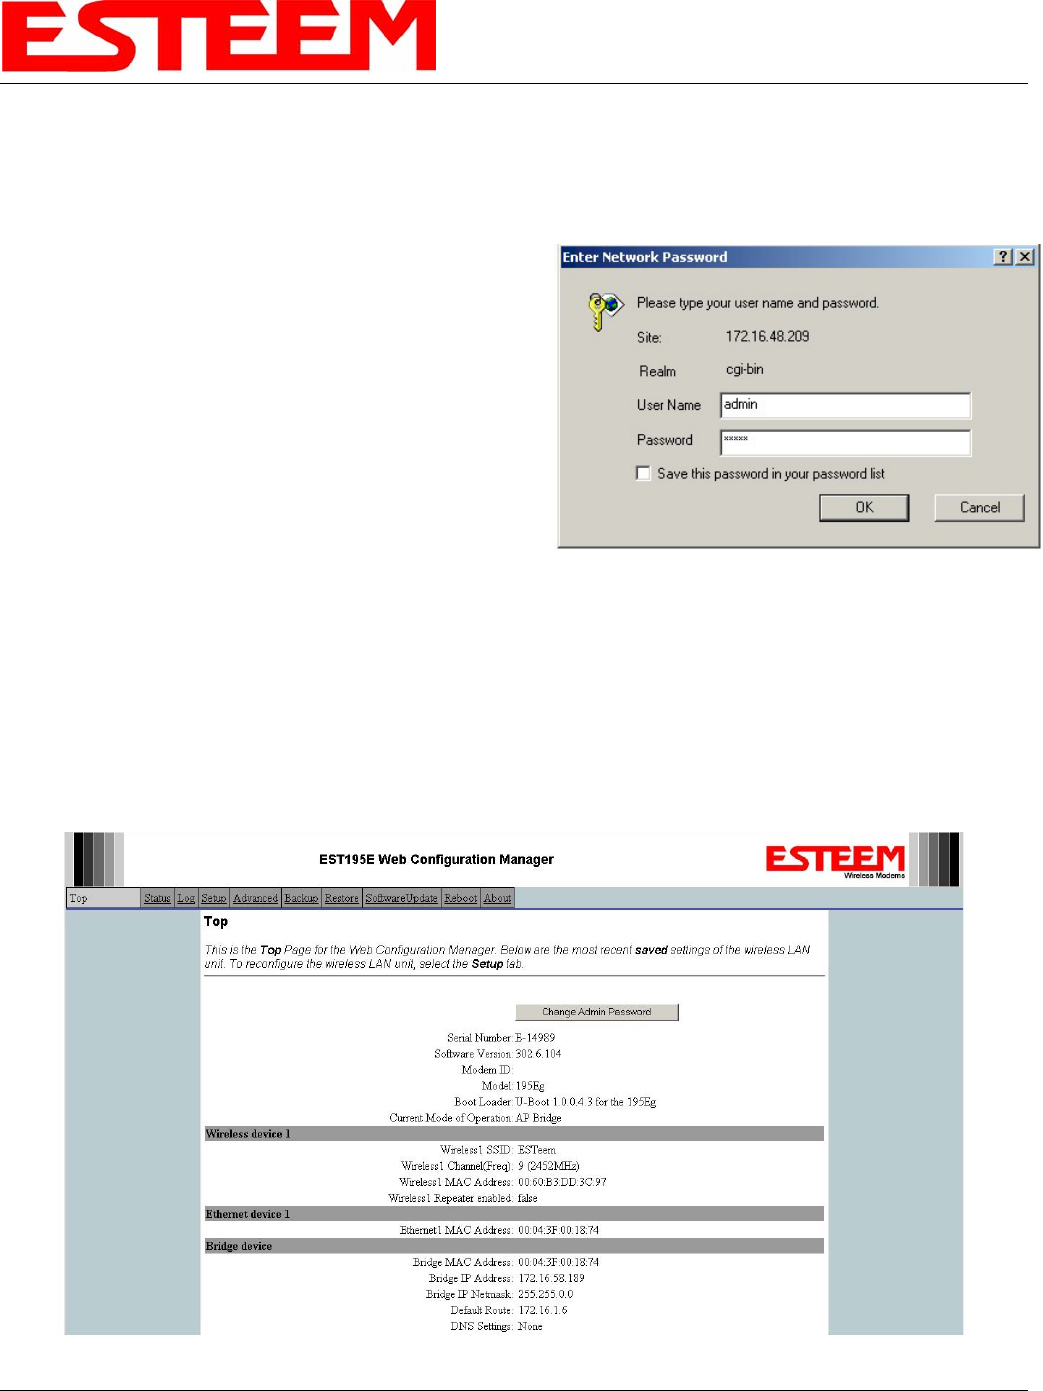
2. You will now see the Log-on Menu on Figure 1. To enter the
Model 195Es Top Menu you will need to log into the system
with a User Name and Password.
3. For the User Name enter admin and press the Enter key
(<Enter>). The User Name is defined at the factory and is not
changeable.
4. Enter your Password and press the Enter key (<Enter>).
If this is the first time the Model 195Es has been programmed
and Password was not changed from the factory default values, proceed with the steps below to access the Configuration
Menu.
Figure 1: ESTeem Web Page Log-on Screen
• The factory default Password is also admin. Enter admin for the Password and press the Enter key (<Enter>).
• Note: All characters are lower case.
5. After Log-in the next screen displayed will be the Model 195Es Top Menu page (Figure 2). This example screen shows the
Top Menu screen.
Figure 2: Top Menu Screen
Revised: 16 Feb 07 4-1 EST P/N AA107S

CHAPTER 4
WEB CONFIGURATION
Note: Throughout the Configuration Manager are Help Screens that can accessed for further information on each item.
Revised: 16 Feb 07 4-2 EST P/N AA107S
CHAPTER 4
WEB CONFIGURATION
WEB CONFIGURATION MANAGER SECTIONS
The following sections will describe the features in each of the main and sub menu items in the web pages. For step-by-step
examples of how to configure the Model 195Es in different Modes of Operation, please refer to Chapter 5 – Example
Configurations.
Top Menu
The Top Menu will be the default web page for the Model 195Es Web Configuration Manager (Figure 2). This section will
display the current configuration summary for the Model 195Es and allow changing of the default password. This page will also
display the Modem ID field that can be used to easily identify the 195Es you are programming. This Modem ID field can be set to
any text combination for example, location name, GPS coordinates or addresses.
Setting the Modem ID
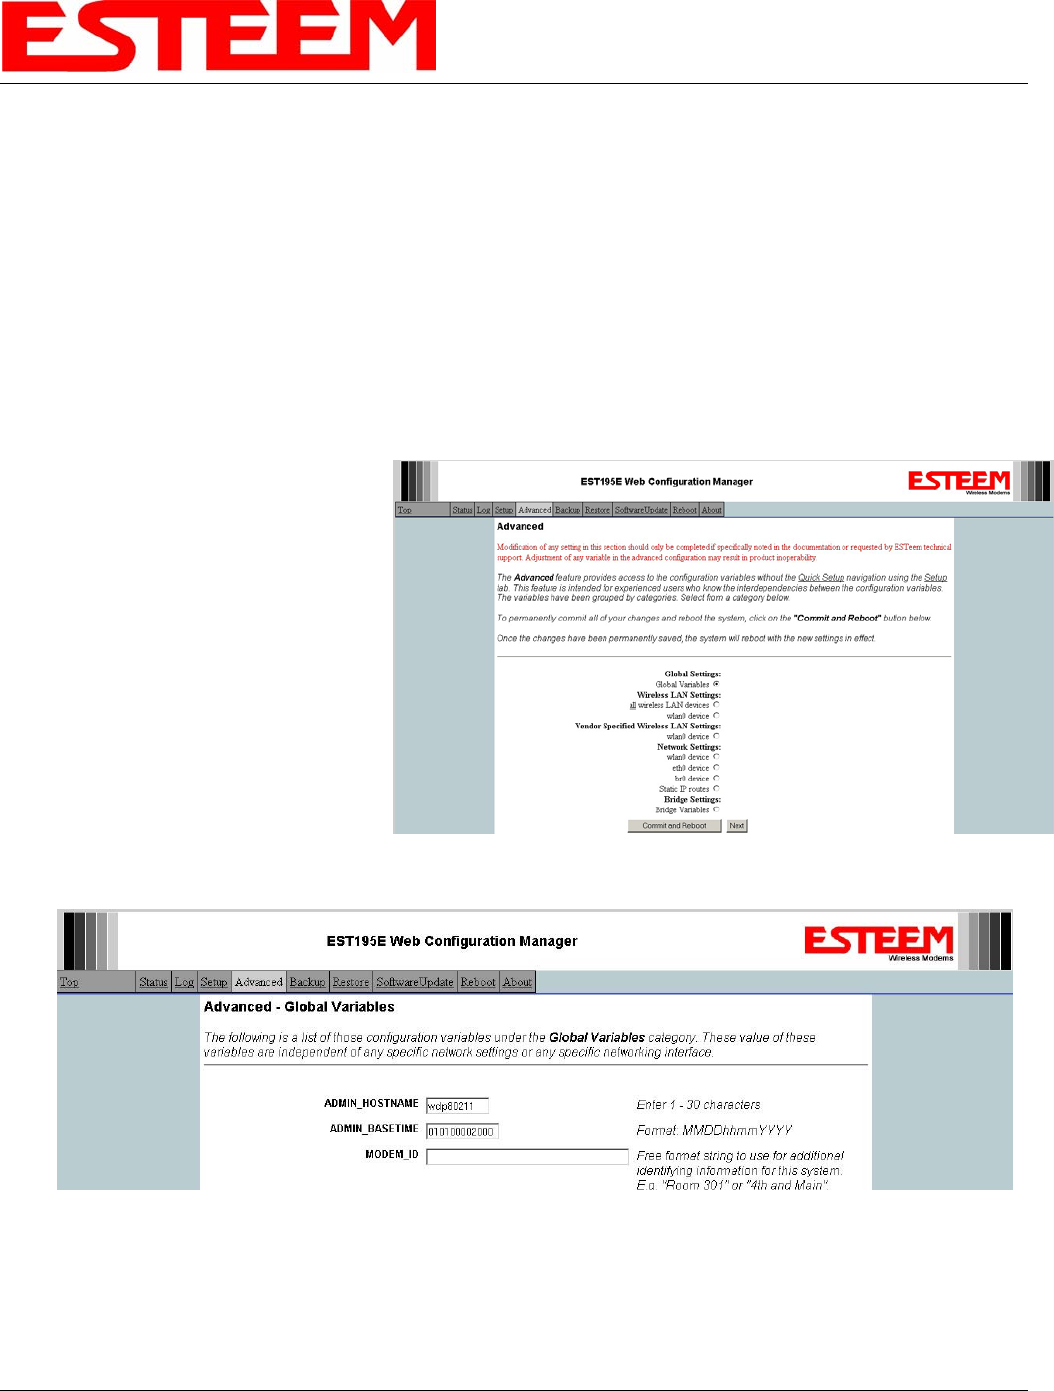
Figure 3: Global Variables Screen
1. The Modem ID field can be adjusted under
the Global Variables of the Advanced
Menu tab. Select Global Variables and
press the Next button. Figure 3 will be
displayed.
2. Scroll to the bottom of the Global Variables
window and enter the text you would like
displayed in the Modem ID field (Figure
4). When complete, press the Save
Settings button and the Commit Changes
button on the next screen to save the name
to the 195Es.
Figure 4: Modem ID Field in Global Variables Screen
Revised: 16 Feb 07 4-3 EST P/N AA107S
CHAPTER 4
WEB CONFIGURATION
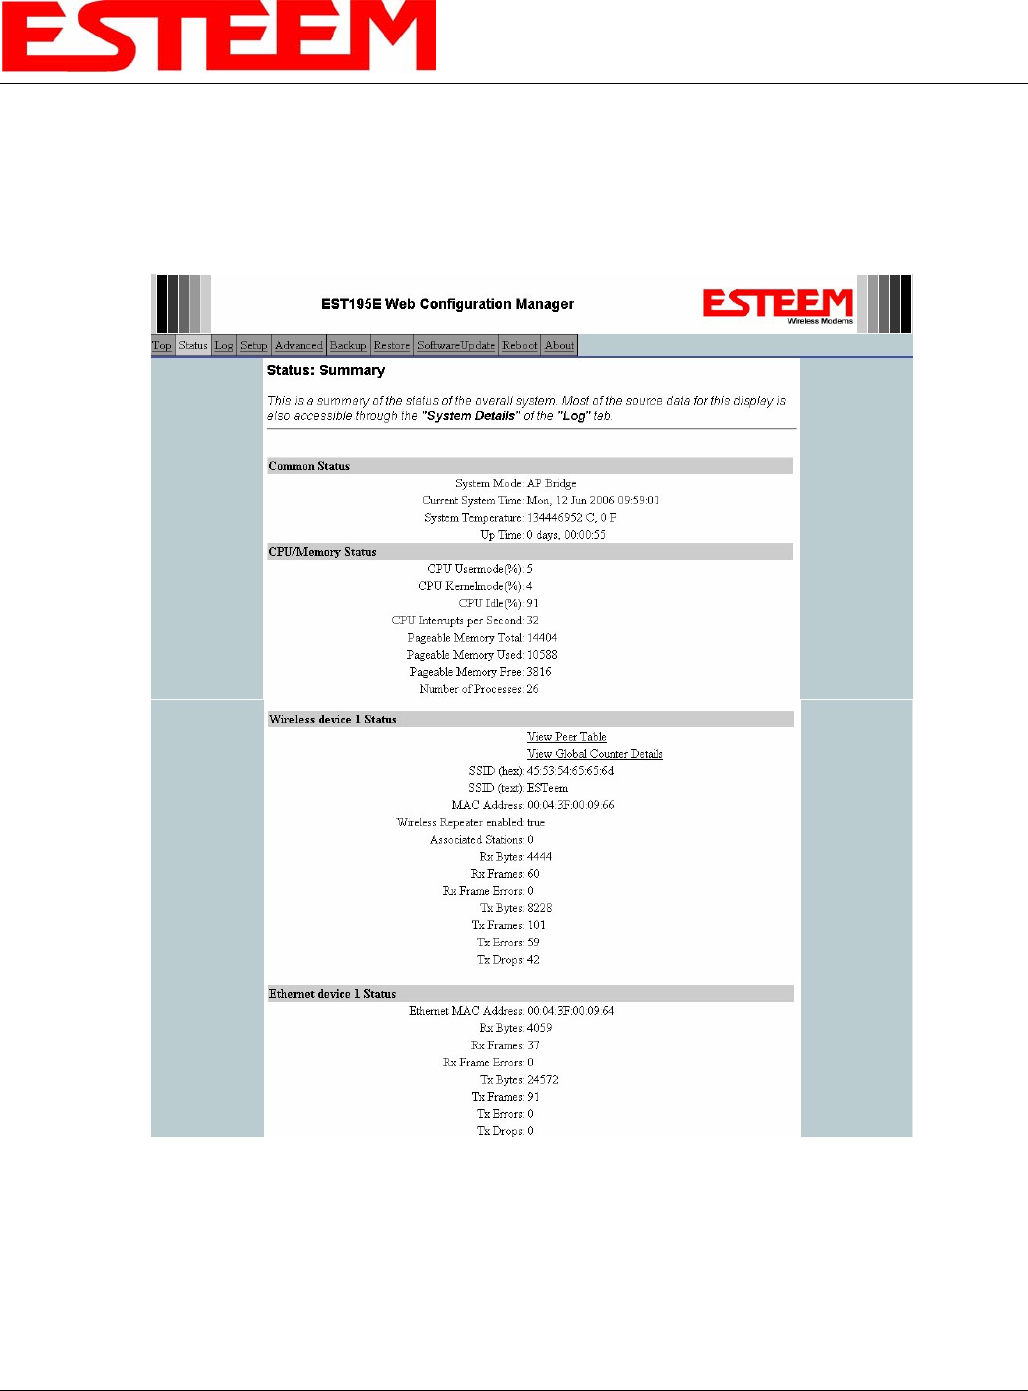
Status Menu
The Status Menu provides a summary of the current mode of operation, system time, processor usage and status of the
communication links to other wireless devices. An example is shown below in Figure 5. Most of the communication
troubleshooting is done in this section of the Web Configuration Manager.
Figure 5: Status Screen
The Counter Details submenu will summarize all transmitted and receive data packets for the Model 195Es (Figure 5).
Revised: 16 Feb 07 4-4 EST P/N AA107S
CHAPTER 4
WEB CONFIGURATION
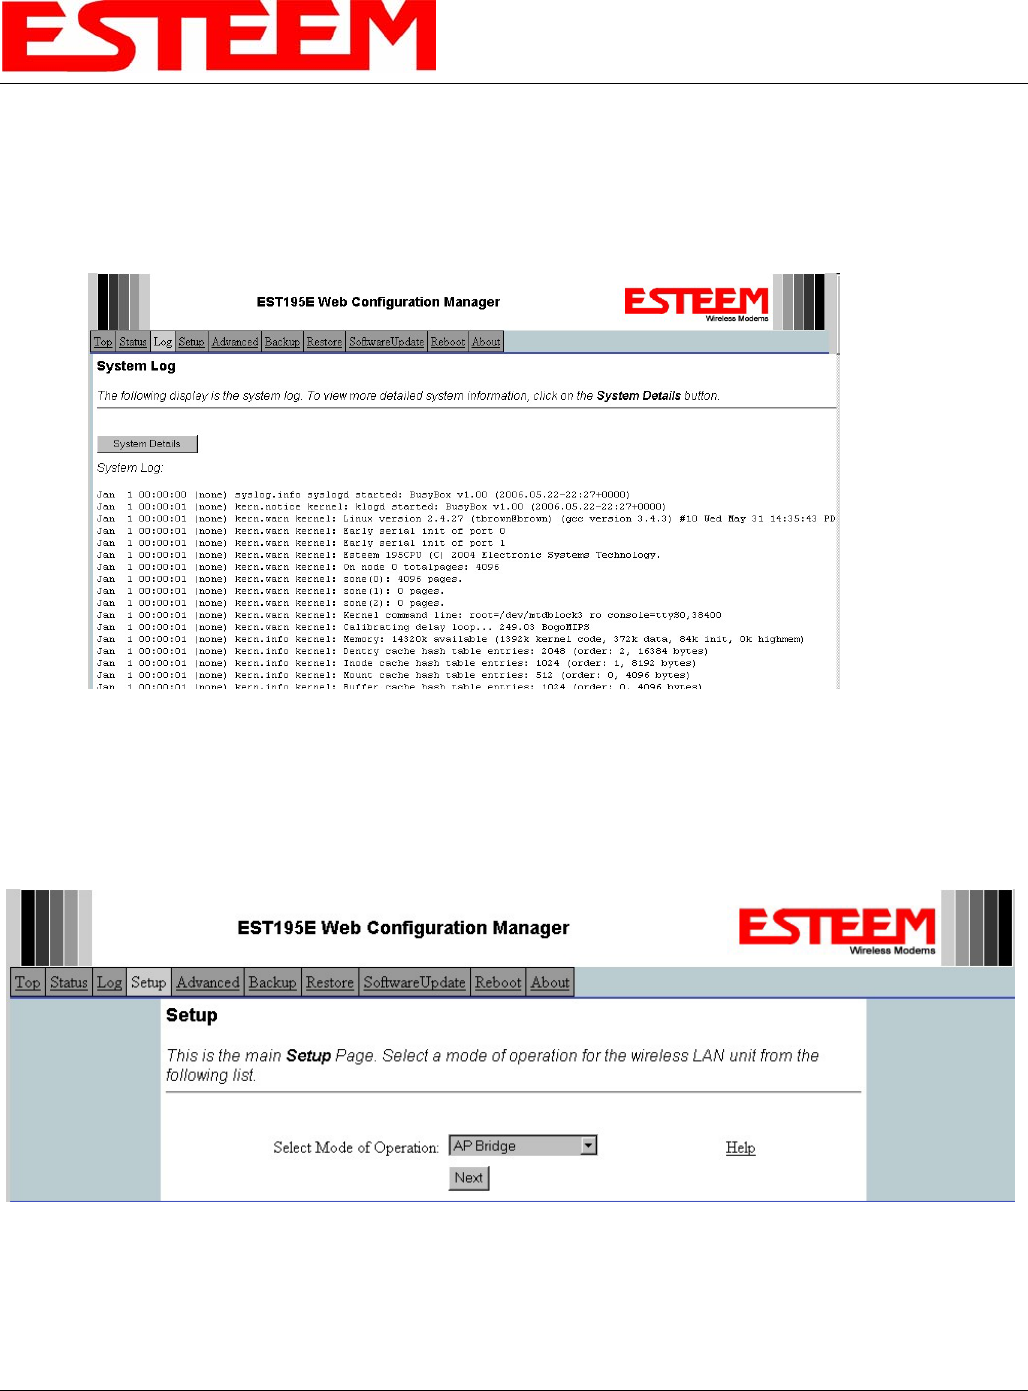
System Log Screen
The Log Screen is a trouble-shooting tool that shows the current log of Model 195Es system messages. See Figure 7. The System
Details button will display a more detailed system diagnostics that may be requested by ESTeem technical support.
Setup Screen
Figure 7: System Log Screen
The Setup screen allows the step-by-step configuration of the Model 195Es. Please see Chapter 5 for complete description on
System Setup menu and examples for system configurations. See Figure 8.
Figure 8: Setup Screen
Revised: 16 Feb 07 4-5 EST P/N AA107S
CHAPTER 4
WEB CONFIGURATION
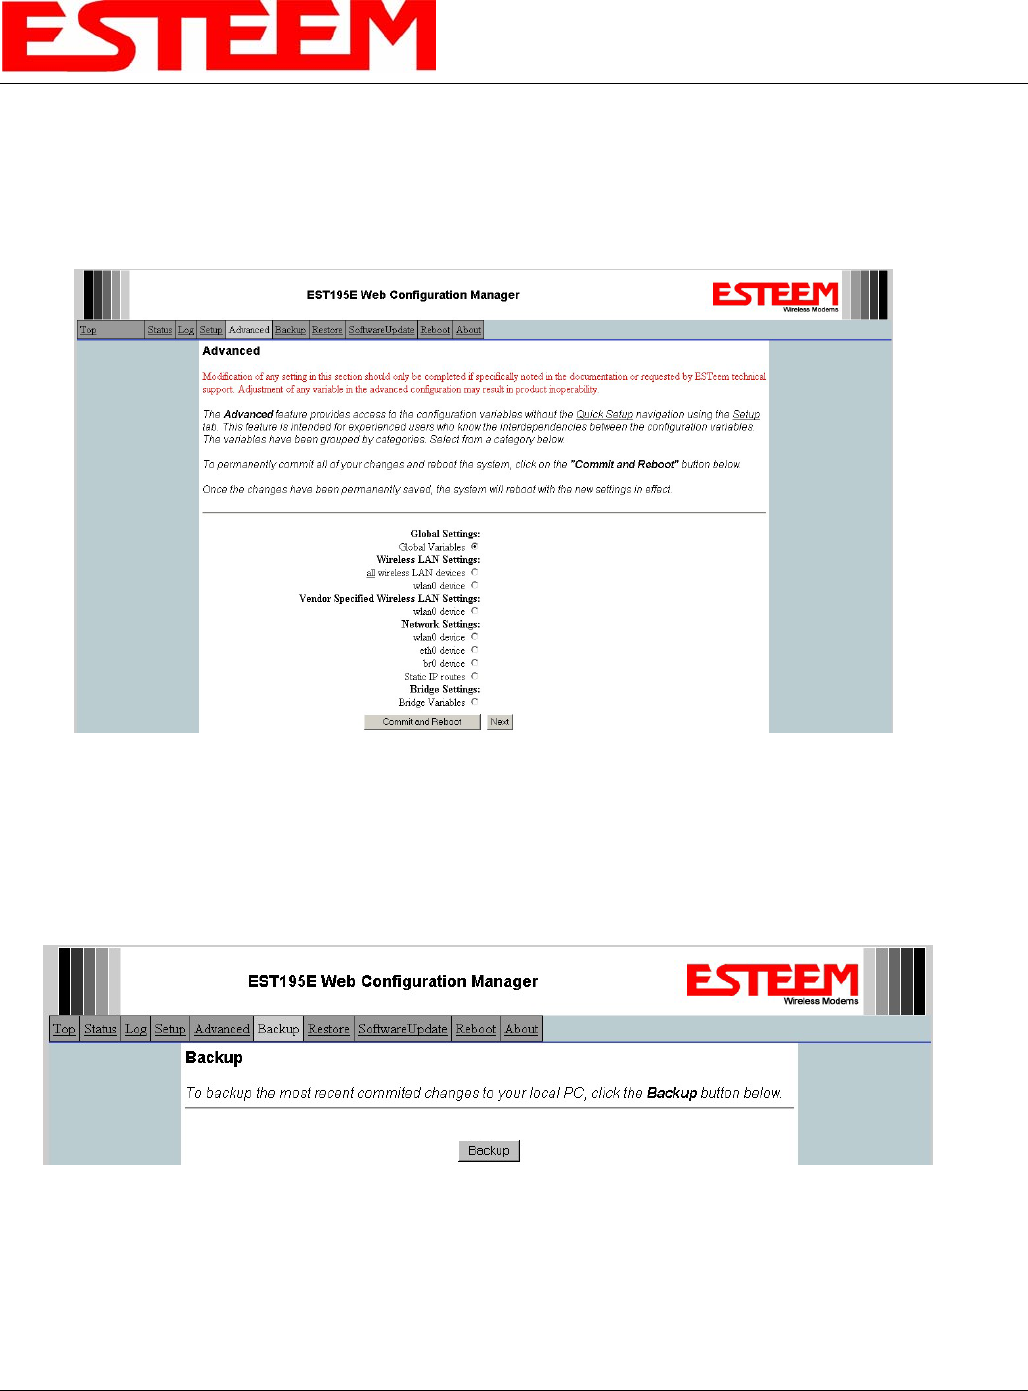
Advanced Configuration Screen
The Advanced screen allows the user to access all configuration parameters. The parameters are grouped based upon their
variable. It is recommended that only advanced users of the Model 195Es enter this section unless instructed by ESTeem
technical support. See Figure 9.
Figure 9: Advanced Features Screen
Backup Screen
The Backup Screen saves the current configuration in the Model 195Es to a file on the computer or network. See Figure 10.
Pressing the Backup Button will create a configuration file that can be saved to the computer. This saved file can then be later
opened, if necessary, by the Restore menu to quickly replace a Model 195Es with a spare modem.
Figure 10: Backup Screen
Revised: 16 Feb 07 4-6 EST P/N AA107S
CHAPTER 4
WEB CONFIGURATION
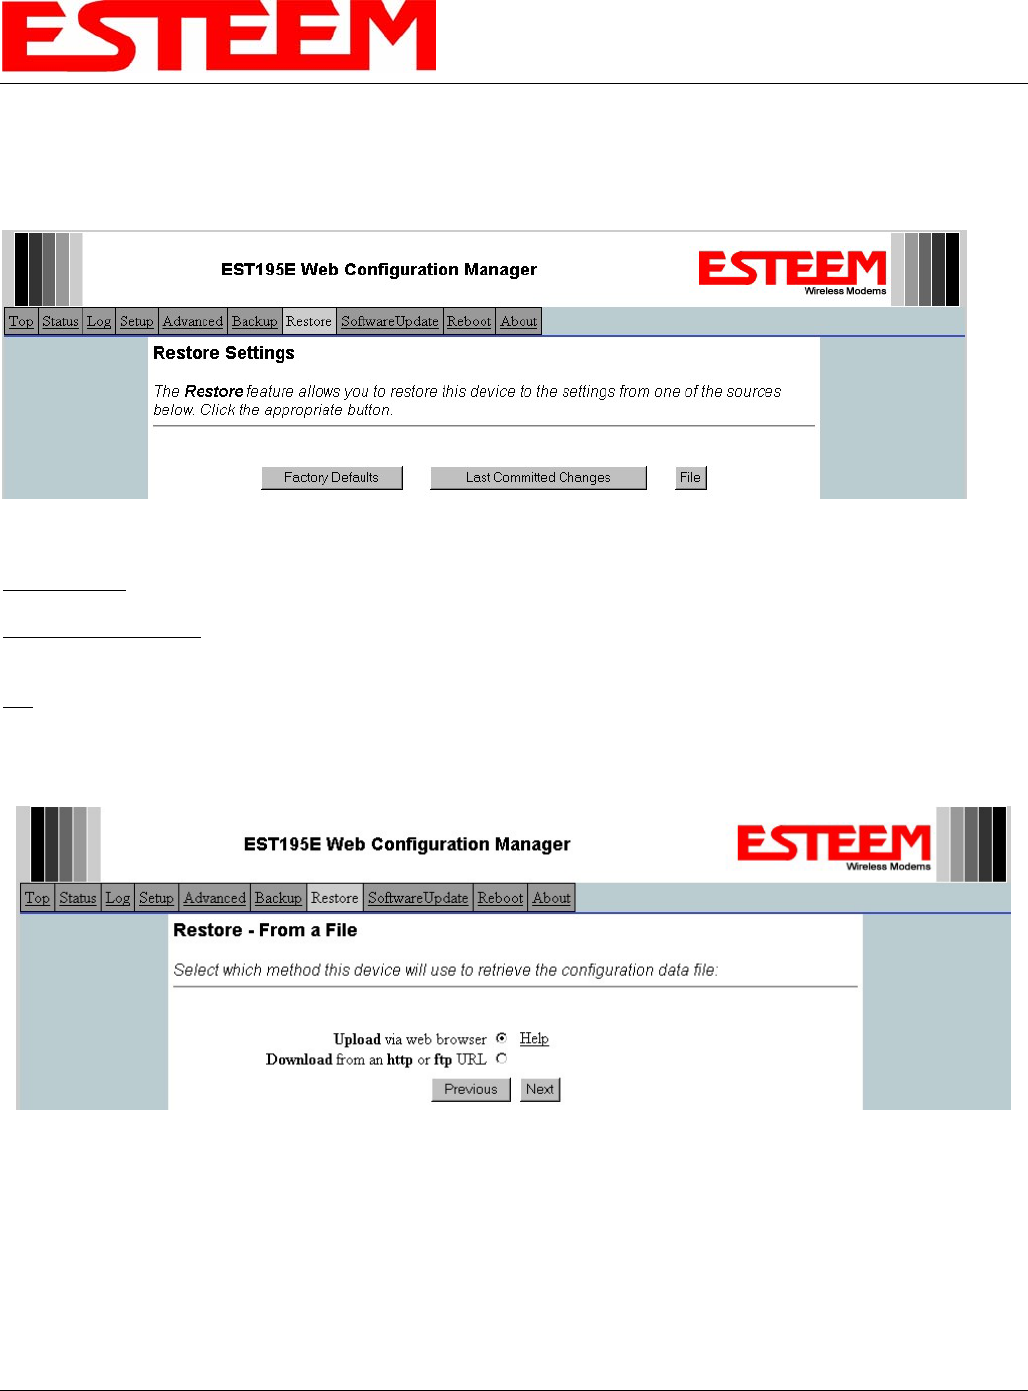
Restore Screen
The Restore screen is used to restore the 195Es to factory defaults, return to the last saved configuration or to access the
configuration files that were backed up to the computer. See Figure 11.
Figure 11: Restore Setting Screen
Factory Default – Returns the Model 195Es to all factory default values.
Last Committed Changes – This button will remove any changes to the modem that have been done since the last committed
changes. The last committed changes will be read from the Flash file and reset in the Model 195Es.
File – Pressing this button will bring up a selection of where the restore file was saved during the Backup (Figure 12). Select
“Upload via web browser” to browse for files saved on a local computer or select “Download from an http or ftp URL” for files
saved on a network or over the Internet.
Figure 12: Restore From Local File Screen
Revised: 16 Feb 07 4-7 EST P/N AA107S
CHAPTER 4
WEB CONFIGURATION
Revised: 16 Feb 07 4-8 EST P/N AA107S
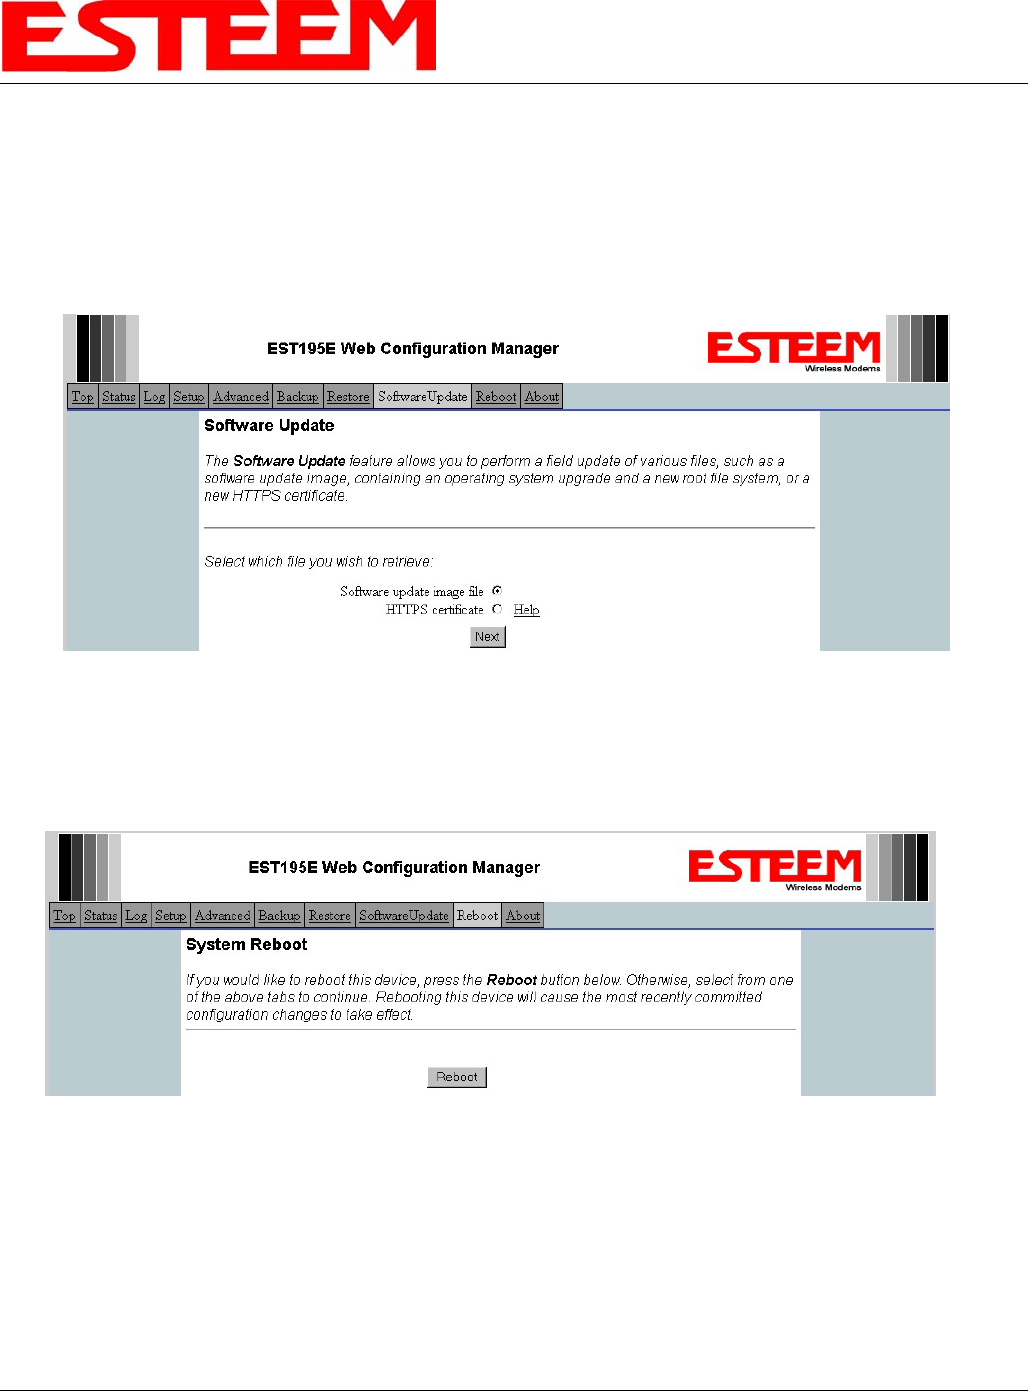
Software Update Screen
The Software Update feature allows the user to update the latest Model 195Es operating system software from a file supplied by
the factory or the Internet to the Model 195Es’s flash memory. To upload from a file on your computer, select Upload via web
browser and a file selection window will be displayed. To upload directly from the Internet, select Download from an http or ftp
URL and enter the site address. See Figure 13.
Figure 13: Software Update Screen
System Reboot Screen
The Reboot screen allows the user to reset the Model 195Es. See Figure 14.
Figure 14: System Reboot Screen