HTC TP GSM/GPRS 1900 MHz Bluetooth Smartphone User Manual Typhoon Manual Book indb
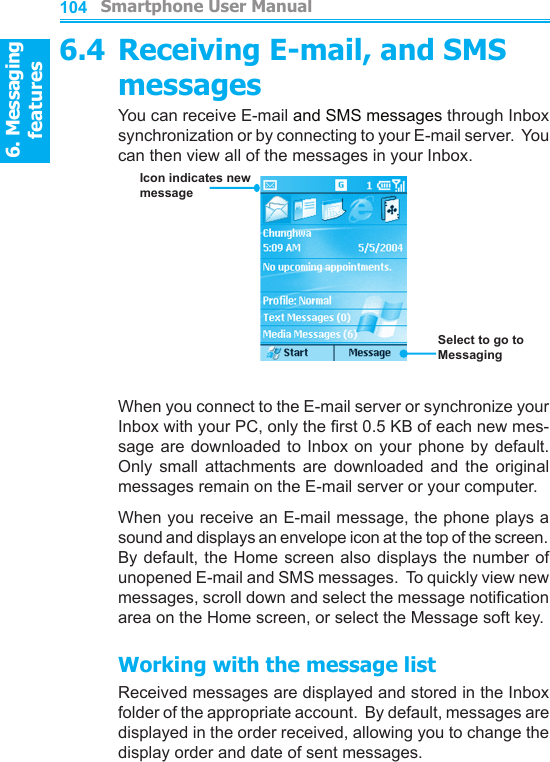
HTC Corporation GSM/GPRS 1900 MHz Bluetooth Smartphone Typhoon Manual Book indb
HTC >
Contents
- 1. User Manual
- 2. Users Manual Part 1
- 3. Users Manual Part 2
- 4. Users Manual Part 3
- 5. Users Manual Part 4
Users Manual Part 3


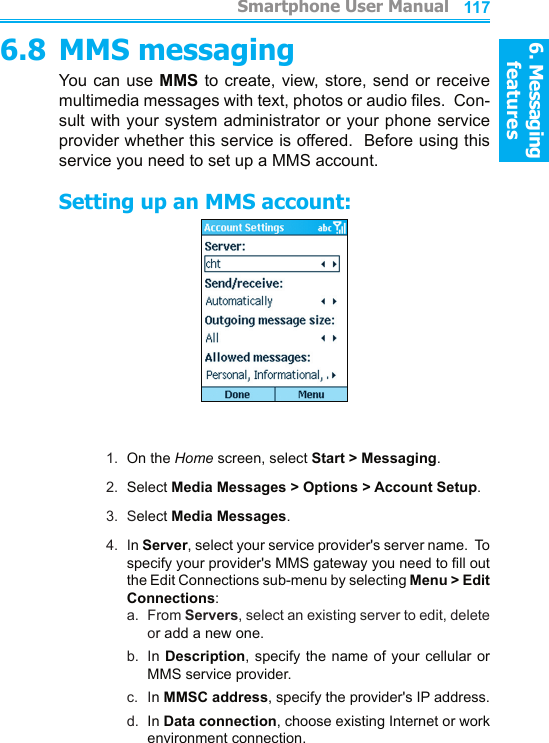
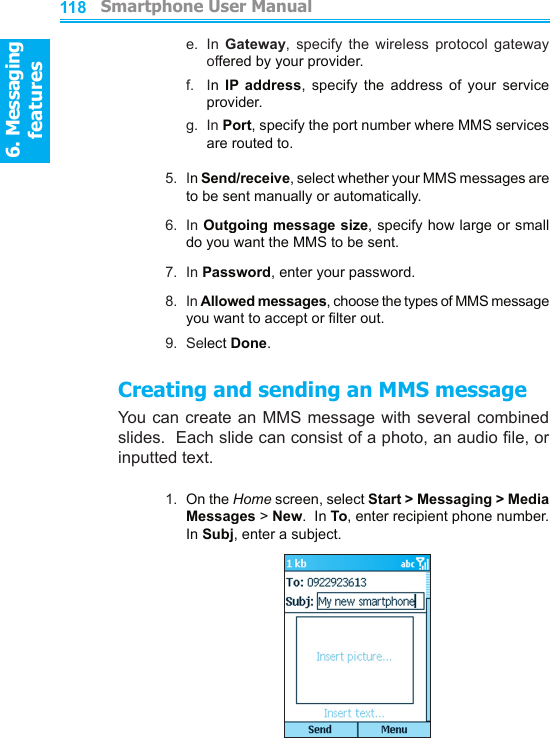
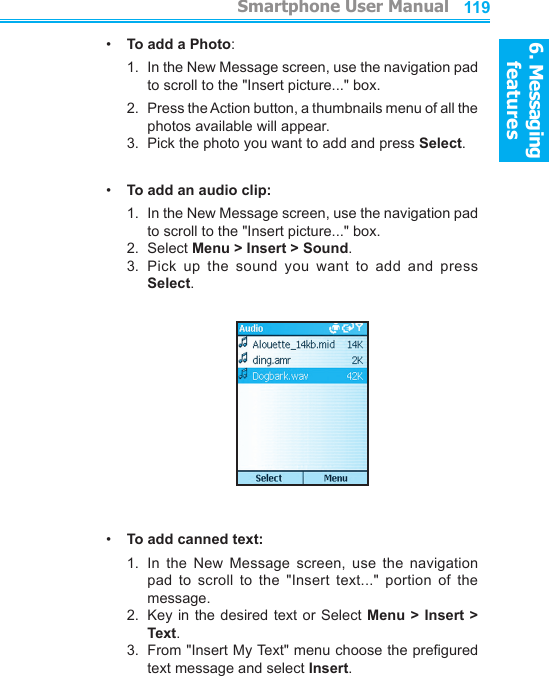

![Smartphone User Manual7. Synchronizing Smartphone User Manual7. Synchronizing 130131To change server synchronization settings:1. Before you change synchronization settings, disconnect the device from your PC. On the phone Home screen, select Start.2. Select ActiveSync.3. Select Menu and then Options.4. Select Server Settings.5. Select the synchronization settings to edit Calendar, Contacts, or Inbox:• To start synchronizing Calendar, Contacts, or Inbox information, select Sync [Information Type] with a server on the appropriate synchronization settings page.• To stop synchronizing Calendar, Contacts, or Inbox information, clear the Sync [Information Type] with a server check box on the appropriate synchronization settings page.• Change the amount of information to be synchronized.Scheduling server synchronizationYou can create a schedule for automatically synchronizing information on your phone with your PC or with a Microsoft Exchange Server. To set up a synchronization schedule with your PC, you must use ActiveSync on the PC. For instructions, see Change desktop synchronization schedule in ActiveSync Help on the PC.](https://usermanual.wiki/HTC/TP.Users-Manual-Part-3/User-Guide-477818-Page-31.png)