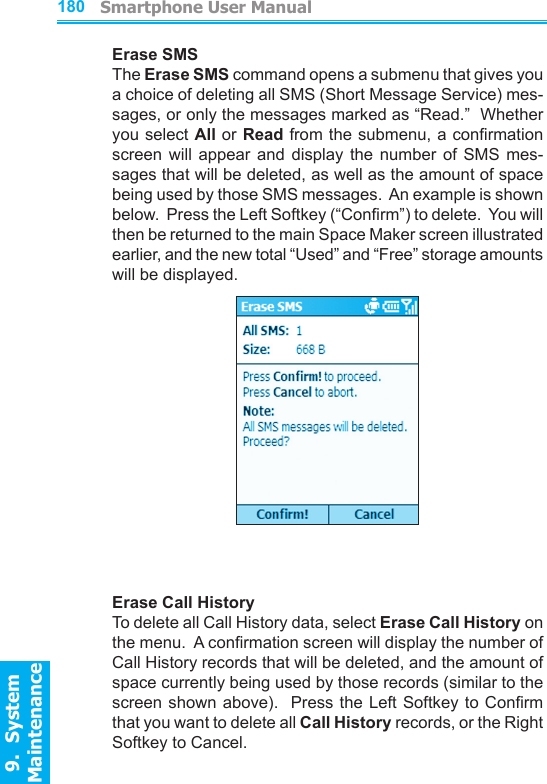
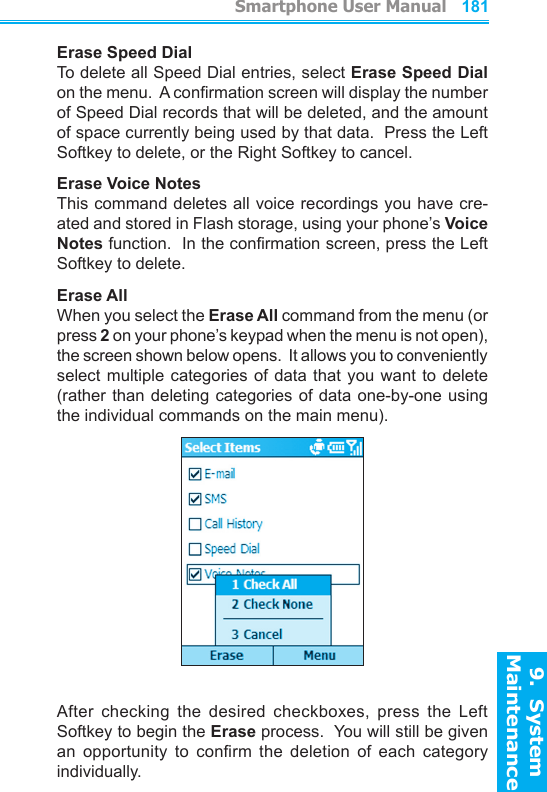
HTC TP GSM/GPRS 1900 MHz Bluetooth Smartphone User Manual Typhoon Manual Book indb
HTC Corporation GSM/GPRS 1900 MHz Bluetooth Smartphone Typhoon Manual Book indb
HTC >
Contents
- 1. User Manual
- 2. Users Manual Part 1
- 3. Users Manual Part 2
- 4. Users Manual Part 3
- 5. Users Manual Part 4
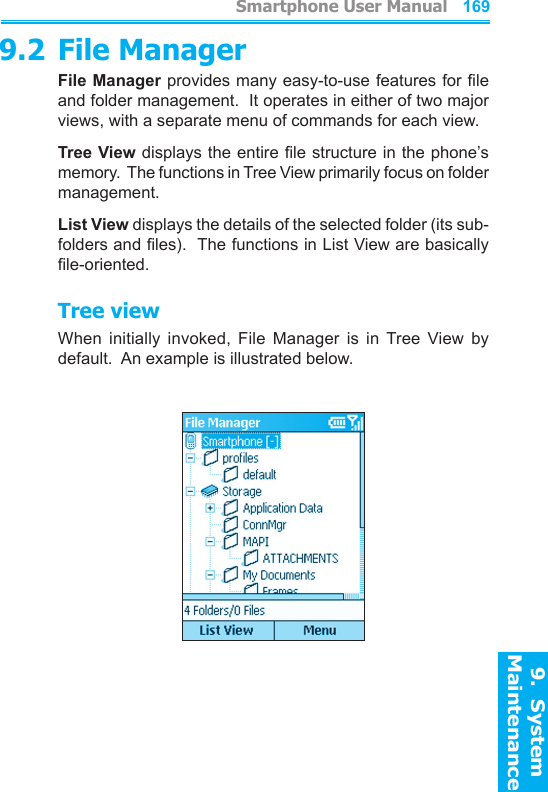
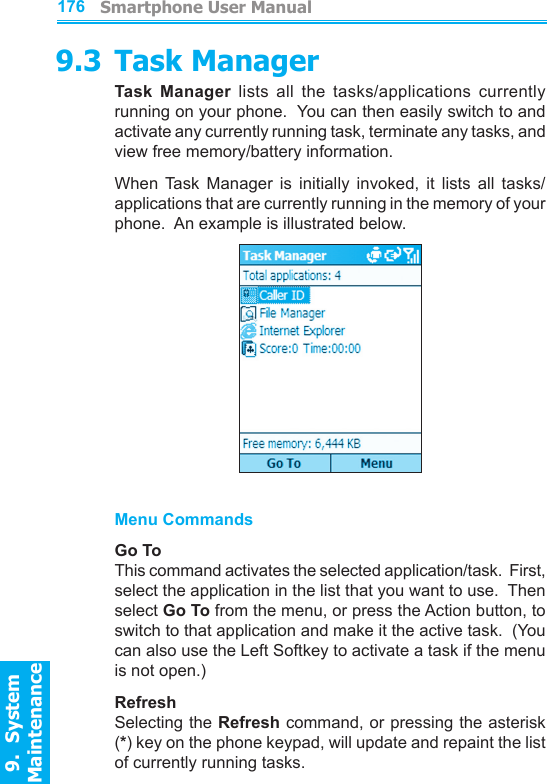
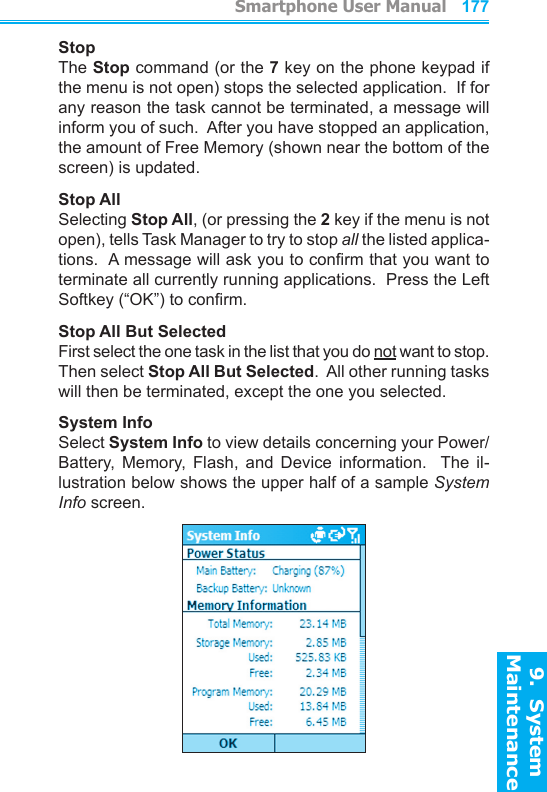
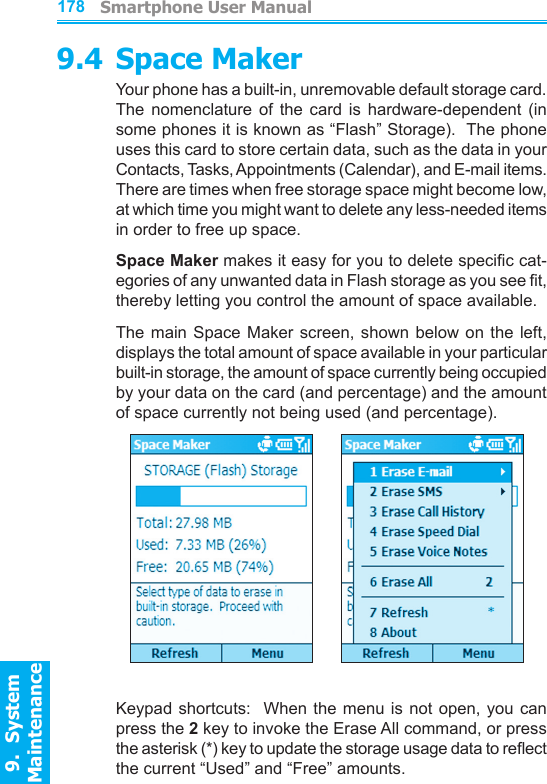
Users Manual Part 4