JADAK a business unit of Novanta MERCURY6E-M RFID Module User Manual 1
Trimble Navigation Limited RFID Module 1
UserManual.wiki
>
JADAK a business unit of Novanta
>
MERCURY6E-M User Manual
>
User Manual 1
Contents
1.
Manual
2.
User manual revised
3.
User Manual 1
4.
User Manual 2
5.
User Manual 3
6.
User Manual
7.
Users Manual
8.
Part 1
9.
Part 2
10.
Part 3
11.
Part4
12.
Compliance Statements
User Manual 1
Navigation menu
Upload a User Manual
Namespaces
Wiki Guide
HTML
PDF
Info
Views
User Manual
Discussion / Help
Navigation
![Rugged Tablet ComputerUser ManualM9020EscTabCtrlQAZXCVBNM0123456789AltShiftSDFGHJKLEnterSpaceDel Fn,.WERTYUIOP!@-=#$%^& *(?>][}{)|;\:“‘ ~`F1F2F4F3F5United States8945 South Harl Avenue, Suite 112Tempe, Arizona, 85284 USAPhone: +1 (855) DAP-TECH2915 Premiere Parkway, Suite 300Duluth, Georgia, 30097 USAPhone: +1 (855) DAP-TECHCanada4535 Wilfrid Hamel Blvd., Suite 100Quebec City, QC Canada G1P 2J7Toll Free: +1 (800) 363-1993Phone: +1 (418) 681-9394Fax: +1 (418) 681-0799Europe, Middle East, Africa9 The Chambers, Vineyard Abingdon UK OX14 3PXPhone: +44 (0) 1235 462130Fax: +44 (0) 1235 462131Toll Free : +1 (855) DAP-TECH (327-8324)www.daptech.com](https://usermanual.wiki/JADAK-a-business-unit-of-Novanta/MERCURY6E-M.User-Manual-1/User-Guide-2256084-Page-1.png)
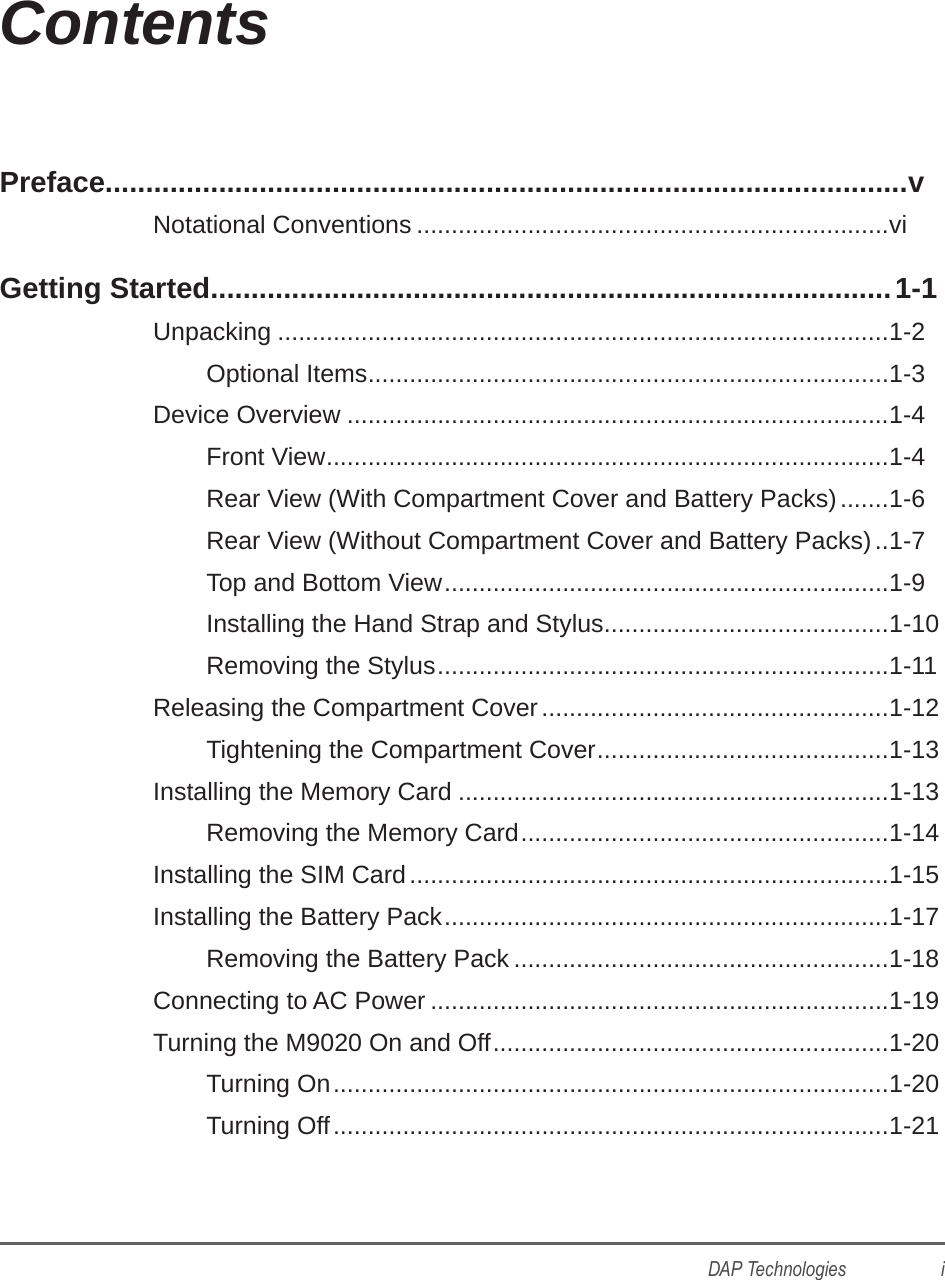
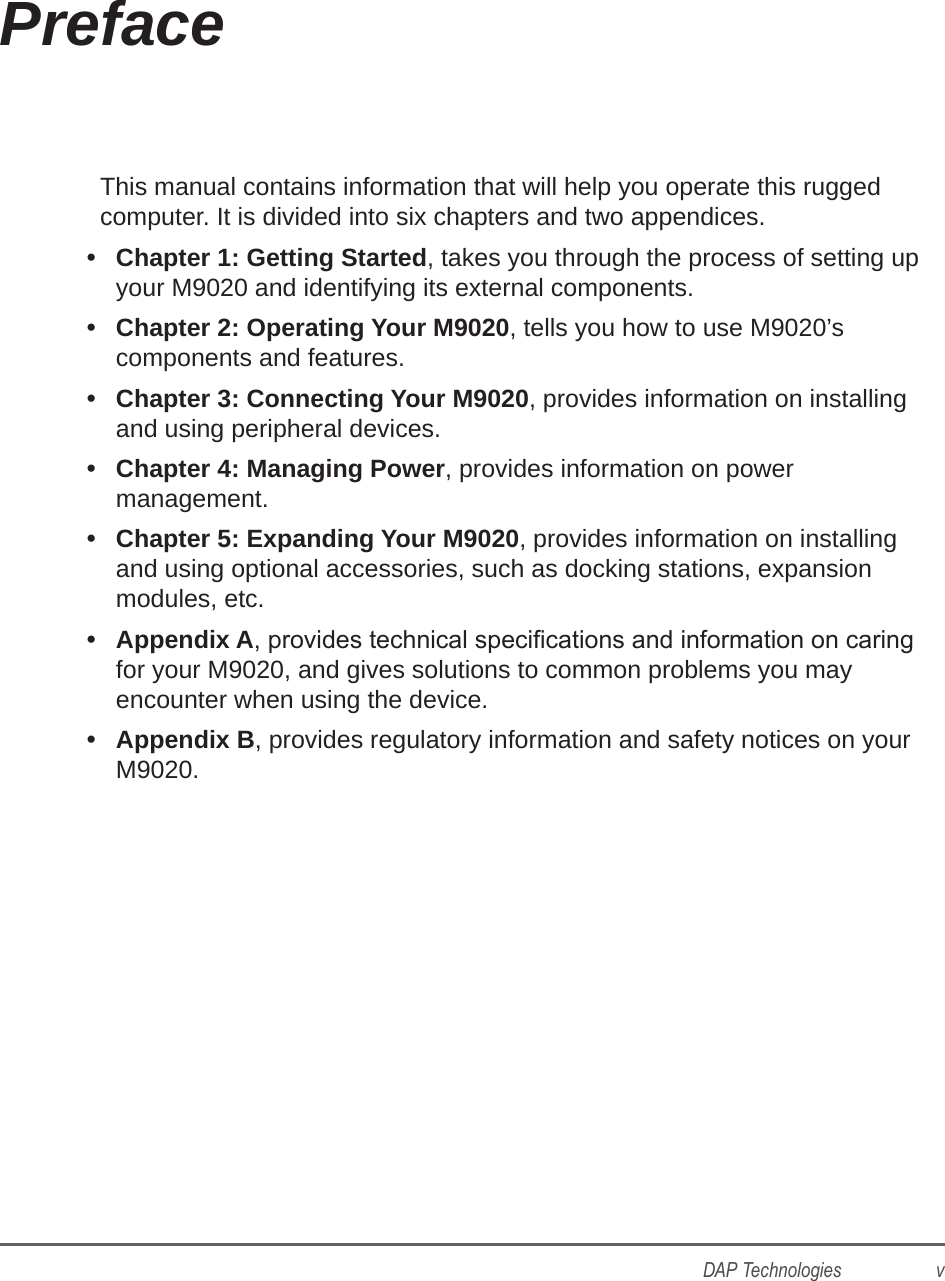
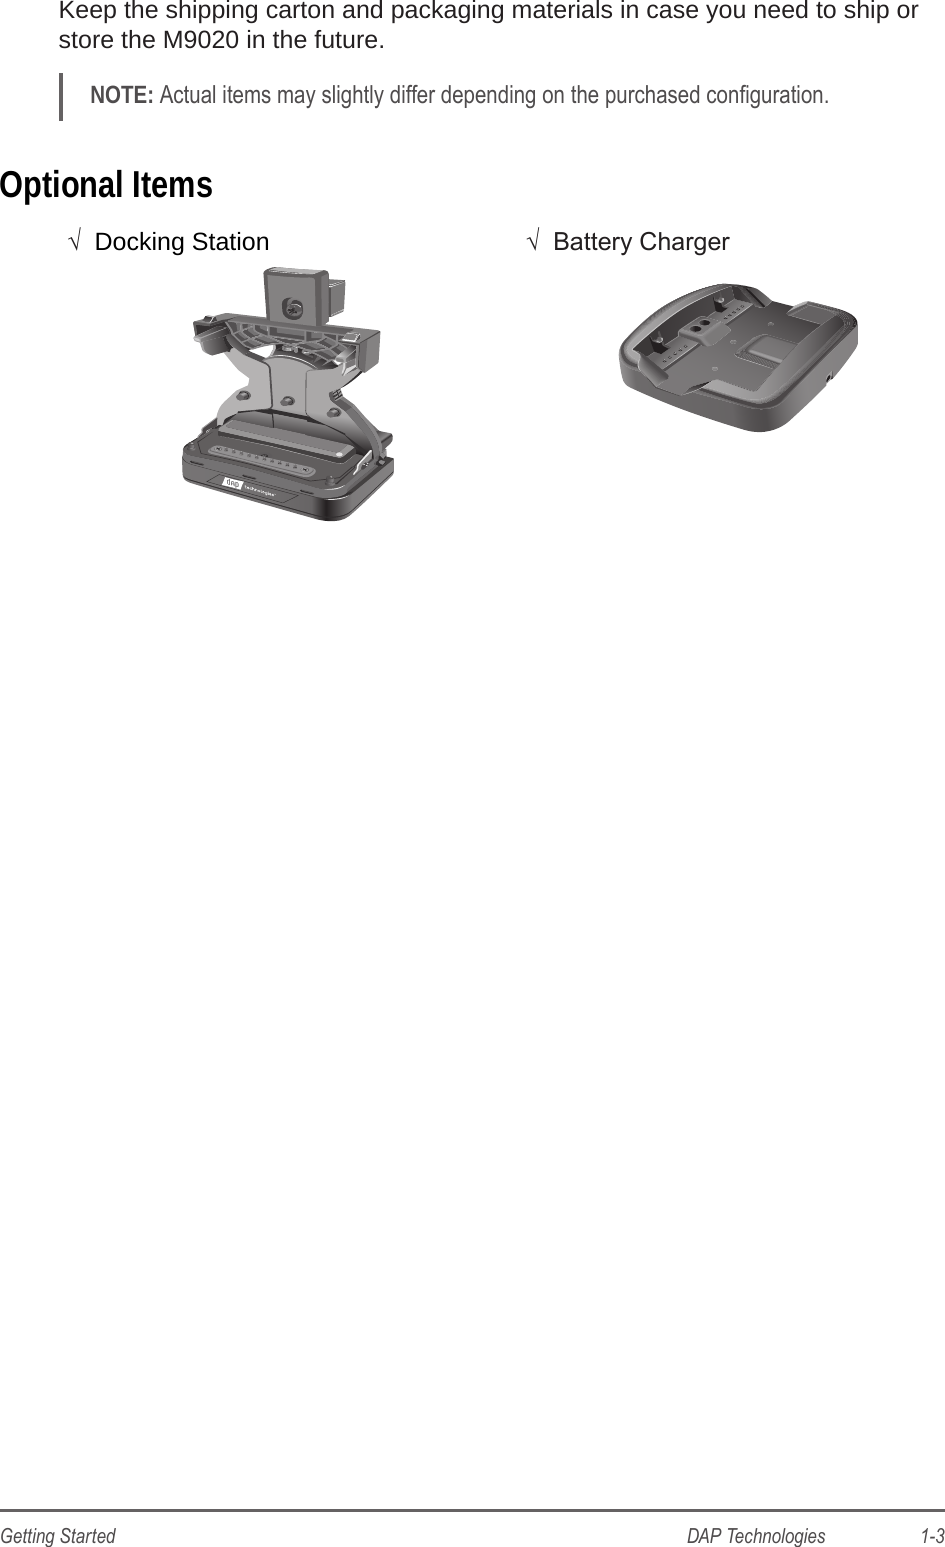
![1-2 DAP Technologies Getting StartedUnpackingAfter unpacking the shipping carton, you should nd these standard items. Inspect all items. If any item is damaged or missing, notify your dealer immediately.√ M9020 √ Battery PacksEscTabCtrlQAZXCVBNM0123456789AltShiftSDFGHJKLEnterSpaceDel Fn,.WERT YUIOP!@-=#$%^& *(?>][}{)|;\:“‘ ~`F1F2F4F3F5√ Power Adapter √ AC Power Cord√ Stylus √ Hand Strap√ VGA Cable √ Screws√ Cleaning Cloth√ Screen Protector Film√ Windows 7 Certicate of Authenticity Label (COA)√ Quick Start Guide](https://usermanual.wiki/JADAK-a-business-unit-of-Novanta/MERCURY6E-M.User-Manual-1/User-Guide-2256084-Page-10.png)
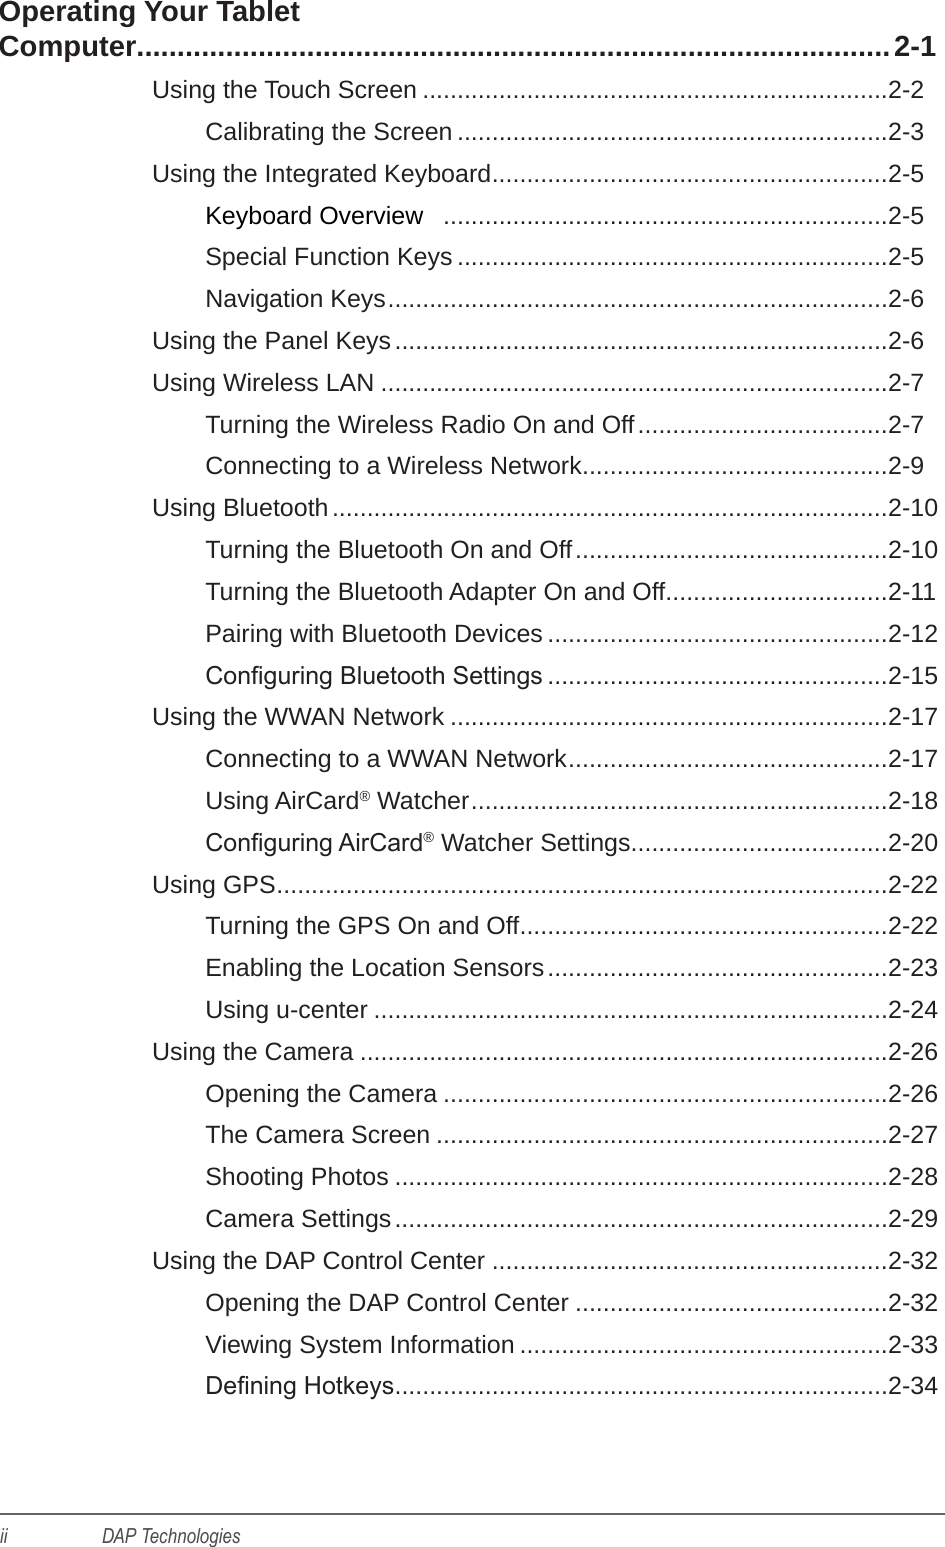
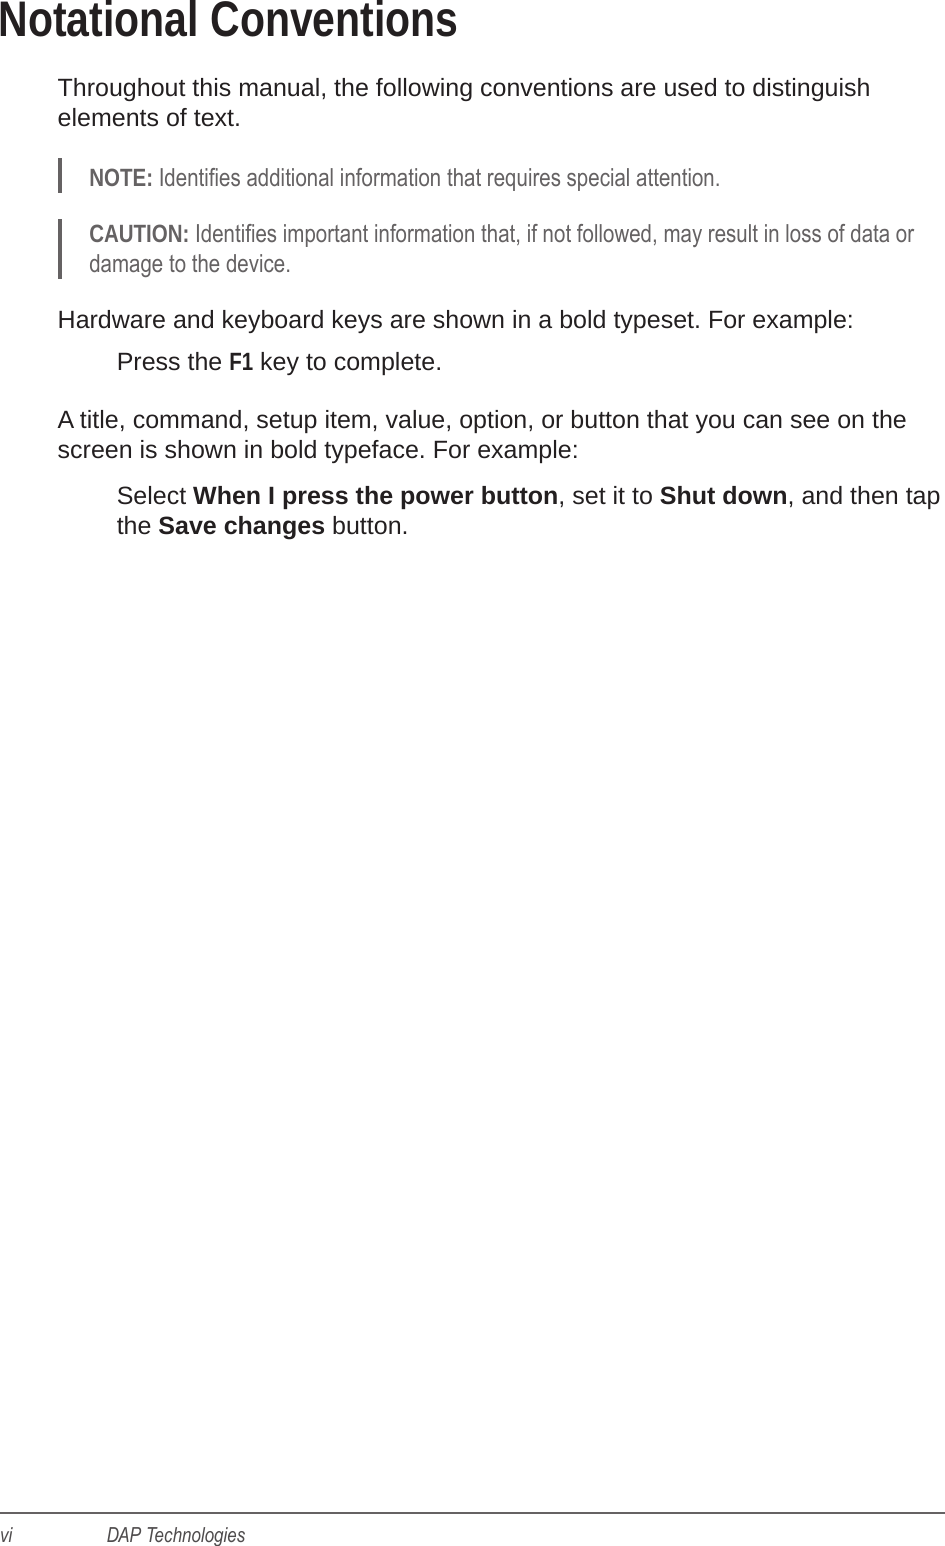
![1-4 DAP Technologies Getting StartedDevice OverviewFront ViewEscTabCtrlQAZXCVBNM0123456789AltShiftSDFGHJKLEnterSpaceDel Fn,.WERTYU IOP!@-=#$%^& *(?>][}{)|;\:“‘ ~`F1F2F4F3F5912768453No. Item Description1 2.0 MP Front Camera Allows you to take photos.2Barcode Scanner Button Press to activate the barcode scanner located on the top left corner of M9020.3Menu and Function Keys Common Windows function keys (F1 ~ F5, Menu).](https://usermanual.wiki/JADAK-a-business-unit-of-Novanta/MERCURY6E-M.User-Manual-1/User-Guide-2256084-Page-12.png)