JVC KENWOOD K2T001 Card Printer w/Built-in RFID Tag User Manual CX 120U cover p65
JVC KENWOOD Corporation Card Printer w/Built-in RFID Tag CX 120U cover p65
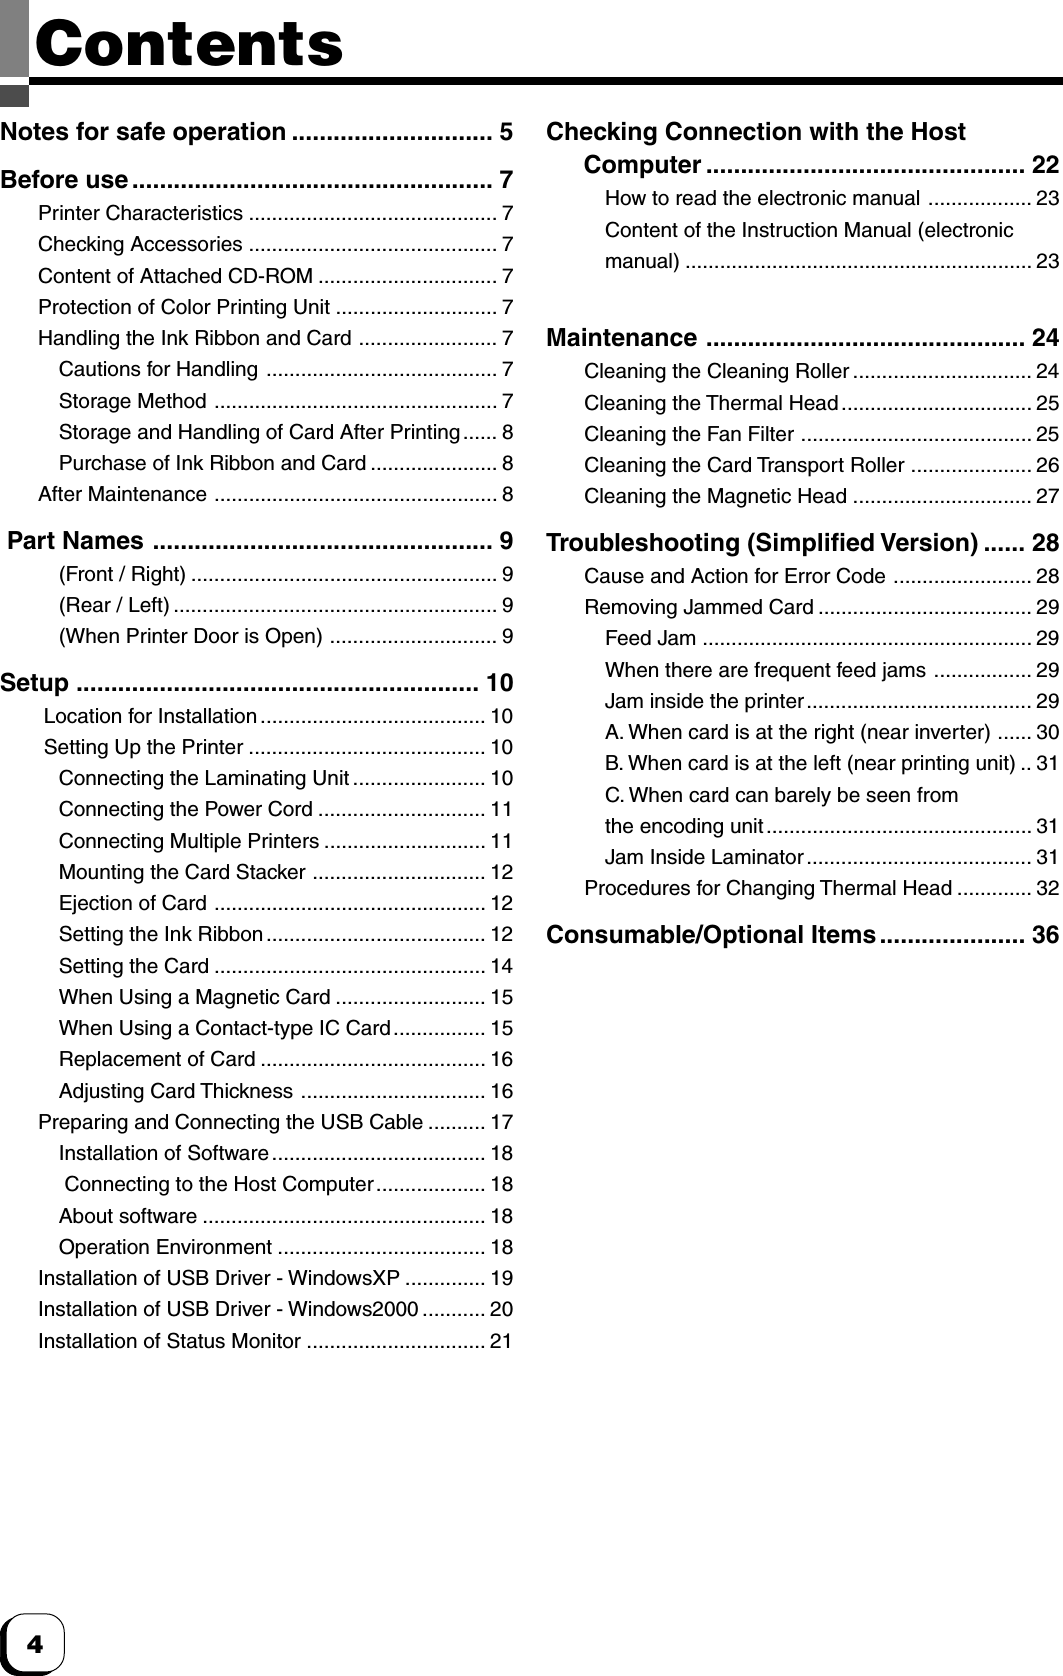
Contents
- 1. Users Manual 1 of 2
- 2. Users Manual 2 of 2
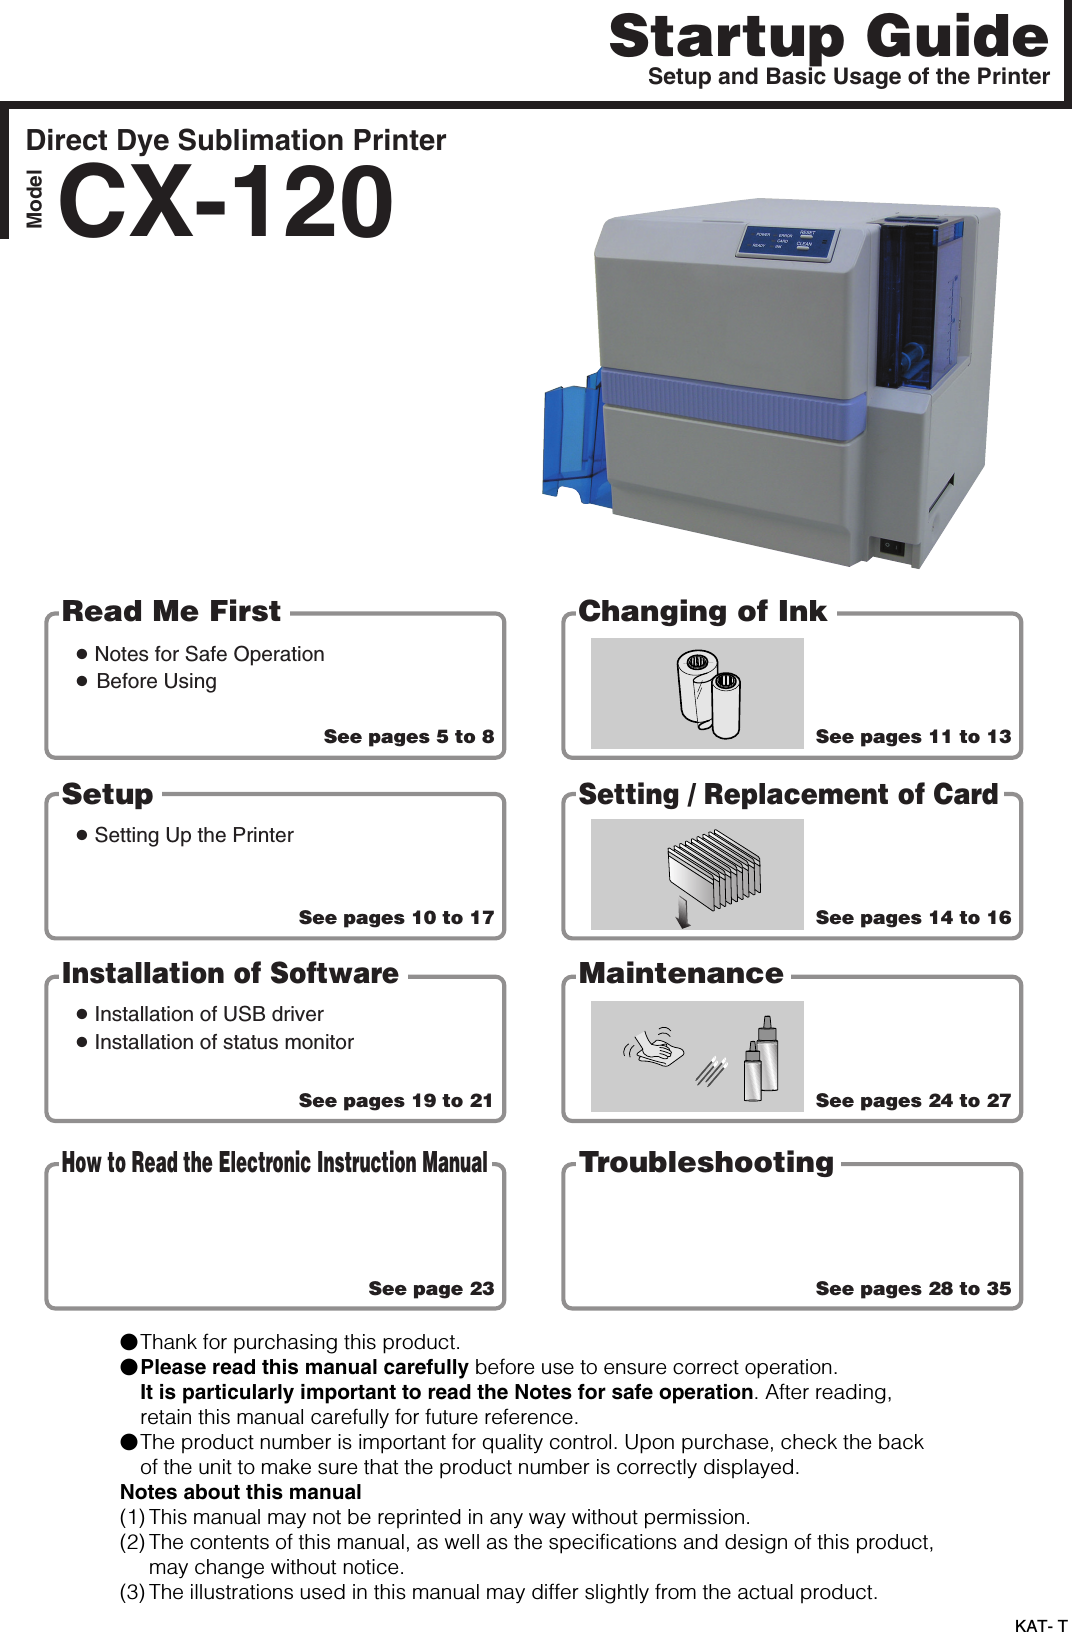
- 3. Startup Guide 1 of 3
- 4. Startup Guide 2 of 3
- 5. Startup Guide 3 of 3
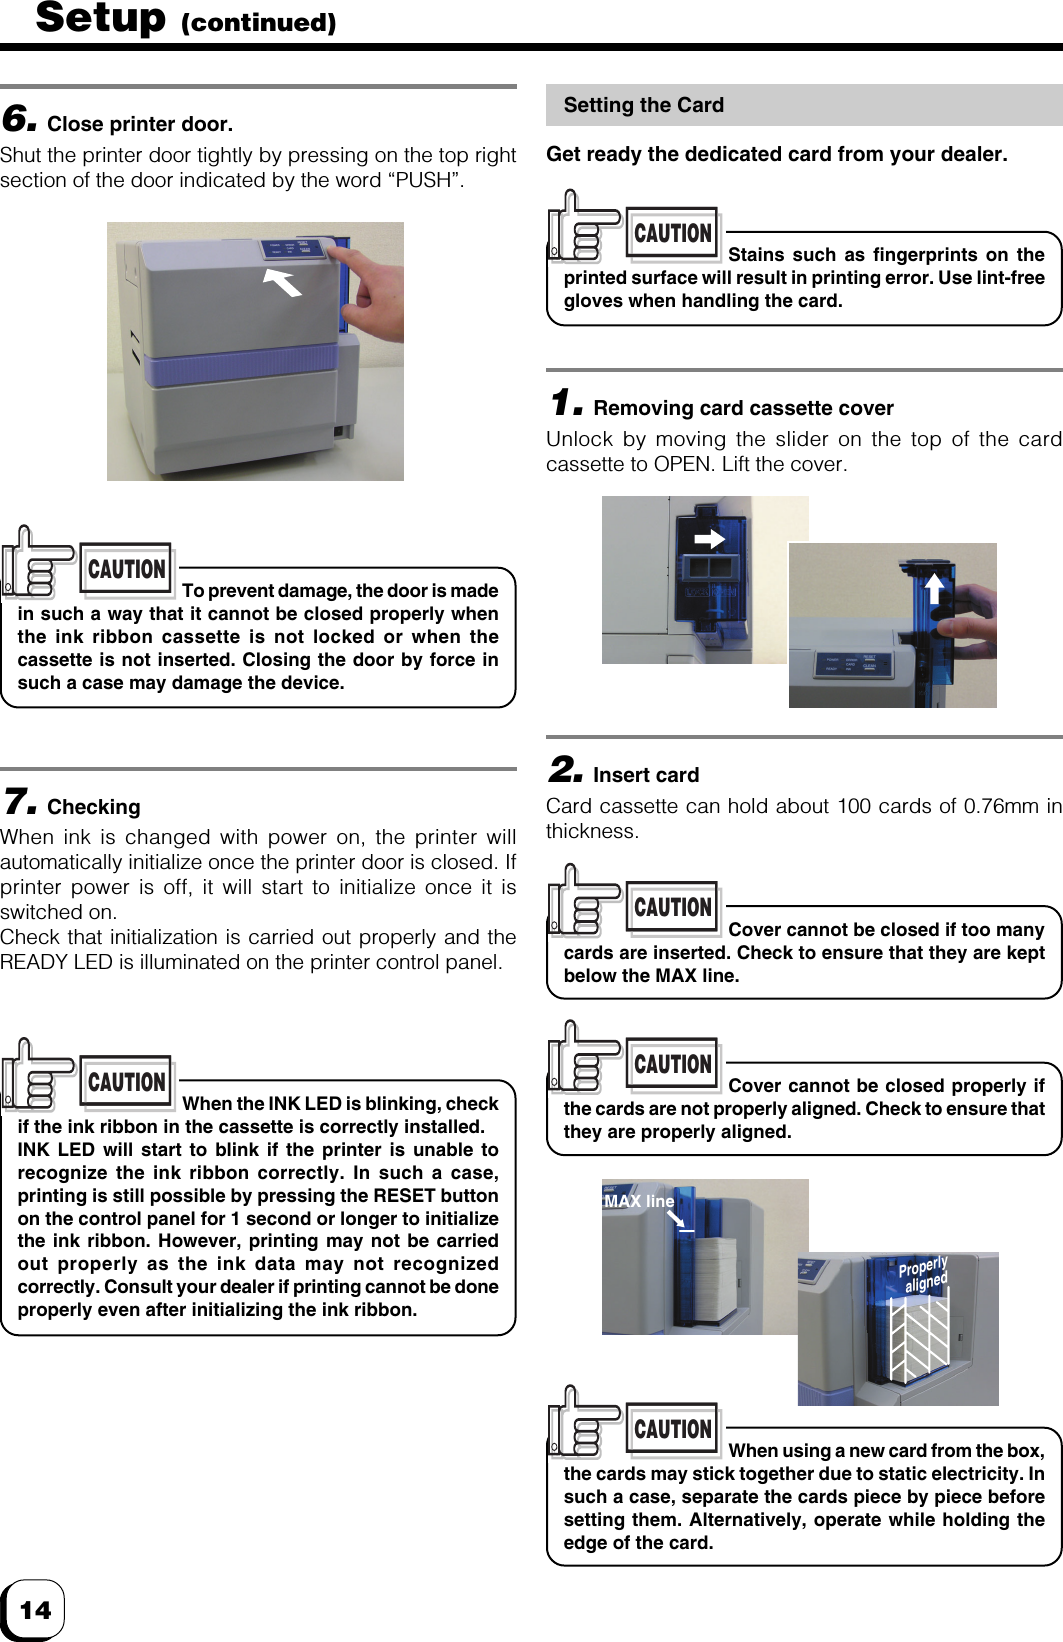
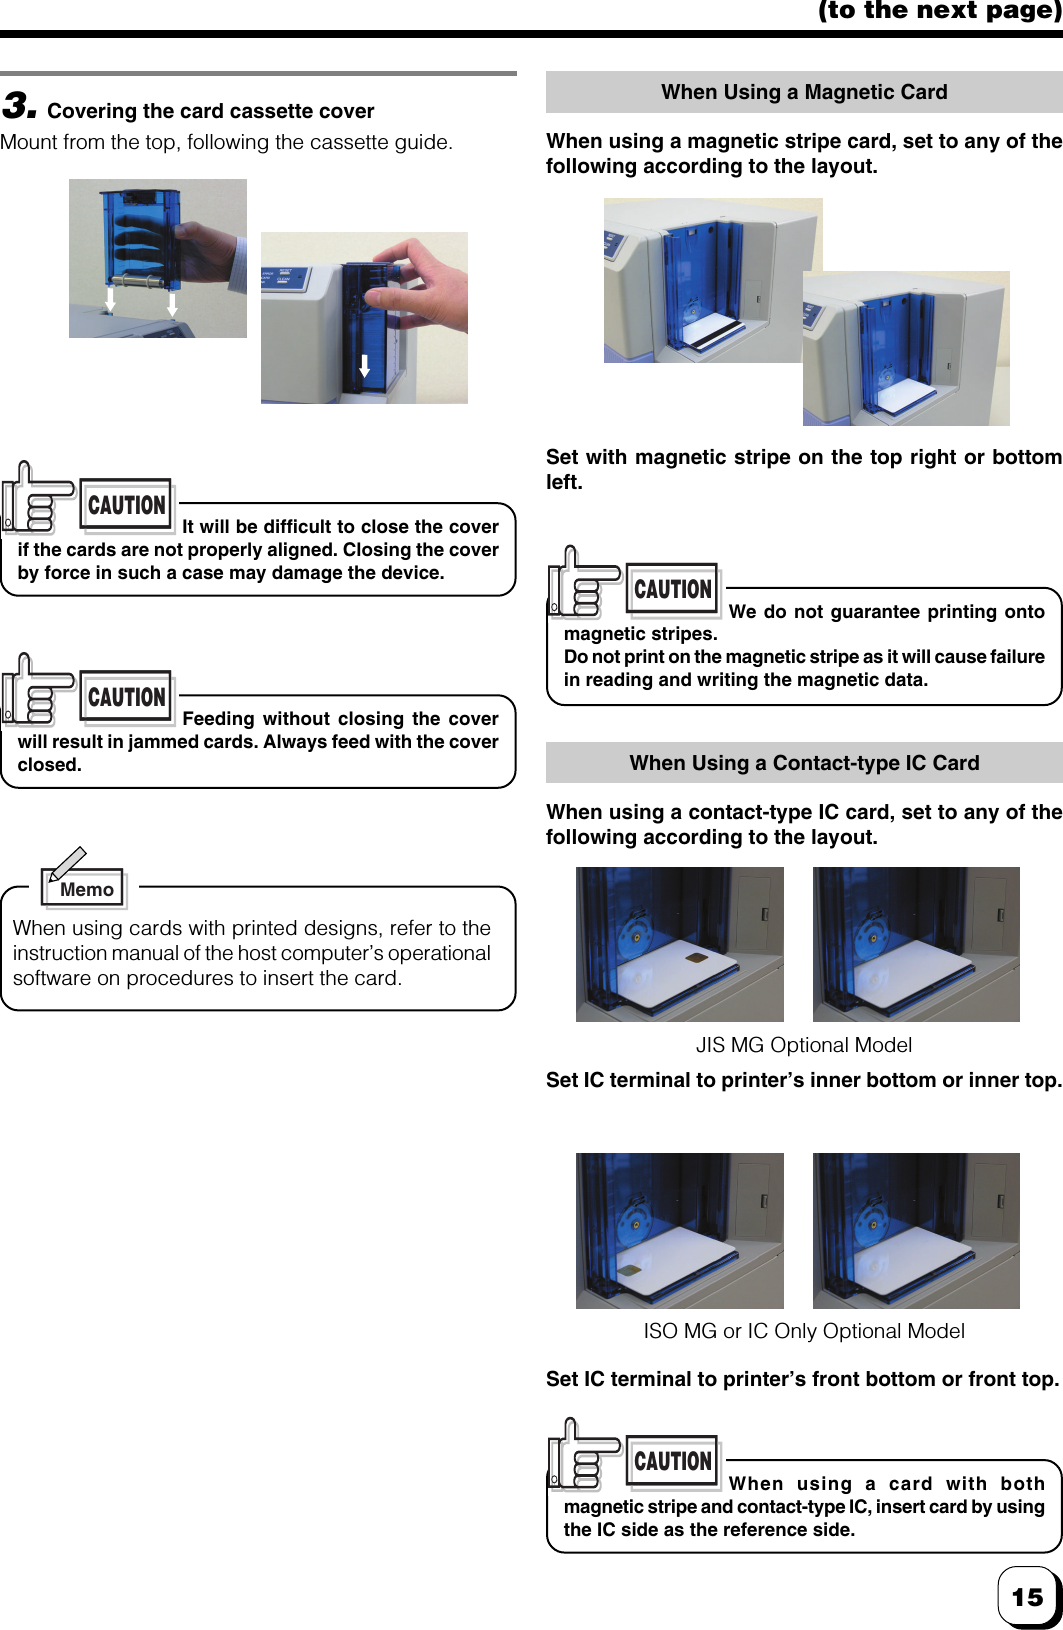
Startup Guide 1 of 3