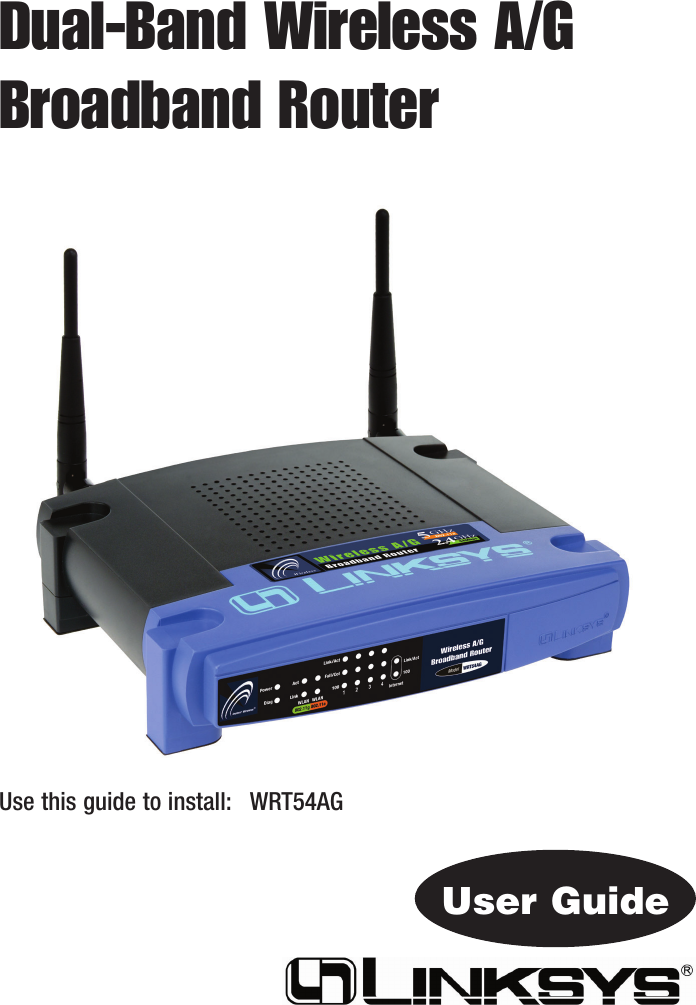
LINKSYS WRT54AG Wireless A/G Broadband Router User Manual WRT54AG ug Rev NC
LINKSYS LLC Wireless A/G Broadband Router WRT54AG ug Rev NC
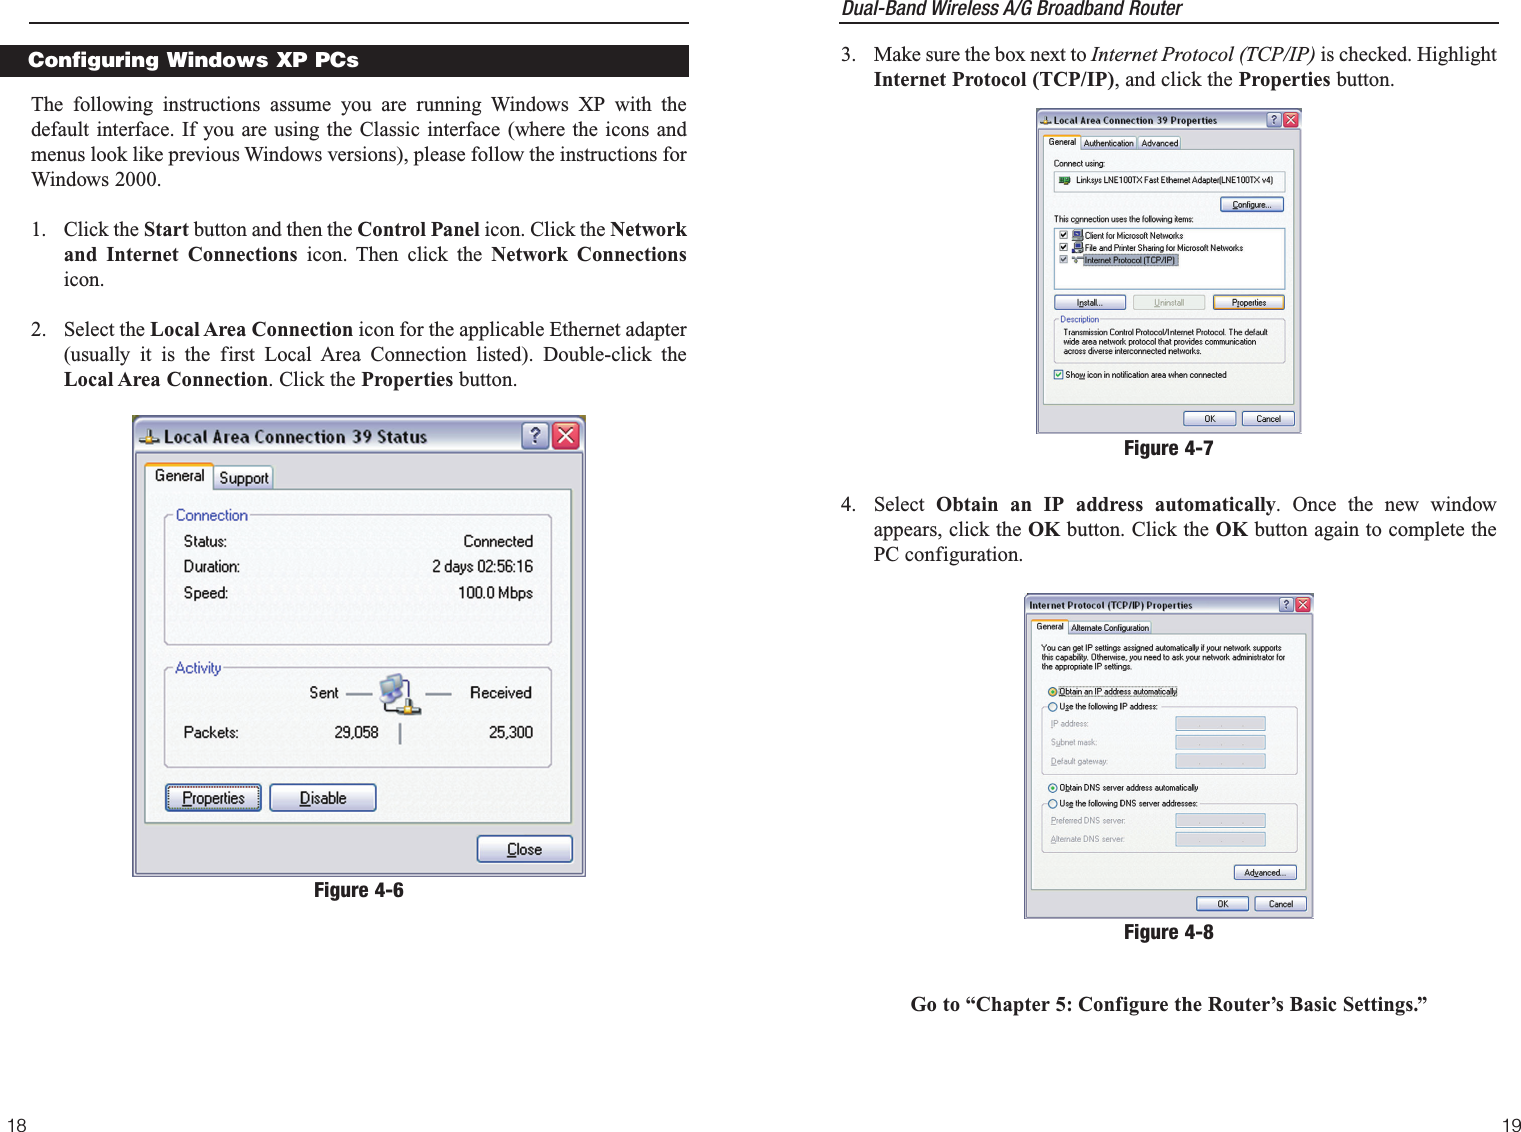
LINKSYS >
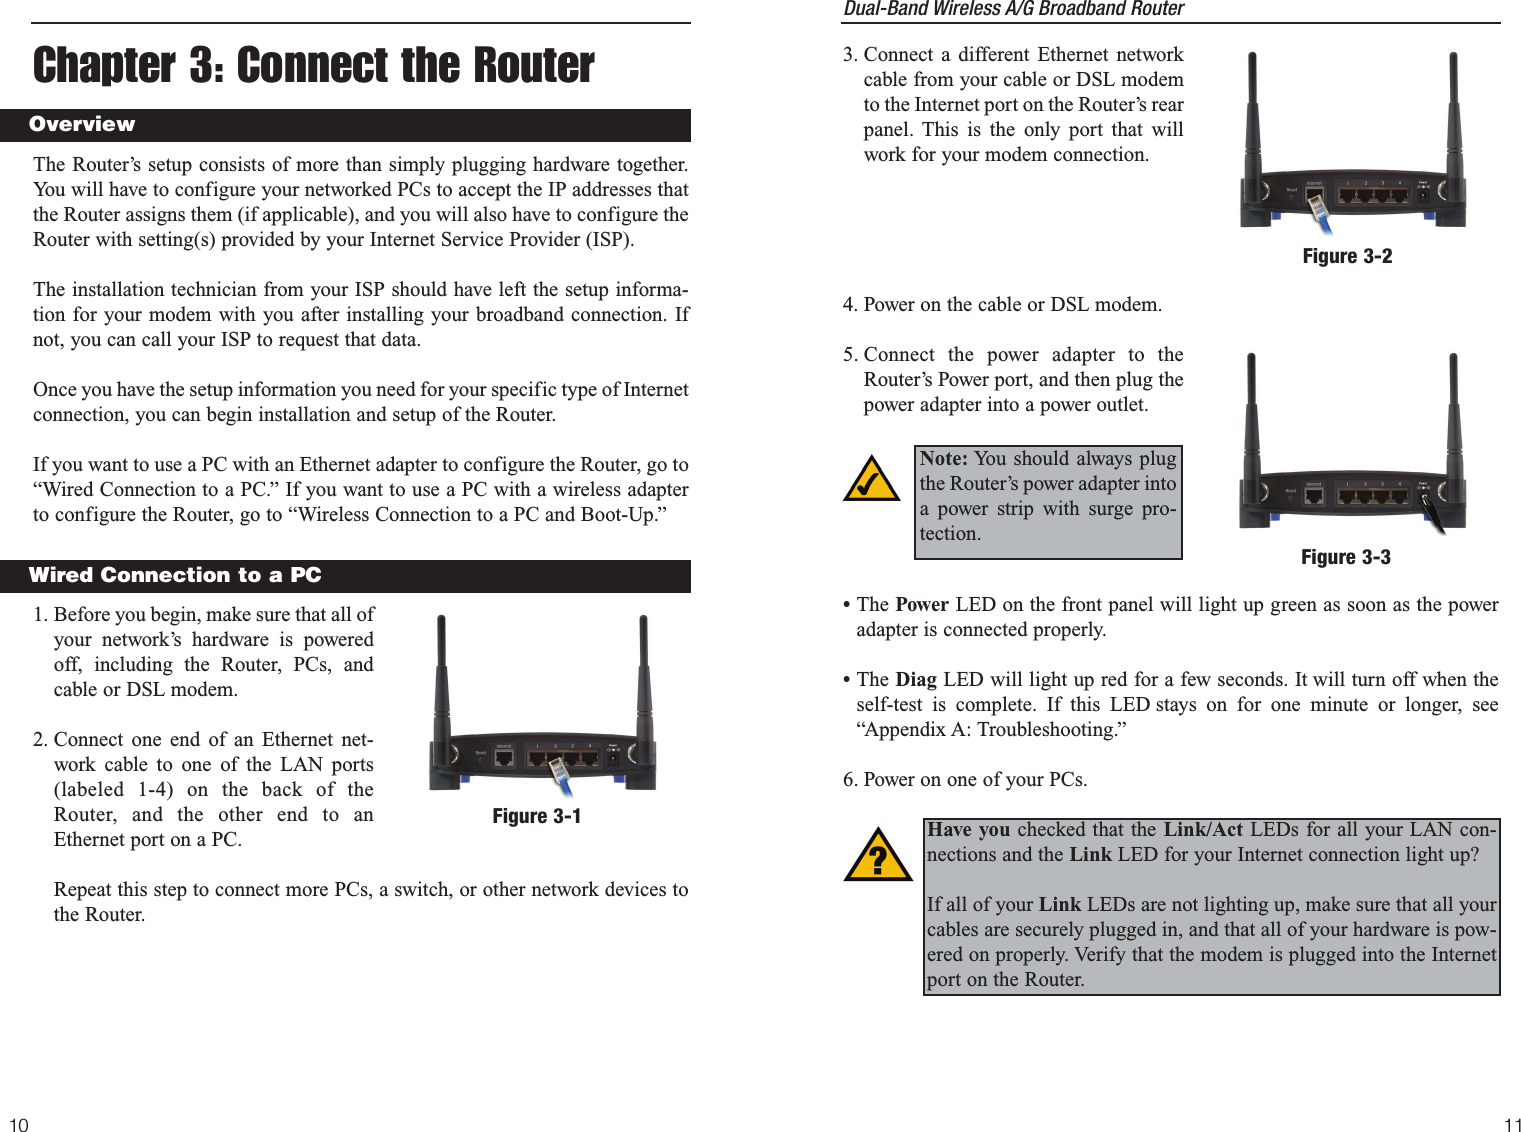
Contents
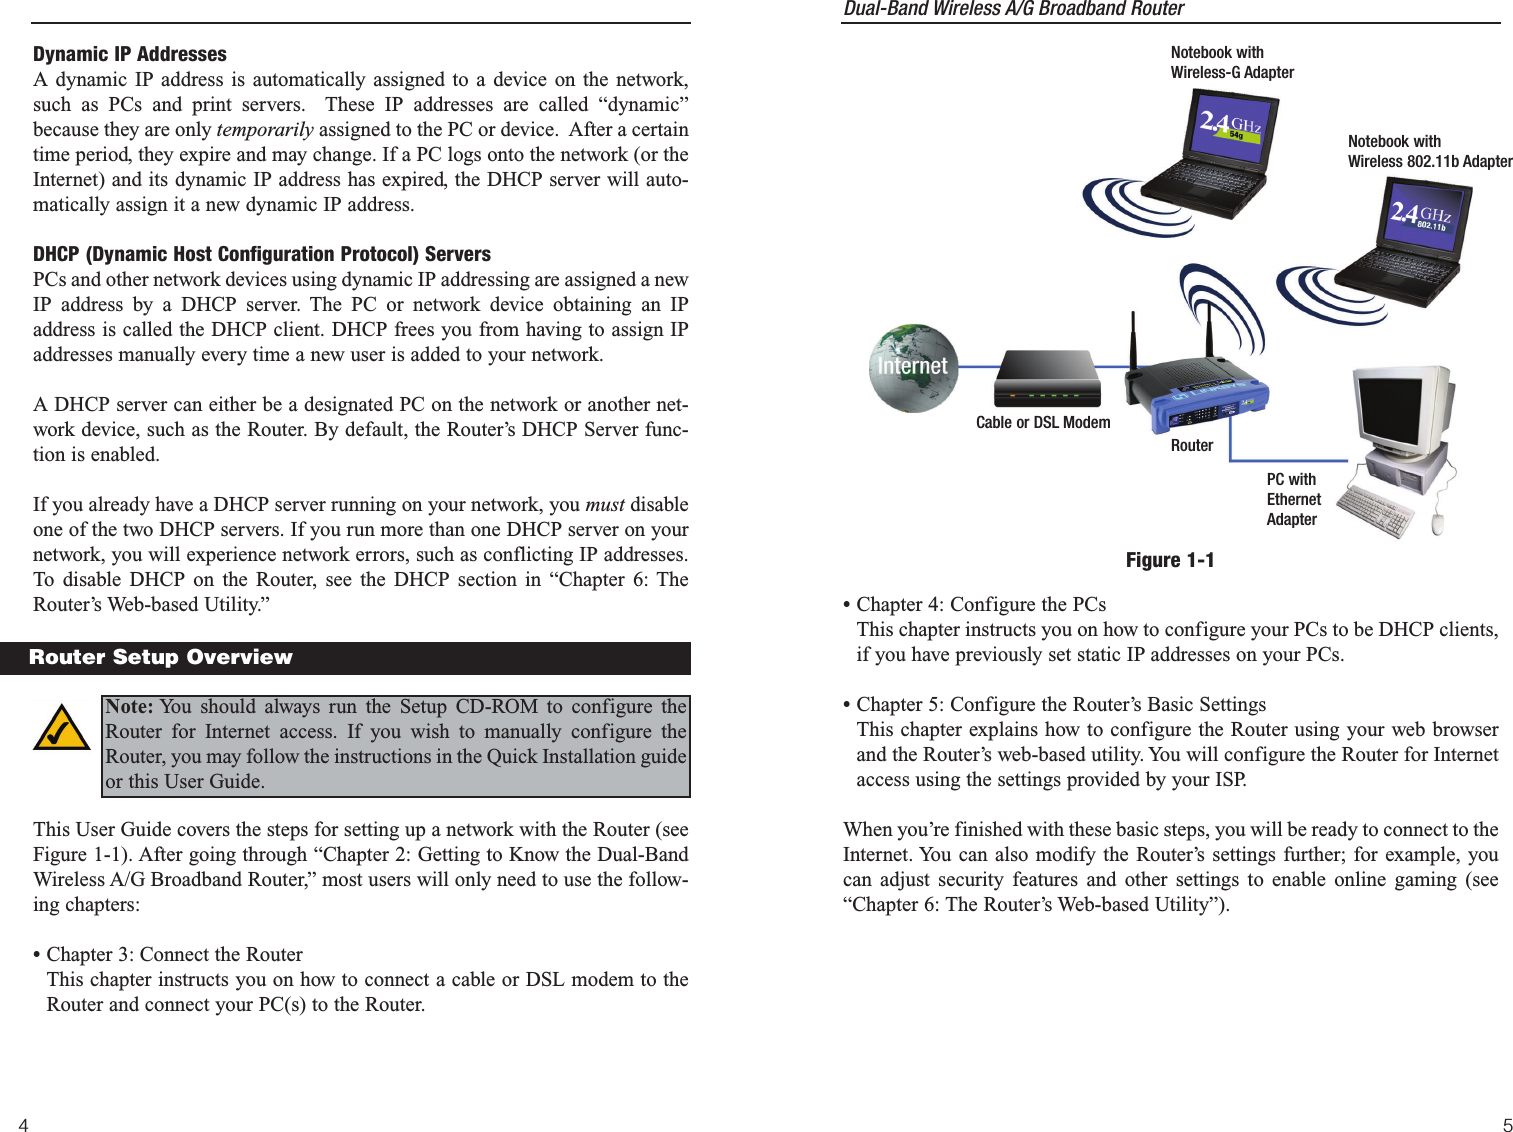
- 1. Users Manual 1
- 2. Users Manual 2
- 3. Users Manual 3
- 4. Users Manual 4
Users Manual 1