Samsung Electronics Co SLM2875FW Mono Laser Multifuction Printer User Manual BatianN english
Samsung Electronics Co Ltd Mono Laser Multifuction Printer BatianN english
Contents
- 1. Users Manual 1
- 2. Users Manual 2
- 3. Users Manual 3
- 4. Users Manual 4
Users Manual 1


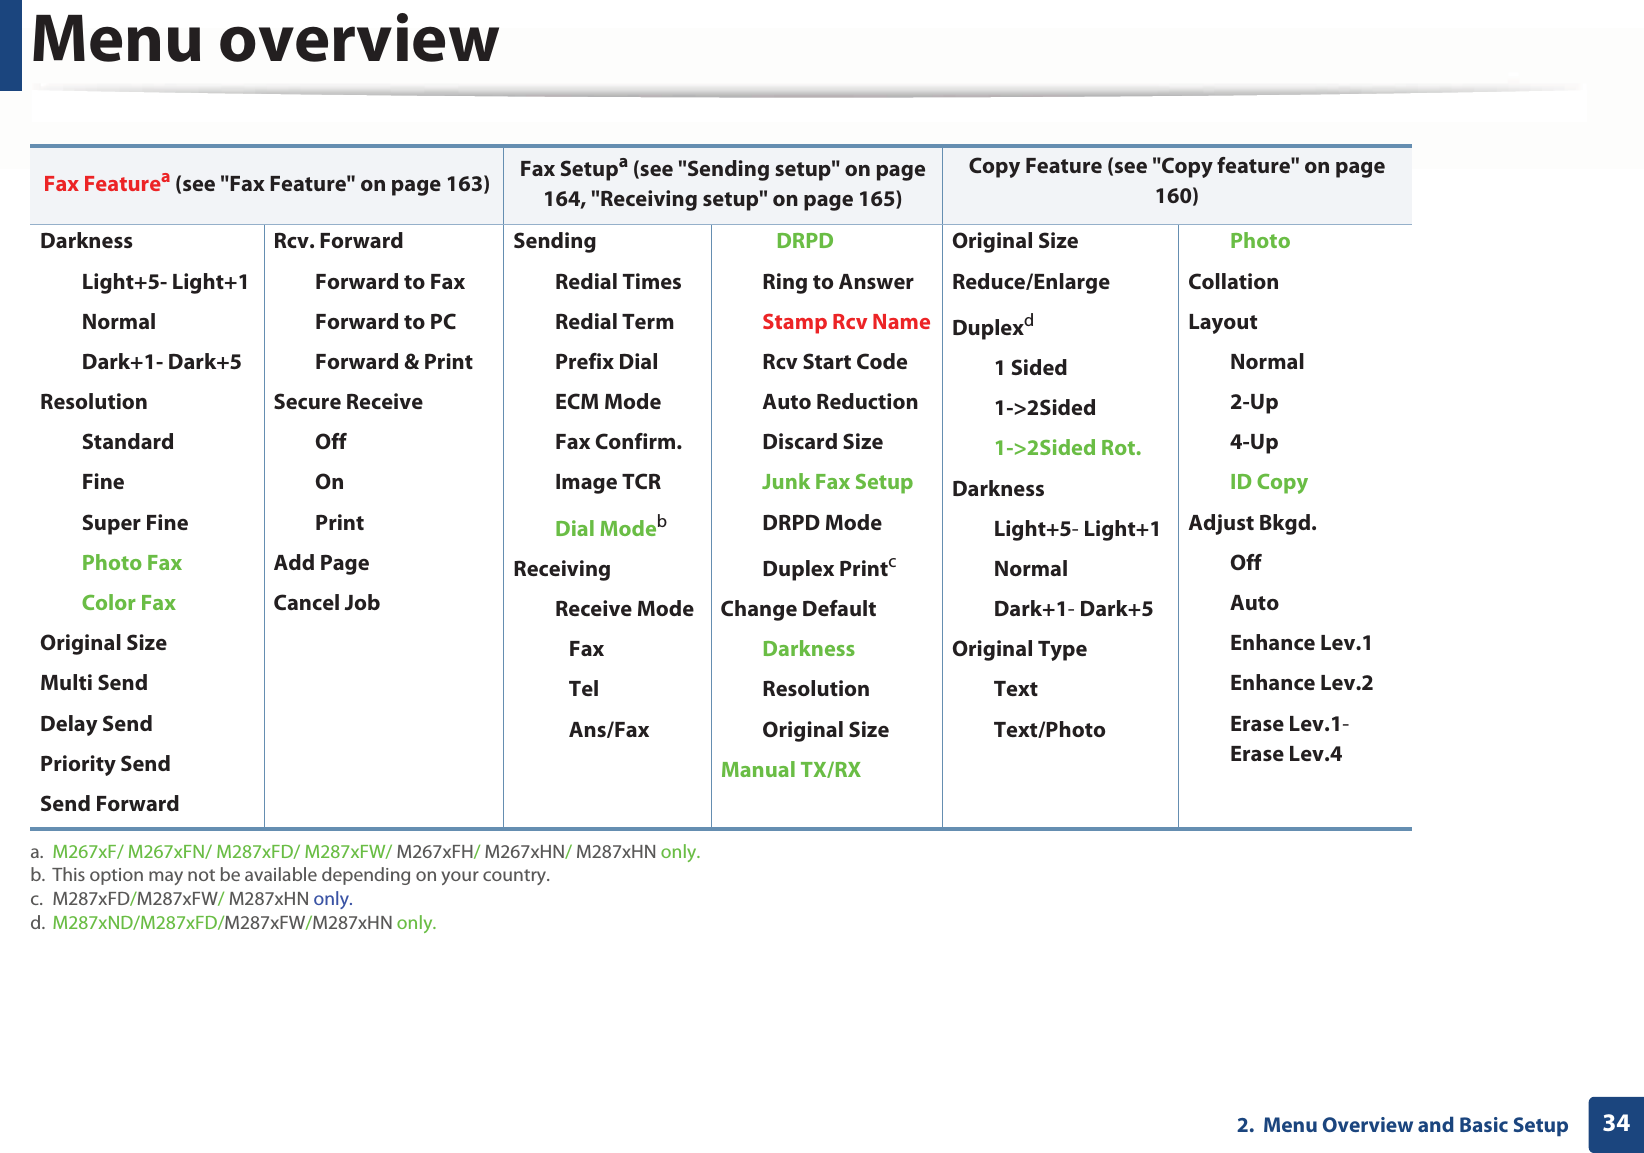

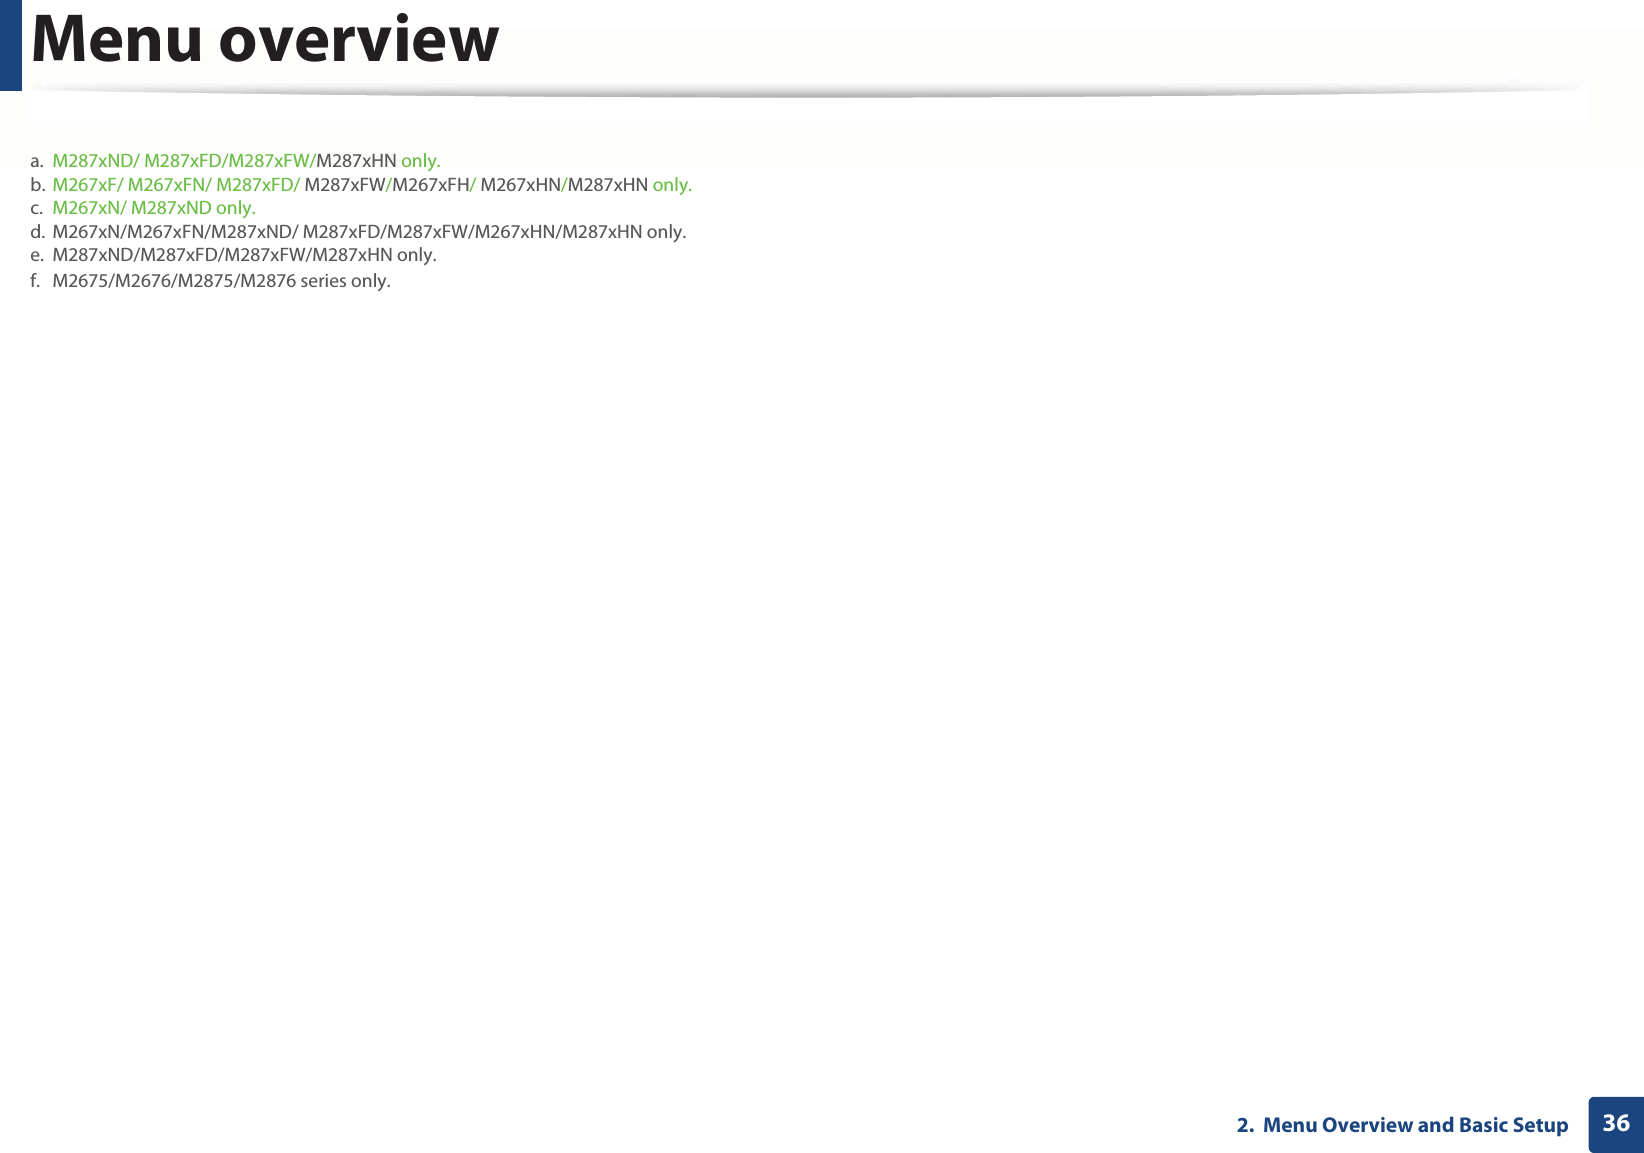
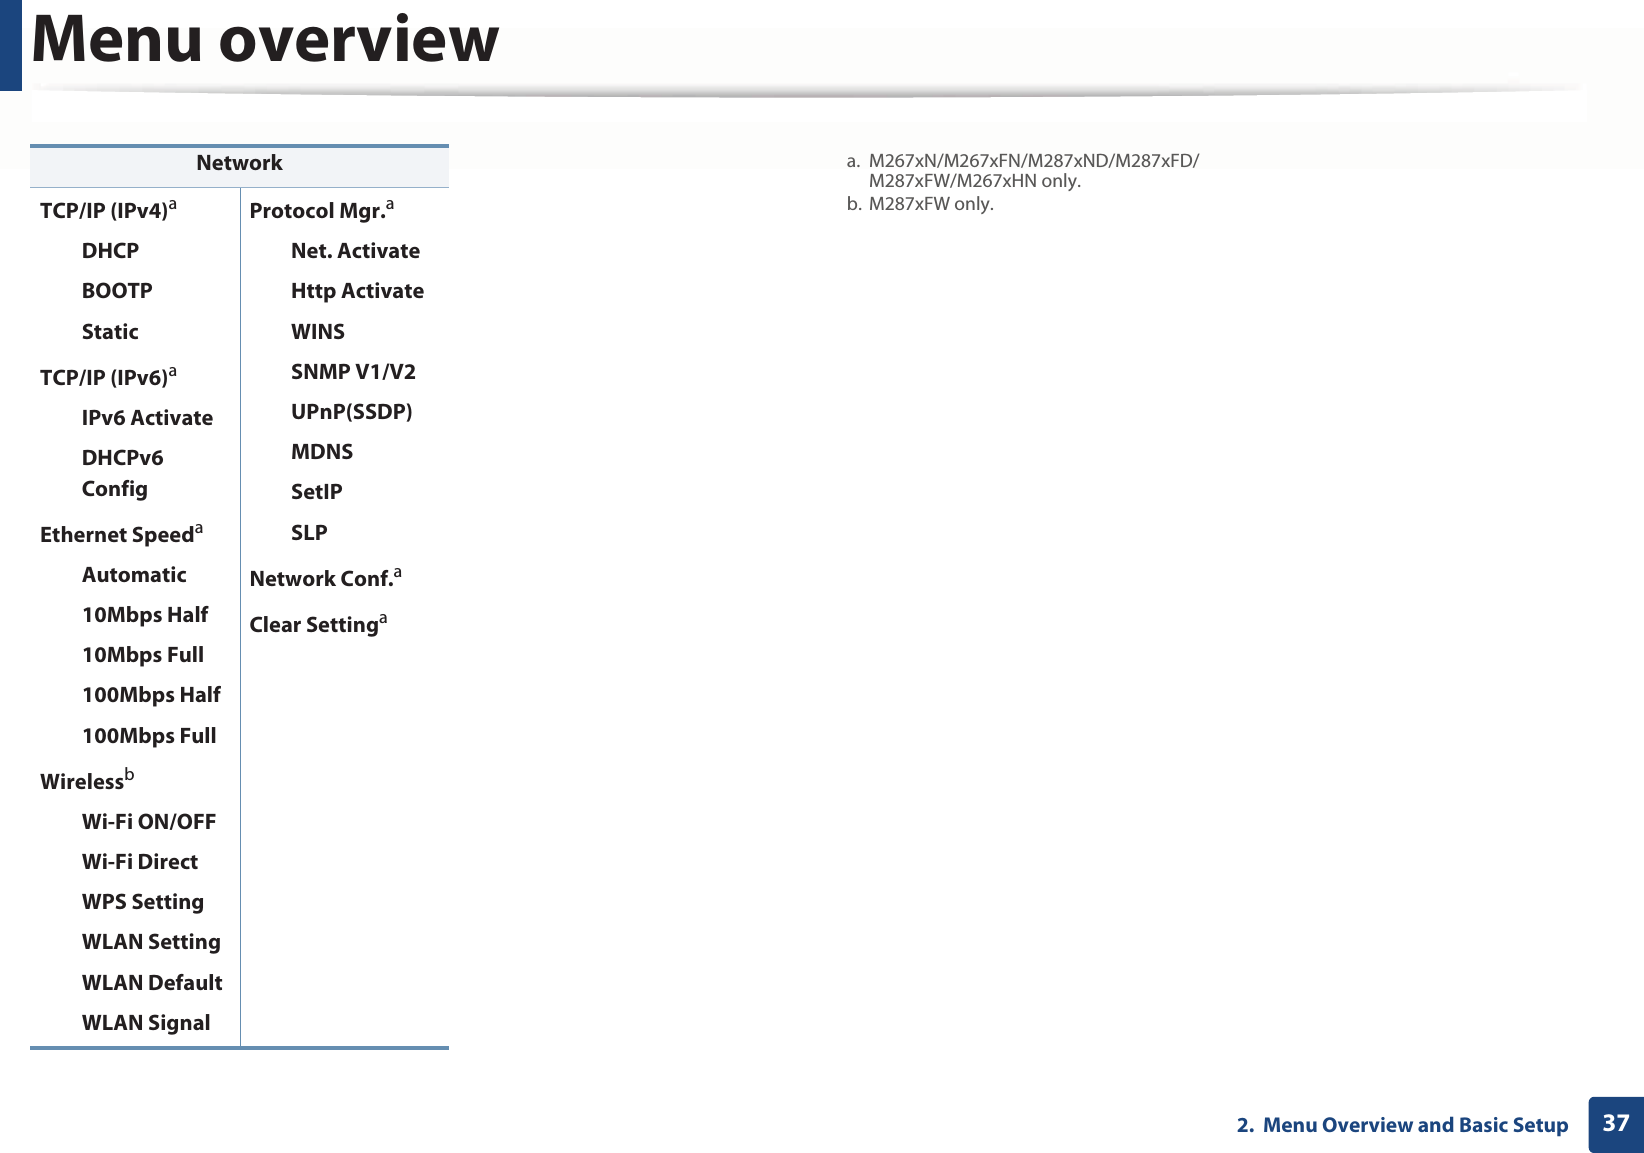
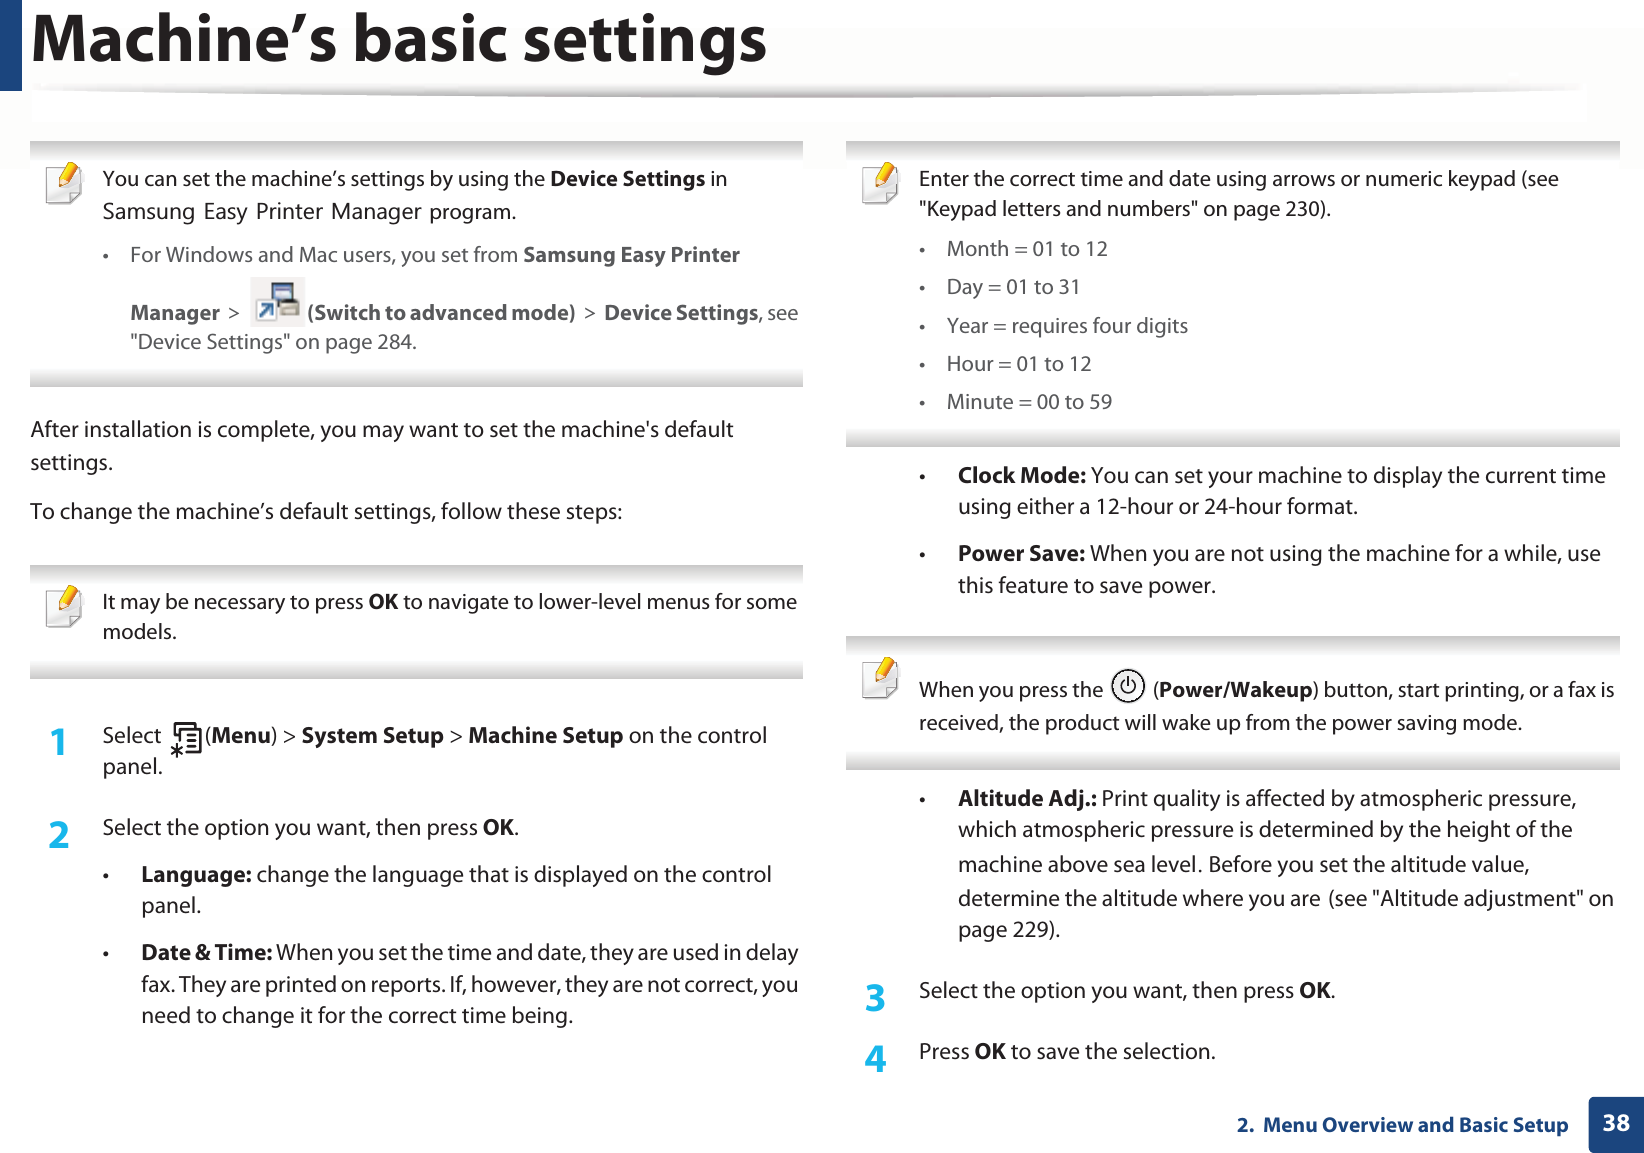


![Basic copying642. Menu Overview and Basic Setup • The original must be placed on the scanner glass to use this feature.• If the machine set to Eco mode, this feature is not available.• For better image quality, Select (copy) > (Menu) > Copy Feature > Original Type > Photo on the control panel or (Menu) > Copy Feature > Original Type > Photo. 1Press ID Copy on the control panel. 2 Place the front side of an original facing down on the scanner glass where arrows indicate as shown. Then, close the scanner lid.3 Place Front Side and Press [Start] appears on the display.4 Press Start.Your machine begins scanning the front side and shows Place Back Side and Press [Start].5 Turn the original over and place it on the scanner glass where arrows indicate as shown. Then, close the scanner lid.6 Press Start.](https://usermanual.wiki/Samsung-Electronics-Co/SLM2875FW.Users-Manual-1/User-Guide-1874774-Page-64.png)