Samsung Electronics Co SLM3065FW Multi Function Printer User Manual
Samsung Electronics Co Ltd Multi Function Printer
UserManual.wiki
>
Samsung Electronics Co
>
SLM3065FW User Manual
>
Users Manual Part 3
Contents
1.
Users Manual Part 1
2.
Users Manual Part 2
3.
Users Manual Part 3
4.
Users Manual Part 4
5.
Users Manual Part 5
6.
Users Manual Part 6
7.
Users Manual Part 7
8.
Users Manual Part 8
9.
Users Manual Part 9
10.
Users Manual Part 10
11.
Users Manual Part 11
12.
Users Manual Part 12
13.
Users Manual Part 13
Users Manual Part 3
Navigation menu
Upload a User Manual
Namespaces
Wiki Guide
HTML
PDF
Info
Views
User Manual
Discussion / Help
Navigation
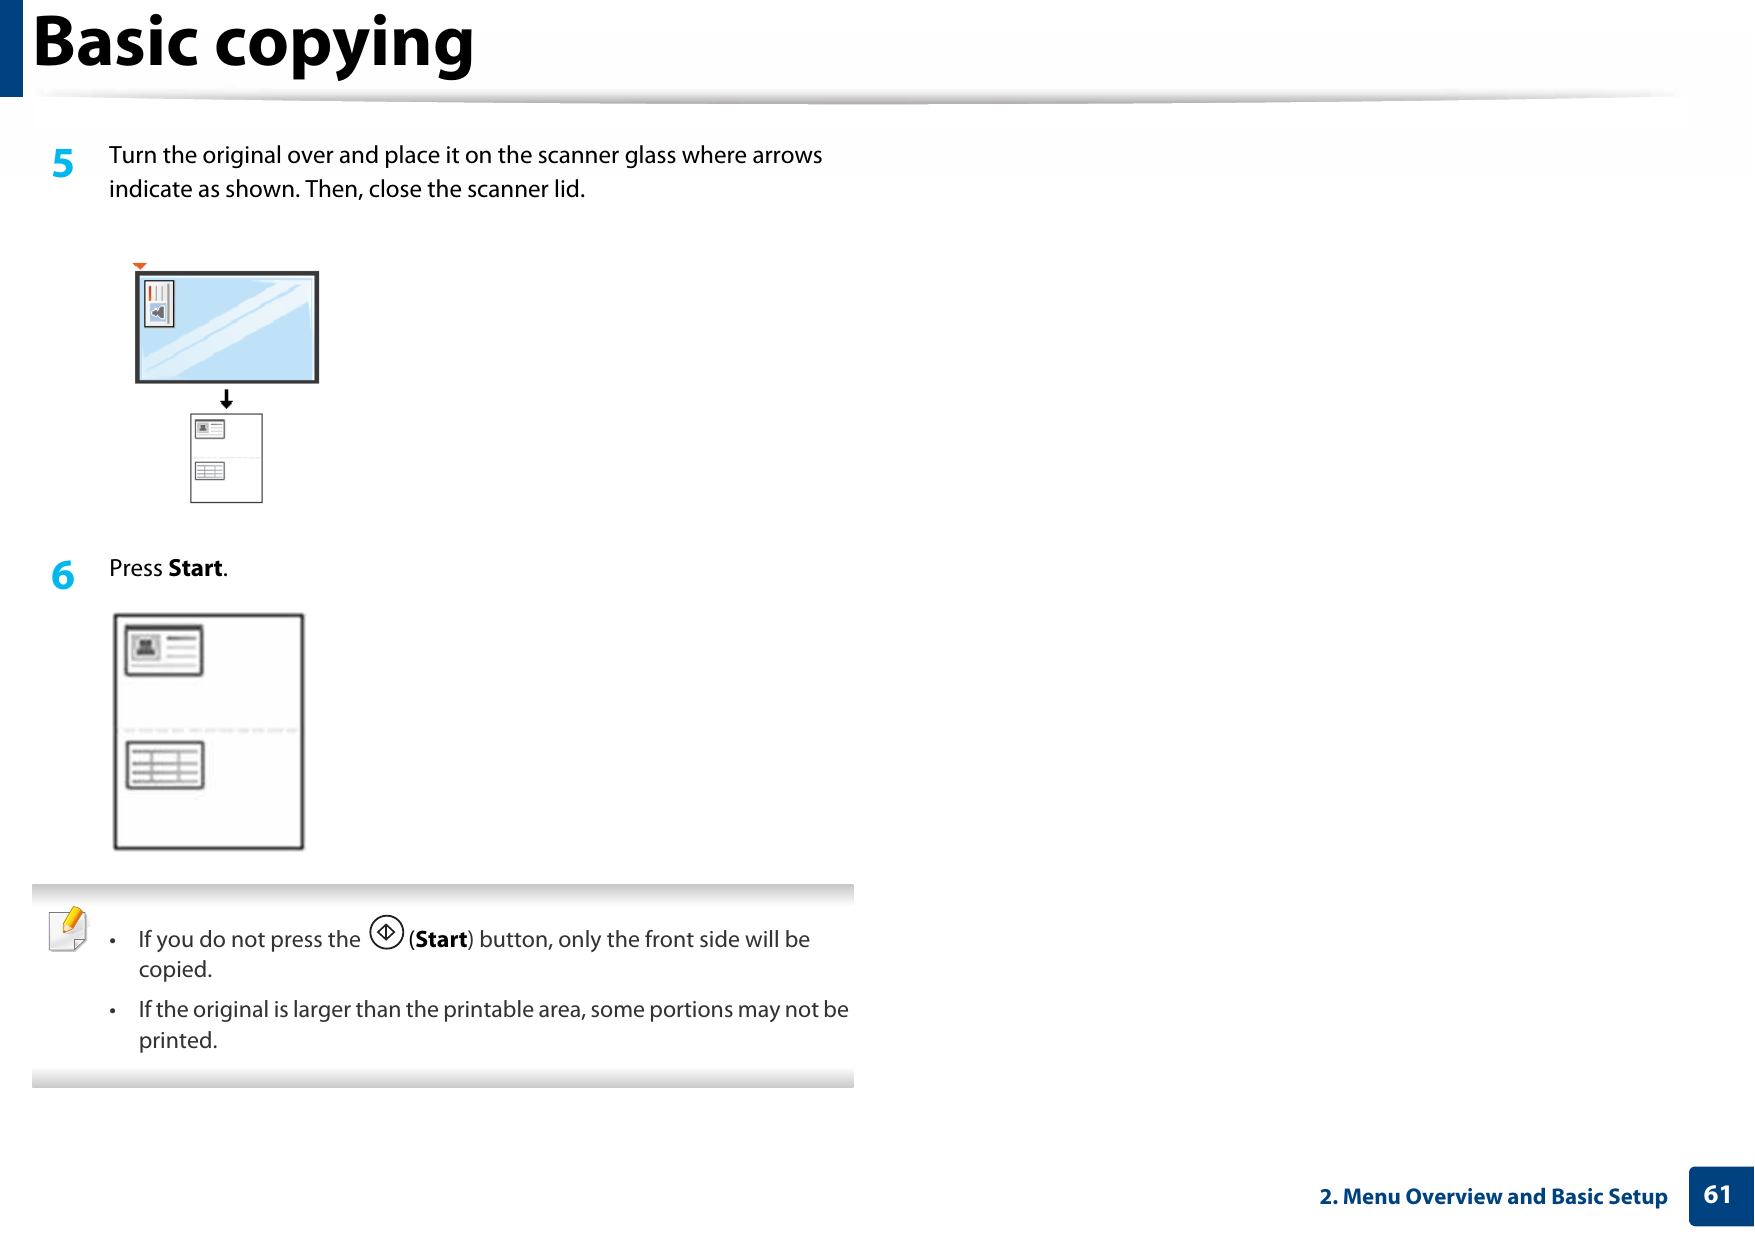
![Basic copying602. Menu Overview and Basic Setup17 ID card copyingYour machine can print 2-sided originals on one sheet.The machine prints one side of the original on the upper half of the paper and the other side on the lower half without reducing the size of the original. This feature is helpful for copying a small-sized item such as business card. • The original must be placed on the scanner glass to use this feature.• If the machine set to Eco mode, this feature is not available.• For better image quality, Select (copy) > (Menu) > Copy Feature > Original Type > Photo on the control panel or (Menu) > Copy Feature > Original Type > Photo. 1Press ID Copy on the control panel. 2 Place the front side of an original facing down on the scanner glass where arrows indicate as shown. Then, close the scanner lid.3 Place Front Side and Press [Start] appears on the display.4 Press Start.Your machine begins scanning the front side and shows Place Back Side and Press [Start].](https://usermanual.wiki/Samsung-Electronics-Co/SLM3065FW.Users-Manual-Part-3/User-Guide-2775395-Page-10.png)