Samsung Electronics Co XE300TZC Tablet PC with 802.11 abgn + BT, GPS User Manual Part 4
Samsung Electronics Co Ltd Tablet PC with 802.11 abgn + BT, GPS Part 4
Contents
- 1. User Manual Part 1
- 2. User Manual Part 2
- 3. User Manual Part 3
- 4. User Manual Part 4
- 5. User Manual Part 5
User Manual Part 4
80
81
Chapter 3.
Using the computer
Battery
Please refer to the following instructions when running the
computer on battery power without connecting the AC power.
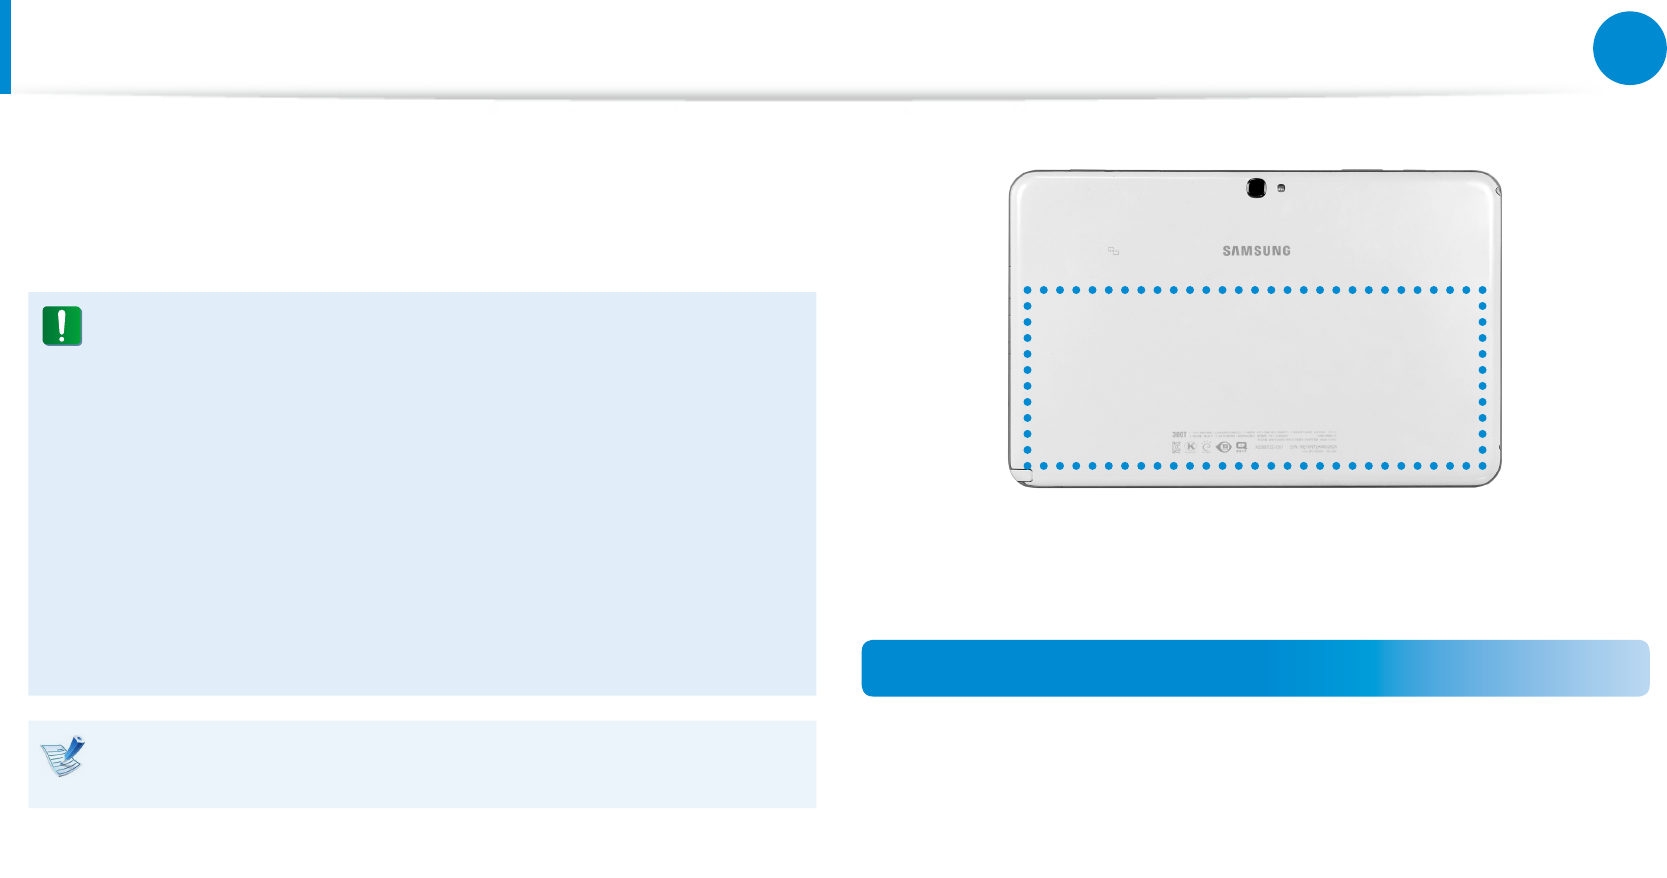
This computer is equipped with an internal battery.
Precautions
Users cannot remove or replace the internal battery. •
To remove or replace the battery, use an authorized •
service center in order to protect the product and
users. You will be charged for this service.
Use only chargers specied in the User Manual.•
Never heat the battery pack, put it near or in a re or use at • a temperature higher than 60°C, as this may cause re.
Please refer to the system operation environment of • this manual and operate and store the battery at room
temperature.
Before using the computer for the rst time, make sure to
connect the AC adapter and charge the battery completely.
The location of the internal battery
Charging the Battery
Connect the AC adapter to the power input jack of the computer.
The battery will start charging.
The Support Center program, which is Samsung’s computer’s
troubleshooting guide, supports diagnosing the system and has a
FAQ for frequently occurring problem(s).
Support Center may not be provided or may be a dierent
version depending on the model.
1 Right-click over the Start screen.
Click Support Center in the All Apps menu item.
2 Support Center is activated and starts diagnosing your
computer.
After the diagnosing process is nished, the System Status
menu displays a list of the current problems to be solved as
shown.
FAQ for
computer’s
major problems
Diagnosing
Computer and
Troubleshooting
Searching for
computer’s problems
3 You can solve a problem by clicking the Troubleshoot button
for the problem.
82
Chapter 3.
Using the computer
Battery
Measuring the Remaining Battery Charge
You can view the battery charge status by completing the
following procedures.
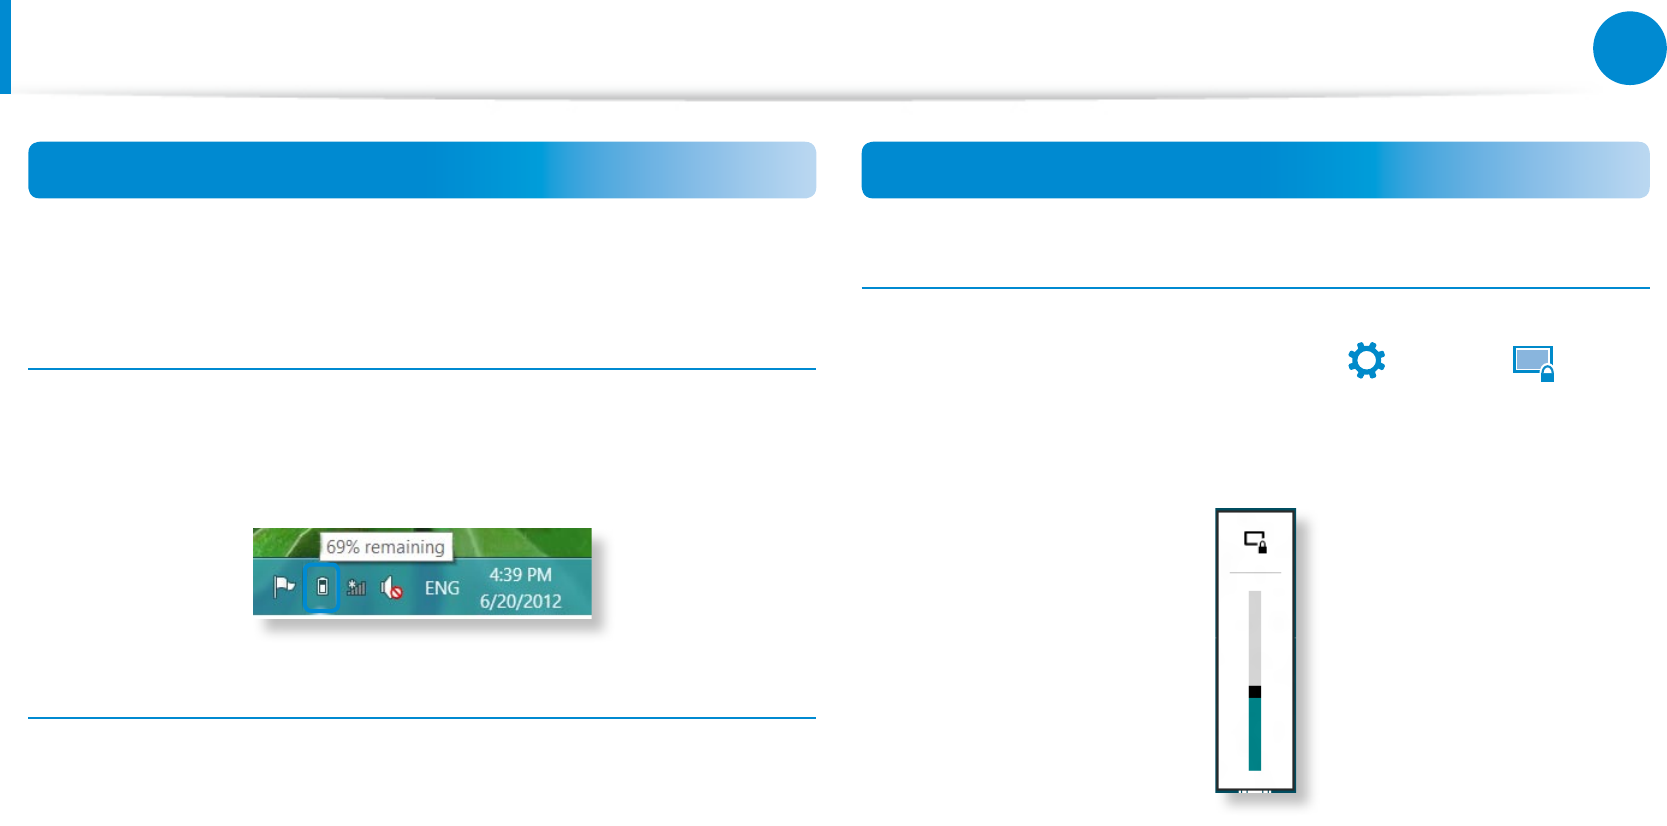
Conrming the battery charge in the Taskbar
Disconnect the AC adapter and move the mouse cursor over
the battery icon in the system tray of the Taskbar to conrm the
remaining battery charge.
Battery Usage Time Information
A battery is an expendable supply, so when using it over a long
time, the capacity/battery life is shortened. If the battery life is
reduced to under half of its initial time, we recommend purchasing
a new battery.
When not using the battery for a long time, store the battery after
charging it to 30-40% of its capacity. This extends the battery life
time.
Extending the Battery Usage Time
Decreasing the LCD Brightness
1 Click the Charms menu > Settings
áᔪ
Ŗᮁ
᯲
ᰆ⊹
ᖅᱶ
> Screen icon.
2 Dims the screen.

82
83
Chapter 3.
Using the computer
Battery
Using the power management program
This program helps you use the battery more eciently
and supports the power mode optimized for the operating
environment.
1 Click Charms menu on the Desktop > Settings
áᔪ
Ŗᮁ
᯲
ᰆ⊹
ᖅᱶ
>
Control Panel > Hardware and Sound > Power Options.
Alternatively, right-click the power measuring device icon
in the notication area of the taskbar and select Power
Options.
2 If the following screen appears, select one of the modes.

84
Chapter 3.
Using the computer
BIOS Setup
You can check the status of the sytem (CPU, memory, BIOS version,
etc.) in Setup.
Since incorrect settings may cause your system to •
malfunction or crash, take care when conguring the BIOS.
The functions of the BIOS setup are subject to change for •
product function enhancement purposes.
The BIOS Setup menus and items may dier depending on •
your computer model.
Entering the BIOS Setup
1 Shut the computer down.
2 Press the computer’s Power button.
When the Samsung logo screen appears, repeatedly press
the Home
áᔪ
Ŗᮁ
᯲
ᰆ⊹
ᖅᱶ
button.
3 After a moment, the BIOS setup screen appears.
The items in the BIOS setup may dier depending on the
product.
84
85
Chapter 3.
Using the computer
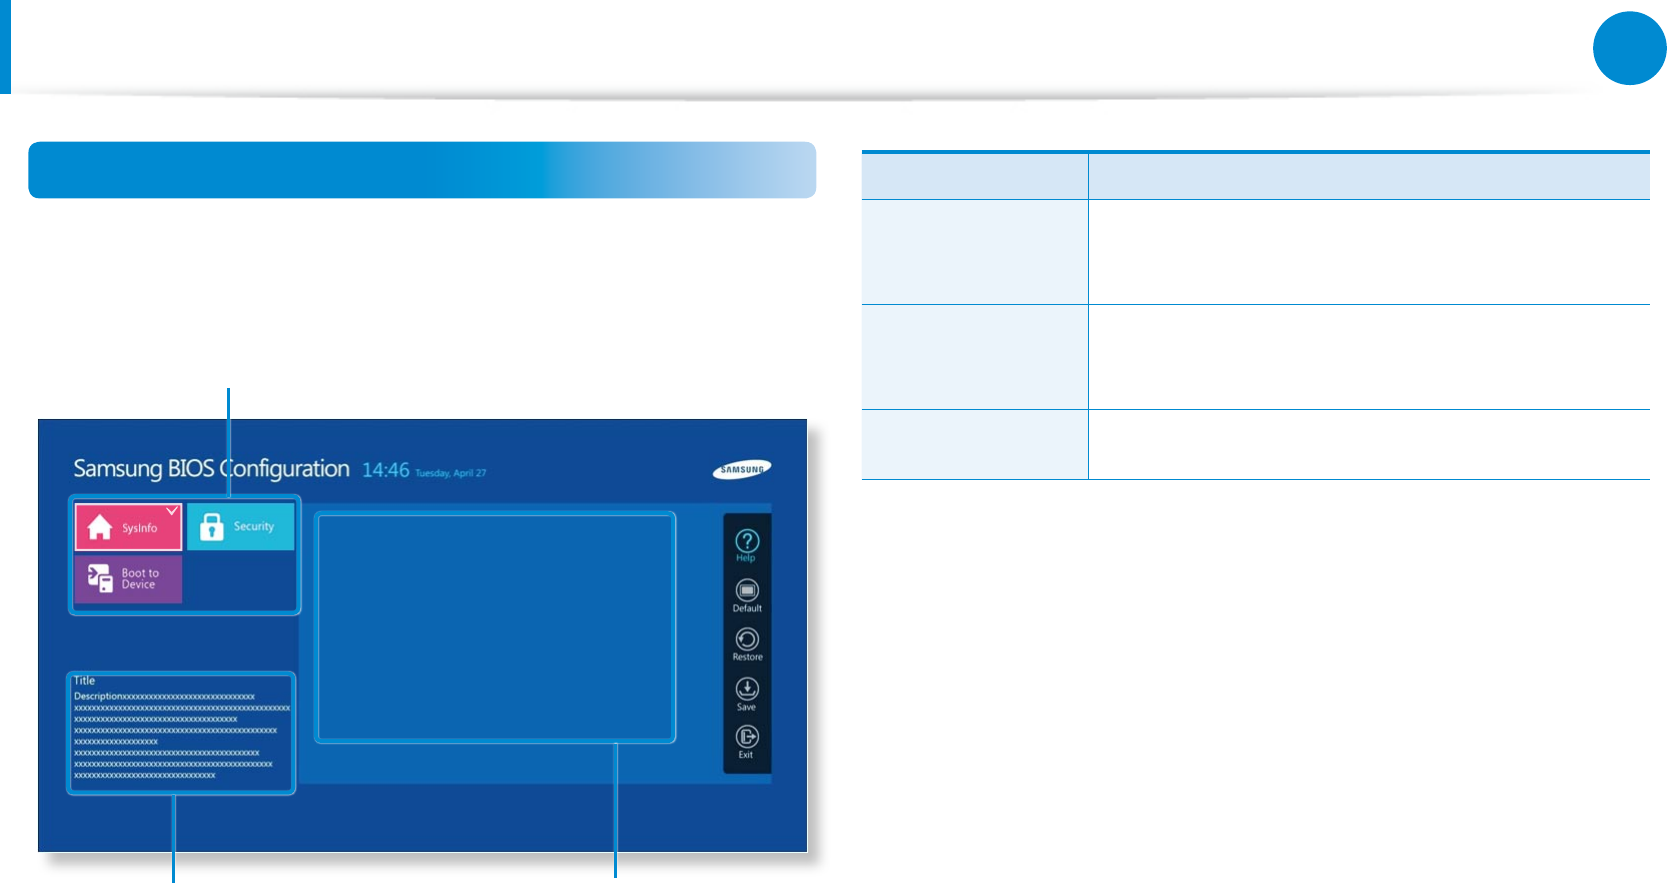
The BIOS Setup Screen
Select each Setup menu by tapping it and conguring each of the
settings.
Storage Device e-Multi Media Card
CPU Vender Intel(R)
CPU Type Atom(TM) CPU Z2760
CPU Speed 1.80 GHz
Total Memory 2048 MB
BIOS Version PXXXXX
MICOM Version PXXXXX
Aptio Setup Utility - Copyright (C) 2013 American Megatrends, Inc.
Setup Menu
Setup Items
Help
Help for the selected item
appears automatically.
Setup Menu Description
SysInfo This is a description about the basic
specications of the computer.
Security Used to congure security functions, including
passwords.
Boot to Device Enables booting from a peripheral device.
BIOS Setup
86
Chapter 3.
Using the computer
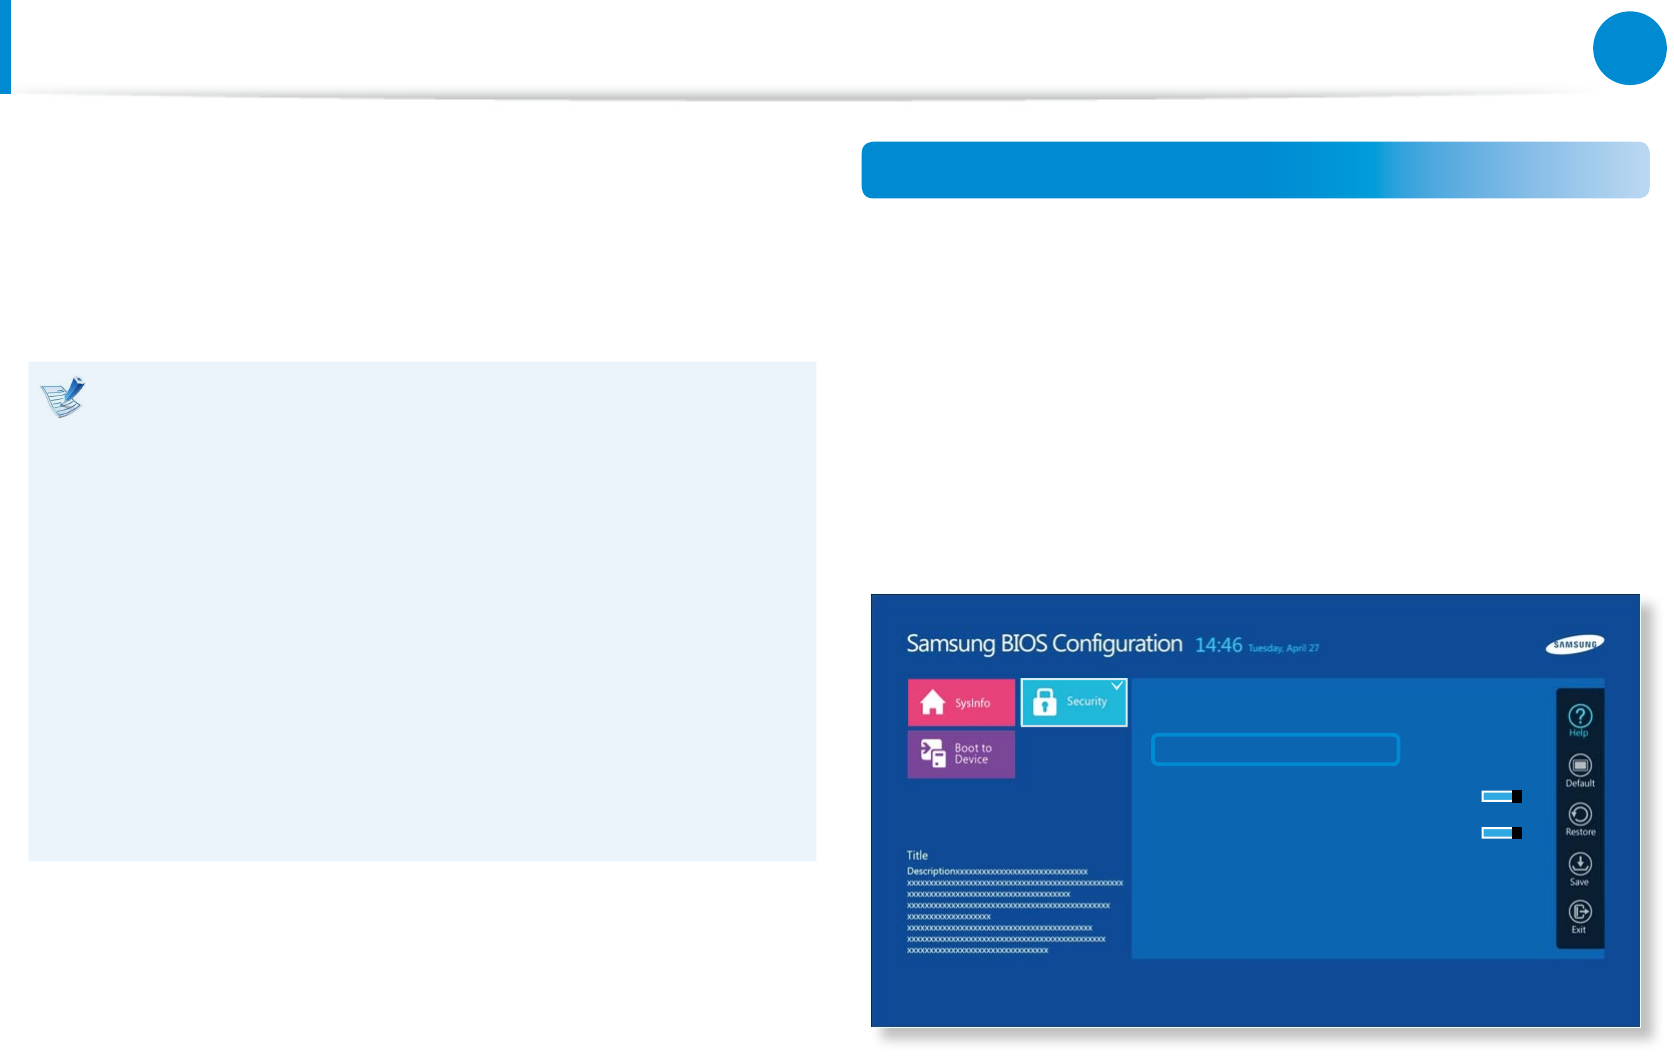
Setting a Boot Password
If you set a password, you have to enter the password when you
turn the computer on or enter the BIOS Setup.
By conguring a password, you can restrict system access to
authorized users only and protect data and les saved on the
computer.
The password setting provides the following 2 sub menus.•
(Supervisor Password and User Password)
Do not lose or forget your password. •
Do not let others know your password.•
If you forget the Supervisor Password or HDD Password, •
you will need to request assistance from the service center.
In this case, a service fee will be charged.
When you forget the User Password, you can disable •
the Supervisor Password, and the User Password is also
automatically disabled.
The screen images and terms may dier from actual •
product depending on the computer model and driver
version.
Setting a Supervisor Password
If you set a Supervisor Password, you need to enter the password
when you turn the computer on or enter the BIOS Setup.
Setting only the Supervisor Password and User Password is not
very secure.
1 Select the Security menu in the BIOS Setup.
2 In the Set Supervisor Password item, press <Enter>.
Aptio Setup Utility - Copyright (C) 2013 American Megatrends, Inc.
Supervisor Password Clear
User Password Clear
Set Supervisor Password >
Set User Password >
Password On Boot On
TPM 2.0 Device On
Secure Boot Configuration >
86
87
Chapter 3.
Using the computer
Setting a Boot Password
3 Enter a password, press <Enter>, re-enter the password for
conrmation, and press <Enter> again.
The password can be up to 20 alphanumeric characters.
Special characters are not allowed.
4 The supervisor password has been set.
The supervisor password is required to turn the computer on
or to enter the BIOS Setup.
For some models, if the password entered message appears
in the Setup Notice window, the settings are not complete
until the <Enter> key is pressed.
Setting a User Password
Using the User Password, you can turn the computer on but you
cannot change the major settings of the BIOS Setup because you
cannot enter the BIOS Setup.
This helps prevent unauthorized access to the major settings in
the BIOS Setup menu.
Before conguring a user password, a supervisor password must
have been congured. Deactivating the supervisor password also
deactivates the user password.
In the Set User Password item, press <Enter> and complete the
procedures from Step 3 of Setting a Supervisor Password.
Setting Up a Boot Password
To setup a boot password, the administrator password (Set
Supervisor Password) should be set in advance.
Set the Password on boot item to Enabled.
Once a boot password is set, you have to enter a password to boot
up the computer.
Be sure to remember the password for later use.

88
Chapter 3.
Using the computer
Setting a Boot Password
Deactivating the Password
1 Press <Enter> on the password to be deactivated. For
example, to deactivate a supervisor password in the Set
Supervisor Password item, press <Enter>.
2 In the Enter Current Password item, enter the currently
congured password and press <Enter>.
3 Leave the Enter New Password item eld empty, and press
<Enter>.
4 Leave the Conrm New Password eld empty, and press
<Enter>.
The password is deactivated.
For some models the password is only canceled if the
<Enter> key is pressed in the Setup Notice window.

Chapter 4.
Troubleshooting
Recovering the Computer (Optional) 90
Q&A 93
90
Chapter 4.
Troubleshooting
Recovering the Computer (Optional)
Recovery process from a failed boot
If your computer fails to boot up, the recovery process allows you
to restore the computer to the default (factory) status.
The menu on the screen may dier from the program’s •
version.
If the touch function on the screen does not work, connect •
an external mouse.
The restore function of the computer may delete the data •
saved on the storage device (les and programs).
Make sure to backup all your important data. Samsung •
Electronics shall not be held liable for any loss of data.
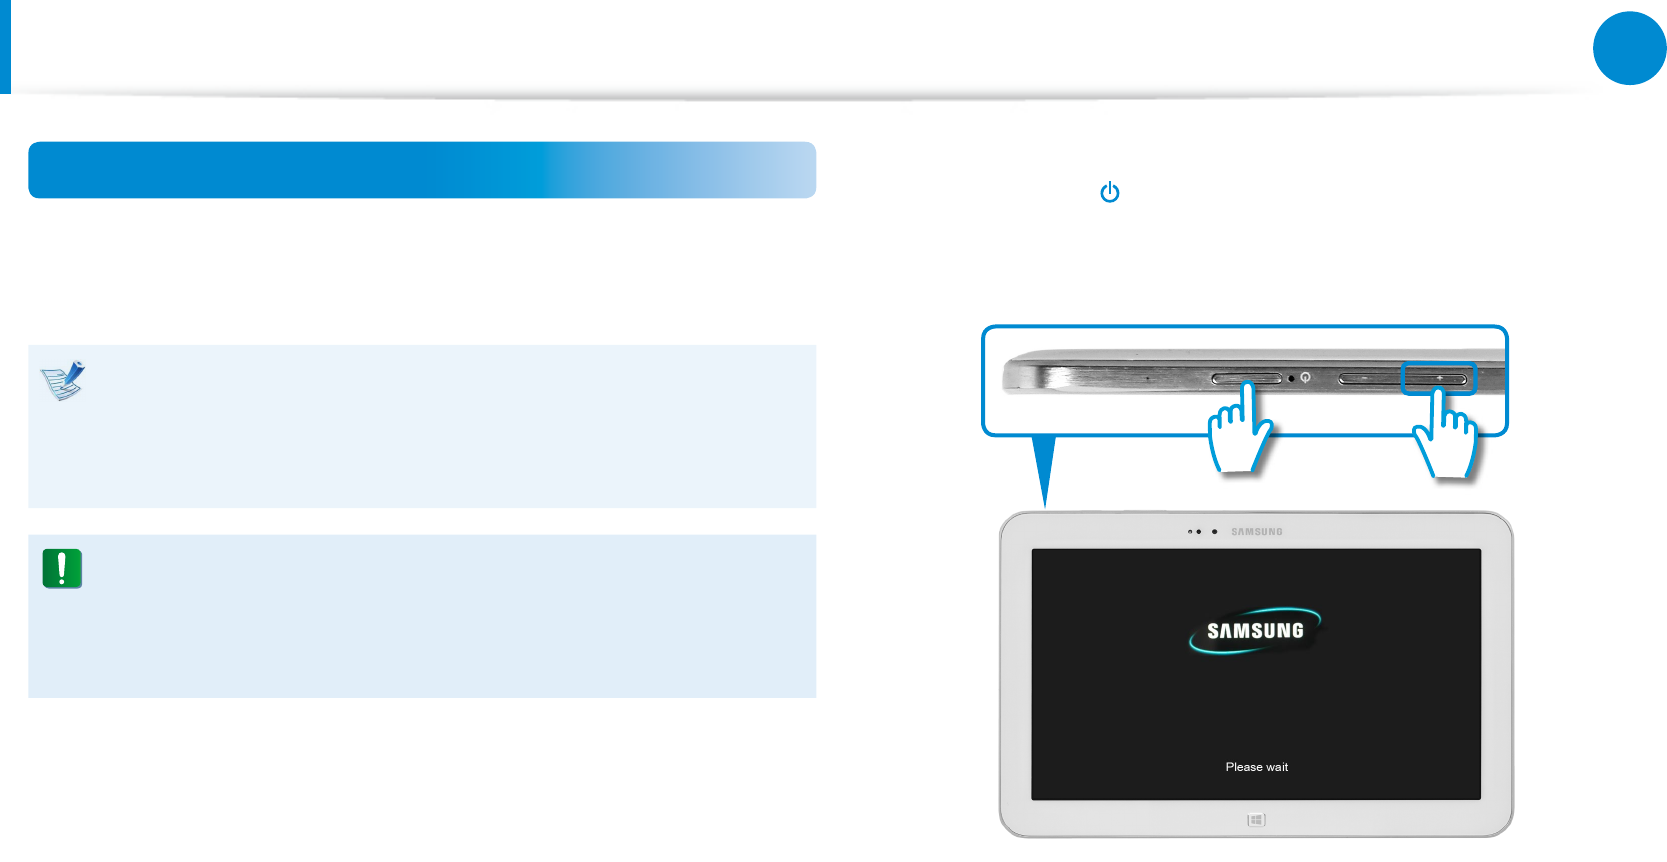
1 While pressing the Volume Control (+) button z, press the
Power button x.
Keep pressing the Volume Control (+) button until the
Please Wait message appears at the bottom of the screen.
xz
2 Recovery mode starts.
3 Select the input language of the keyboard if the language
pop-up window appears.
90
91
Chapter 4.
Troubleshooting
Recovering the Computer (Optional)
4 Press Troubleshoot > Refresh your PC or Reset your PC.
Follow the instructions on the screen.
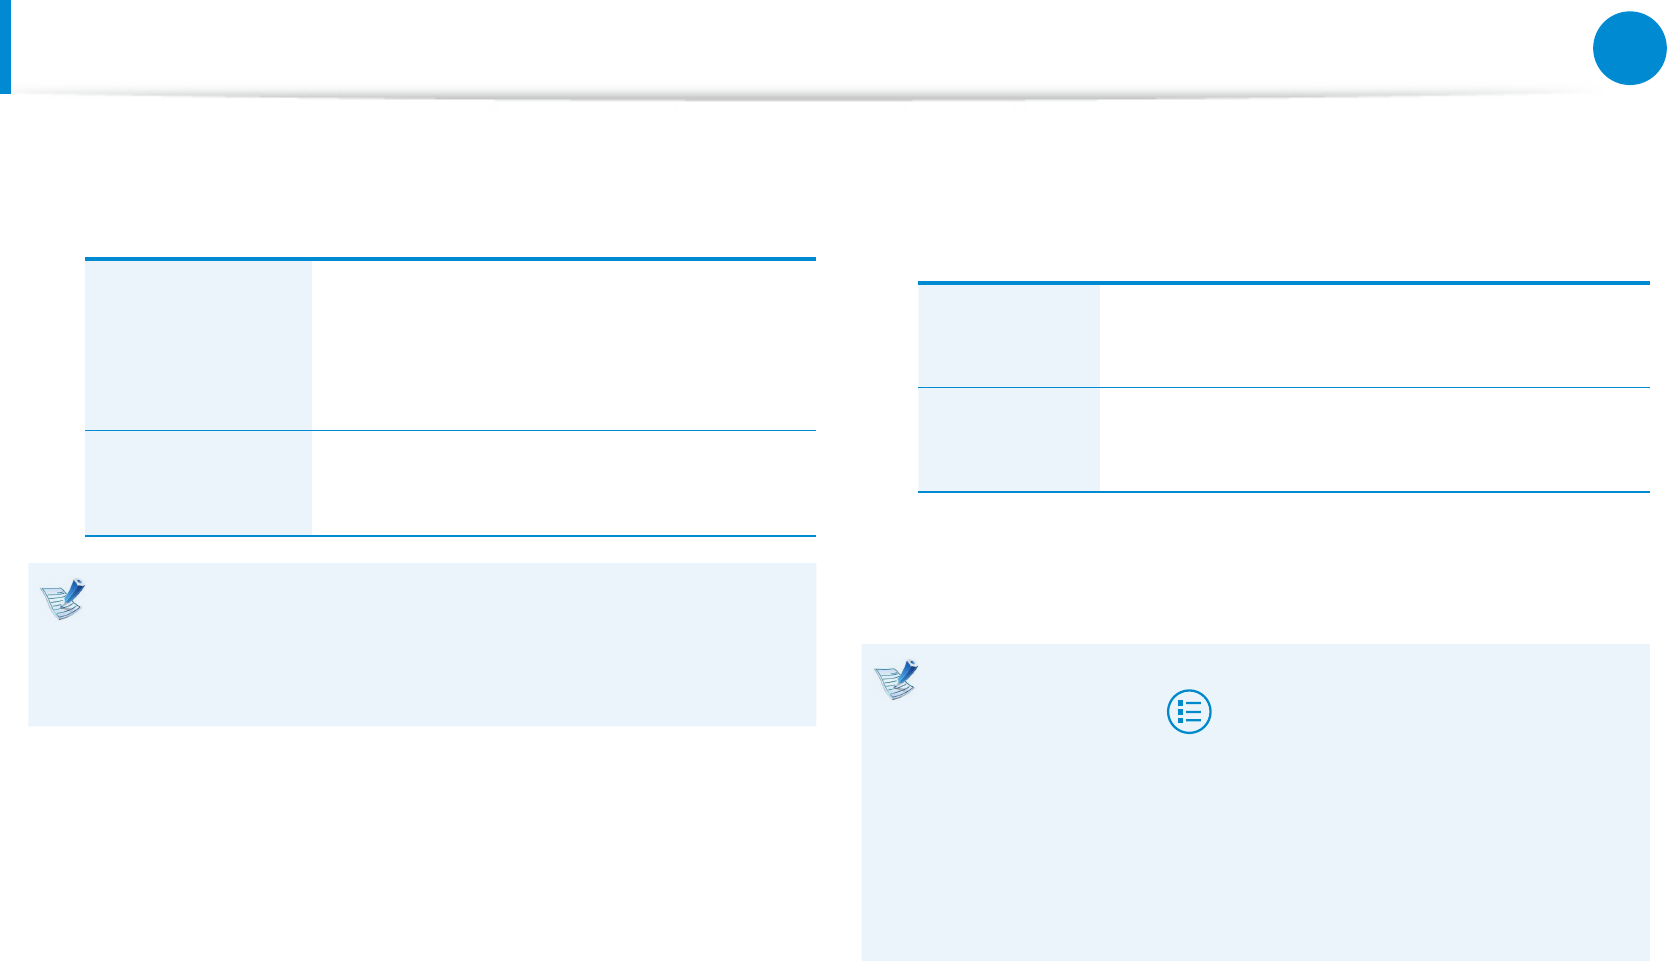
Refresh your PC
This option restores your PC while keeping
your media les such as photos, videos and
music les, etc. as well as your personal
documents.
Reset your PC This option formats your PC and restores
the Windows system.
You should back up the les in the following folders before
using the PC Recovery function since these les are not kept.
\Windows, \Program les, \Program les(x86), \ProgramData,
OEM Folder (ex) c:\samsung), \User\<user name>\AppData
►
If you choose Reset your PC, select a format type and
follow the instructions on the screen. Refer to the format
type below:
Just remove
my les
Format your PC quickly and restore the
Windows system.
Fully clean
the drive
Fully format your PC and restore the Windows
system. This may take several hours.
5 If the recovery is completed successfully, you can use your
computer normally.
You can restore required Samsung software programs •
through All Apps > SW Update.
For more information, refer to the • Samsung Software
Updates section.
Since only the minimum amount of restoration storage •
has been allocated to ensure computer operations, you
have to additionally install any required applications after
performing a restoration.
92
Chapter 4.
Troubleshooting
Recovering the Computer (Optional)
Computer Recovery Function in Windows 8
If a problem occurs with your computer, the recovery program
allows you to restore your computer to the default settings.
1 Click the Charms menu > Settings > Change PC Settings >
General.
2 Click the Start button for Refresh.... or Remove.....
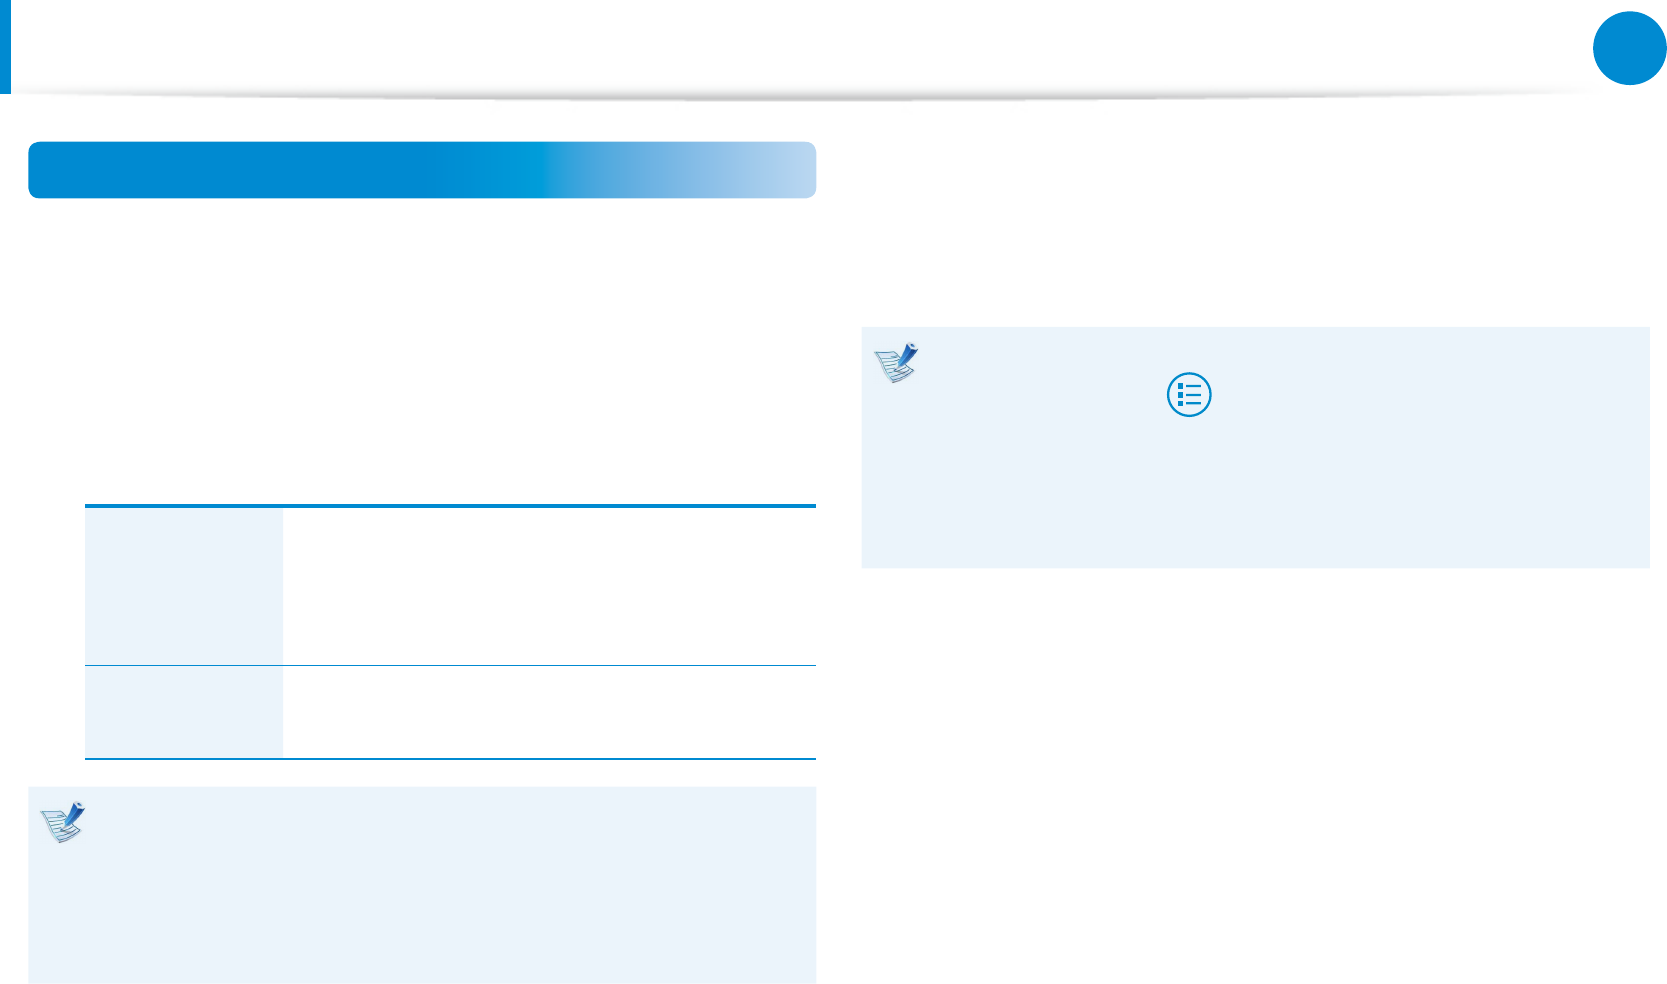
Refresh....
If your PC does not work properly, you can
restore your PC while keeping your media
les such as your photo, video and music
les, etc. as well as your personal documents.
Remove…. You can remove all items in your PC and
reinstall Windows again.
You should back up the les in the following folders
before using the PC Recovery function since these les
are not kept.
\Windows, \Program les, \Program les(x86), \ProgramData,
OEM Folder (ex) c:\samsung), \User\<user name>\AppData
3 Follow the onscreen instructions to proceed with the
recovery process.
If the recovery is complete, you can use your computer
normally.
You can restore required Samsung software programs •
through All Apps > SW Update.
Since only the minimum amount of restoration storage •
has been allocated to ensure computer operations, you
have to additionally install any required applications after
performing a restoration.

92
93
Chapter 4.
Troubleshooting
You can look for potential problems that may occur with the
system and view the relevant solutions. Also, you may look up any
reference(s) required while operating the computer.
Windows 8 Related
Q1
I cannot nd the Start button on the Desktop.
A There's no Start button in Windows 8.
You can use the Control Panel, PC-running menu(s), etc. by
activating the Charms menu.
Q2
I cannot nd the computer's Shutdown button.
A Click the Charms menu > Settings > Power to display the
Power Options menu.
Click Shutdown.
Q3
The App disappeared in the Start screen.
A Click the Charms menu > Search to display all installed
Apps. Right-click over the corresponding App to select in a
Tile in the Start Screen.
Q4
Since I'm familiar with Windows 7, I would like the
Desktop screen to appear as it does in Windows 7.
A Currently, there is no way to set the Desktop to appear by
default.
Press the Windows key + D key simultaneously to reveal
the Desktop when the Start screen appears. This is currently
the only workaround.
Q5
How can I install a printer driver?
A Run your driver installation le and follow the corresponding
instructions. You can install it in the same method as the
existing OS.
Refer to your printer manual for detailed instructions for
each model.
Q&A

94
Chapter 4.
Troubleshooting
Q6
How can I uninstall the driver?
A On the Desktop, click Charms menu > Settings > Control
Panel > Programs and Features.
Click the program. Then click uninstall.
Q7
How can I change the screen settings, environment
settings, type size, color, and so on?
A Click Charms menu > Settings > Change PC Settings >
Personalization. You can set the OS settings such as the
screen design, etc.
To congure your computer in detail, click the Charms
menu in Desktop > Settings > Control Panel.
You can congure your computer in the same way as
existing Windows systems.
Q8
Active X does not run in Internet Explorer on the Start
screen.
A Since Internet Explorer on the Start screen complies with the
HTML5 web standards, it does not support Active X. However,
Internet Explorer on the Desktop supports Active X.
►
How to activate Active X:
If you right-click over the Internet Explorer, the following
window appears. Press the button and click View on the
Desktop. Active X is now enabled.
Q&A

94
95
Chapter 4.
Troubleshooting
Q&A
Display Related
Q1
The Desktop displayed on the TV after connecting via
the HDMI port does not t the screen.
A Go to the Graphics Control Panel to adjust the screen
settings.
►
For Intel graphics cards
Right-click over the Desktop and go to Graphics Properties
> Display > General. Adjust the Horizontal Ratio and
Vertical Ratio settings to t your screen and click OK.
►
For AMD graphics cards
1. Right-click over the Desktop and select Graphics
Properties > Desktop and Display > My Digital Flat
Panel > Expansion Options (Digital Flat Panel).
2. Adjust the control bar to t the TV corners and click Apply.
Sound Related
Q1
I cannot hear any sound from the TV after connecting
via the HDMI port.
A 1. Right-click over the taskbar on the Desktop and click Play
Device.
2. Change the option to Digital Audio (HDMI), HDMI device,
HDMI Output or another option and click Set as Default.
Then click OK.

96
Chapter 4.
Troubleshooting
Q&A
Touch screen Related
Q1
The screen is abnormally displayed when the touch
screen has been rotated.
A The screen rotation function may not work properly
depending on the application.
To x the screen orientation, press the Rotation Lock
button.
Q2
The letters on the computer screen overlap.
A If the font size is set to large, the letters on the screen may
overlap.
In this case, select Settings > Touch Tuning > DPI Settings
and set the text size to Basic.
Chapter 5.
Appendix
Important Safety Information 98
Replacement Parts and Accessories 100
Regulatory Compliance Statements 102
WEEE Symbol Information 117
Samsung Packaging Take-Back Program 118
TCO Certied (for corresponding models only) 119
Product Specications 120
Glossary 122
Index 126

98
Chapter 5
Appendix
Safety Instructions
Your system is designed and tested to meet the latest standards
for safety of information technology equipment. However, to
ensure safe use of this product, it is important that the safety
instructions marked on the product and in the documentation are
followed.
Always follow these instructions to help guard against
personal injury and damage to your system.
Setting Up your System
Read and follow all instructions marked on the product and in •
the documentation before you operate your system. Retain all
safety and operating instructions for future use.
Do not use this product near water or a heat source such as a •
radiator.
Set up the system on a stable work surface.•
The product should be operated only with the type of power •
source indicated on the rating label.
Ensure that the electrical outlet you are using to power your •
equipment is easily accessible in case of re or short circuit.
If your computer has a voltage selector switch, make sure that •
the switch is in the proper position for your area.
Openings in the computer case are provided for ventilation. •
Do not block or cover these openings. Make sure you provide
adequate space, at least 6 inches (15 cm), around the system
for ventilation when you set up your work area. Never insert
objects of any kind into the computer ventilation openings.
Ensure that the fan vents on the bottom of the casing are clear •
at all times. Do not place the computer on a soft surface, doing
so will block the bottom vents.
If you use an extension cord with this system, make sure that the •
total power rating on the products plugged into the extension
cord does not exceed the extension cord power rating.
For Notebooks with glossy display bezels the user should •
consider the placement of the Notebook as the bezel may
cause disturbing reections from surrounding light and bright
surfaces.
Important Safety Information
Ver 3.3

98
99
Chapter 5
Appendix
Care During Use
Do not walk on the power cord or allow anything to rest on it.•
Do not spill anything on the system. The best way to avoid •
spills is to not eat or drink near your system.
Some products have a replaceable CMOS battery on the •
system board. There is a danger of explosion if the CMOS
battery is replaced incorrectly. Replace the battery with the
same or equivalent type recommended by the manufacturer.
Dispose of batteries according to the manufacturers
instructions. If the CMOS battery requires replacement insure
that a qualied technician performs the task.
When the computer is turned o, a small amount of electrical •
current still ows through the computer.
To avoid electrical shock, always unplug all power cables,
remove the battery and modem cables from the wall outlets
before cleaning the system.
Unplug the system from the wall outlet and refer servicing to •
qualied personnel if:
– The power cord or plug is damaged.
– Liquid has been spilled into the system.
– The system does not operate properly when the operating
instructions are followed.
– The system was dropped or the casing is damaged.
– The system performance changes.
The Instruction On Safety Operation of NotePC
1.When installing and operating devices please refer to safety
requirements in the user manual.
2.Devices can be used only with the equipment specied in the
technical specications of the devices.
3. If any smell of burning or smoke is detected from the computer
the unit should be switched o and battery removed. The unit
should be checked by a qualied technician before reuse.
4.Service and repair of devices should be carried out by
authorized service centers.
5.Do not allow your portable computer to operate with the base
resting directly on exposed skin for extended periods of time.
The surface temperature of the base will rise during normal
operation (particularly when AC Power is present). Allowing
sustained contact with exposed skin can cause discomfort or
eventually a burn.
Important Safety Information
100
Chapter 5
Appendix
Replacement Parts and Accessories
Use only replacement parts and accessories recommended by
manufacturer.
To reduce the risk of re, use only No. 26 AWG or larger
telecommunications line cord.
Do not use this product in areas classied as hazardous.
Such areas include patient care areas of medical and dental
facilities, oxygen rich environments, or industrial areas.
Battery Disposal
Do not put rechargeable batteries or products powered by
non-removable rechargeable batteries in the garbage.
Contact the Samsung Helpline for information on how to dispose
of batteries that you cannot use or recharge any longer.
Follow all local regulations when disposing of old batteries.
THERE IS A RISK OF EXPLOSION IF BATTERY IS REPLACED BY
AN INCORRECT TYPE.
DISPOSE OF USED BATTERIES ACCORDING TO THE
INSTRUCTIONS.
Laser Safety
All systems equipped with CD or DVD drives comply with the
appropriate safety standards, including IEC 60825-1. The laser
devices in these components are classied as “Class 1 Laser
Products” under a US Department of Health and Human Services
(DHHS) Radiation Performance Standard. Should the unit ever
need servicing, contact an authorized service location.
Laser Safety Note:•
Use of controls or adjustments or performance of
procedures other than those specied in this manual
may result in hazardous radiation exposure. To prevent
exposure to laser beams, do not try to open the enclosure
of a CD or DVD drive.
Class 1M laser radiation when operating part is open.•
Do not view directly with optical instruments.
Class 3B invisible laser radiation when open.•
Avoid exposure to the beam.

100
101
Chapter 5
Appendix
Replacement Parts and Accessories
Connect and Disconnect the AC adapter
The socket-outlet shall be installed near the equipment and shall
be easily accessible.
Do not unplug the power cord by pulling the cable only.
Power Cord Requirements
The power cord set (wall plug, cable and AC adapter plug) you
received with your computer meets the requirements for use in
the country where you purchased your equipment.
Power cord sets for use in other countries must meet the
requirements of the country where you use the computer. For
more information on power cord set requirements, contact your
authorized dealer, reseller, or service provider.
General Requirements
The requirements listed below are applicable to all countries:
All power cord sets must be approved by an acceptable •
accredited agency responsible for evaluation in the country
where the power cord set will be used.
The power cord set must have a minimum current capacity •
of 7 A and a nominal voltage rating of 125 or 250 volts AC, as
required by each country’s power system. (USA ONLY)
The appliance coupler must meet the mechanical conguration •
of an EN 60 320/IEC 320 Standard Sheet C7 (or C5) connector,
for mating with appliance inlet on the computer.

102
Chapter 5
Appendix
Regulatory Compliance Statements
Wireless Guidance
(If tted with 2.4G band or 5G band)
Low power, Radio LAN type devices (radio frequency (RF) wireless
communication devices), operating in the 2.4GHz/5GHz Band, may
be present (embedded) in your notebook system. The following
section is a general overview of considerations while operating a
wireless device.
Additional limitations, cautions, and concerns for specic countries
are listed in the specic country sections (or country group
sections). The wireless devices in your system are only qualied for
use in the countries identied by the Radio Approval Marks on the
system rating label. If the country you will be using the wireless
device in, is not listed, please contact your local Radio Approval
agency for requirements. Wireless devices are closely regulated
and use may not be allowed.
The RF eld strength of the wireless device or devices that may
be embedded in your notebook are well below all international
RF exposure limits as known at this time. Because the wireless
devices (which may be embedded into your notebook) emit less
energy than is allowed in radio frequency safety standards and
recommendations, manufacturer believes these devices are safe
using. Regardless of the power levels, care should be taken to
minimize human contact during normal operation.
Some circumstances require restrictions on wireless devices.
Examples of common restrictions are listed on the next page:
Radio frequency wireless communication can interfere •
with equipment on commercial aircraft. Current aviation
regulations require wireless devices to be turned o while
traveling in an airplane.
802.11ABGN (also known as wireless Ethernet or Wi) and
Bluetooth communication devices are examples of devices
that provide wireless communication.
In environments where the risk of interference to other •
devices or services is harmful or perceived as harmful,
the option to use a wireless device may be restricted or
eliminated. Airports, Hospitals, and Oxygen or ammable
gas laden atmospheres are limited examples where use
of wireless devices may be restricted or eliminated. When
in environments where you are uncertain of the sanction
to use wireless devices, ask the applicable authority for
authorization prior to use or turning on the wireless device.
Every country has dierent restrictions on the use of •
wireless devices. Since your system is equipped with
a wireless device, when traveling between countries
with your system, check with the local Radio Approval
authorities prior to any move or trip for any restrictions on
the use of a wireless device in the destination country.
If your system came equipped with an internal embedded •
wireless device, do not operate the wireless device unless
all covers and shields are in place and the system is fully
assembled.
102
103
Chapter 5
Appendix
Regulatory Compliance Statements
Wireless devices are not user serviceable. Do not modify •
them in any way. Modication to a wireless device will void
the authorization to use it. Please contact manufacturer for
service.
Only use drivers approved for the country in which •
the device will be used. See the manufacturer System
Restoration Kit, or contact manufacturer Technical Support
for additional information.
United States of America
USA and Canada Safety Requirements and Notices
Do not touch or move antenna while the unit is transmitting or
receiving.
Do not hold any component containing the radio such that the
antenna is very close or touching any exposed parts of the body,
especially the face or eyes, while transmitting.
Do not operate the radio or attempt to transmit data unless the
antenna is connected; if not, the radio may be damaged.
Use in specic environments:
The use of wireless devices in hazardous locations is limited by the
constraints posed by the safety directors of such environments.
The use of wireless devices on airplanes is governed by the Federal
Aviation Administration (FAA).
The use of wireless devices in hospitals is restricted to the limits
set forth by each hospital.
Explosive Device Proximity Warning
Do not operate a portable transmitter (such as a wireless
network device) near unshielded blasting caps or in an
explosive environment unless the device has been modied
to be qualied for such use.

104
Chapter 5
Appendix
Use On Aircraft Caution
Regulations of the FCC and FAA prohibit airborne operation
of radio-frequency wireless devices because their signals
could interfere with critical aircraft instruments.
Other Wireless Devices
Safety Notices for Other Devices in the Wireless Network:
Refer to the documentation supplied with wireless Ethernet
adapters or other devices in the wireless network.
The Part 15 radio device operates on a non-interference basis
with other devices operating at this frequency. Any changes
or modication to said product not expressly approved by
Intel could void the user’s authority to operate this device.
Unintentional Emitter per FCC Part 15
This device complies with Part 15 of the FCC Rules. Operation is
subject to the following two conditions:(1) this device may not
cause harmful interference, and (2) this device must accept any
interference received, including interference that may cause
undesired operation.
This equipment has been tested and found to comply
with the limits for a Class B digital device pursuant to Part
15 of the FCC Rules. These limits are designed to provide
reasonable protection against harmful interference in a
residential installation. This equipment generates, uses,
and can radiate radio frequency energy. If not installed
and used in accordance with the instructions, it may cause
harmful interference. If this equipment does cause harmful
interference to radio or television reception, which can be
determined by turning the equipment o and on, the user is
encouraged to try to correct the interference by one or more
of the following measures:
Reorient or relocate the receiving antenna.•
Increase the separation between the equipment and •
receiver.
Connect the equipment into an outlet on a circuit dierent •
from that to which the receiver is connected.
Consult the dealer or an experienced radio/TV technician •
for help.
Regulatory Compliance Statements

104
105
Chapter 5
Appendix
If necessary, the user should consult the dealer or an experienced
radio/television technician for additional suggestions. The user
may nd the following booklet helpful: “Something About
Interference.”
This is available at FCC local regional oces. Our company is not
responsible for any radio or television interference caused by
unauthorized modications of this equipment or the substitution
or attachment of connecting cables and equipment other than
those specied by our company. The correction will be the
responsibility of the user. Use only shielded data cables with this
system.
Intentional emitter per FCC Part 15
(If tted with 2.4G band or 5G band)
Low power, Radio LAN type devices (radio frequency (RF) wireless
communication devices), operating in the 2.4GHz/5GHz Band, may
be present (embedded) in your notebook system. This section is
only applicable if these devices are present. Refer to the system
label to verify the presence of wireless devices.
Wireless devices that may be in your system are only qualied for
use in the United States of America if an FCC ID number is on the
system label.
This device is restricted to indoor use due to its operation in the
5.15 to 5.25 GHz frequency range. FCC requires this product to be
used indoors for the frequency range 5.15 to 5.25 GHz to reduce
the potential for harmful interference to co-channel Mobile
Satellite systems. High power radars are allocated as primary users
of the 5.25 to 5.35 GHz and 5.65 to 5.85 GHz bands. These radar
stations can cause interference with and /or damage this device.
Operation of this device is subject to the following two conditions:
(1) This device may not cause harmful interference, and (2)
this device must accept any interference received, including
interference that may cause undesired operation of the device.
Wireless devices are not user serviceable. Do not modify
them in any way.
Modication to a wireless device will void the authorization
to use it. Contact manufacturer for service.
Regulatory Compliance Statements

106
Chapter 5
Appendix
Health and safety information
Exposure to Radio Frequency (RF) Signals
Certication Information (SAR)
This product can contain an embedded radio transmitter and
receiver. It is designed and manufactured not to exceed the
exposure limits for radio frequency (RF) energy set by the Federal
Communications Commission (FCC) of the U.S. government. These
FCC exposure limits are derived from the recommendations of two
expert organizations, the National Council on Radiation Protection
and Measurement (NCRP) and the Institute of Electrical and
Electronics Engineers (IEEE). In both cases, the recommendations
were developed by scientic and engineering experts drawn from
industry, government, and academia after extensive reviews of the
scientic literature related to the biological eects of RF energy.
The exposure limit set by the FCC for wireless devices employs a
unit of measurement known as the Specic Absorption Rate (SAR).
The SAR is a measure of the rate of absorption of RF energy by the
human body expressed in units of watts per kilogram (W/kg). The
FCC requires wireless devices to comply with a safety limit of 1.6
watts per kilogram (1.6 W/kg). The FCC exposure limit incorporates
a substantial margin of safety to give additional protection to the
public and to account for any variations in measurements.
SAR tests are conducted using standard operating positions
accepted by the FCC with the wireless transmitting at its highest
certied power level in all tested frequency bands. Although the
SAR is determined at the highest certied power level, the actual
SAR level of the device while operating can be well below the
maximum value. This is because the device is designed to operate
at multiple power levels so as to use only the power required to
reach the network. In general, the closer you are to a wireless base
station antenna, the lower the power output.
Before a new model is available for sale to the public, it must
be tested and certied to the FCC that it does not exceed the
exposure limit established by the FCC. Tests for each model are
performed in positions and locations (e.g. at the bottom on the
body) as required by the FCC.
For body worn operation, this model has been tested and meets
the FCC RF exposure guidelines when used with Samsung
accessory designated for this product. Non-compliance with the
above restrictions may result in violation of FCC RF exposure
guidelines.
SAR information on this and other model can be viewed on-line
at http://www.fcc.gov/oet/ea/fccid/. This site uses this product FCC
ID number on the outside of the product. Sometimes it may be
necessary to remove the battery pack to nd the number. Once
you have the FCC ID number for a particular product, follow the
instructions on the website and it should provide values for typical
or maximum SAR for a particular product.
Regulatory Compliance Statements

106
107
Chapter 5
Appendix
Canada
Unintentional Emitter per ICES-003
This digital apparatus does not exceed the Class B limits for radio
noise emissions from digital apparatus as set out in the radio
interference regulations of Industry Canada.
Le présent appareil numérique n’émet pas de bruits
radioélectriques dépassant les limitesapplicables aux appareils
numériques de Classe B prescrites dans le règlement sur le
brouillage radioélectrique édicté par Industrie Canada.
Intentional Emitter per RSS 210
This device complies with RSS 210 of Industry Canada. Operation
is subject to the following two conditions: (1) this device may not
cause interference, and (2) this device must accept any interference,
including interference that may cause undesired operation of this
device.”
L‘ utilisation de ce dispositif est autorisée seulement aux
conditions suivantes : (1) il ne doit pas produire de brouillage et (2)
l’ utilisateur du dispositif doit étre prêt à accepter tout brouillage
radioélectrique reçu, même si ce brouillage est susceptible de
compromettre le fonctionnement du dispositif.
The term “IC” before the equipment certication number only
signies that the Industry Canada technical specications were
met. To reduce potential radio interference to other users, the
antenna type and its gain should be so chosen that the equivalent
isotropically radiated power (EIRP) is not more than that required
for successful communication. To prevent radio interference
to the licensed service, this device is intended to be operated
indoors and away from windows to provide maximum shielding.
Equipment (or its transmit antenna) that is installed outdoors is
subject to licensing.
Pour empecher que cet appareil cause du brouillage au service
faisant l’objet d’une licence, il doit etre utilize a l’interieur et devrait
etre place loin des fenetres an de Fournier un ecram de blindage
maximal. Si le matriel (ou son antenne d’emission) est installe a
l’exterieur, il doit faire l’objet d’une licence.
(If tted with 2.4G band or 5G band)
Low power, Radio LAN type devices (radio frequency (RF) wireless
communication devices), operating in the 2.4GHz/5GHz Band, may
be present (embedded) in your notebook system. This section is
only applicable if these devices are present. Refer to the system
label to verify the presence of wireless devices.
Wireless devices that may be in your system are only qualied for
use in Canada if an Industry Canada ID number is on the system
label.
When using IEEE 802.11a wireless LAN, this product is restricted to
indoor use due to its operation in the 5.15- to 5.25-GHz frequency
Regulatory Compliance Statements