Shinko Electric Co 199909010001 Communication Modem Controller User Manual Power Supply Operation Manual
Shinko Electric Co Ltd Communication Modem Controller Power Supply Operation Manual
UserManual.wiki
>
Shinko Electric Co
>
199909010001 User Manual
>
Power Supply Operation Manual
Contents
1.
OHVC Operation Manual
2.
ROHV Operation Manual
3.
OHT Teaching Manual
4.
System Operation Manual
5.
Power Supply Operation Manual
6.
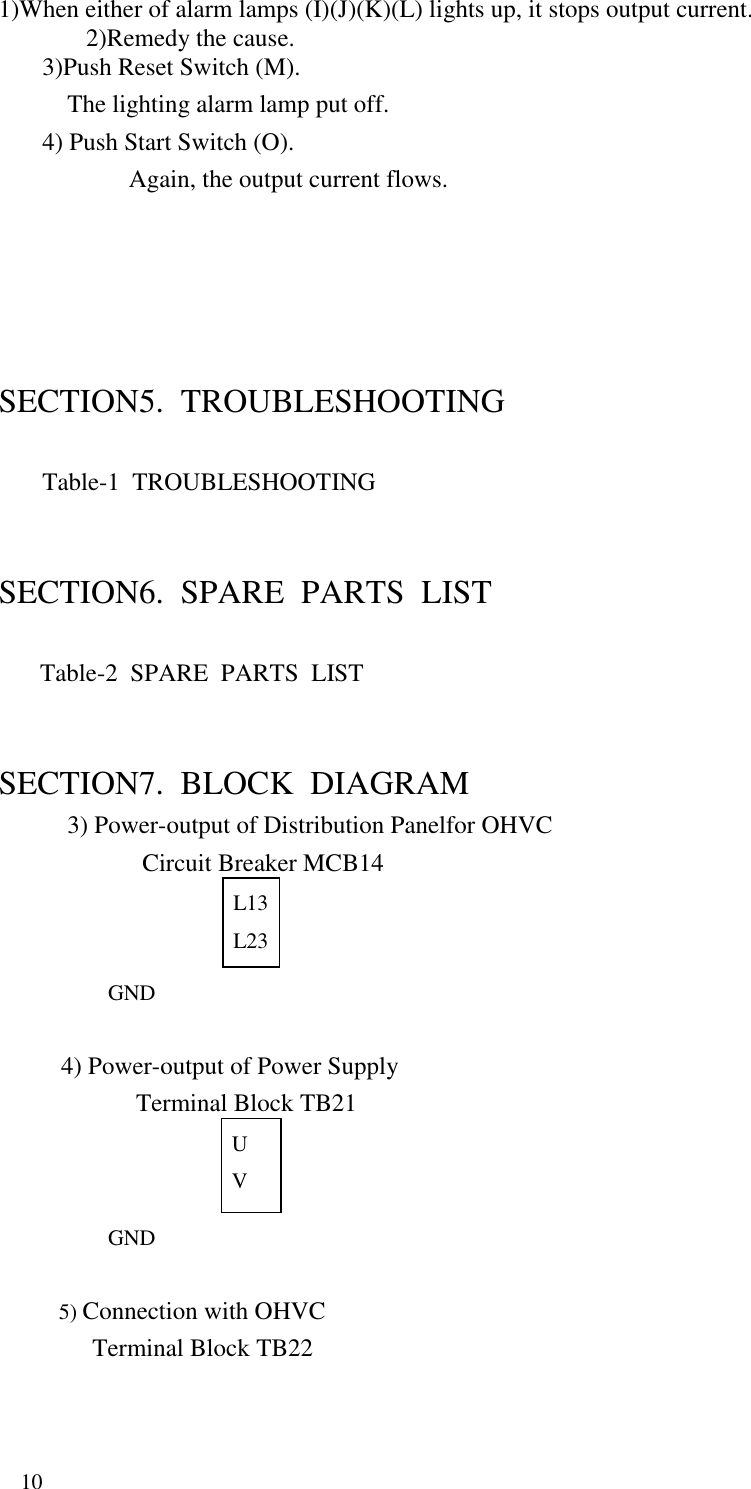
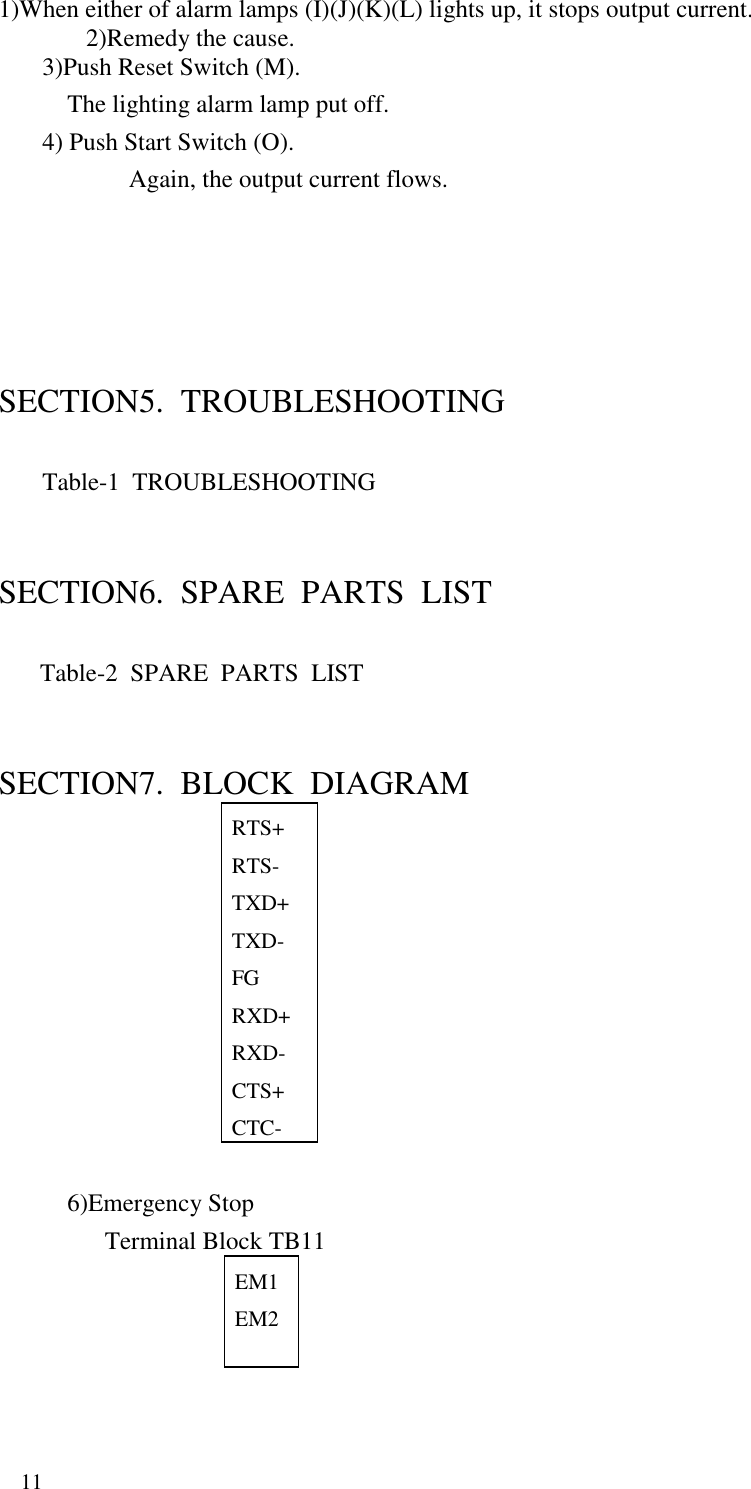
Power Supply Operation Manual Fig1
Power Supply Operation Manual
Navigation menu
Upload a User Manual
Namespaces
Wiki Guide
HTML
PDF
Info
Views
User Manual
Discussion / Help
Navigation