Sony Group PEGNZ90 Personal Entertainment Organizer with Bluetooth User Manual PDA Users Manual 1
Sony Corporation Personal Entertainment Organizer with Bluetooth PDA Users Manual 1
Contents
- 1. PDA Users Manual 1
- 2. PDA Users Manual 2
- 3. WLAN Users Manual
- 4. Users Manual
- 5. Users Manual WLAN Card
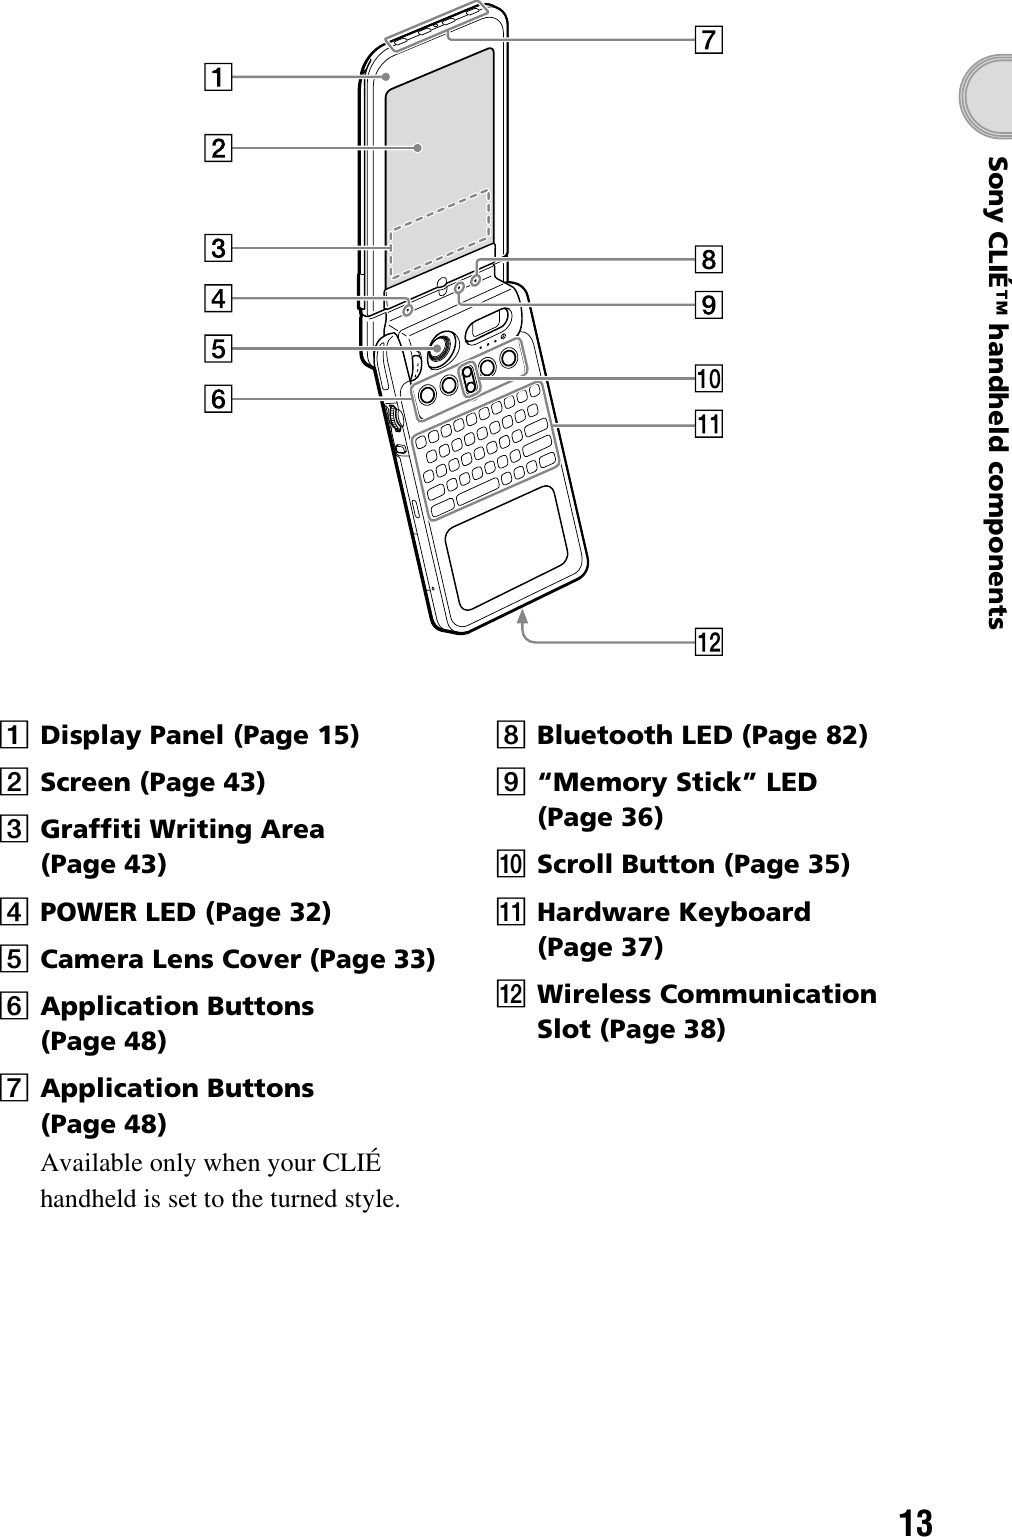
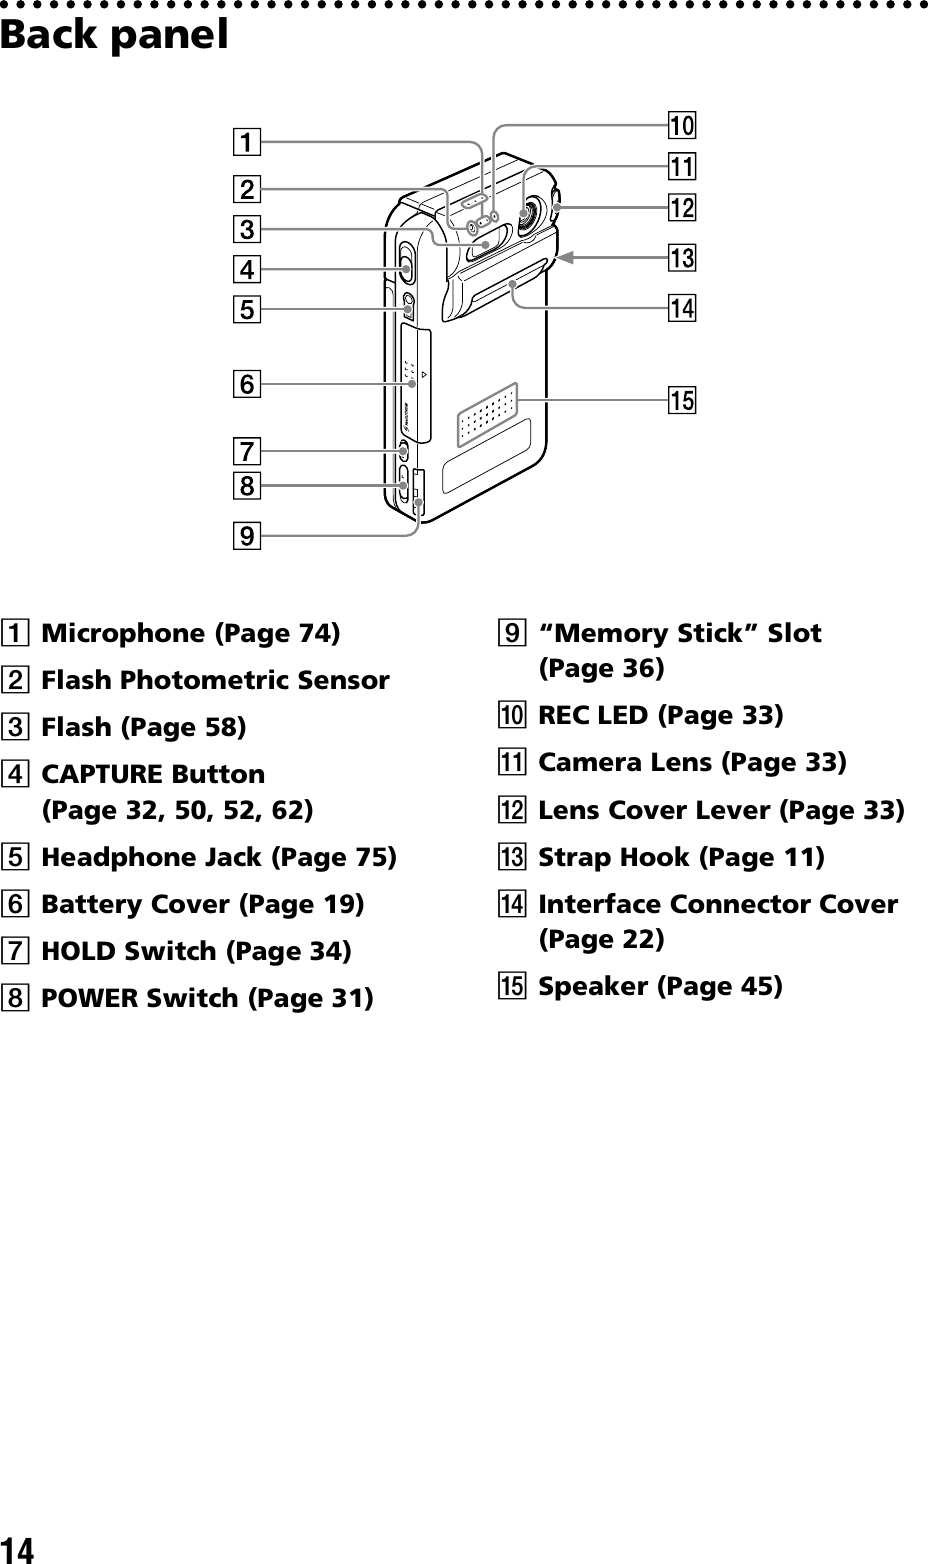
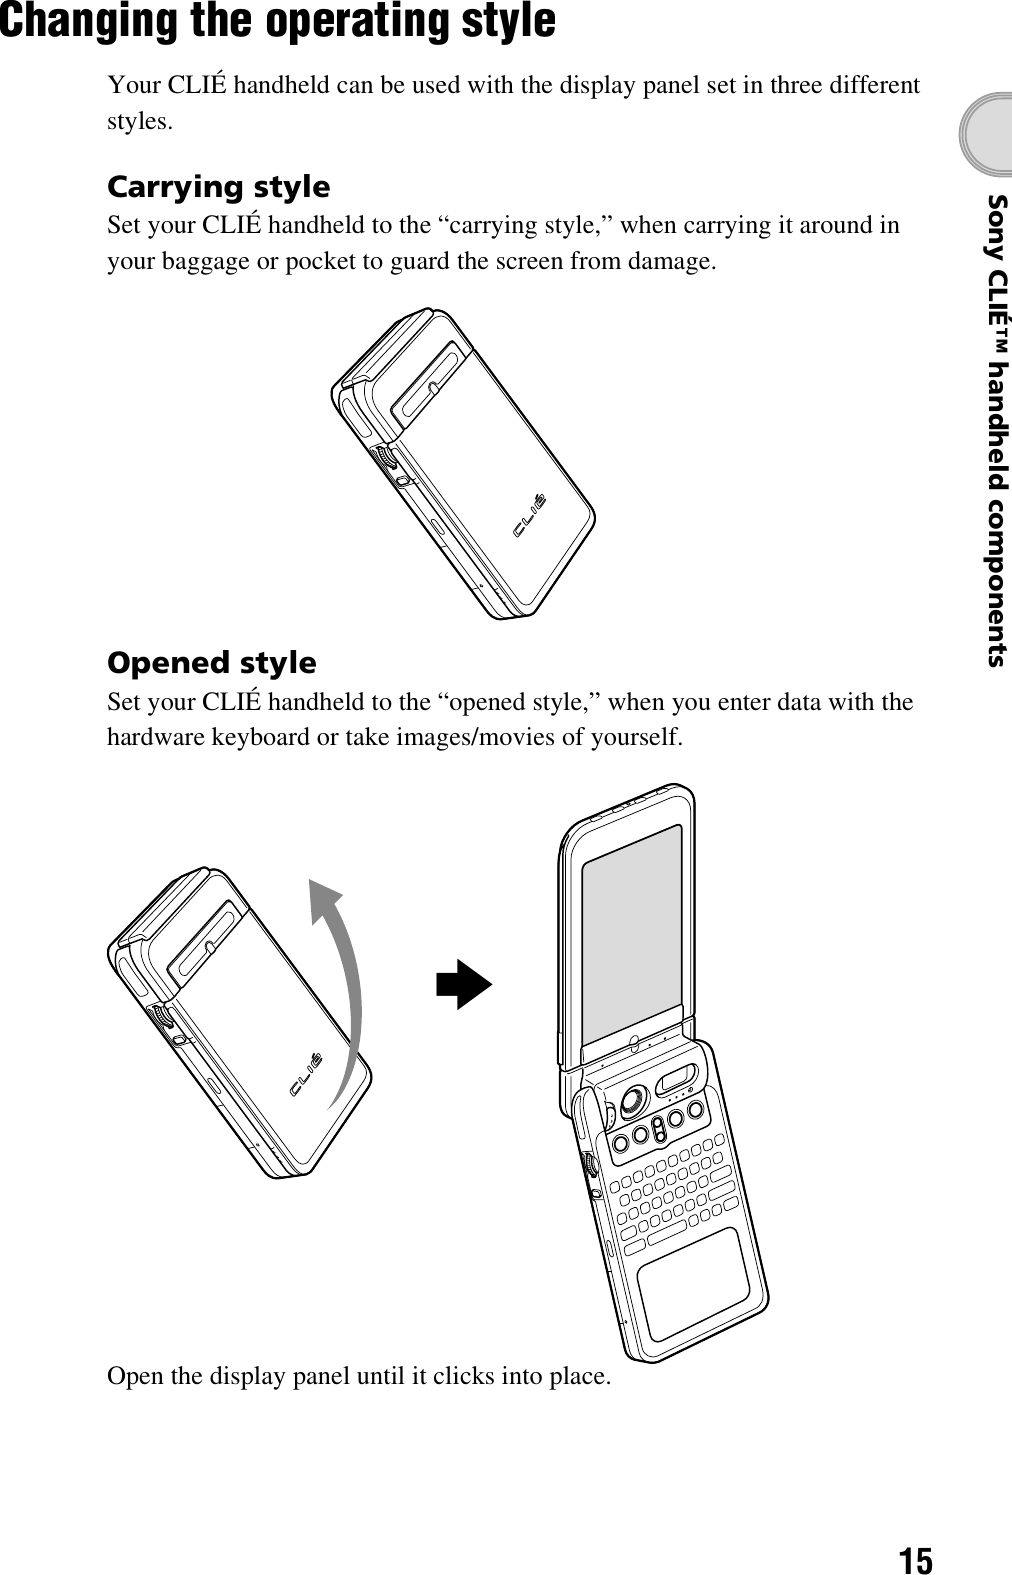
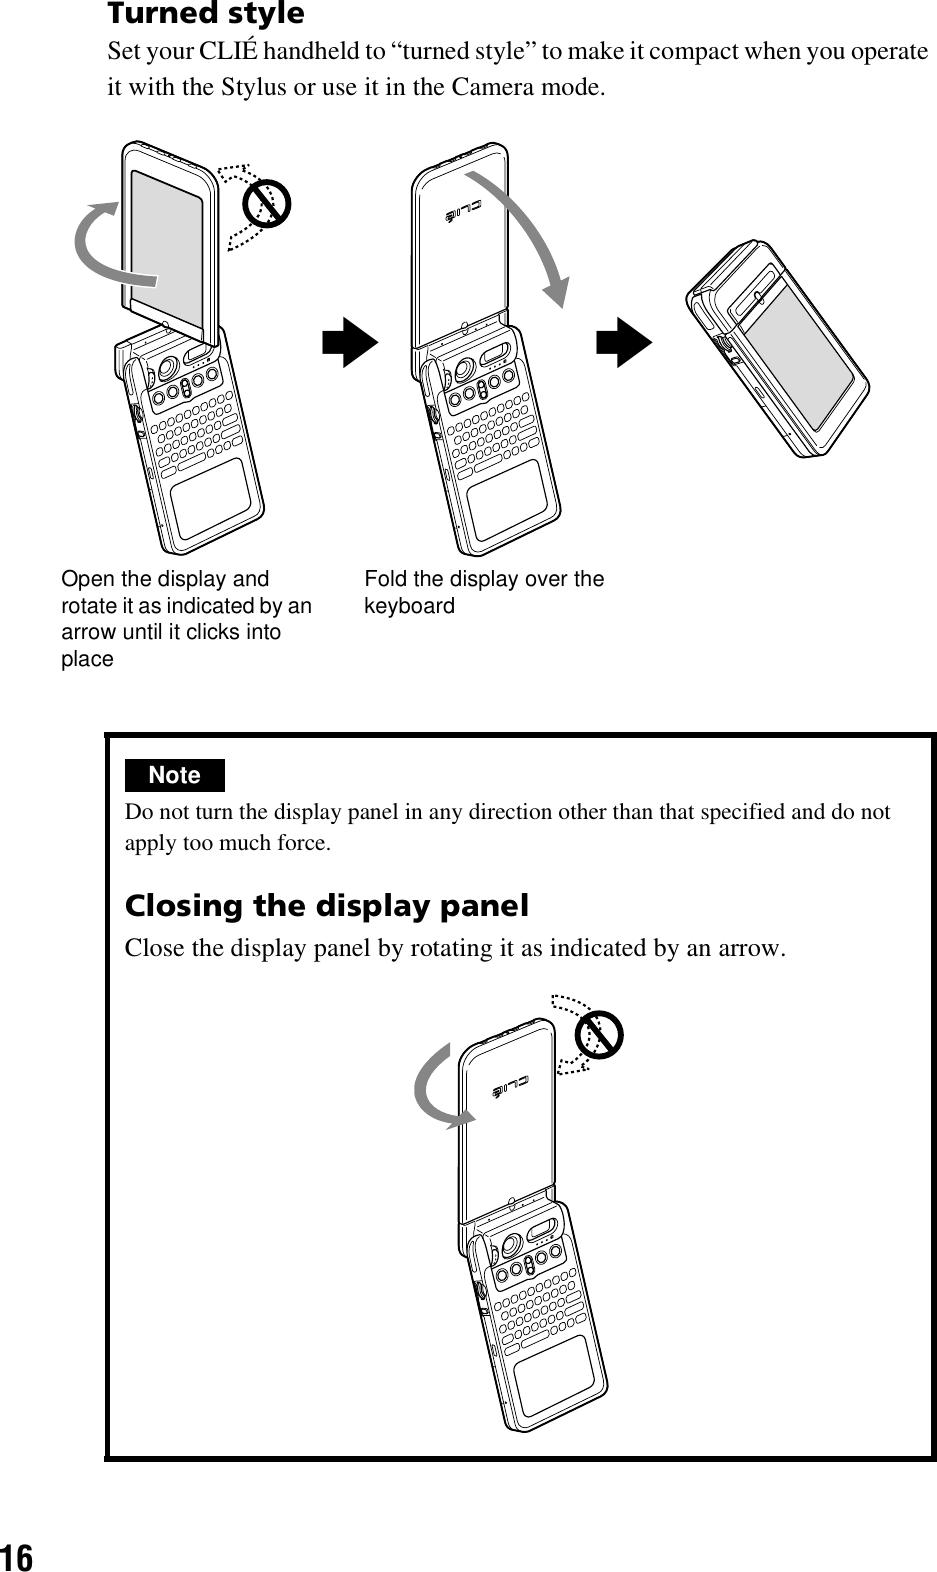
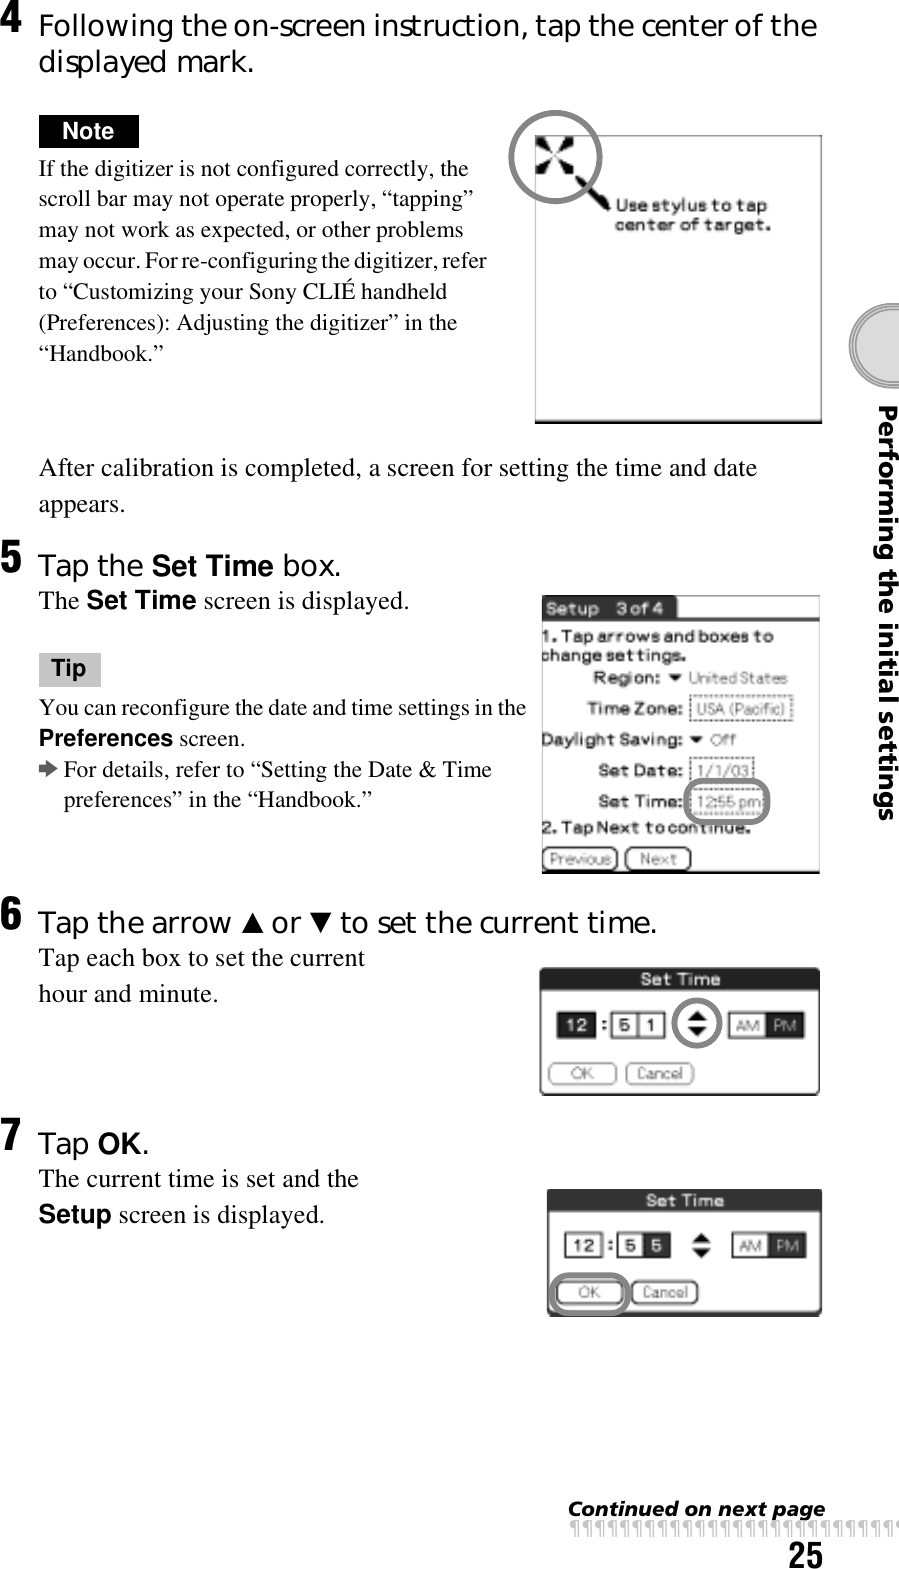
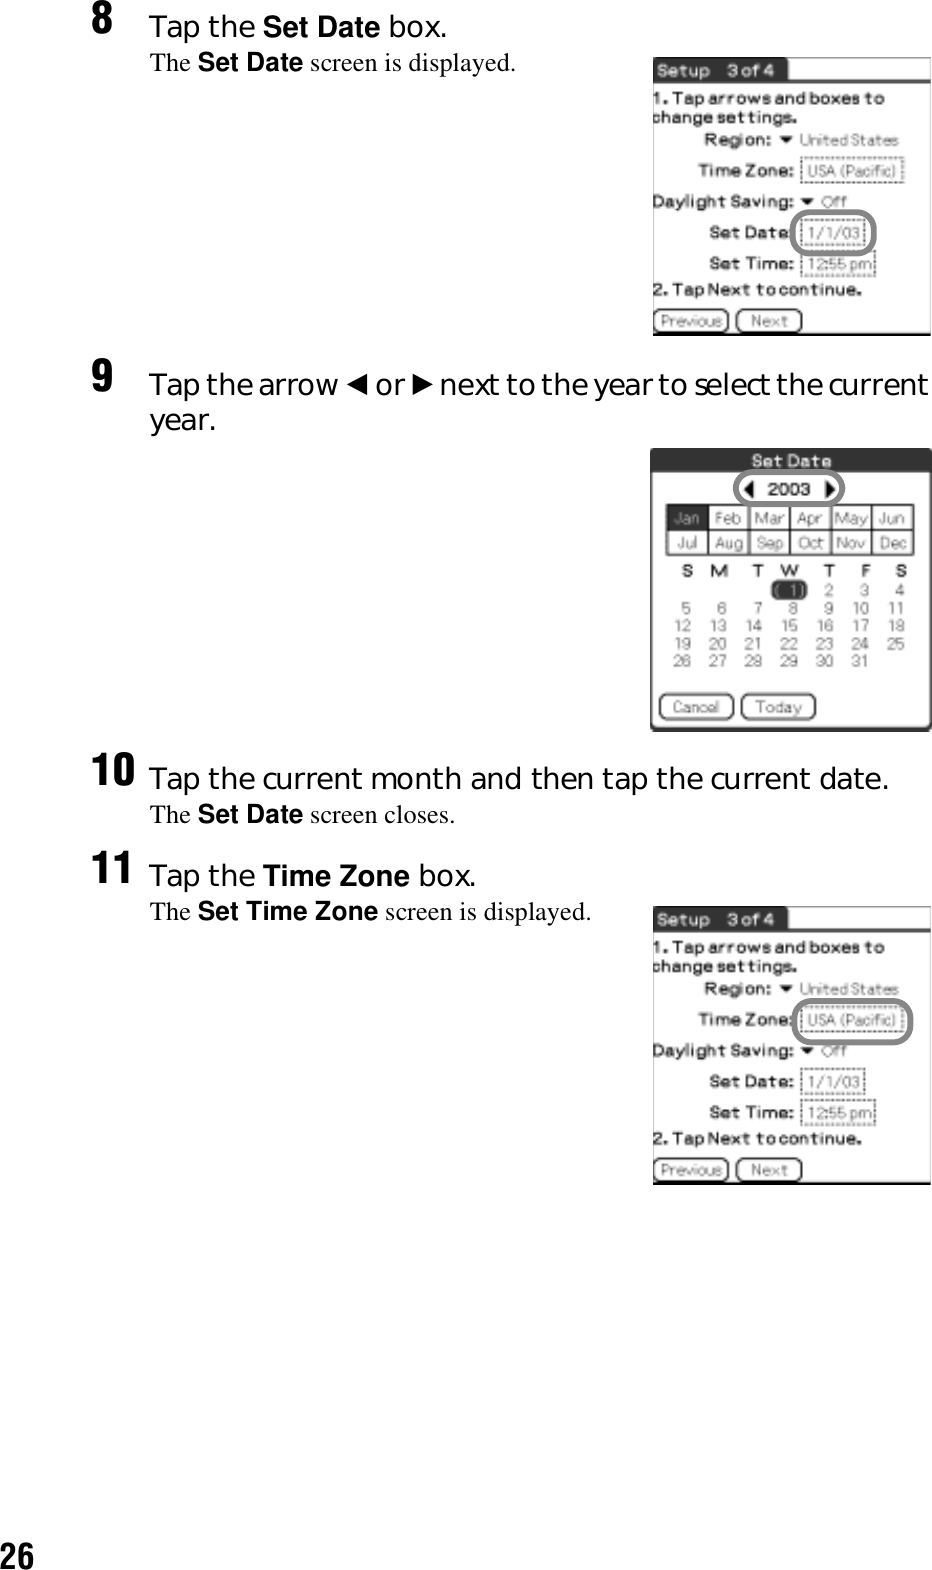
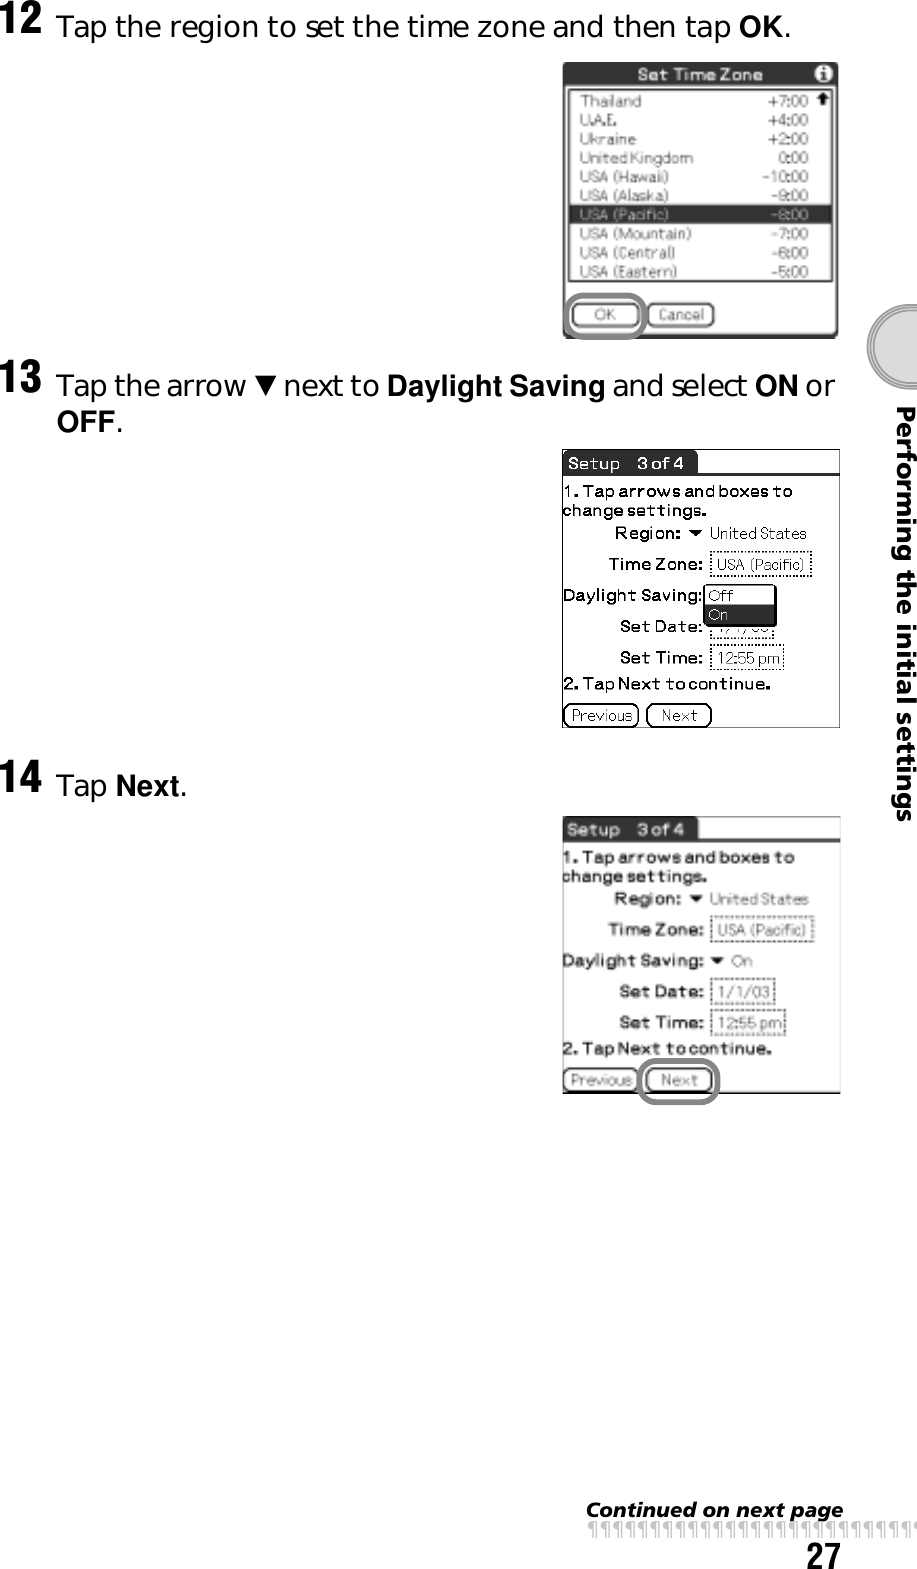
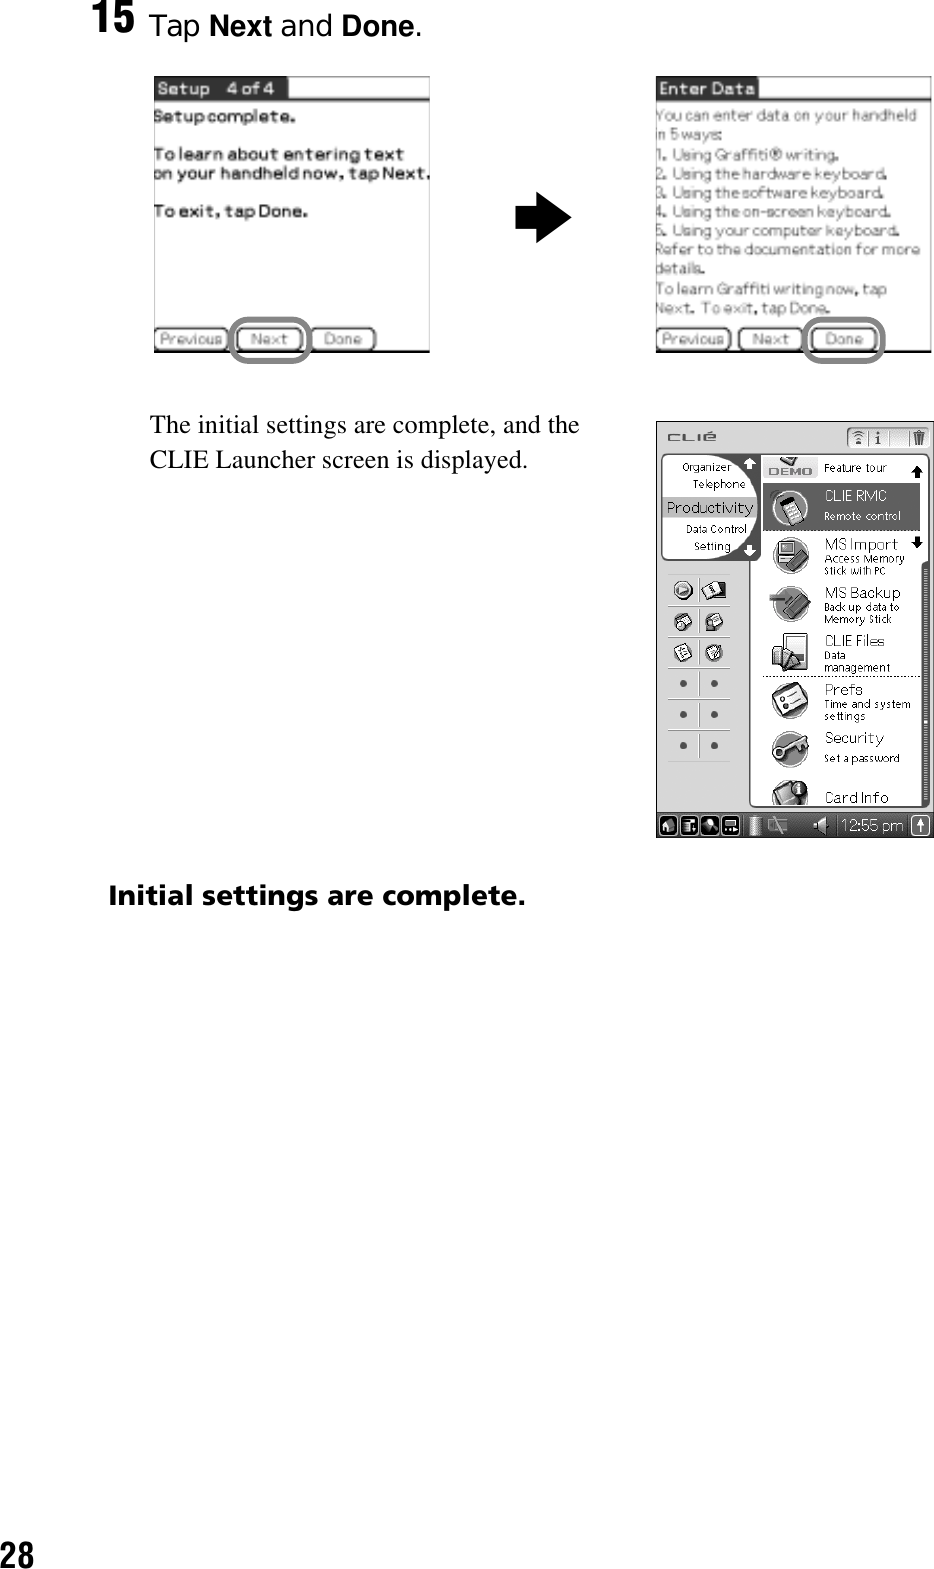
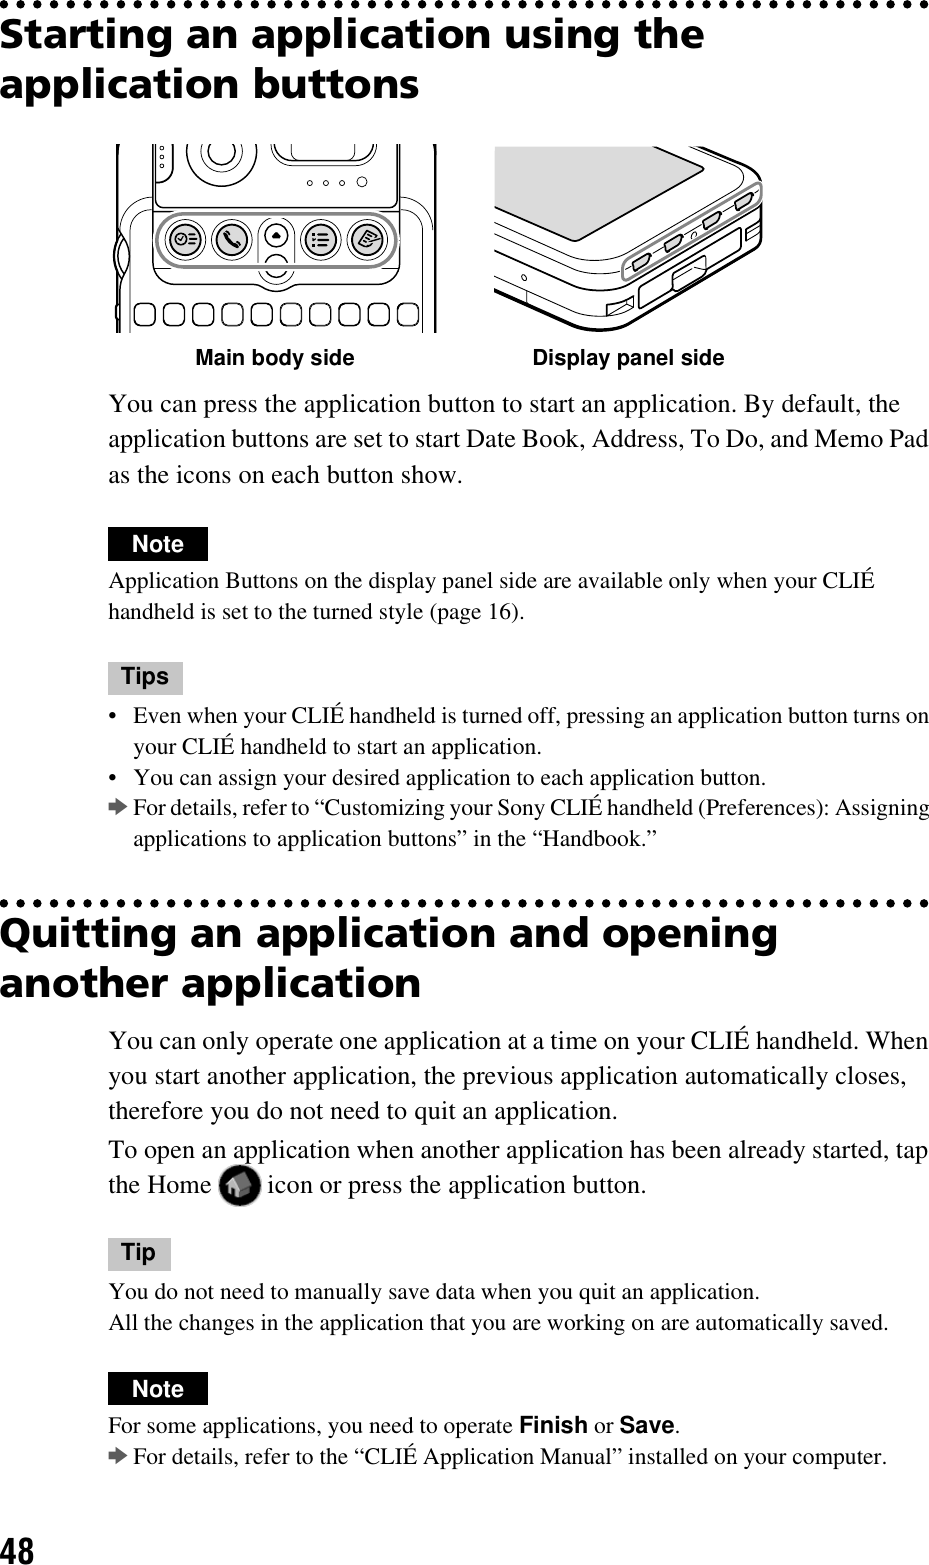
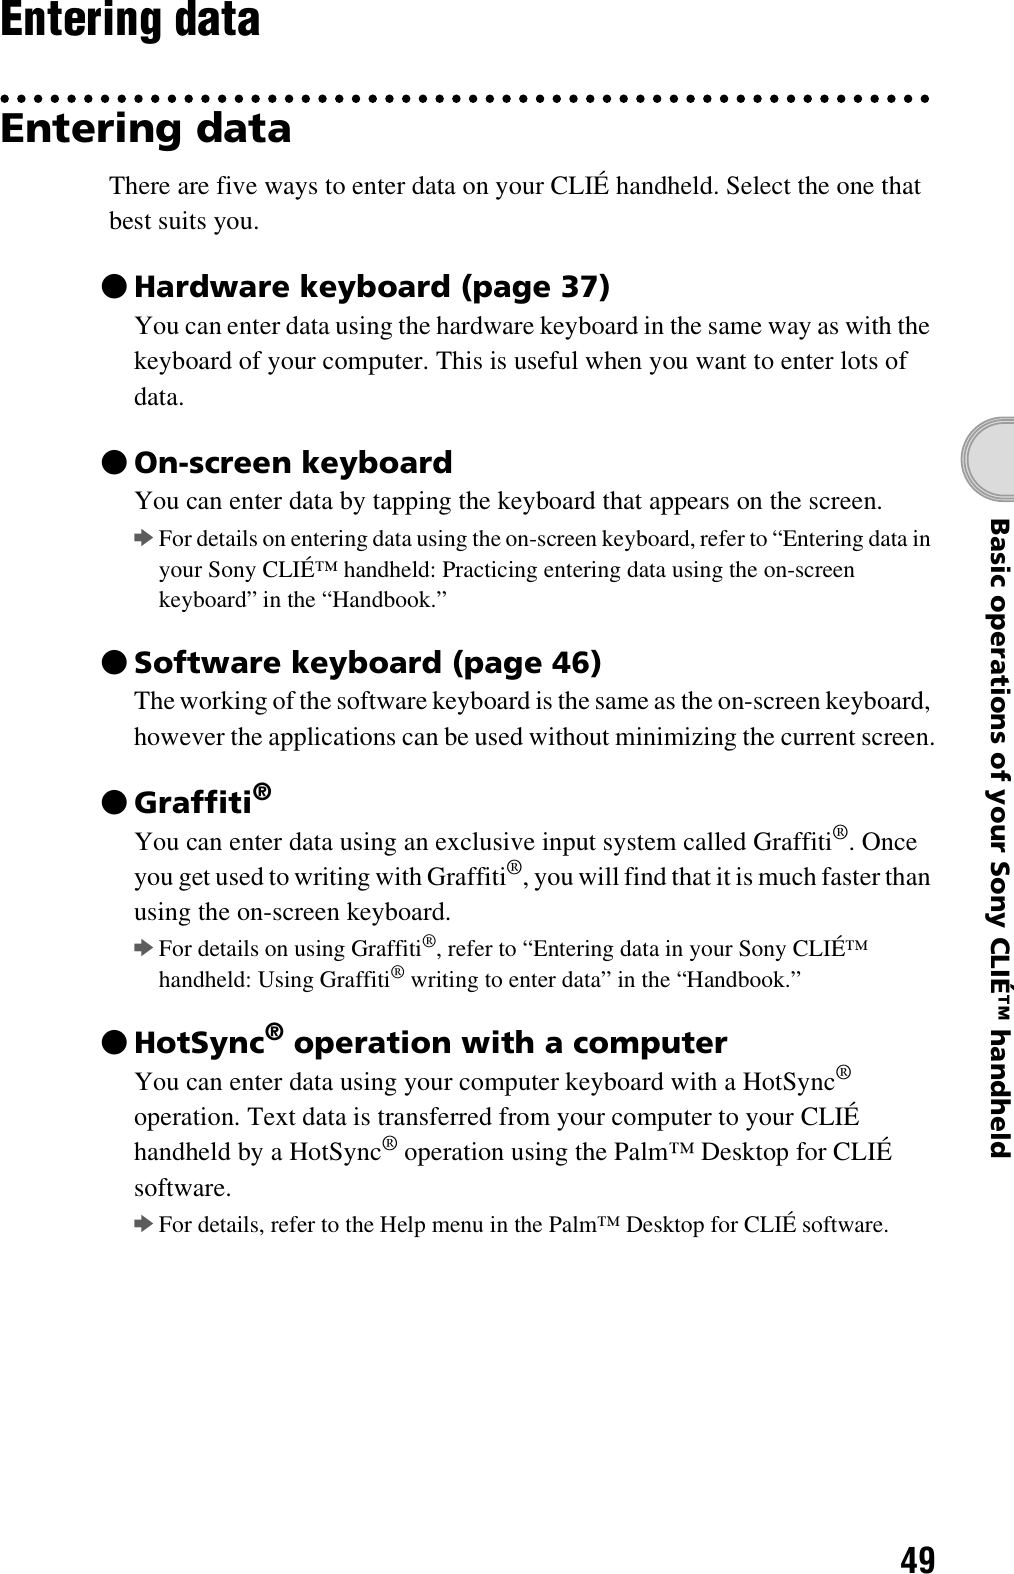
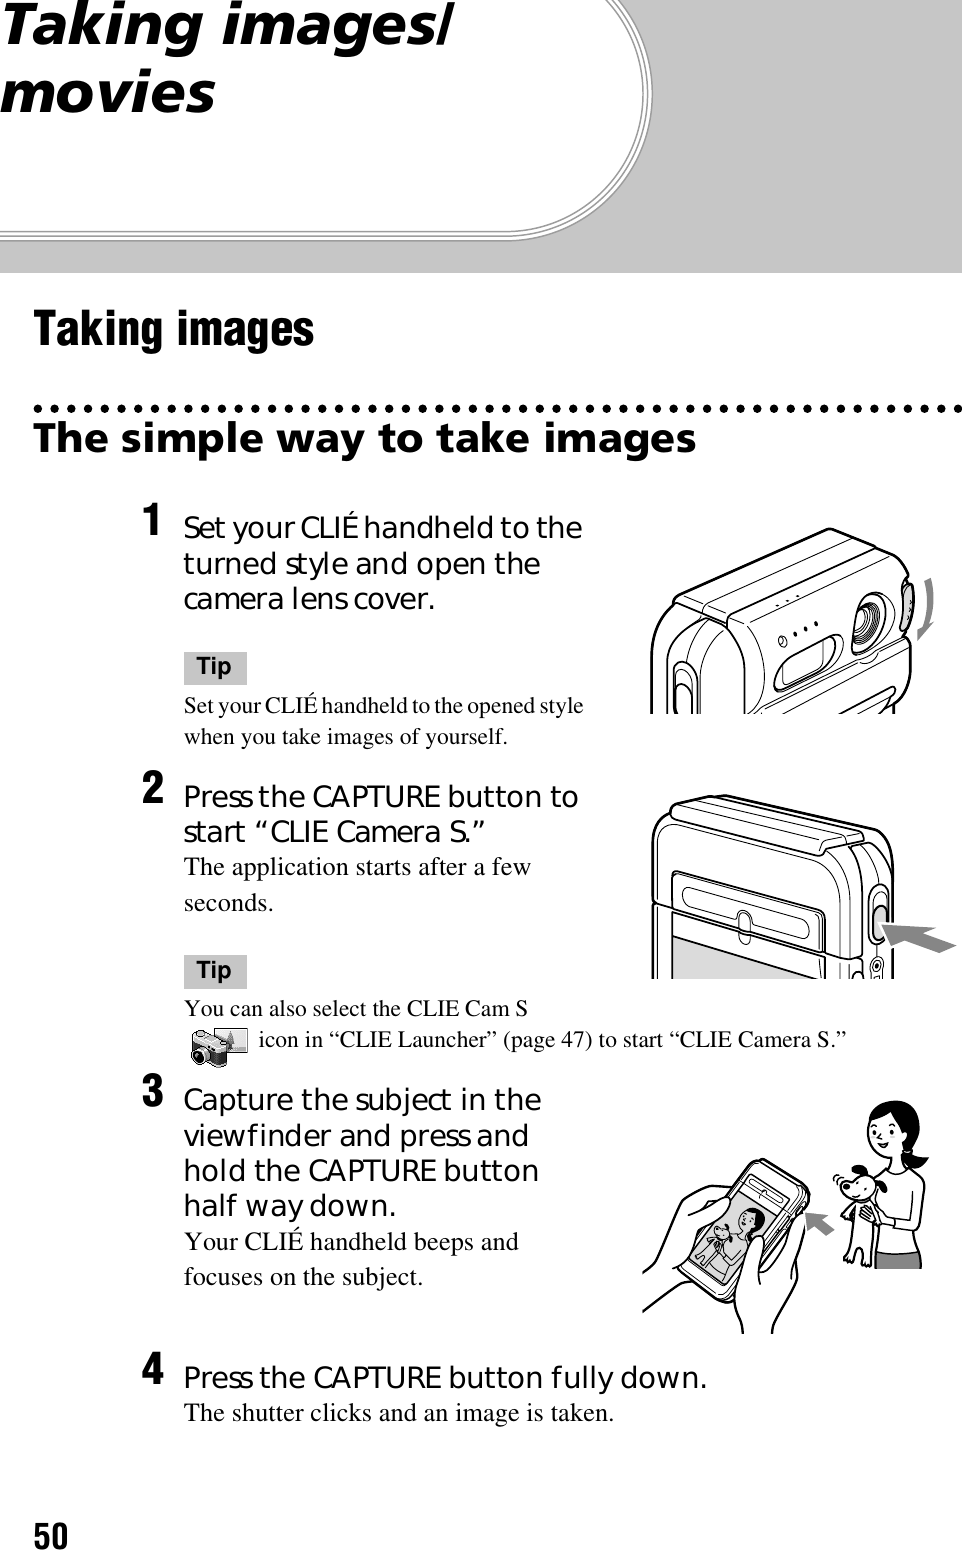
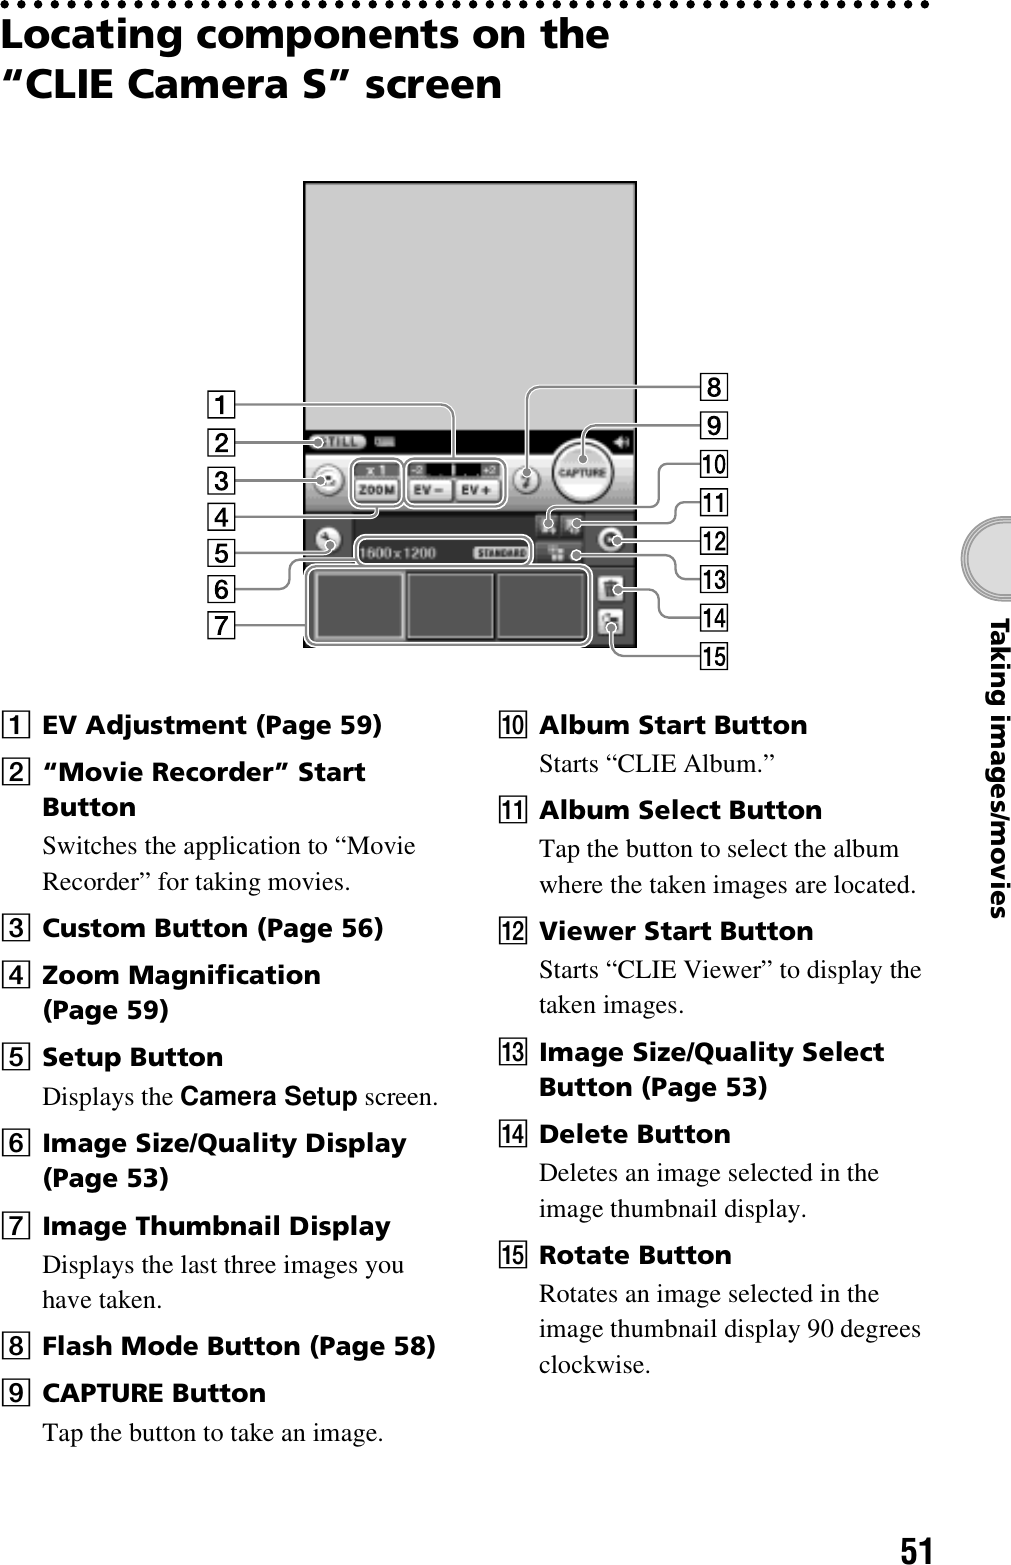
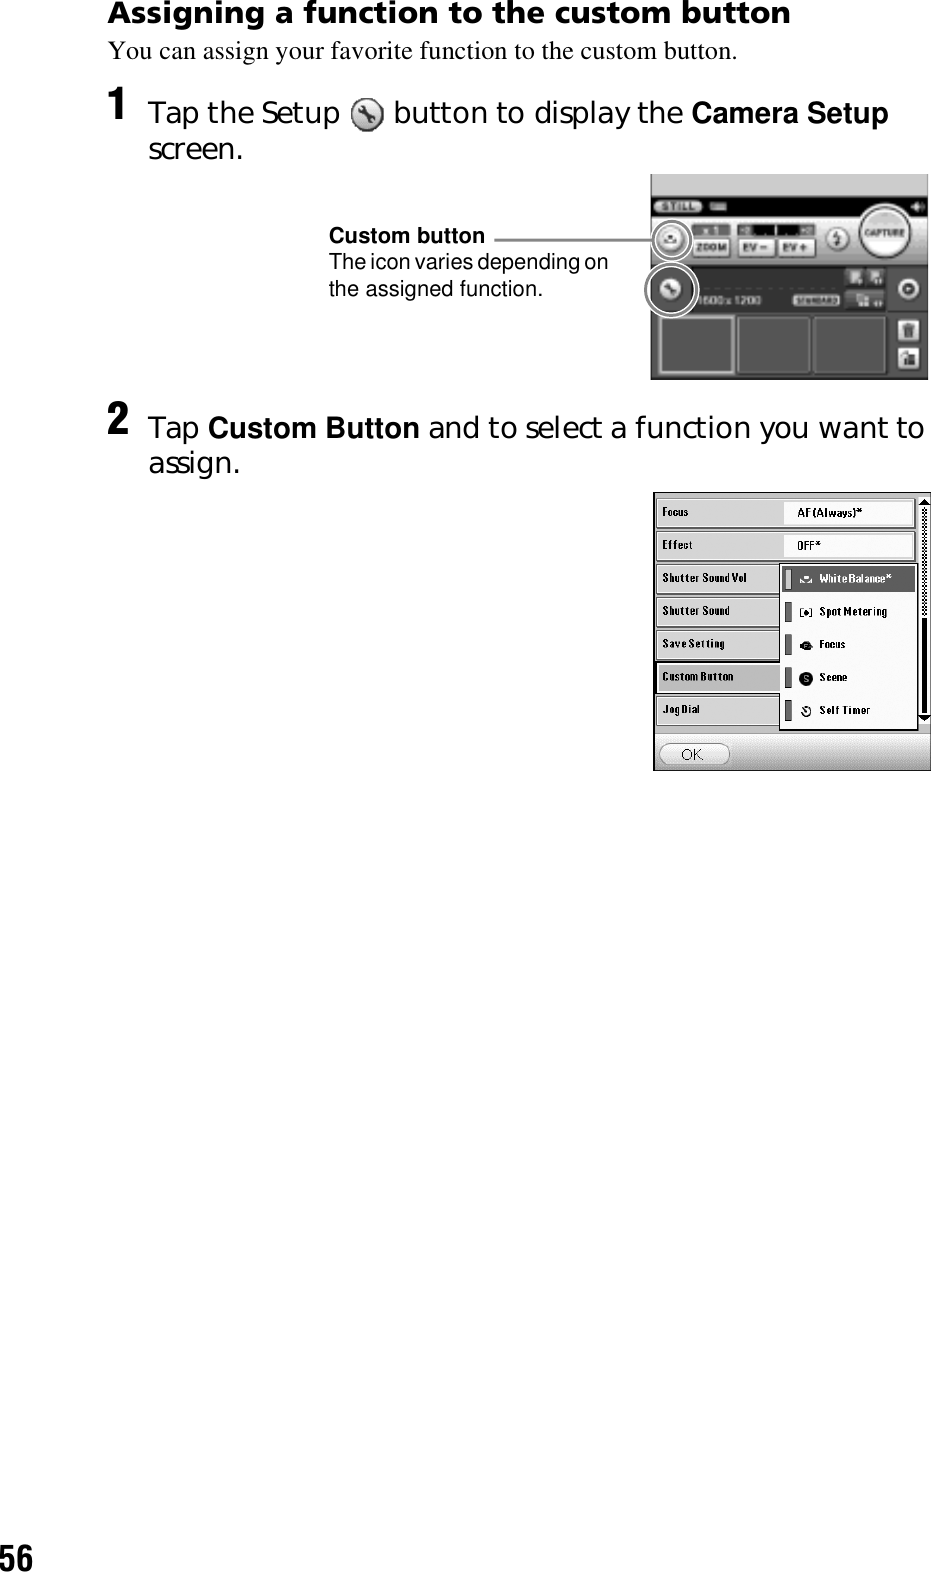
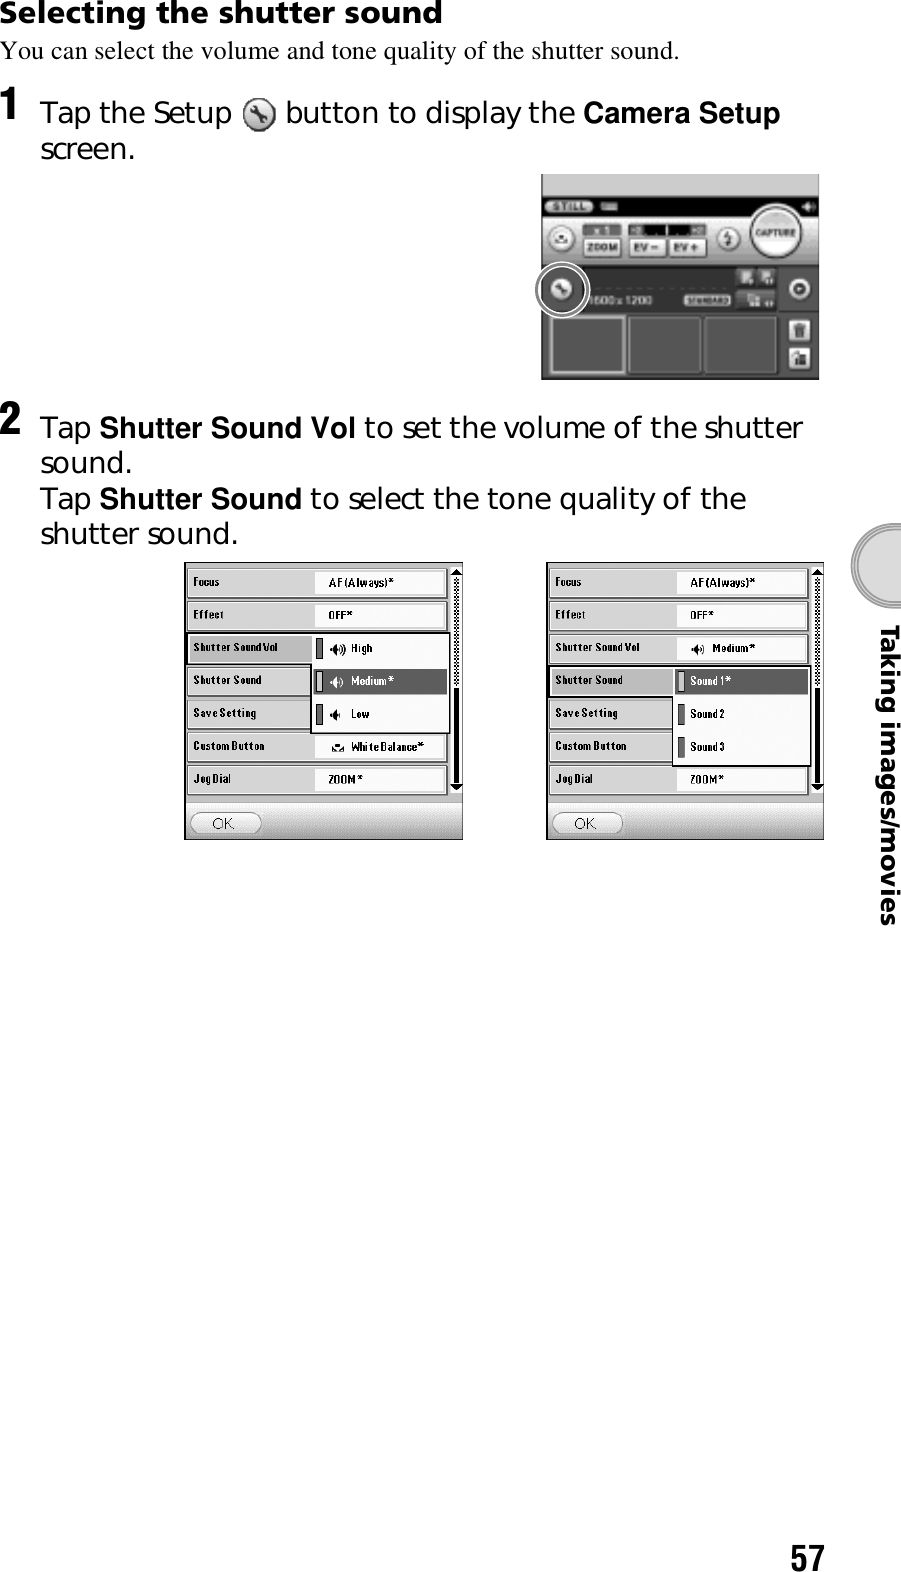
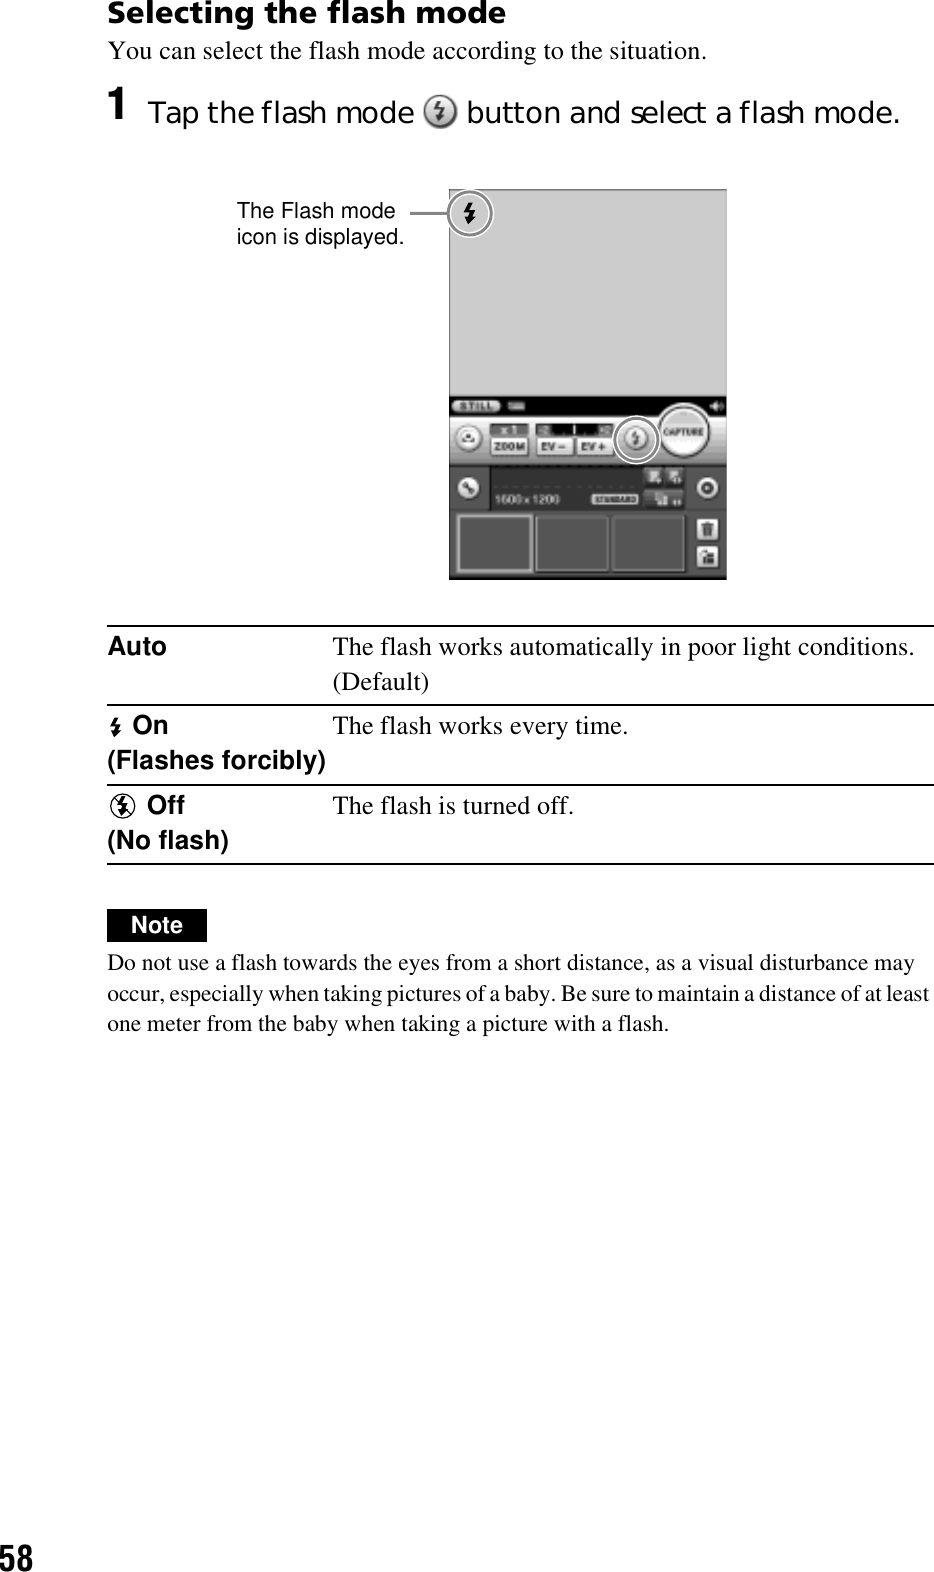
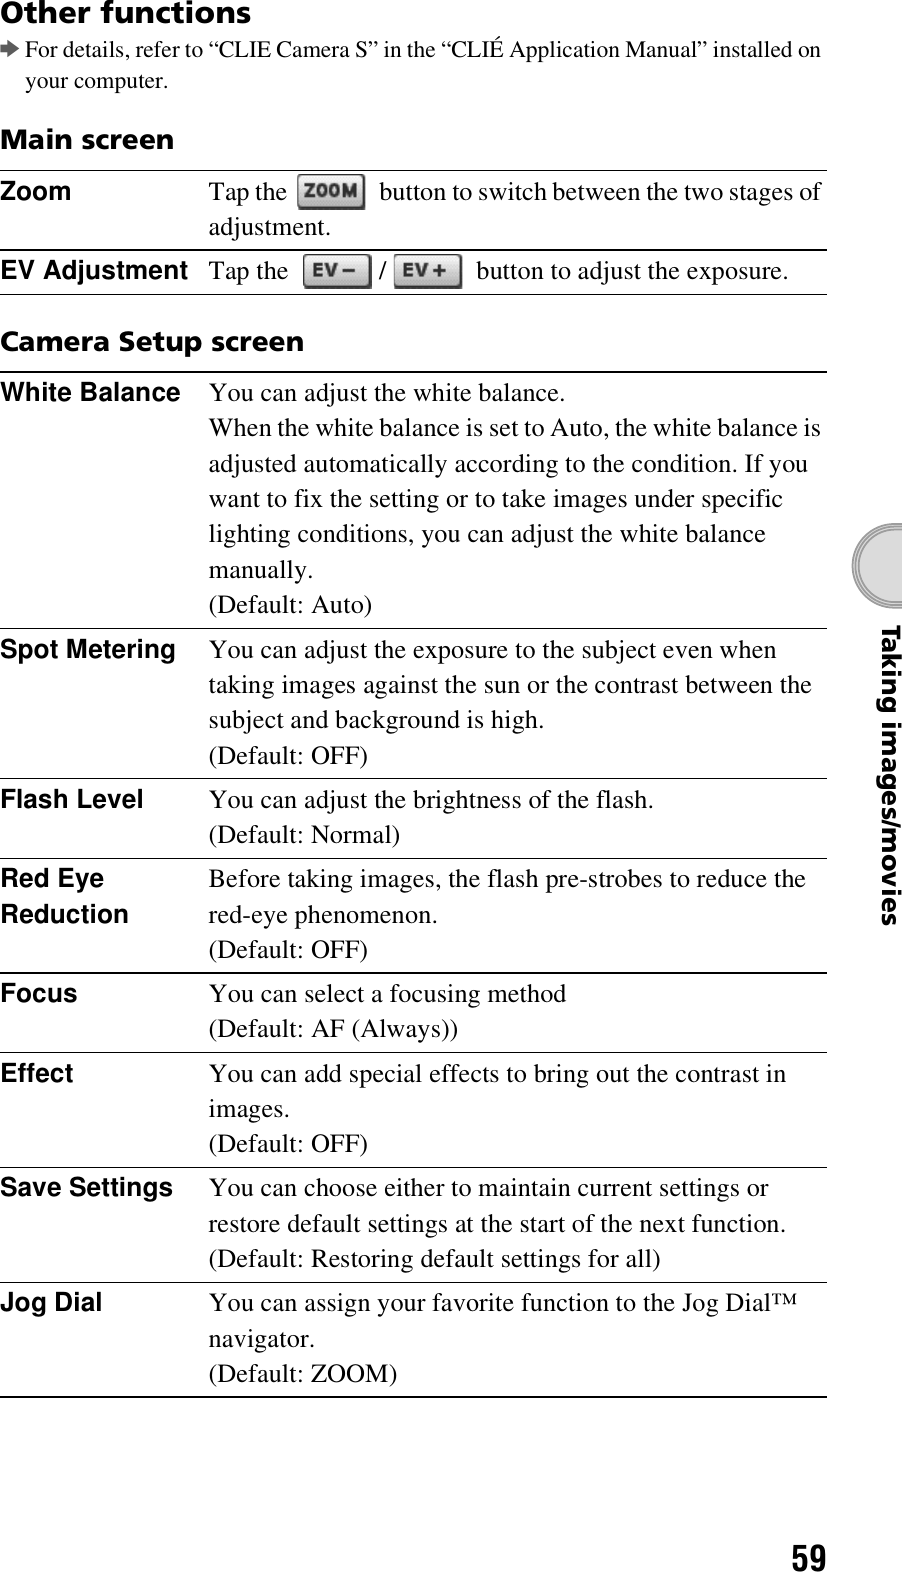
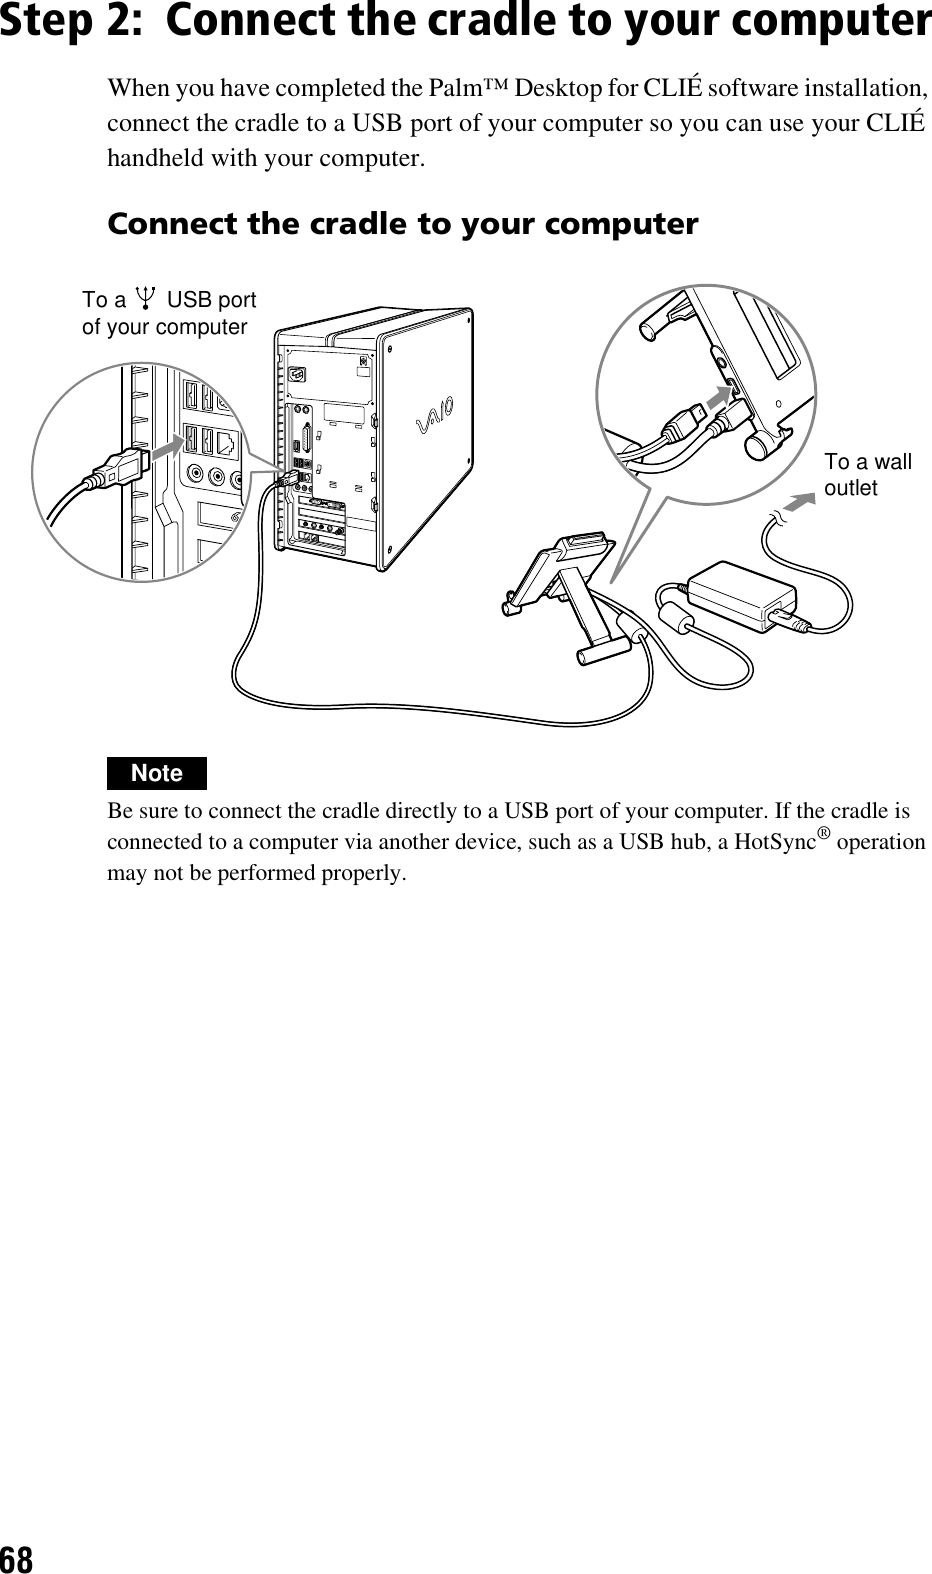
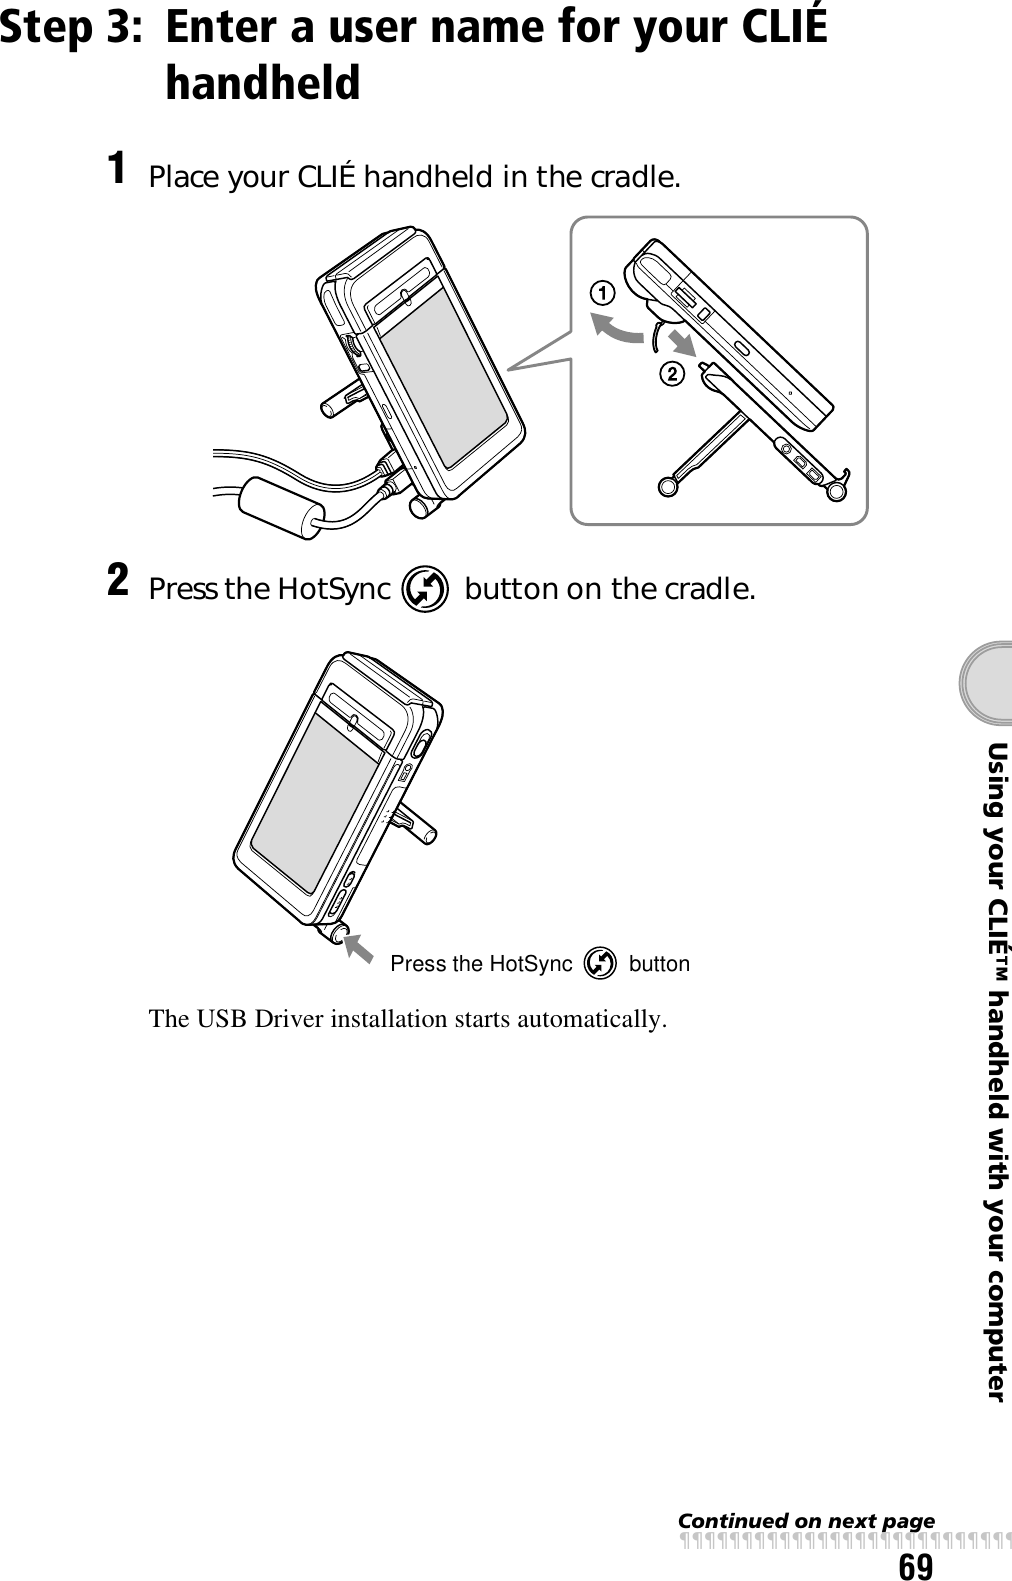
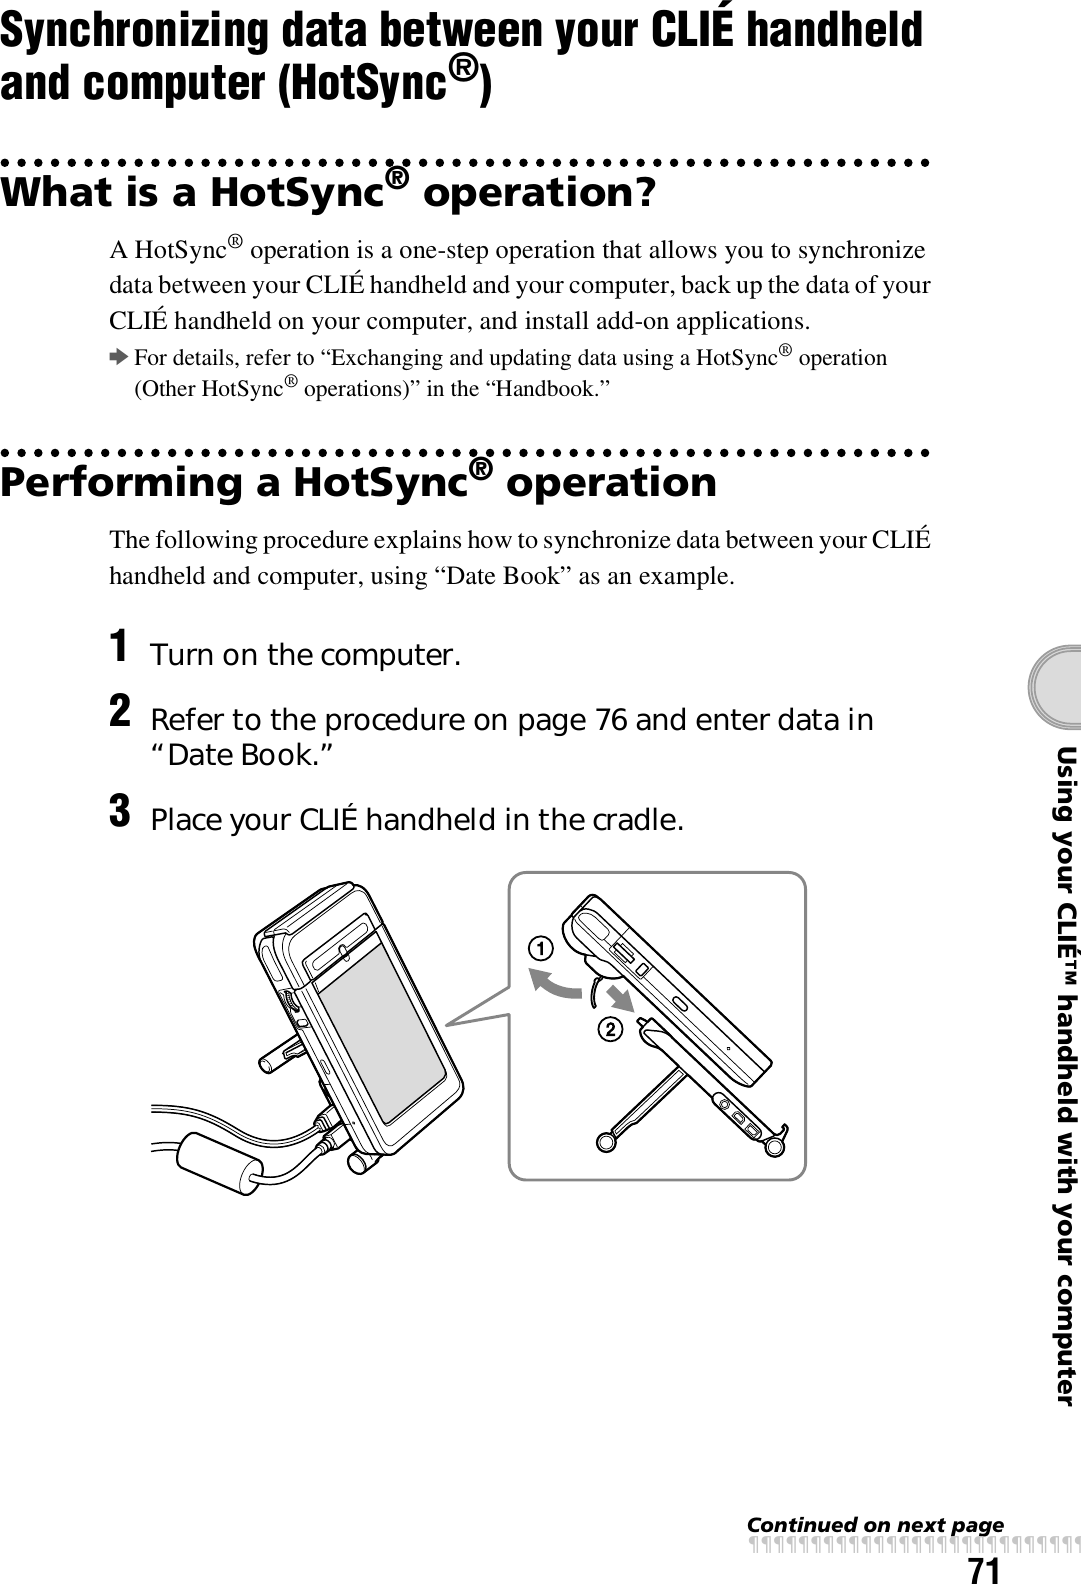
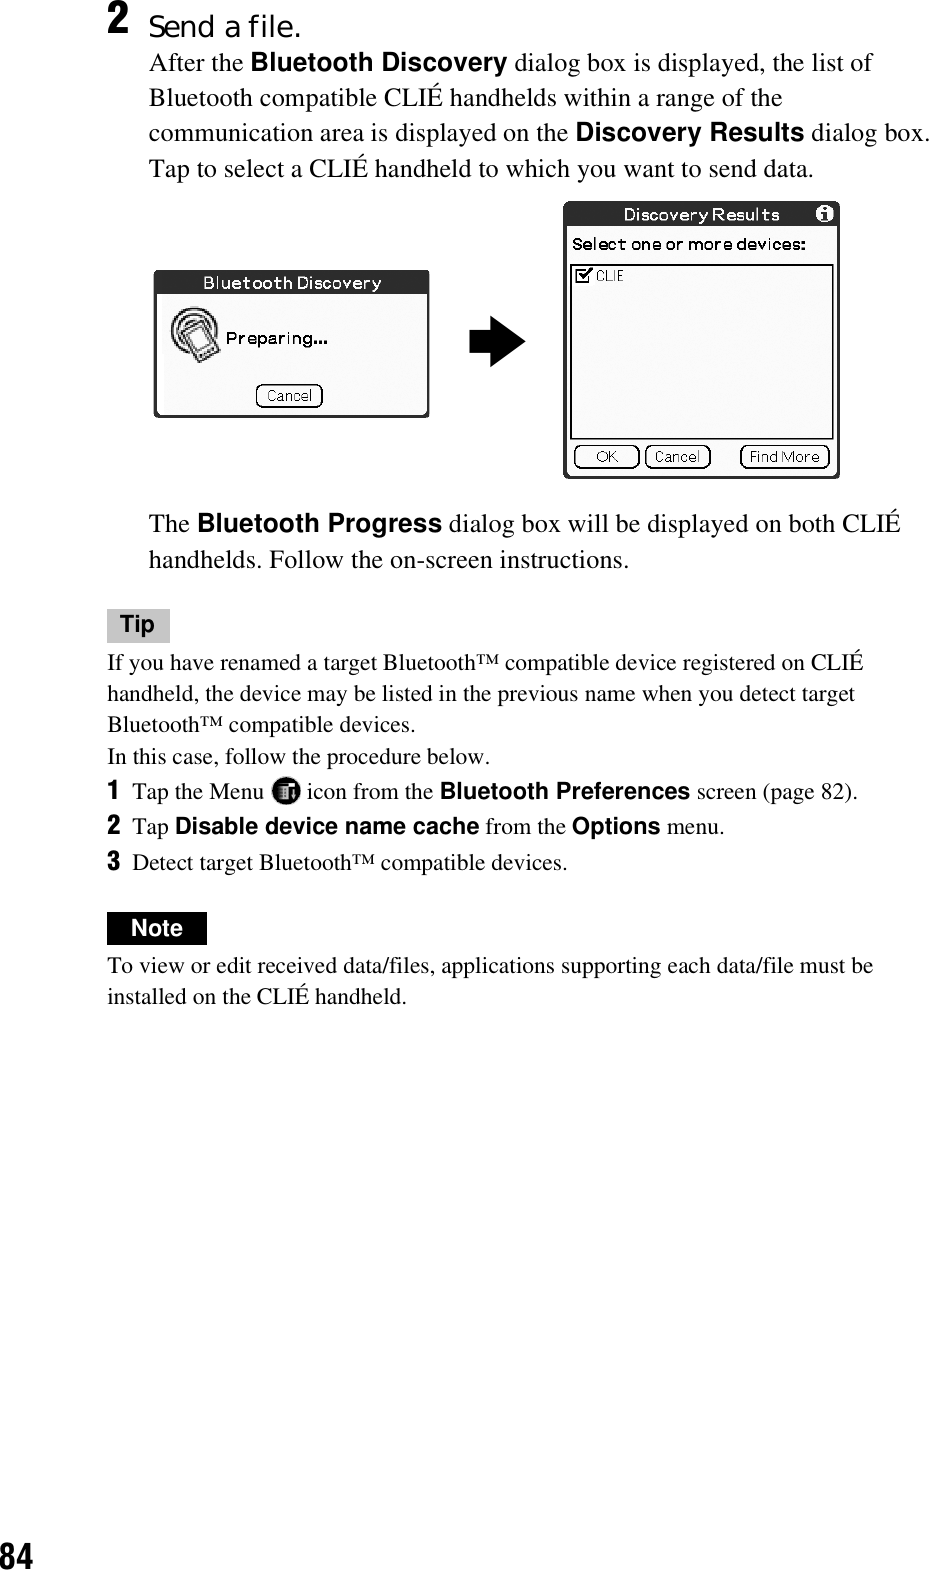
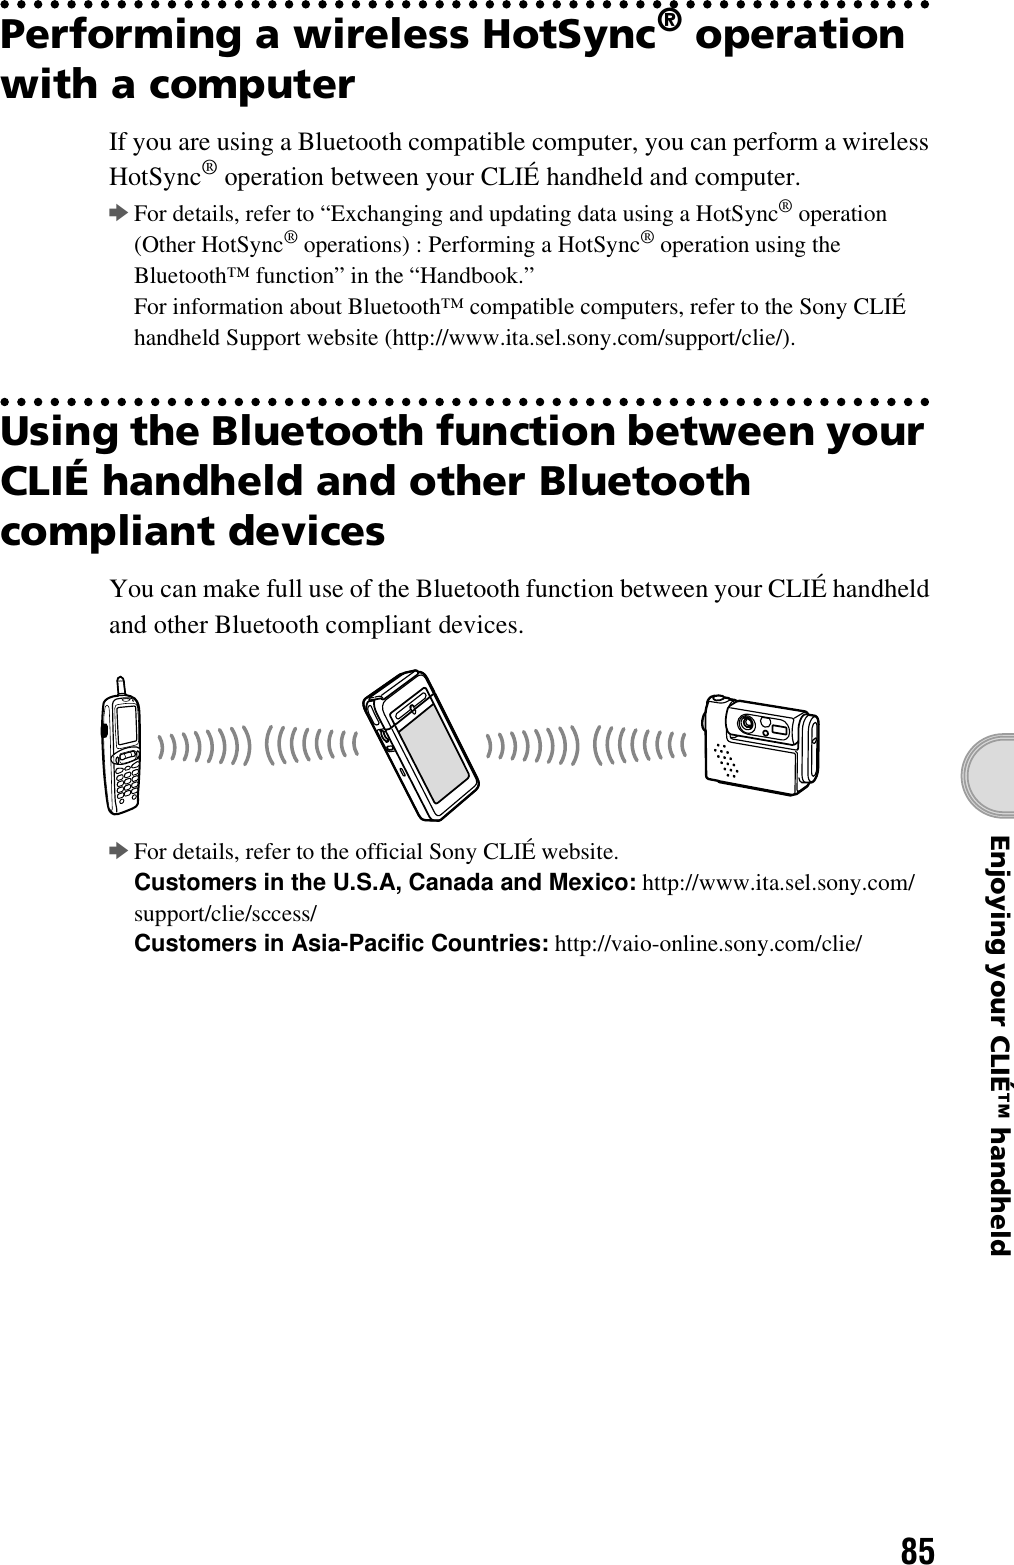
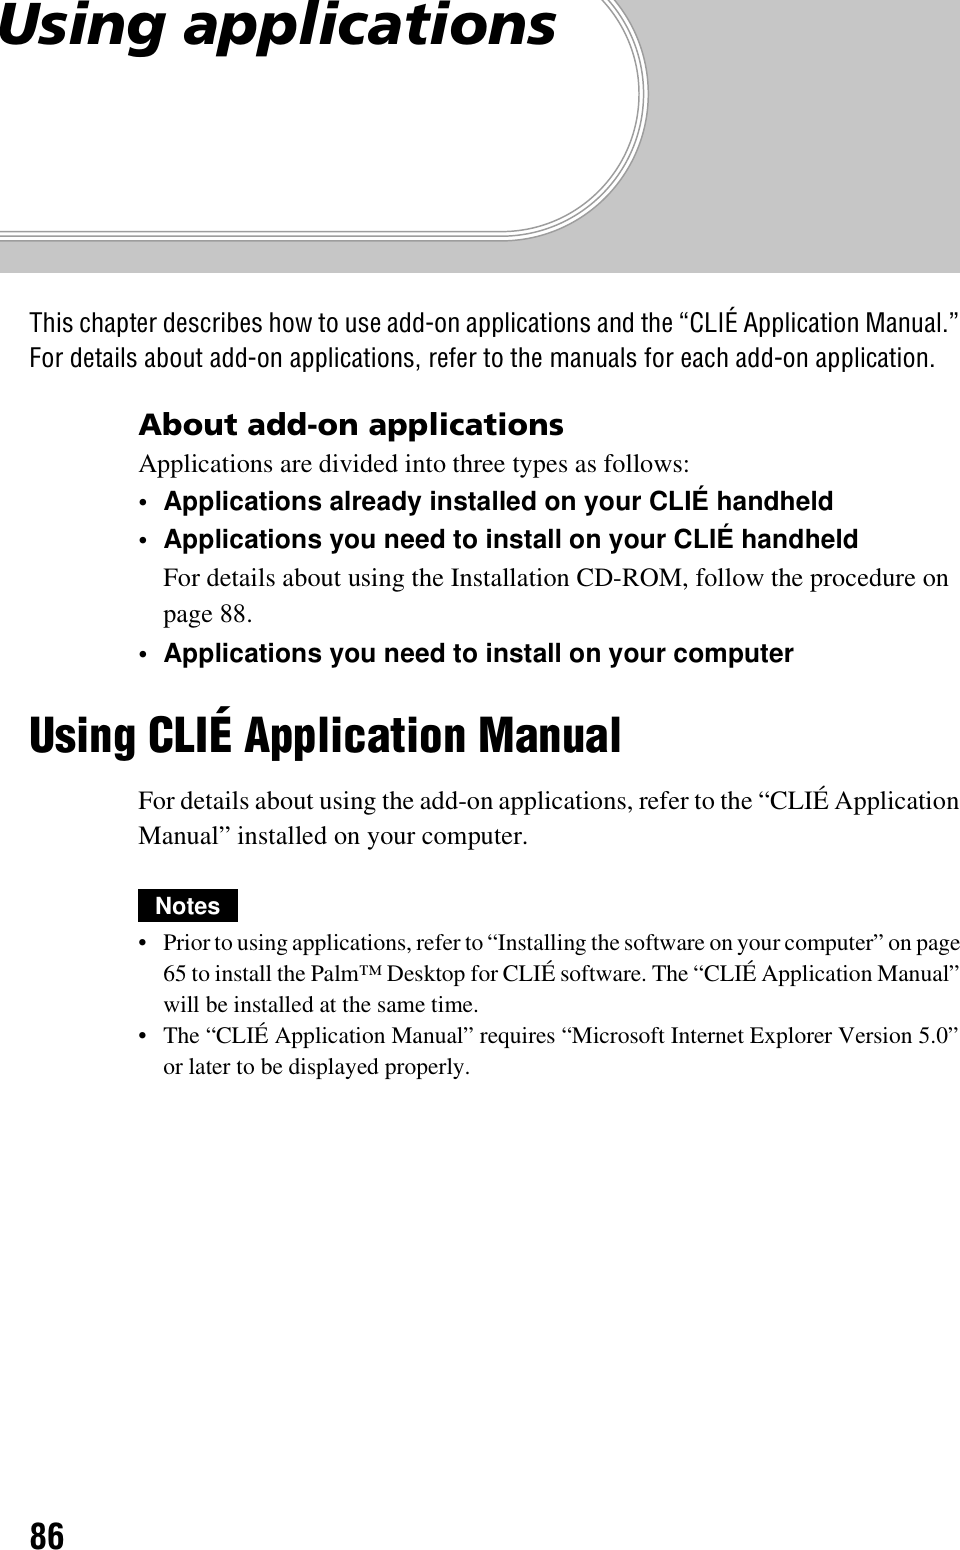
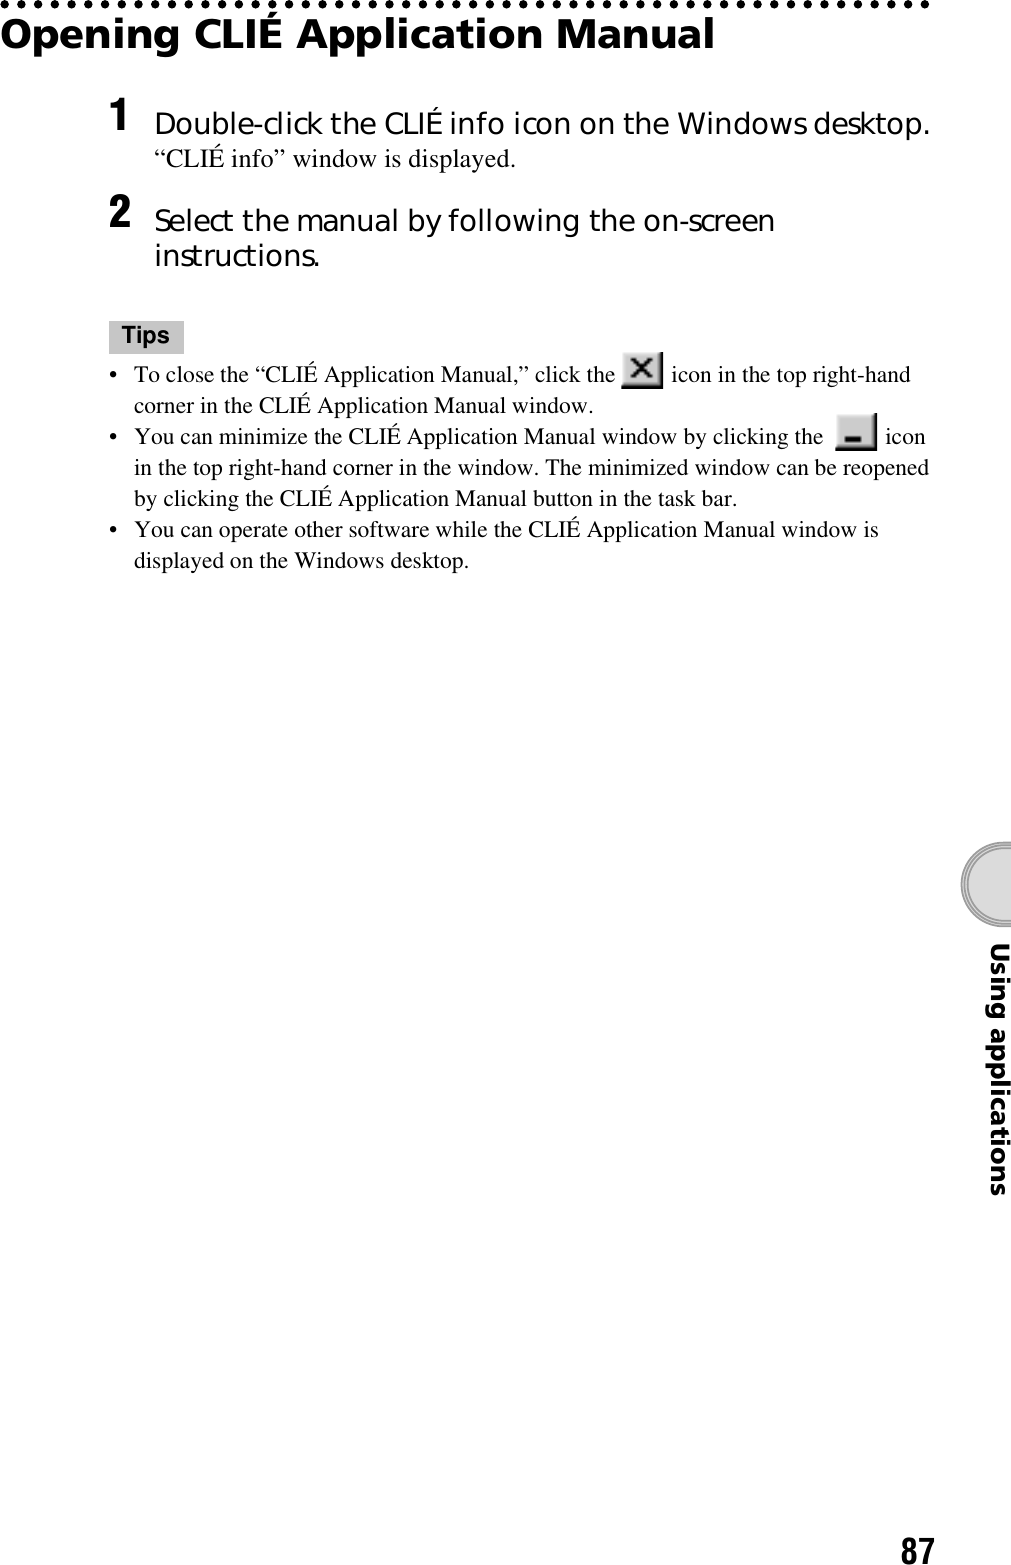
PDA Users Manual 1