Zultys Technologies ZIP4X5 Bluetooth FHSS transceiver in VOIP Phone User Manual ZIP 4x4 User s Manual 1 0 2 20 April 2003
Zultys Technologies Bluetooth FHSS transceiver in VOIP Phone ZIP 4x4 User s Manual 1 0 2 20 April 2003
Contents
- 1. Manual 1
- 2. Manual 2
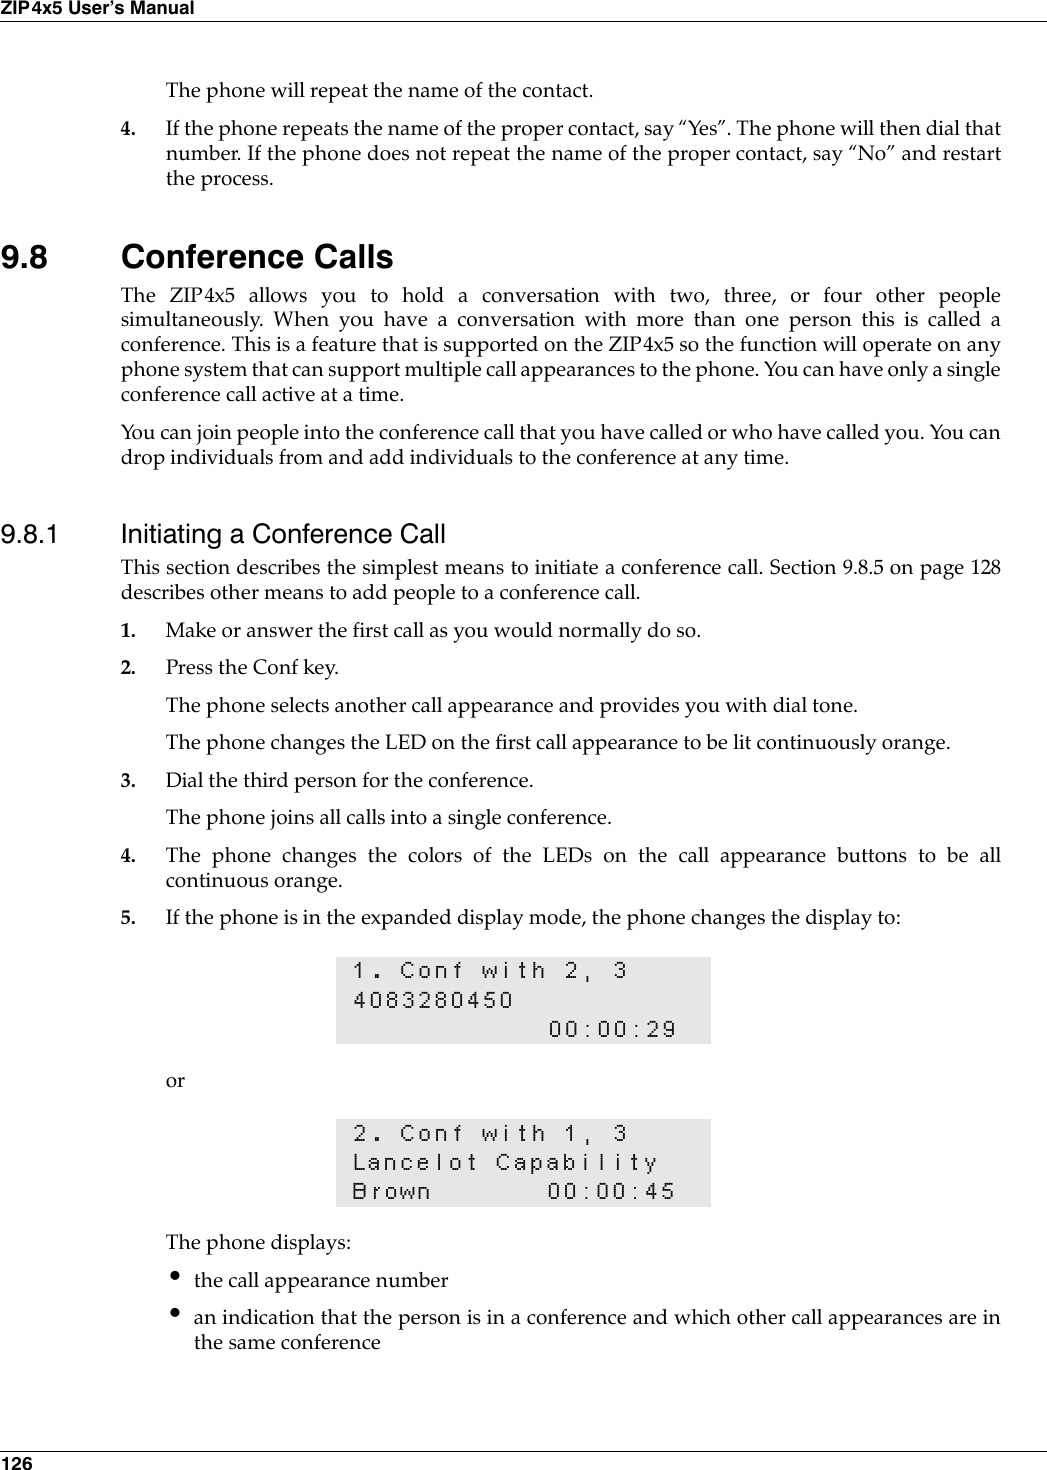
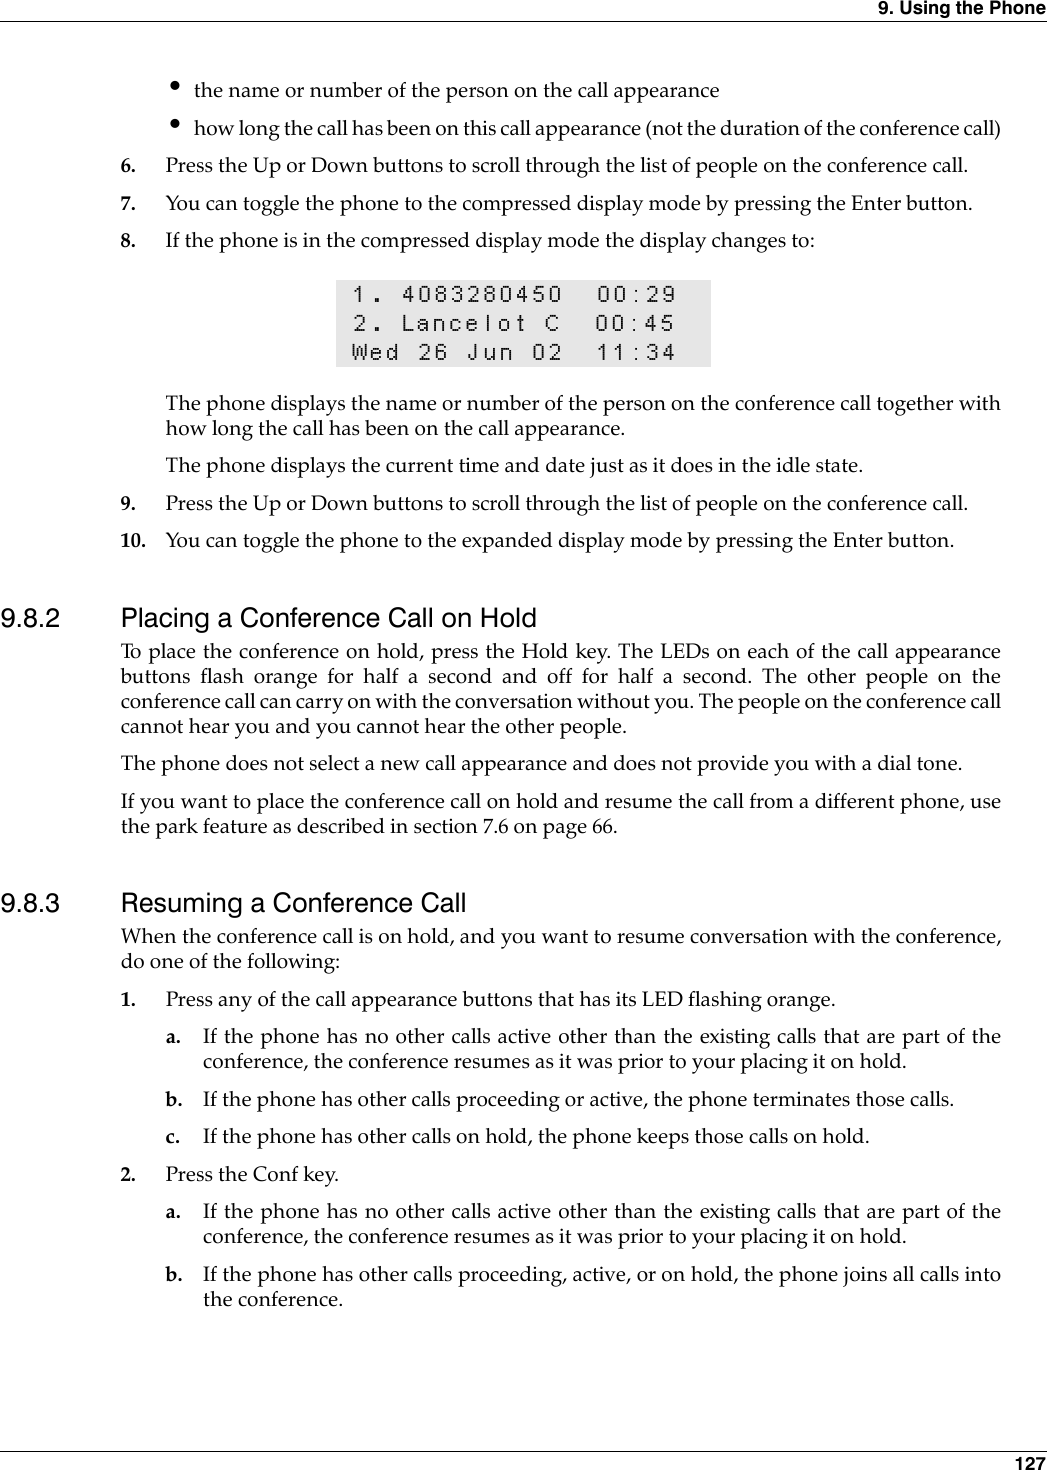
- 3. Manual 3
- 4. Manual 4
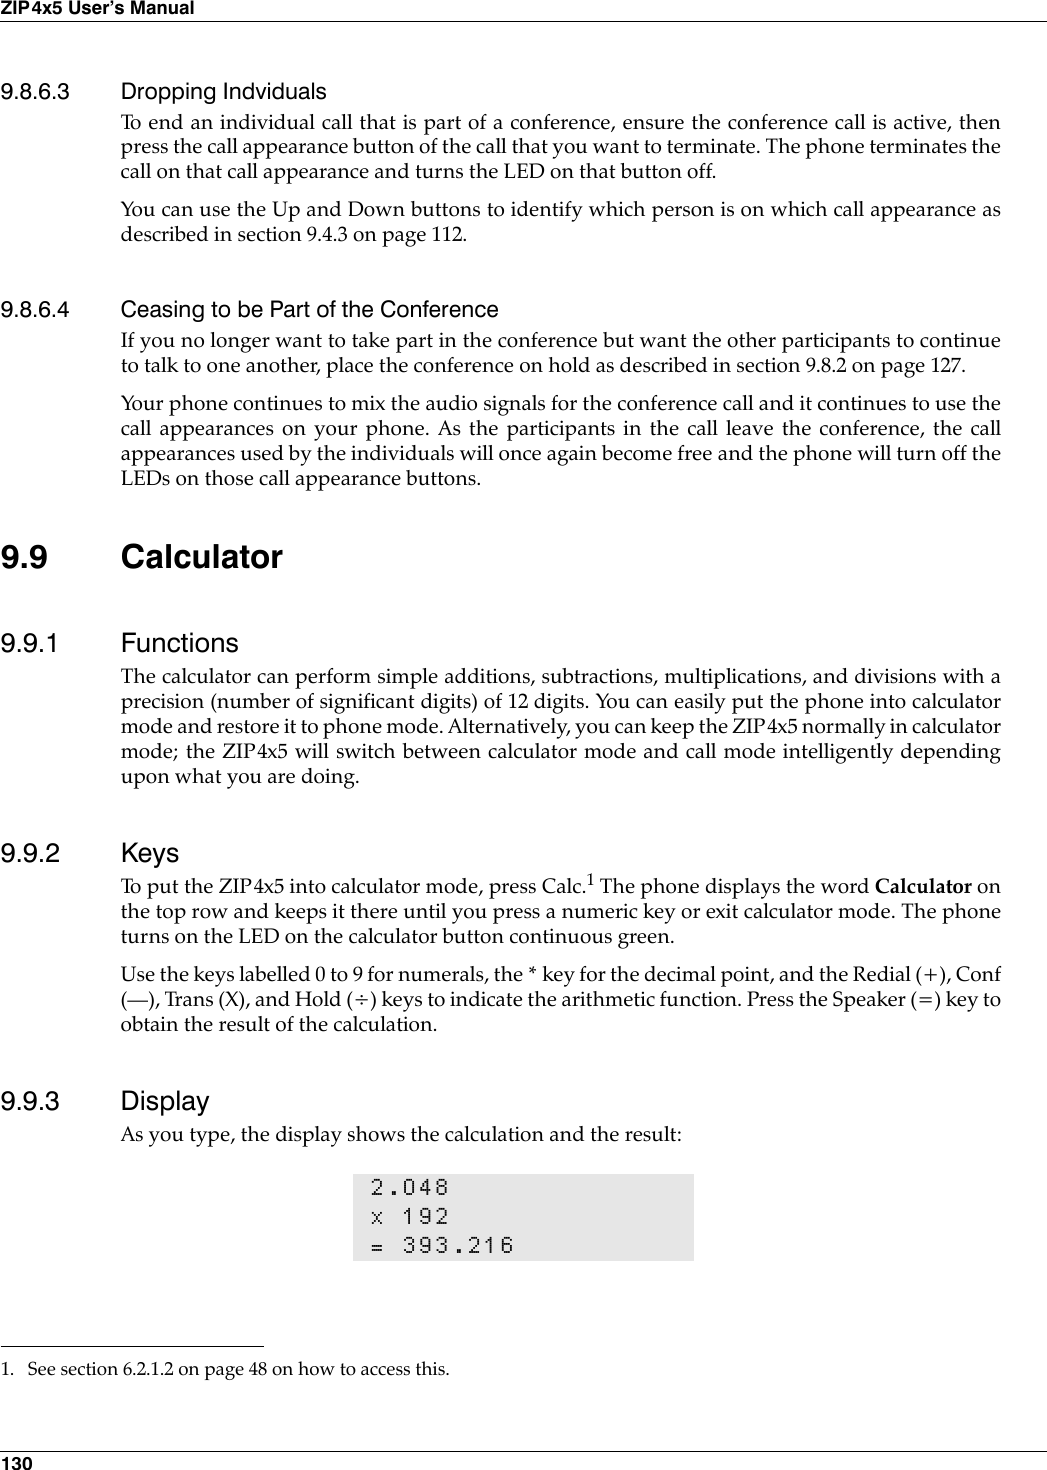
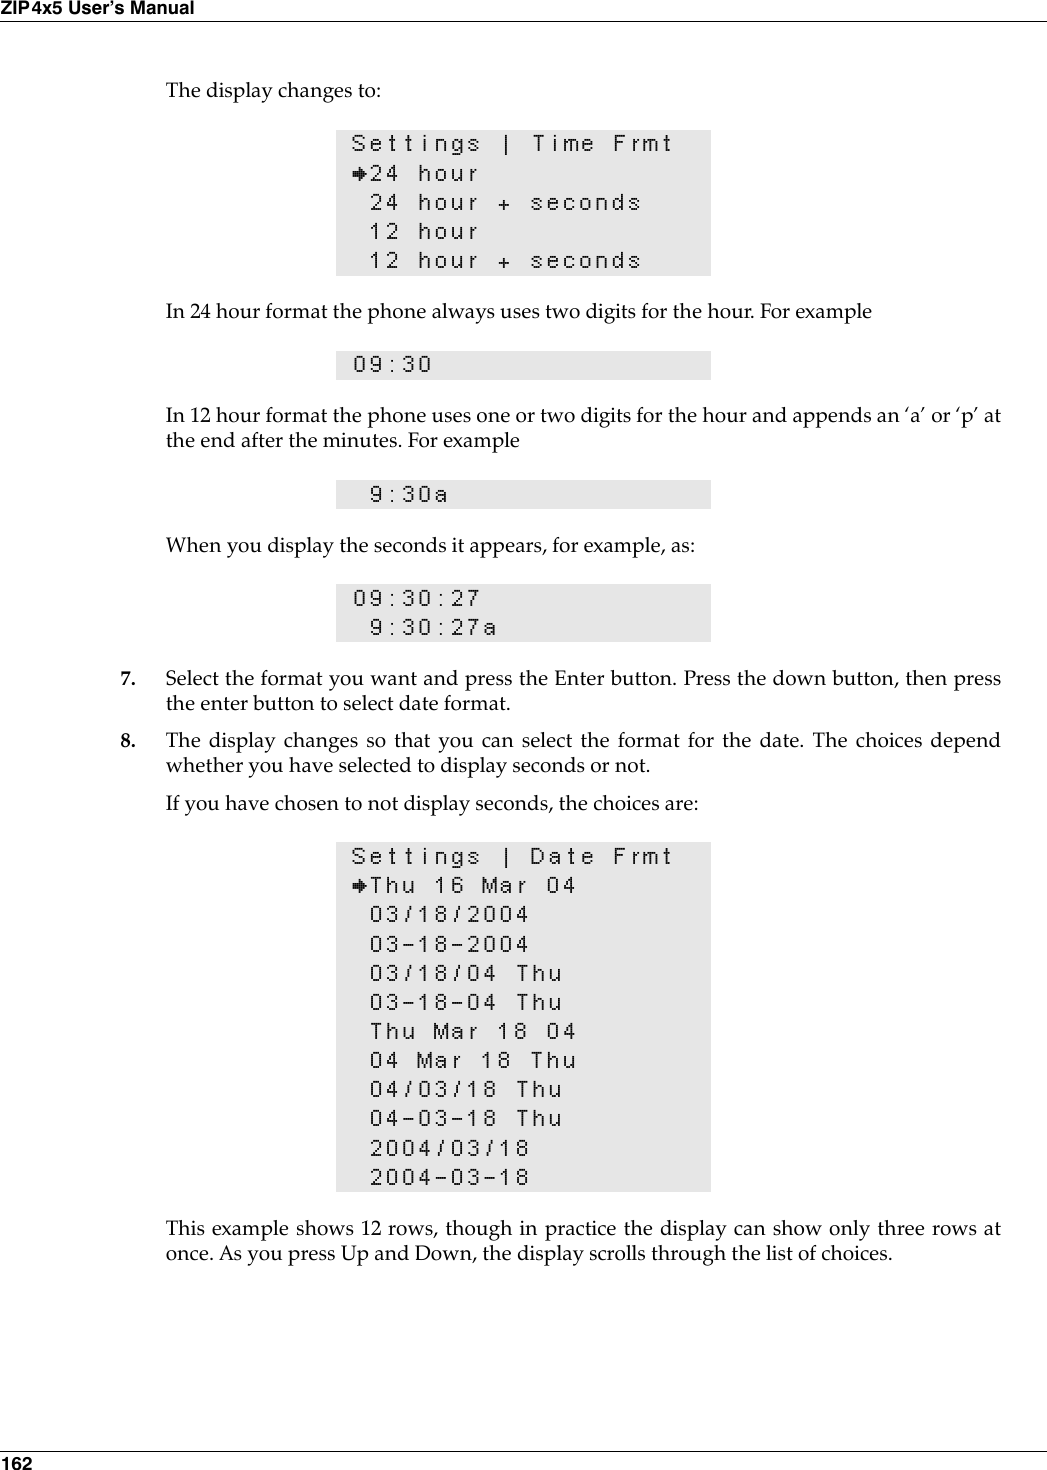
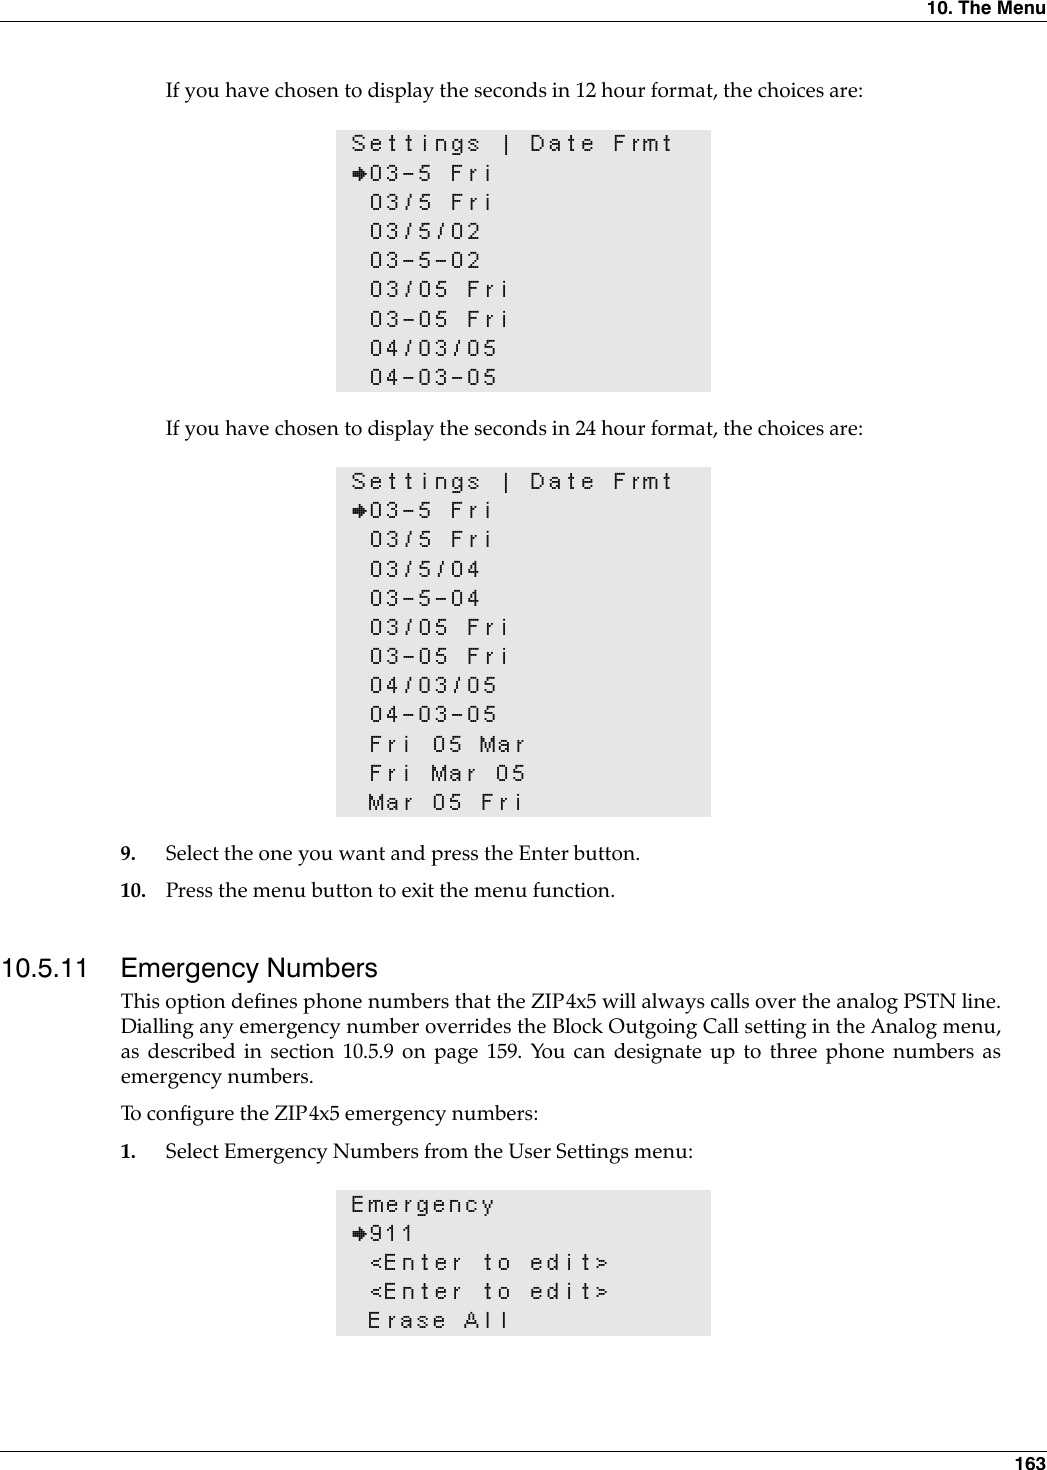
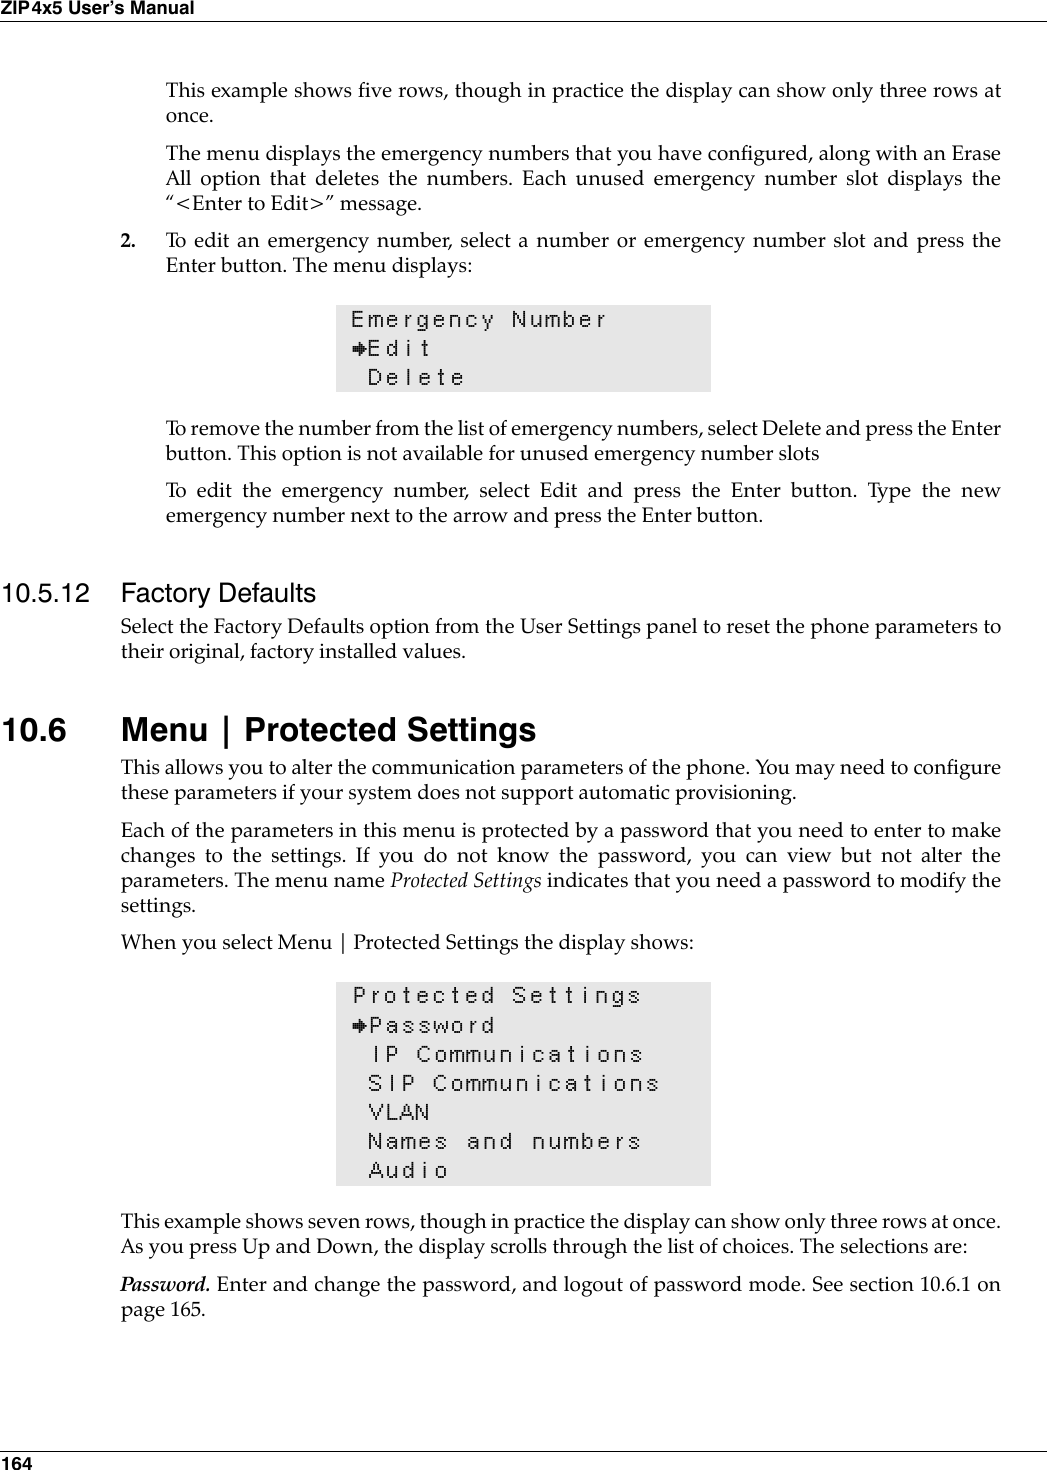
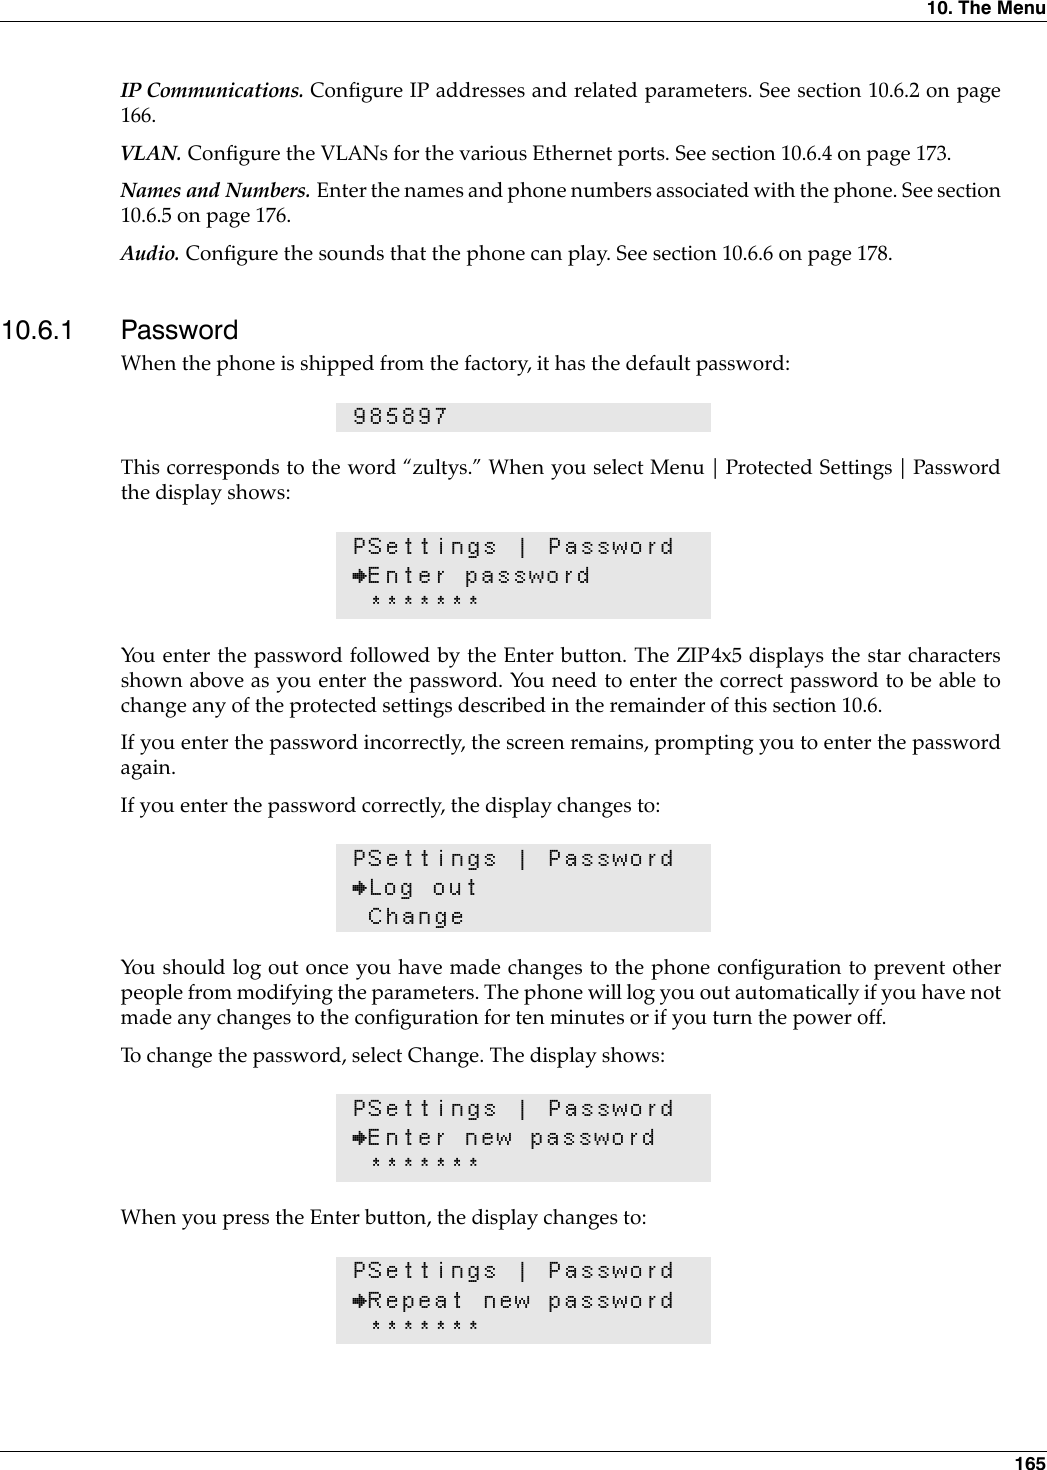
Manual 3