Hyundai IBT HQP50AH000 50” PDP Monitor User Manual 1
Hyundai IBT Corp. 50” PDP Monitor 1
Contents
- 1. Users Manual 1 of 3
- 2. Users Manual 2 of 3
- 3. Users Manual 3 of 3
Users Manual 2 of 3

FCC ID : PJIHQP50AH000
REPORT NO. : HCT-F04-0709 HYUNDAI C–TECH
ATTACHMENT E -2.
- USER’S MANUAL -
CONNECTIONS
31
Resolutions Supported in PC
* Recommended Resolution is 1024x768@60Hz : HQP421HR / HQP501HR
* Recommended Resolution is 800x600@60Hz : HQP421SR
Resolution
31.47
37.86
31.47
37.86
37.50
43.27
31.47
37.88
48.08
46.88
53.67
49.72
48.36
60.02
68.68
Vertical frequency
70.09
85.08
59.94
72.80
75.00
85.01
70.08
60.32
72.18
75.00
85.06
74.55
60.00
75.03
85.00
640 x 350
720 x 400
800 x 600
832 x 624
1024 x 768
640 x 480
Horizontal frequency
CONNECTIONS
HYUNDAI Plasma Display
32
Video Game Device
Video Disc Player
Satellite Receiver
Scart Connection to the External Input
Connection Method
This end can be fitted with : A Scart connector
If you have video player that is supported CVBS, You can use Scart 1, Scart 2 port.
How to Watch
Turn on your PDP and press on remote control unit.
Press to move between entries. And press to select
Scart 1 or Scart 2.
1
2
1
2
DVD
VCR
0)4.;+):< .=44;+):< )6<16
>0.=0.
>1,-7+7587;1<-
16
4:A8J8Z
4:A8J8Z
)=,17
>1,-7;>1,-7
+75876-6<>1,-7
VIDEO(CVBS) + Audio(L/R)
“A”
Power Cable
SET TOP BOX
TV/AV
CURRENT : SCART 1
TV
VIDEO
S-VIDEO
SCART 1
SCART 2
DVD
DTV
PC
DVI
NO CABLE
NO CABLE
CONNECT
NO CABLE
NO CABLE
NO CABLE
NO CABLE
NO CABLE
You can use composite video by scart 1/2, connector please contact your local service center about “A” cable.

33
CONNECTIONS

How to Select the Picture Mode ..............................................35
How to Set the Desired Picture ................................................36
How to Set Blue Screen ...........................................................37
How to Set Film Mode .............................................................38
How to Select a Color Temperature .........................................39
How to Set PIP [Mode] .............................................................40
How to Set Multi-Screen [Input Source/Position/Size] ............41
How to Set Noise Reduction ....................................................44
Supported PIP Table .................................................................45
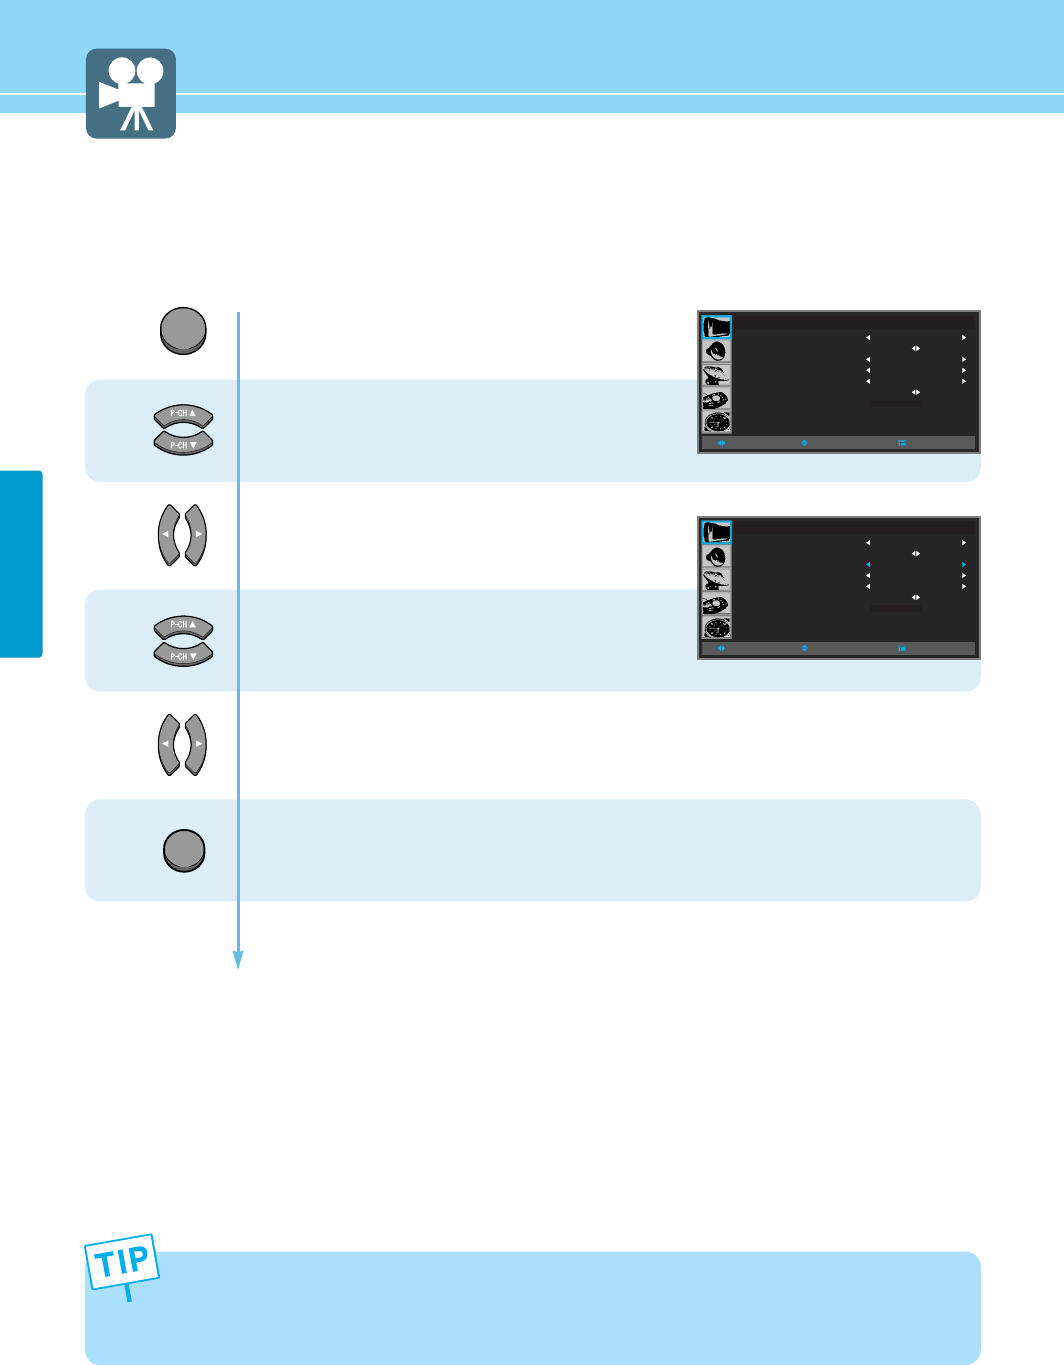
Picture Setup
HYUNDAI PLASMA DISPLAY
35
PICTURE SETUP
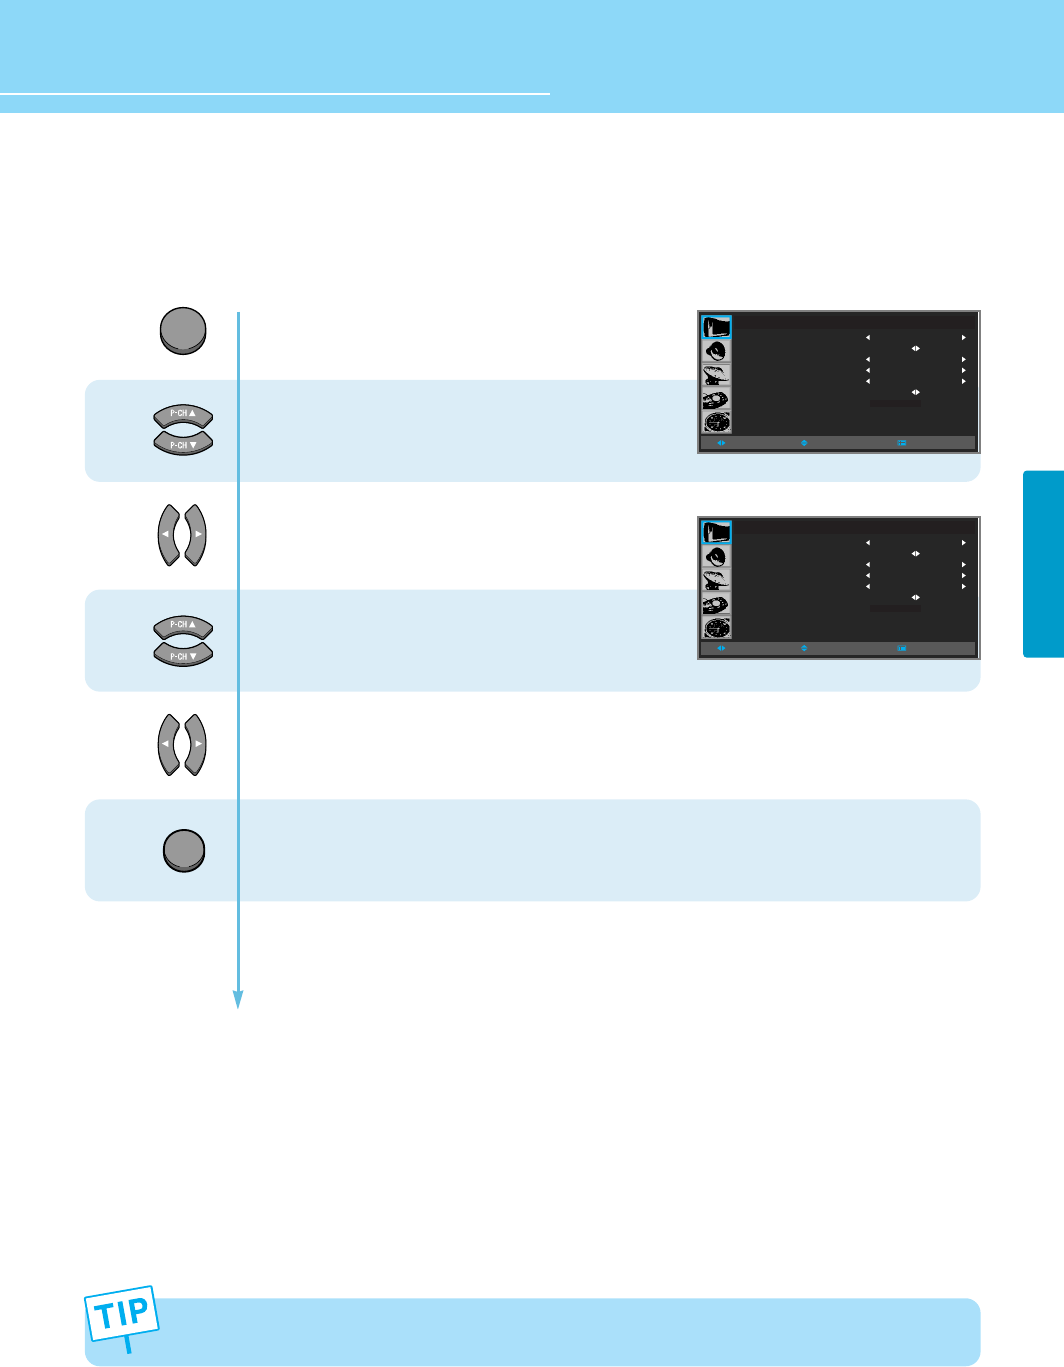
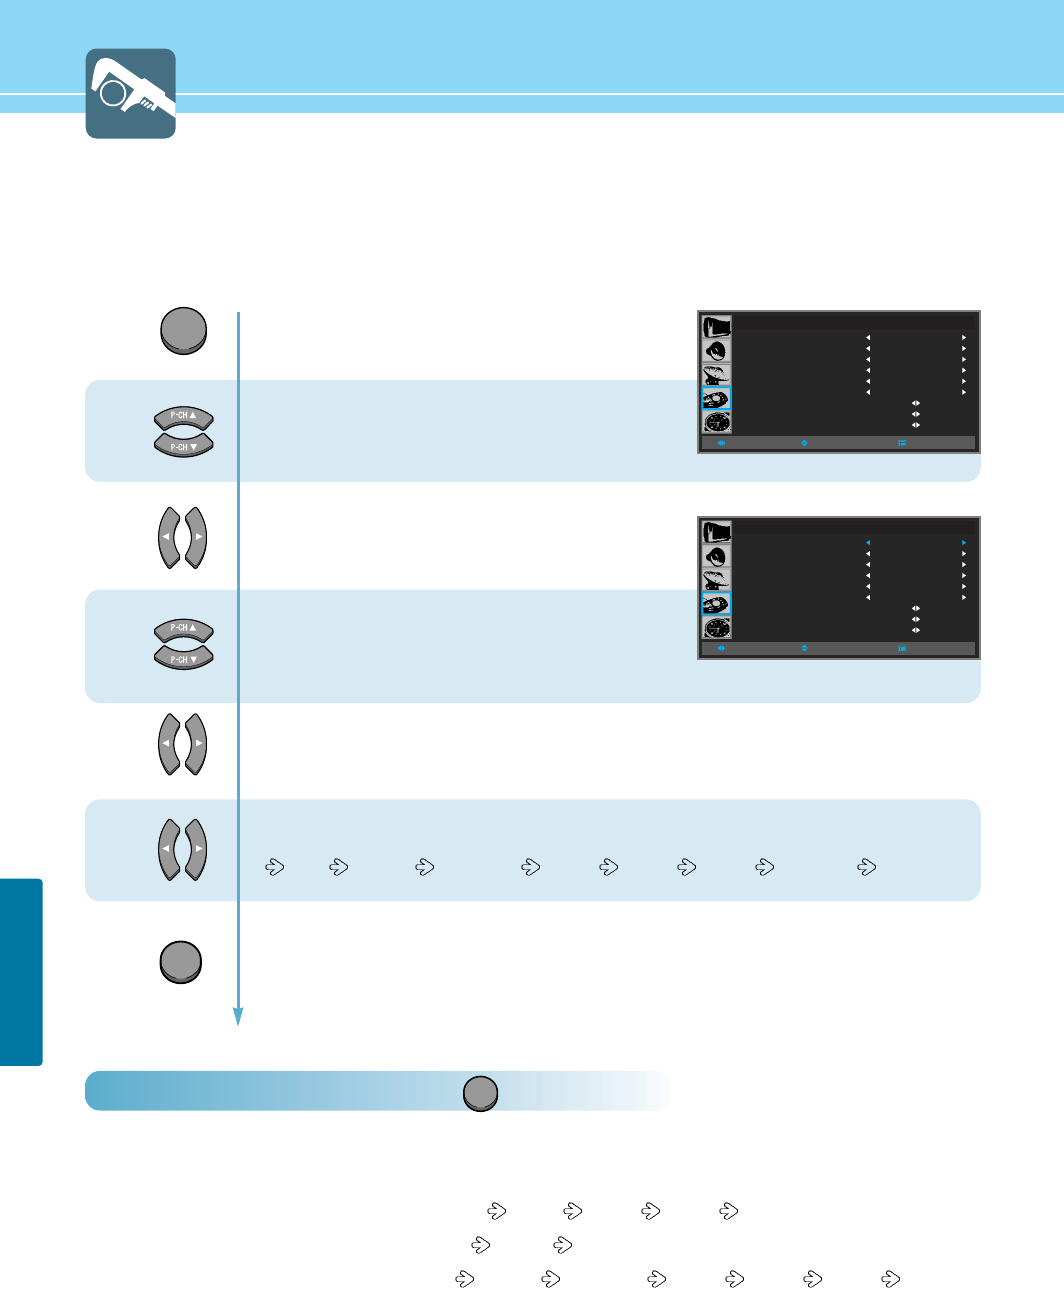
Press Menu button.
Menu items appear on the screen.
Press Up and Down buttons to move to
“Picture” icon.
Press Left and Right buttons to select
“MODE”.
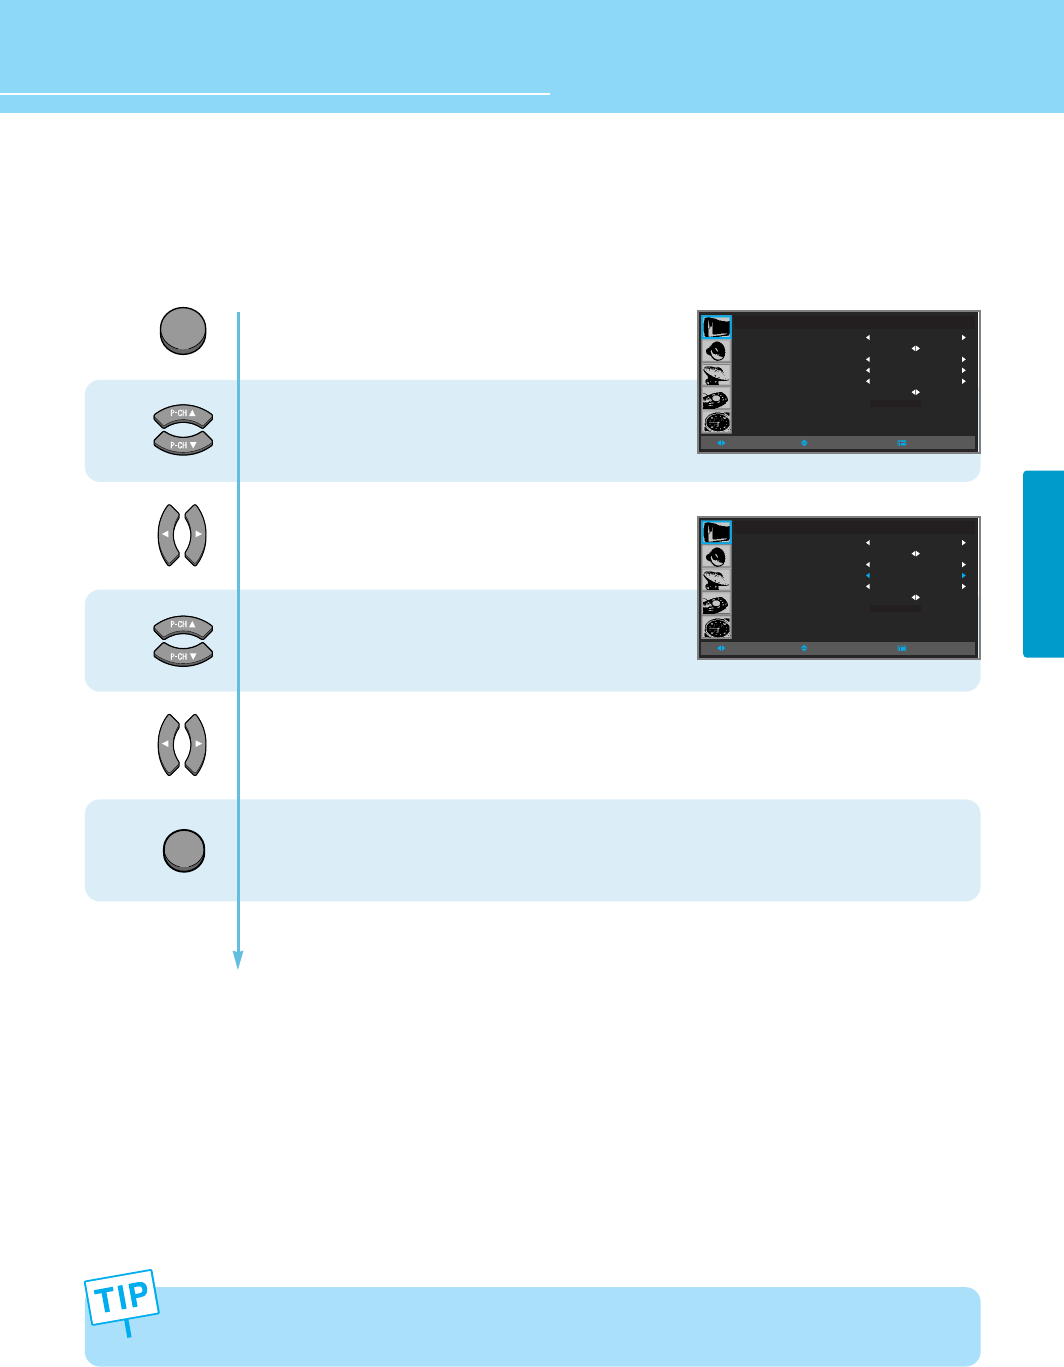
Press Left and Right buttons,
then the menu changes in order below.
Standard DYNAMIC Movie
MILD User
Press MENU button after the setting is done, and Menu goes to the previous menu.
If the EXIT button is pressed, the menu disappears.
STANDARD : For general contents. It fits most video contents.
DYNAMIC : For a clear display.
MOVIE : For movies.
MILD : For a soft display.
USER : When the user wants to set the values see the next page
1
2
3
PICTURE
MODE
PICTURE CUSTOM
BLUE SCREEN
FILM MODE
COLOR TEMP
PIP
NOISE REDUCT
STANDARD
OFF
OFF
STANDARD
MOVE
+ 000
SELECT MENU
EXIT
In the user’s mode, the users can adjust at thier preference contrast, brightness, sharpness, color, tint at
standard, dynamic, movie, or mild mode.
*Adjustments menu may be different according to the input source.
MENU
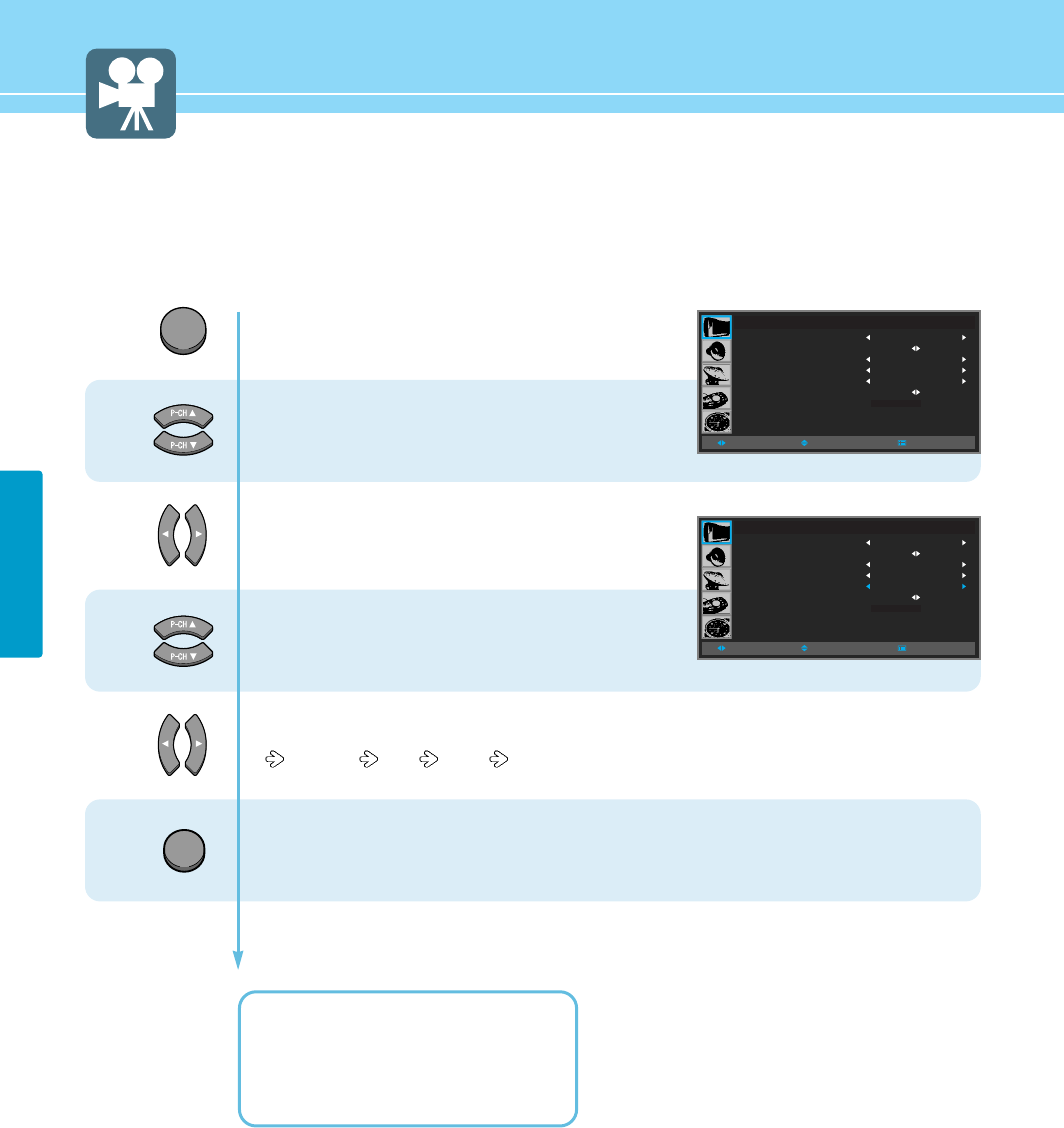
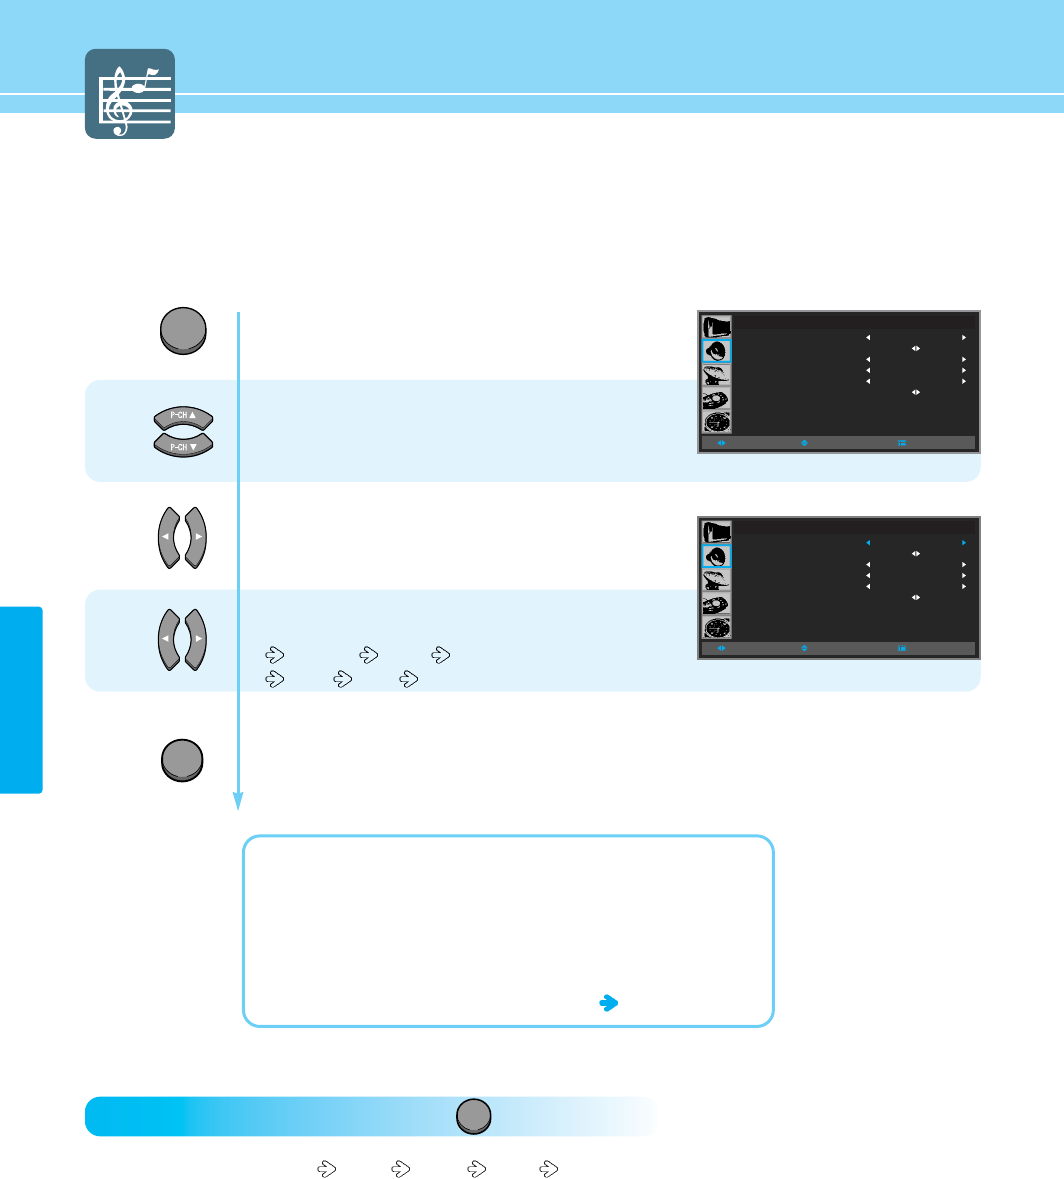
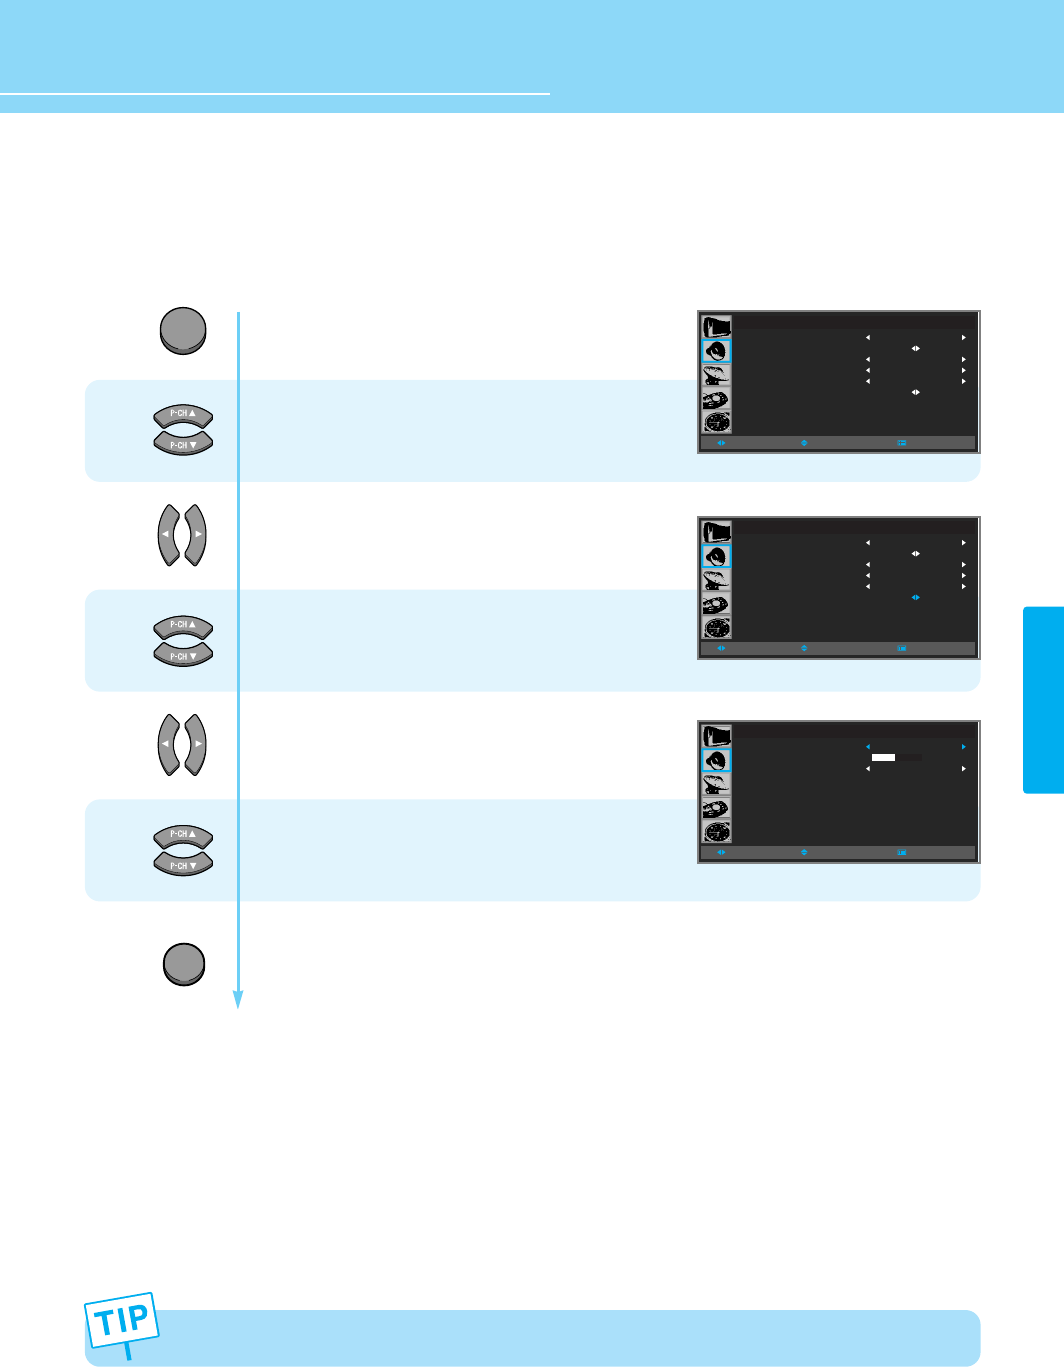
How to Select the Picture Mode
Users can adjust picture mode automatically accrding to the input mode(TV, Video, S-Video, F/H Scart, DVD, DTV).
How To Directly Select Picture Mode : Press button.
- Users can select Standard Dynamic Movie Mild USER, when the input mode is TV, S-Vedio, Scart 1/2,
DVD, DTV.
- Users can select Standard Low(Text Mode) High(Movie), when the input mode is PC or DVI.
PICTURE
PICTURE
MODE
PICTURE CUSTOM
BLUE SCREEN
FILM MODE
COLOR TEMP
PIP
NOISE REDUCT
STANDARD
OFF
OFF
STANDARD
MOVE
+ 000
SELECT MENU
36
PICTURE SETUP
HYUNDAI Plasma Display
How to Set the Desired Picture
Users can manually adjust the picture in their own ways.
Press Menu button.
Menu items appear on the screen.
Press Up and Down buttons to move to
“Picture” icon.
Press Left and Right buttons to select
“PICTURE”
Press Up and Down buttons to move to
“CUSTOM”.
Press Left and Right buttons to select
“CUSTOM”.
Picture Custom menu appears.
Choose one of the items listed,
then Press Left and Right buttons to adjust.
Press MENU button after the setting is done, and Menu goes to the previous menu.
If the EXIT button is pressed, the menu disappears.
CONTRAST : Adjust the brightness and darkness of object and background.
BRIGHTNESS : Adjust the brightness of the entire picture.
SHARPNESS : Adjust clarity of outline of objects.
COLOR : Adjust colors into deeper or lighter colors.
TINT : Adjust colors naturally. This only applies to NTSC mode.
Setting of Color and Tint is not supported in PC, DVI and DTV input modes.
MENU
PICTURE CUSTOM
CONTRAST
BRIGHTNESS
SHARPNESS
COLOR
TINT
MOVESELECT MENU
080
070
050
050
050
1
2
3
4
5
EXIT
PICTURE
MODE
PICTURE CUSTOM
BLUE SCREEN
FILM MODE
COLOR TEMP
PIP
NOISE REDUCT
STANDARD
OFF
OFF
STANDARD
MOVE
+ 000
SELECT MENU
PICTURE
MODE
PICTURE CUSTOM
BLUE SCREEN
FILM MODE
COLOR TEMP
PIP
NOISE REDUCT
STANDARD
OFF
OFF
STANDARD
MOVE
+ 000
SELECT MENU
PICTURE SETUP
37
In the status of Blue Screen active, when the main picture receives no signal during watching a TV or VCR
program as a main picture while viewing a VCR or TV program as a sub picture in PIP mode, the entire screen
(including both main and sub pictures) will turn blue. When the main picture signal comes back, the both
pictures will be restored to normal.
How to Set Blue Screen
If there is no broadcast or no signal from a connected external device, your PDP will show a blue screen.
If a broadcast signal comes in, the blue screen will be converted to a normal screen.
Press Menu button.
Menu items appear on the screen.
Press Up and Down buttons to move to
“Picture” icon.
Press Left and Right button to select
“PICTURE”.
Press Up and Down button to move to
“BLUE SCREEN”.
Press Left and Right button to “ON/OFF”.
Press MENU button after the setting is done, and Menu goes to the previous menu.
If the EXIT button is pressed, the menu disappears.
PICTURE
MODE
PICTURE CUSTOM
BLUE SCREEN
FILM MODE
COLOR TEMP
PIP
NOISE REDUCT
STANDARD
OFF
OFF
STANDARD
MOVE
+ 000
SELECT MENU
PICTURE
MODE
PICTURE CUSTOM
BLUE SCREEN
FILM MODE
COLOR TEMP
PIP
NOISE REDUCT
STANDARD
OFF
OFF
STANDARD
MOVE
+ 000
SELECT MENU
MENU
1
2
3
4
EXIT
How to Set Film Mode
Set Film Mode to receive a crisp, clear picture without flickering.
38
PICTURE SETUP
HYUNDAI Plasma Display
You may experience the distortion of the screen edge during a DVD or VCR playback. This may be caused by
bad edit of a film (a DVD title or tape). If you have come across this symptom, select OFF in the Film Mode.
Press Menu button.
Menu items appear on the screen.
Press Up and Down buttons to move to
“Picture” icon.
Press Left and Right button to select
“PICTURE”.
Press Up and Down button to move to
“FilM mode”.
Press Left and Right button to “ON/OFF”.
Press MENU button after the setting is done, and Menu goes to the previous menu.
If the EXIT button is pressed, the menu disappears.
PICTURE
MODE
PICTURE CUSTOM
BLUE SCREEN
FILM MODE
COLOR TEMP
PIP
NOISE REDUCT
STANDARD
OFF
OFF
STANDARD
MOVE
+ 000
SELECT MENU
PICTURE
MODE
PICTURE CUSTOM
BLUE SCREEN
FILM MODE
COLOR TEMP
PIP
NOISE REDUCT
STANDARD
OFF
OFF
STANDARD
MOVE
+ 000
SELECT MENU
MENU
1
2
3
4
EXIT
How to Select a Color Temperature
Users can adjust Color as users want.
39
PICTURE SETUP
PICTURE
MODE
PICTURE CUSTOM
BLUE SCREEN
FILM MODE
COLOR TEMP
PIP
NOISE REDUCT
STANDARD
OFF
OFF
STANDARD
MOVE
+ 000
SELECT MENU
MENU
1
2
3
4
EXIT
Press Menu button.
Menu items appear on the screen.
Press Up and Down buttons to move to
“Picture” icon.
Press Left and Right button to select
“PICTURE” icon.
Press Up and Down button to move to
“COLOR TEMP”.
Press Left and Right button, then Mode changes in order below.
Standard Cool Warm
Press MENU button after the setting is done, and Menu goes to the previous menu.
If the EXIT button is pressed, the menu disappears.
STANDARD : Colors for general picture.
COOL : Cool colors with bluish tone.
WARM : Warm colors with reddish tone.
PICTURE
MODE
PICTURE CUSTOM
BLUE SCREEN
FILM MODE
COLOR TEMP
PIP
NOISE REDUCT
STANDARD
OFF
OFF
STANDARD
MOVE
+ 000
SELECT MENU
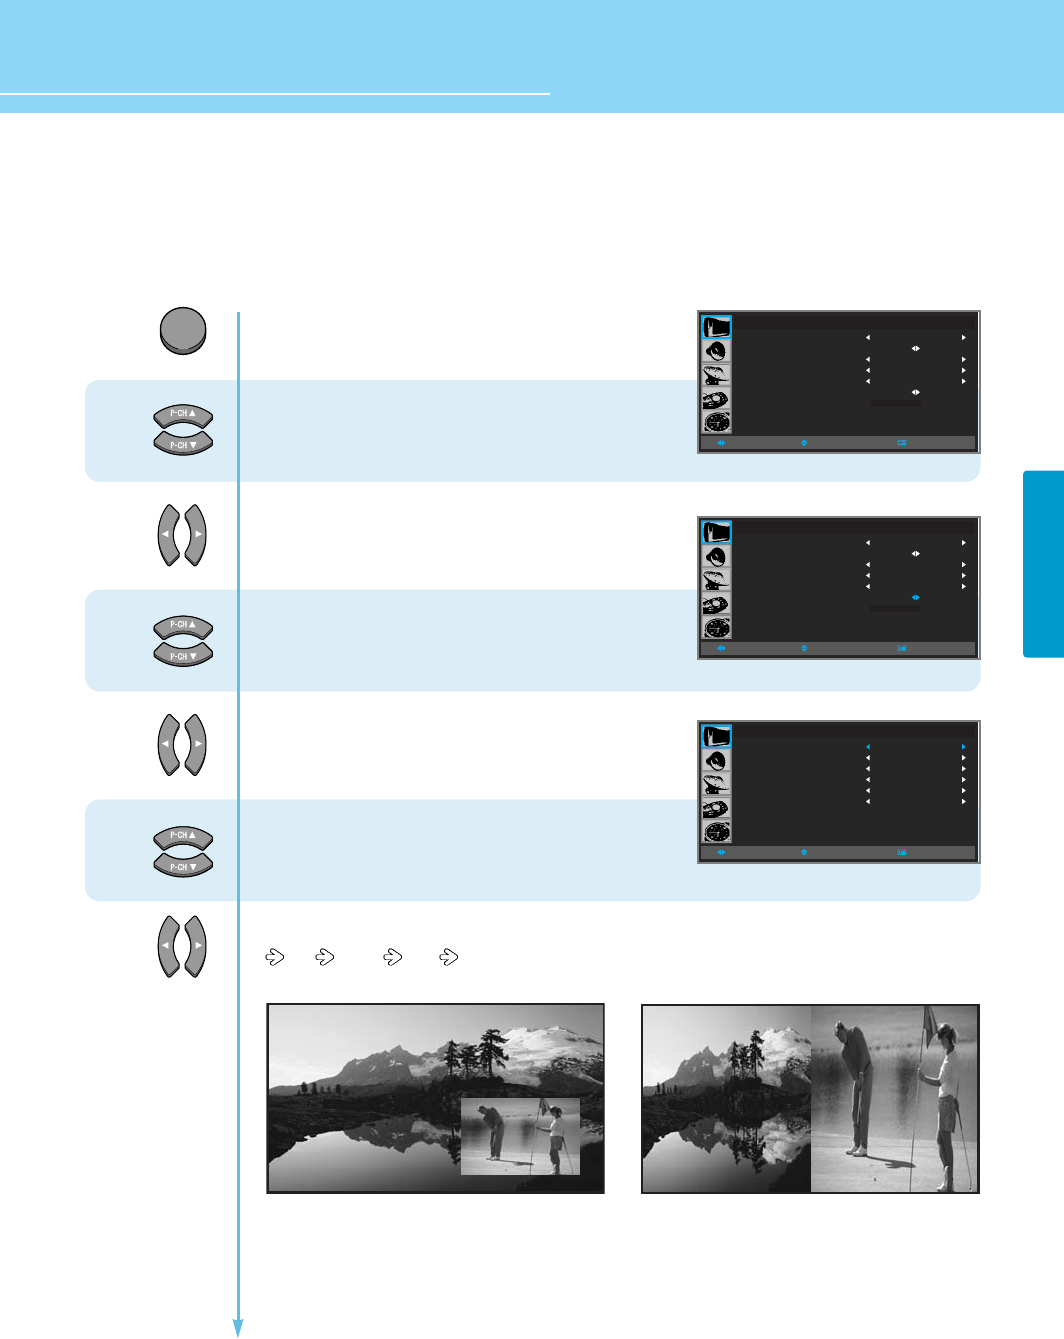
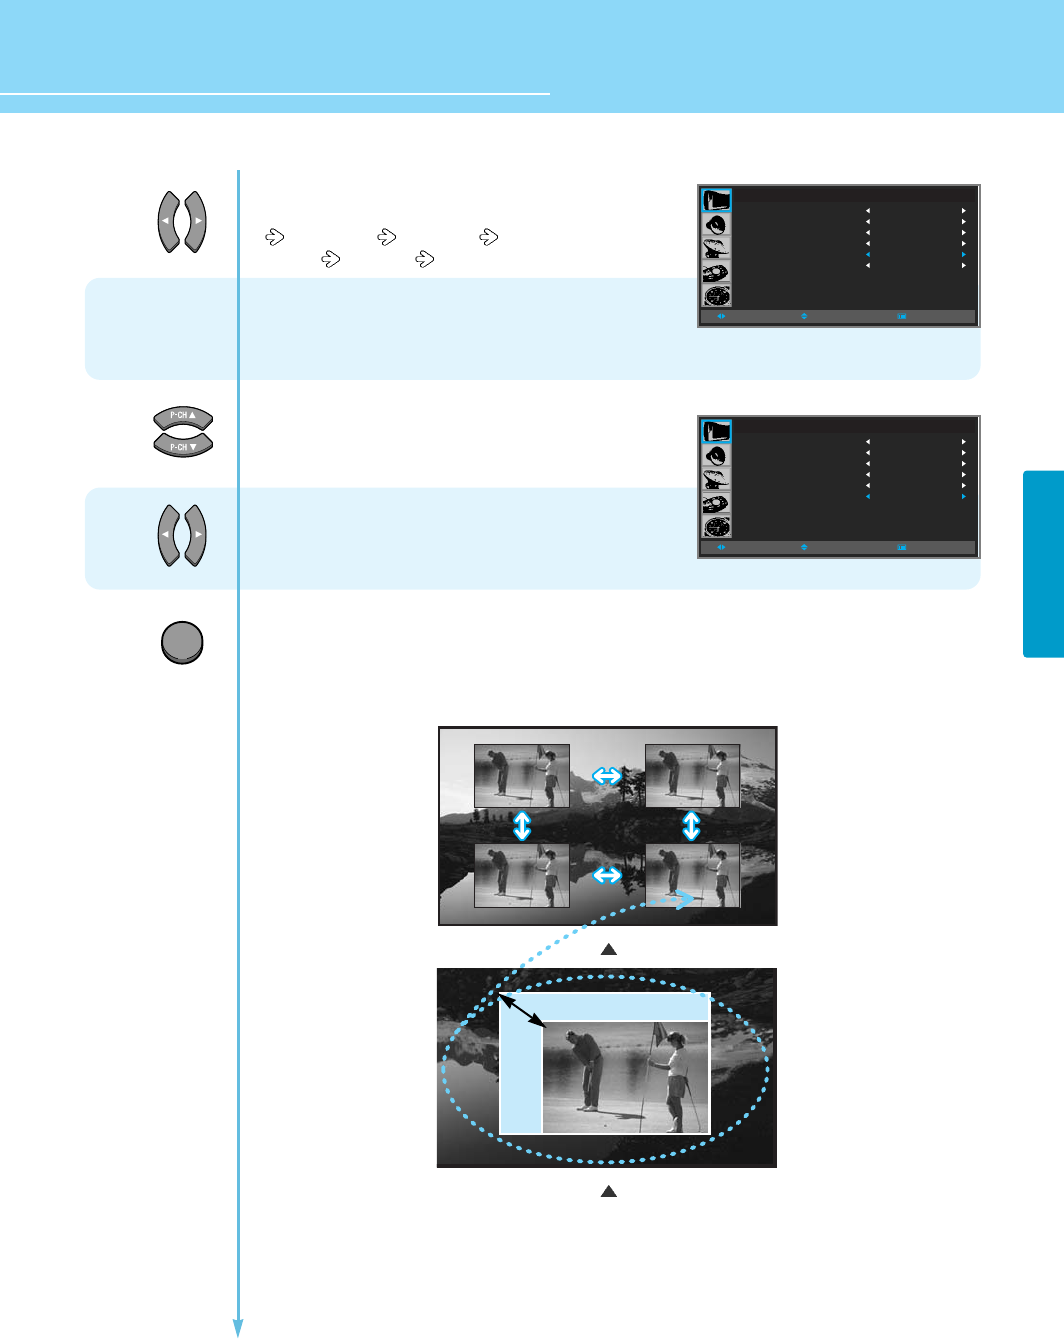
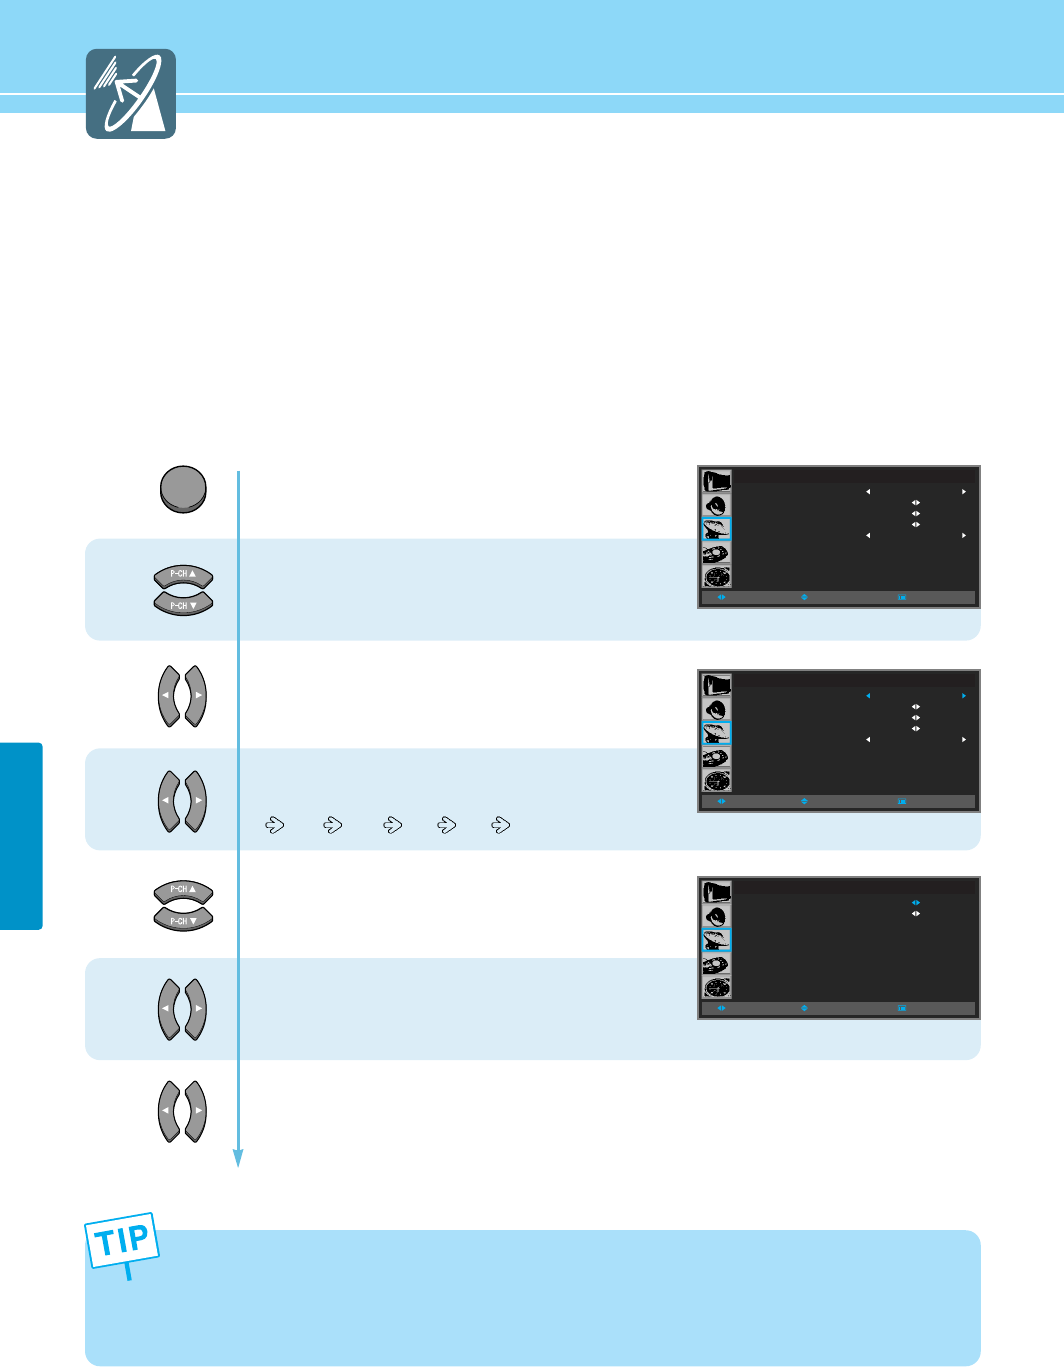
How to Set PIP [Mode]
This is to set PIP(Picture In Picture) mode or Twin mode.
40
PICTURE SETUP
HYUNDAI Plasma Display
PICTURE
MODE
PICTURE CUSTOM
BLUE SCREEN
FILM MODE
COLOR TEMP
PIP
NOISE REDUCT
STANDARD
OFF
OFF
STANDARD
MOVE
+ 000
SELECT MENU
MENU
1
2
3
4
5
6
Press Menu button.
Menu items appear on the screen.
Press Up and Down buttons to move to
“Picture” icon.
Press Left and Right button to select
“PICTURE” icon.
Press Up and Down button to move to
“PIP”.
Press Left and Right button to select
“PIP”.
Menu items appear on the screen.
Press Up and Down button to move to
“MODE”.
Press Left and Right button, then Mode changes in order below.
PIP TWIN OFF
After setting this, go to step 7 to set the SOURCE.
TWIN : To watch two screens in half and
half.
PIP : To watch the Sub screen in the main
screen at once.
Main Main Sub
Sub
PICTURE
MODE
PICTURE CUSTOM
BLUE SCREEN
FILM MODE
COLOR TEMP
PIP
NOISE REDUCT
STANDARD
OFF
OFF
STANDARD
MOVE
+ 000
SELECT MENU
PIP
MODE
SOURCE
SWAP
SIZE
POSITION
CHANNEL
OFF
TV
SWAP
LARGE
RIGHT DOWN
037
MOVESELECT MENU

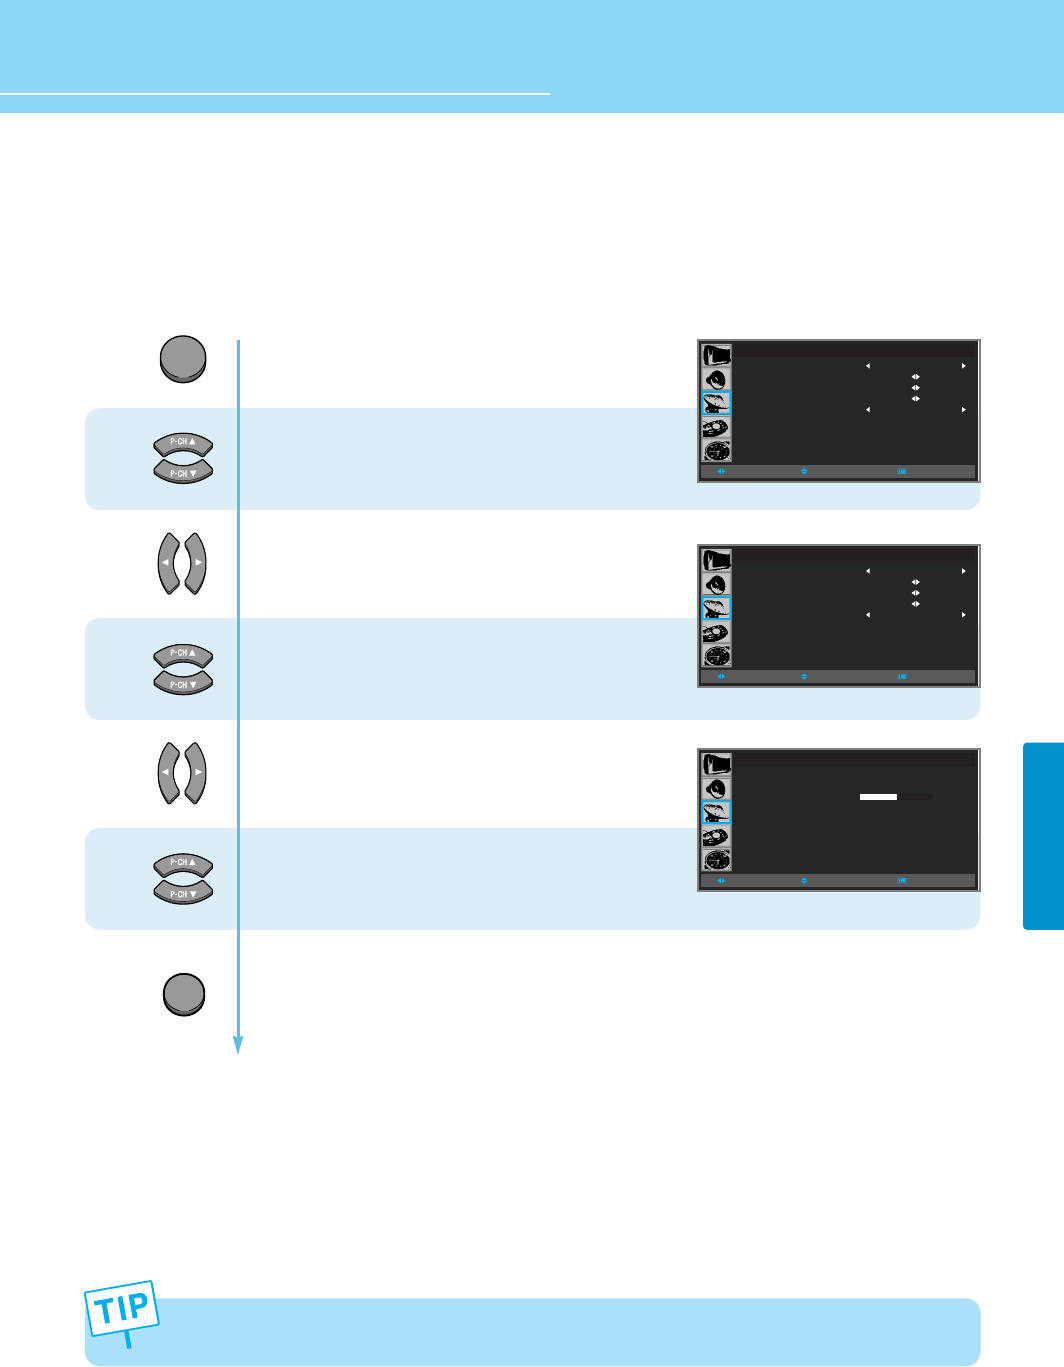
How to Set Multi-Screen
[Input Source/Position/Size]
This is to set the Input Source, Position and Size of the Sub-picture. (This function is available only when PIP
mode active.)
41
PICTURE SETUP
8
7
9
10
11
12
13
Press Up and Down buttons to move to
“SOURCE”.
Press Left and Right button, then source
changes in order below.
DTV DVD S-Video
TV SCART 1 SCART 2 PC DVI
In case of PIP mode, go to step 9
if you need to set the “SWAP” of Main and sub pictures.
Press Up and Down buttons to move to
“SWAP”.
Press Left and Right buttons.
In case of PIP mode, go to step 11
if you need to set the “SIZE” of Sub picture.
Press Up and Down buttons to move to
“Size”.
Press Left and Right buttons to set to
“LARGE/SMALL”.
In case of PIP mode, go to step 13
if you need to set the “POSITION” of Sub picture.
Press Up and Down buttons to move to
“POSITION”.
PIP
MODE
SOURCE
SWAP
SIZE
POSITION
CHANNEL
OFF
TV
SWAP
LARGE
RIGHT DOWN
037
MOVESELECT MENU
PIP
MODE
SOURCE
SWAP
SIZE
POSITION
CHANNEL
OFF
TV
SWAP
LARGE
RIGHT DOWN
037
MOVESELECT MENU
PIP
MODE
SOURCE
SWAP
SIZE
POSITION
CHANNEL
OFF
TV
SWAP
LARGE
RIGHT DOWN
037
MOVESELECT MENU
HYUNDAI Plasma Display
PICTURE SETUP
42
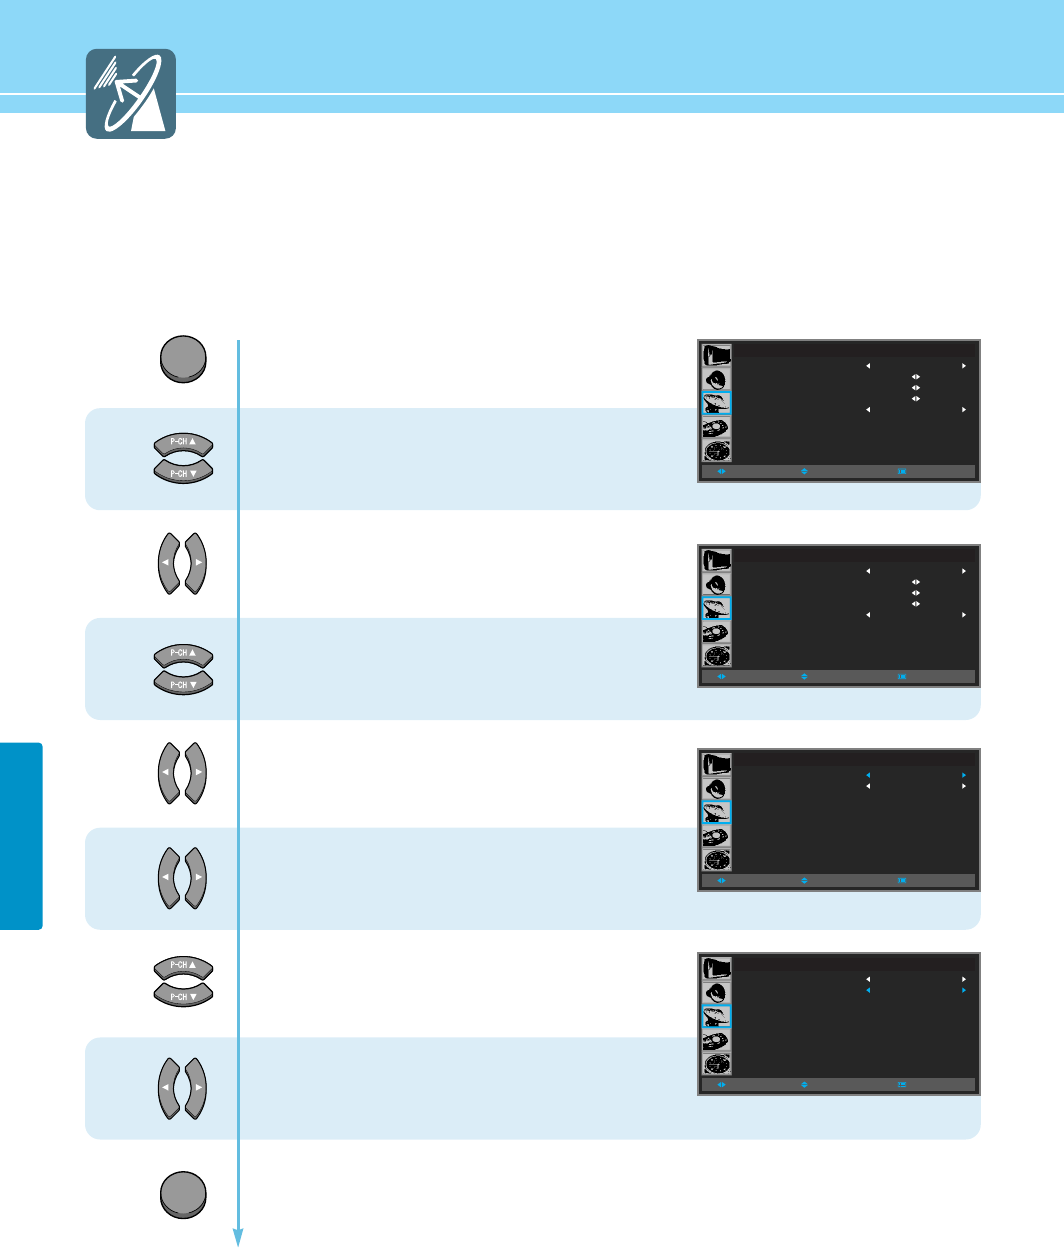
14
16
15
Press Left and Right button, then position
changes in order below.
Right Down Left Down
Left Up Right Up
In case the Input source in Sub picture is TV,
go to step 15 when you wish to change the
channels of Sub picture.
Press Up and Down buttons to move to
“Channel”.
Press Left and Right button to select
“Channel Number”.
Press MENU button after the setting is done, and Menu goes to the previous menu.
If the EXIT button is pressed, the menu disappears.
For details on Hot-keys on the remote control, please go to the next page.
EXIT
PIP
MODE
SOURCE
SWAP
SIZE
POSITION
CHANNEL
OFF
TV
SWAP
LARGE
RIGHT DOWN
037
MOVESELECT MENU
PIP
MODE
SOURCE
SWAP
SIZE
POSITION
CHANNEL
OFF
TV
SWAP
LARGE
RIGHT DOWN
037
MOVESELECT MENU
Adjust the location in PIP
Adjust the size in PIP
Hot-Keys on the Remote Control
How to Directly Turn PIP FUNCTION ON/OFF : Press button.
To turn ON/OFF the PIP function
How To Directly Adjust PIP MODE & SIZE : Press button.
To watch PIP/TWIN ways or to adjust the Size of Sub picture.
Large Small TWIN
How To Directly Change Sub Source : Press button.
Press Up and Down buttons to move to the Sub Source.
And select using Left or Right button.
How To Directly Set The SWAP : Press button.
To swap the Main picture and sub picture.
How To Directly Set The Sub Channel : Press button.
43
PICTURE SETUP
Main and sub pictures cannot have the same input source.
PIP
ON/OFF
SIZE
SOURCE
SWAP
CURRENT : TV
TV
VIDEO
S-VIDEO
SCART 1
SCART 2
DVD
DTV
PC
DVI
NO CABLE
NO CABLE
NO CABLE
NO CABLE
NO CABLE
NO CABLE
HYUNDAI Plasma Display
44
PICTURE SETUP
How to Set Noise Reduction
This is to eliminate some noise on the screen in Video mode.
In the Noise Reduction, the more you reduce the screen noise, the more the sharpness level of the pictures
may become degraded.
Press Menu button.
Menu items appear on the screen.
Press Up and Down buttons to move to
“Picture” icon.
Press Left and Right button to select
“PICTURE”.
Press Up and Down button to move to
“NOISE REDUCT”.
Press Left and Right button to adjust
Screen quality.
Press MENU button after the setting is done, and Menu goes to the previous menu.
If the EXIT button is pressed, the menu disappears.
PICTURE
MODE
PICTURE CUSTOM
BLUE SCREEN
FILM MODE
COLOR TEMP
PIP
NOISE REDUCT
STANDARD
OFF
OFF
STANDARD
MOVE
+ 000
SELECT MENU
PICTURE
MODE
PICTURE CUSTOM
BLUE SCREEN
FILM MODE
COLOR TEMP
PIP
NOISE REDUCT
STANDARD
OFF
OFF
STANDARD
MOVE
+ 000
SELECT MENU
MENU
1
2
3
4
EXIT

45
PICTURE SETUP
Supported PIP Table
PIP : O →Supported, X →Not Supported
Scart 1
O
O
O
O
O
O
O
O
X
Scart 2
O
O
O
O
O
O
O
X
O
Video
O
O
O
O
O
O
X
O
O
S-Video
O
O
O
O
O
X
O
O
O
TV
O
O
O
O
O
O
O
O
O
DVD
X
X
X
X
O
O
O
O
O
PC
X
X
X
X
O
O
O
O
O
PC
DVI
DTV
DVD
TV
S-Video
Video
Scart 2
Scart 1
DVI
X
X
X
X
O
O
O
O
O
DTV
X
X
X
X
O
O
O
O
O
Sub
Main

HYUNDAI Plasma Display
How to Select the Audio Mode ................................................47
How to Set the Desired Audio ..................................................48
How to Select AVL ....................................................................49
How to Select SRS WOW(Surround) ........................................50
How to Select MTS(Multi-Channel Sound) ...............................51
How to Set the Output of Subwoofer .......................................52
Sound Setup
HYUNDAI PLASMA DISPLAY
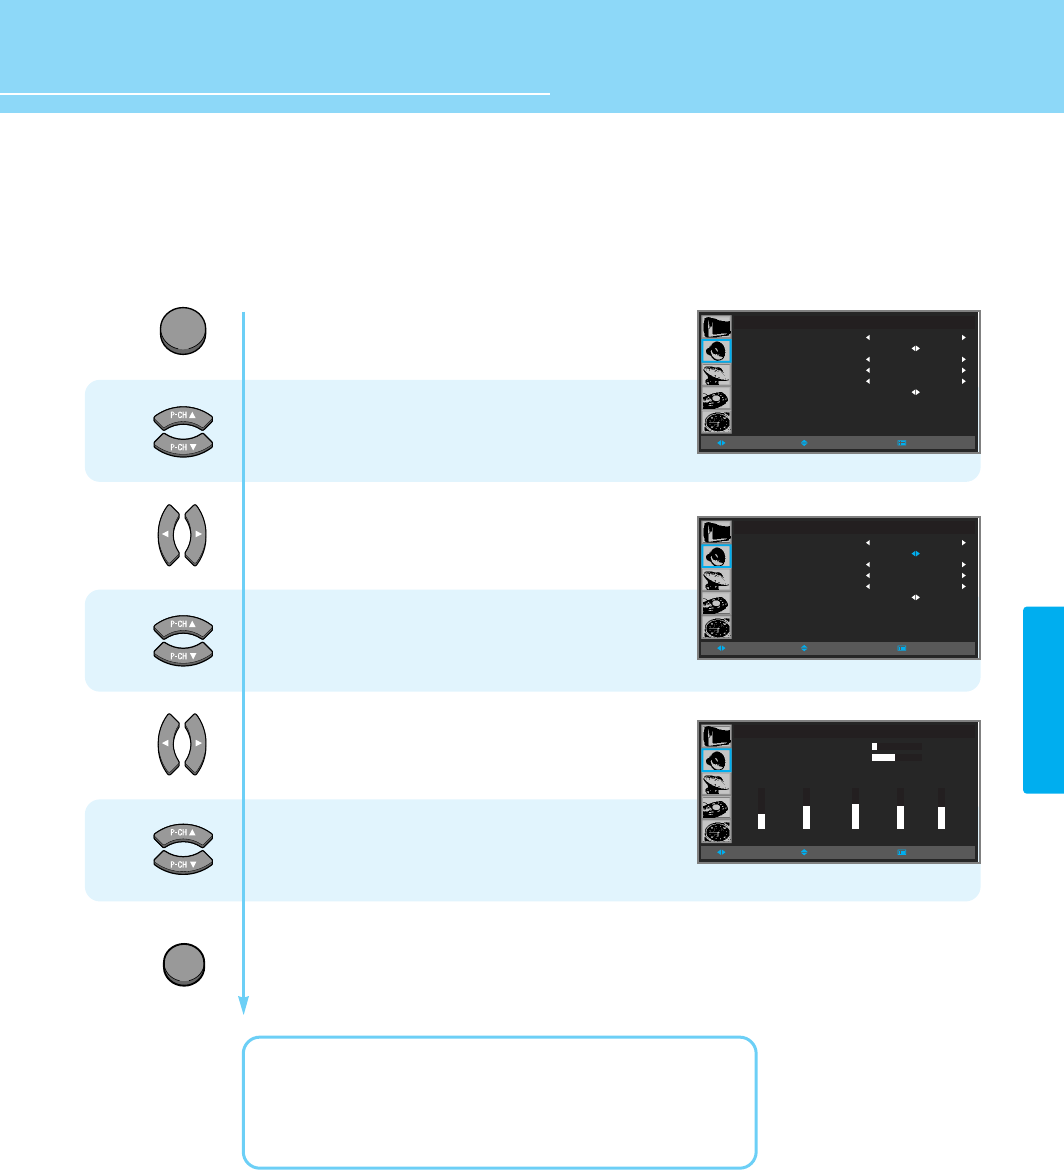
How to Select the Audio Mode
Users can adjust sound mode automatically as users want.
How To Directly Select Picture Mode : Press button.
Users can select STANDARD MUSIC MOVIE NEWS USER in order.
47
SOUND SETUP
Press Menu button.
Menu items appear on the screen.
Press Up and Down buttons to move to
“SOUND” icon.
Press Left and Right buttons to select
“MODE”.
Press Left and Right button, then the menu
changes in order below.
Standard Music Movie
News User
Press MENU button after the setting is done, and Menu goes to the previous menu.
If the EXIT button is pressed, the menu disappears.
STANDARD : For the general sound. This fits most audio contents.
MUSIC : For enjoying original sound.
MOVIE : For grandiose sound.
NEWS : For the clear sound.
USER : When the user wants to set the value see the next page
1
2
SOUND
MODE
CUSTOM
AVL
SRS WOW
MTS
SUB WOOFER
STANDARD
OFF
OFF
MONO
MOVESELECT MENU
MENU
3
EXIT
SOUND
SOUND
MODE
CUSTOM
AVL
SRS WOW
MTS
SUB WOOFER
STANDARD
OFF
OFF
MONO
MOVESELECT MENU
48
SOUND SETUP
HYUNDAI Plasma Display
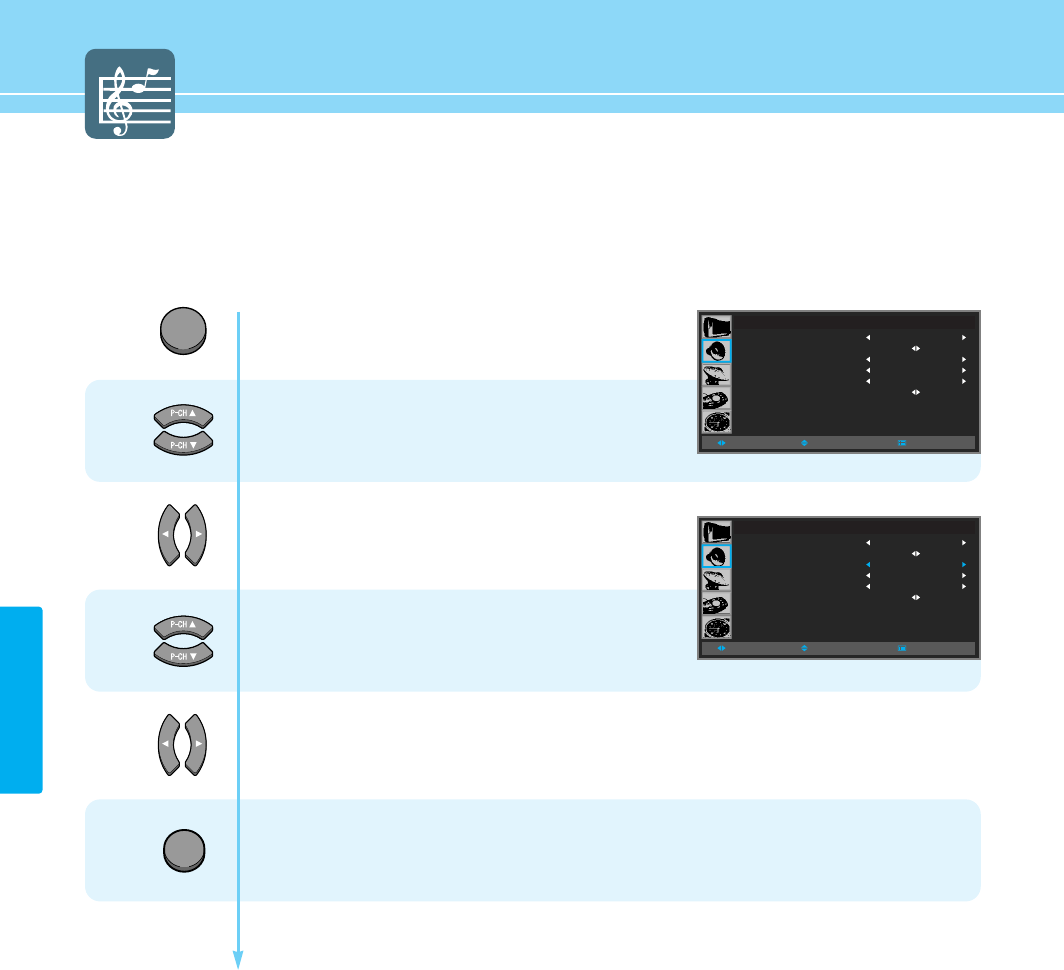
How to Set the Desired Audio
Users can manually adjust the sound in thier own ways.
Press Menu button.
Menu items appear on the screen.
Press Up and Down buttons to move to
“SOUND” icon.
Press Left and Right buttons to select
“SOUND”.
Press Up and Down buttons to move to
“SOUND custom ”.
Press Left and Right buttons to select
“SOUND custom”.
Sound Custom menu appears.
Choose one of the items listed,
then Press Left and Right buttons to adjust.
Press MENU button after the setting is done, and Menu goes to the previous menu.
If the EXIT button is pressed, the menu disappears.
VOLUME : Adjusts the volume.
BALANCE : Adjusts the balance of left and right speakers.
EQUALIZER : Adjusts the audio output signal in the desired band.
MENU
SOUND
MODE
CUSTOM
AVL
SRS WOW
MTS
SUB WOOFER
STANDARD
OFF
OFF
MONO
MOVESELECT MENU
SOUND
MODE
CUSTOM
AVL
SRS WOW
MTS
SUB WOOFER
STANDARD
OFF
OFF
MONO
MOVESELECT MENU
SOUND CUSTOM
VOLUME
BALANCE
EQUALIZER
MOVESELECT MENU
10
+00
8
100Hz
13
500Hz
14
1.5K
13
5K
12
10K
1
2
3
4
5
EXIT
SOUND SETUP
49
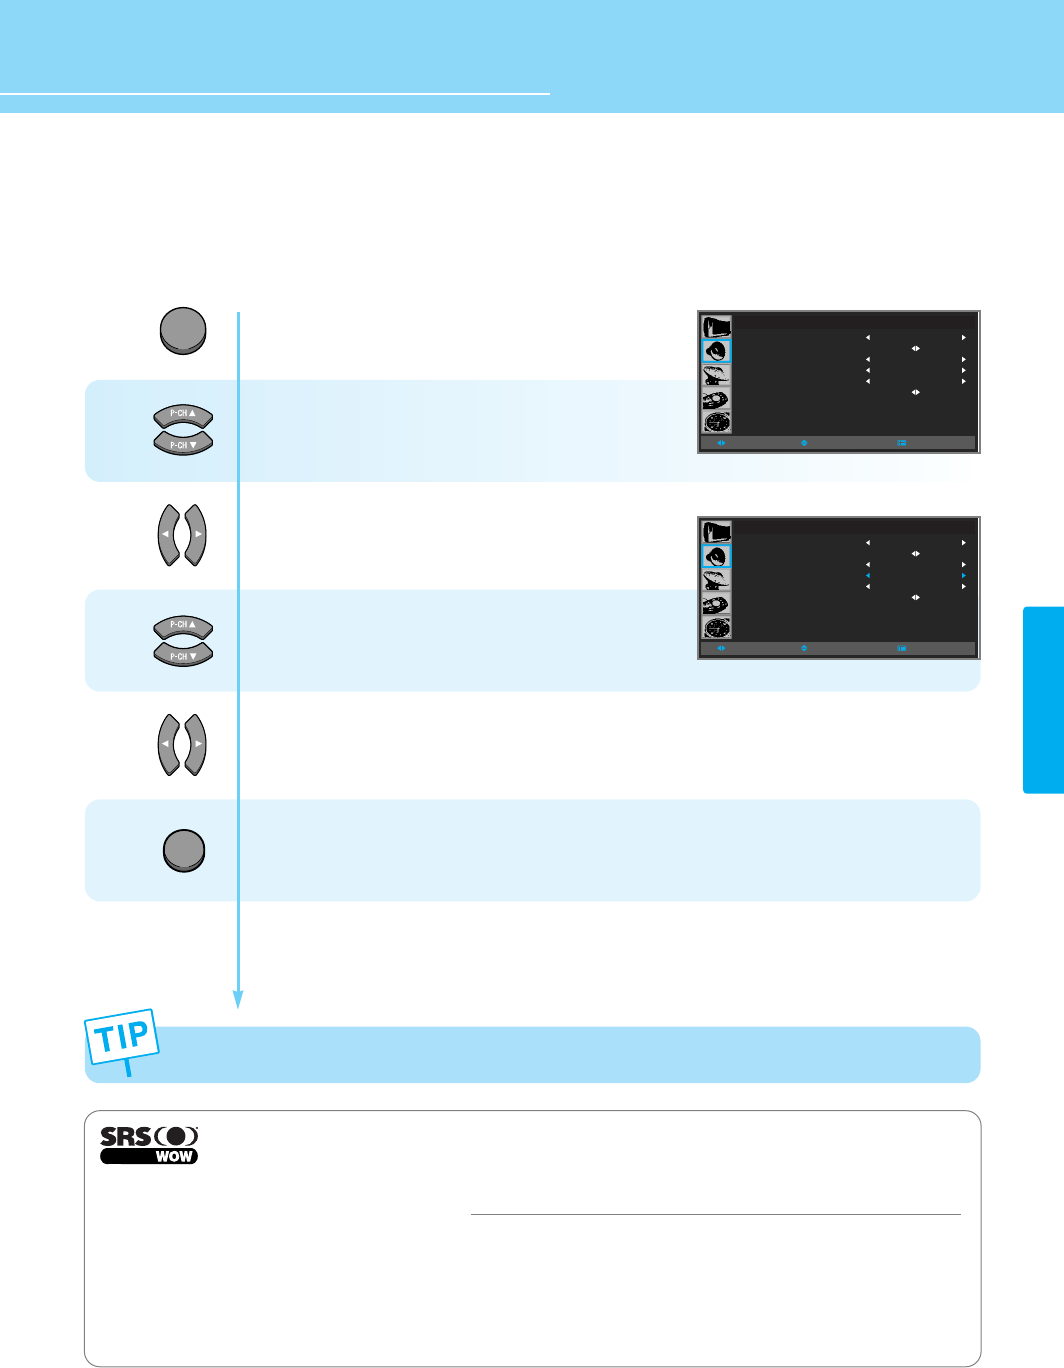
How to Select AVL
This function automatically gives a similar volume size to each channel.
Press Menu button.
Menu items appear on the screen.
Press Up and Down buttons to move to
“SOUND” icon.
Press Left and Right buttons to select
“SOUND”.
Press Up and Down buttons to move to
“AVL”.
Press Left and Right buttons to “ON/OFF”.
Press MENU button after the setting is done, and Menu goes to the previous menu.
If the EXIT button is pressed, the menu disappears.
MENU
1
2
3
4
EXIT
SOUND
MODE
CUSTOM
AVL
SRS WOW
MTS
SUB WOOFER
STANDARD
OFF
OFF
MONO
MOVESELECT MENU
SOUND
MODE
SOUND CUSTOM
AVL
SRS WOW
MTS
SUB WOOFER
STANDARD
ON
OFF
MONO
MOVESELECT MENU
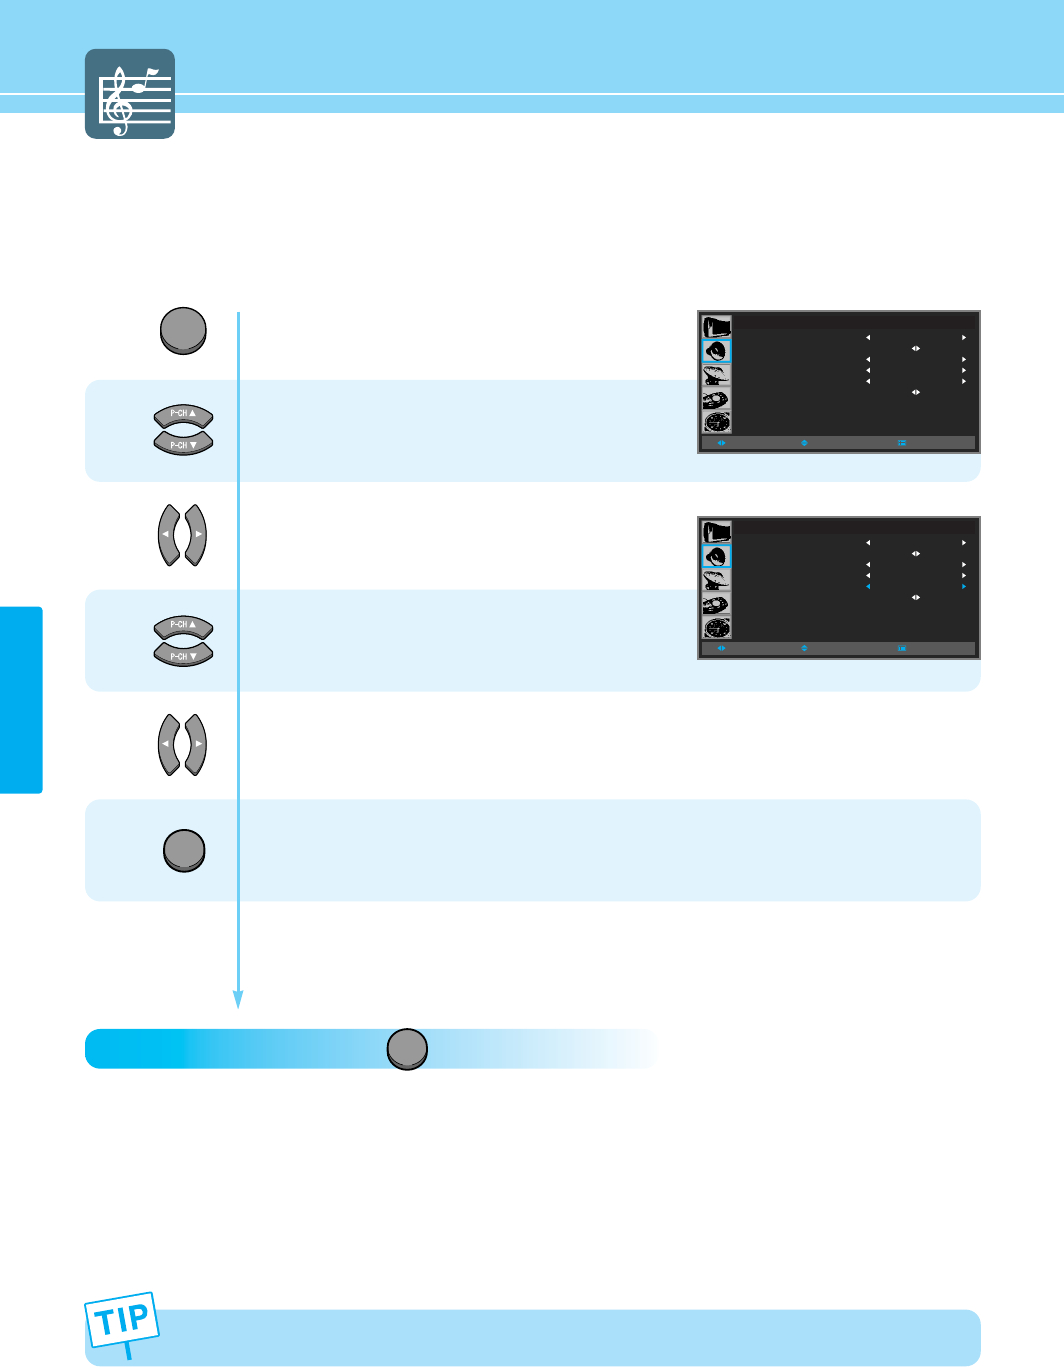
How to Select SRS WOW(Surround)
You can enjoy the spectacular, clear and crisp sound.
50
SOUND SETUP
HYUNDAI Plasma Display
Press Menu button.
Menu items appear on the screen.
Press Up and Down buttons to move to
“SOUND” icon.
Press Left and Right buttons to select
“SOUND”.
Press Up and Down buttons to move to
“SRS WOW”.
Press Left and Right buttons to “ON/OFF”.
Press MENU button after the setting is done, and Menu goes to the previous menu.
If the EXIT button is pressed, the menu disappears.
SOUND
MODE
CUSTOM
AVL
SRS WOW
MTS
SUB WOOFER
STANDARD
OFF
OFF
MONO
MOVESELECT MENU
SOUND
MODE
CUSTOM
AVL
SRS WOW
MTS
SUB WOOFER
STANDARD
OFF
ON
MONO
MOVESELECT MENU
MENU
1
2
3
4
EXIT
The SRS WOW function is activated only when the audio input signal is Stereo.
is a trademark of SRS Labs, Inc.
WOW technology is incorporated under license from SRS Labs, Inc.
Remarkable Enhancement for Mono or Stereo Playback
WOWTM‚ is an award-winning, patented technology that significantly enhances the quality of mono and stereo audio material. It creates the
perception of improved dynamics and bass performance over standard speakers or headphones.
WOW makes up for the limitations inherent in smaller speakers and headphones by providing a panoramic three-dimensional audio image
that extends the sound in both the horizontal and vertical planes well beyond the speakers or headphones themselves. As a result,
manufacturers of small audio devices, televisions, wireless and personal/portable products can dramatically improve their product’s audio
performance without enlarging the speaker size. The enriching effects of WOW are especially noticeable on digitally compressed mono or
stereo audio in formats such as MP3, WMA and audio CD in which the “tinny” hollow sound is greatly reduced.
51
SOUND SETUP
How to Select MTS(Multi-Channel Sound)
Depending on the particaular program being brodcast, you can select to stereo, mono, or a Separate Audio
Program. (SAP audio is usually a foreign-language translation. Somtimes SAP has unrelated information like
news or weathter.)
How To Directly Select MTS : Press button.
Repeatedly to select “MONO”, “Stereo” or “SAP”.
- Choose “Stereo” for channels that are broadcasting in STEREO.
- Choose “MONO” for channels that are broadcasting in MONO, or if you are having difficultly receiving a STEREO
signal.
- Choose “SAP” to listen to the seperate audio program, which is usually a foreign-language translation.
SOUND
MODE
CUSTOM
AVL
SRS WOW
MTS
SUB WOOFER
STANDARD
OFF
OFF
MONO
MOVESELECT MENU
MENU
1
2
3
4
EXIT
Press Menu button.
Menu items appear on the screen.
Press Up and Down buttons to move to
“Sound” icon.
Press Left and Right buttons to select
“Sound”.
Press Up and Down buttons to move to
“MTS”.
Press Left and Right buttons,
Repeatedly to select “MONO”, “STEREO” or “SAP”.
Press MENU button after the setting is done, and Menu goes to the previous menu.
If the EXIT button is pressed, the menu disappears.
MTS
If the signal reception conditions deteriorate, setting to Mono will make your listening condition better.
SOUND
MODE
SOUND CUSTOM
AVL
SRS WOW
MTS
SUB WOOFER
STANDARD
OFF
OFF
MONO
MOVESELECT MENU
HYUNDAI Plasma Display
52
SOUND SETUP
How to Set the Output of Subwoofer
You can set this function when you wish to install your subwoofer speaker system.
- The frequencies in the entry are the subwoofer’s frequency range.
- You make sure to use a subwoofer speaker system with built-in amplifier.
Press Menu button.
Menu items appear on the screen.
Press Up and Down buttons to move to
“SOUND” icon.
Press Left and Right buttons to select
“SOUND”.
Press Up and Down buttons to move to
“SUB WOOFER”.
Press Left and Right buttons to select
“SUB WOOFER”.
Sub Woofer menu appears.
Choose item, then Press Left and Right buttons
to adjust.
Press MENU button after the setting is done, and Menu goes to the previous menu.
If the EXIT button is pressed, the menu disappears.
SOUND
MODE
CUSTOM
AVL
SRS WOW
MTS
SUB WOOFER
STANDARD
OFF
OFF
MONO
MOVESELECT MENU
SOUND
MODE
CUSTOM
AVL
SRS WOW
MTS
SUB WOOFER
STANDARD
OFF
OFF
MONO
MOVESELECT MENU
SUB WOOFER
MODE
VOLUME
FREQENCY
MOVESELECT MENU
020
OFF
200 Hz
MENU
1
2
3
4
5
EXIT

53
SOUND SETUP

HYUNDAI Plasma Display
Memorizing the Channels ........................................................55
Fine Tuning Channel Reception ...............................................56
Storing Channels Manually ......................................................57
Using the LNA(Low-Noise-Amplifier) Feature ..........................58
Channel Setup
HYUNDAI PLASMA DISPLAY
55
CHANNEL SETUP
Memorizing the Channels
Your PDP can memorize and store all of the available channels for both “off-air” (antenna) and cable channels. After the
available channels are memorized, use the CH and CH buttons to scan through the channels. This eliminates the need to
change channels by entering the channel digits. There are three steps for memorizing channels: selecting a broadcast
source, memorizing the channels (automatic) and adding and deleting channels (manual).
Selecting the Video Signal-source
Before your television can begin memorizing the available channels, you must specify the type of signal source that is
connected to the TV (i.e., an antenna or a cable system).
1
2
3
- STD, HRC and IRC identify various types of cable TV systems. contact your local cable company to identify
the of cable system that exists in your particular area.
- The PDP automatically cycles through all available channels and stores them in memory.
- If you press the MENU button in the middle of AUTO STORE, the first stored channel will be displayed, and
the AUTO STORE stops.
MENU
5
6
4
Press Menu button.
Menu items appear on the screen.
Press Up and Down buttons to move to
“CHANNEL” icon.
Press Left and Right buttons to select
“CHANNEL”.
AIR/CATV is highlighted.
Repeatedly press the Left/Right buttons to
cycle through these choices :
STD HRC IRC AIR
Press Up and Down buttons to move to
“AUTO PROGRAM”.
Press Left and Right buttons to select
“AUTO PROGRAM”.
AUTO PROGRAM menu appears.
Press Left and Right buttons to select
“YES”, then store the selected channels.
AUTO PROGRAM
YES
NO
MOVESELECT MENU
CHANNEL
AIR / CATV
AUTO PROGRAM
FINE TUNE
CHANNEL STORE
LNA
AIR
OFF
MOVESELECT MENU
CHANNEL
AIR / CATV
AUTO PROGRAM
FINE TUNE
CHANNEL STORE
LNA
AIR
OFF
MOVESELECT MENU
HYUNDAI Plasma Display
56
CHANNEL SETUP
Fine Tuning Channel Reception
If the reception is clear, you do not have to fine tune channels, as this is done automatically during the search
and store operation. If the signal is weak or distorted, you may have to fine tune the channel manually.
EXIT
MENU
1
2
3
4
5
Press Menu button.
Menu items appear on the screen.
Press Up and Down buttons to move to
“CHANNEL” icon.
Press Left and Right buttons to select
“CHANNEL”.
Press Up and Down buttons to move to
“Fine Tune”.
Press Left and Right buttons to select
“Fine Tune”.
New Menu items appears.
Press Left and Right buttons to
adjust Screen.
*Channel number is current channel.
Press MENU button after the setting is done, and Menu goes to the previous menu.
If the EXIT button is pressed, the menu disappears.
CHANNEL
AIR / CATV
AUTO PROGRAM
FINE TUNE
CHANNEL STORE
LNA
AIR
OFF
MOVESELECT MENU
CHANNEL
AIR / CATV
AUTO PROGRAM
FINE TUNE
CHANNEL STORE
LNA
AIR
OFF
MOVESELECT MENU
CHANNEL 20 +00
MOVESELECT MENU
FINE TUNE
OSD for the fine tuned channels is highlighted in blue.
On INFORMATION active, MFT (Manual Fine Tune) after the channel number will be displayed.
Storing Channels Manually
You can exclude the channels of your choice from the channel scan operation. When you scan through the
stored channels, those that you have chosen to skip are thus not displayed.
All channels that you do not specifically choose to skip are displayed during scanning.
57
CHANNEL SETUP
1
2
3
4
5
6
7
Press Menu button.
Menu items appear on the screen.
Press Up and Down buttons to move to
“CHANNEL” icon.
Press Left and Right buttons to select
“CHANNEL”.
Press Up and Down buttons to move to
“CHANNEL STORE”.
Press Left and Right buttons to select
“CHANNEL STORE”.
Channel Store menu appears.
*The displayed channel number
indicates a current channel.
Press Left and Right buttons to select
Channel Number.
Press Up and Down buttons to move to
“ADD/DELETE”.
Press Left and Right buttons,
then select ADD or ERASE.
Press MENU button after the setting is done, and Menu goes to the previous menu.
If the EXIT button is pressed, the menu disappears.
MENU
MENU
CHANNEL
AIR / CATV
AUTO PROGRAM
FINE TUNE
CHANNEL STORE
LNA
AIR
OFF
MOVESELECT MENU
CHANNEL
AIR / CATV
AUTO PROGRAM
FINE TUNE
CHANNEL STORE
LNA
AIR
OFF
MOVESELECT MENU
CHANNEL STORE
CHANNEL
ADD/DELETE
MOVESELECT MENU
18
ERASE
CHANNEL STORE
CHANNEL
ADD/DELETE
MOVESELECT MENU
18
ERASE

HYUNDAI Plasma Display
CHANNEL SETUP
58
Using the LNA(Low-Noise-Amplifier) Feature
If the reception is clear, you don’t have to use this feature.
If the signal is weak or distorted, try the followings.
Press Menu button.
Menu items appear on the screen.
Press Up and Down buttons to move to
“CHANNEL” icon.
Press Left and Right buttons to select
“CHANNEL”.
Press Up and Down buttons to move to
“LNA”.
Press Left and Right buttons to
ON/OFF.
Press MENU button after the setting is done, and Menu goes to the previous menu.
If the EXIT button is pressed, the menu disappears.
CHANNEL
AIR / CATV
AUTO PROGRAM
FINE TUNE
CHANNEL STORE
LNA
AIR
OFF
MOVESELECT MENU
CHANNEL
AIR / CATV
AUTO PROGRAM
FINE TUNE
CHANNEL STORE
LNA
AIR
ON
MOVESELECT MENU
EXIT
MENU
1
2
3
4

59
CHANNEL SETUP

HYUNDAI Plasma Display
How to Select the Aspect Ratio ...............................................61
Displaying Information .............................................................63
How to Set Key-Lock ...............................................................64
Using the Pixel Shift / Full White / Wiper Function ..................65
How to Freeze Picture .............................................................66
How to Set DPMS .....................................................................67
Choosing the Your Languages .................................................68
How to Set Image Adjust in PC Mode ......................................69
Viewing Closed Captions .........................................................71
Using the V-Chip ......................................................................73
Function Setup
HYUNDAI PLASMA DISPLAY
How to Select the Aspect Ratio
Users can adjust Aspect Ratio as users want.
How To Directly Select Aspect Ratio : Press button.
OSD menu displays the current aspect ratio.
If you press the ASPECT button second time, aspect ratio will be changed according to Input mode as follows :
- Under DTV, DVD inputs : Users can select Wide Zoom1 Zoom2 Zoom3 Auto Wide in order.
- Under PC, DVI inputs : Users can select Wide Normal Auto Wide in order.
- Under other inputs : Users can select Wide Normal Panorama Zoom1 Zoom2 Zoom3 Auto Wide
in order.
61
FUNCTION SETUP
1
2
3
MENU
4
5
EXIT
Press Menu button.
Menu items appear on the screen.
Press Up and Down buttons to move to
“FUNCTION” icon.
Press Left and Right buttons to select
“FUNCTION”.
Press Up and Down buttons to move to
“ASPECT RATIO”.
Press Left and Right buttons to select
“ASPECT RATIO”.
Press Left and Right buttons, then the menu changes in order below.
Wide Normal Panorama Zoom1 Zoom2 Zoom3 Auto Wide
Press MENU button after the setting is done, and Menu goes to the previous menu.
If the EXIT button is pressed, the menu disappears.
FUNCTION
ASPECT RATIO
KEY LOCK
PIXEL SHIFT
FULL WHITE
DPMS
LANGUAGE
IMAGE ADJUST
CAPTION
V-CHIP
WIDE
OFF
OFF
OFF
OFF
ENGLISH
MOVESELECT MENU
FUNCTION
ASPECT RATIO
KEY LOCK
PIXEL SHIFT
FULL WHITE
DPMS
LANGUAGE
IMAGE ADJUST
CAPTION
V-CHIP
WIDE
OFF
OFF
OFF
OFF
ENGLISH
MOVESELECT MENU
ASPECT
62
FUNCTION SETUP
HYUNDAI Plasma Display
General broadcast picture is adjusted
to 16:9.
WIDE / AUTO WIDE
General picture size.
NORMAL
Picture size for panorama video.
PANORAMA
Zoom in 16:9 in vertical direction.
ZOOM1
The picture enlarged to 16:9 format.
This mode is recommended in letter
box format.
ZOOM2
This Mode is used to display 4:3.
The picture using the full surface of the
screen leaving the Sub-title visible.
ZOOM3
SubTitle