Koden Electronics RB716A Marine Radar RA42C User Manual 11
Koden Electronics Co., Ltd Marine Radar RA42C 11
Contents
11
56
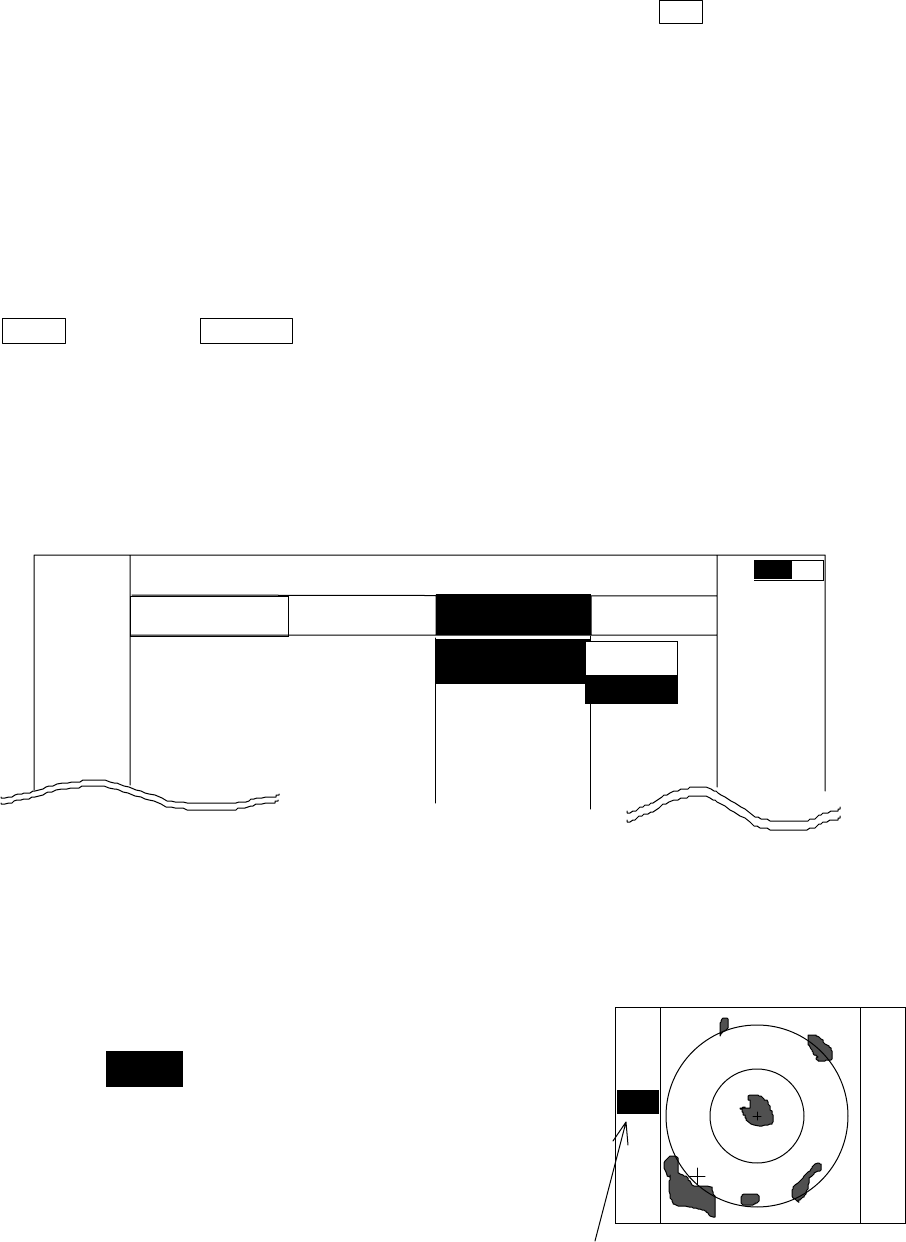
5.5.3 Echo Menu xxx •••keys to press
Adjustment options to be conducted on the echoes displayed on the screen
•Common operations for the ECHO menu (Up to the point when "ECHO" menu is selected
from the main menu)
Press the "MENU" key and select "ECHO" from the displayed 4 main menus using the left-
right cursor. (The contents of the selected MENU will appear on a pull-down display in
accordance with the movement of the left-right cursor.)
MENU •••---> Left/Right
(Select ECHO)
When the above-mentioned operations have been conducted, the items of the ECHO menu
are vertically displayed.
Further explanation about the ECHO menu will be conducted on the assumption that this
"common operation for the ECHO menu" has already been completed.
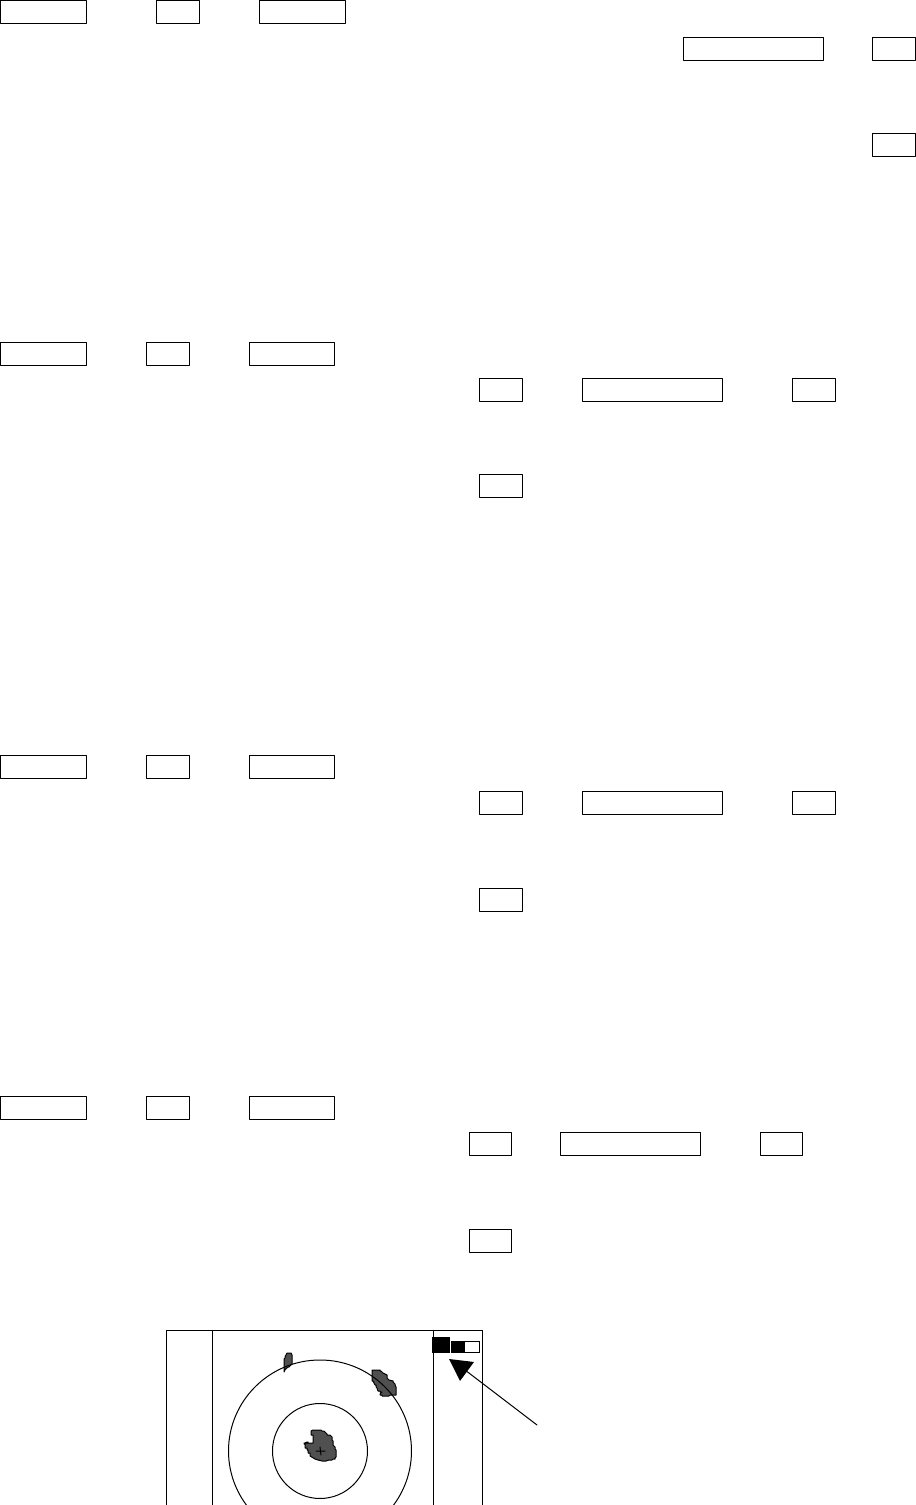
5.5.3.1 Sensibility adjustment (GAIN)
(1) Use the up-down cursor keys to select GAIN from among the pull-down display items, and
press either the "ENT" key or the right cursor key.
(2) Select MANU from the MANU/AUTO display beside the GAIN item using the up-down
cursor keys, and press the "ENT" key.
(3) The present state of GAIN is displayed in reverse on the
screen left as•G 35• and an adjustable state is entered.
When the control knob are operated in this state, the
figure alternates within a range of 0 and 99 and the GAIN
can thus be adjusted.
(4) The adjustment is completed by pressing the "ENT" key
after adjustment.
When AUTO action is to be entered, select AUTO in (2)
and press the "ENT" key to complete the setting.
G 56
The setting value is displayed during
MANUAL operation.
AT is displayed during AUTO operation.
(The same applies to STC, FTC and TUNE.)
MARK
.7 5
.2 5
H U L NAV ECHO
S
ET
U
P
ECHO
>>>
0.23 NM
GAIN >
STC >
FTC >
TUNE >
ST >
•MANU
•AUTO
AT
57
Up/Down --> ENT --> Up/Down
(Select GAIN) |->(Select MANU) --------------------> Control knob --> ENT
Set to MANU mode
| (GAIN adjustment)
|->(Select AUTO) ----------------------------------- --> ENT
Set to AUTO mode
5.5.3.2 Removing sea clutter (STC)
Refer to the section, “Sensibility adjustment (GAIN)”.
Up/Down --> ENT --> Up/Down
(Select STC) |->(Select MANU) --> ENT --> Control knob --> ENT Set to
MANU mode
| (STC adjustment)
|->(Select AUTO) --> ENT -----------------------------------
Set to AUTO mode
Note: When you select MANU mode, GAIN and FTC will be switched to MANU mode, too.
Note: When you select HARBOR mode, FTC will be switched to MANU mode.
5.5.3.3 Removing rain and snow clutter (FTC)
Refer to the section, “Sensibility adjustment (GAIN)”.
Up/Down --> ENT --> Up/Down
(Select FTC) |->(Select MANU) --> ENT --> Control knob --> ENT Set to
MANU mode
| (FTC adjustment)
|->(Select AUTO) --> ENT -----------------------------------
Set to AUTO mode
5.5.3.4 Adjusting receiver tuning (TUNE)
Refer to the section, “Sensibility adjustment (GAIN)”.
Up/Down --> ENT --> Up/Down
(Select TUNE) |->(Select MANU) --> ENT --> Control knob --> ENT Set to MANU
mode
| (TUNE adjustment)
|->(Select AUTO) --> ENT ------------------------------------
Set to AUTO mode
35
58
5.5.3.5 Echo expansion (ST)
Expanding the echo to the direction of the distance.
Two types of echo expansion exist, select ST1 or ST2 from the menu.
(1) Use the up-down cursor keys to select ST from among the pull-down display items, and
press the "ENT" key.
(2) Select ST1 or ST2 from the display beside the ST item using the up-down cursor keys,
and press the "ENT" key.
Up/Down --> ENT --> Up/Down -->••select ST1• ............... --> ENT
set ST1
|->••select ST2• ............... |-> ENT
set ST2
|->••select OFF• ............... |-> ENT
ST OFF
( expansion rate ST1<ST2 )
5.5.3.6 Displaying locus of target (TRACK)
(1) Use the up-down cursor keys to select TRACK from among the pull-down display items,
and press the "ENT" key.
(2) Select 15SEC, 30SEC, 1MIN, 3MIN, 6MIN, or CONT from the display beside the TRACK
item using the up-down cursor keys, and press the "ENT" key.
"TRK 15S" is displayed on the left side of the screen and track mode is entered. 15S
indicates the length of the track, and displays a maximum of 15-second-long sailing track.
.75
.25
HU
+
ST1
.75
.25
HU
+
The picture to display echoes
expanded in the direction of
the distance
ST1, or ST2 display,
no display on OFF state
ST function is OFF
Indicated setting value on
manual mode,
59
Note: When PPI+PPI or ALL PPI+PPI screen mode is used, TRACK function can be used
only on CONT mode.
up/down --> ENT --> up/down ........... ->••select OFF•
-> ENT TRACK OFF
|---->••select 15SEC• ......................... -> ENT
set 15sec. track
|---->••select 30SEC• ......................... -> ENT
set 30sec. track
|---->•select 1MIN• ........................... -> ENT
set 1 min. track
|---->•select 3MIN• ........................... -> ENT
set 3 min. track
|---->••select 6MIN• .......................... -> ENT
set 6 min. track
|---->••select CONT• .......................... -> ENT
set continue track
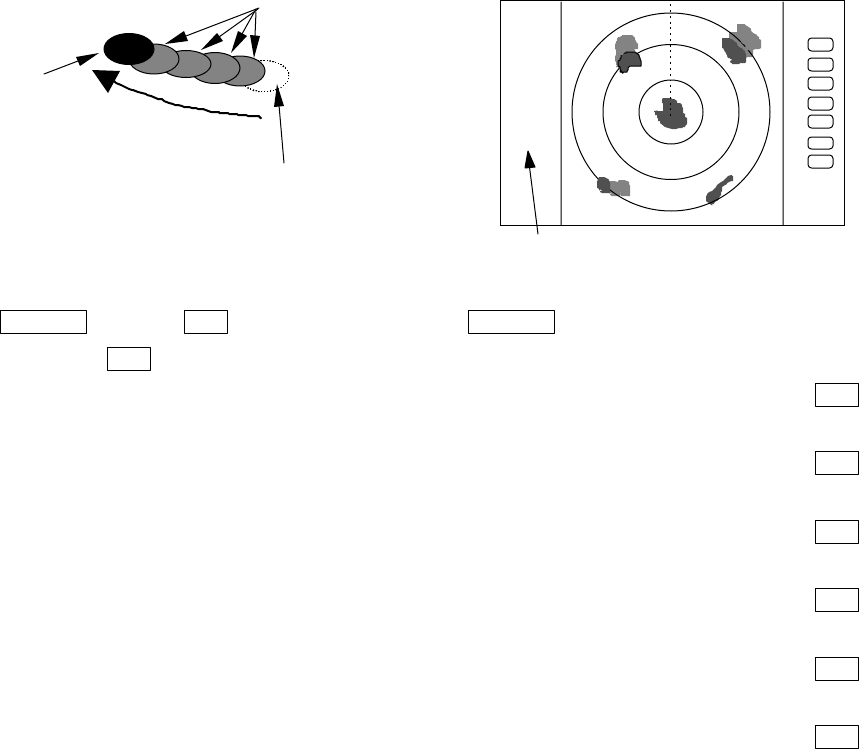
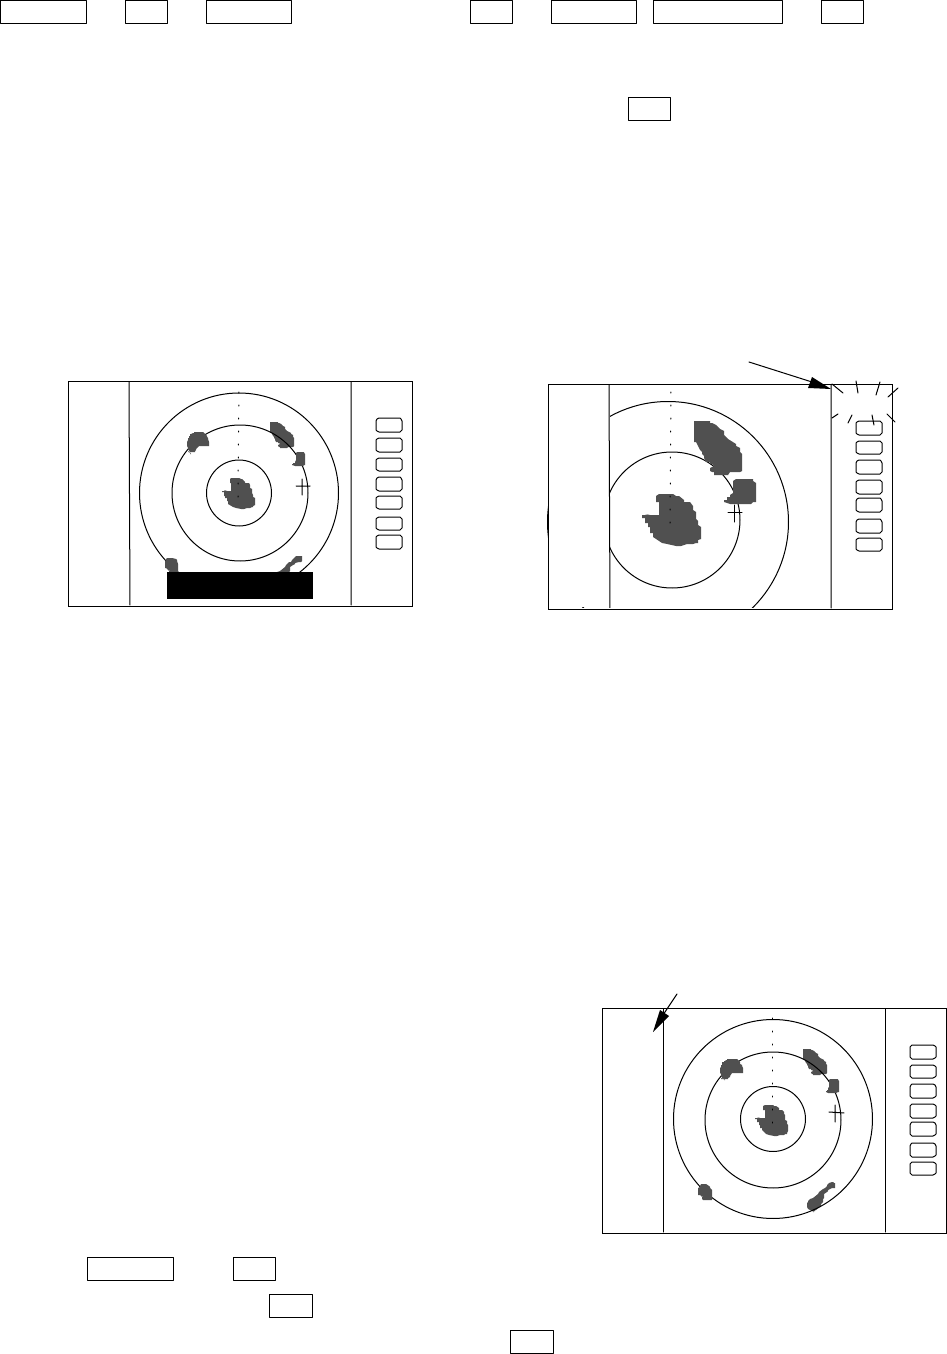
5.5.3.7 Enlarging selected areas (ZOOM)
The video image centering around the cross cursor is doubled as it is displayed on the
screen.
(1) Use the up-down cursor keys to select ZOOM from among the pull-down display items, and
press the "ENT" key.
(2) Select the ON using up-down cursor keys from the ON/OFF display beside the ZOOM item,
and press the "ENT" key.
(3) A small cross cursor for setting and "SET ZOOM POINT" are displayed at the screen center
and at the bottom respectively, and the magnification point is to be set. Use cursor keys to
move the cross cursor to the point to be magnified, press the "ENT" key and the setting is
completed. The area around the cross cursor is displayed in 2x magnification, with blinking
"ZOOM" displayed at the screen upper right, indicating that a ZOOM display is being
conducted.
To cancel the ZOOM function, either select OFF in (1) or begin operation of range.
disappear after selecting time
real echo
locus of target
moving direction
t
he length of the track
.
75
.25
HU
+
TK 15SEC
60
Up/Down --> ENT --> Up/Down (Select ON) --> ENT --> Up/Down & Left/Right --> ENT
ZOOM Setting
(Select ZOOM) | (Move cross cursor)
|--> (Select OFF) --> ENT ----------------
ZOOM canceled
Note 1) VRM2 and EBL2 do not follow the ZOOM function during a floating state.
Note 2) Normal screen returns when you change the range scale.
Note 3) ZOOM function is usable only in PPI screen.
Note 4) ZOOM function is unusable in OFF-C.
Note 5) Center of ZOOM can be set any desired position within the set range.
5.5.3.8 Increasing sensitivity (S/L)
The pulse width is automatically changed as you change the range. However, if you want
to increase sensitivity, you can choose sensitivity from two pulse widths. The short pulse
(SHORT) gives you sharp images with high distance resolution. The long pulse (LONG) provides
high sensitivity and shows targets in large size for easy identification although distance
resolution is reduced.
(1) Use the up-down cursor keys to select S/L from among the pull-down display items, and
press the "ENT" key.
(2) Select Pulse length(SHORT or LONG) using the up-
down cursor keys from the SHORT/LONG display
beside the S/L item
(3) The setting will be completed when the “ENT” key is
pressed after the selection.
Up/Down --> ENT -->(Select SHORT) -------------------- -->
ENT Set to short pulse
|-->(Select LONG)--> ENT -------------- Set to long pulse
.75
.25
HU
SET ZOOM POINT
.75
.25
HU S
.75
.25
HU
+
indicated S or
ZOOM
blinking "ZOOM"