Opticon Sensors Europe PHL7200-BW Portable Data Terminal User Manual 2 rev
Opticon Sensors Europe BV Portable Data Terminal 2 rev
Contents
User manual 2 rev

OPTICON
User's manual
PHL-7000 series
2
-
4
1
Key Main Function Definition
SHIFT
Press and release the SHIFT key to
activate the keypad alternate SHIFT
functions. The icon appears on the
taskbar. Press and release the SHIFT
key again to return to the normal keypad
functions.
Function change
The key is used in combination
with other keys to type special
characters and perform system
functions.
Enter This key confirms data entry
Table 2-4 Definition of main Function
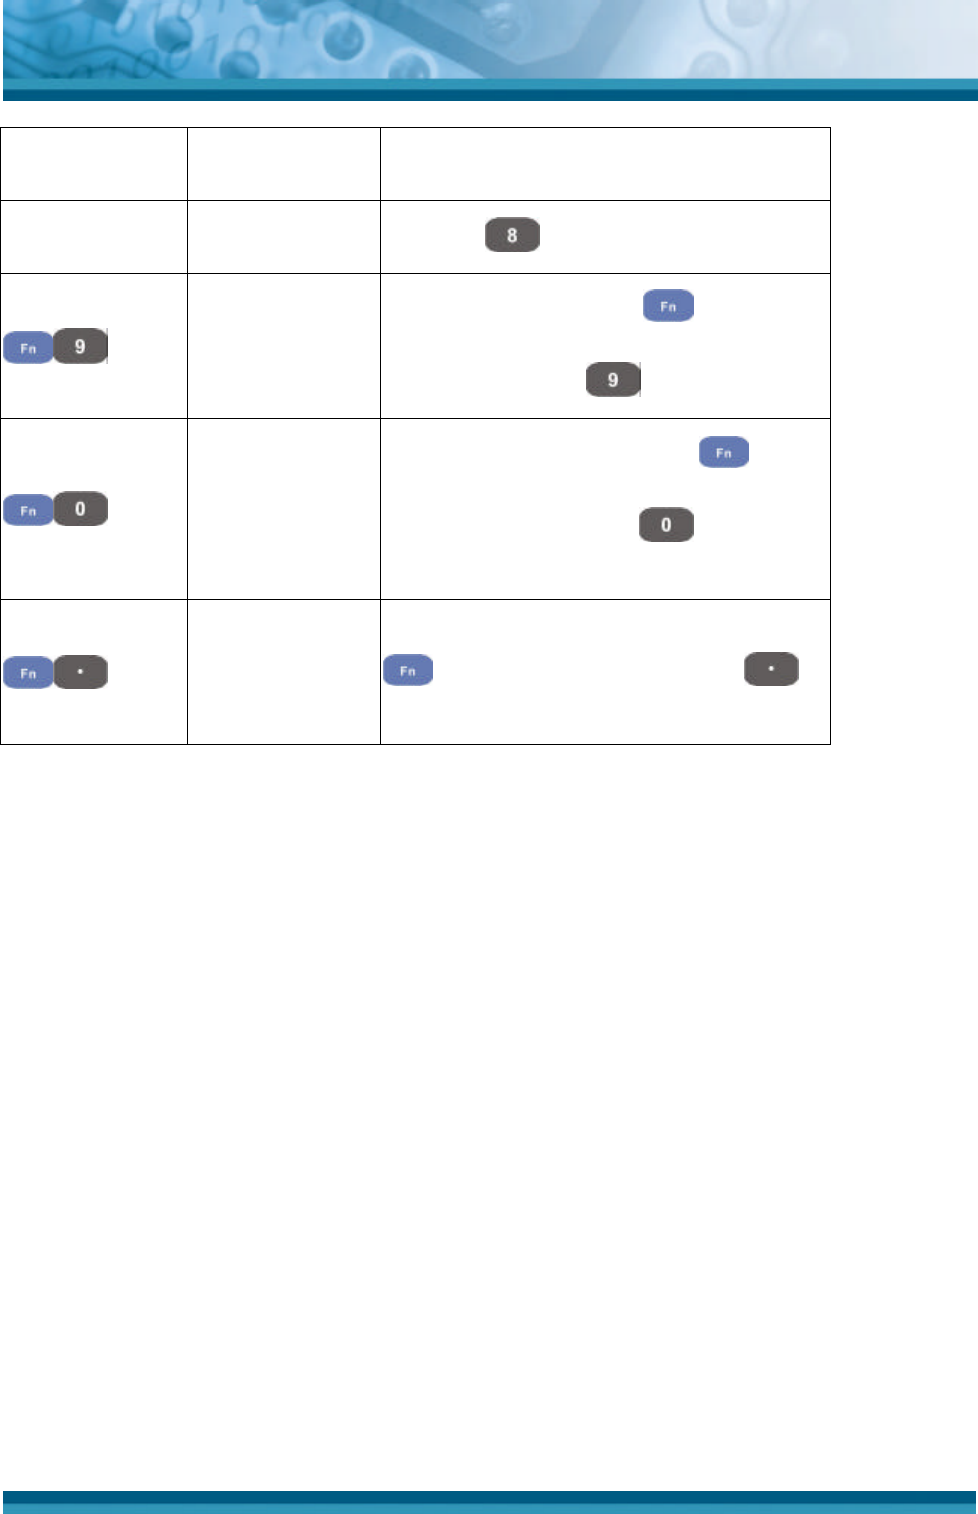
2.4.8.1 Special Function by “Fn” + main Function
The “Fn” key is used in combination with other keys to type special characters and perform
system functions.
Key
Sequence
Fn + Main
Function Definition
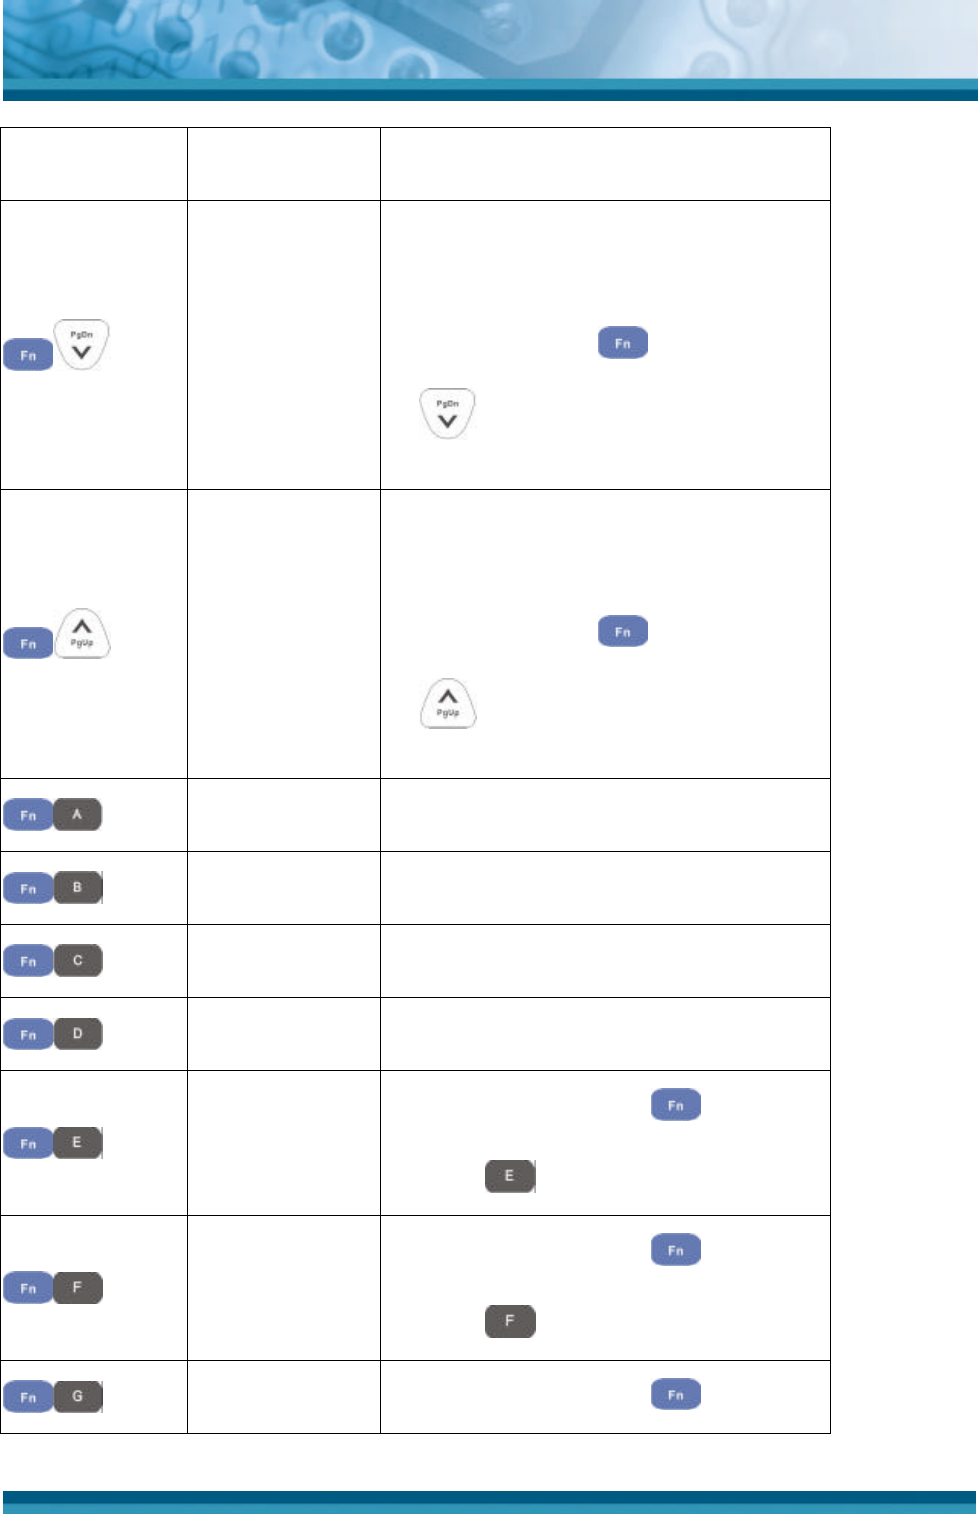
Increase of
Brightness
Increase the LED backlight brightness of
display screen(Lighter)
You must press key, then press
key to increase backlight brightness
each time.
Decrease of
Brightness
3. Decrease the LED backlight
brightness of display screen (darker)
4. You must press
key, then press
key to decrease backlight
brightness each time.
OPTICON
User's manual
PHL-7000 series
2
-
42
Key
Sequence
Fn + Main
Function Definition
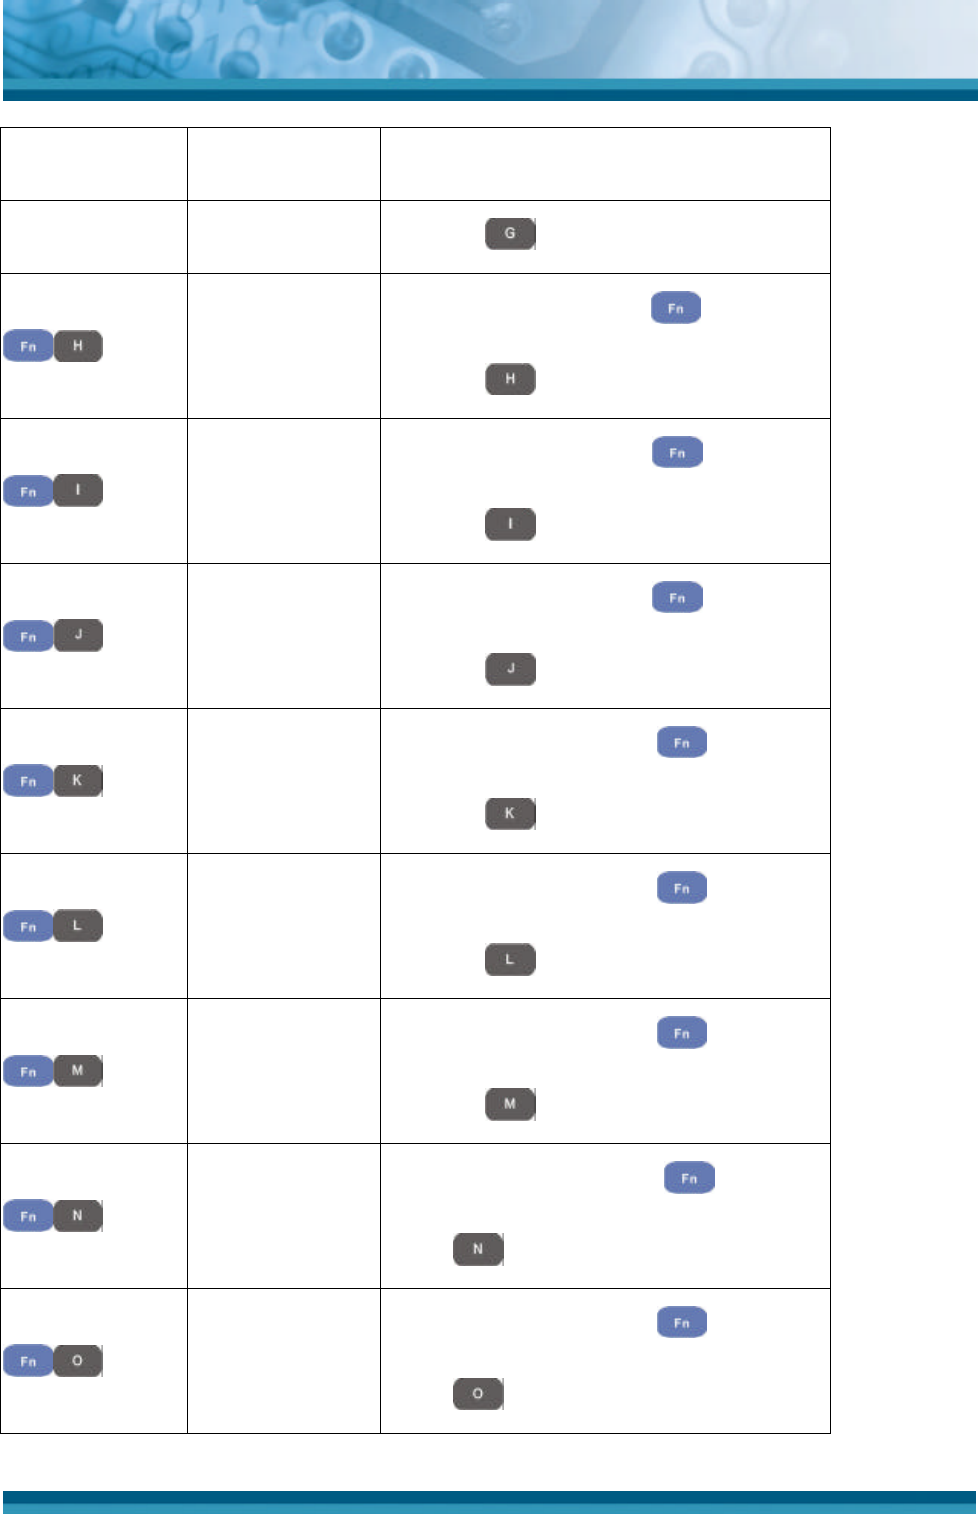
Page Down
3. Move the cursor down one page. The
cu
rsor will move continuously if button
is pressed continuously.
4. You must press
key, then press
key to cursor down one page
each time.
Page Up
3. Move the cursor up one page. The
cursor will move continuously if button
is pressed continuously.
4. You must press
key, then press
key to cursor up one page each
time.
F5 (Barcode
Settings)
Application key 5, User can define F5
function from setting.
F6 (Media
Player)
Application key 6, User can define F6
function from setting.
F7 (Calculator) Application key 7, User can define F7
function from setting.
F8 (Information)
Application key 8, User can define F8
function from setting.
(
Enter a ( by pressing key, then
pressing key.
)
Enter a ) by pressing key, then
pressing key.
[ Enter a [ by pressing key, then
OPTICON
User's manual
PHL-7000 series
2
-
43
Key
Sequence
Fn + Main
Function Definition
pressing key.
]
Enter a ] by pressing key, then
pressing key.
{
Enter a { by pressing key, then
pressing key.
}
Enter a } by pressing key, then
pressing key.
€
Enter a € by pressing key, then
pressing key.
$
Enter a $ by pressing key, then
pressing key.
#
Enter a # by pressing key, then
pressing key.
%
Enter a % by pressing
key, then
press key.
^
Enter a ^ by pressing key, then
press key.
OPTICON
User's manual
PHL-7000 series
2
-
44
Key
Sequence
Fn + Main
Function Definition
~
Enter a ~ by pressing key, then
pressing key.
,
Enter a , by pressing key, then
pressing key.
、
Enter a 、 by pressing key, then
pressing key.
!
Enter a ! by pressing key, then
pressing key.
?
Enter a ? by pressing key, then
pressing key.
\ Enter a \ by pressing key, then
pressing key.
=
Enter a = by pressing key, then
press key.
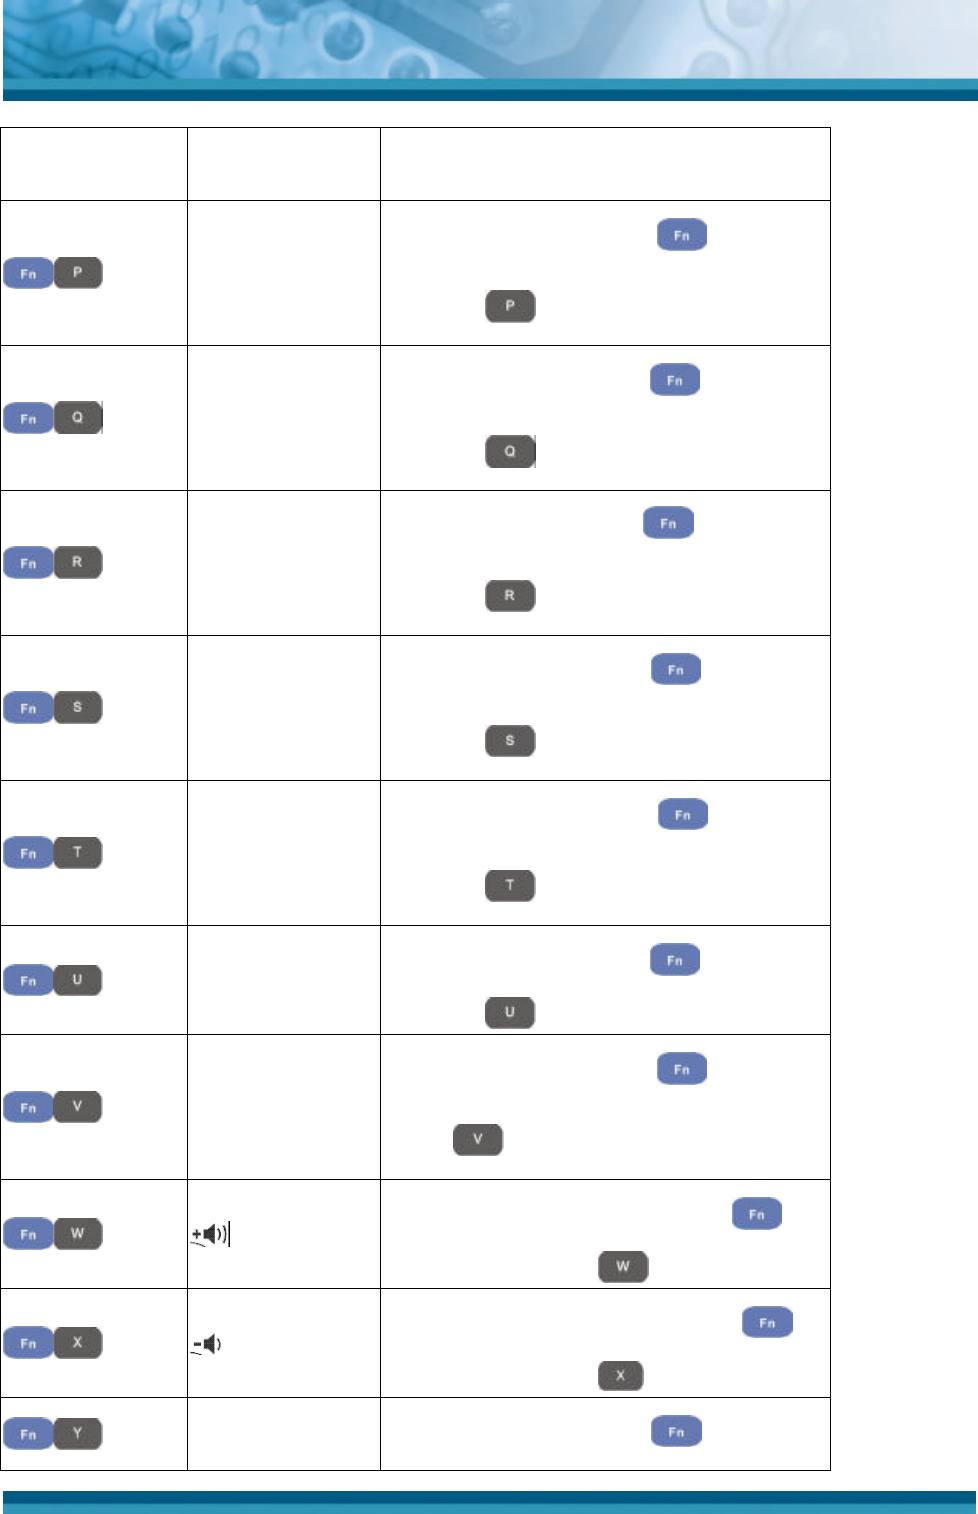
Increases device volume, press
key and then press key.
Decreases device volume, press
key and then press key.
; Enter a ; by pressing key, then
OPTICON
User's manual
PHL-7000 series
2
-
45
Key
Sequence
Fn + Main
Function Definition
pressing key.
/ Enter a / character by pressing
key, then pressing key.
@
Enter a @ by pressing key, then
pressing key.
’
Enter a ’ by pressing key, then
pressing key.
+
Enter a + by pressing key, then
pressing key
Paste
To do a paste function by pressing
key first, and then pressing key
each time.
Del
To do a delete action, press key
first, and then press key.
-
Enter a -by pressing key, then
pressing key.
Copy
To do a copy action, press key,
then press key.
& Enter a &by pressing key, then
OPTICON
User's manual
PHL-7000 series
2
-
46
Key
Sequence
Fn + Main
Function Definition
pressing key.
*
Enter a * by pressing key first,
and then pressing key.
Start Menu
To display Start menu press key
first, and then pressing key each
time.
Space
Enter a Space character by pressing
key first, and then pressing
key each time.
Table 2-5 Special Function key define
OPTICON
User's manual
PHL-7000 series
2
-
47
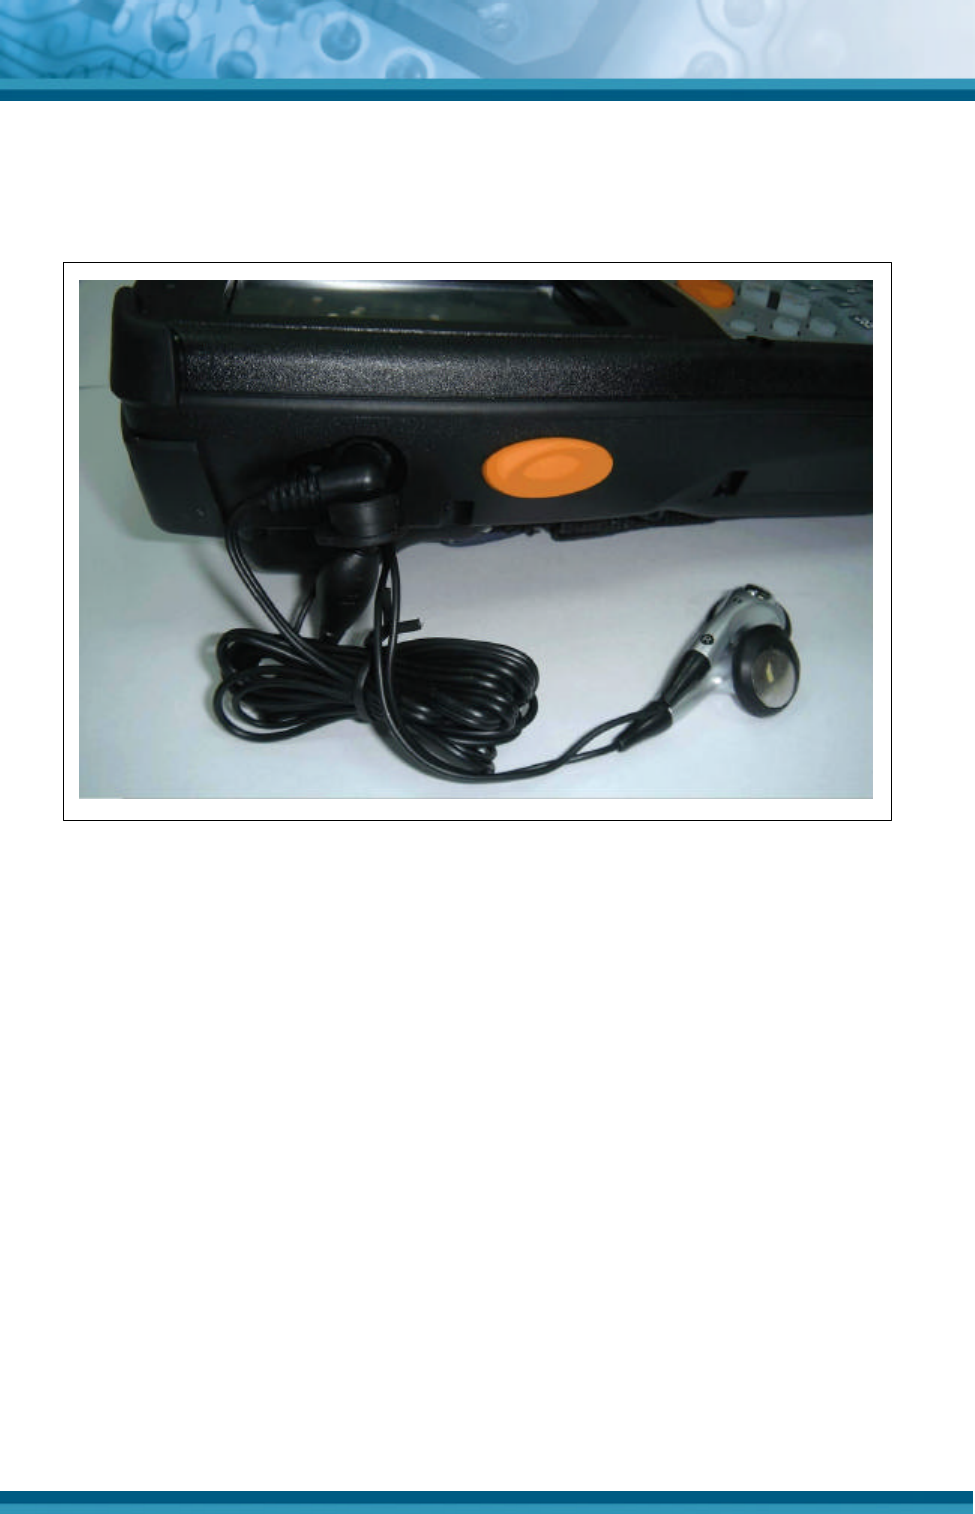
2.4.9 Using the Ear/Microphone
Connect the ear/microphone set to PDT earphone jack connector. The PDT has no built in
microphone, if you like to record the voice, you have to the use ear/microphone set.
Figure 2-16 Ear/microphone
OPTICON
User's manual
PHL-7000 series
2
-
48
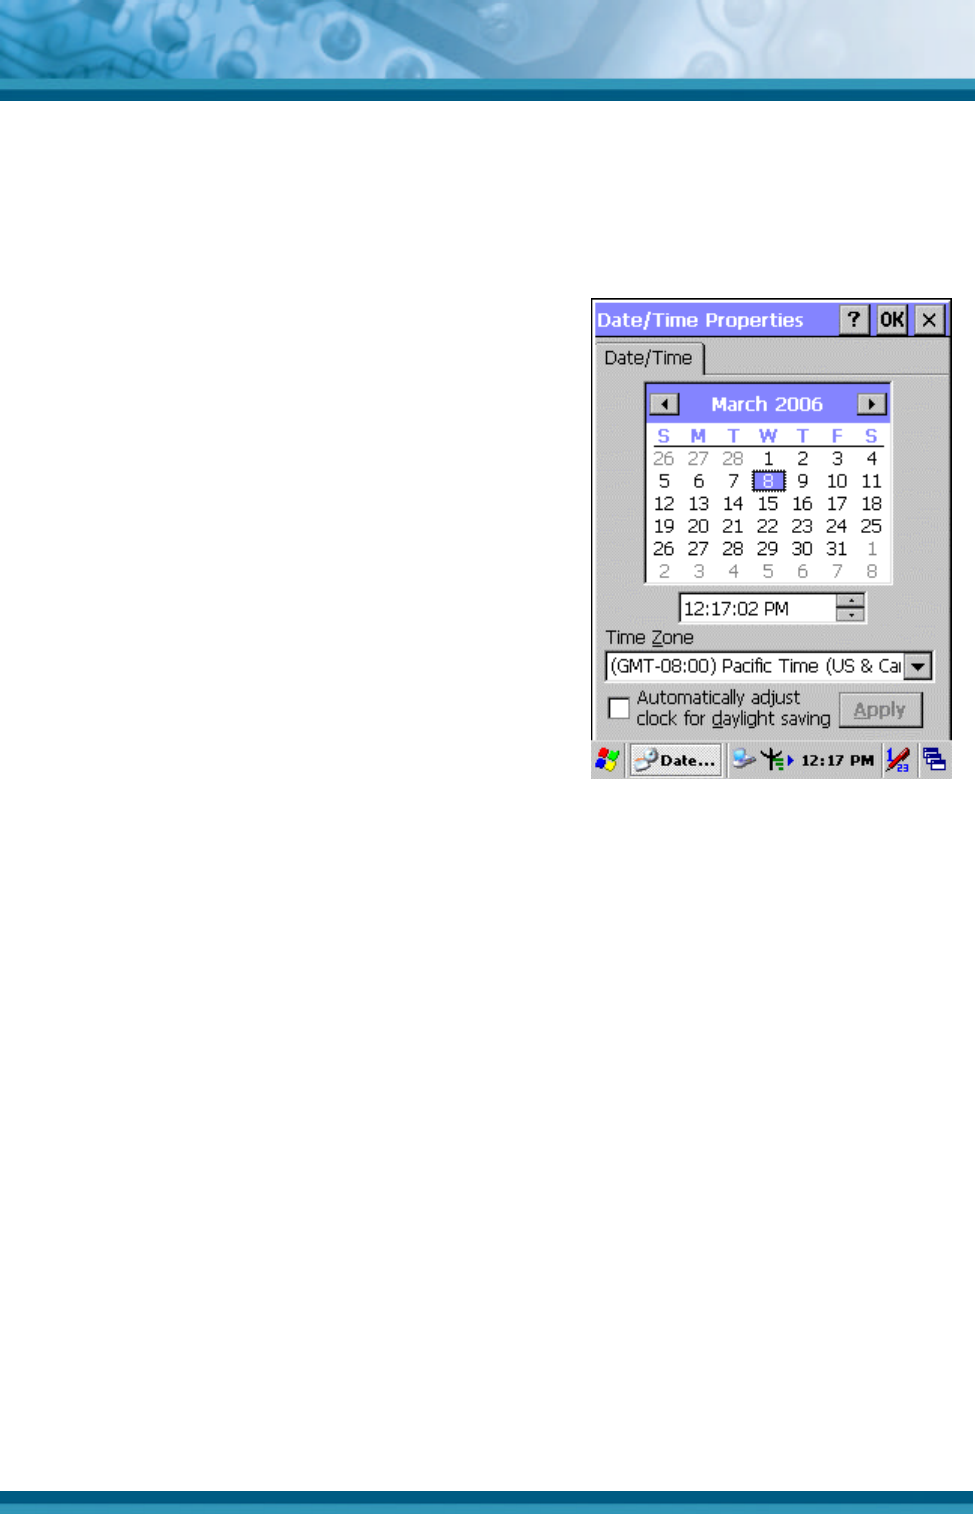
Figure 2-17 Date/Time properties
2.5 Navigating the Display
2.5.1 Setting Time and Date
In the Date/Time options, you can change the year, month, date, time, time zone, or select
automatic adjust for daylight saving time. To set or change the date and time:
1. Select Start > Settings > Control Panel >
Date/Time.
2. To change the year, select the year. Select the up
arrow to increase the value, select the down
arrow to decrease the value. Or you can type a
new value in the field.
3. Select the month to open a pull-down list of
months or press the arrow buttons to either side
of the month to increase or decrease the month.
4. To change the time, select the hour, minute,
seconds, or AM/PM and select the up arrow to
increase the value; select the down arrow to
decrease the value. Or you can type a new value
in the field.
5. Select your correct time zone from the pull-down
list.
6. To automatically adjust the clock for daylight
saving time, enable the checkbox at the bottom
of the screen.
7. Select Apply to save your changes or select OK to exit the Date/Time settings.
2.5.2 Entering the Data
To select and open programs, select Start > Programs from the task bar to open a list of
available programs. If the program has an icon on the desktop, double-tap to open it.
There are several ways to enter data in an application on the PDT:
l Use the keypad to enter alpha-numeric characters, Refer to “2.4.7 Using the PHL-7100
keypad” and “2.4.8 Using the PHL-7200 keypad” .
l Use the stylus on the touch screen, Refer to “2.4.6 Using the stylus”.
l Select text in the same way you select the text on a PC. Use the stylus to highlight the
desired text by dragging the stylus across the desired text, double-tapping to select one
word and triple-tapping to select an entire line/paragraph. Refer to “2.4.6 Using the
stylus”.
l Use the soft input panel with the stylus. Refer to “2.5.5 The Soft Keypad”
l Use the bar code reader to input the data from a bar code. Press one of the three trigger
keys to start the bar code reader. The bar code data will enter in the current application’s
open window.
For more information on factory installed applications, Refer to Chapter 4 “ Software
Programs”.

OPTICON
User's manual
PHL-7000 series
2
-
49
2.5.3 The Command Bar
Use the Command bar at top of the screen to perform tasks in programs, such a opening a
file, or editing a file.
2.5.4 The Task Bar
The Task bar at the bottom of the screen displays the icon, an icon for the active program,
the current time, and system icons for utilities loaded in memory. The Task bar includes
menu names, buttons, and the keyboard icon, which opens and closes the Soft Input Panel
(SIP). The Task bar allows you to select and close programs. Refer to Figure 2-15 to view
the Task bar.
Figure 2-18 Task Bar & Command Bar
Command Bar
Task Bar
OPTICON
User's manual
PHL-7000 series
2
-
50
2.5.5 The Soft Keypad
In applications that accept keypad input, the Soft Input Panel (SIP) can be used to enter data
using the stylus. The SIP is a software, QWERTY-style keyboard.
To open the SIP, tap the keyboard icon to open the menu and select Hide Input Panel to
close the keyboard.
Use the stylus to select letters, numbers, or symbols from the Soft Input Panel for the
current application.
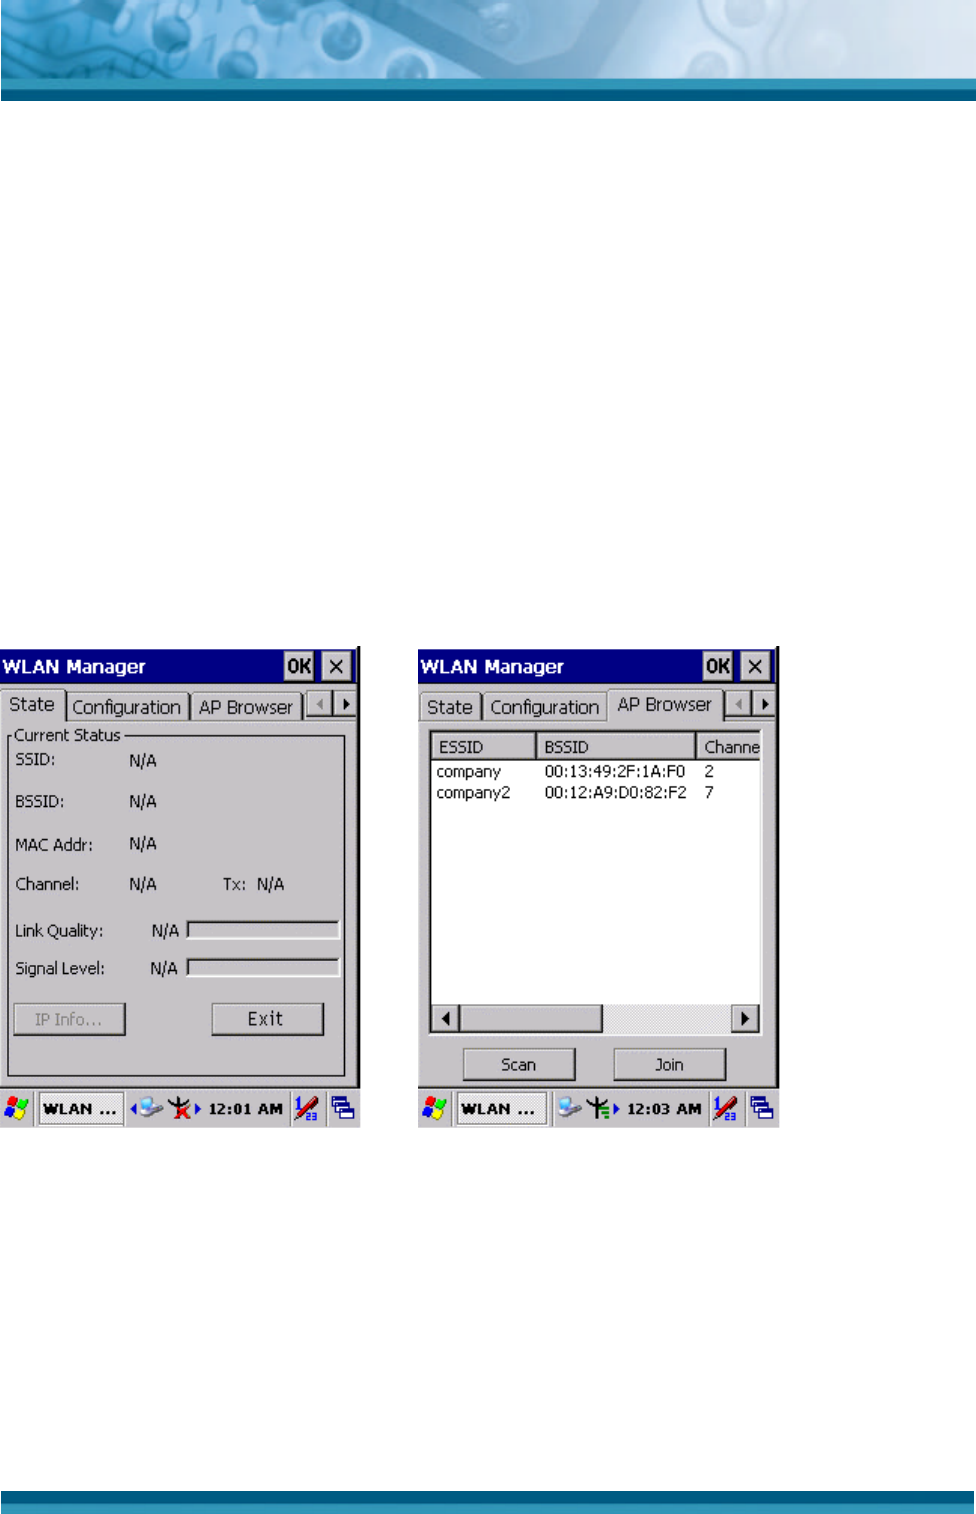
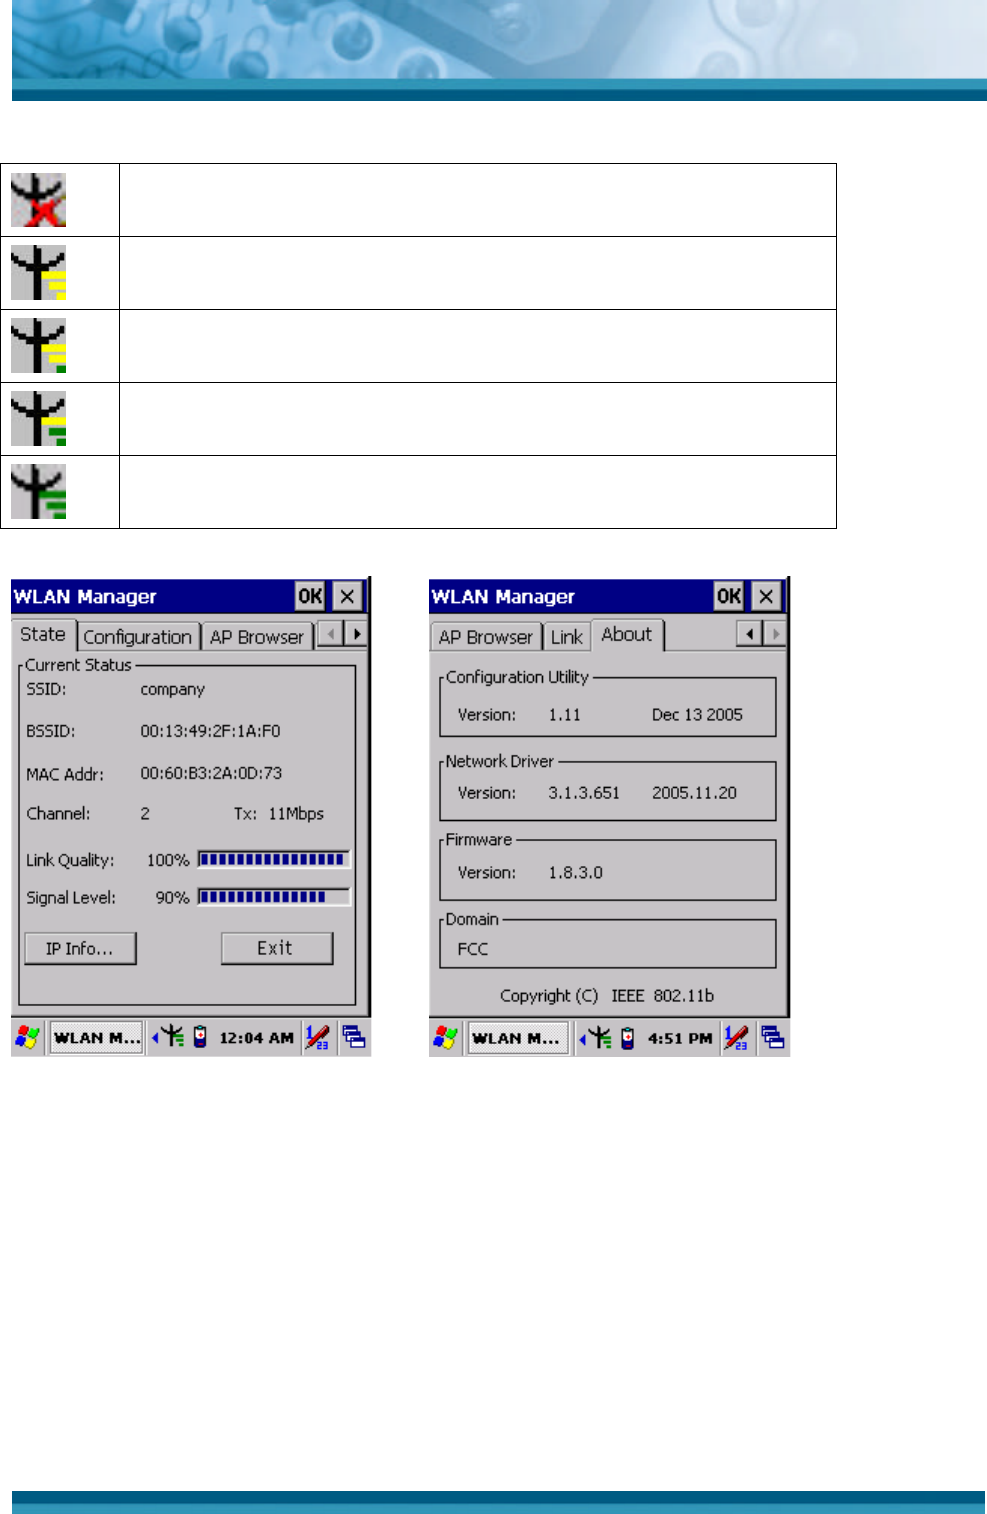
2.5.6 Setting Up Wireless LAN RF
1) Press “Start”---“Settings”---“Control Panel” --- “WLAN Manager”.
2) Launch the WLAN Manager to Enable WLAN device.
3) Into AP Browser tab, tap Scan button to renew the network.
4) Select a network, tap the Join button or double tap it for more options.
5) Press OK to save all your WLAN settings.
6) Tap the “Exit” button to Disable WLAN device.
Figure 2-19 WLAN Manager Figure 2-20 WLAN Manager
OPTICON
User's manual
PHL-7000 series
2
-
51
802.11b WLAN is not connected to a network.
802.11b WLAN no signal.
802.11b WLAN signal is Low.
802.11b WLAN signal is Average.
802.11b WLAN signal is Good.
Figure 2-21 WLAN Manager Figure 2-22 WLAN Manager
OPTICON
User's manual
PHL-7000 series
2
-
52
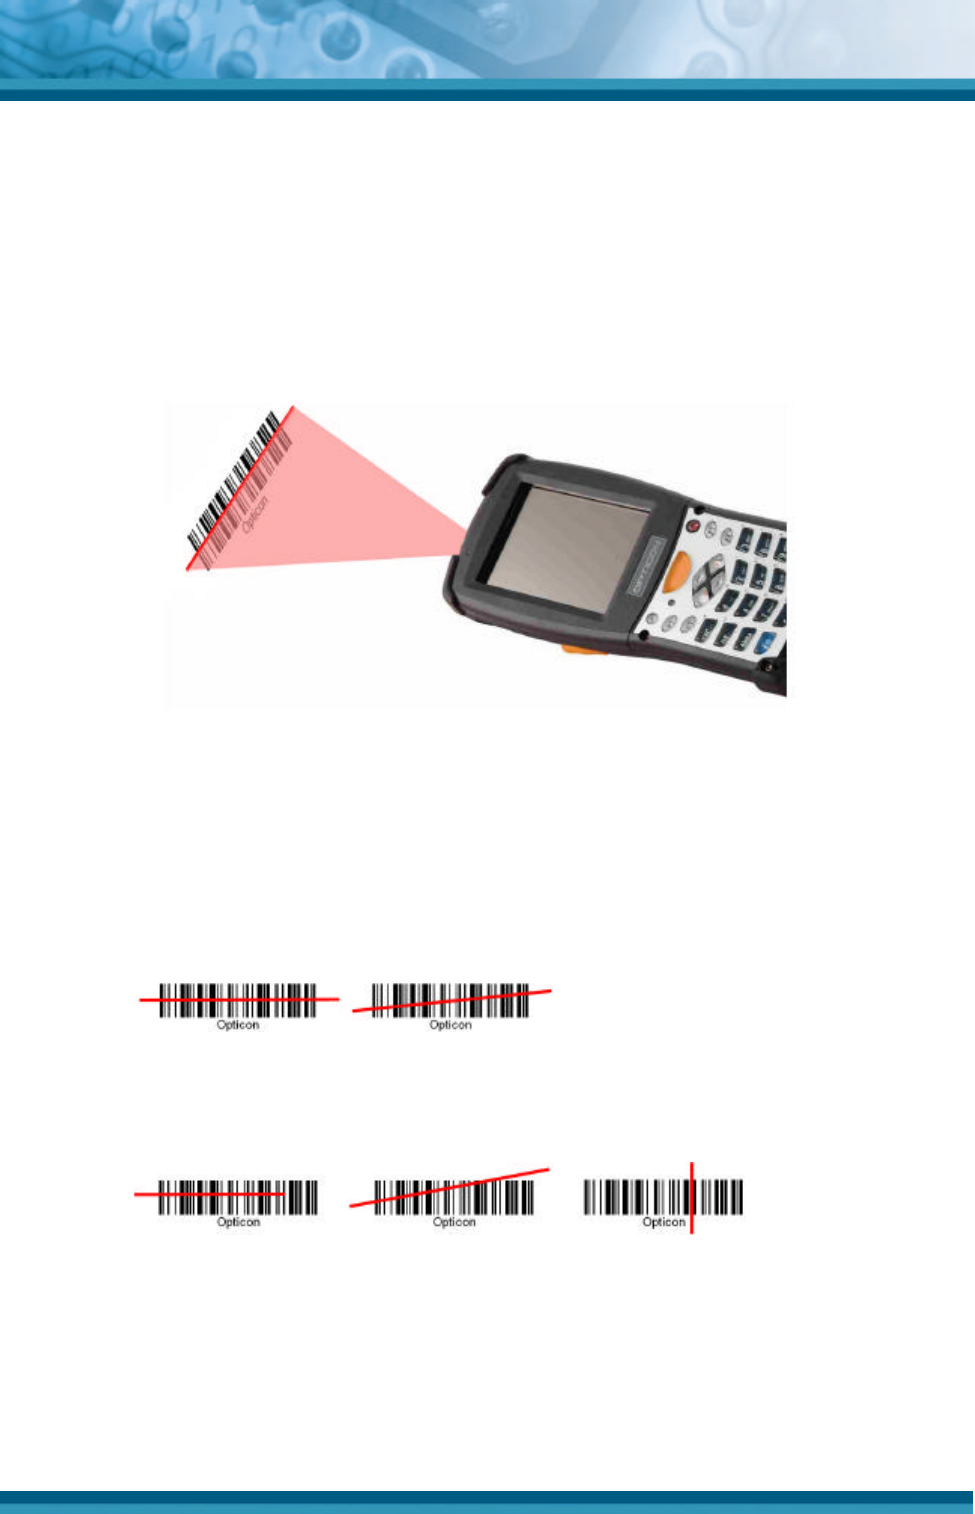
2.5.7 Reading bar codes, 1D laser version.
To use the scanning function, complete the following steps:
1. If you have not already done so, remove the protective plastic film before using devices
equipped with a 1D laser bar code reader.
2. Run the WordPad software program.
3. Press one of the three bar code reader trigger buttons.
4. Aim the scanning beam at the center of bar code.
5. Good scanning position.
The reading range is from 50 to 650mm distance.
1) Decrease the scanning distance to the bar code when scanning small bar
codes.
2) Increase the scanning distance from the bar code when scanning large bar
codes
3) The scanning area is visible by a red laser beam.
6. Bad scanning position.
1) Make sure that the laser beam sweeps across whole bar code.
2) Scanning operations may fail if the laser beam is positioned as below.
7. Upon reading a bar code, the red LED indicator turns on until the trigger is release or
after five seconds. The green LED and the beep tone indicates a good read.
Note: this product scans using laser light. Never look directly into the laser light or shine
the laser light into the eyes.
OPTICON
User's manual
PHL-7000 series
2
-
53
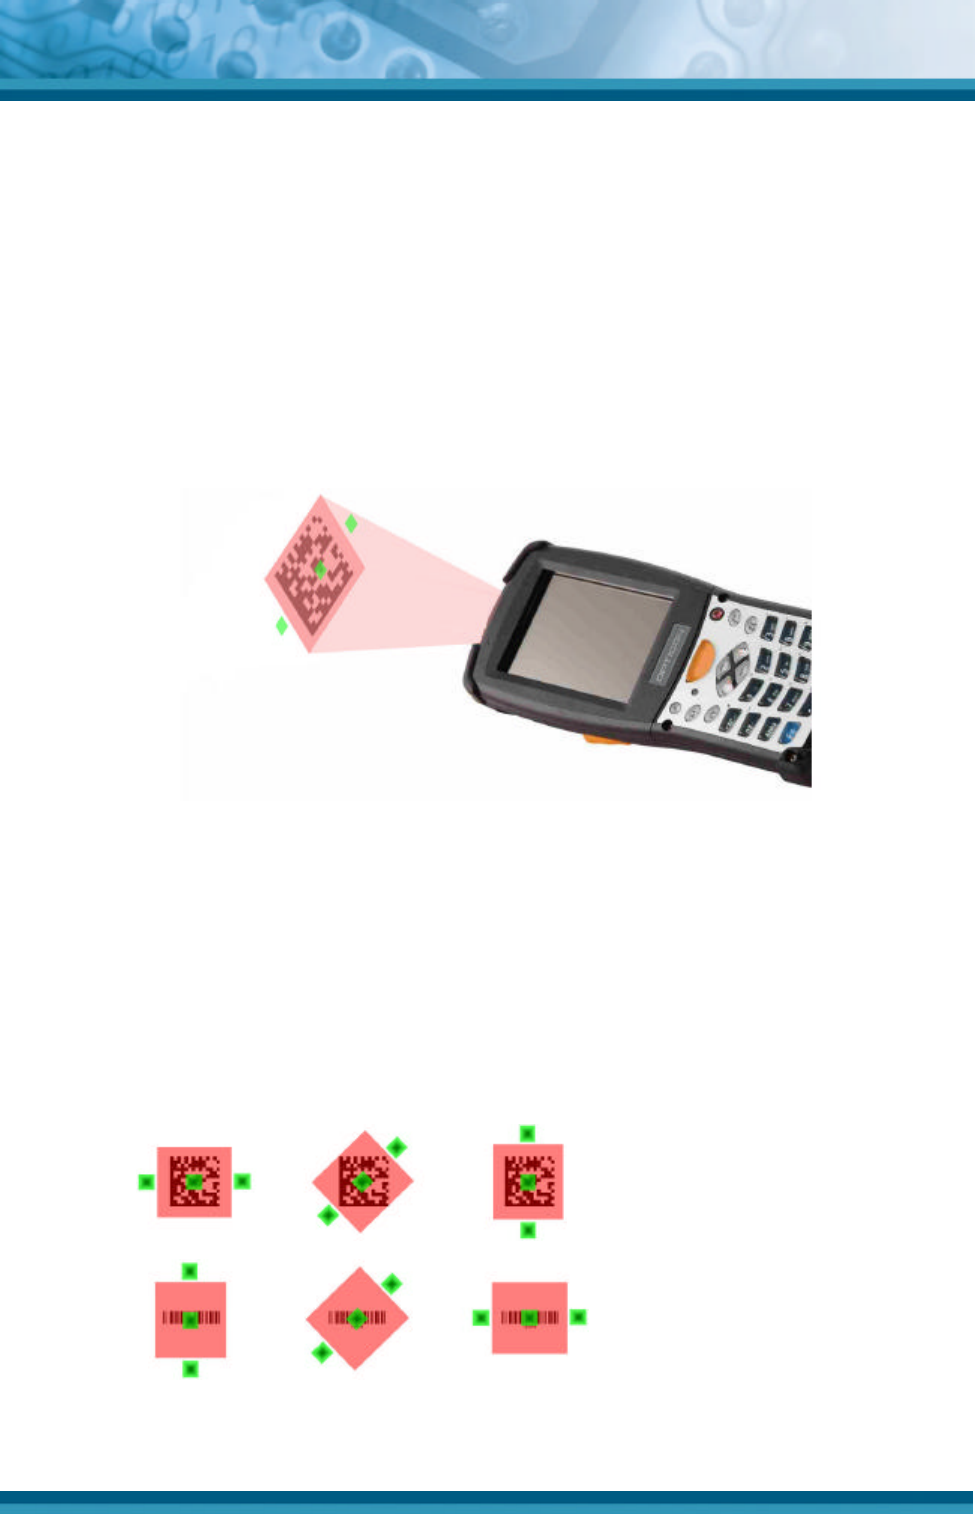
2.5.8 Reading bar codes, 2D CMOS version.
The 2D CMOS version can read both 1D and 2D bar codes. To use the scanning function,
complete the following steps:
1. If you have not already done so, remove the protective plastic film before using devices
equipped with a 2D CMOS bar code reader.
2. Run the WordPad software program.
3. Press one of the three bar code reader trigger buttons.
4. Aim the scanning beam at the center of bar code. To assists in aiming, there are 4
green aiming light spots. The bar code should be between the outside 2 green spots.
The scanner is in focus in case the center 2 green spots joins into 1 spot.
5. Good scanning position.
The reading range is from 45 to 260mm distance.
4) Decrease the scanning distance to the bar code when scanning small bar
codes.
5) Increase the scanning distance from the bar code when scanning large bar
codes
6) The bar code should be located within the green light spots
7) The scanning area is visible by a red illumination area.

OPTICON
User's manual
PHL-7000 series
2
-
54
6. Bad scanning position.
1) Make sure that the laser beam sweeps across whole bar code.
2) Scanning operations may fail if the illumination beam is positioned as below.
7. Upon reading a bar code, the red LED indicator turns on until the trigger is release or
after five seconds. The green LED and the beep tone indicates a good read.
2.5.9 Help
Tap “?” to get information for each program.
OPTICON
User's manual
PHL-7000 series
2
-
55
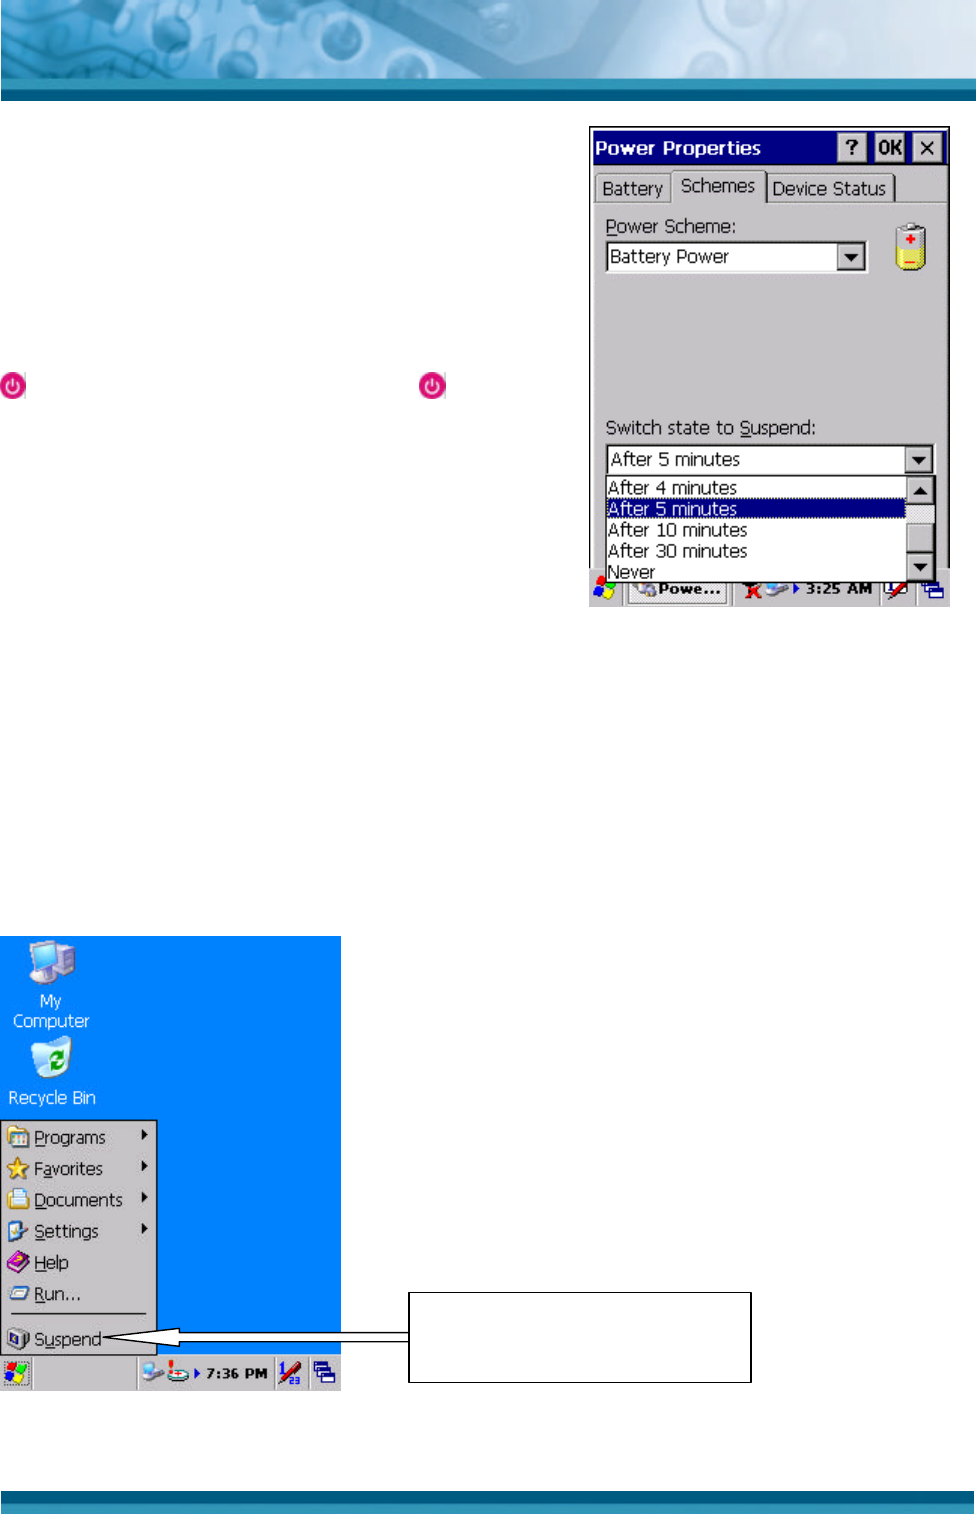
2.6 Power management
2.6.1 Suspend Mode
The PDT will go into a suspend mode when it is idle
for a period of time. The idle duration can be
customized using the Power control panel (refer to
Figure “Schemes Tab”) Suspend mode works and
looks just like you have turned the unit off. Press the
key to suspend the PDT, Press the key again
for the PDT to resume its Previous state.
Use the Battery power control panel to set the
duration to switch state to Suspend mode when
system using battery power. This will save battery
power when PDT is not in use.
Figure 2-23 Schemes Tab
Suspending:
The following conditions will suspend:
l Press <Power> key while the unit is on.
l The duration timer of item “Switch state to Suspend” expires, which indicates that there
has been no user activity for a specified of time.
l The battery pack is almost empty.
l Tap Start > Suspend
Figure 2-24 Suspend
Tap here to let PDT enter
into suspend mode

OPTICON
User's manual
PHL-7000 series
2
-
56
2.6.2 Resuming
Use the following method to resume (wake up the PDT):
l Press <Power> key to suspend or resume (wake up).
When a battery pack completely discharges while the unit is in suspend mode, the PDT
remains suspended until discharged battery condition is corrected.
2.7 Resetting the PDT
2.7.1 Warm Reset
A warm reset is a transition from the on, idle, or suspend power state that close all
applications, clears the working RAM, but preserves the file system.
Reason to Warm Reset: If an application “hangs”, initiate a warm reset to terminate the
application only.
Process to Warm Reset: To warm reset, press “F1” and “F4” button simultaneously.
After Warm Reset:
l The desktop appears with the application shortcuts on the screen.
l The custom settings in the registry are persistent.
2.7.2 Cold Reset
CAUTION: Try warm reset before you initiate Cold Reset. All
applications will be Closed and working RAM and all files will be
cleared if you initiate the Cold Reset. It is strongly recommended to
back up your files to FlashROM, Flashcard or PC.
1) You can use Cold Reset to initialize the PDT if WINCE.NET OS lock up or Warm Reset
has no effect.
2) To perform Cold Reset, press “Power”, “F1” and “F4” button simultaneously.
3) PDT will initiate boot up after Cold Reset.
OPTICON
User's manual
PHL-7000 series
3
-
1
Chapter 3. PDT settings
3.1 Introduction
To view available options for PDT’s setting, tap Start > Settings. Then, there are three items
inside Settings: “Control Panel”, “Network and Dial-up” and “Taskbar and Start”.
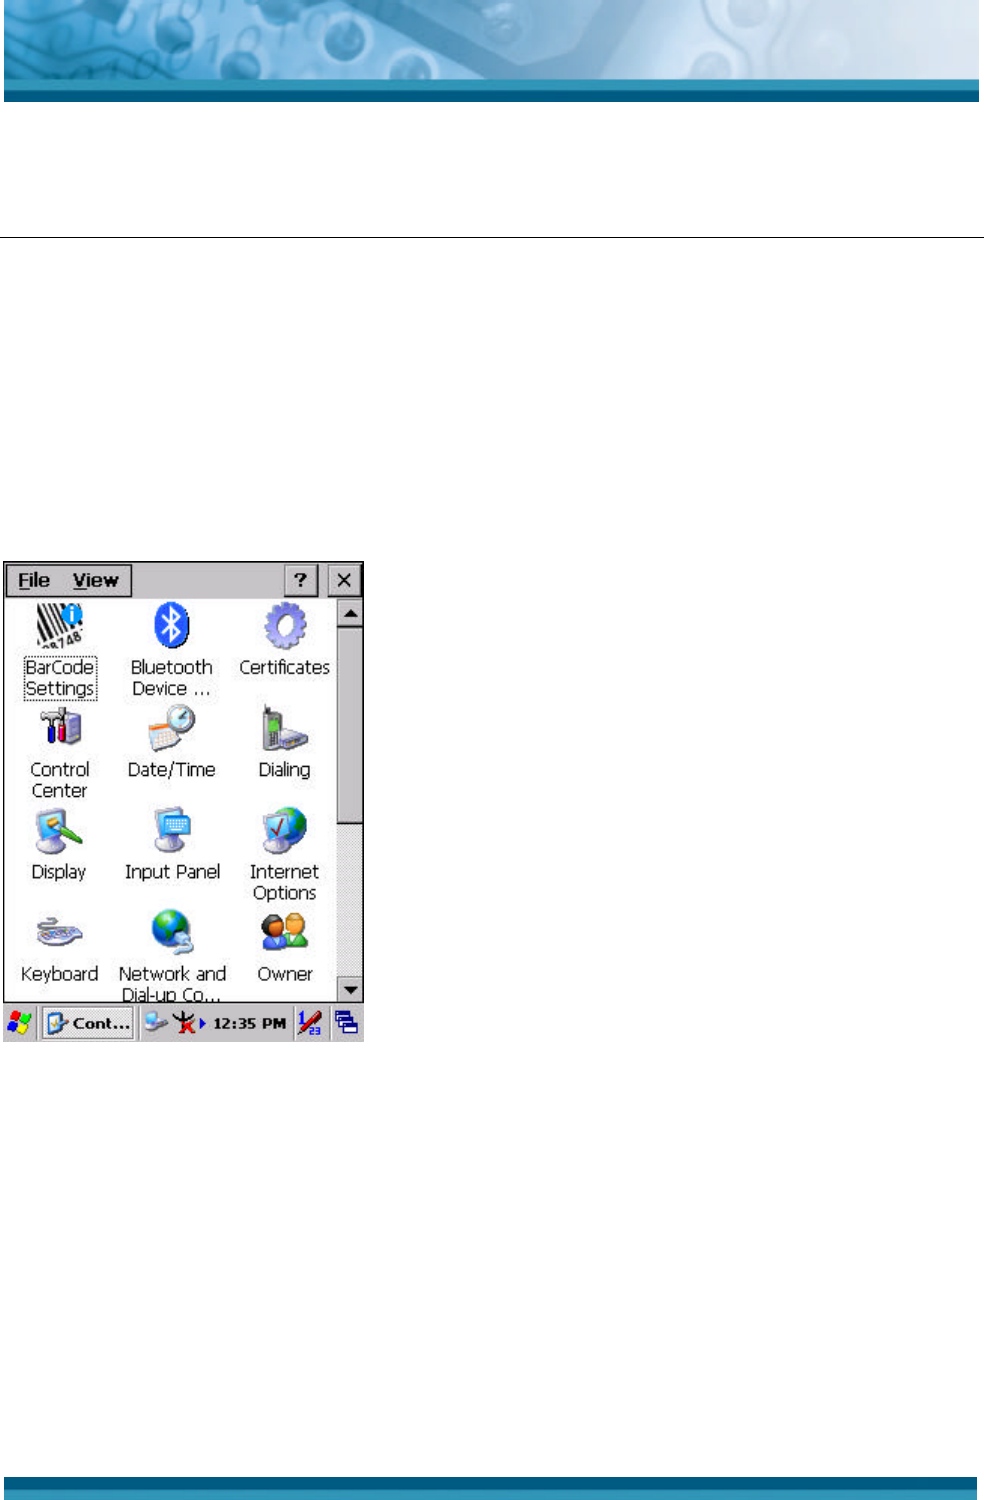
3.2 Control Panel
To view the Control Panel and settings you can modify by tapping Start > Settings >
Control Panel.
Figure 3-1 Control Panel
OPTICON
User's manual
PHL-7000 series
3
-
2
3.2.1 BarCode Settings
ICON ITEM & FUNCTION
• Start bar code settings tool :
ü Enable or disable bar code scanner
ü Select bar code symbologies
ü Select prefixes and suffixes
ü Select quiet zone options
ü Select read mode options
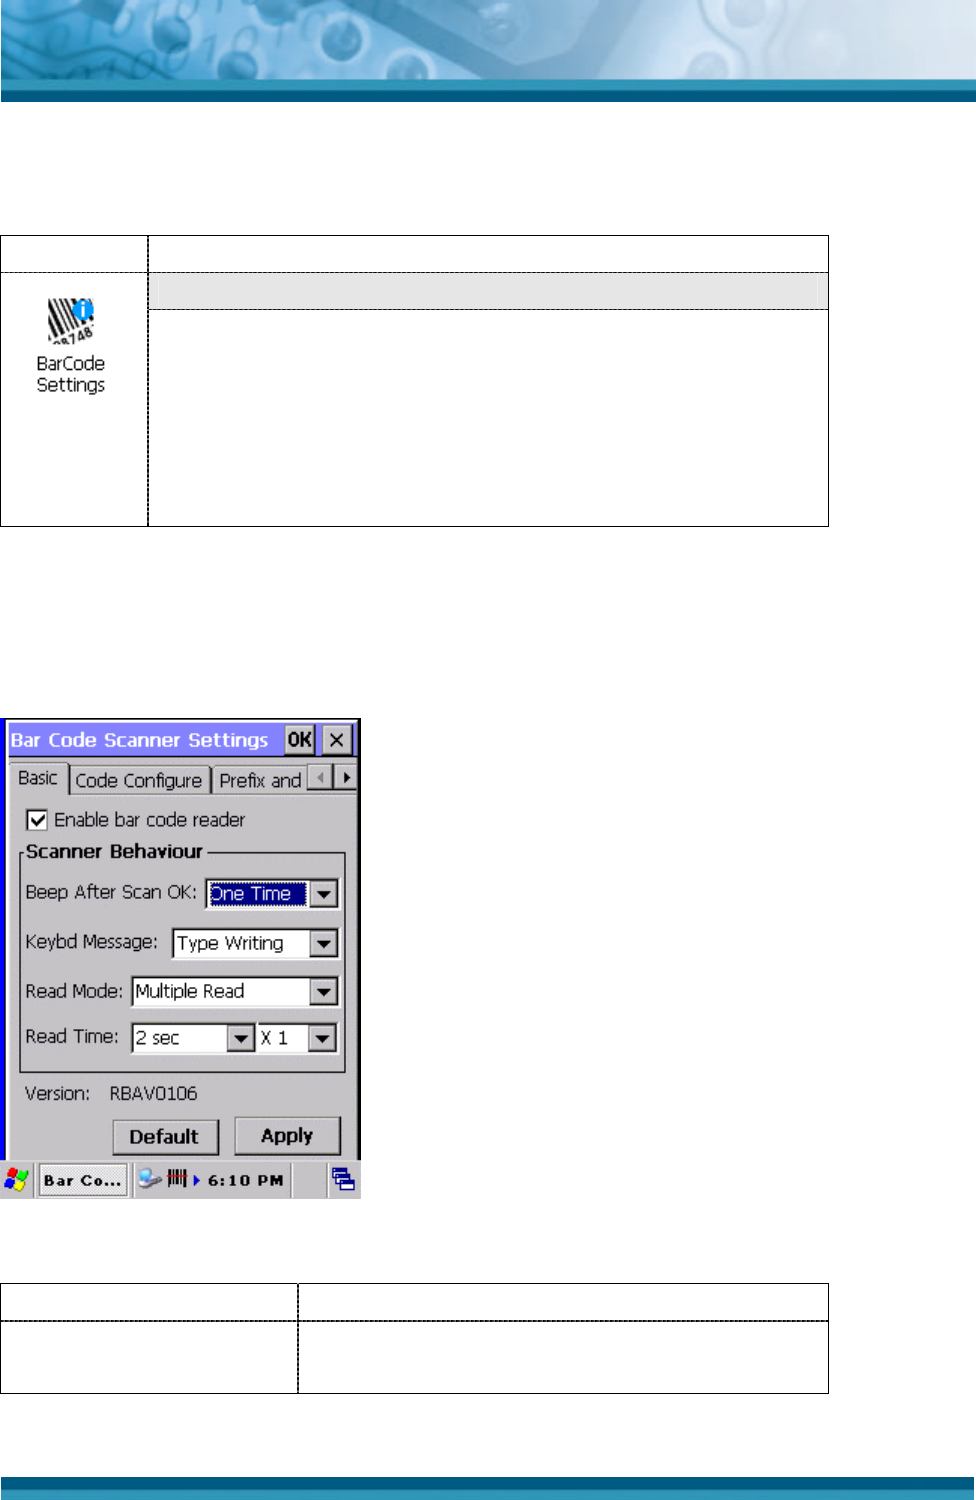
3.2.1.1 Basic TAB
In the “B asic tab” the bar code reader behavior can be changed.
Figure 3-2 Basic Tab
Field name Description
Enable bar code reader Enable or disable the bar code reader.
Default is enabled.

OPTICON
User's manual
PHL-7000 series
3
-
3
Select the number of beeps after scanning a bar
code which is successfully decoded by the bar
code reader.
None Disable beep after scanning bar
code.
One Time Beep one time after scanning bar
code (default).
Beep After Scan OK
Two Times
Beep two times after scanning bar
code.
Select the bar code data transfer method
Disable Data from bar code reader is
ignored.
Keybd Message
Type
Writing
Data from bar code reader is send
as keyboard data to the
application which currently has the
focus (default).
Select the bar code reading mode.
Single
read
When a bar code has been
decoded, the reader will be turned
OFF. The reader must be triggered
again to read another bar code
(default).
Read mode
Multiple
read
When a bar code has been
decoded, the reader will stay ON
for the time as set by ‘Read time’
options. The same bar code can
only be decoded again after the
label has not been detected for a
number of scans.
The length of the period that the reader is ON
after the trigger switch is pressed, or (in multiple
read mode), after a label has been read.
0 sec Reader will stay on as long as the
trigger switch is being pressed.
1 sec 1 second
Read time
2 sec 2 seconds (default)