Quanta Computer 9550015318 Mini-PCI Wireless LAN card in Notebook Computer User Manual 8508055
Quanta Computer Inc Mini-PCI Wireless LAN card in Notebook Computer 8508055
Contents
PCI Card

www.gateway.com
Wireless Networking User Guide
Your Gateway Solo notebook comes with wireless Ethernet (also known as
IEEE 802.11b or WiFi) networking.
Setting up wireless Ethernet networking
Installing the Client Manager
If you have wireless Ethernet, the first time you start your Gateway Solo
notebook, your system automatically installs the wireless Ethernet drivers.
Immediately following the initial startup, you are asked to install the wireless
Ethernet client manager.
To install the ORiNOCO Client Manager:
1Insert the ORiNOCO CD in your CD/DVD drive.
2Click Start, then select Run. The Run dialog box opens.
3In the Run text box, type D:\cl_mgr\setup.exe (where D is the drive letter
of your CD/DVD drive).
Important For more information about networking your home or
office, discuss your particular needs with your Gateway
Country Store representative. In addition, several books
and Internet sites are dedicated to networking. Refer to
these sources for more information about networking your
home or office with wireless Ethernet.
8508055.fm Page 1 Monday, July 2, 2001 5:02 PM
2www.gateway.com
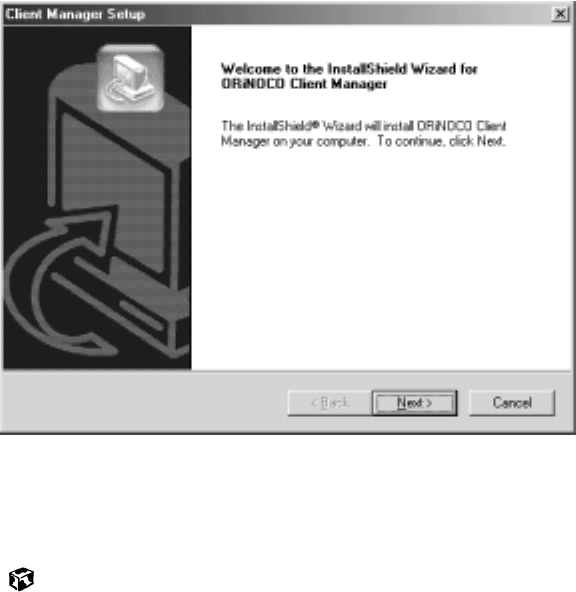
4Click OK. The Client Manager Setup wizard starts.
5Follow the on-screen prompts to complete the setup wizard.
6After reading the Readme file that appears, click the X in the top right
corner of the window to close it.
8508055.fm Page 2 Monday, July 2, 2001 5:02 PM
3
Wireless Networking User Guide
www.gateway.com
Configuring your wireless Ethernet client manager
After you install the client manager, you need to configure your network
settings.
To configure your wireless Ethernet client manager:
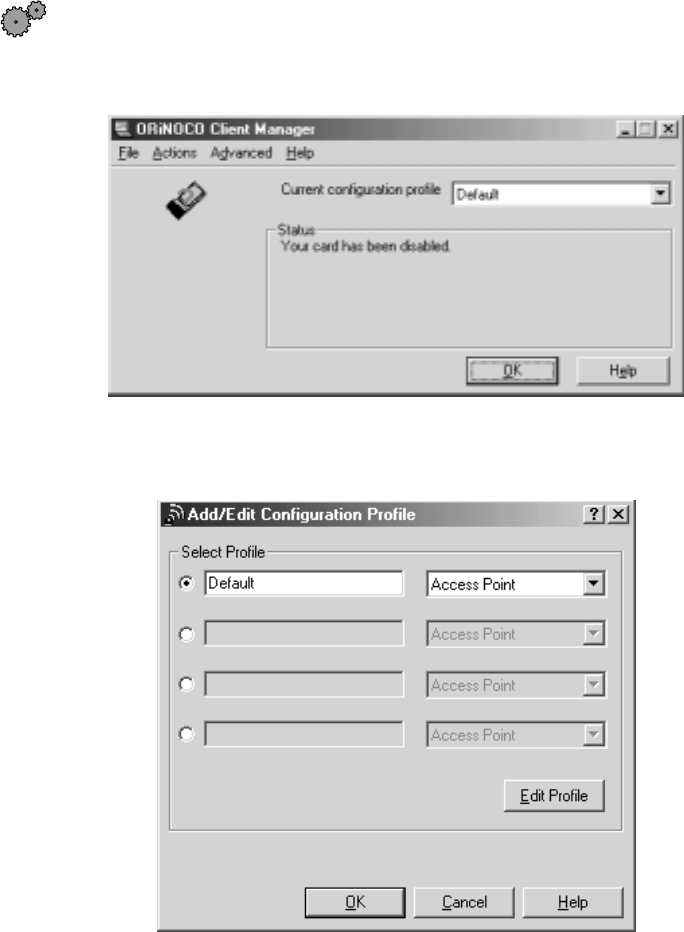
1Click Start, then select Programs, ORiNOCO, then Client Manager. The
ORiNOCO Client Manager window opens.
2Select Actions, then Add/Edit Profile. The Add/Edit Configuration Profile
dialog box opens.
8508055.fm Page 3 Monday, July 2, 2001 5:02 PM
4www.gateway.com
3Enter the name of the profile you are creating. When you create the first
profile, you should rename the Default profile to the name of your profile.
For example, if you will be using your computer on two different
networks, such as at home and at work, you may want to name one
profile Home and another one Work.
4Select the type of network associated with this profile. Your options
include:
■Access Point - Use this network type if you are joining a wireless
network and accessing a wired network through an access point.
Contact your network system administrator or refer to the access
point documentation for more information about using this
network type.
■Residential Gateway - Use this network type if you are setting up
or joining a wireless network that is using a residential gateway to
access the Internet.
■Peer-to-Peer Group - Use this network type if you are setting up or
joining a temporary or permanent computer-to-computer network
for sharing files and peripheral devices. This type of network does
not include an access point into a wired network.
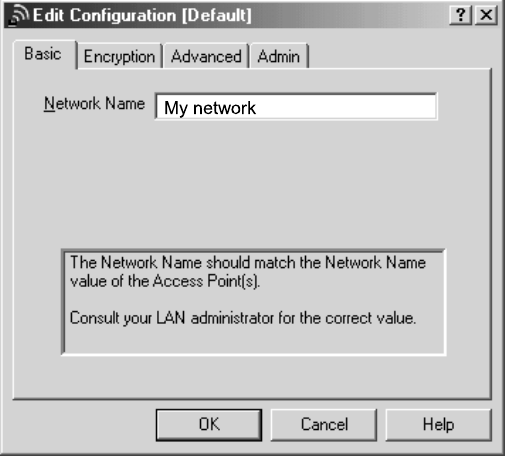
5Click the Edit Profile button. The Edit Configuration dialog box opens.
8508055.fm Page 4 Monday, July 2, 2001 5:02 PM

5
Wireless Networking User Guide
www.gateway.com
6Enter the name of your network and the encryption key (if required).
■If you are connecting to an access point network, enter ANY to
connect to any wireless Ethernet network within range of your
notebook, or enter the exact network name of the network you are
joining.
■If you are connecting to a residential gateway network, enter the
residential gateway identifier number for the network name and
the last five characters of the residential gateway identifier number
as the encryption key.
■If you are connecting to a peer-to-peer network, enter the exact
network name for the network you are joining. If an encryption
key has been agreed to by the other members of the network, enter
this value as well.
7If you are configuring your notebook for an access point network, tabs
are available to enter additional configuration information as necessary.
Contact your network system administrator or refer to the access point
documentation before entering this information.
8Click OK to close the Edit Configuration dialog box.
9If you are setting up your notebook for more than one network, repeat
steps 3 through 8 to create additional profiles.
10 Click OK to close the Add/Edit Configuration Profile dialog box.
Important All computers on your network must have the same
network name and encryption key. For help, ask your
network system administrator.
8508055.fm Page 5 Monday, July 2, 2001 5:02 PM
6www.gateway.com
Identifying this notebook on the Microsoft Network Neighborhood
If this is the first time you have used networking on your notebook, you need
to provide Windows with the name of the notebook and the workgroup to
which it belongs.
To identify this notebook on the network:
1Click Start, then select Settings, then Control Panel. The Control Panel
window opens. If you do not see the Network icon, click view all Control
Panel options.
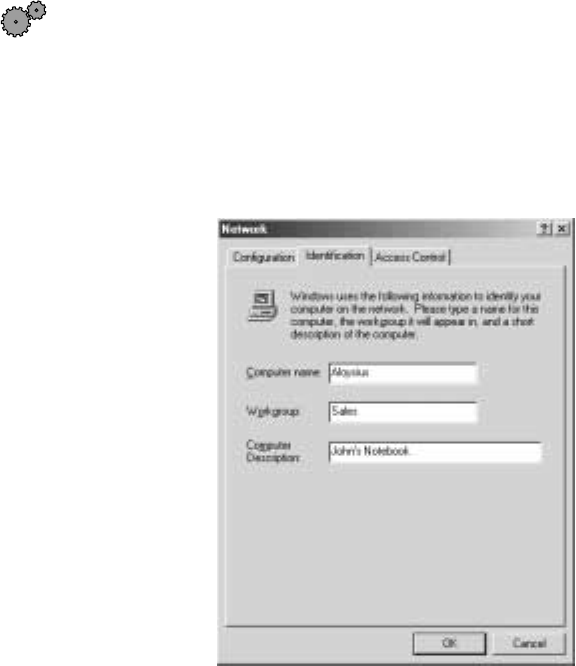
2Double-click the Network icon. The Network dialog box opens.
3Select the Identification tab.
4Enter a unique computer name. This name identifies this notebook on
the Microsoft Network Neighborhood.
5Enter the name of the workgroup this notebook belongs to. This name
is usually assigned by the network system administrator and identifies
which group of computers this notebook is most likely to communicate
with.
8508055.fm Page 6 Monday, July 2, 2001 5:02 PM
7
Wireless Networking User Guide
www.gateway.com
6Enter a description of the notebook. This description lets other Microsoft
Network Neighborhood users identify who this notebook belongs to.
7Click OK.
Configuring Windows for wireless Ethernet
To configure Windows to use the wireless Ethernet network:
1Click Start, then select Settings, then Control Panel. The Control Panel
window opens. If you do not see the Network icon, click view all Control
Panel options.
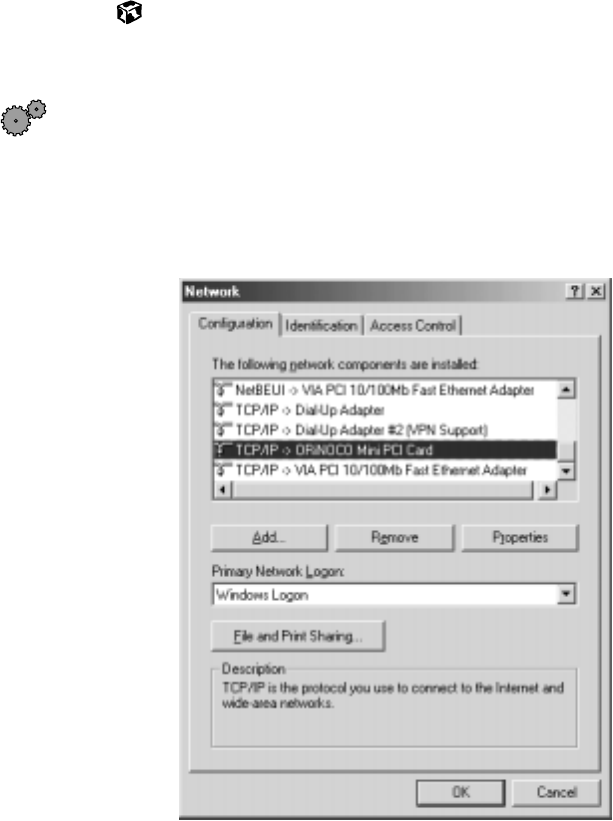
2Double-click the Network icon. The Network dialog box opens.
8508055.fm Page 7 Monday, July 2, 2001 5:02 PM
8www.gateway.com
3Select TCP/IP -> ORiNOCO Mini PCI Card, then click Properties. The TCP/IP
Properties dialog box opens.
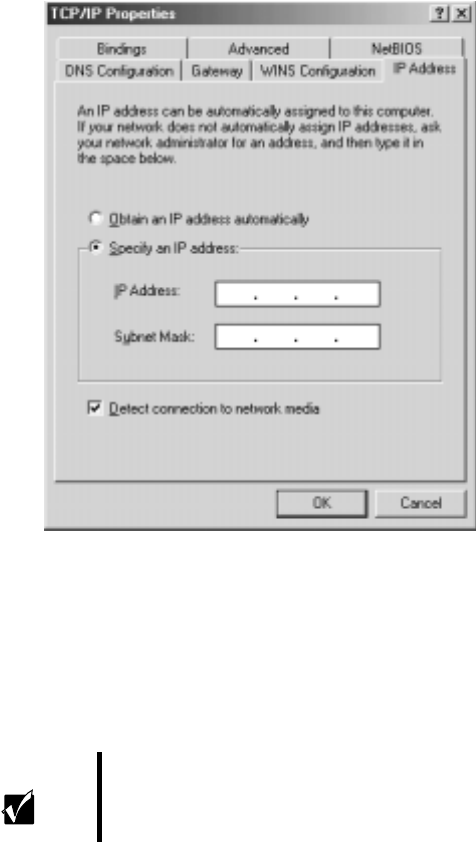
4Click the IP Address tab.
5If you are using a DHCP server, click Obtain an IP address automatically.
- OR -
If you are not using a DHCP server, click Specify an IP address and enter
the IP Address and Subnet Mask.
6Click OK to close the TCP/IP Properties dialog box.
7Click OK to close the Network dialog box.
Important If you are required to enter an IP Address and Subnet
Mask, ask your network system administrator for the
correct values.
8508055.fm Page 8 Monday, July 2, 2001 5:02 PM
9
Wireless Networking User Guide
www.gateway.com
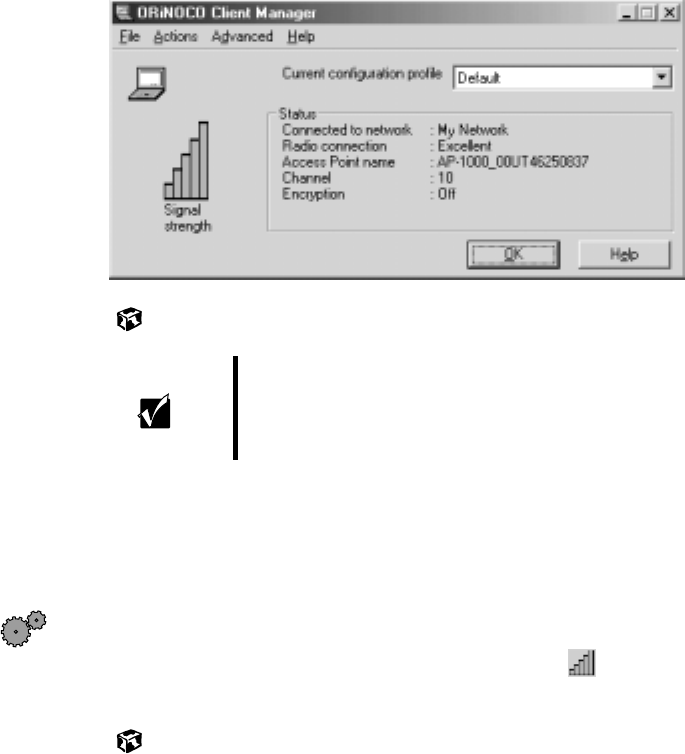
8Click Start, then select Programs, ORiNOCO, then Client Manager. The
ORiNOCO Client Manager opens.
The meter on the left side now registers the signal strength for wireless
Ethernet on your notebook if other computers with the same network
name are within range of your notebook.
The status box in the middle provides status and error messages.
Turning your wireless Ethernet on or off
There are times, such as when you are flying in an aircraft, when you should
turn off your wireless Ethernet network. You can also turn off wireless Ethernet
to conserve battery power.
To turn the wireless Ethernet network on or off:
1Right-click the ORiNOCO Client Manager icon in the taskbar.
2Select Enable Radio or Disable Radio.
Important Signal strength is affected by the distance between your
wireless network devices, by radio interference, and
interference due to natural obstructions such as walls,
floors, and doors.
8508055.fm Page 9 Monday, July 2, 2001 5:02 PM

10 www.gateway.com
Accessing a different wireless Ethernet network
Once you have set up your profiles for all the possible wireless Ethernet
networks you may want to access, it is easy to access a different network.
To access a different wireless Ethernet network:
1Right-click the ORiNOCO Client Manager icon in the taskbar.
2Select Configuration Profile, then the profile that you have set up for the
new network.
Technical Support
Refer to your Gateway Solo user’s guide for Gateway Technical Support
information.
Safety, Regulatory, and Legal Information
Refer to your Gateway Solo user’s guide for important safety, regulatory, and
legal information related to wireless networking.
MAN US WIRELESS NET GDE R0 7/01
8508055.fm Page 10 Monday, July 2, 2001 5:02 PM