Samsung Electronics Co HMX-S16BN DIGITAL CAMCORDER User Manual HMX S10N ENG IB indb
Samsung Electronics Co Ltd DIGITAL CAMCORDER HMX S10N ENG IB indb
Contents
- 1. User manual 1 of 5
- 2. User manual 2 of 5
- 3. User manual 3 of 5
- 4. User manual 4 of 5
- 5. User manual 5 of 5
User manual 3 of 5
33
Compatible memory cards
This camcorder can be used with SD
(Secure Digital) and SDHC (Secure Digital
High Capacity) cards.
It is recommended to use an SDHC
(Secure Digital High Capacity) card.
SD cards up to 2GB are supported with
this camcorder. Normal operation is not
guaranteed with SD cards bigger than
2GB.
MMC (Multi Media Card) and MMC Plus
are not supported.
Compatible memory card capacity: SD 1
~ 2GB, SDHC 4 ~ 32GB
Use compatible memory card brands. Others
are not guaranteed to work. Check the
compatibility when buying a memory card.
- SDHC/SD cards: Panasonic, SanDisk,
TOSHIBA
For video recording, use a memory card
that supports faster write speeds (above
SDHC Class 6 card).
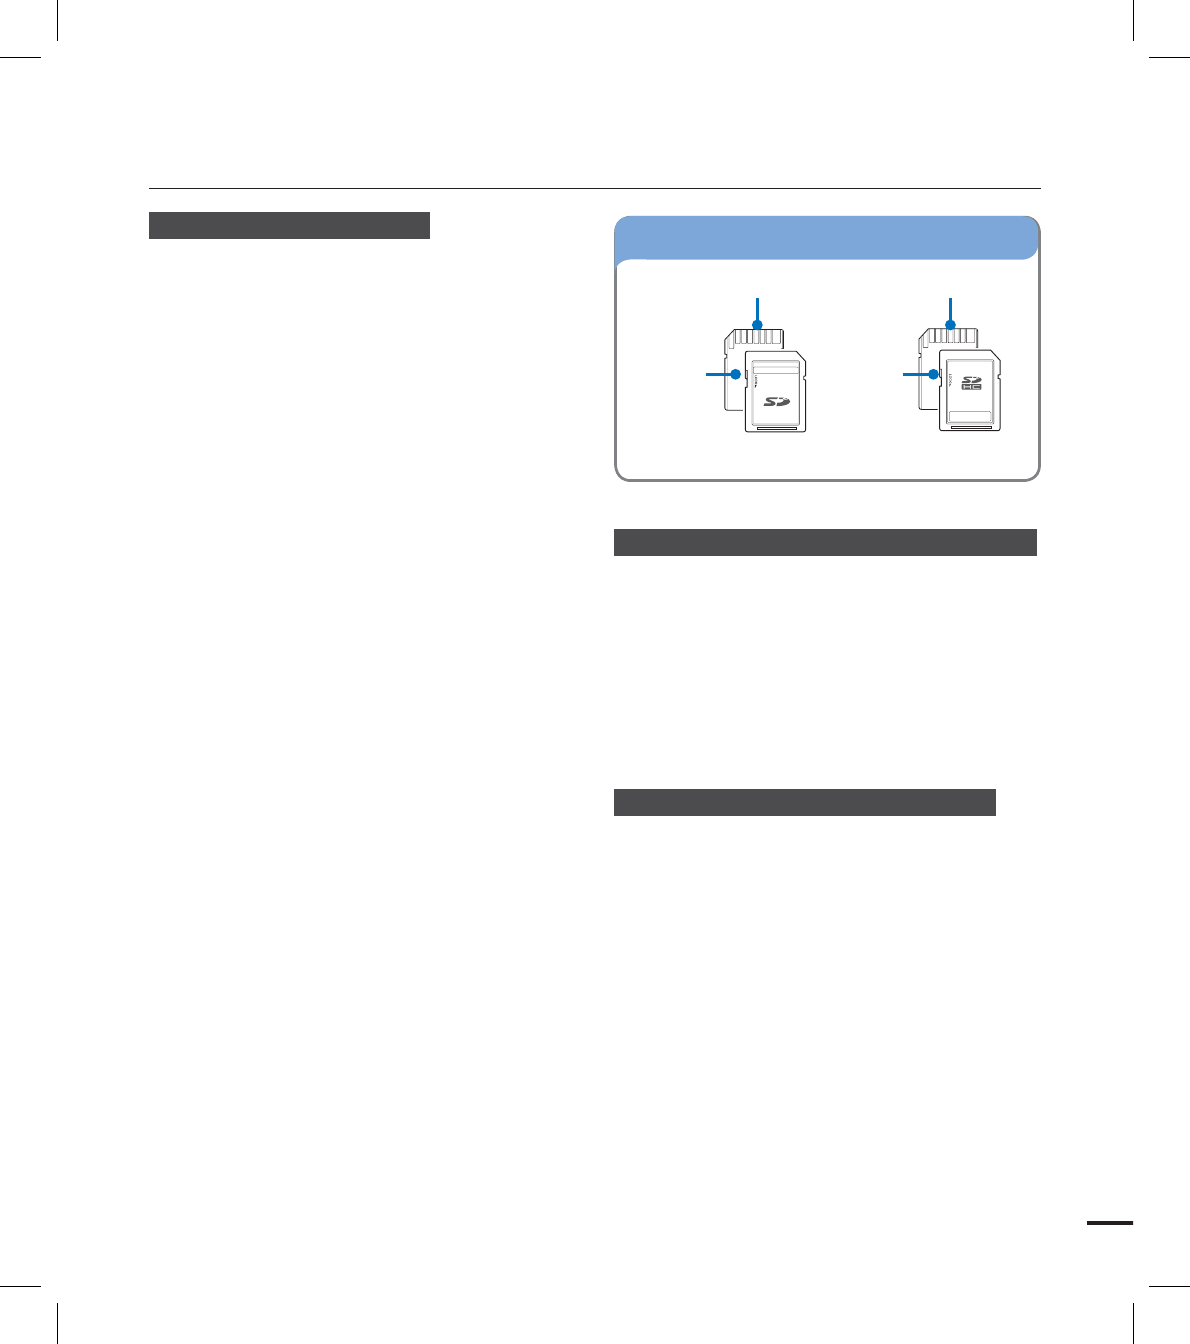
SD/SDHC memory cards have a
mechanical write-protection switch.
Setting the switch prevents accidental
erasure of files recorded on the card. To
enable writing, move the switch up in
the direction of the terminals.To set write
protection, move the switch down.
•
•
•
•
•
•
SDHC (Secure Digital High Capacity) cards
SDHC (Secure Digital High Capacity)
memory card
- An SDHC card is a higher version
(Ver.2.00) of SD card and supports
capacity above 2GB.
- Cannot be used with current SD
enabled host devices.
Common cautions for memory cards
Damaged data may not be recovered. It
is recommended you make a back-up of
important data separately on the hard disk
of your PC.
Turning the power off or removing a
memory card during an operation such
as formatting, deleting, recording, and
playback may cause data loss.
After you modify the name of a file or
folder stored in the memory card using
your PC, your camcorder may not
recognize the modified file.
•
•
•
•
SELECTING A SUITABLE MEMORY CARD
(NOT SUPPLIED)
Usable memory card (1GB~32GB)
Protection
tab
Terminals
<SD> <SDHC>
Terminals
Protection
tab

34
Handling a memory card
It is recommended that you power off
before inserting or removing the memory
card to avoid data loss.
It is not guaranteed that you can use a
memory card formatted by other devices.
Be sure to format your memory card using
this camcorder.
You have to format newly-purchased
memory cards, memory cards with data
that your camcorder cannot recognize
or are saved by other devices. Note that
formatting erases all data on the memory
card.
If you cannot use a memory card that has
been used with another device, format it
with your camcorder. Note that formatting
erases all information on the memory card.
A memory card has a certain life span. If
you cannot record new data, you have to
purchase a new memory card.
Do not bend, drop, or cause strong impact
to the card.
Do not place foreign substances on the
memory card terminals. Use a soft dry
cloth to clean the terminals if required.
Do not paste anything other than label
provided with the card on the label pasting
section.
Be careful to keep the memory card out of
the reach of children, who might swallow
it.
Notes on use
Samsung is not responsible for data loss
due to misuse.
We recommend using a memory card
case to avoid losing data from moving and
static electricity.
After a period of use, the memory card
may get warm. This is normal and is not a
malfunction.
•
•
•
•
•
•
•
•
•
•
•
•
The camcorder supports SD and
SDHC memory cards for data storage
preference!
The data storage speed may differ,
according to the manufacturer and
production system.
SLC (single level cell) system: faster
write speed enabled.
MLC (multi level cell) system: only
lower write speed is supported.
For best results, we recommend using a
memory card that supports faster write
speed.
Using a lower write speed memory card
for recording video may cause difficulties
when storing.
You may even lose your video data during
the recording.
In an attempt to preserve any bit of the
recorded video, the camcorder forcibly
stores the video on the memory card and
displays a warning:
“Low speed card. Please record at a
lower resolution.”
If you are unavoidably using a low speed
memory card, resolution and quality of
the recording may be lower than the set
value. page ??
The higher the resolution and quality, the
more memory will be used.
•
•
getting ready to start recording

35
Resolution Memory card / Internal memory* Internal
memory*
1GB 2GB 4GB 8GB 16GB 32GB 64GB
1080/60i (XF) 5 min 10 min 21 min 42 min 84 min 167 min 337 min
1080/60i(SF) 7 min 14 min 29 min 60 min 121 min 236 min 474 min
1080/60i(F) 11 min 22 min 45 min 92 min 185 min 364 min 731 min
1080/30p 7 min 14 min 29 min 60 min 121 min 236 min 474 min
720/60p 11 min 22 min 45 min 92 min 185 min 364 min 731 min
480/60p 23 min 47 min 99 min 200 min 404 min 790 min 1587 min
(Unit: Approximate minutes of recording)
Resolution Memory card / Internal memory* Internal
memory*
1GB 2GB 4GB 8GB 16GB 32GB 64GB
[10M] 4224x2376 (16:9) 459 917 1914 3866 7778 9999 9999
[5M] 2960x1664 (16:9) 612 1223 2552 5154 9999 9999 9999
[3M] 2224x1664 (4:3) 918 1835 3828 7732 9999 9999 9999
[2M] 1920x1080 (16:9) 1147 2294 4785 9665 9999 9999 9999
[VGA] 640x480 3060 6118 9999 9999 9999 9999 9999
(Unit: Approximate number of images)
The figures in the table may differ depending on the actual recording conditions and subject.
The higher the quality and resolution, the more memory is used.
Lower resolution and quality increases the recording time, but the image quality may suffer.
The bit rate automatically adjusts to the recording image. Accordingly, the recording time may vary.
Memory cards bigger than 1.8GB may not operate normally.
When a video file exceeds 1.8GB, the next video file is created automatically.
The maximum number of recordable photo and video files is 9999, respectively.
The recording length of a Time Lapse REC may vary depending on settings.
Items marked with * are available only with HMX-S15/S16 models.
•
•
•
•
•
•
•
•
•
RECORDABLE TIME AND CAPACITY
1GB ⴊ1,000,000,000 bytes : actual formatted capacity may be less as the internal firmware uses
a portion of the memory.
Recordable time available for video
Recordable number of photos
36
ATTACHING THE GRIP BELT
Adjust the length of grip belt so that the camcorder is stable when you press the Recording
start/stop button with your thumb.
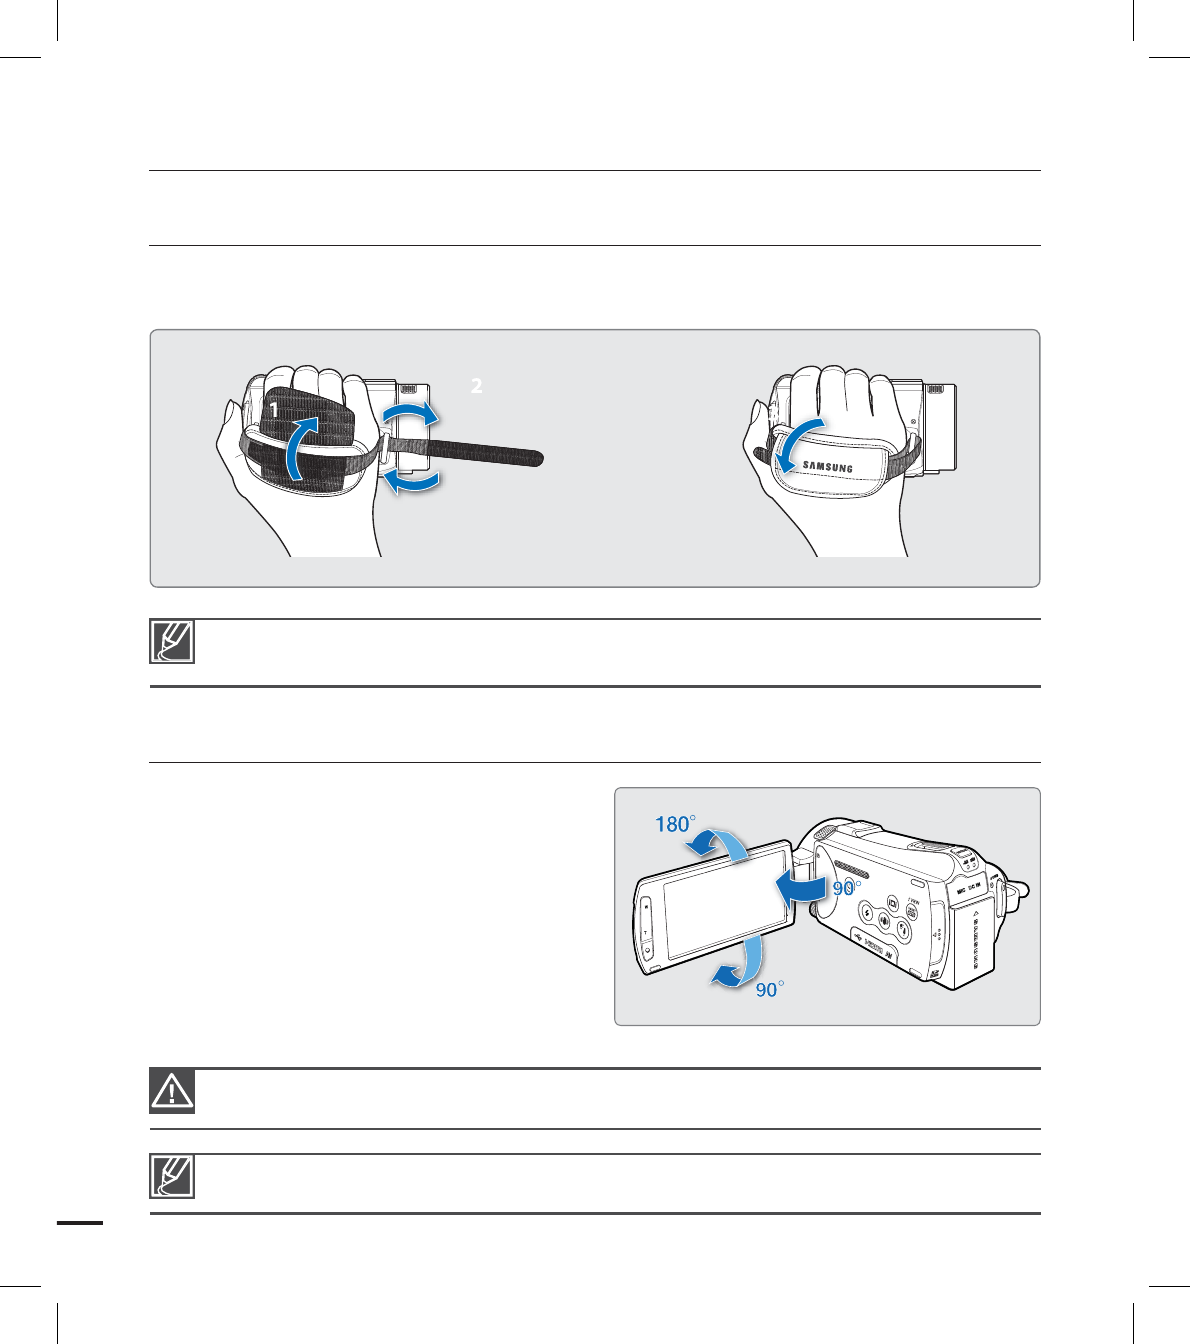
ADJUSTING THE LCD SCREEN
The wide LCD screen on your camcorder
offers high quality image viewing.
1. Open the LCD screen with your fi nger.
The screen opens up to 90°.
2. Rotate the LCD screen towards the lens.
You can rotate it up to 180° towards
the lens and up to 90° backward.
To view recordings more conveniently,
rotate the screen by 180° towards the
lens, then fold it back to the body.
•
•
Excessive rotation may damage the connective hinge between the screen and the camcorder.
Please note if the grip belt is adjusted too tight and you use excessive force to insert your hand, the
grip belt hook of the camcorder may be damaged.
Clean fi ngerprints or dust on the screen with a soft cloth.
getting ready to start recording

37
BASIC CAMCORDER POSITIONING
Use both hands while taking a video or photo to prevent the camcorder from shaking.
Try to avoid any slight movement while shooting.
Aim the camcorder as shown in the illustration.
1. Hold the camcorder with your both hands.
2. Hook up the grip belt to your hand.
3. Make sure your footing is stable and there
is no danger of colliding with another
person or object.
4. Aim and focus as shown in the illustration.
It is recommended to keep the sun behind you while shooting.
Adjusting the shooting angle
38
RECORDING VIDEOS
This camcorder supports both High Defi nition(HD) and Standard Defi nition(SD) image
resolutions. Set your desired resolution before recording. page ??
PRECHECK!
Insert a memory card. page ??
Set the appropriate storage media. (HMX-S15/S16 only) page ??
Select the Video record ( ) mode by pressing the MODE button.
page ??
1. Select a subject to record.
Adjust the LCD panel to the best angle for recording.
Use the Zoom lever or Zoom button to adjust the size of the
subject. page ??
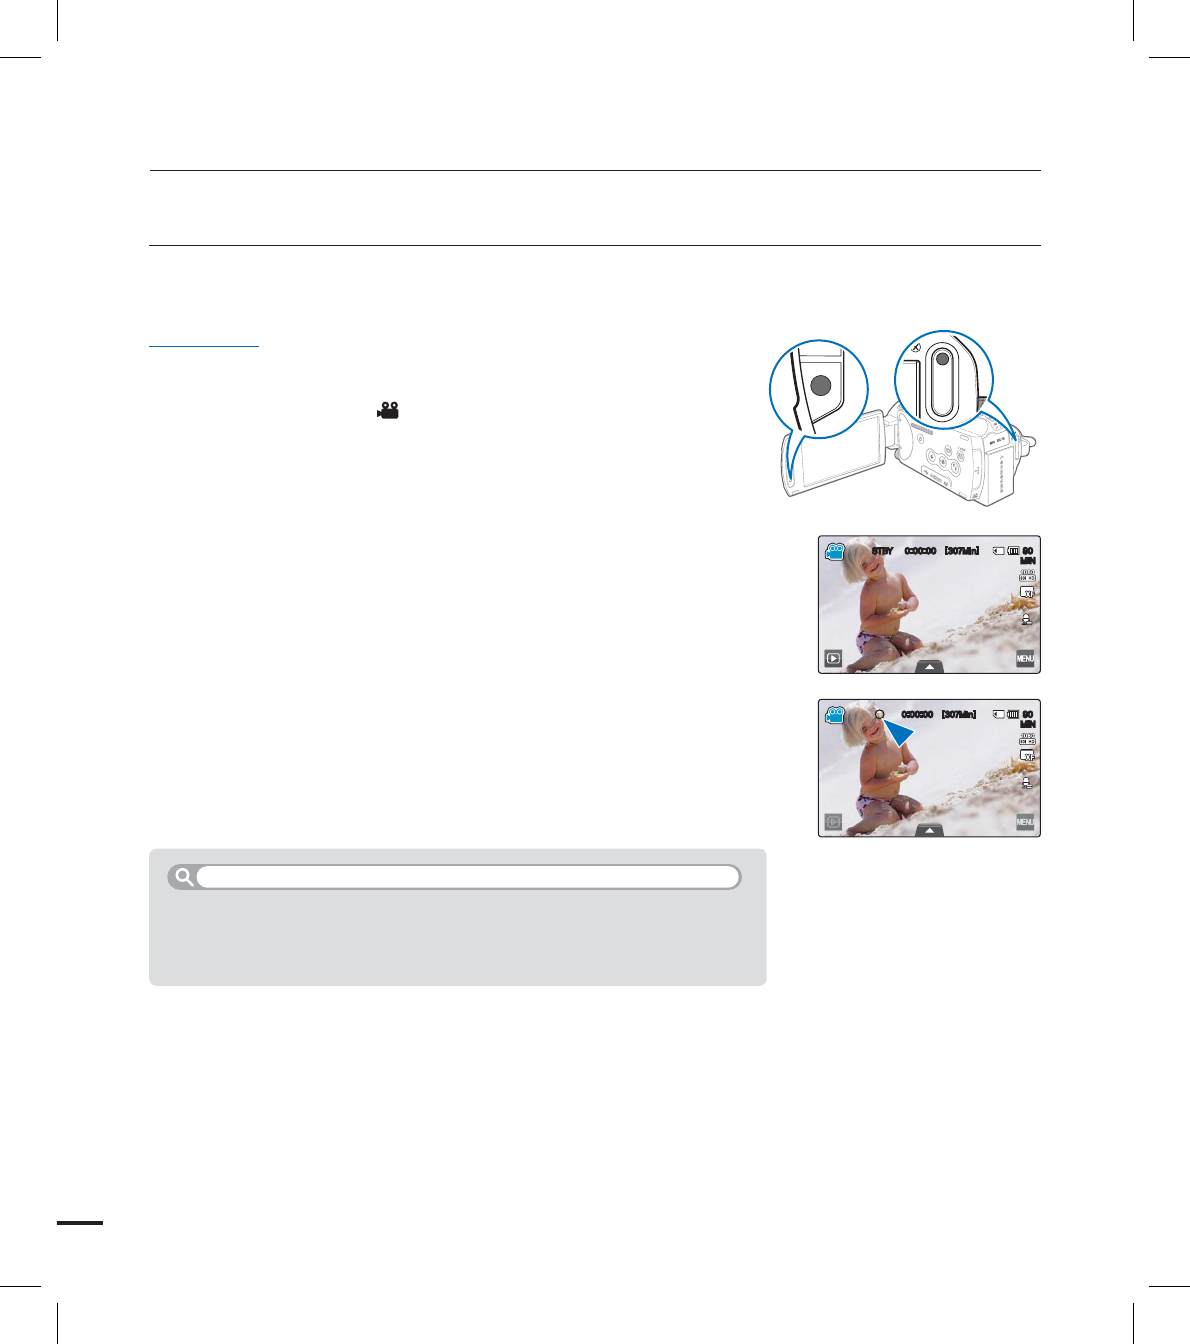
2. Press the Recording start/stop button.
The recording () indicator appears, and recording starts.
3. To stop recording, press the Recording start/stop button again.
•
•
•
•
•
•
basic recording
This camcorder features two Recording start/stop buttons.
One is on the rear side of the camcorder, the other is on the LCD
screen. Select the one that works best for you.
Two recording start/stop buttons to suit your preference!
45#: <.JO>
.*/
<.JO>
.*/
39
If power is interrupted or an error occurs during recording, the video may not be recorded/edited.
Samsung is not responsible for any damage occurred by a failure of normal recording or playback
operation because of memory card error.
Note that damaged data cannot be recovered.
•
•
•
Videos are compressed in the H.264 (MPEG-4.AVC) format.
Eject the battery when you have finished recording to prevent unnecessary battery power
consumption.
For the on-screen information display, see page ??.
For approximate recording time, see page ??.
Sound is recorded from the internal stereo microphone at the top of the lens. Make sure that the
microphone is not blocked.
Before recording an important video, make sure to test the recording function by checking if there
is any problem with the audio and video recording.
The brightness of the LCD screen can be adjusted in the menu options. Adjusting the LCD screen
does not affect the image being recorded. page ??
For various functions available during recording, see “Video/photo record menu items.”
pages ??~??
Do not turn off the camcorder or remove the memory card while accessing the storage media.
Doing so may damage the storage media or the data in the storage media.
If the power cable/battery is disconnected or recording is disabled during recording, the system is
switched to the data recovery mode. While data is being recovered, no other function is enabled.
The menu setting tabs shown on the LCD screen do not affect the image being recorded.
•
•
•
•
•
•
•
•
•
•
•
40
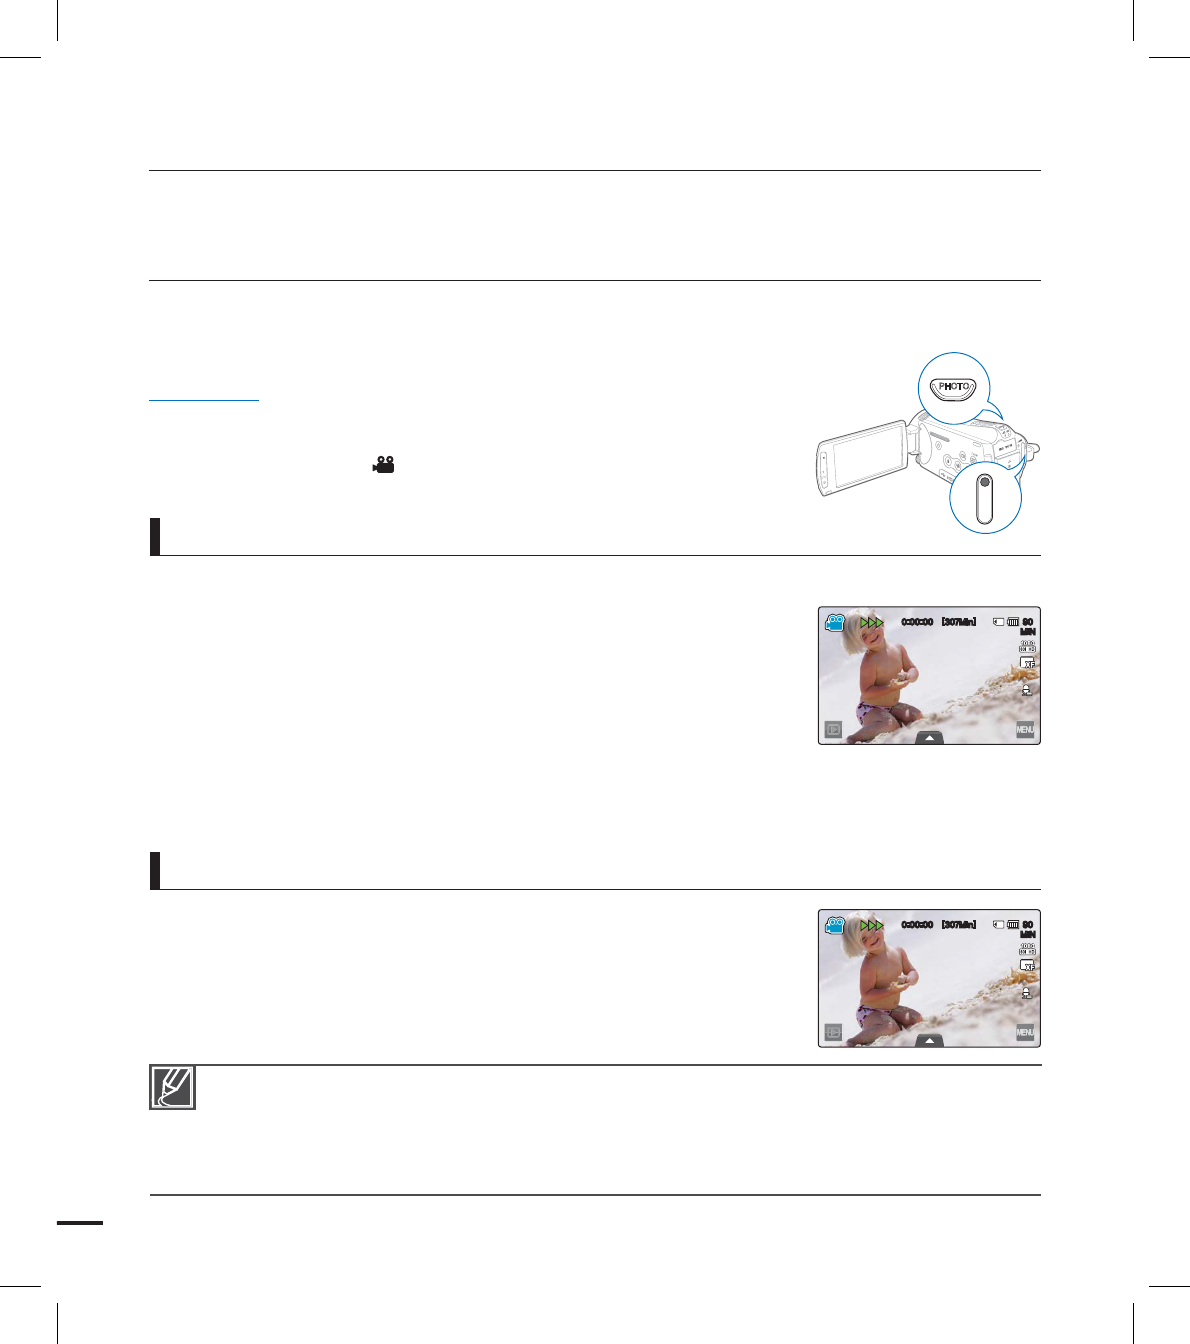
CAPTURING PHOTOS DURING VIDEO
RECORDING (DUAL RECORDING)
You can capture photos at the video STBY mode or during video recording with simple
operation of buttons. It is convenient to record a video and photo at the same time without
switching modes.
PRECHECK!
Insert a memory card. page ??
Set the appropriate storage media. (HMX-S15/S16 only) page ??
Select the Video record ( ) mode by pressing the MODE button. page ??
1. Press the Recording start/stop button.
The recording () indicator will display, and recording will
start.
2. Press the PHOTO button at the scene you want while recording
videos.
When the () indicator disappears, the photo image is
recorded without a shutter sound.
Video keeps recording, even while photos are taken.
3. To stop recording, press the Recording start/stop button again.
Align the subject in the frame in video standby mode, then press the
PHOTO button.
When the () indicator appears with a shutter sound, the
photo image is recorded.
•
•
•
•
•
•
•
You cannot capture photos in the following conditions:
- When recording video in slow motion
- When time lapse recording is performed.
Flash is not available while capturing photos in video record mode.
Photo is captured in 1920x1080 resolution regardless to the resolution of the video recording.
•
•
•
To capture photos during video recording
To capture photos in video standby mode
basic recording
<.JO>
.*/
<.JO>
.*/
41
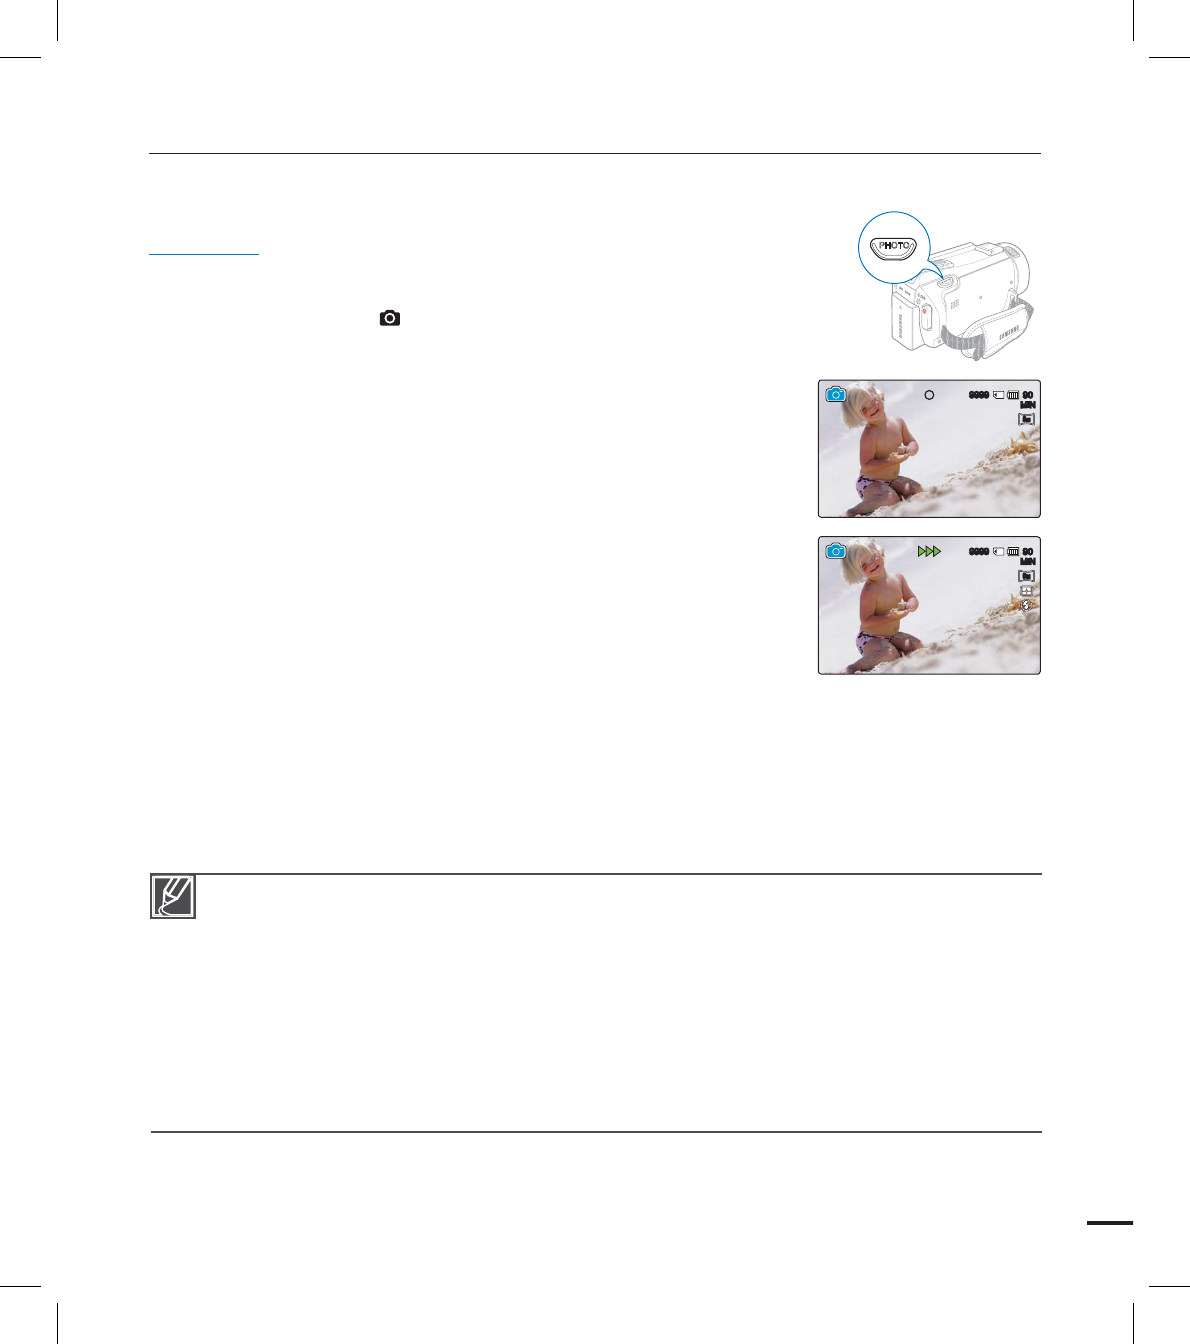
RECORDING PHOTOS
You can take photos and store them in the storage media. Set the desired resolution before
recording. page ??
PRECHECK!
Insert a memory card. page ??
Set the appropriate storage media. (HMX-S15/S16 only) page ??
Select the Photo record ( ) mode by pressing the MODE button. page ??
1. Select a subject to record.
Adjust the LCD panel to the best angle for recording.
Use the Zoom lever or Zoom button to adjust the size of the
subject. page ??
2. Adjust the subject at the center of the LCD screen, and half-press
the PHOTO button.
Your camcorder adjusts to the ideal aperture and focus
automatically (if “Aperture” and “Focus” are set to “Auto”
pages ??, ??).
When the subject is in focus, the () indicator appears green.
If it appears red, readjust the focus.
3. Fully press the PHOTO button.
A shutter sound is heard (when “Shutter Sound: On” is set), and the photo is recorded.
To continue recording, wait until the current photo is completely saved on the storage
media.
•
•
•
•
•
•
•
•
•
Recordable number of photos varies depending on the photo resolution. page ??
Audio is not recorded when taking photos.
If focusing is diffi cult, use the manual focus function. page ??
Do not turn off the camcorder or remove the memory card when taking photos as it may damage
the storage media or data.
Adjust brightness of the LCD screen using menu items. Doing so does not affect the recorded
image. page ??
For the on-screen display information, see page ??.
For the advanced recording, see pages ??
Photo fi les conform to the DCF (Design rule for Camera File system) standard, established by JEITA
(Japan Electronics and Information Technology Industries Association.)
•
•
•
•
•
•
•
•
.*/
5
M
5
M
.*/
5
M
5
M
42
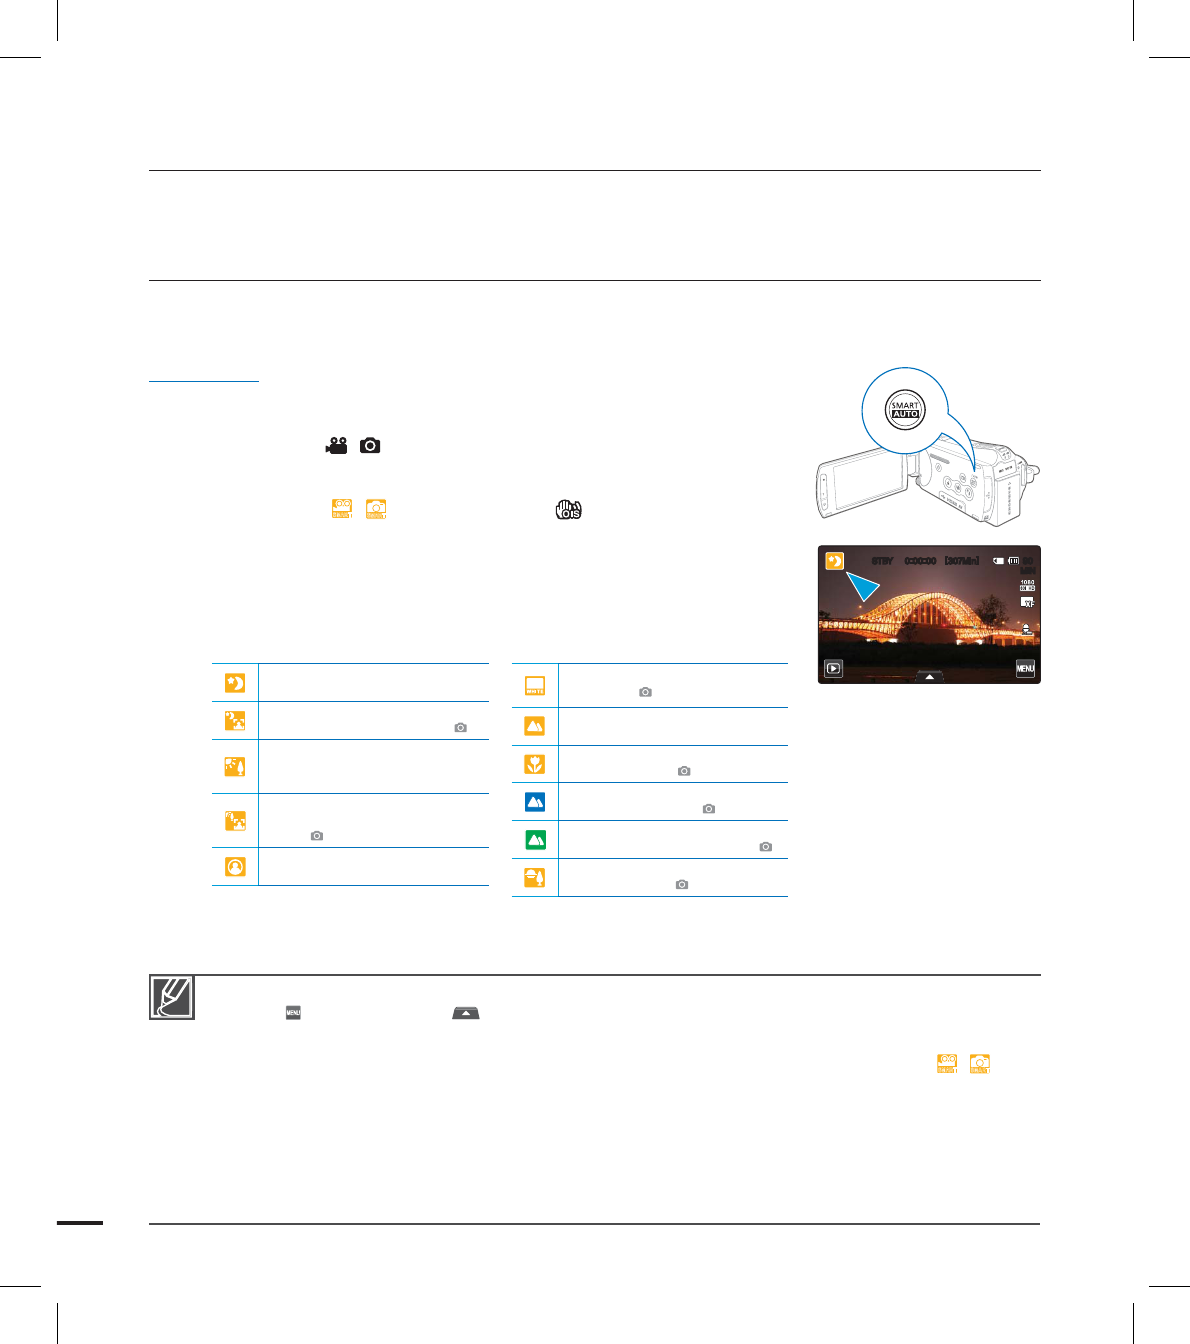
RECORDING WITH EASE FOR BEGINNERS
(SMART AUTO)
User-friendly SMART AUTO optimizes your camcorder to the recording conditions automatically,
providing beginners with the best performance.
PRECHECK!
Insert a memory card. page ??
Set the appropriate storage media. (HMX-S15/S16 only) page ??
Select the record ( / ) mode by pressing the MODE button. page ??
1. Press the SMART AUTO button.
Smart Auto (
SMART
/
SMART
) and Anti-shake ( ) indicators are
displayed on the LCD screen.
2. Align your subject in the frame.
The camcorder automatically detects the scene when aligning
focus with the camcorder.
The appropriate scene icon is displayed on the LCD screen.
3. Press the Recording start/stop button or PHOTO button. pages ??, ??
4. To cancel Smart Auto mode, press the SMART AUTO button again.
•
•
•
•
•
•
Unavailable buttons during Smart Auto operation:
Menu ( ) tab, Quick menu ( ) tab, etc. Most settings are automatically adjusted in Smart Auto mode.
To set or adjust functions on your own, release the Smart Auto mode fi rst.
Smart Auto function is not available while recording. Set this function before recording.
When the camcorder is failed to recognize the recording situations, it records in the basic setting (
SMART
/
SMART
).
The camcorder may not select the correct scene depending on shooting environments, such as camcorder
shake, lighting and distance to the subject.
The camcorder recognizes a night scene only when taking photos with the fl ash off.
When recording more than one scenes at the same time, Smart Auto prioritizes as below:
For example, a) If White and Portrait can be applied at the same time, then Portrait is selected and
corresponding icon displays.
b) If White and Backlight are applied at the same time, then Backlight is selected and
corresponding icon displays.
•
•
•
•
•
•
Appears when recording at night.
(Night)
Appears when recording persons
outdoors at night. (Night Portrait)
Appears when recording images
of landscapes with backlighting.
(Backlight)
Appears when recording persons
under backlight condition. (Backlight
Portrait)
Appears when recording persons.
(Portrait)
Appears when recording very bright
scene. (White)
Appears when recording outdoor
scene. (Landscape)
Appears when taking photos with
close-up. (Macro)
Appears when taking photos of
clear skies. (Blue sky)
Appears when taking photos of
forested areas. (Natural green)
Appears when taking photos of
sunsets. (Sunset)
basic recording
<Appears when recording at night>
45#: <.JO>
.*/
43
You cannot capture photos in the following conditions
- The time lapse videos cannot be captured as a still image.
The resolution of the captured photos depends on the resolution of the video as follows.
Video resolution Resolution of captured photo
1080/60i(XF), 1080/60i(SF),
1080/60i(F), 1080/30p 1920x1080
720/60p 1280x720
480/60p 720x480
Slow Motion: [SD]300Frame/Sec, [SD]600Frame/Sec 368x208, 192x112
•
•
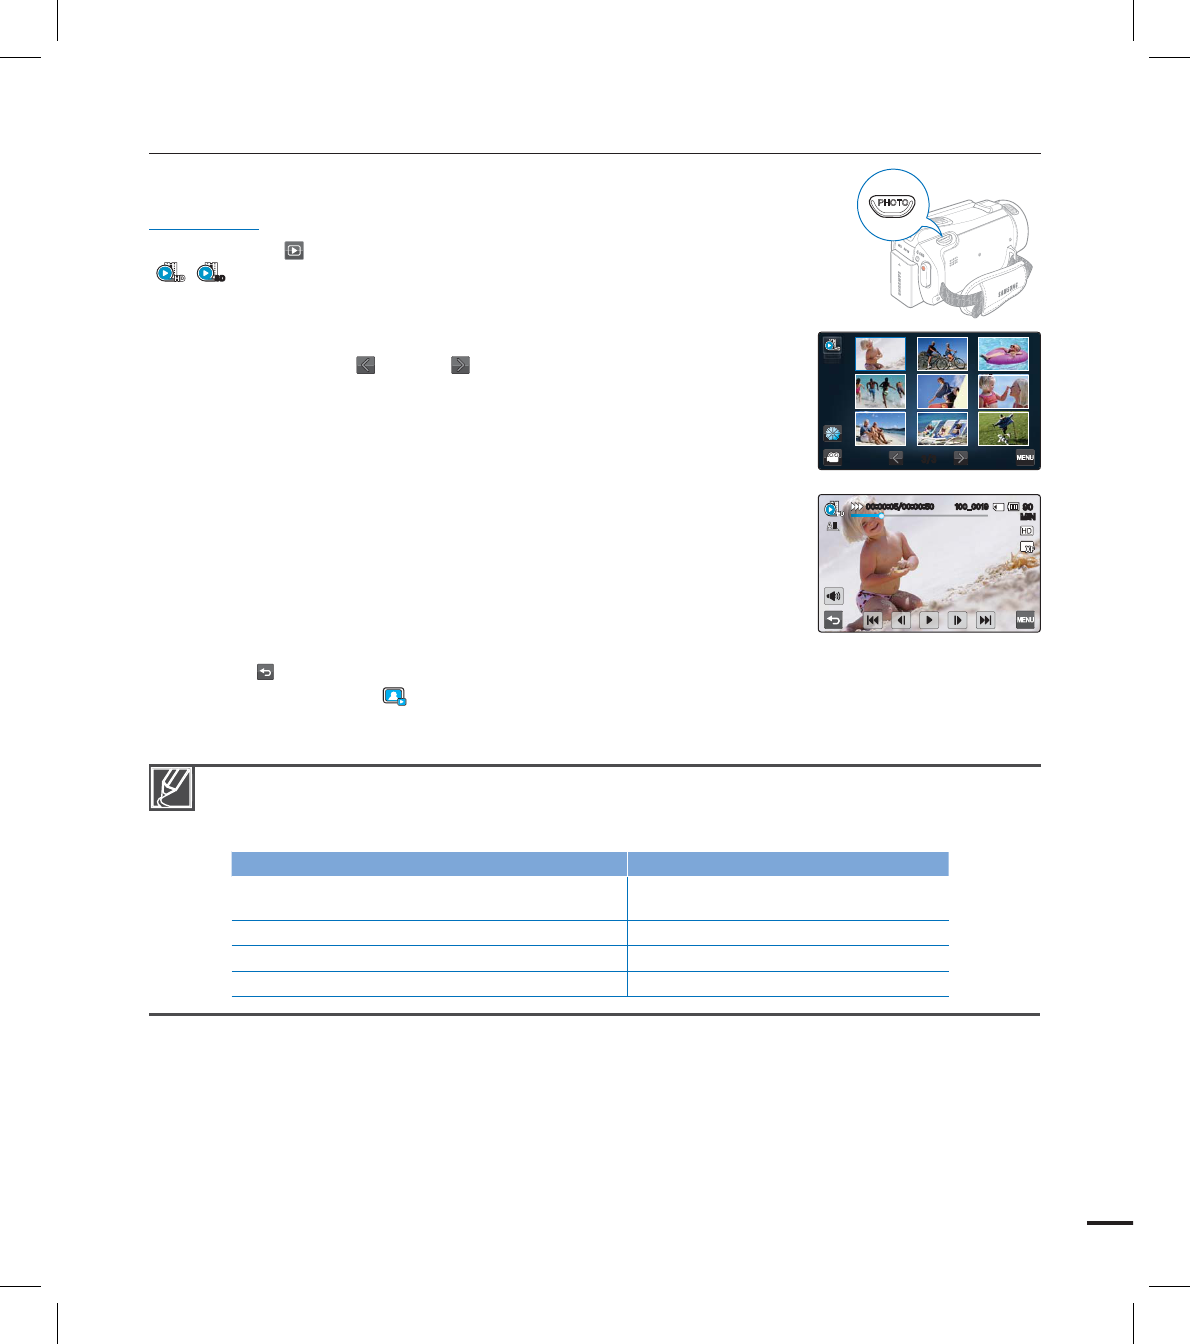
CAPTURING PHOTOS WHILE PLAYING BACK VIDEOS
You can capture photos during video playback.
PRECHECK!
Touch the Play ( ) tab on the LCD screen to select the Video play
(/
SD
) mode. page ??
1. Recorded videos appear in a thumbnail index view.
Touch the left ( )/light ( ) tab to move to the
previous/next page.
2. Touch the video clip you want.
The selected video is played.
3. Press the PHOTO button halfway at the scene you want to
capture.
The playback screen is paused.
4. Press the PHOTO button fully down.
The captured still image is recorded in JPEG format.
5. When the photo is recorded on the storage media, touch the
Return ( ) tab to view the thumbnail index.
Touch the Photo ( ) tab to view the recorded photos. page ??
•
•
•
•
•
.*/
@