Shin Chuan Computer SC600PDT-BW Portable Data Terminal User Manual SC600 revised by Joy
Shin Chuan Computer Co., Ltd. Portable Data Terminal SC600 revised by Joy
Contents
Manual Pt6
3
-
21
C Type -- Others Barcodes
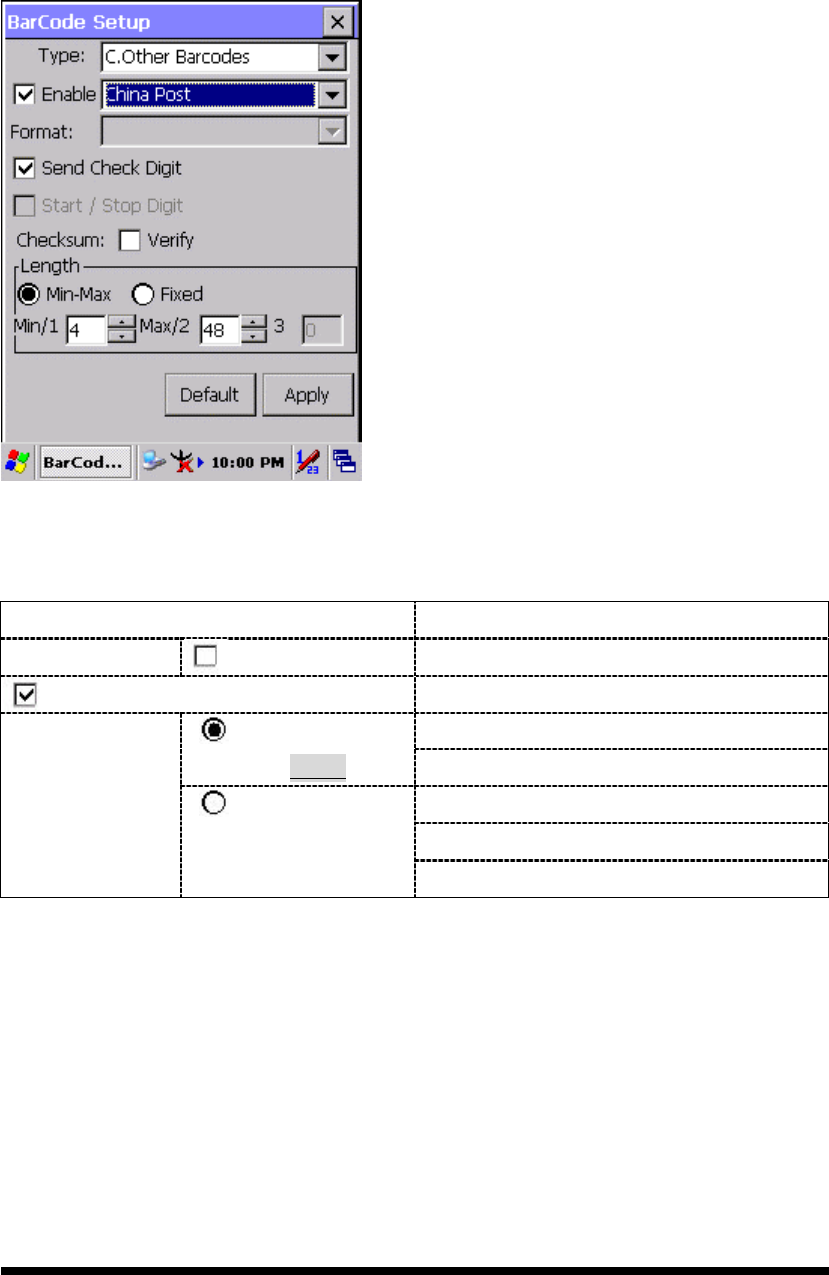
3.2.2.15 China Post
Figure 3-20 China Post
Table 3-16 China Post Explaining
Item Explaining
Checksum Verify Whether verify checksum by barcode.
Send Check Digit Whether send check digit by barcode.
Min Length can be set from 4 to 40
Min-Max
(Default: 4 / 40) Max Length can be set from 4 to 40
Length 1 can be set from 4 to 40
Length 2 can be set from 4 to 40
Length
Fixed
Length 3 can be set from 4 to 80
3
-
22
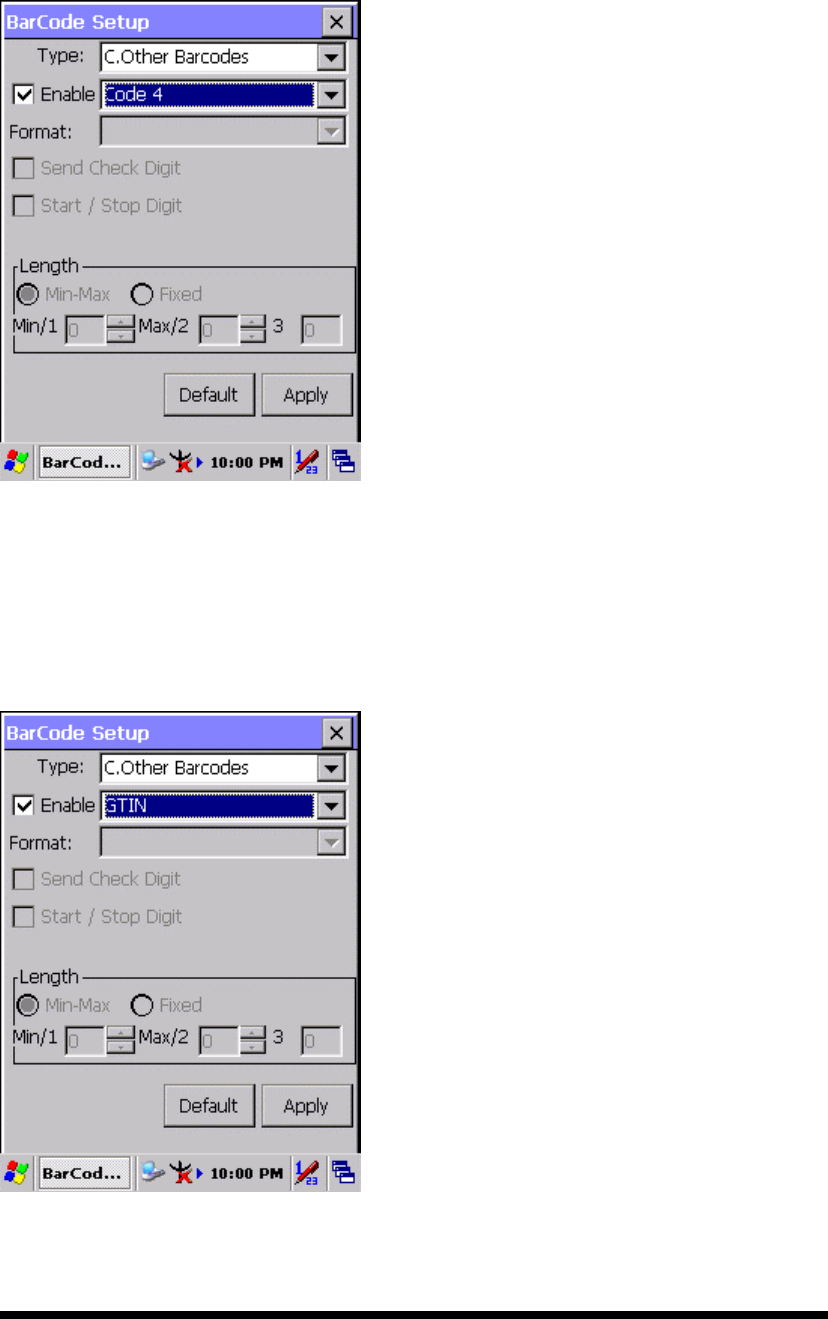
3.2.2.16 Code4
The barcode do not have setting.
Figure 3-21 Code4
3.2.2.17 GTIN
The barcode do not have setting.
Figure 3-22 GTIN
3
-
23
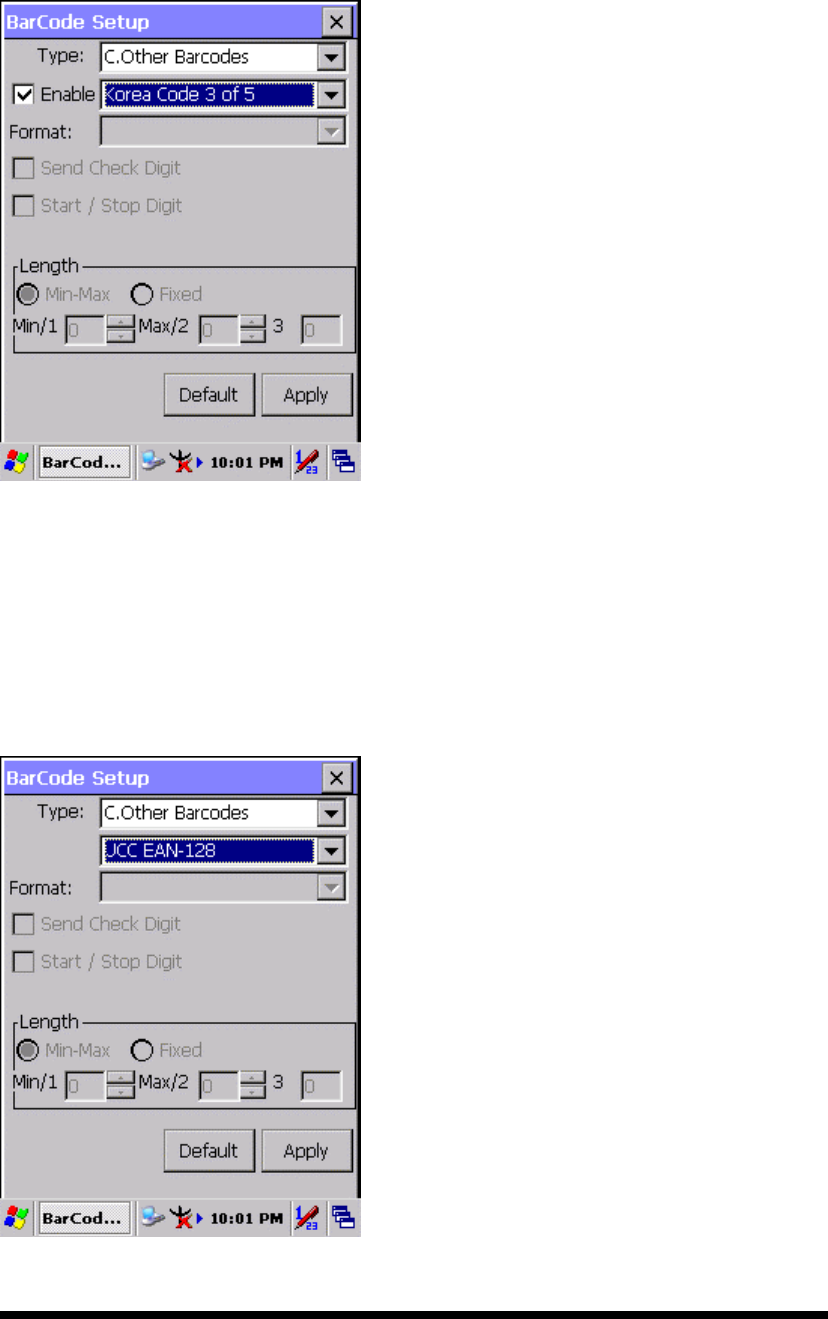
3.2.2.18 Korea Code 3 of 5
The barcode do not have setting.
Figure 3-23 Korea Code 3 of 5
3.2.2.19 UCC EAN-128
UCC EAN-128 movements together with Code128, so should be ahead of enable
Code128, ability enable UCC EAN-128.
Figure 3-24 UCC EAN-128
3
-
24
3.2.3 Bluetooth Device Properties
Table 3-17 Bluetooth Device Properties
ICON ITEM & FUNCTION
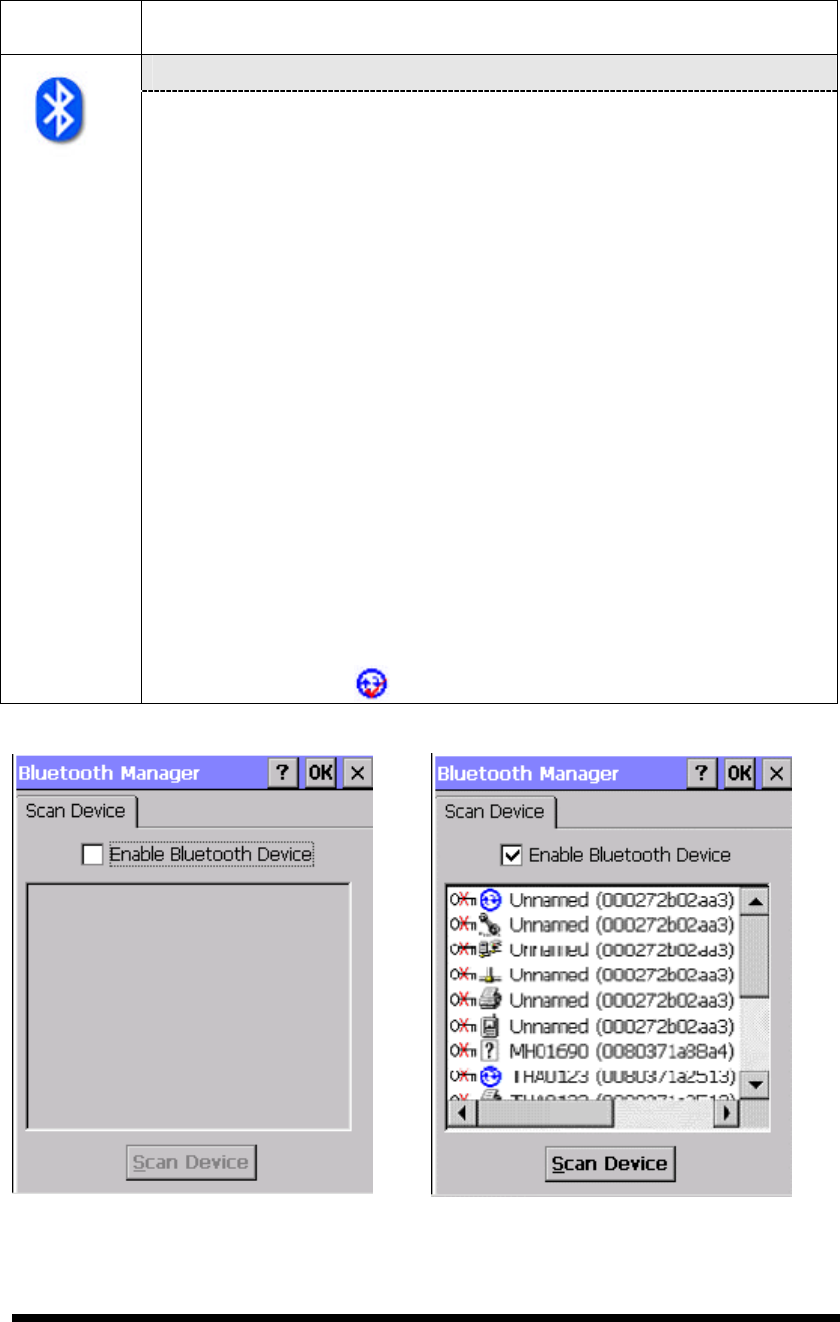
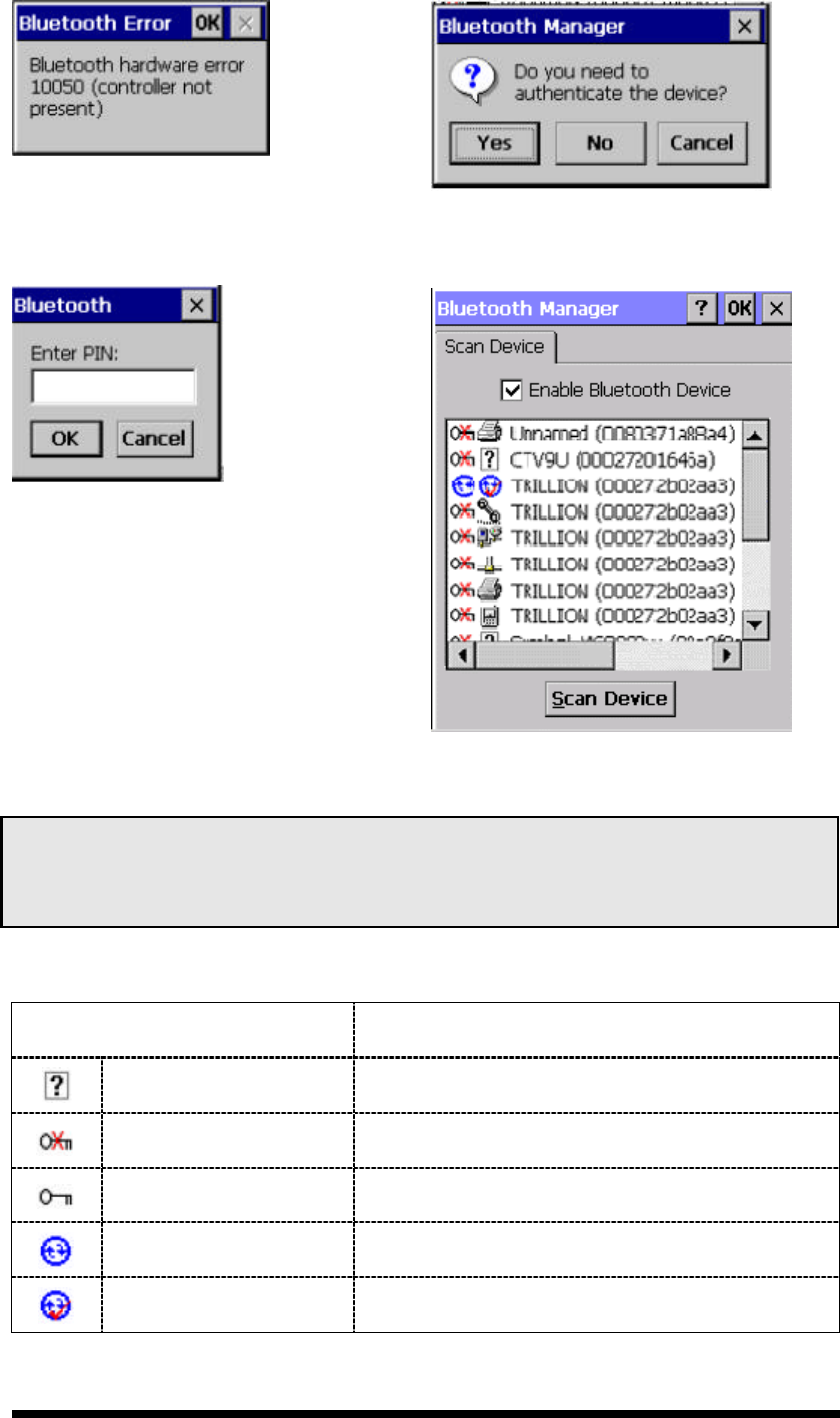
l “Scan Device” Tab ( Figure 3-25) :
ü Tap the Scan Device button to initiate a scan for Bluetooth
hardware. The Bluetooth manager lists the Bluetooth devices
that it finds, see Figure 3-26. If Bluetooth hardware is not found
the Bluetooth Hardware Error window appears, see Figure
3-27. Table 3-18 described the Bluetooth Icons.
ü Double tap the device to connect to on the device list. The
Bluetooth Manager Authentication window appears. Tap No to
connect to the device without authentication, or tap Yes to
authenticate the device before connecting. (Figure 3-28)
ü If the Yes button was selected in the Bluetooth Manager
Authentication window, the enter PIN windows appears. Enter a
PIN (between 1 and 16 characters) in the Enter PIN: text box,
and tap OK. The mobile computer sends the PIN request to the
device for bonding. (Figure 3-29)
ü When prompted, the same PIN must be entered on the other
device. When the PIN is entered correctly on the other device,
the bonded icon appears on the device list. (Figure 3-30)
Figure 3-25 Bluetooth Manager Windows Figure 3-26 Bluetooth Manager Windows
3
-
25
Figure 3-27 Bluetooth Error Windows Figure 3-28 Bluetooth Manager Windows
Figure 3-29 Bluetooth Enter PIN Windows Figure 3-30 Bluetooth Manager Windows
Note: If the device to which the mobile computer is bonding does not appear in the list,
ensure it is turned on, in discoverable mode, and within range (30 feet / 10 meters) of the
mobile computer.
Table 3-18 Bluetooth Icon
Icon Description
Unknown device icon Device is not defined
Locked icon Device is locked and cannot be bonded to.
Not locked icon Device is not locked and can be bonded to.
Bluetooth device icon Bluetooth device
Bonded device icon Bonded Bluetooth device
3
-
26
Icon Description
Mobile device icon Device is a mobile device
Phone icon Device is a phone.
Printer icon Device is a printer
Network icon Device is a network.
Linked icon Device is linked.
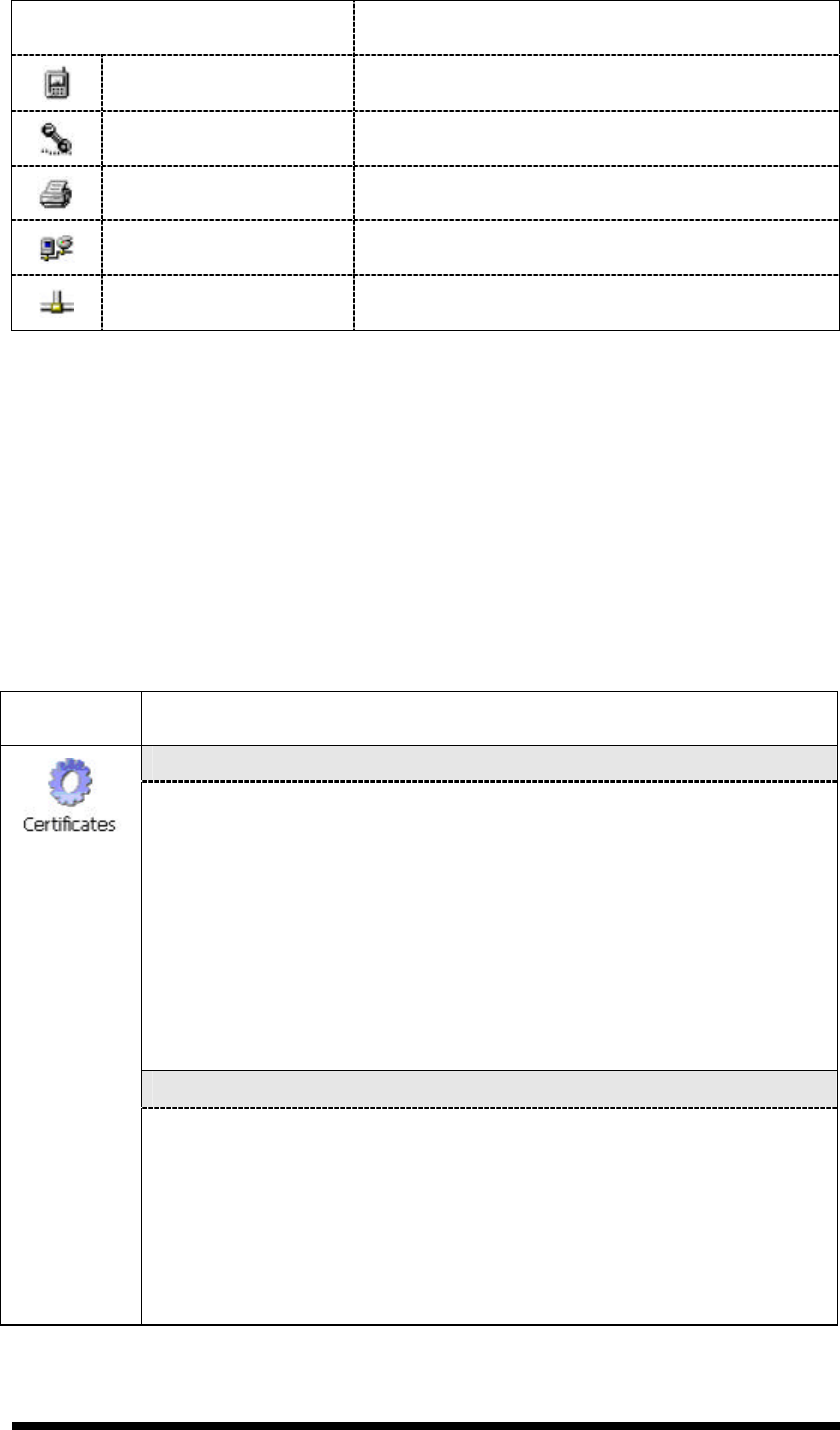
3.2.4 Certificates
Certificates are used by some applications for establishing trust and for secure
communications.
Certificates are signed and issued by certificate authorities and are valid for a
prescribed period of time. Windows CE manages multiple certificate stores.
Table 3-19 Certificates
ICON ITEM & FUNCTION
l “Store” Tab ( Figure 3-31) :
ü In the Stores tab, select the certificate store you wish to view or
modify from the drop-down list (Figure 3-32).
ü The “Trusted Authorities “store lists the top-level certificates
for authorities you trust.( Figure 3-33 , Figure 3-34)
ü The “My Certificates “store contains your personal certificates,
which you use to identify yourself.
ü Intermediate certificate authorities that help establish a chain of
trust are stored in the “Other Authorities” store.
l “Store” Tab :
ü To add a certificate or associated private key to the selected
store, select “Import” (Figure 3-35).
ü To view more details of the selected certificate, such as the
expanded name or expiration date, choose “View”.
ü To delete the selected certificate from the store, choose
“Remove”.
3
-
27
Figure 3-31 Certificates Figure 3-32 Certificates
Figure 3-33 Certificates Figure 3-34 Certificates
Figure 3-35 Certificates
3
-
28
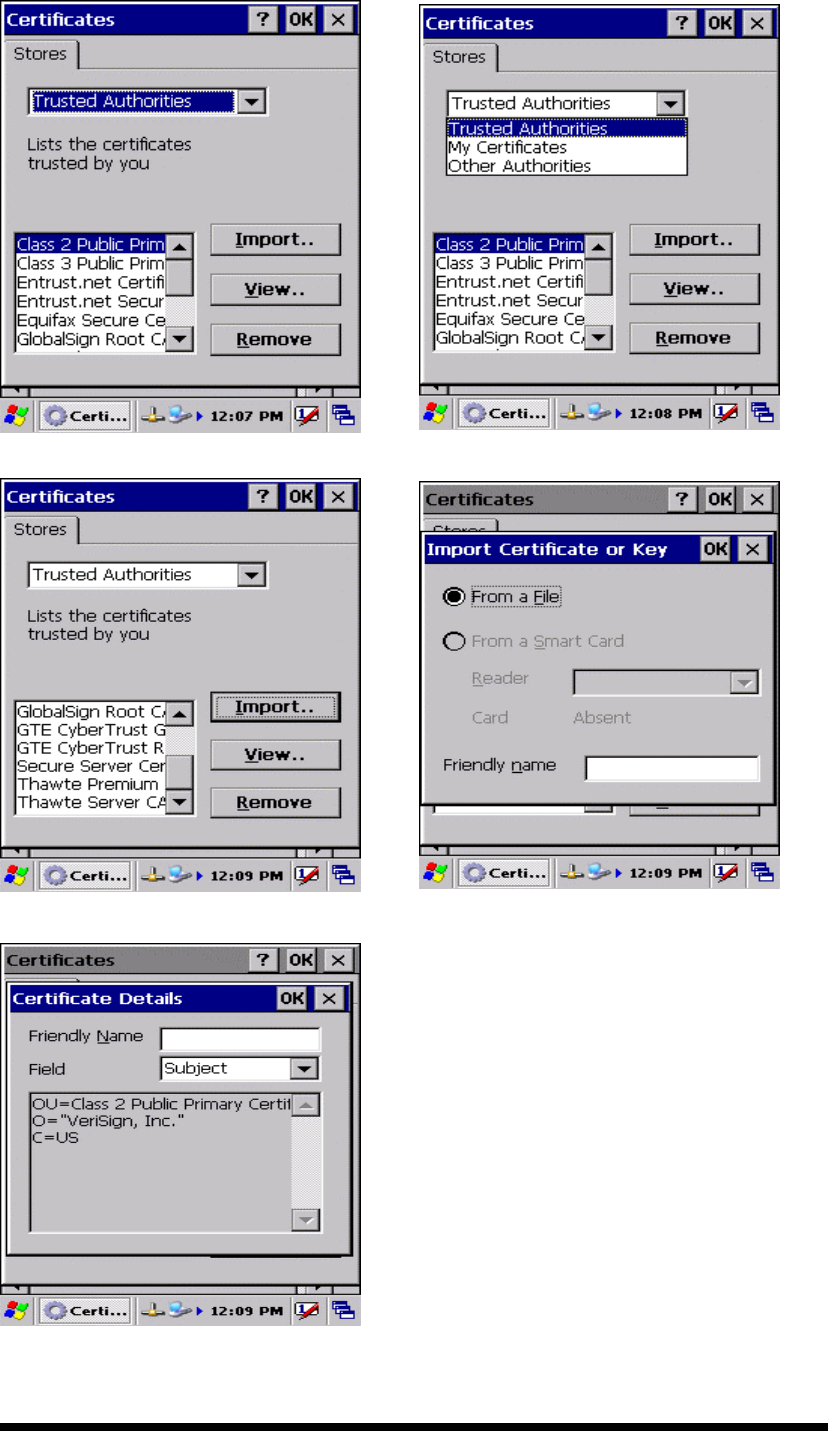
3.2.5 Control Center
The Control Center includes four AP, listed the following ......
Figure 3-36 Control Center
3.2.5.1 Information
Table 3-20 Information
ICON ITEM & FUNCTION
l “Information” Tab :
ü Provide Software version, MAC address, Bluetooth ID, Serial
No. and Configuration No.
3
-
29
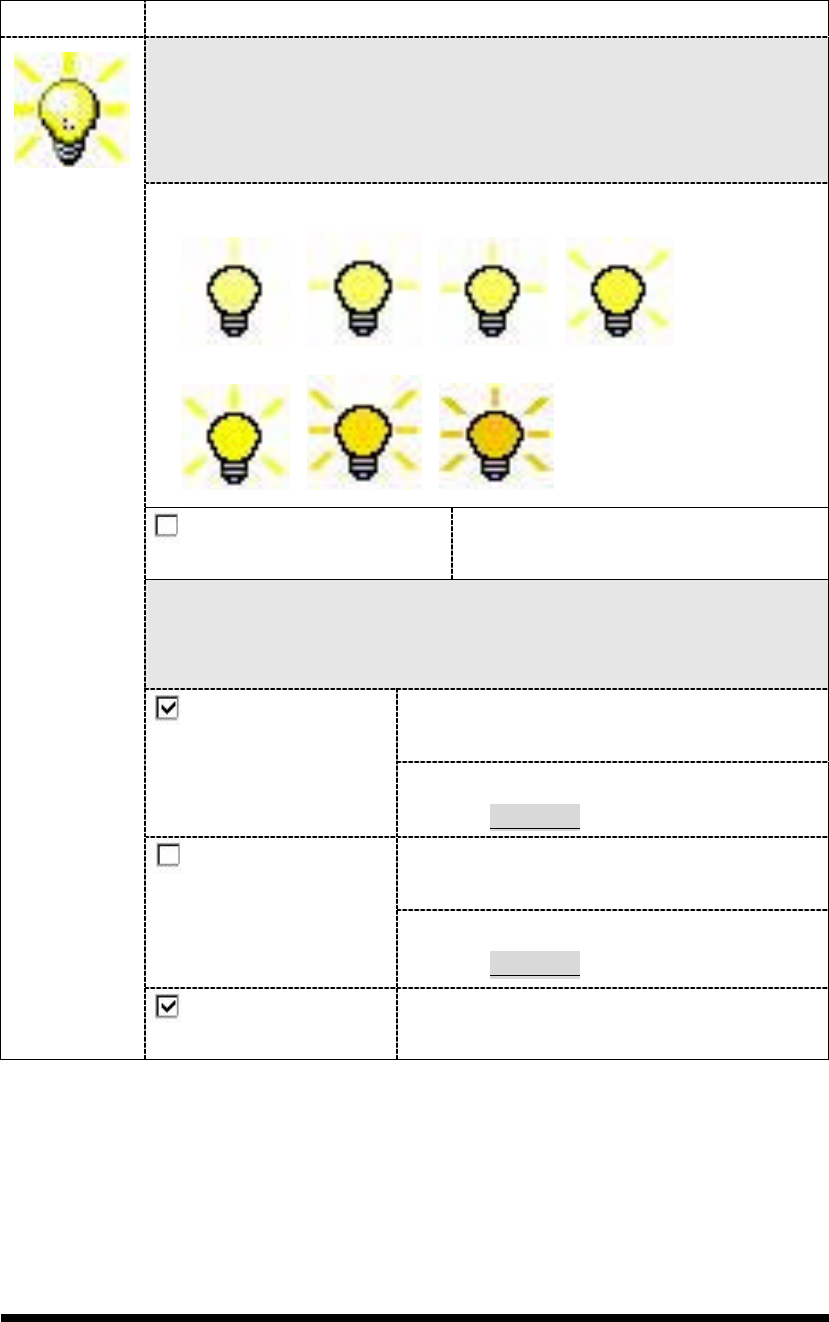
3.2.5.2 Brightness
Table 3-21 Brightness
ICON ITEM & FUNCTION
LCD Brightness
Tune the LCD brightness by tapping right-arrow & left-arrow. Can
also tune the LCD brightness by pressing right-direction key or
left-direction key of keypad.
Amounts 7 steps: Every step have corresponding picture of self.
1. 2. 3. 4.
5. 6. 7.
Enable Keypad
Brightness
Open keypad brightness or not.
Backlight Timeout
Save battery life by automatically turning off the backlight when not
used.
The table must disable when its item is not
marked.
Battery Power, turn
off backlight after
The table has 15 seconds, 30 seconds, 1
minute, 2 minutes and 5 minutes.
The table must disable when its item is not
marked.
AC Power, turn off
backlight after
The table has 15 seconds, 30 seconds, 1
minute, 2 minutes and 5 minutes.
Dim backlight after
20 seconds of idleness.
Save battery life functionally of idleness
mode, open it or not.
3
-
30
Figure 3-37 Brightness
3.2.5.3 Backup Restore
Table 3-22 Backup Restore
ICON ITEM & FUNCTION
1. You can backup/restore system to/from flash disk or inserted
memory card. (A. Disk on Chip, B. CF Card, C. SD Card)
( Figure 3-38)
2. When you launch this AP, it must check backup file in DOC
first. And if you select other storage, it will check again.
3. Then if it has the file, appeared its date behind “Last backup
date:”; if not, disable “Restore Now” Button.
4. When you press the Backup/Restore Button will be a warning
dialog pop up. ( Figure 3-39)
5. When system backup/restoring finished will be a message
dialog will pop up. (A. Backup: Figure 3-40, B. Restore: Figure
3-41)