Samsung Electronics Co SLM4025NX Mono Laser Printer User Manual MagpieN english
Samsung Electronics Co Ltd Mono Laser Printer MagpieN english
UserManual.wiki
>
Samsung Electronics Co
>
SLM4025NX User Manual
>
Users Manual 3
Contents
1.
Users Manual 1
2.
Users Manaul 2
3.
Users Manual 3
4.
Users Manual 4
5.
Users Manual 5
6.
Users Manual 6
7.
Users Manual 7
Users Manual 3
Navigation menu
Upload a User Manual
Namespaces
Wiki Guide
HTML
PDF
Info
Views
User Manual
Discussion / Help
Navigation
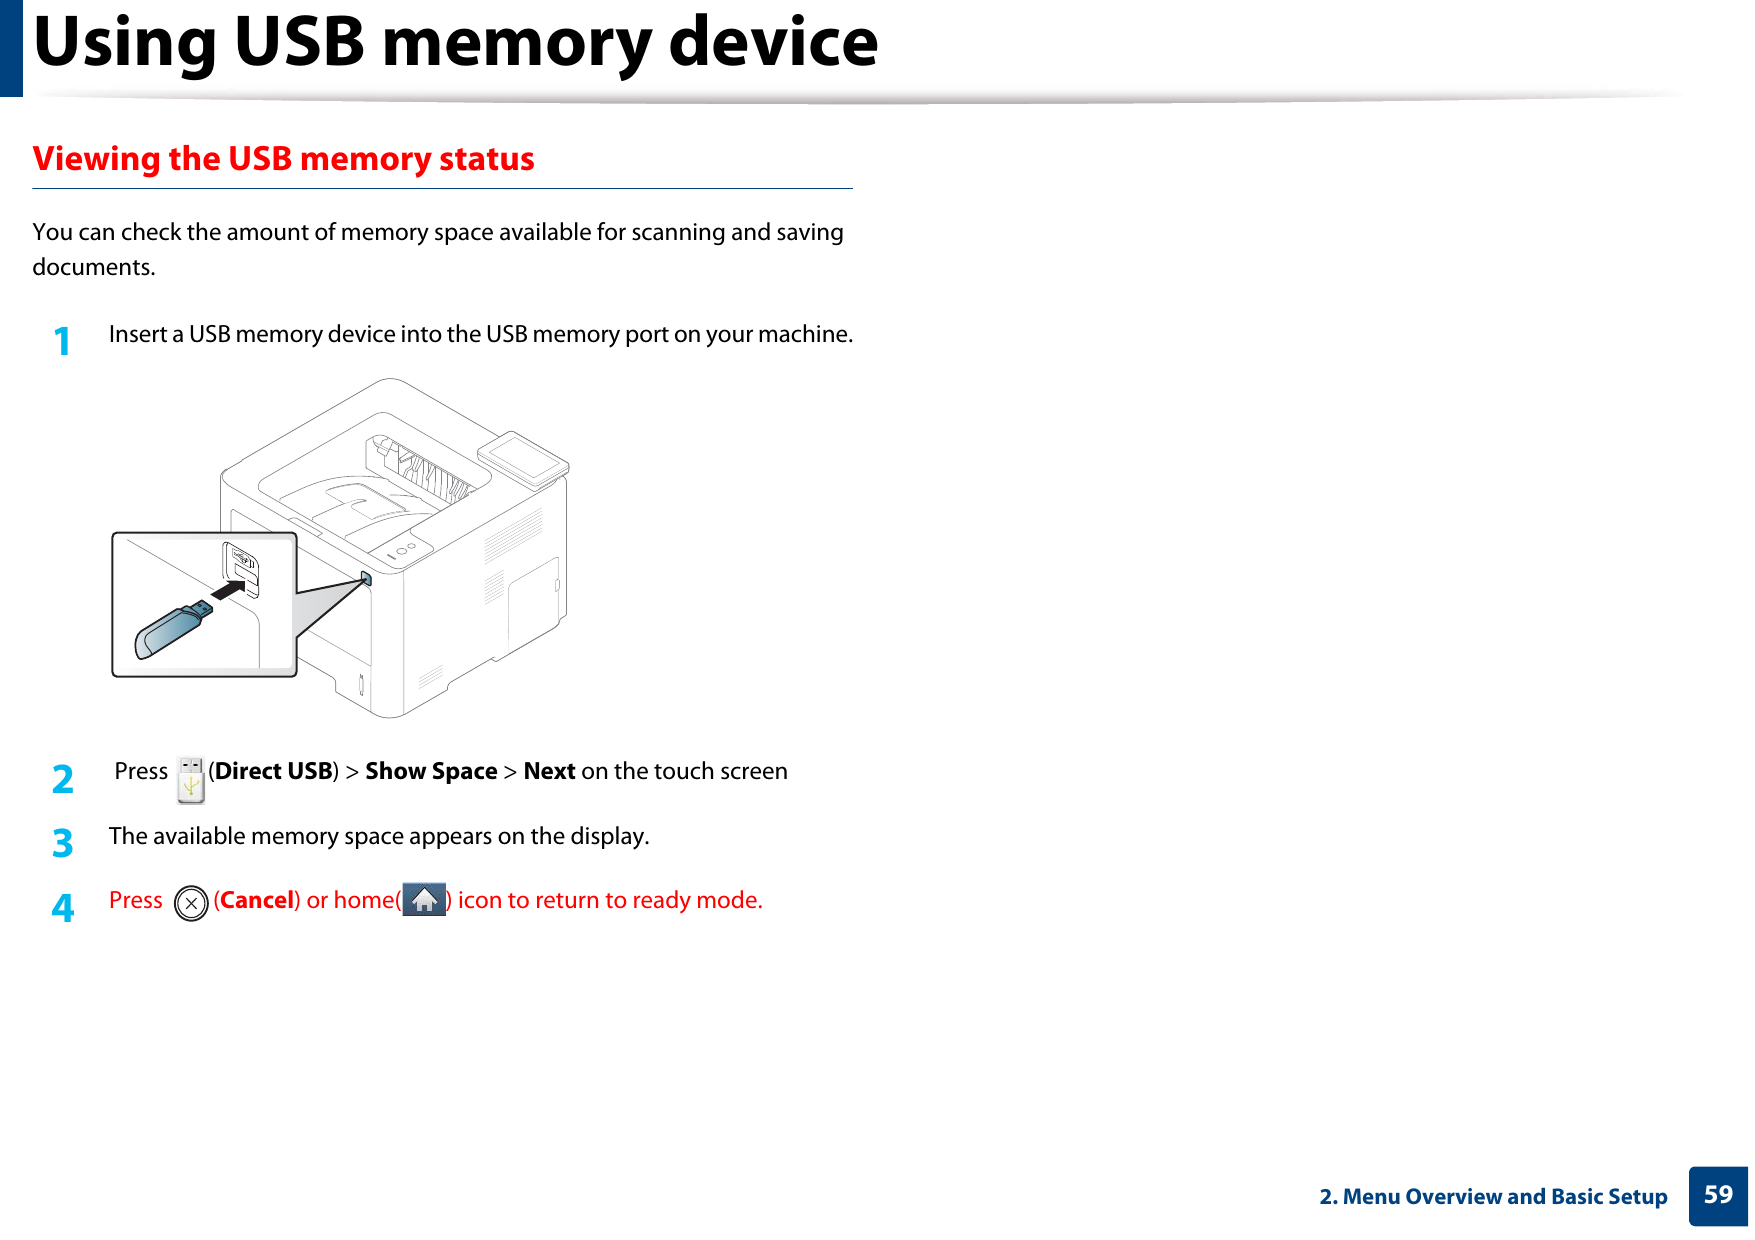
![Using USB memory device572. Menu Overview and Basic Setup • Do not remove the USB memory device while the machine is in operation or writing to or reading from USB memory. The machine warranty does not cover damage caused by user’s misuse. • If your USB memory device has certain features such as security settings and password settings, your machine may not automatically detect it. For details about these features, see the user’s guide of the USB memory device. 16 Printing from a USB memory deviceYou can directly print files stored on a USB memory device.File s supported by Direct Print option.• PRN: Only files created by provided driver with your machine are compatible. If you print PRN files created from other machine, the printout would be different. • TIFF: TIFF 6.0 Baseline• JPEG: JPEG Baseline• PDF: PDF 1.7 or lower version.To print a document from a USB memory device1Insert a USB memory device into the USB memory port on your machine.2 Press (Direct USB) > Print From > Next on the touch screen3 Select the folder or file you want and press OK. If you see [+] or [D] in the front of a folder name, there are one or more files or folders in the selected folder. 4 Select the number of copies to be printed or enter the number.5 Press Print to start printing the selected file. After printing the file, the display asks if you want to print another job.](https://usermanual.wiki/Samsung-Electronics-Co/SLM4025NX.Users-Manual-3/User-Guide-2020636-Page-1.png)
![Using USB memory device582. Menu Overview and Basic Setup6 Press (Cancel) or home( ) icon to return to ready mode.17 Managing USB memoryYou can delete image files stored on a USB memory device one by one or all at once by reformatting the device. If you see [+] or [D] in the front of a folder name, there are one or more files or folders in the selected folder. After deleting files or reformatting a USB memory device, files cannot be restored. Therefore, confirm that you no longer need the data before deleting it. Deleting/Formatting an image file1Insert a USB memory device into the USB memory port on your machine.2 Press (Direct USB) > File Manage > Next on the touch screen3 Press the folder/file you want to delete and press .4 Press Delete or Format.5 Press Yes.6 Press (Cancel) or home( ) icon to return to ready mode.](https://usermanual.wiki/Samsung-Electronics-Co/SLM4025NX.Users-Manual-3/User-Guide-2020636-Page-2.png)