Samsung Electronics Co SLM4025NX Mono Laser Printer User Manual MagpieN english
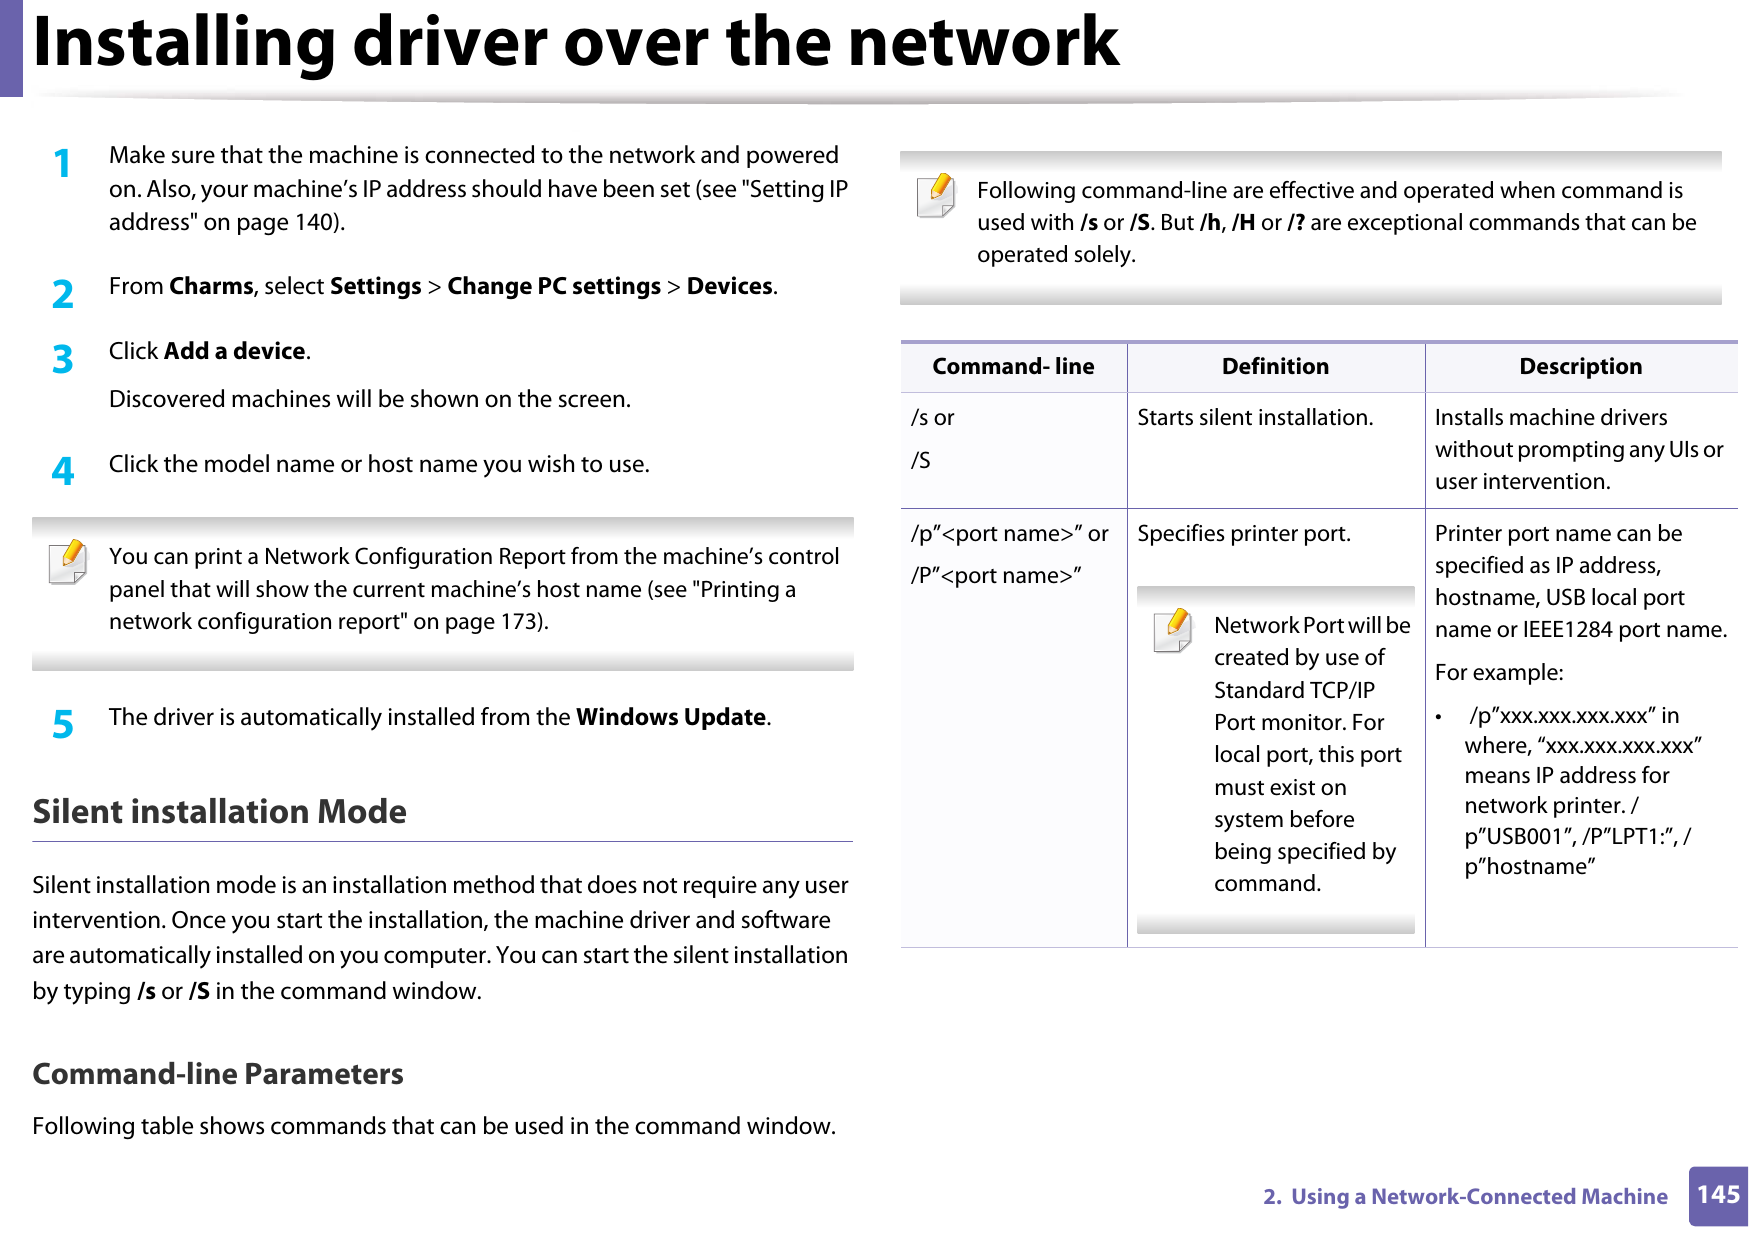
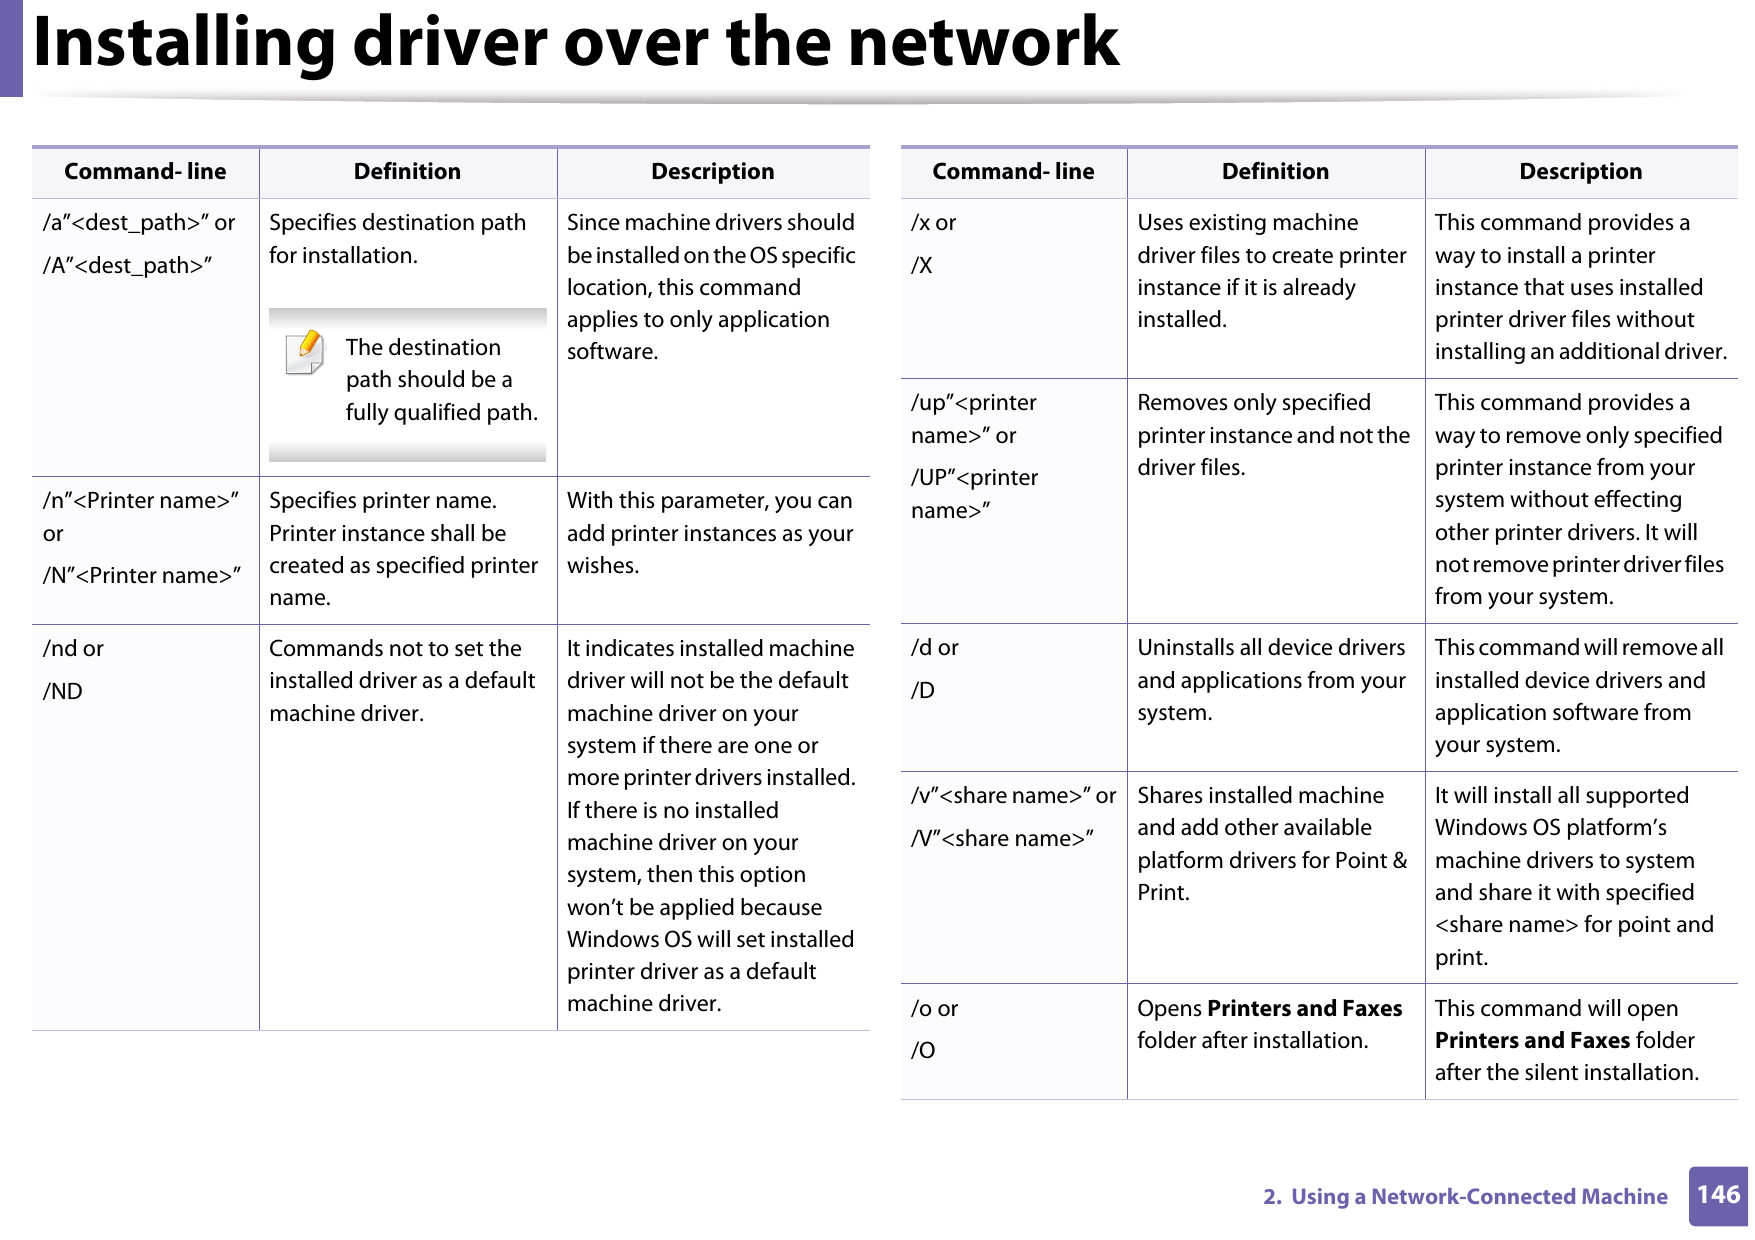
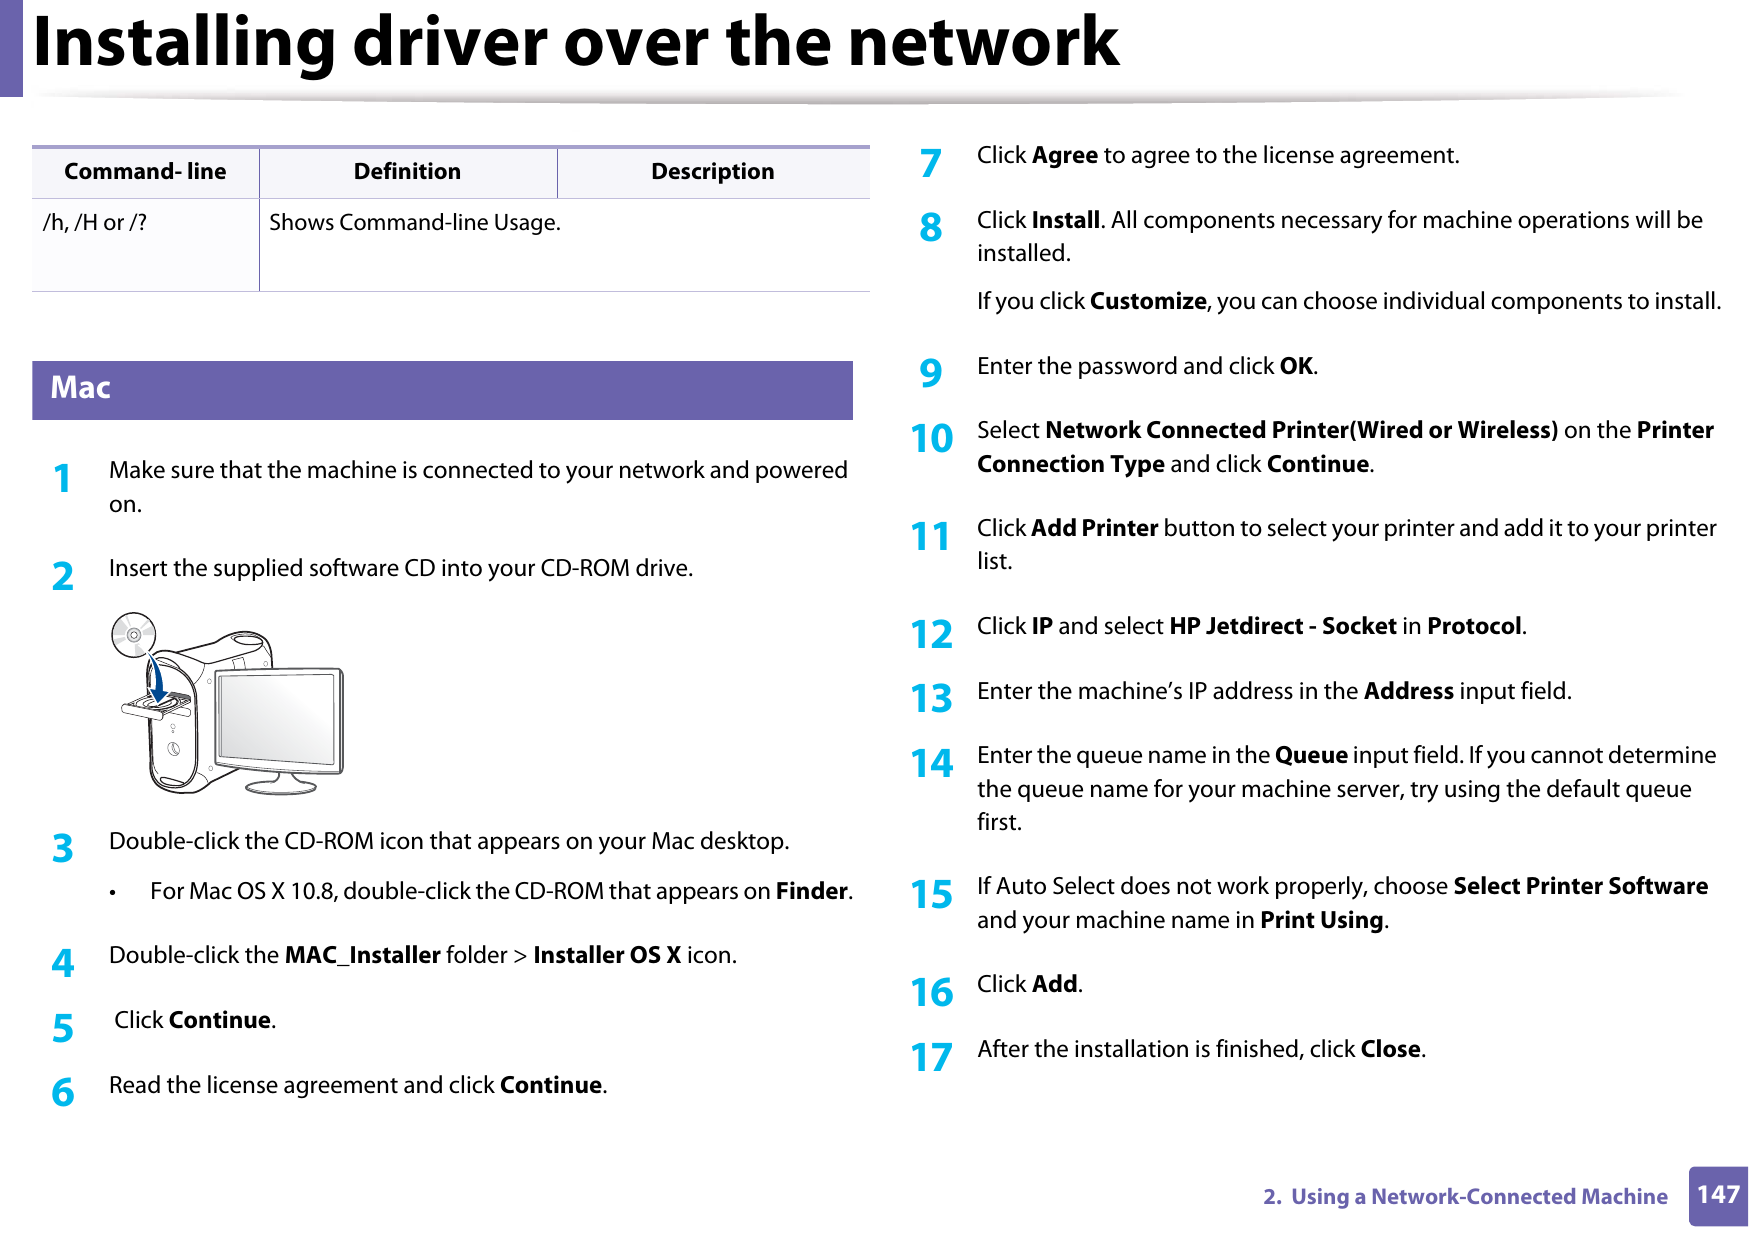
Samsung Electronics Co Ltd Mono Laser Printer MagpieN english
UserManual.wiki
>
Samsung Electronics Co
>
SLM4025NX User Manual
>
Users Manual 5
Contents
1.
Users Manual 1
2.
Users Manaul 2
3.
Users Manual 3
4.
Users Manual 4
5.
Users Manual 5
6.
Users Manual 6
7.
Users Manual 7
Users Manual 5
Navigation menu
Upload a User Manual
Namespaces
Wiki Guide
HTML
PDF
Info
Views
User Manual
Discussion / Help
Navigation

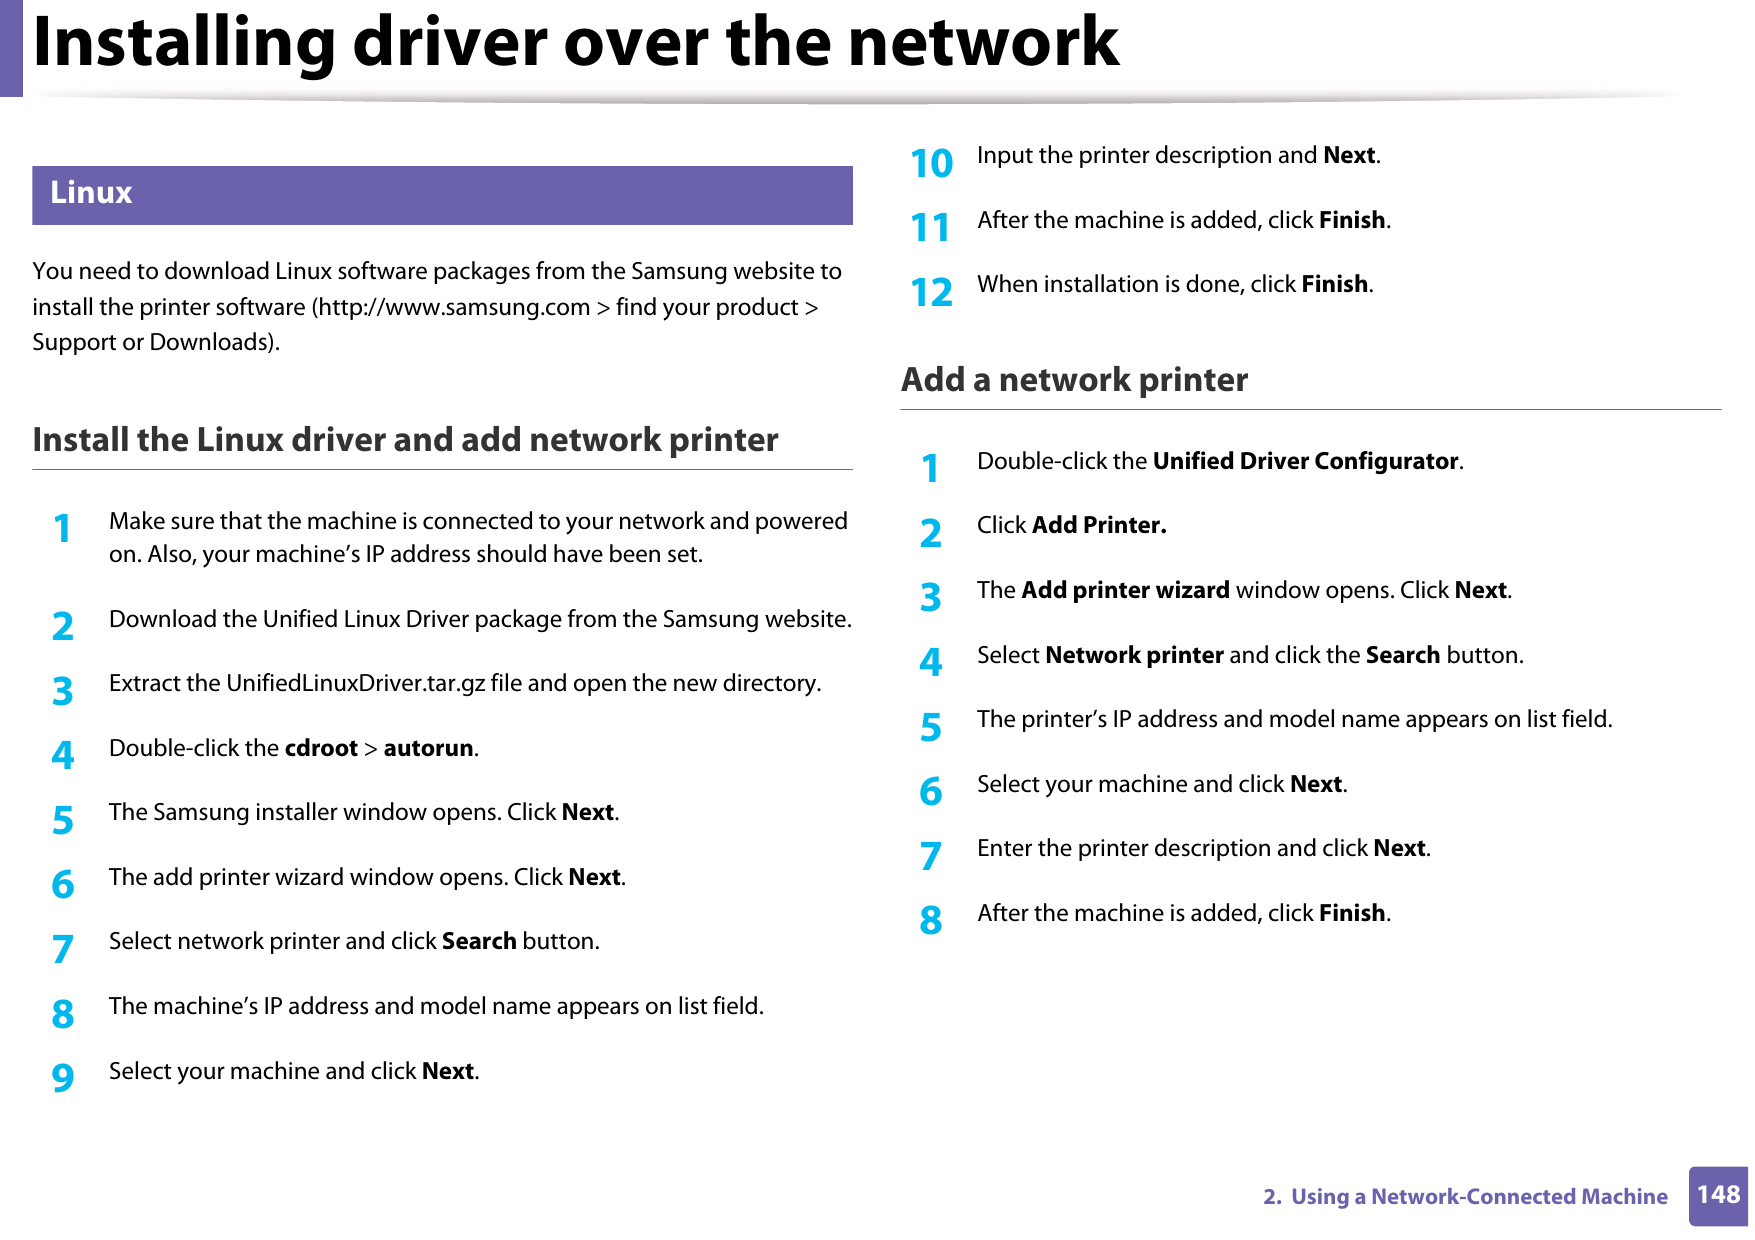
![Regulatory information1255. AppendixYou must connect the brown wire to the pin which is marked with the letter “L” or colored red.You must have a 13 amp fuse in the plug, adaptor, or at the distribution board.19 Declaration of conformity (European countries)Approvals and CertificationsJanuary 1, 1995: Council Directive 2006/95/EC Approximation of the laws of the member states related to low voltage equipment.January 1, 1996: Council Directive 2004/108/EC, approximation of the laws of the Member States related to electromagnetic compatibility.March 9, 1999: Council Directive 1999/5/EC on radio equipment and telecommunications terminal equipment and the mutual recognition of their conformity. A full declaration, defining the relevant Directives and referenced standards can be obtained from your Samsung Electronics Co., Ltd. representative.EC CertificationCertification to 1999/5/EC Radio Equipment & Telecommunications Terminal Equipment Directive (FAX)This Samsung product has been self-certified by Samsung for pan-European single terminal connection to the analogue public switched telephone network (PSTN) in accordance with Directive 1999/5/EC. The product has been designed to work with the national PSTNs and compatible PBXs of the European countries:In the event of problems, you should contact the Euro QA Lab of Samsung Electronics Co., Ltd. in the first instance.The product has been tested against TBR21. To assist in the use and application of terminal equipment which complies with this standard, the European Telecommunication Standards Institute (ETSI) has issued an advisory document (EG 201 121) which contains notes and additional requirements to ensure network compatibility of TBR21 terminals. The product has been designed against, and is fully compliant with, all of the relevant advisory notes contained in this document.Hereby, Samsung Electronics, declares that this [ProXpress M332xND, ProXpress M382xD, ProXpress M382xND, ProXpress M402xND] is in compliance with the essential requirements and other relevant provisions of Low Voltage Directive (2006/95/EC), EMC Directive (2004/108/EC).Hereby, Samsung Electronics, declares that this [ProXpress M382xDW] is in compliance with the essential requirements and other relevant provisions of R&TTE Directive 1999/5/EC.The declaration of conformity may be consulted at www.samsung.com, go to Support > Download center and enter your printer (MFP) name to browse the EuDoC.](https://usermanual.wiki/Samsung-Electronics-Co/SLM4025NX.Users-Manual-5/User-Guide-2020638-Page-3.png)

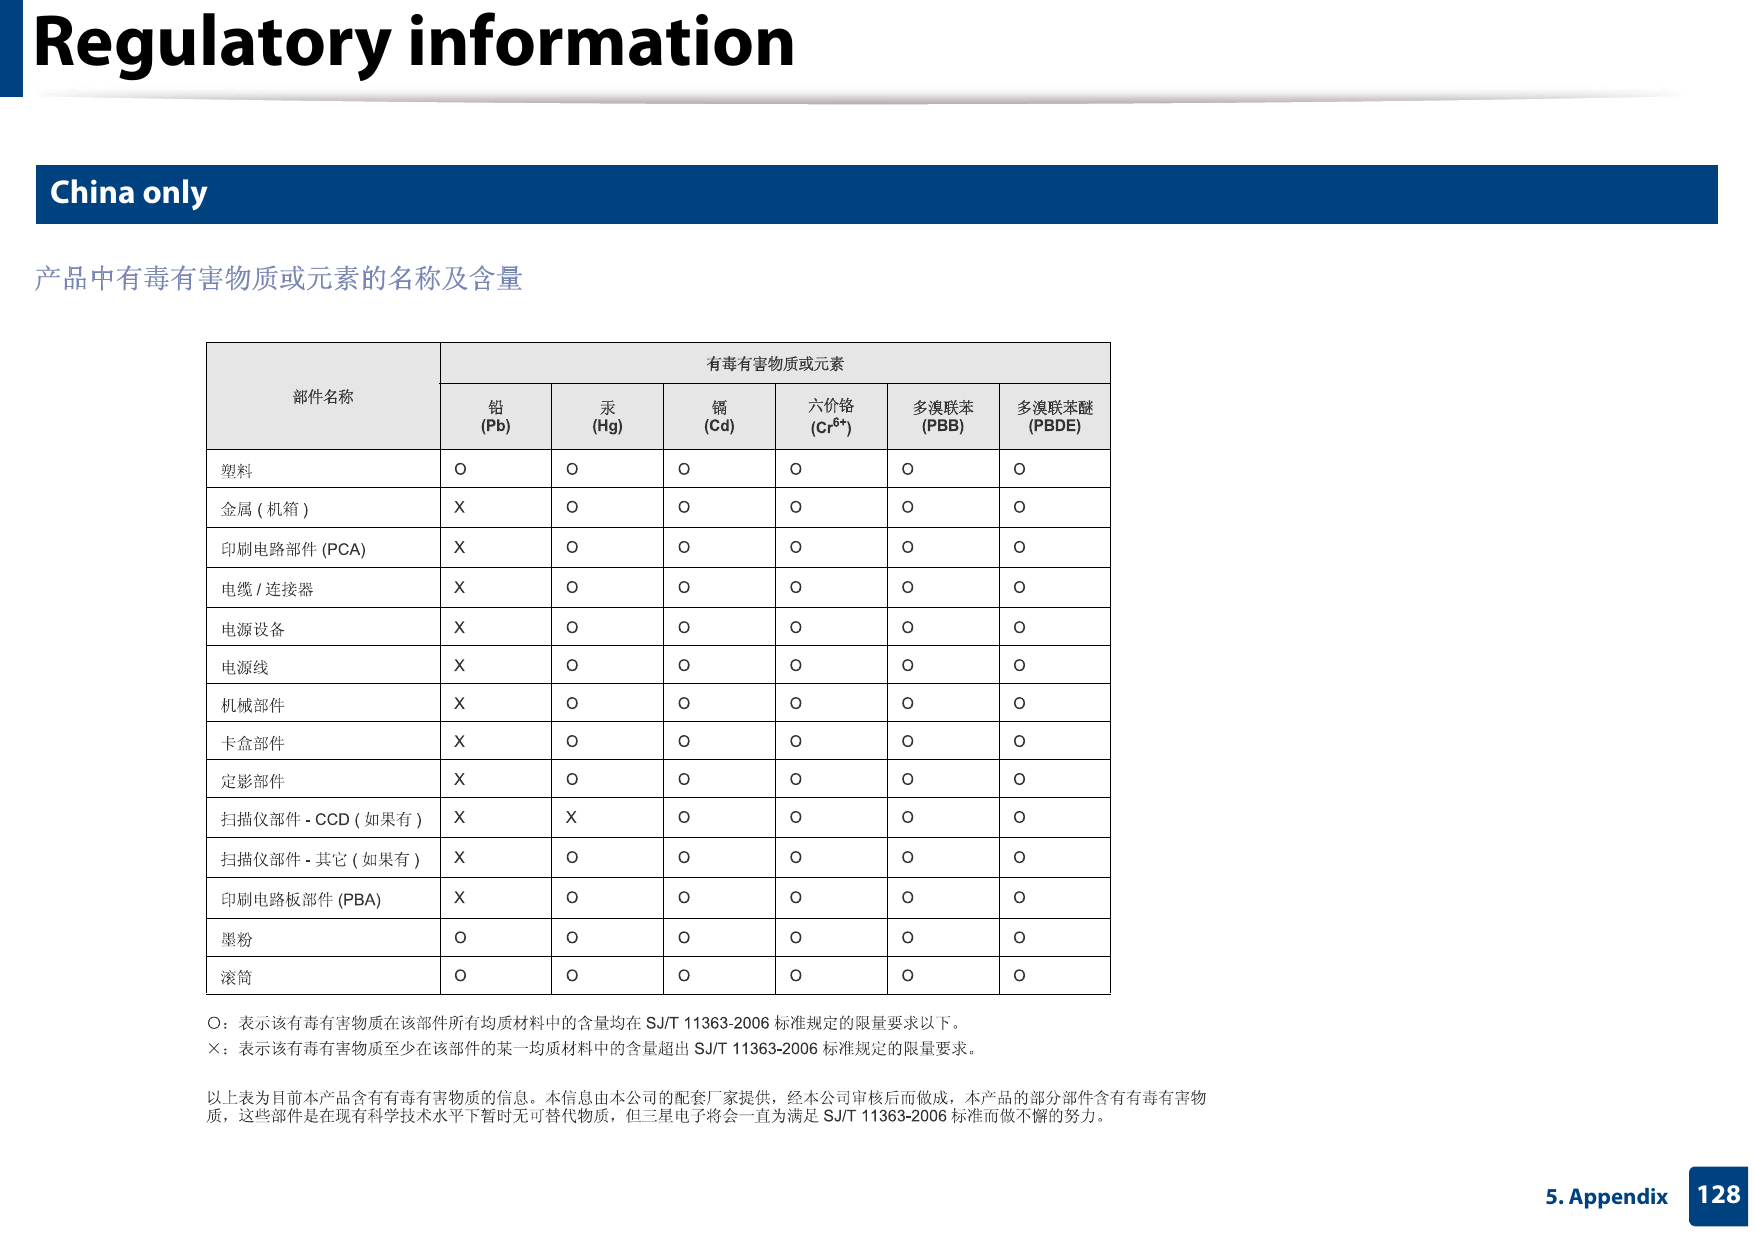
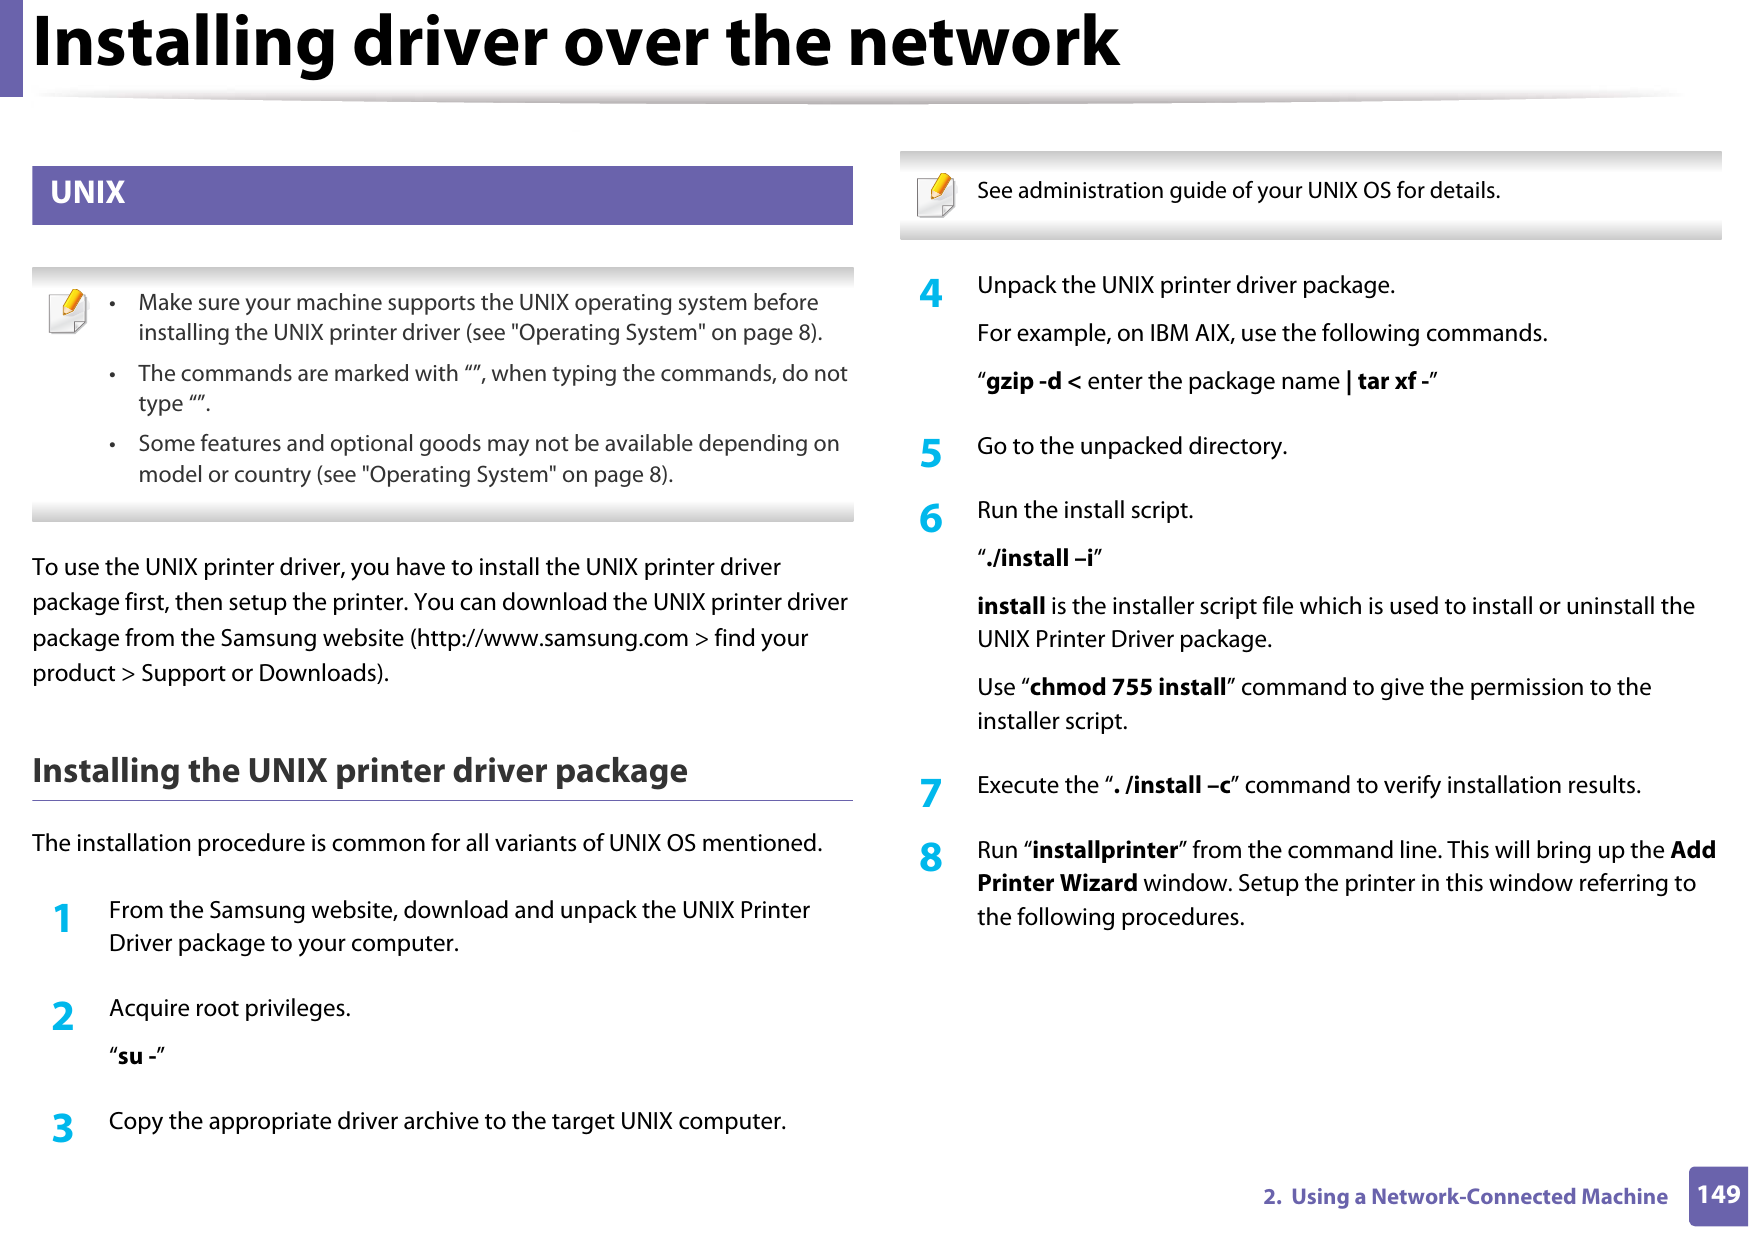
![1371. Software InstallationReinstallation for LinuxIf the printer driver does not work properly, uninstall the driver and reinstall it. 1Make sure that the machine is connected to your computer and powered on.2 When the Administrator Login window appears, type “root” in the Login field and enter the system password.You must log in as a super user (root) to uninstall the printer driver. If you are not a super user, ask your system administrator.3 Open the Terminal program. When the Terminal screen appears, type in the following.[root@localhost root]#cd /opt/Samsung/mfp/uninstall/[root@localhost uninstall]#./uninstall.sh4 Click Next. 5 Click Finish.](https://usermanual.wiki/Samsung-Electronics-Co/SLM4025NX.Users-Manual-5/User-Guide-2020638-Page-15.png)
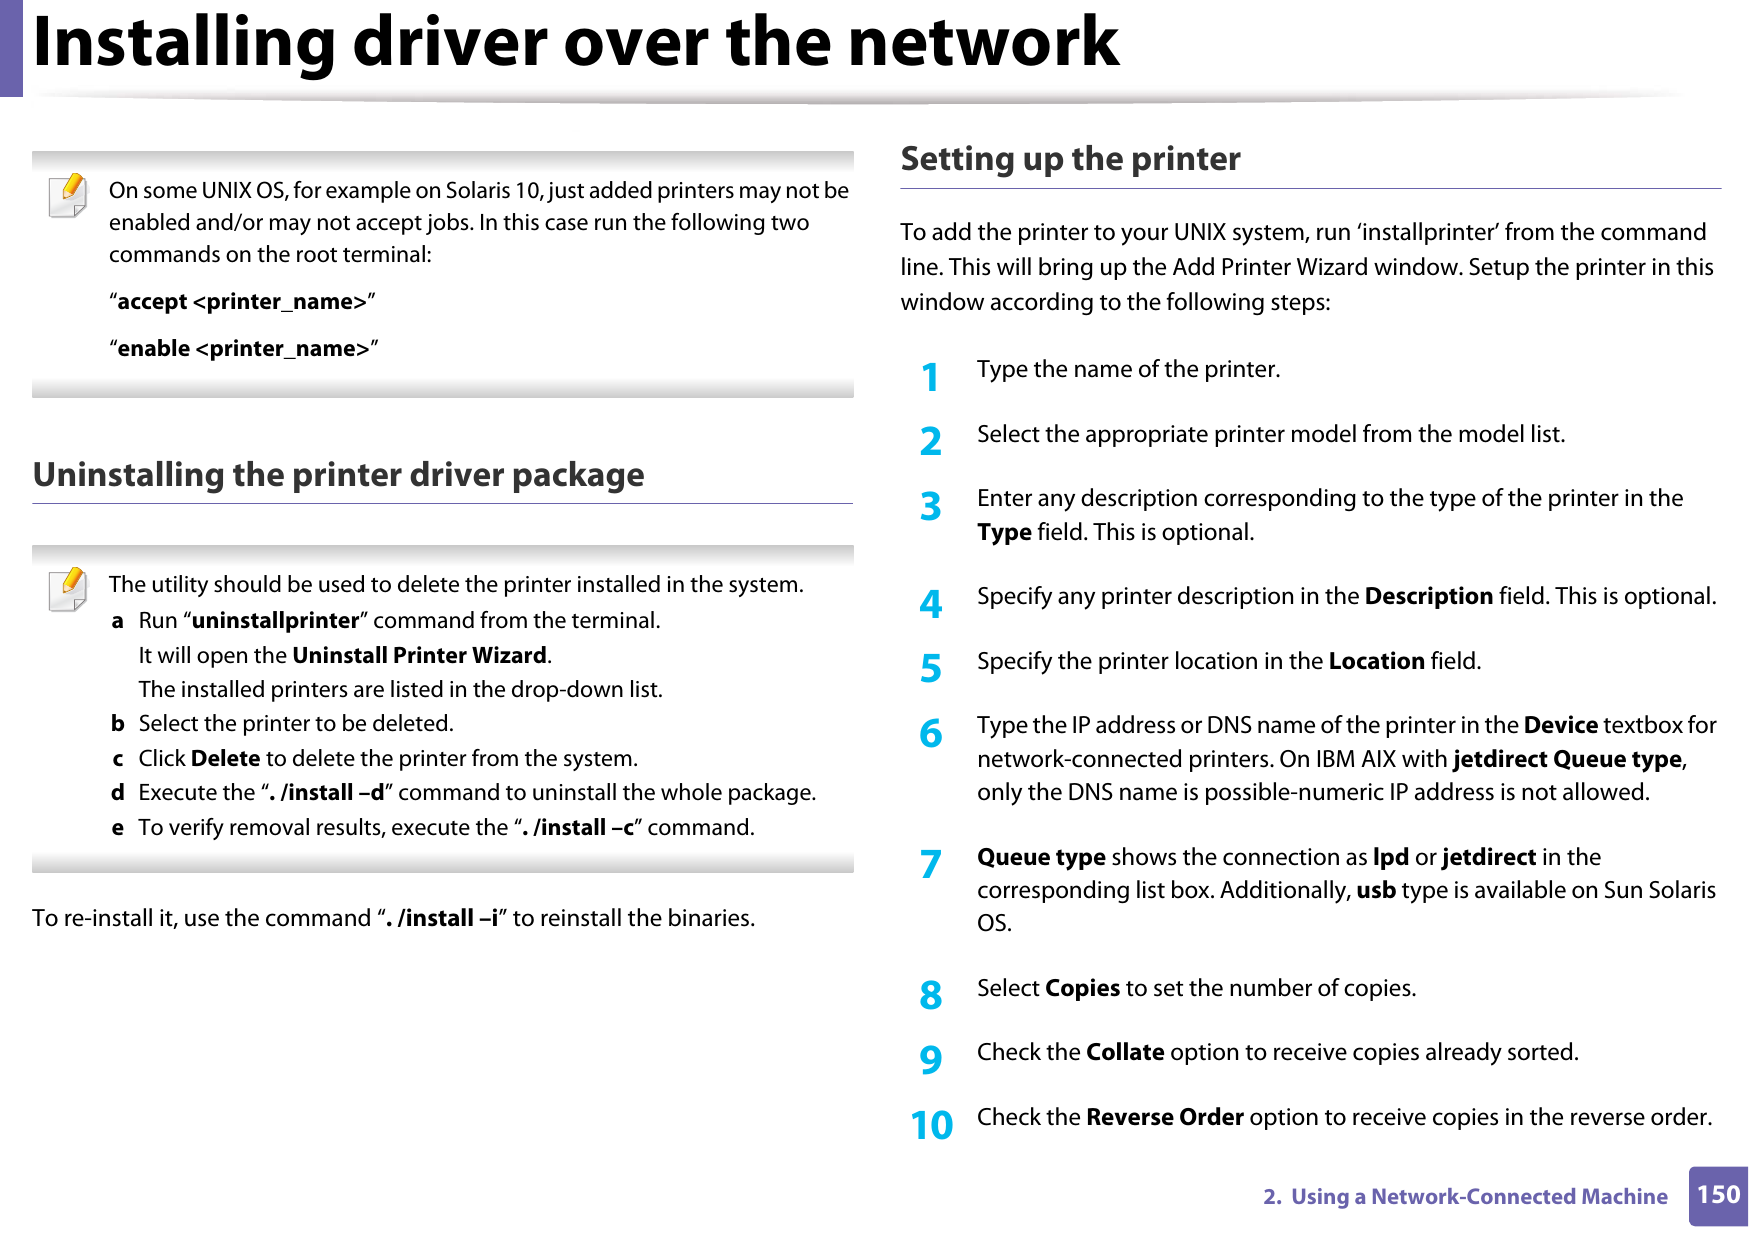
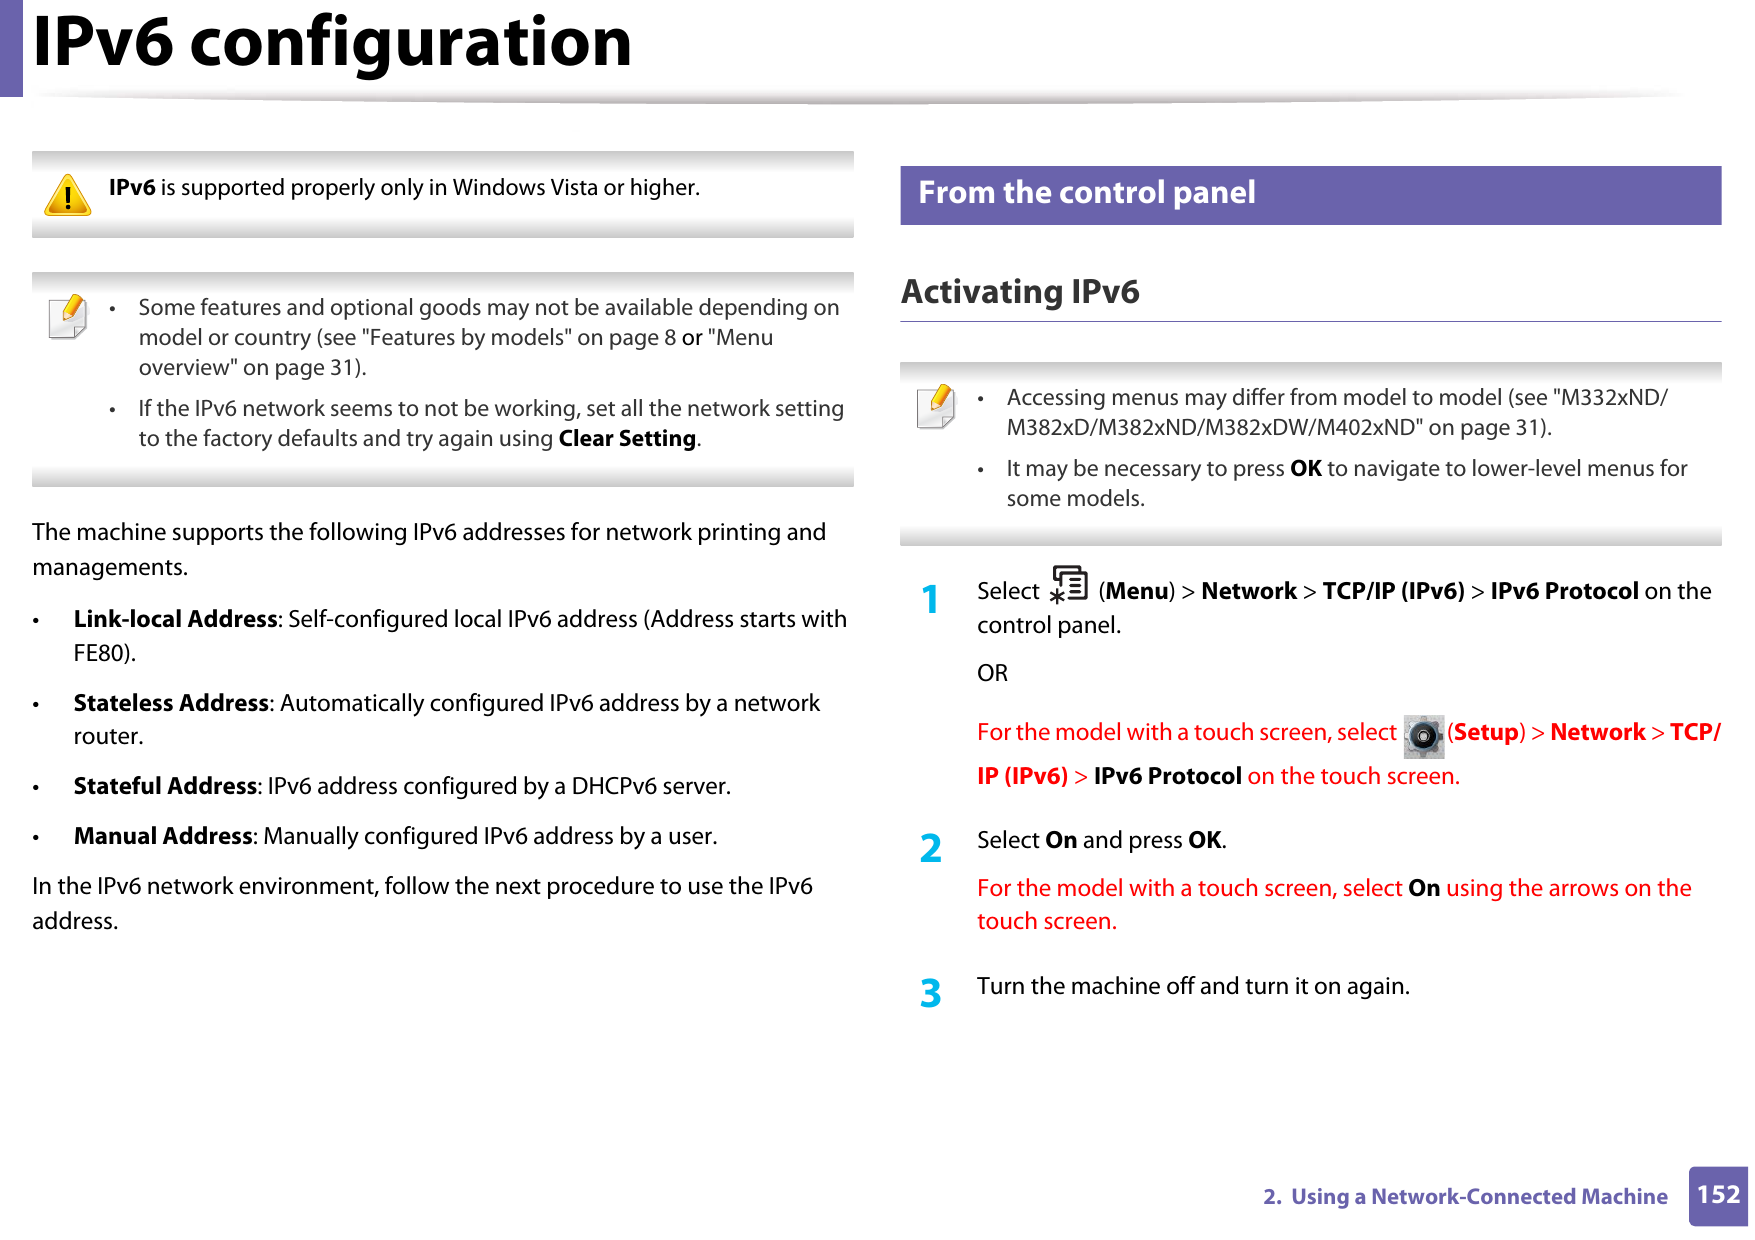
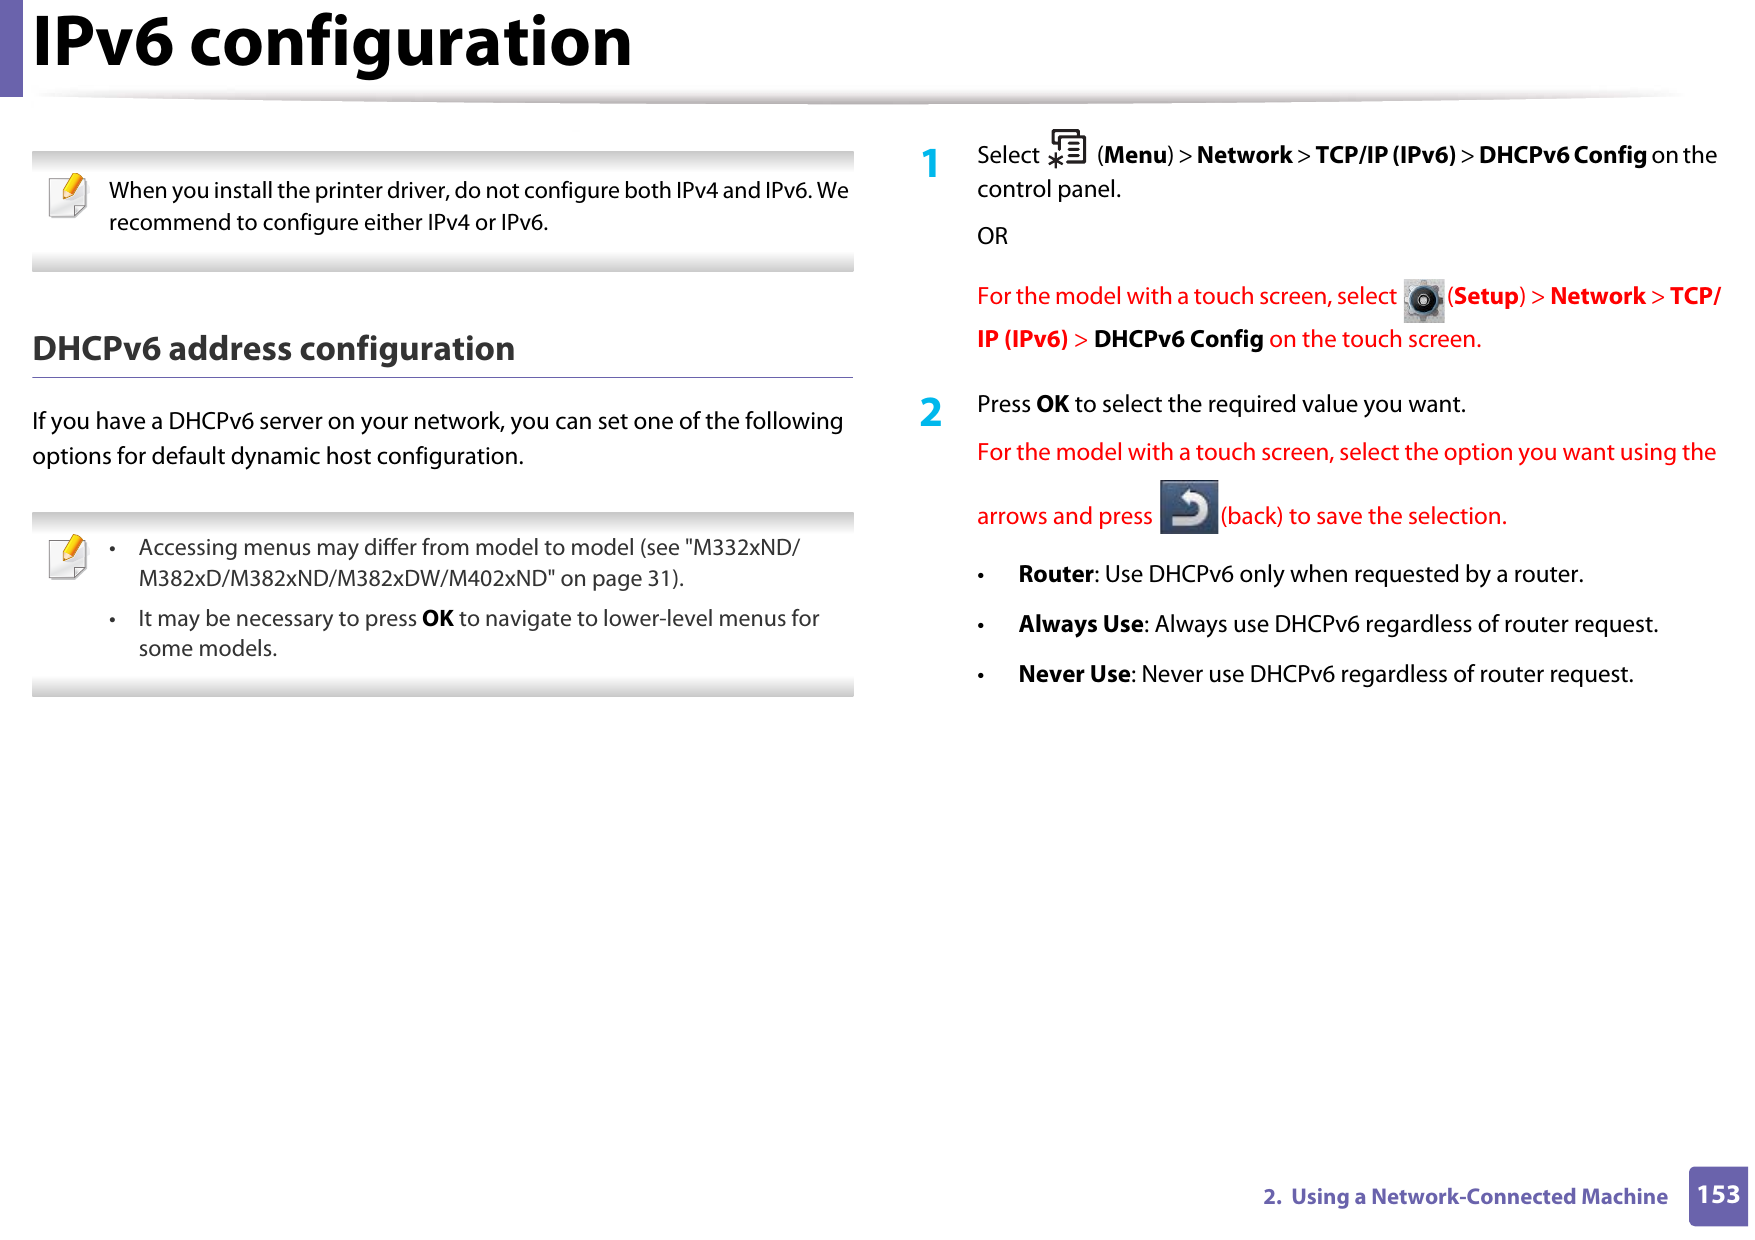
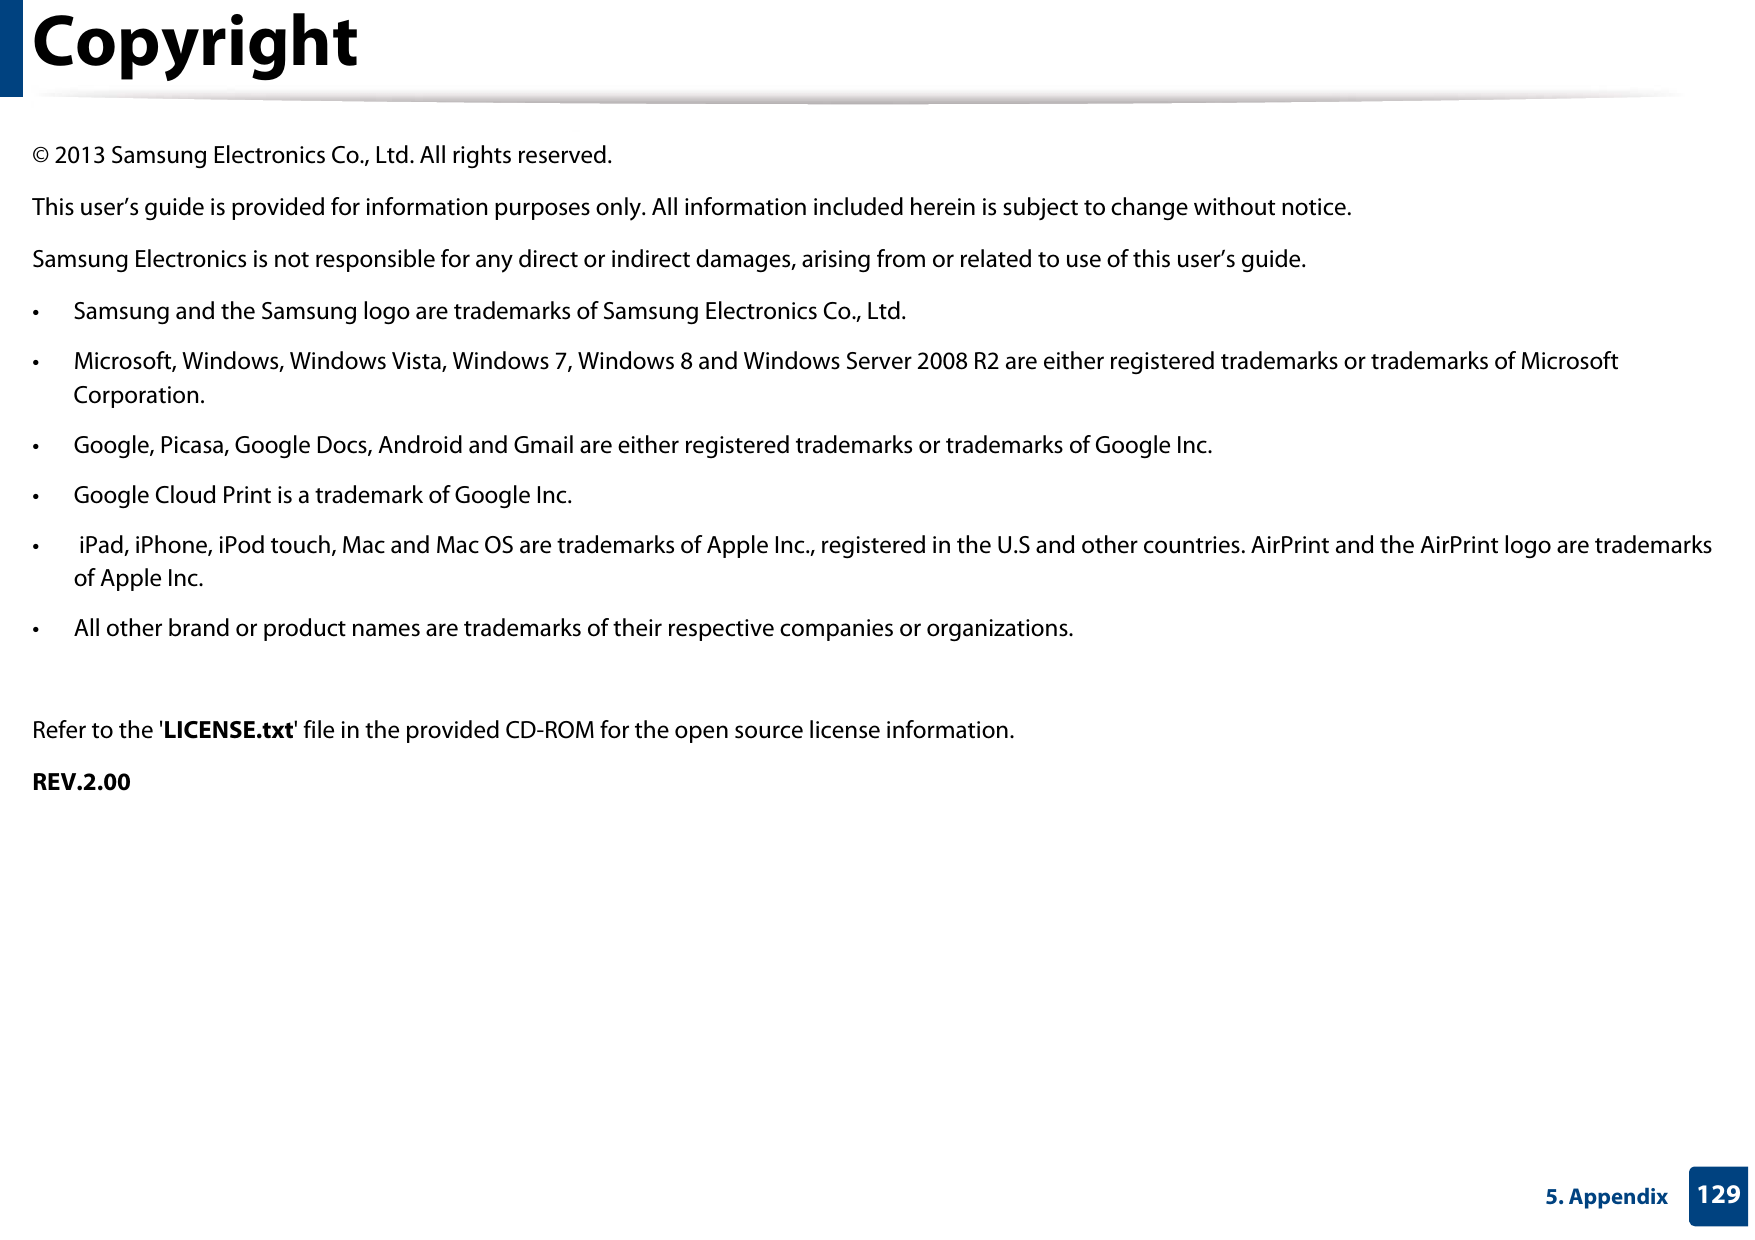
![IPv6 configuration1542. Using a Network-Connected Machine11 From the SyncThru™ Web ServiceActivating IPv61Access a web browser, such as Internet Explorer, from Windows. Enter the machine IP address (http://xxx.xxx.xxx.xxx) in the address field and press the Enter key or click Go.2 If it’s your first time logging into SyncThru™ Web Service you need to log-in as an administrator. Type in the below default ID and password. We recommend you to change the default password for security reasons.•ID: admin•Password: sec00000 3 When the SyncThru™ Web Service window opens, move the mouse cursor over the Settings of the top menu bar and then click Network Settings.4 Click TCP/IPv6 on the left pane of the website.5 Check the IPv6 Protocol check box to activate IPv6.6 Click the Apply button.7 Turn the machine off and turn it on again. • You can also set the DHCPv6.• To manually set the IPv6 address:Check the Manual Address check box. Then, the Address/Prefix text box is activated. Enter the rest of the address (e.g.,:3FFE:10:88:194::AAAA. “A” is the hexadecimal 0 through 9, A through F). IPv6 address configuration1Start a web browser, such as Internet Explorer, that supports IPv6 addressing as a URL.2 Select one of the IPv6 addresses (Link-local Address, Stateless Address, Stateful Address, Manual Address) from Network Configuration Report (see "Printing a network configuration report" on page 140).•Link-local Address: Self-configured local IPv6 address (Address starts with FE80).•Stateless Address: Automatically configured IPv6 address by a network router.•Stateful Address: IPv6 address configured by a DHCPv6 server.•Manual Address: Manually configured IPv6 address by a user.3 Enter the IPv6 addresses (e.g.,: http://[FE80::215:99FF:FE66:7701]).](https://usermanual.wiki/Samsung-Electronics-Co/SLM4025NX.Users-Manual-5/User-Guide-2020638-Page-32.png)
![IPv6 configuration1552. Using a Network-Connected Machine Address must be enclosed in '[ ]' brackets.](https://usermanual.wiki/Samsung-Electronics-Co/SLM4025NX.Users-Manual-5/User-Guide-2020638-Page-33.png)