VTech Telecommunications 80-6101-00 Cordless Telephone System with BT Enabled Base User Manual Part C
VTech Telecommunications Ltd Cordless Telephone System with BT Enabled Base Part C
Contents
Part C
10
Getting started
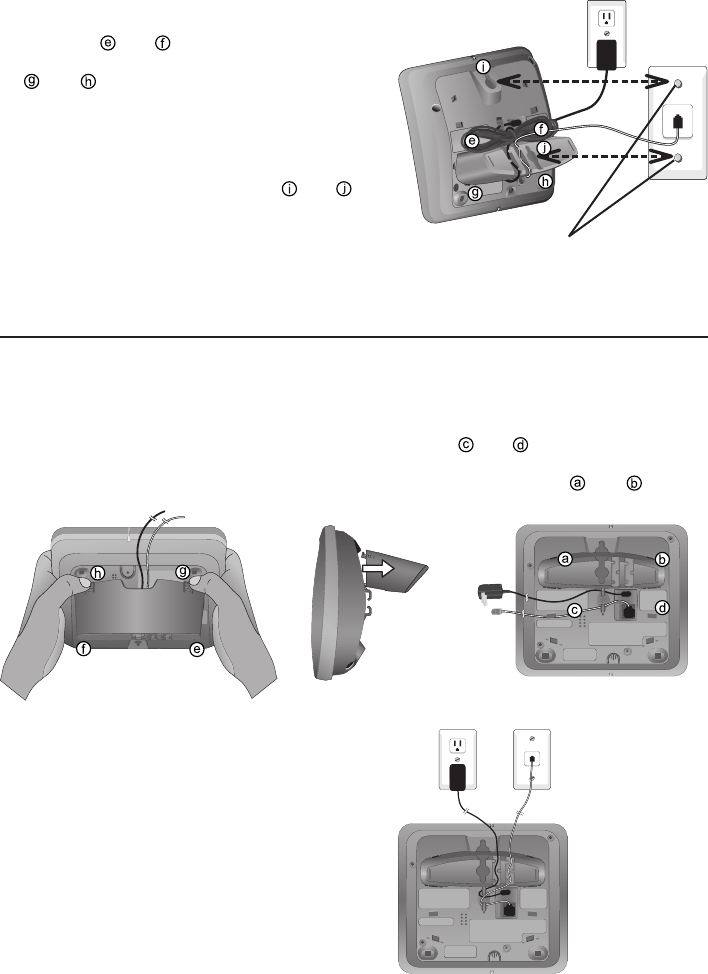
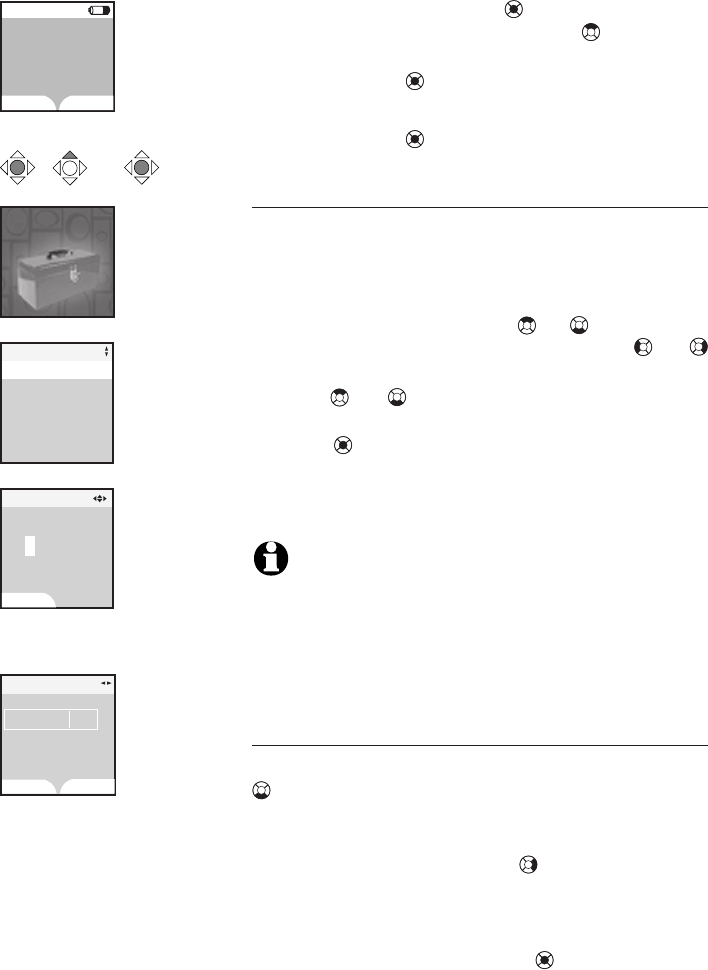
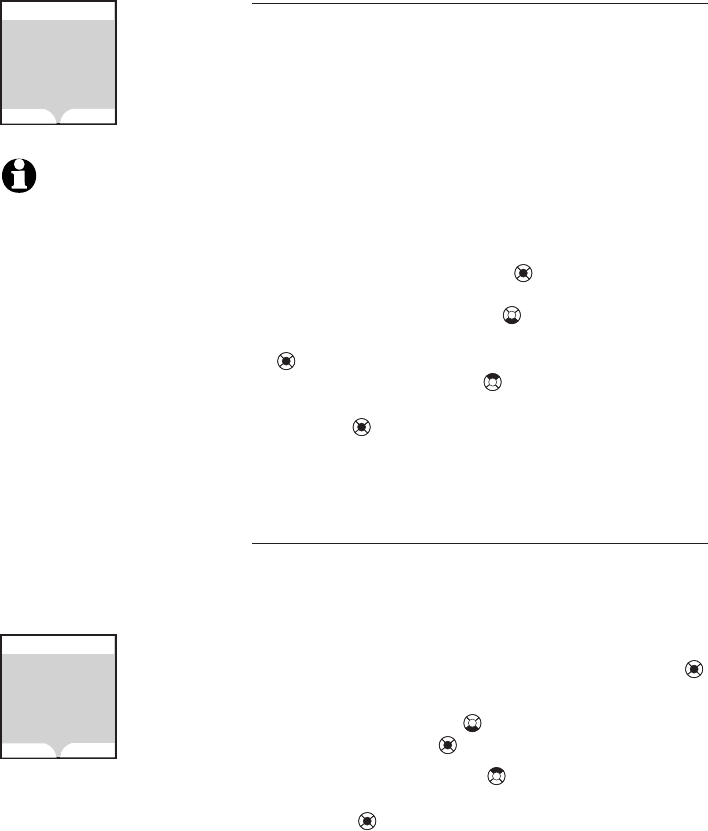
3. To attach the mounting bracket for wall
mounting, insert the tabs of the bracket
into slots and on the telephone base,
then press the other bracket tabs into slots
and as shown on the right.
4. Plug the power adapter into an electrical
outlet not controlled by a wall switch. Plug
the telephone line cord into a telephone
wall jack. To mount the telephone on the
wall, position the mounting holes and
over the telephone outlet mounting studs.
Press and slide the bracket down firmly
so the telephone is held securely on the
telephone outlet mounting studs. Telephone outlet mounting studs
Installation options
Tabletop mounting
To change back from the wall mounting to tabletop mounting position,
follow the directions below.
1. Remove the telephone base from the wall.
Unplug the cords from the wall jacks. Remove
the mounting bracket from the telephone
base.
2. Insert the bracket tabs into slots
and on the telephone base,
then press the other bracket tabs
into the slots and .
3. Route cords through slots. Plug the other
end of the telephone line cord into a
telephone wall jack. Plug the large end
of the power adapter into an electrical
outlet not controlled by a wall switch.

11
Getting started
Belt clip & optional headset
Install belt clip as shown below if desired.
Snap belt clip
into notches
on both sides
of handset.
Plug 2.5 mm headset
into the jack on the side
of the handset (beneath
small rubber flap).
To release belt clip from handset,
press on both flaps of the clip
(as shown). Pull and unlock one
flap from the notch first before
detaching the whole belt clip from
handset.
For handsfree telephone conversations, use any industry standard 2.5 mm
headset (purchased separately). For best results, use an AT&T 2.5 mm headset.
To purchase a headset, visit our website at www.telephones.att.com or con-
tact our customer service representatives at 1 (800) 222-3111. In Canada,
dial 1 (866) 288-4268.
12
Telephone setup
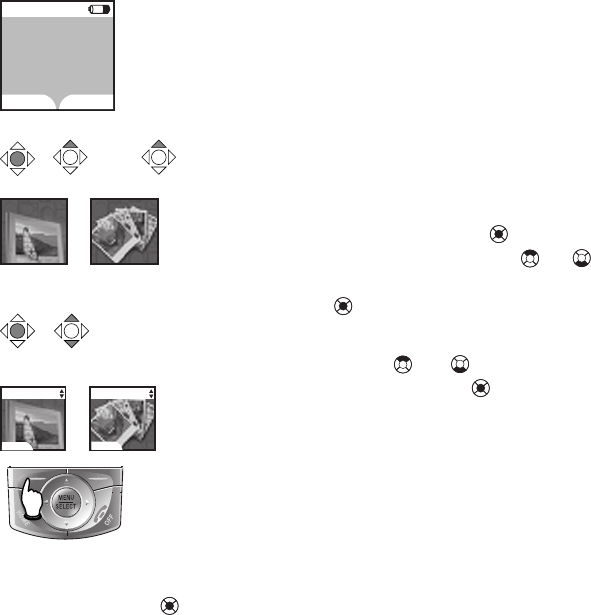
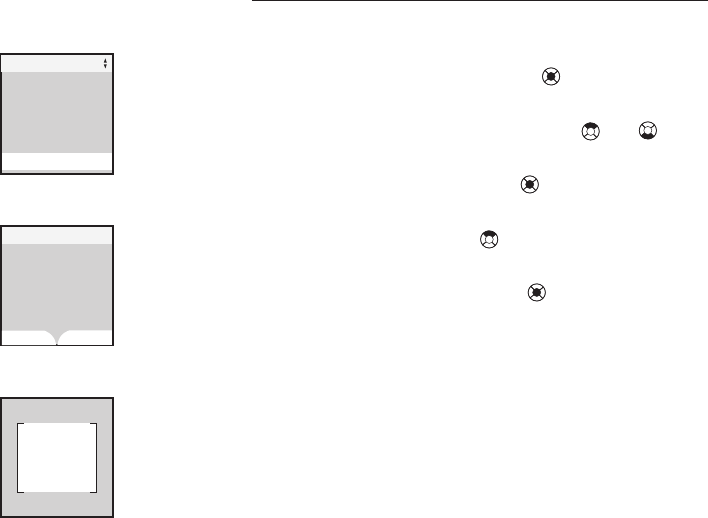
Handset screen images
The Pictures and Animations settings allow you
to select an image or design as wallpaper for
the background of the handset screen.
These images can also be programmed for indi-
vidual callers in the directory so that different
images will show when there are incoming calls
from different callers (see page 31).
Press the center NavKey to display the menu.
Use the up or down NavKey or to highlight
Animations or Pictures, then press the center
NavKey again to select this option.
Browse through the options using the up or
down NavKey or , then press the softkey
set or center NavKey to select an image.
To change the wallpaper display, repeat the
above steps.
12:00AM
REDIAL CALLER ID
HANDSET 1
Browse through
listings.
Press the SET softkey or
the center NavKey to
select the desired image.
x 1 x 2or
Animations Pictures
Pictures
Animations
SET
Pictures
SET
13
Telephone setup
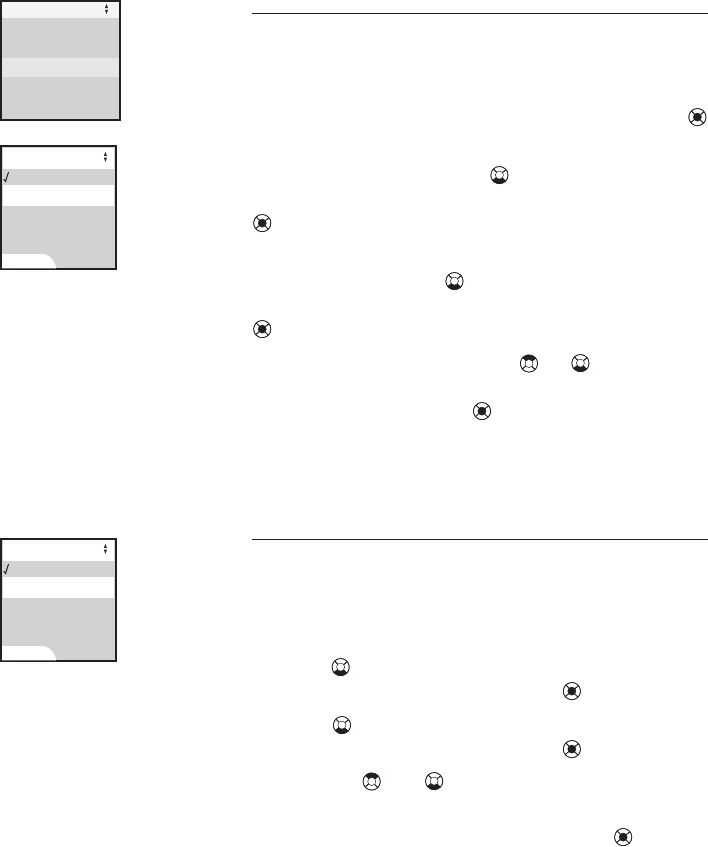
Handset ringers
Press the center NavKey to enter the main menu,
and press the up NavKey three times to enter the
Ringers menu, then press the center NavKey to
activate the menu.
Select the desired originating telephone line
(HOME, CELL 1, CELL 2) by pressing the
up or down NavKey or to highlight it.
When the desired originating telephone line (HOME,
CELL 1, CELL 2) is highlighted, press the
center NavKey to confirm selection.
After selecting any option, press the center NavKey
or the softkey SET to confirm.
Ringer volume
At this menu, the ringer volume can be set between
levels 1 and 6, or set the ringer off by pressing
the OFF softkey so the telephone does not ring
at all with incoming calls. When the ringer on
the handset is turned off, the flashing icon is
shown on the screen of the handset.
Press the left or down NavKey or to lower the
ringer volume. Press the right or up NavKey or to
increase the ringer volume. Press the SET softkey
or the center NavKey to confirm your choice.
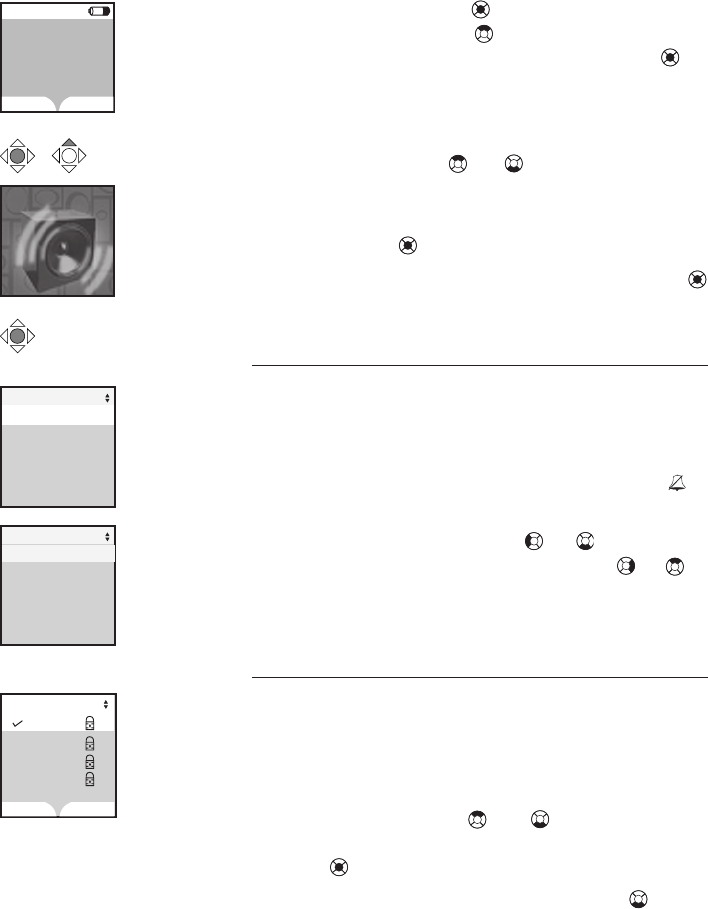
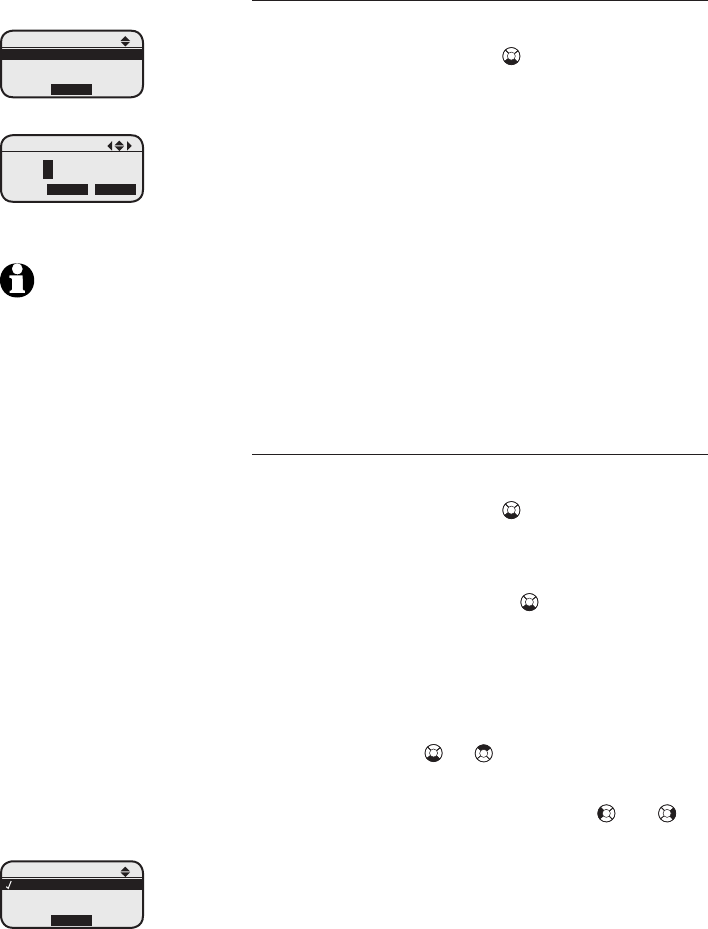
Ringer melody
This feature allows you to customize the ring-
ers. The menu includes options for 8 ringer
styles and 13 preloaded musical melodies. A
sample of each ringer melody will be played
when scrolling through the choices. Press the
up or down NavKey or to change the
ringer melody. Press the SET softkey or the center
NavKey to confirm.
• From the Settings menu, Press three
times to enter the Ringer Melody menu.
Press the SELECT softkey to confirm.
• The system will start by showing the name and
a sample of the current ringer melody.
Melody 2
Melody 3
Melody 4
Ringer Melody
SET
Ringers
x 3
12:00AM
REDIAL CALLER ID
HANDSET 1
Ringer for CELL 1
Ringer for CELL 2
Record New Ringer
Ringer for HOME
Ringers
Ringer Melody
Ringer for HOME
Ringer Volume
Melody 1
DELETE
14
Telephone setup
Handset ringers
• Use or keys to scroll through the 8
ringer styles and musical melodies.
• Press the SELECT softkey to confirm. A
confirmation tone will sound and Choice
saved will be displayed briefly.
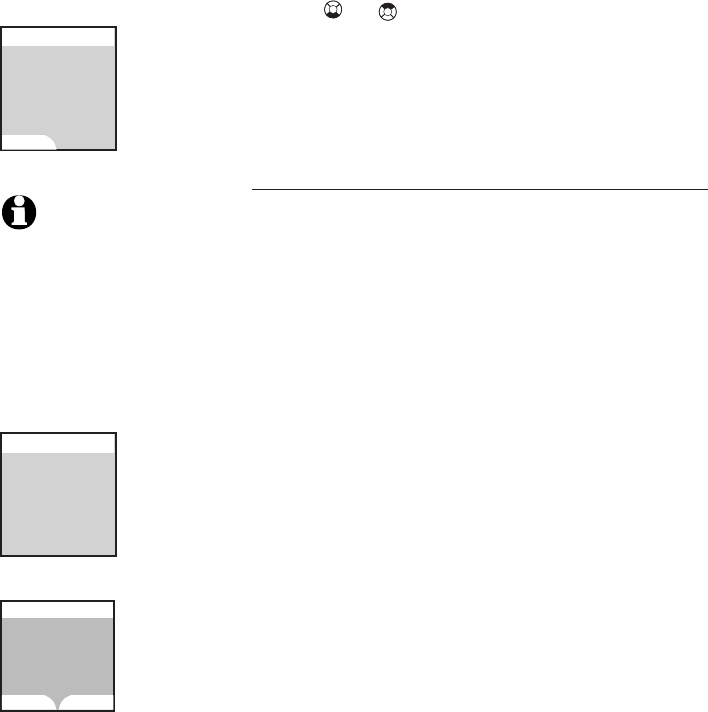
Record ringer
You can also customize the ringer by recording
tunes or messages up to 15 seconds.
Press the RECORD softkey to start recording. The
screen will show Record ringer after
tone.
Start recording the new ringer after the tone.
When finished recording, press the STOP soft-
key. Press the PLAY softkey to listen to the
recorded ringer. Then press the SAVE softkey
to enter the name of this recording using the
table on page 30.
Enter up to ten characters for the name of this
recording (See table on page 30). Press the
SAVE softkey to save this ringer. The record-
ing with the programmed name will then be
added to the list of ringer melodies.
If neither the SAVE nor PLAY softkey is pressed,
the new recording will be discarded.
More than one ringer can be recorded as long
as there is recording time remaining. The total
recording time can be extended if some of the
preset musical ringers are deleted.
If there is not enough time left to record a new
ringer, Ringer memory full will be displayed
after pressing the RECORD softkey.
NOTE: The microphone
used when recording a ringer
is located at the bottom front
of the handset. If recording a
tune, place the microphone
about twelve inches from the
music source. If recording a
message, speak clearly from
about twelve inches.
Record Ringer
after tone
Record New Ringer
Press RECORD
to start recording
Remaining record
time: 0:14
Record New Ringer
RECORD
Record New Ringer
SAVE PLAY
Recording Complete
Press SAVE to
save recording or
PLAY to review
15
Telephone setup
Messages
This menu enables you to listen to messages on the
answering system using the cordless handset.
When there are new messages on the answering
system, New Message will be displayed on
the handset screen, the message icon will flash
alternately with the current time at the top left
corner of the screen, the status light at the top left
corner of the handset will flash and the PLAY/STOP
light of the telephone base will also flash.
• Press the center NavKey to enter the main
menu.
• Press the down NavKey twice to bring out
the Messages menu.
• Press the center NavKey to confirm.
• The screen will show the number of new mes-
sages and old messages.
• Press the PLAY softkey to play the new mes-
sages and memos.
The date and time the message is recorded will be
announced by the voice prompt. The screen on the
handset will show the date and time the memo and
incoming messages are recorded, the length of the
message, and a diagram of the NavKey illustrating
how to repeat or skip a message. If it is a memo
recorded on the answering machine, the word Memo
will be shown on the screen.
Pressing the STOP softkey will exit to the Messages
screen. Pressing the DELETE softkey when a mes-
sage is playing will delete that particular message
and advance to the next one.
When no message is being played, pressing the
DELETE softkey will bring out the question whether
you wish to delete old messages. Press the NO
softkey if you prefer to keep all messages. Press the
YES softkey if you wish to all delete old messages,
keeping those which have not been reviewed.
You can also access the messages menu by
pressing the right Navkey on the handset when
it is idle.
Delete all old
Messages
Delete Old Messages
YES NO
Messages
x 2
Messages
PLAY DELETE
3 New Messages
19 Old Messages
Messages NEW 7
STOP DELETE
Jan 10 10:51AM
Duration 0:11
REPEAT SKIP
Alice
1-888-883-2445
NOTES:
1. All incoming telephone
messages are played in
chronological order so
the earliest new message
is played first.
2. Unreviewed messages will
not be deleted.
16
Telephone setup
12:00
Handset settings
Press the center NavKey to enter the main
menu, then press the up NavKey four times
to reach the Settings menu. Press the
center NavKey to start the menu.
After selecting the desired option, press the
center NavKey to confirm.
Set time
Select this menu to set the time displayed on
screen. You must enter four digits to input the
time (e.g. 09:23). Using the dial pad, set the
current time using the 12-hour clock format, or
use the up or down NavKey or to enter the
time, then use the left or right NavKey or
to move to the next digit. Use the up or down
NavKey or or the 2 or 7 on the dial pad
to change the AM/PM entry. Press the center
NavKey or the SET softkey to confirm the
setting and the correct time will be displayed
on the screen.
NOTES:
1. The time is automatically set and updated with incomingThe time is automatically set and updated with incoming
caller ID information if you have this service (see page
6).
2. The date information is set on the telephone base onlyThe date information is set on the telephone base only
and cannot be set on the handsets.
Edit handset name
In the Settings menu, press the down NavKey
once to select this menu to set the handset
name displayed on screen. Enter up to fifteen
characters including spaces for the name of this
handset. Use the right NavKey to insert a space
(see page 30). Press the ERASE softkey to
delete the highlighted character. After enter-
ing the name of the handset, press the SAVE
softkey or the center NavKey . A confirmation
tone will sound.
Settings
12:00AM
REDIAL CALLER ID
HANDSET 1
x 4
Edit Handset Name
Show Handset Name
Keypad Tone
Language
Settings
Set Time
Set Time
SET
AM
Edit Handset Name
HANDSET 2
SAVE ERASE
17
Telephone setup
Handset settings
Show handset name
This menu allows you to decide whether the
handset name should be shown on the screen
of the handset.
From the idle mode, press the center NavKey
to enter the main menu.
Press the down NavKey four times to reach
the Settings menu. Press the center NavKey
to confirm selection.
When the Settings menu is displayed, press
the down NavKey twice to reach Show
Handset Name. Press the center NavKey
to confirm.
Use the up or down NavKey or to alternate
between On and Off. Press the SET softkey
or the center NavKey to confirm selection.
The screen will show Choice saved and
return to the Settings menu.
Keypad tone
The handset is preset to beep with the pressing
of each key. The keypad tones can be turned on
or off in this menu.
• Press the center NavKey to enter the main menu.
Press four times to reach the Settings menu
and press the center NavKey to confirm.
• Press three times to highlight Keypad Tone
and press the center NavKey to confirm.
• Use the or NavKey to select whether
you prefer the keypad tone to be on or off.
• Press the SET softkey or the center Navkey
to confirm.
• The screen will show Choice saved to
confirm the new setting and a confirmation
tone will sound.
Edit Handset Name
Key Tone
Language
Settings
Set Time
Show Handset Name
On
Keypad Tone
Off
SET
On
Show Handset Name
Off
SET
18
Telephone setup
Handset settings
Language
In this menu, you can select the language used
in all menus and screen displays. The choices
are English, Español and Français.
From the idle mode, press the center NavKey
to enter the main menu. Press the down NavKey
four times to reach the Settings menu
and press the center NavKey to confirm.
Press the down NavKey three times to high-
light Language. Press the center NavKey
to confirm and the three languages (English,
Español and Français) are displayed. Use the
up or down NavKey or to highlight the
desired language setting. Press the SET softkey
or the center NavKey to confirm and the
screen will show Choice saved.
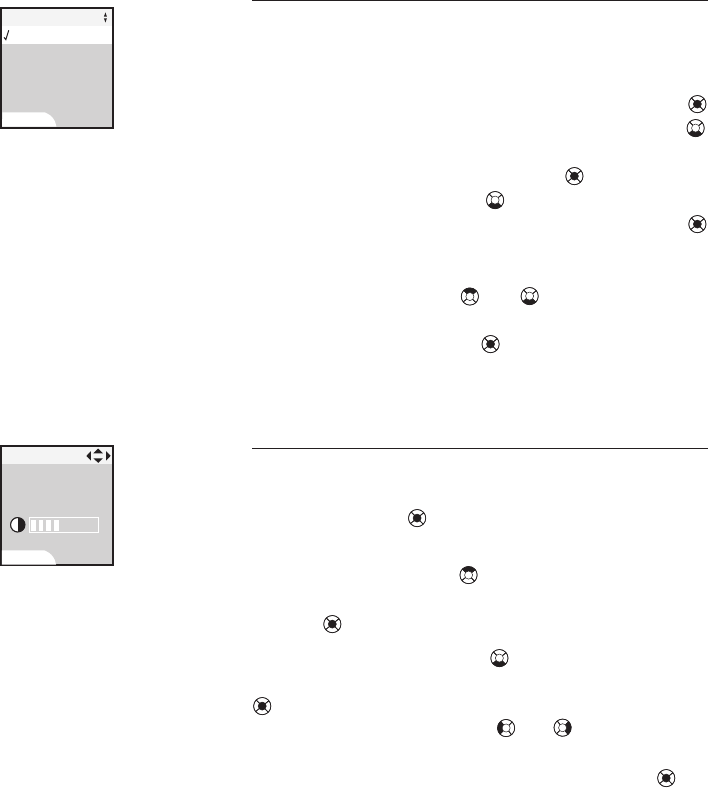
LCD Contrast
In this menu, you can adjust the screen contrast
to suit different lighting conditions. Press the
center NavKey to activate the menu from
the idle screen.
Press the up NavKey four times to reach the
Settings screen menu and press the center
NavKey to activate it.
Press the down NavKey four times to reach
LCD Contrast and press the center NavKey
to activate Contrast setting. Press
the left or right NavKey or to adjust the
level of screen contrast from 1 to 8. Press
the SET softkey or the center NavKey to
confirm.
LCD Contrast
SET
Español
Français
Language
English
SET
19
Telephone setup
Handset settings
Clear Voice Mail
If you subscribe to voicemail services provided
by the local telephone company, you will receive
a text message on the handset when there
is a new voicemail. After you have listened
to these messages, the text message on the
display should disappear automatically. In the
event that the indication remains after you have
listened to your local telephone company’s
voicemail messages, you can remove the indi-
cation according to the following steps.
• Press the center NavKey to enter the main
menu.
• Press the down NavKey four times to enter
the Settings menu. Press the center NavKey
to confirm.
• Press the up NavKey three times to select
Clear Voice Mail. Press the center
NavKey to confirm.
• Press the YES softkey to delete voicemail indi-
cation.
Default settings
This menu allows you to restore the default
settings for all menu settings on the handset.
It will not clear the directory, call log, handset
name, redial log, or messages.
• Enter the main menu by pressing the center NavKey .
• Reach the Settings menu by pressing
the down NavKey four times. Press the
center NavKey to confirm.
• Press the up NavKey twice to go to D e-
fault Settings. Press the center
NavKey to confirm.
• You will be prompted to Restore De-
fault Settings. Select by pressing
the YES or NO softkeys.
• If you press YES, Default settings
restored will be restored and appeared
on the screen.
Restore
Default Settings?
Default Settings
YES NO
Clear Voice Mail
Indication?
Clear Voice Mail
YES NO
NOTES:
1. This procedure only turns
off the displayed message,
and it does not delete your
voicemail message(s). This
feature allows you to cor-
rect a voicemail indication
which is out of sync with
the local telephone com-
pany. If there actually is
a new voice message, the
local telephone company
will continue to send the
message which will then
turn the display message
back on.
2. Clearing the voicemail
indication on the handset
also turns off the voice-
mail indicator light on the
telephone base.
20
Telephone setup
Handset settings
Delete registration
A handset must be de-registered first before it
can be registered to another telephone base.
• Press the center NavKey on the hand-
set.
• Press the up or down NavKey or four
times for Settings.
• Press the center NavKey to enter into the
Settings menu.
• Press the up NavKey once to select Delete
Registration.
• Press the center NavKey and you will be
prompted to select YES/NO for handset de-
registration.
• Press the YES softkey to proceed with de-
registration or NO to cancel.
• After pressing the YES softkey, the screen
will show Handset Registration
Deleted, and then darkens and will re-
main blank.
• When the screen shows Not Registered,
the de-registration process is complete.
• If you have to de-register more than one
handset, but not all at one time, please re-
peat the above steps for each handset to be
de-registered.
Delete Registration
Delete Handset
Registration?
YES NO
Settings
Language
LCD Contrast
Clear Voice Mail
Default Settings
Delete Registration
Handset
Registration
Deleted
21
Telephone setup
Base settings
Setting the date
• Press the MENU softkey.
• Press the down NavKey four times to scroll
to Settings.
• Press the SELECT softkey.
• When Set Date is displayed, press the
SELECT softkey.
• Use the keypad to enter the year. The cursor
will automatically advance to the next space
for you to then enter the month and date.
The system uses the YYYY/MM/DD format.
• Press the SET softkey to save the settings
and a confirmation tone will sound. The cor-
rect date will be displayed briefly on the
screen.
Setting the time
• Press the MENU softkey.
• Press the down NavKey four times to scroll
to Settings.
• Press the SELECT softkey.
• Press the down Navkey once to set the
time. Press the SELECT softkey to confirm.
The system uses a 12-hour clock format.
• Use the keypad to enter the digits for the
current hour. The cursor will automatically
advance to the next space for entering the
minutes. Press or to select AM and PM,
or press 2 for AM and press 7 for PM.
• Press the left or right NavKey or to
move the cursor to the left or right to cor-
rect any mistakes.
• Press the SET softkey to save the setting.
A confirmation tone will sound and the cor-
rect time will be displayed briefly on the
screen.
Settings
Set
Set Time
Keypad Tone
NOTE: This procedure
also sets the time and date
on the answering system.
The incoming caller ID also
updates the day and time
on the telephone base.
Set Date
SELECT
Set Date
SET
2007/01/30
INFO
Keypad Tone
Set
Off
On
SET