Yaesu Musen 20345X40 AMATEUR RADIO WITH SCANNING RECEIVER User Manual OM
Yaesu Musen Co., Ltd. AMATEUR RADIO WITH SCANNING RECEIVER OM
Contents
- 1. User Manual
- 2. User Manual 1
- 3. User Manual 2
- 4. User Manual 3
- 5. User Manual 4
- 6. User Manual 5
- 7. User Manual 6
- 8. User Manual 7
- 9. User Manual 8
- 10. User Manual 9
- 11. User Manual 10
- 12. User Manual 11
- 13. User Manual 12
- 14. User Manual 13
- 15. User Manual 14
- 16. User Manual 15
- 17. User Manual 16
- 18. User Manual 17
- 19. User Manual 18
- 20. User Manual 19
- 21. User Manual 20
- 22. User Manual 21
User Manual 16
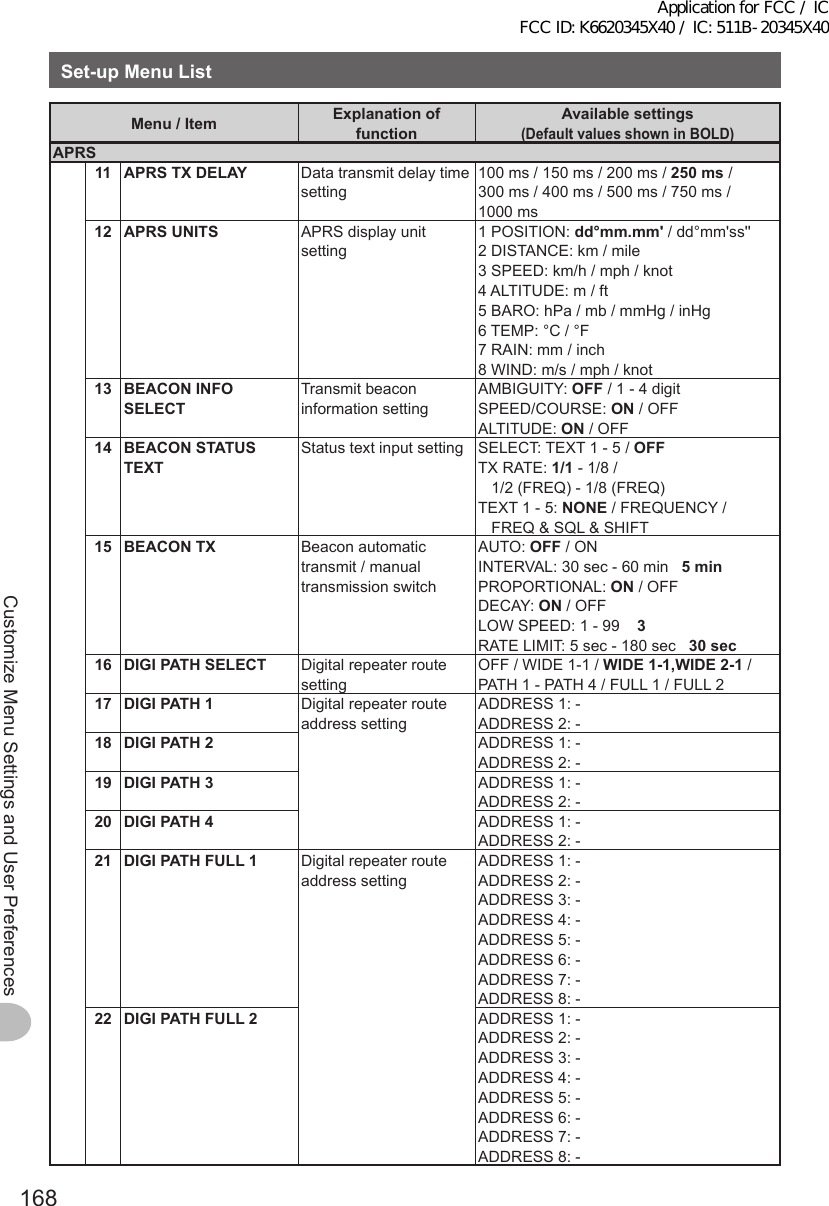
![169Customize Menu Settings and User PreferencesSet-upMenuListMenu/Item ExplanationoffunctionAvailablesettings (DefaultvaluesshowninBOLD)APRS23 CALLSIGN(APRS) My call sign setting -24 MESSAGEGROUP Group filter setting for received messagesGROUP 1: ALL✽✽✽✽✽✽ GROUP 2: CQ✽✽✽✽✽✽✽GROUP 3: QST✽✽✽✽✽✽GROUP 4: YAESU✽✽✽✽GROUP 5: -GROUP 6: -BULLETIN 1: BLN?✽✽✽✽✽BULLETIN 2: BLN?BULLETIN 3: BLN?25 MESSAGEREPLY Automatic response setting of received messagesREPLY: OFF / ONCALLSIGN: ✽✽✽✽✽✽-✽✽REPLY TEXT: -26 MYPOSITIONSET My position setting GPS / MANUAL27 MYPOSITION My position manual settingLAT: N 0°00. 00' (' 00'')LON: E 0°00. 00' (' 00'')28 MYSYMBOL My symbol setting ICON1:[/>] CarICON 2: [/R] REC.VehicleICON 3: [/-] House QTH (VHF)USER: [YY] Yaesu Radios29 POSITIONCOMMENT Position comment settingOffDuty / En Route / In Service / Returning / Committed / Special / Priority / Custom 0 - 6 / Emergency!30 SmartBeaconing Smart beaconing setting 1 STATUS: OFF / TYPE 1 / TYPE 2 / TYPE 32 LOW SPEED: 2 - 30 53 HIGH SPEED: 3 - 90 704 SLOW RATE: 1 - 100 min 30 min5 FAST RATE: 10 - 180 sec 120 sec6 TURN ANGLE: 5 - 90° 28°7 TURN SLOPE: 1 - 255 268 TURN TIME: 5 - 180 sec 30 sec31 SORTFILTER Sort function / filter function settingSORT: TIME / CALLSIGN / DISTANCEFILTER : ALL / MOBILE / FREQUENCY / OBJECT/ITEM / DIGIPEATER / VoIP / WEATHER / YAESU / OTHER PACKET / CALL RINGER / RANGE RINGER / 1200 bps / 9600 bps32 VOICEALERT Voice alert function settingVOICE ALERT: NORMAL / TONE SQL / DCS / RX-TSQL / RX-DCSTONE SQL: 67.0 Hz - 254.1 Hz 100.0HzDCS: 023 - 754 023* Refer to the separate Operation Manual APRS Edition for details on the functions.SDCARD1BACKUP Reading and writing information of the radio to the micro-SD cardWrite to SD / Read from SD2GROUPID Reading and writing GROUP ID information to the micro-SD cardWrite to SD / Read from SDApplication for FCC / IC FCC ID: K6620345X40 / IC: 511B-20345X40](https://usermanual.wiki/Yaesu-Musen/20345X40.User-Manual-16/User-Guide-2766351-Page-6.png)

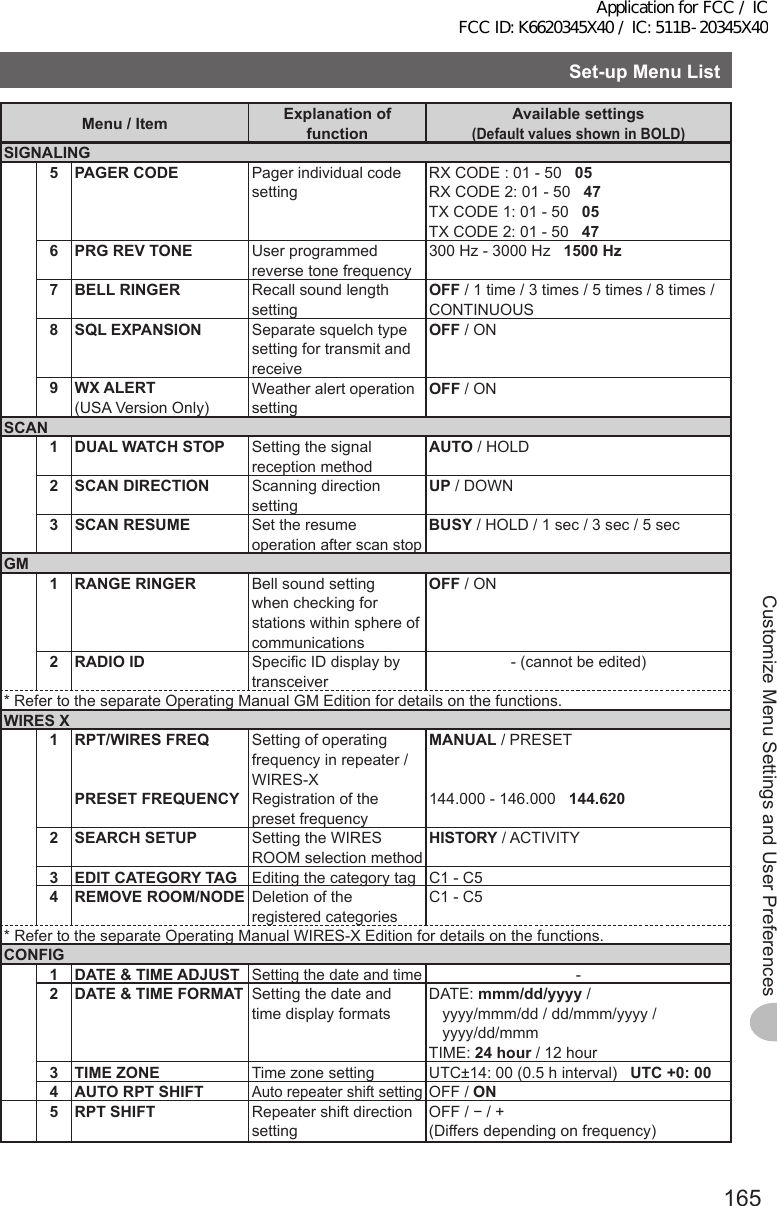
![171Customize Menu Settings and User PreferencesUsingtheSet-upMenuScreendisplaysettingsSelectthescreentobedisplayedSet the type of screen to be displayed when pressing briefly.1 Press for one second or longer The set-up menu will be displayed.2 Touch [DISPLAY]$#%-$#%-6:4:5'672/'074'5'6%.10'%10(+)9Ჰ4'55%#0&+52.#;5+) 0#.+0)#245 126+105&%#4&/'/14;&#6#%#..5+) 03 Touch [1DISPLAYSELECT] The display setting screen will be displayed.Ż6#4)'6.1%#6+10&+52.#;&+52.#;5'.'%6#0)'41$#%-)4170&%1.14%1/2#559+&'$#0&5%12'ᲹᲺ$#%-$#%-4 Touch the item to be displayed Select from “ALTITUDE”, “TIMER/CLOCK” and “GPS INFO”, the screen that you would like to display. Each time the item is touched, the setting will switch between “ON” and OFF”.&+52.#;)25+0(1#.6+67&'((1((1((16+/'4%.1%-&+52.#;5'.'%6Ჹ$#%-$#%-5 Set the other screens as well Repeat Step 4 and set the other screens as well.6 Press for one second or longer The screen to be displayed will be set and the display will return to the previous screen. Tip Factory default value: All screens are set to “OFF”Application for FCC / IC FCC ID: K6620345X40 / IC: 511B-20345X40](https://usermanual.wiki/Yaesu-Musen/20345X40.User-Manual-16/User-Guide-2766351-Page-8.png)
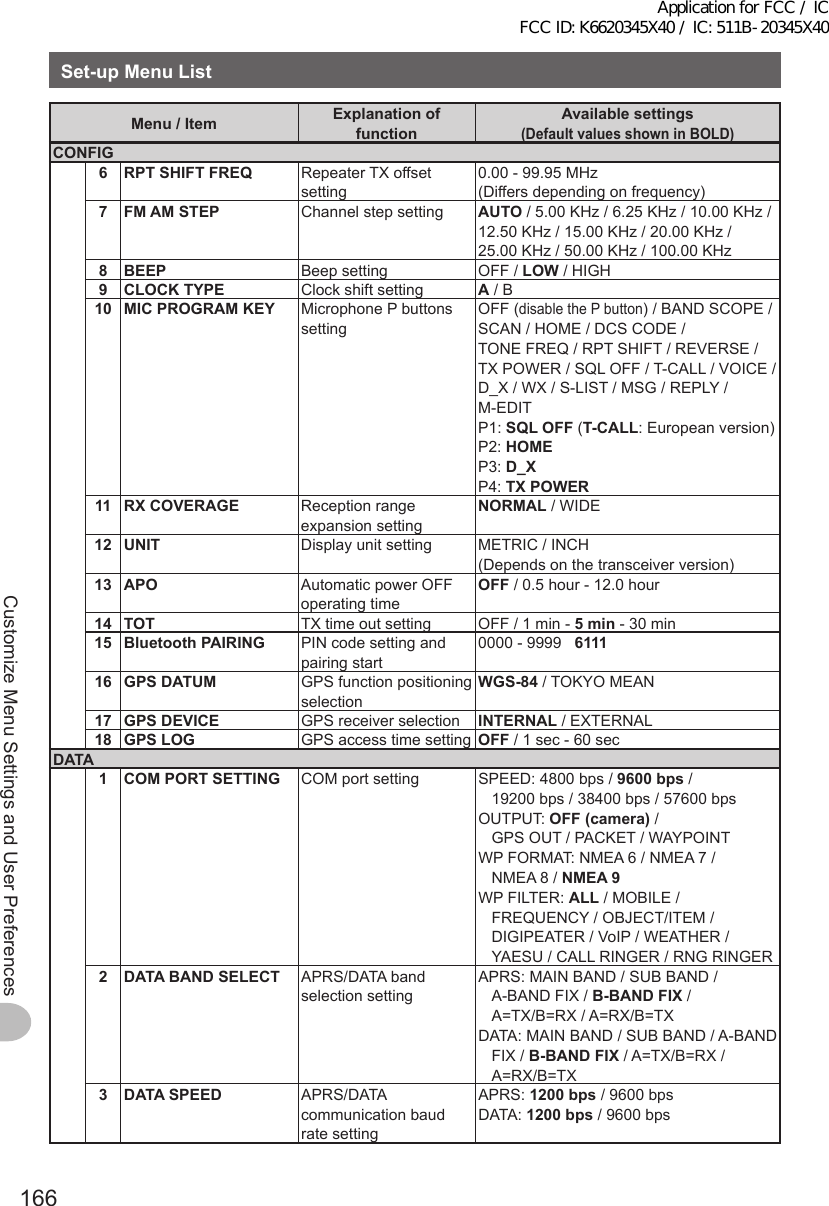
![172Customize Menu Settings and User PreferencesUsingtheSet-upMenuSwitchingbetweenCOMPASSandPOSITIONINFORMATIONscreensWhen using the GPS and GM functions, the screen will switch between the “Compass Screen” and the “Position Information (Latitude and Longitude) Display Screen”.1 Press for one second or longer The set-up menu will be displayed.2 Touch [DISPLAY]$#%-$#%-6:4:5'672/'074'5'6%.10'%10(+)9Ჰ4'55%#0&+52.#;5+) 0#.+0)#245 126+105&%#4&/'/14;&#6#%#..5+) 03 Touch [2TARGETLOCATION] to select the display content Each time this symbol is touched, the setting will switch between “COMPASS” and “NUMERIC”. COMPASS: The compass screen will be displayed. NUMERIC: The position information (latitude and longitude) display screen will be displayed. Tip Factory default value: COMPASSŻ6#4)'6.1%#6+10&+52.#;5'.'%6#0)'41$#%-)4170&%1.14%1/2#559+&'$#0&5%12'ᲹᲺ$#%-$#%-4 Press for one second or longer The display contents will be set and the display will return to the previous screen.SettingthedisplaybackgroundcolorThe display background color can be selected from the following 5 colors.• Orange • Green • Blue • Purple • GreyRefer to “Changing the background color of the frequency display area” ( P.60) for details.SettingthebandscopedisplaywidthThe frequency bandwidth and memory channel number to be displayed when band scope is running can be set.1 Press for one second or longer The set-up menu will be displayed.2 Touch [DISPLAY]$#%-$#%-6:4:5'672/'074'5'6%.10'%10(+)9Ჰ4'55%#0&+52.#;5+) 0#.+0)#245 126+105&%#4&/'/14;&#6#%#..5+) 0Application for FCC / IC FCC ID: K6620345X40 / IC: 511B-20345X40](https://usermanual.wiki/Yaesu-Musen/20345X40.User-Manual-16/User-Guide-2766351-Page-9.png)
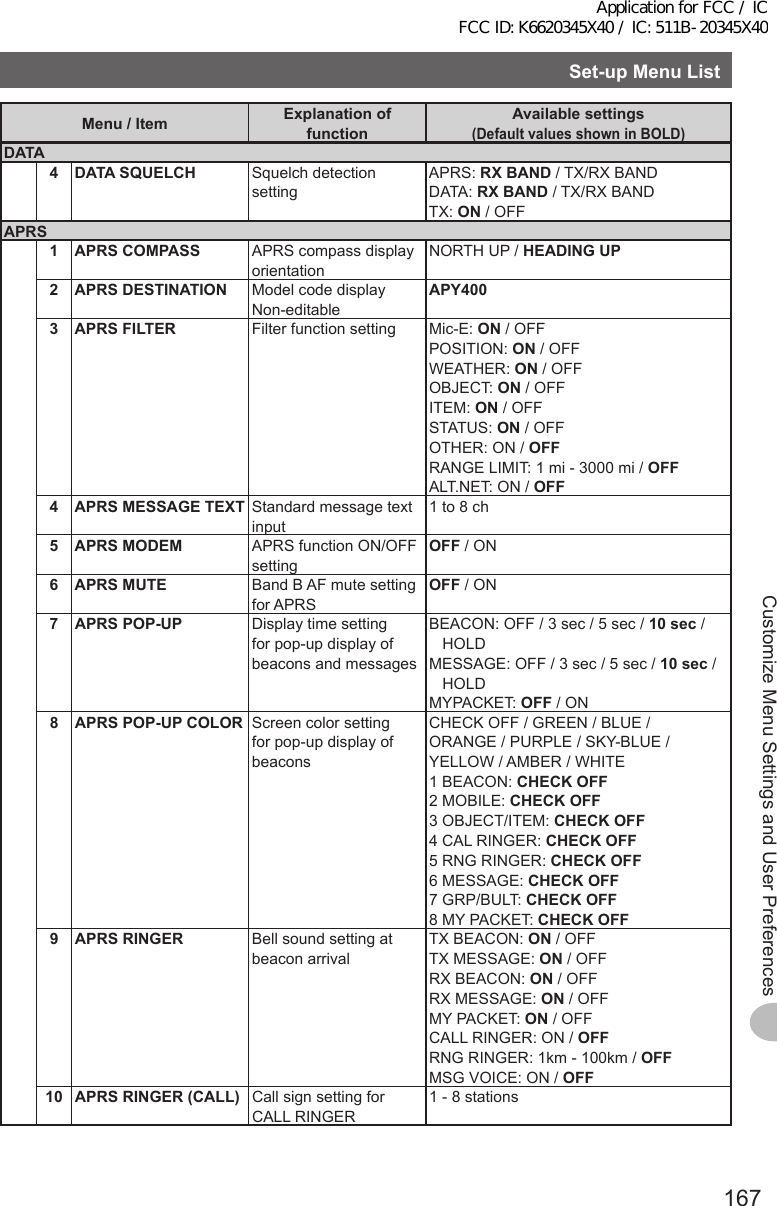
![173Customize Menu Settings and User PreferencesUsingtheSet-upMenu3 Touch [4BANDSCOPE] to select the frequency width The frequency bandwidth will switch between “WIDE” and “NARROW” each time this symbol is touched. WIDE: The frequency bandwidth will be displayed using a wide search width. NARROW: The frequency bandwidth will be displayed using a narrow search width.VFOmode MemorymodeWIDE ±25 steps ±25 channelsNARROW ±12 steps ±5 channels Tip Factory default value: WIDE#0)'41$#%-)4170&%1.149+&'$#0&5%12'$#%-$#%-4 Press for one second or longer The bandwidth of the frequency will be set and the display will return to the previous screen.SettingthedisplaybrightnessThe brightness of the touch panel can be set.Refer to “Adjusting the display brightness” ( P.58) for details.SettingthedisplaycontrastThe contrast of the touch panel can be adjusted.Refer to “Adjusting the display contrast” ( P.58) for details.SwitchingthetimedisplayandthevoltagedisplayThe display at the top right of the display can be changed between “Time Display” and “Voltage Display”.1 Press for one second or longer The set-up menu will be displayed.2 Touch [DISPLAY]$#%-$#%-6:4:5'672/'074'5'6%.10'%10(+)9Ჰ4'55%#0&+52.#;5+) 0#.+0)#245 126+105&%#4&/'/14;&#6#%#..5+) 0Application for FCC / IC FCC ID: K6620345X40 / IC: 511B-20345X40](https://usermanual.wiki/Yaesu-Musen/20345X40.User-Manual-16/User-Guide-2766351-Page-10.png)
![174Customize Menu Settings and User PreferencesUsingtheSet-upMenu3 Touch [7TIME/VDD] to select the display content The display content changes between “TIME” and “VDD” each time the symbol is touched. TIME: The time will be displayed. VDD: The voltage will be displayed. Tip Factory default value: TIME6+/'.%&%1064#56 ⌽6+/'8&&ᲾᲿ$#%-$#%-4 Press for one second or longer The display content will be set and the display will return to the previous screen.TransmitandreceivesettingsSettingthesignalformatThe radio signal format can be selected from “FM”, “AM” and “NARROW FM” in the analog mode.Refer to “Changing the radio signal format” ( P.46) for details.SettingtheAMStransmissionmodeWhen operating in the AMS function, the transmit mode may be selected:1 Press for one second or longer The set-up menu will be displayed.2 Touch [TX/RX]$#%-$#%-6:4:5'672/'074'5'6%.10'%10(+)9Ჰ4'55%#0&+52.#;5+) 0#.+0)#245 126+105&%#4&/'/14;&#6#%#..5+) 03 Touch [DIGITAL]$#%-$#%-6:4:ŻŻ/1&'&+)+6#.#7&+1#761(/Application for FCC / IC FCC ID: K6620345X40 / IC: 511B-20345X40](https://usermanual.wiki/Yaesu-Musen/20345X40.User-Manual-16/User-Guide-2766351-Page-11.png)