ZTE VICKI Wireless Netbook User Manual 00 C DC for XP
ZTE Corporation Wireless Netbook 00 C DC for XP
ZTE >
Contents
user manual pt6
Using Web Camera
Before Operating Your Notebook
32
The main function of YouCam is as follows.
・Still image capture
The still image can be photographed from web camera.
・Animated image capture
Animated picture can be photographed from web
camera.
Please refer to the help of YouCam for the detail information
of each function.
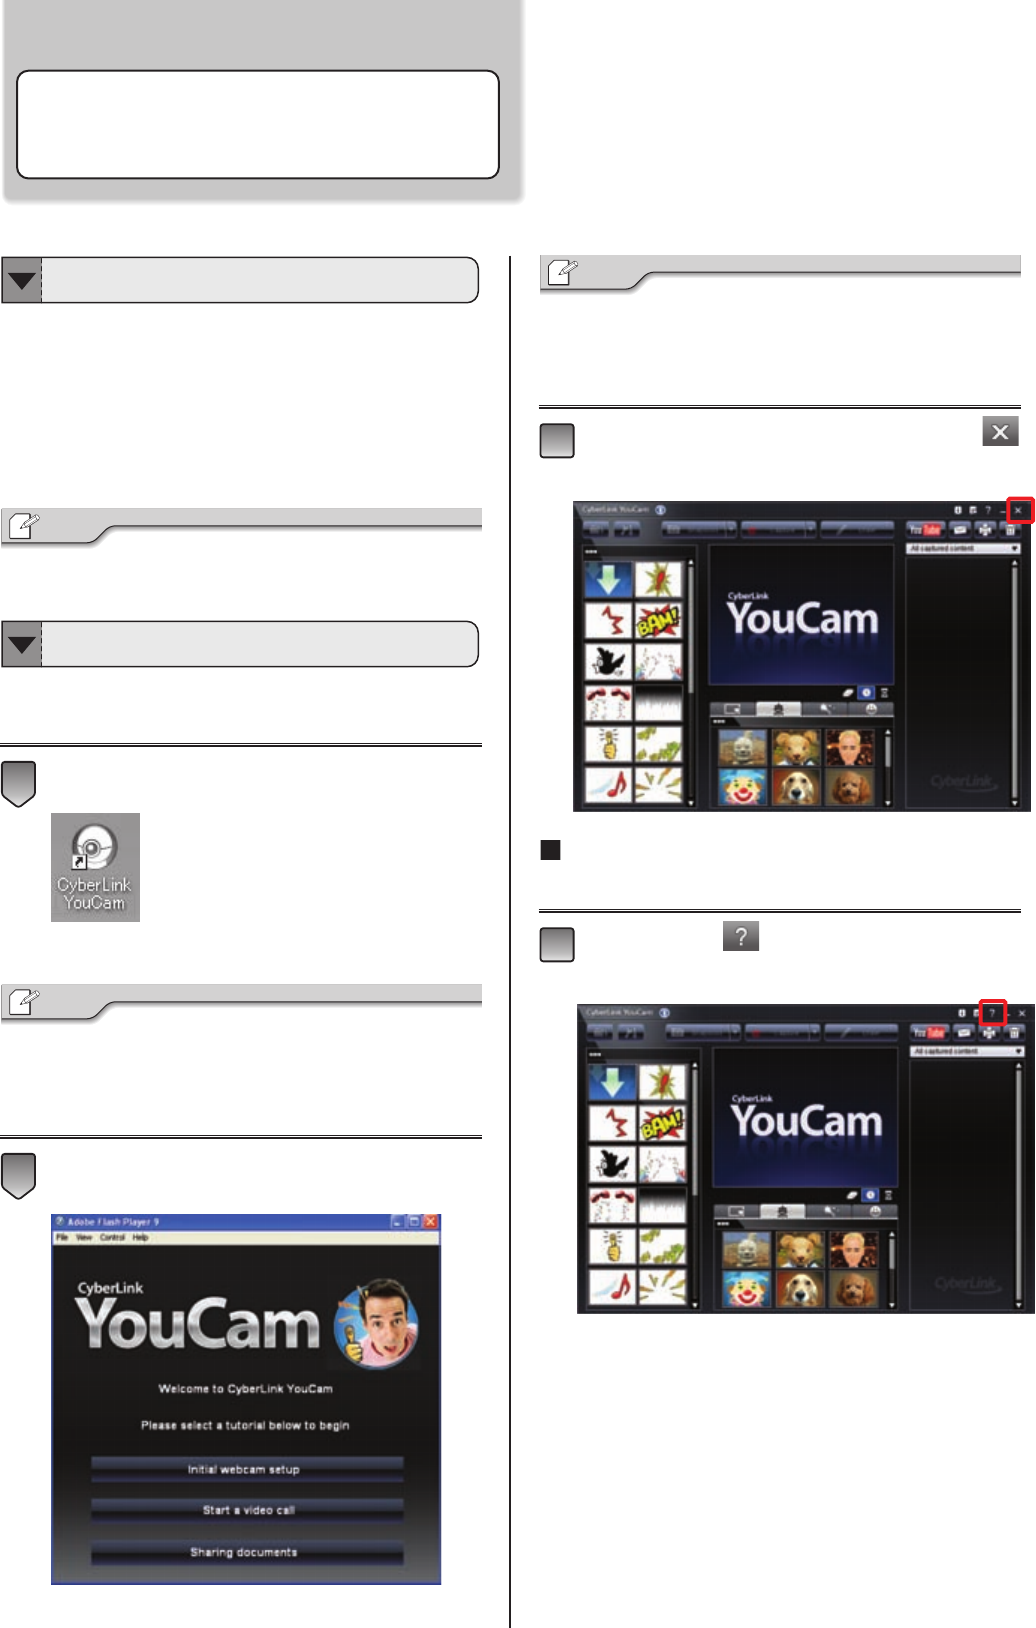
Web camera software “YouCam” is launched.
Double click the “CyberLink YouCam” icon in
desktop.
The “CyberLink YouCam” welcome screen will
appear.
In case of the user's registration picture appeared, please
register the prodcut.
You can also register the product later.
Click [Initial webcam setup] to set up “YouCam”.
“CyberLink YouCam” picture is appeared.
After setup finished, when you double click “CyberLink YouCam”
icon, “the CyberLink YouCam” screen appears.
To finish YouCam operation, please click the
icon.
Look for Help
The method of starting the help of YouCam is as follows.
Please click the icon to start the help of YouCam.
1
3
Tip
2
Tip
1
Tip
Function of Web Camera Software
Launch Web Camera Software
For giving an example, we use the web camera software
“YouCam” to explain how web camera works in the notebook.
Start the help of YouCam
Peripherals
33
Using Peripherals
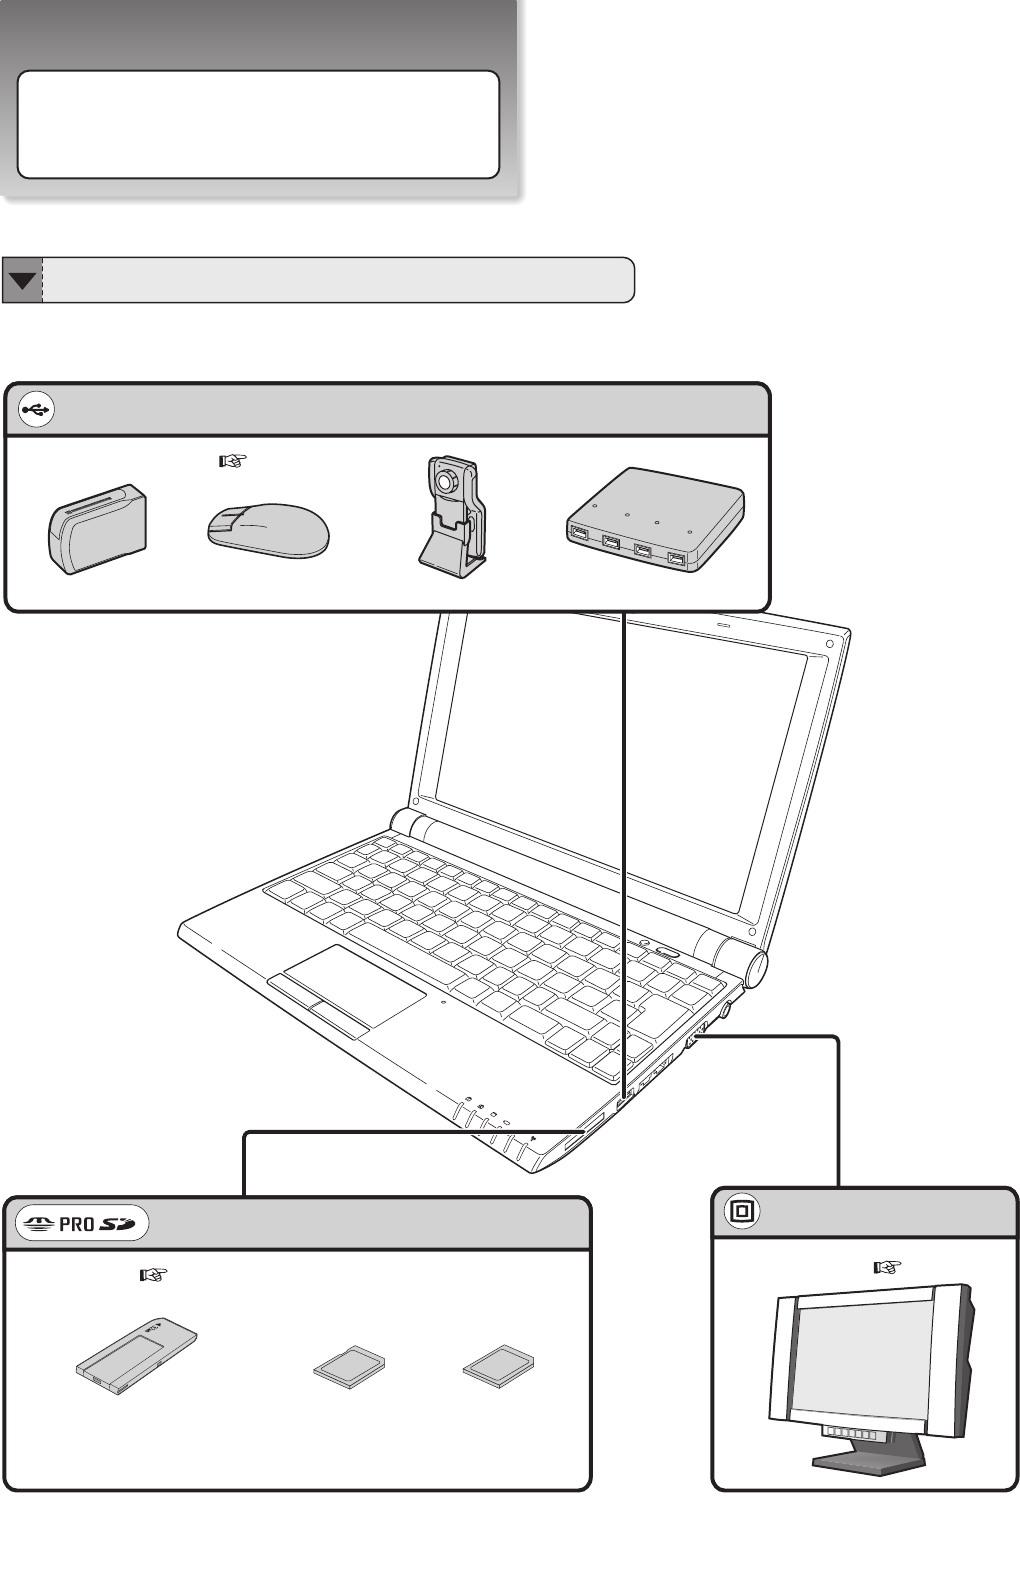
Right Side
External Display(
Page 46)
Display Output Port
USB2.0 Compatible Peripherals(
Page 38)
・ Card Reader/Writer ・ USB Mouse ・ CCD Camera ・ USB Hub
USB Port
Memory Card (Page 39~40)
Memory Card Slot
・Memory Stick
・Memory Stick PRO
・SD Card ・MMC
34
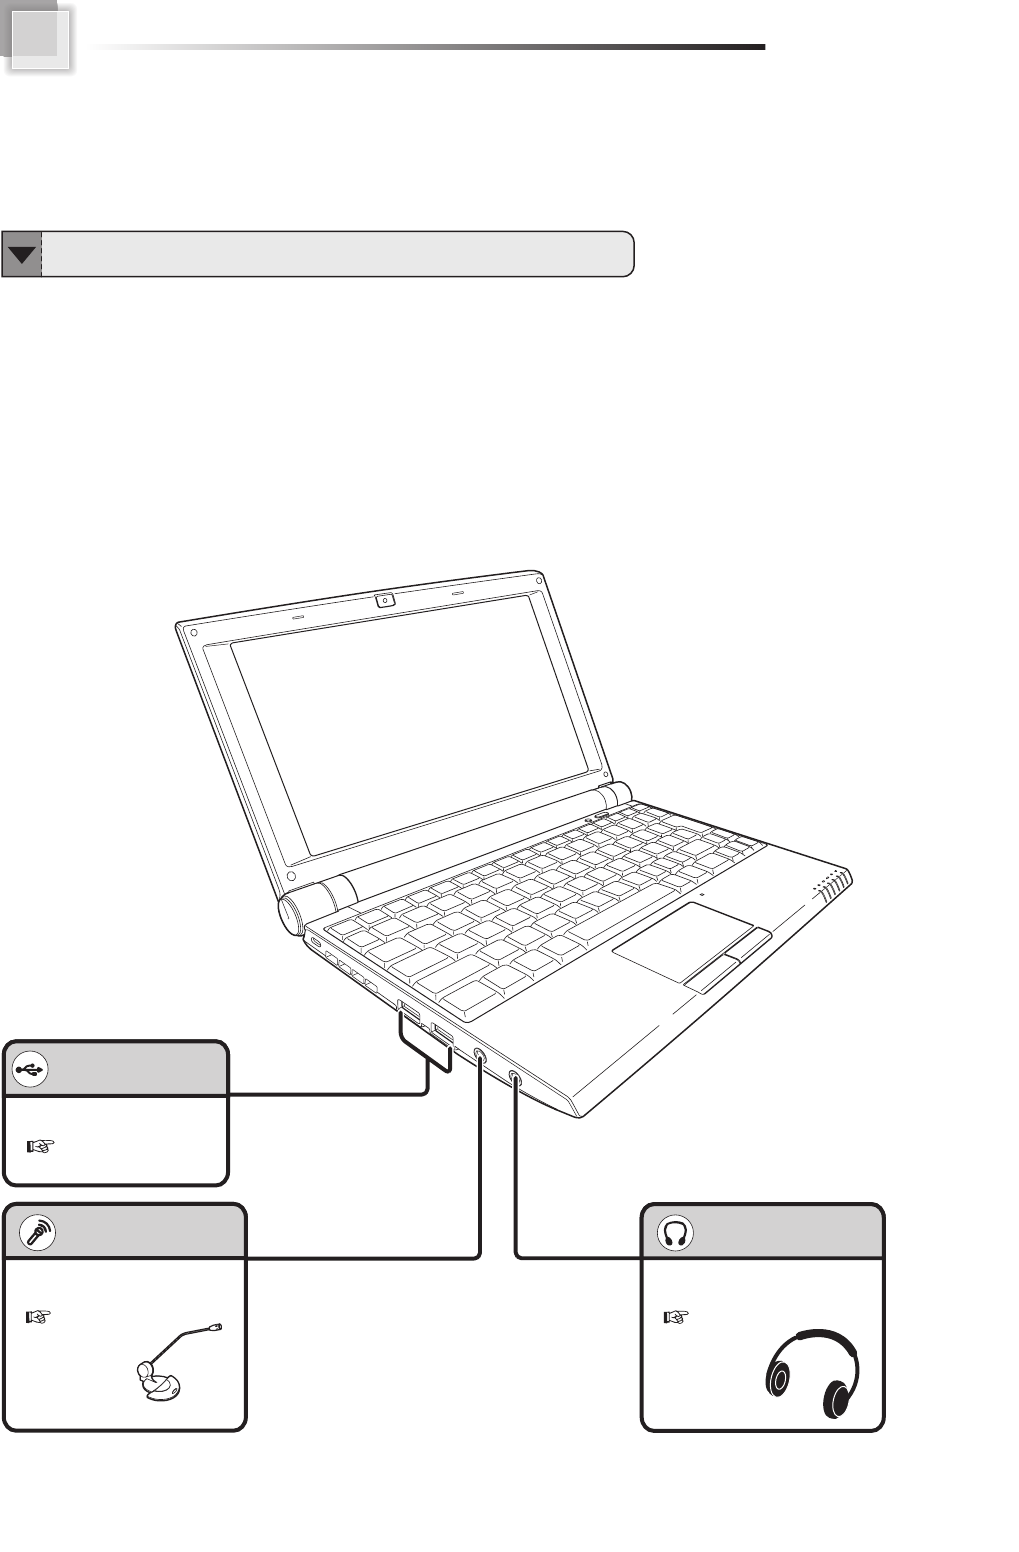
Left Side
USB 2.0 compatible peripherals
(
Page 38)
USB Port
Headphone
(
Page 37
)
Headphone Jack
Microphone
(
Page 37
)
Microphone Jack
Peripherals
35
Before Installing Peripherals
Turn off the notebook and unplug the AC power cord
from AC outlet before the installation. Otherwise, it
may damage the notebook and the peripheral.
・While the notebook is powered on, the following devices
is able to remove from the notebook.
・USB Compatible Devices
・Memory Stick
・Memory Stick Pro
・SD Card
・MMC
Turn off the notebook.
(Page 10)
Disconnect the DC plug of the adapter from your
notebook.
周辺機器を取り付けます。
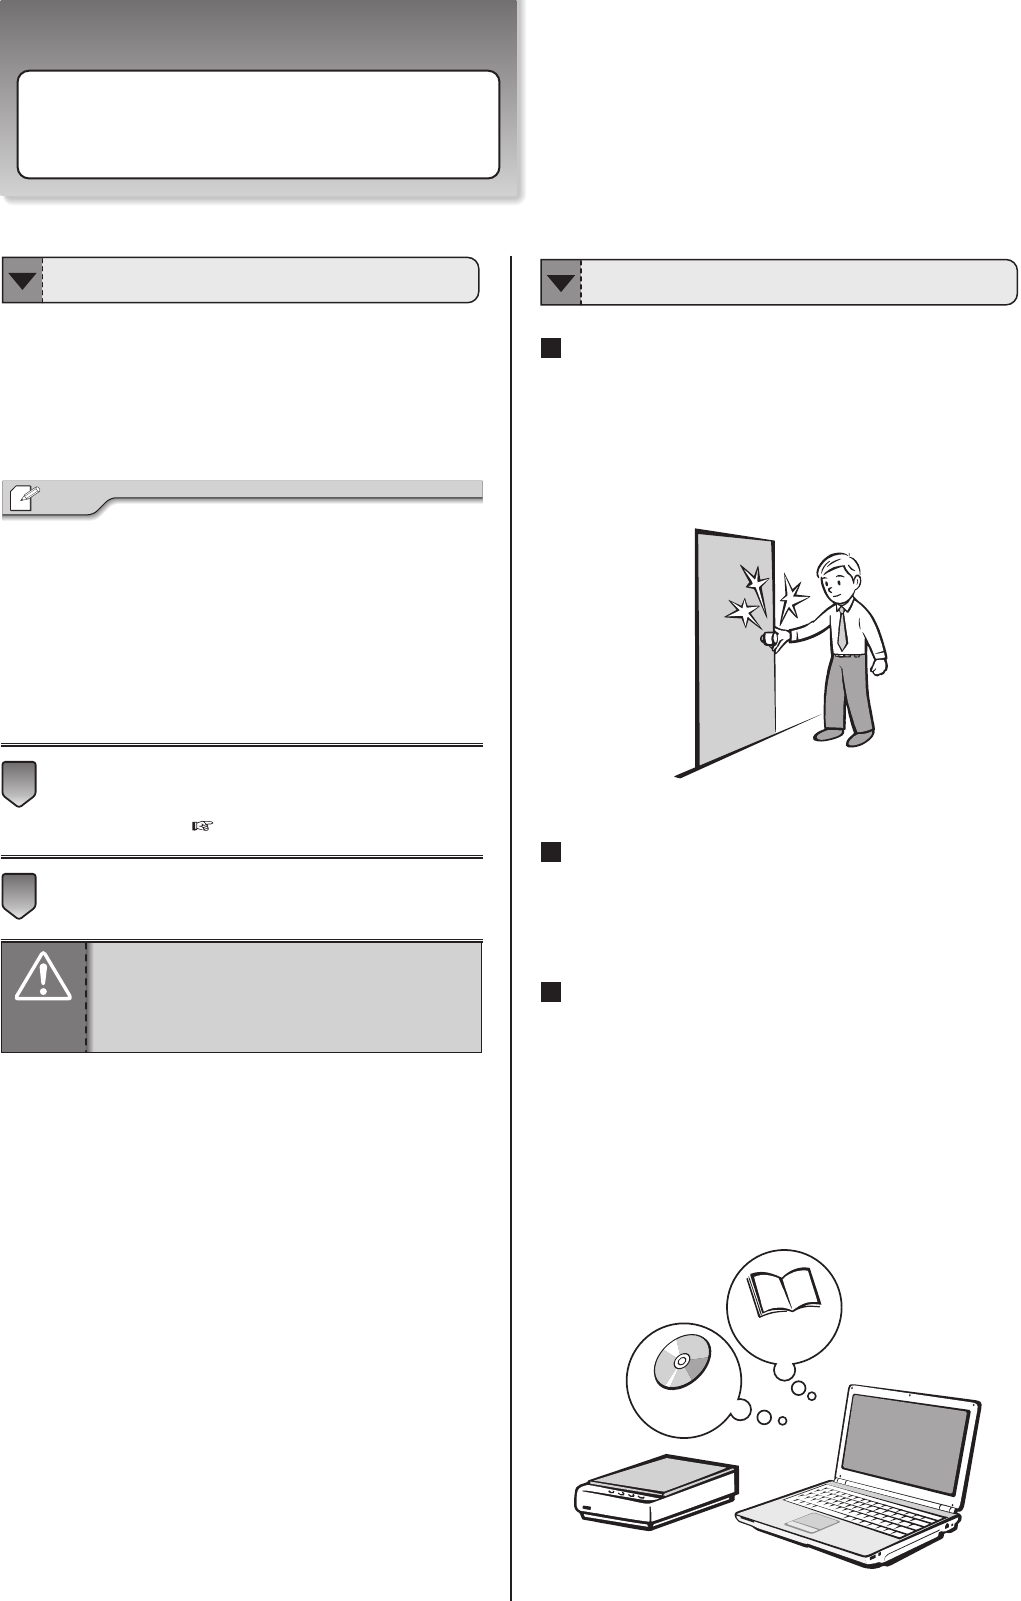
Please Remove the Static Electricity of Your Body
Because the parts such as memory and circuit board is extremely
weak to the static electricity. It is possible to damage the parts
when your hands touch them. Please touch the metal object
such as knob of the door to remove the static electricity which
has been electrified in the body before the peripheral
installation.
Please Read the User's Guide
If you install or remove the pheripherals in a wrong way, it is
possible to damage the peripheral. Please read this manual
well before doing the installation.
Please Read the Manual of the Peripheral Device
The manual and driver CD always come with the peripheral,
please read through the manual before the driver installation.
Manual
3
2
1
Tip
Turn Off the Notebook
Attention
Avoid to cut your hand during device removal
or installation, we suggest you to wear gloves.
Installation Notice
Driver
36
Plug and Play is a capability developed by Microsoft for Windows operating systems that gives users the ability to plug
a device into a computer and have the computer recognize that the device is there. It is necessary for the device driver
of the peripheral device to be prepared well on Windows side.
When the driver is not prepared, using the wizard function of Windows, it installs device driver to Windows.
When using the peripheral device, the software which controls
the peripheral device which is called “device driver” is necessary.
The driver is offered with the CD-ROM or similar one, and it is
possible to download it from the manufacturer website.
Tip
When Device Driver Is Built In Windows
When the device driver of peripheral device has already
been built in Windows, just install the peripheral device
directly.
After installing the peripheral device, turns its
power ON.
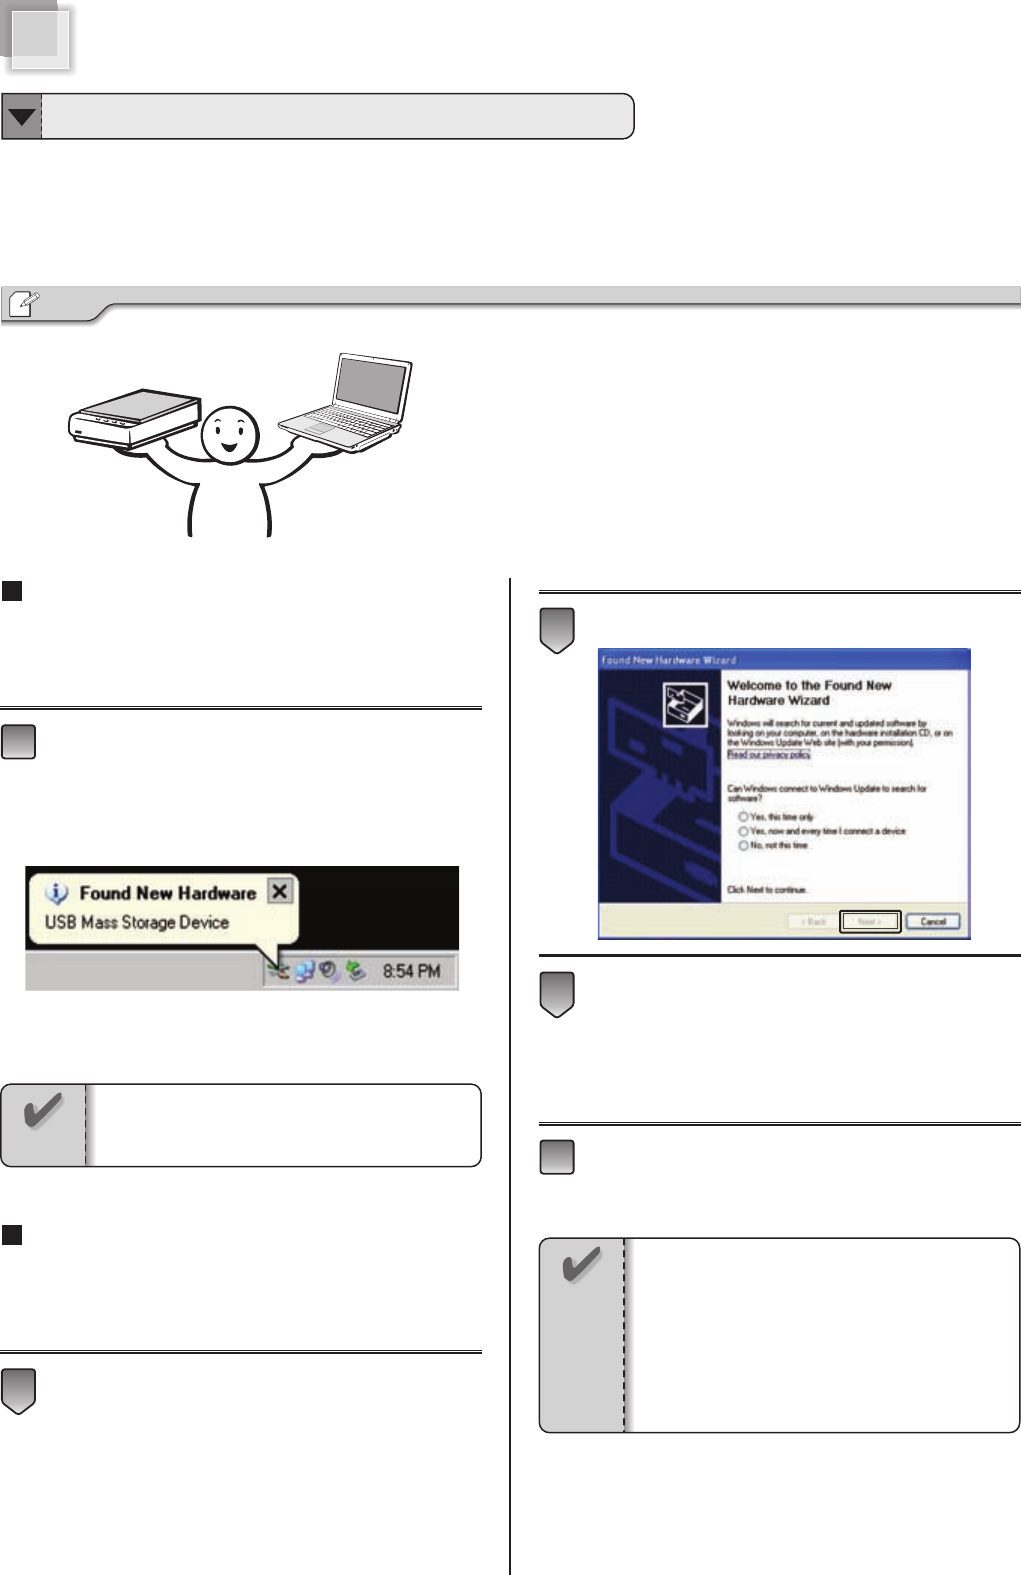
In the task bar under the desktop, “Found New
Hardware” message pops up.
When Device Driver Is Not Built In Windows
When the device driver is not built in Windows, the specific
driver has to be installed.
After installing the peripheral device, turns its
power ON.
“Found New Hardware Wizard”dialog box appears.
Click [Next].
Follow the instructions of the wizard for the operation.
When the “Installation finished” message appears,
the setting is done.
Click [Finish].
4
3
2
1
1
Notice
Sometimes,"Found New Hardware - USB Mass
Storage Device" message appears, rather than
automatically loading the USB driver.
In case, you have to set the resources such as
IRQs for driver installation.
Please inquiry the device manufacturer for the
detail information if necessary.
About Plug and Play
Device
Driver
Next>
Notice
Peripherals
37
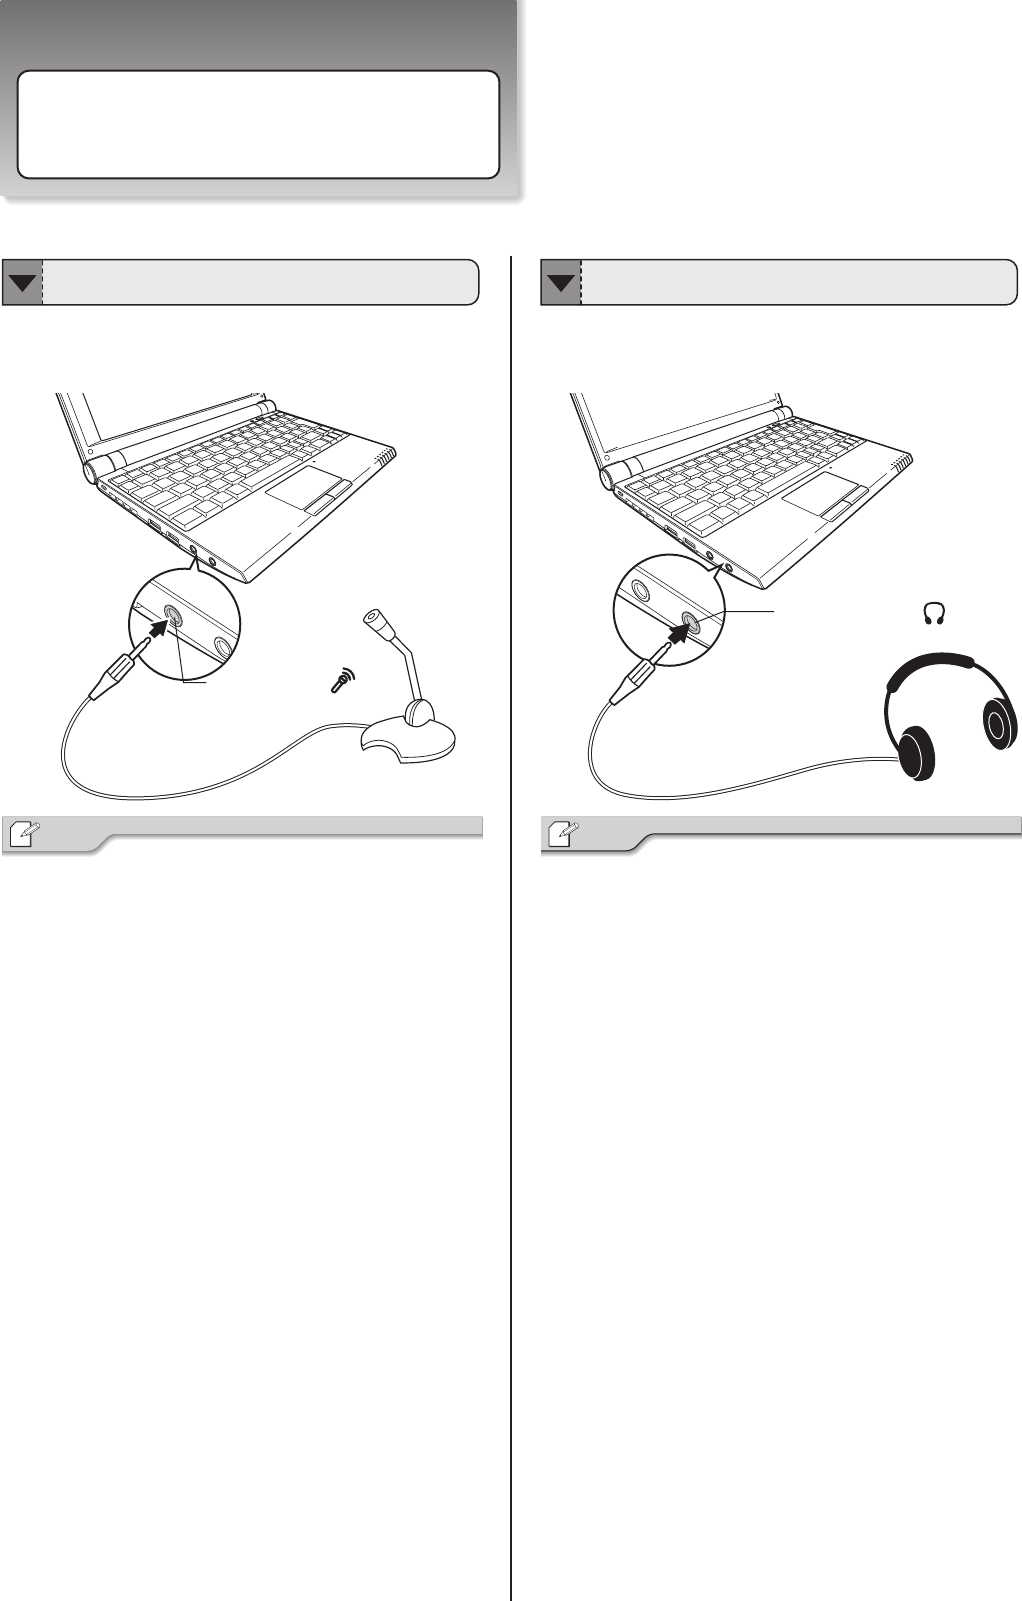
Connecting AV Equipments
・Ensure the notebook is not in “Speaker Mute” mode before
you use microphone.
・Please purchasing the microphone with mini-pin plug.
・If the microphone is close to the speaker, sometimes they
will produce resonance and occur the howling sound. You
can move the microphone away from the speaker, or use
Volume Control to reduce the level of system sound to
prevent this phenomenon.
Connect the headphone plug to the headphone jack on
the notebook. The voice or sound will output from the
headphone instead of speaker.
・Please purchasing the headphone with mini-pin plug.
Connect the microphone plug to the microphone jack
on the notebook. This will make the notebook to record
voice and sound.
Tip
Headphone Jack( )
Tip
Microphone Jack( )
Connecting Microphone Connecting Headphone