Getac Technology 007 Notebook PC User Manual Chapter 2
Getac Technology Corp. Notebook PC Chapter 2
Contents
users manual 3 of 6
Rev. 00 2-1
2-1 Introduction
This chapter tells how to use the notebook.
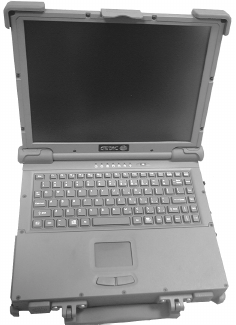
2-2 Opening and Closing the Notebook
This section tells how to open the notebook cover and access doors. See
Figure 2-1.
2-2.1 Opening the Cover
To open the notebook, press hook outward and tilt the cover up to a
comfortable viewing angle. (Usually about 110°) See Figure 2-1.
Figure 2-1 Opening the Notebook

Rev. 00 2-2
To open a door:
1. Insert a small flat edged object (coin edge or flat screw-driver) in a door or
cover securing captive screw.
2. Turn the screw counterclockwise until it comes loose from its socket.
3. Repeat steps 1 and 2 for each securing screw.
4. Grab a securing screw and open a door.
Figure 2-2 Opening a Door
Rev. 00 2-3
NOTE
Keep all access doors and covers tightly shut when not in
use.
2-3 Connecting and Installing Devices
This section gives instructions for installing, removing, changing, or
connecting devices via the notebook external ports or sockets.
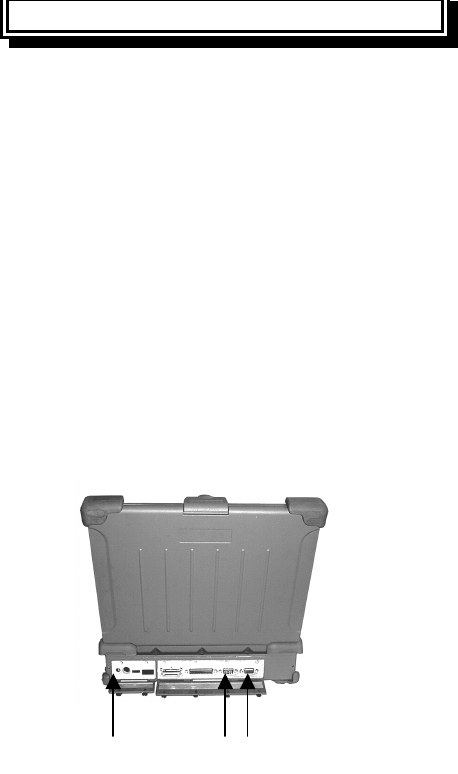
2-3.1 Serial and Parallel Port
Item 1, Item2, Figure 2-3 shows how to connect serial and parallel cables.
Make sure the mating connector is tightly secured by pushing it to the end
and lock the screws.
Figure 2-3 Connecting the External Power, Serial , and Parallel ports
3 2 1

Rev. 00 2-4
g
disconnecting the adapter.
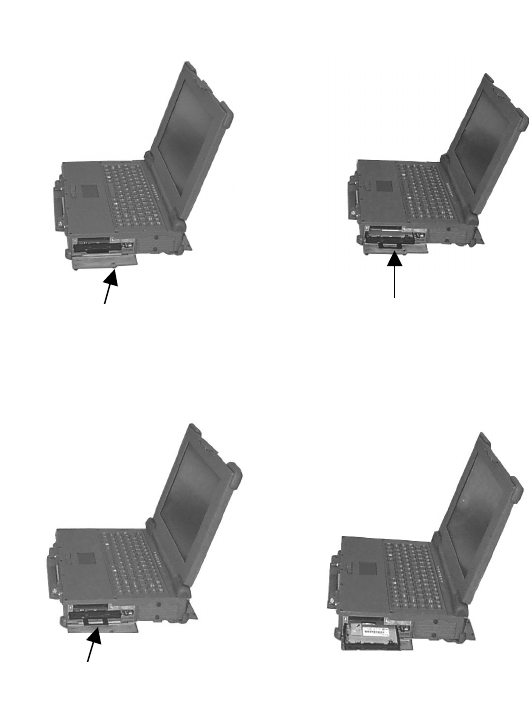
2-3.3 Diskettes
To install a diskette,
1. Open the PCMCIA slot / diskette drive access door.
2. Slide the diskette into the drive with the printed label facing up until it
clicks in place.
To remove the diskette, press the ejector button on the right side of the
drive. See Figure 2-4.
Figure 2-4 Removing a Diskette
Rev. 00 2-5
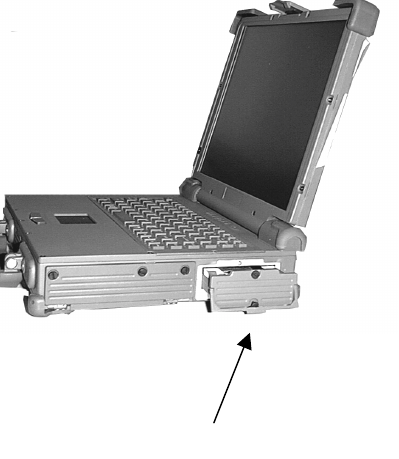
4. Hold two sides of the FDD / CD-ROM / Bay 1 battery module and
slide it out smoothly.
Figure 2-5 Removing a FDD / CD-ROM
4
1
3
Open
2
Don’t
Push Eject
3
Rev. 00 2-6
To remove the upper card, press the eject button on the left. To remove the
lower card, press the button on the right. (See Figure 2-6).
Figure 2-6 Removing a PCMCIA Cards
PCMCIA Card
Rev. 00 2-7
2. Loose the screws from up, down of the Hdd disk.
3. Grab the handle of the hard disk module and pull it out. (See
Figure 2-7).
4. Insert the new hard disk module in the slot until it seats firmly.
5. If necessary, run the system configuration program when the
system boots next time. See chapter 3 for details.
Figure 2-7 Removing a Hard Disk
Hard Disk
Rev. 00 2-8
g
— Low Cost 24.576MHz Crystal Provides Transmit,
Receive Data at 100/200/400 Megabits per Second,
and Link-Layer Controller Clock at 49.152 MHz
— Fully Interoperable with FireWire Implementation
of IEEE Standard 1394
— Provides 6-Pin IEEE1394 Standard Connector*1
NOTE
1. The Cable length of the IEEE 1394 must <
4.5m.
2. The system doesn’t support power for the cable.
1394 port
Rev. 00 2-9
2-4.1 Configuring the System
The notebook is configured in the factory. Run the SETUP
program when the computer boots for the first time to record the
system settings. For more details about configuring the system
and when to do it, see Chapter 3.
2-4.2 Installing Software Driver
Before you install your new software, make a backup copy of the
original program disk using the DOS Diskcopy command or the
Windows disk copy utility in file manager.
2.4.2.1 Installing PCMCIA TI 1225 Driver in
Windows 98
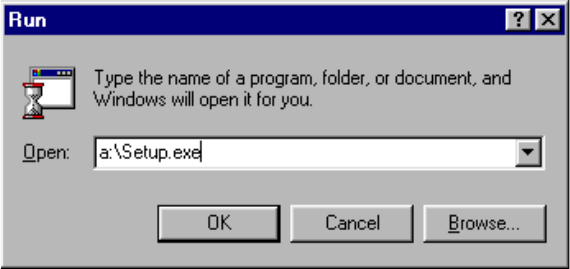
1. With Windows running, insert PCI 1225 Driver disk into drive A.
2. In the Windows program manager, select Run.... from the File
menu and type A:\Setup.exe. Press ENTER, or choose OK.

Rev. 00 2-10
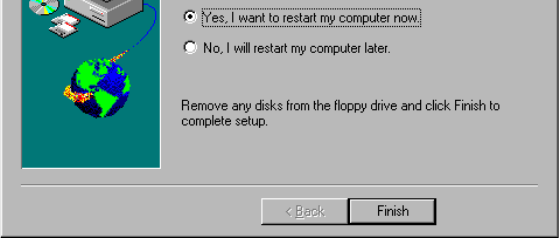
4. When the driver installation is completed, then restart your
computer.
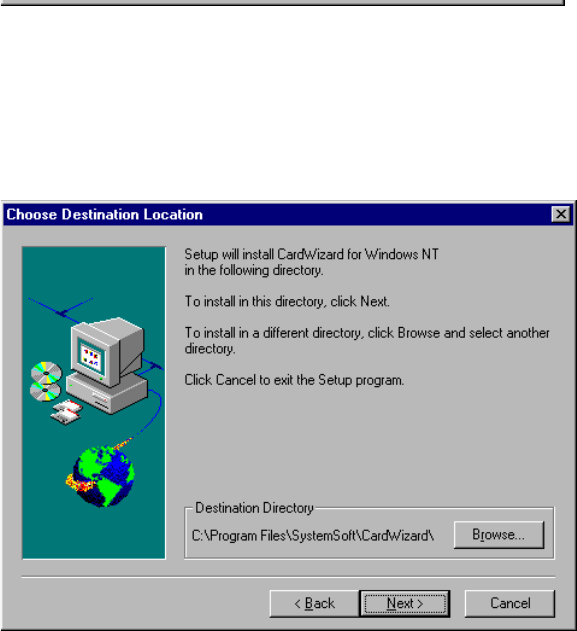
2-4.2.2 Installing Cardwizard Driver in Windows
NT4.0
Installing CardWizard for Windows NT is a simple task. Just
insert the diskette into the appropriate drive and follow the
prompts on the screen. If you need assistance refer to the
instructions below:
1. If you have any PC cards currently installed in PC card slots,
remove them.
2. If your system is connected to a network, log off before starting
the installation.
3. Logon as an Administrator.
4. Carefully read the ReadMe file on the installation diskette.
5. Choose Run from the Windows NT Start button.
6. Enter A:\Setup.exe on the Open line in the Run dialog box.
7. Choose OK.
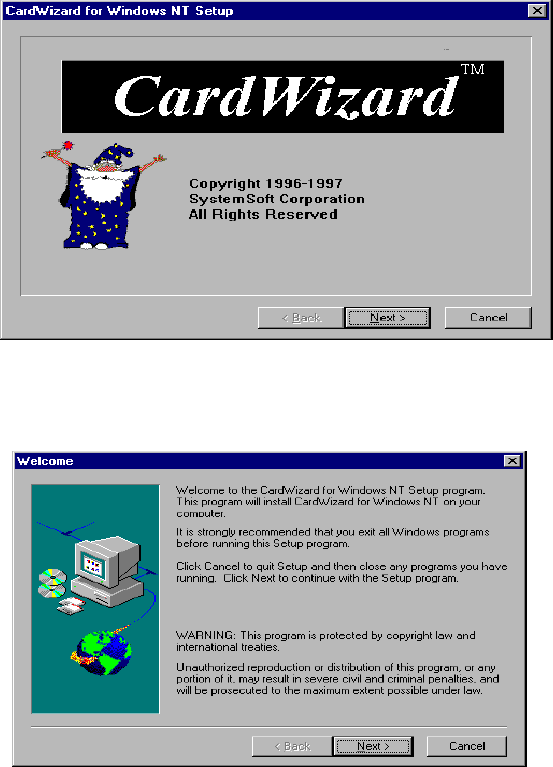
The installation program starts and indicates that Setup is
preparing for the installation.
Rev. 00 2-11
8. Select “Next” button and click it.
9. Select “Next” button to display the welcome screen.
Rev. 00 2-12
11. You can follow the default directory to install program then
click “Next” button or you can create a new directory
to install.
Rev. 00 2-13
2-5 Daily Operation
This section discusses expected daily notebook activity.
2-5.1 Starting the Computer
To start the computer :
1. Make sure all peripherals are properly connected.
2. If using the AC adapter or external power, make sure it is
connected.
3. Open the cover.
4. Press the Power button. The power on indicator lights up.
The computer performs a Power On Self Test (POST) and
checks configuration settings. Depending on the
configuration, items tested include:

Rev. 00 2-14
6. If the cause is known and will not cause other difficulties, press
F1. To correct the discrepancy, press F2 and change
configuration settings accordingly. See chapter 3 for details
about SETUP.
7. After the POST, the system checks for a system password.
If one is present, the computer prompts for its entry before
continuing. Carefully type it in.
NOTE
The password characters do not appear on the screen.
8. After password confirmation, the system tries to boot from
drive A first and then drive C.
9. Adjust brightness, and viewing angle for best appearance
and comfort.
2-5.2 Turning Off The Notebook
To turn off the notebook
1. Save all data and close all open programs.
2. Press the Power button to turn off power.
3. Swing the cover closed until it clicks shut.
4. Turn off and disconnect all peripheral devices.
5. Close and tighten all access doors and covers.
Rev. 00 2-15
4. Turn on the notebook.
2.6 Using External Power Sources
CAUTION
The external power adapter is rated for input sources
within the following constraints:
A-Series:
AC: 100-240 V, 50-60 Hz
DC: 9-20VDC direct input without charging
function (option) 22.8-32 VDC external car
adapter/charger (option)
Connecting to sources outside this range may
damage the external power adapter
Figure 2-8 Plug Car Power Cable in Notebook
Rev. 00 2-16
outlet immediately.
2-6.1 Using AC External Adapter
A-Series provides an AC external adapter for standard configuration.
Use the nearby AC power source.
2-6.2 Charging the Batteries
Make sure the external adapter is connected to the computer. It
has two charging rates depending on notebook operating or
power off.
Section 2-4.1 gives detailed instructions on connecting an external
power source and charging the batteries.
2-7 Running On Battery Power
The notebook has several power management features to prolong
continuous operation on battery power.
This section describes the power saving modes and tells how to
take best advantage of them. It includes default settings for each
mode. For instructions about changing them, see chapter 3.
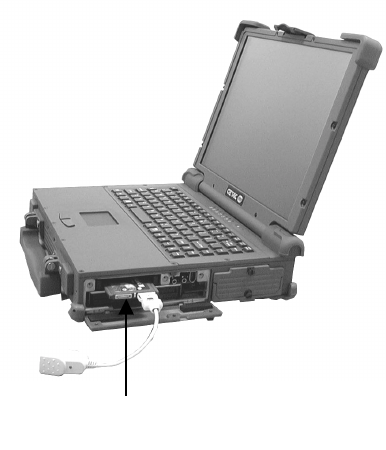
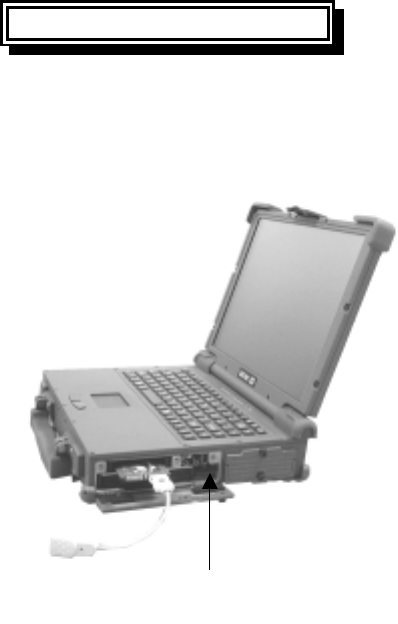
2-8 Use the External FDD
1. Plug the 36-pin external FDD cable to the external FDD, and the
other end (25-pin) to the computer printer port. (See Figure 2-9)
2. Plug the DC power cable to the external FDD, and plug the other
end to one of two PS/2 ports.
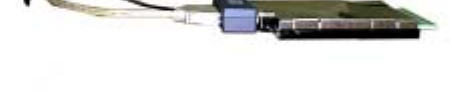
Rev. 00 2-17
Figure 2-9 Using the External FDD